You must be logged in to rate content!
12 minute(s) of a 767 minute read
6-26-2013
6-26-2013
Well it's time for another update. I'm not great at documenting every little thing I do and keeping up with posting here, but it seems like every once in a while I just do a massive post (or two) to bring the thread up to speed. So, time for one of those.
Let's start with miscellaneous stuff. After I got done with the painting under the dash, I started the process of putting stuff back where it goes. Before I could address wiring, wiper motor bracket, and other stuff, I had to get some insulation in there first. It turned out that my original upper insulation was in decent shape, despite being torn in one place (my fault). So all I really did was give it a good pat-down to get the dust out of it, and glue it back to the car with some trim adhesive.
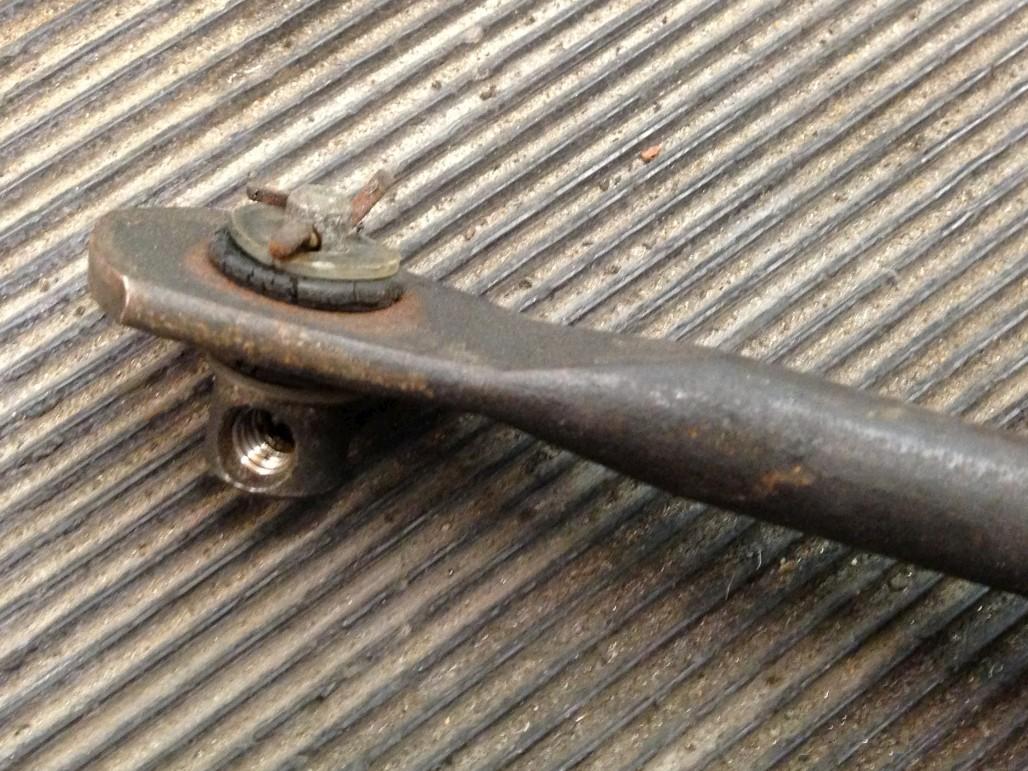
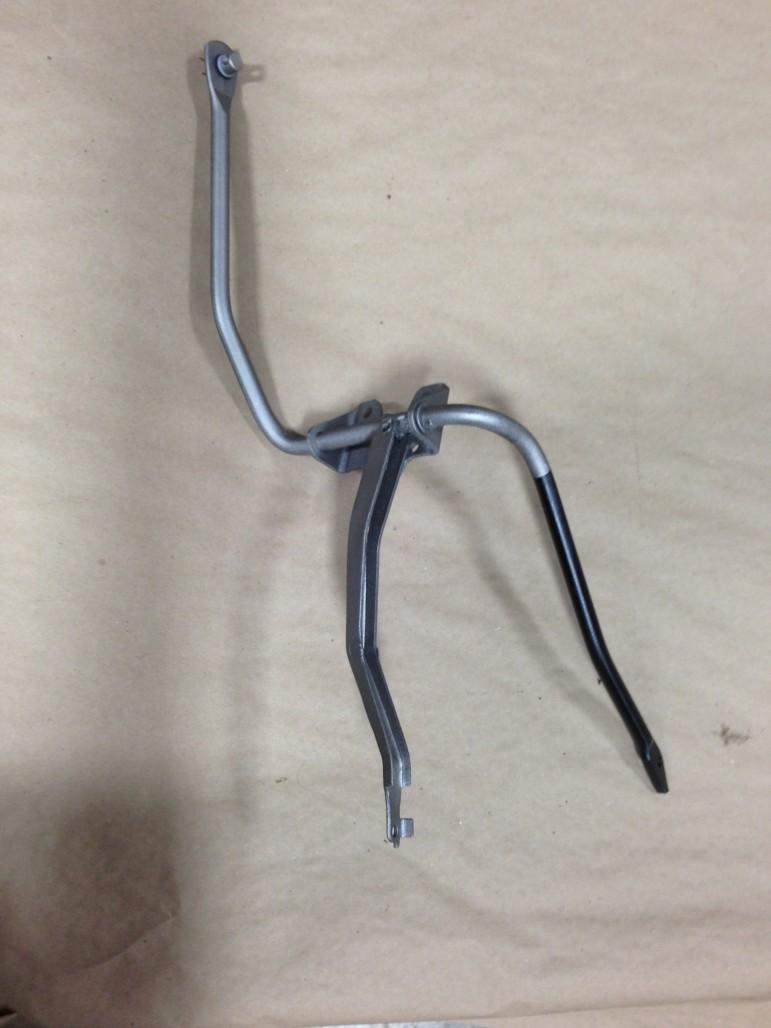
Meanwhile, I've been trying to focus on some of the things that are easier to access now before the engine goes in. One of those things is the throttle pedal assembly. Here's a before shot of the worn-out bushing:
And here's an after shot, rebuilt with this kit.
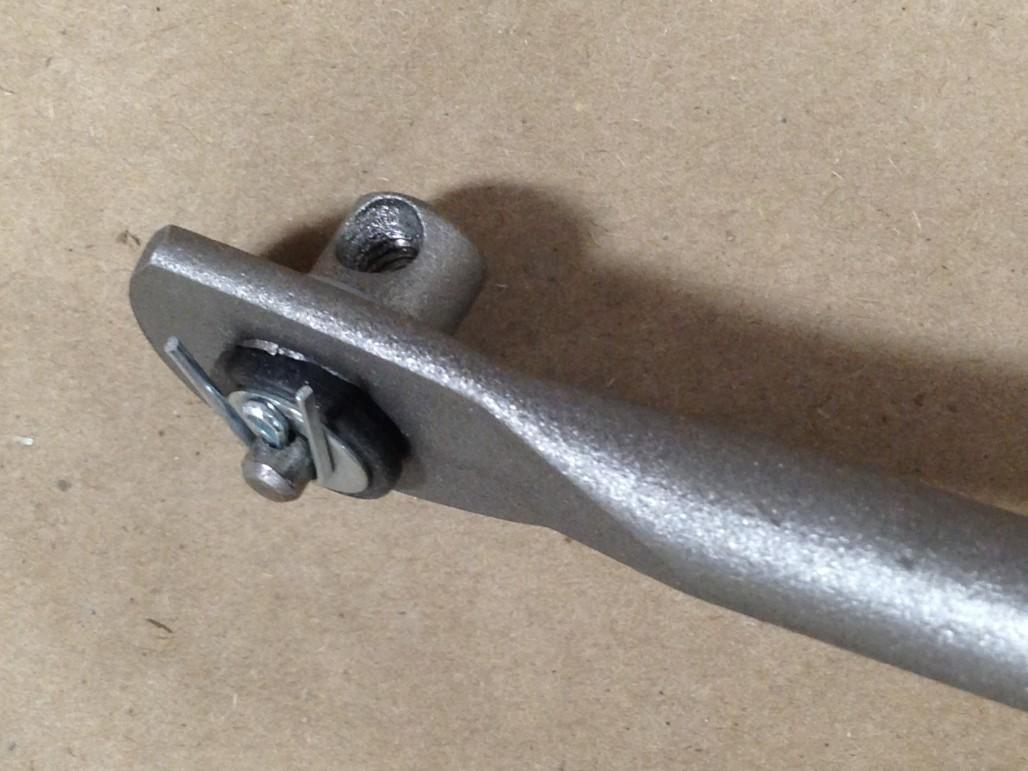
And here's the whole thing. I painted it with the same exhaust manifold paint I used before. It has a great natural bare metal look to it. Then of course I painted the lower section black.
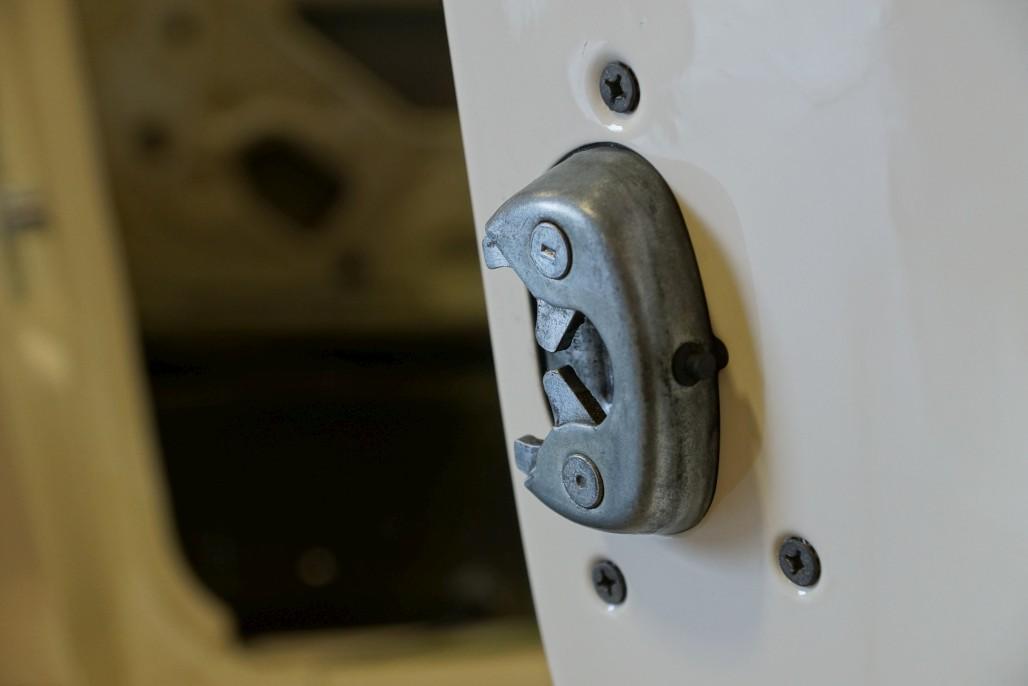
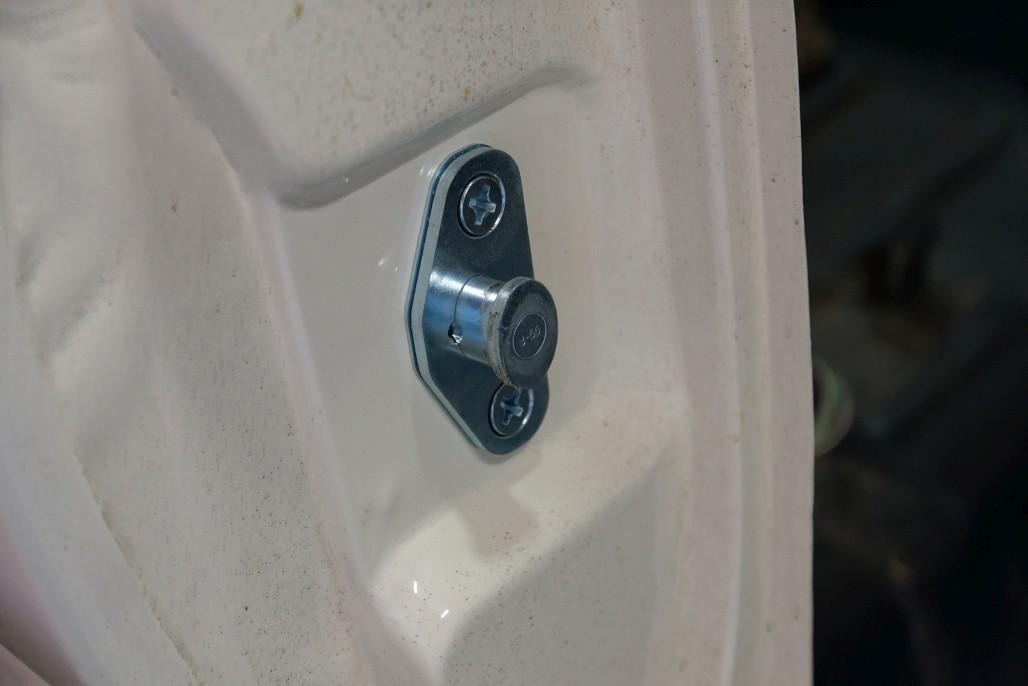
Also finally put in door latches and strikers, so the doors aren't flopping around dangerously anymore. My passenger side latch is original, but the driver's side is a replacement. Not a big surprise I guess. I got new strikers, just because the old ones looked kinda ugly.
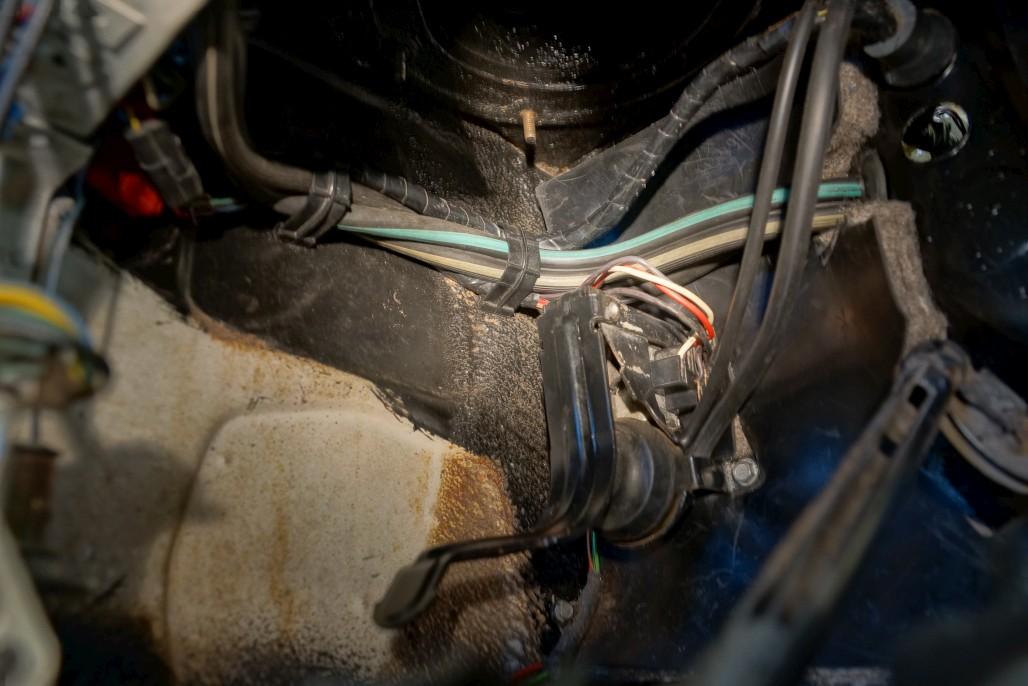
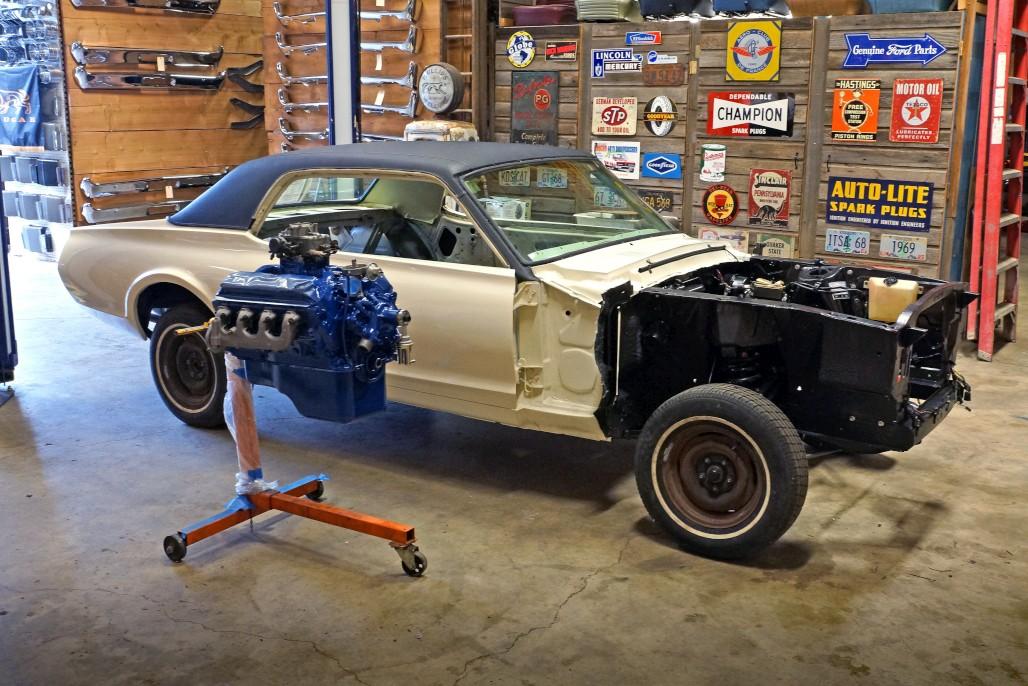
Now moving on, this shot kinda shows a few things that are happening in the engine bay:
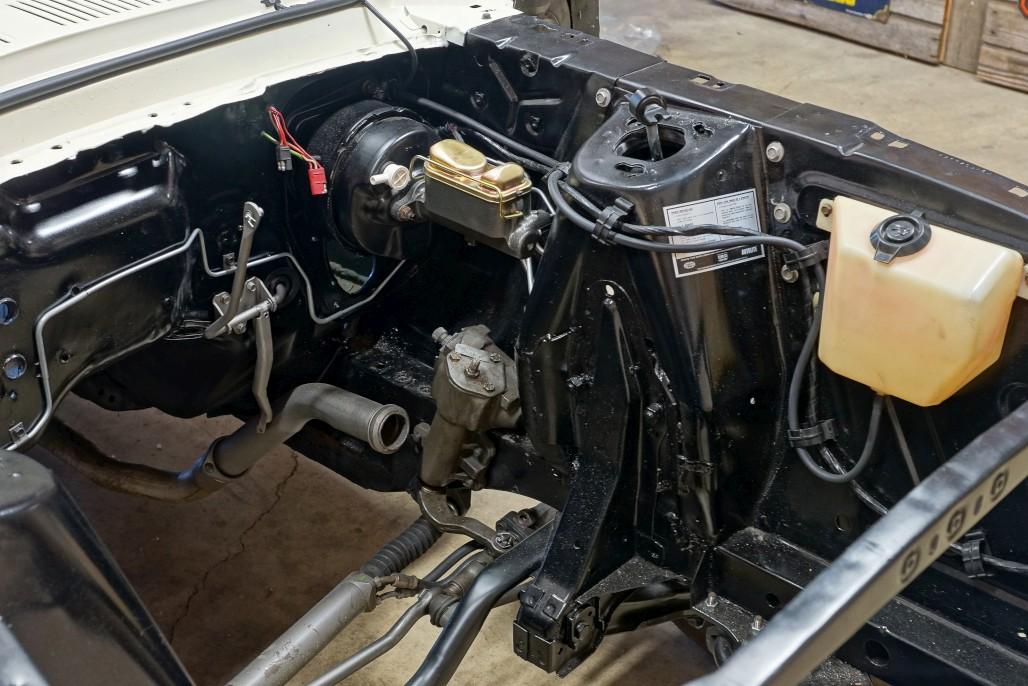
You might notice that I've got my rebuilt '70 brake booster in there, and new master cylinder (which I painted the exterior with cast iron grey engine enamel because it was already showing signs of surface rust). Also the front brake lines are in, just need to finish with all the clips and stuff. Also got the throttle rod installed, washer bottle and hoses and new nozzles. I salvaged my old firewall grommet and ran the new hoses through it. I'm using a decent original bottle for now, since it's a pretty obvious thing and stands out when you have a bright white replacement. I do have a new one in reserve if this one craps out. Also got the headlight wiring harness routed properly with all the clips in place, and though you can't see it in this pic, I put in a new battery tray with new fasteners, which I had to do since I'm upgrading to a bigger battery than what the car came with.
Here is my '70 distribution block, which I rebuilt with one of these kits. I was pleasantly surprised to find that it fits in the stock location, and the '70 front brake line kit fits perfectly. The only question remaining is what will happen when I try to run a '68 rear brake line to this. Can't use a '70 line because the fitting is a different size for the rear.
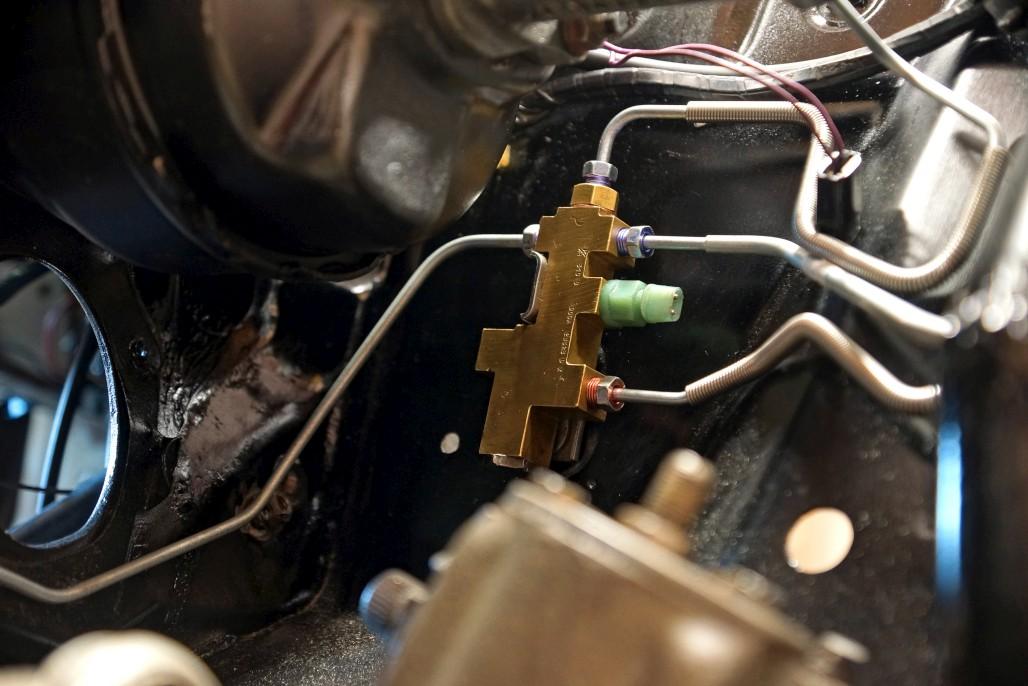
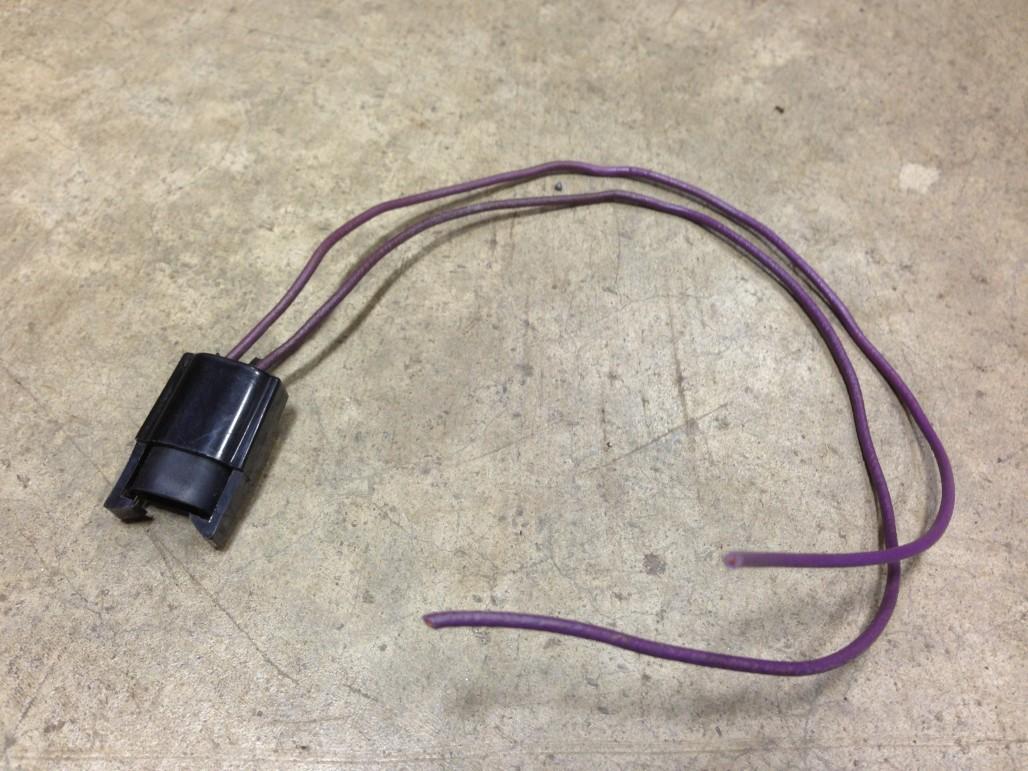
One other thing worth mentioning is that my stock brake warning switch plug did not reach the switch on the '70 distribution block, since it's rotated 90 degrees compared to the older ones. So, I had to snag a pigtail from another harness, cut my old one and splice this on.
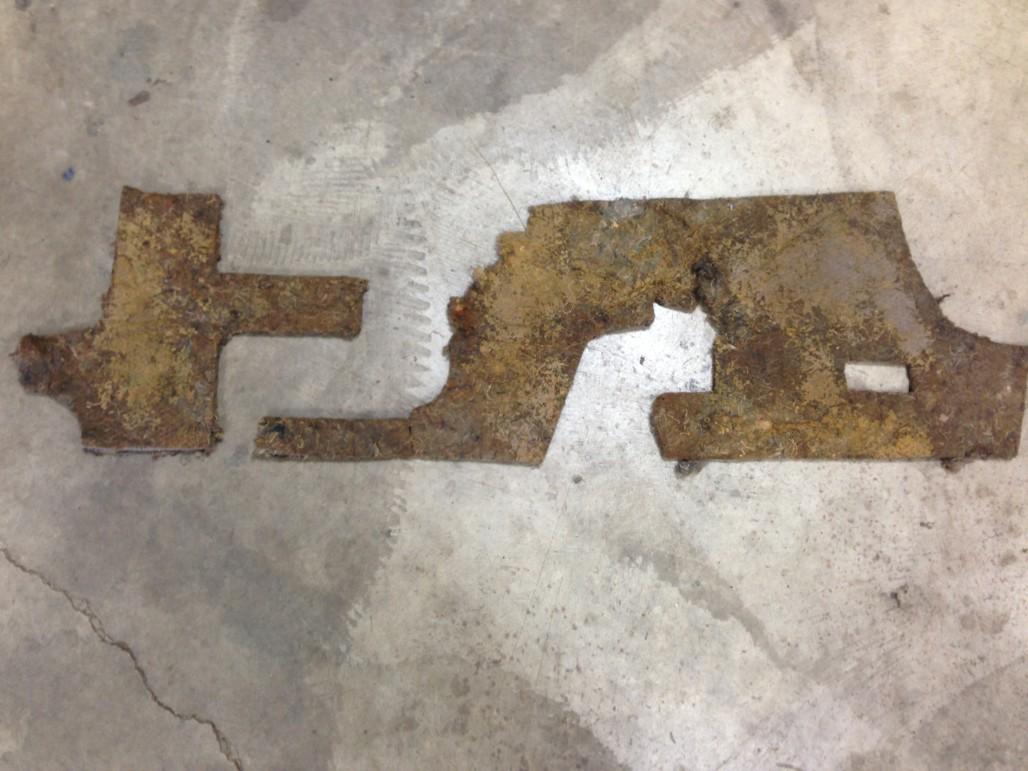
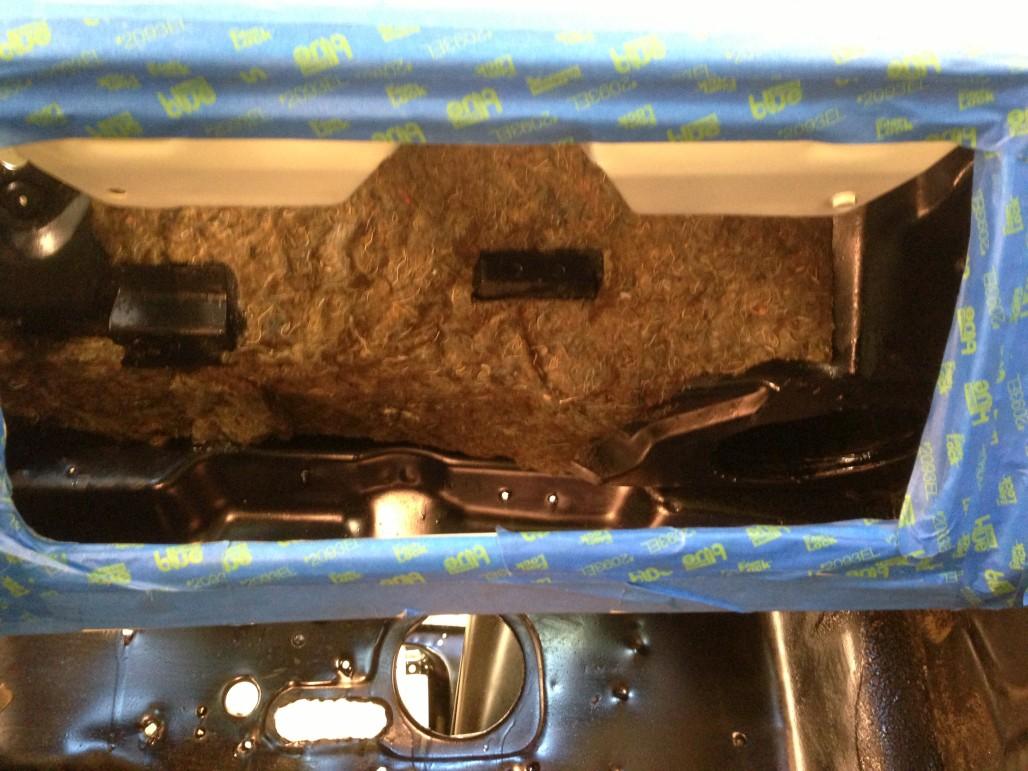
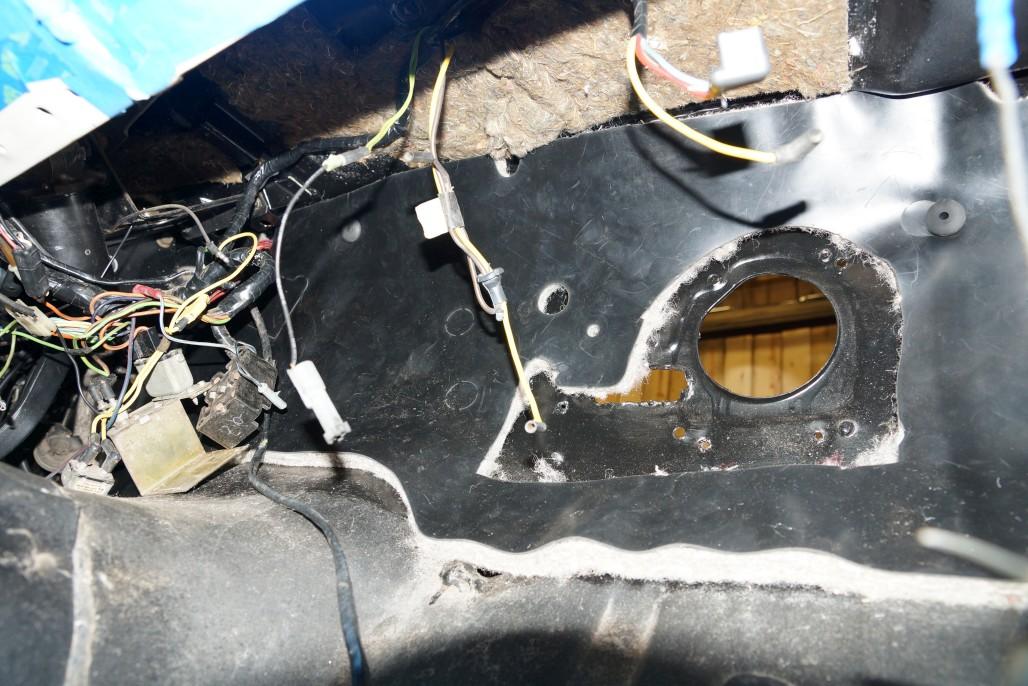
Now, moving back inside for a minute, I continued with the under-dash insulation project, knowing it had to go in before everything else. I got one of these firewall pads and started to install it. First problem is that the rubber plugs that hold it in place are a B!##%^ to get through the holes without breaking them. I think I broke about 3 or 4 before successfully installing any. Second problem is that not all the holes are in the right place, so I had to modify the pad in multiple places to get the plugs into the proper holes in the firewall. I can't wait to install the heater box now, that will be fun...
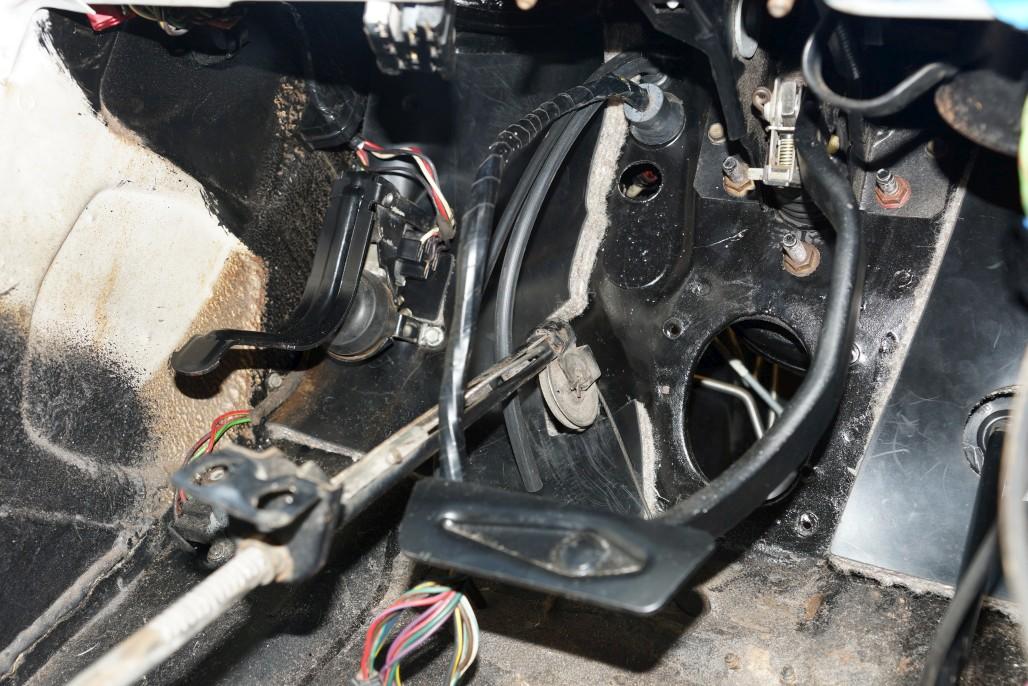
I did manage to install the washer foot pump after some struggling to find the holes, and you might notice that I cleaned and painted the visible front lever portion first. Also in this pic you can see that the brake pedal & hanger are installed (kind of obligatory with the booster).
I also routed the wiring and vacuum lines against the kick panel in what I assume is the right configuration, since those 2 black clips were there from the factory. I had to cut a slot in the firewall pad for the vacuum lines to pass through. I'm guessing this pad is meant for Mustangs. But I will say that it seems pretty thick / substantial and should do its job nicely.
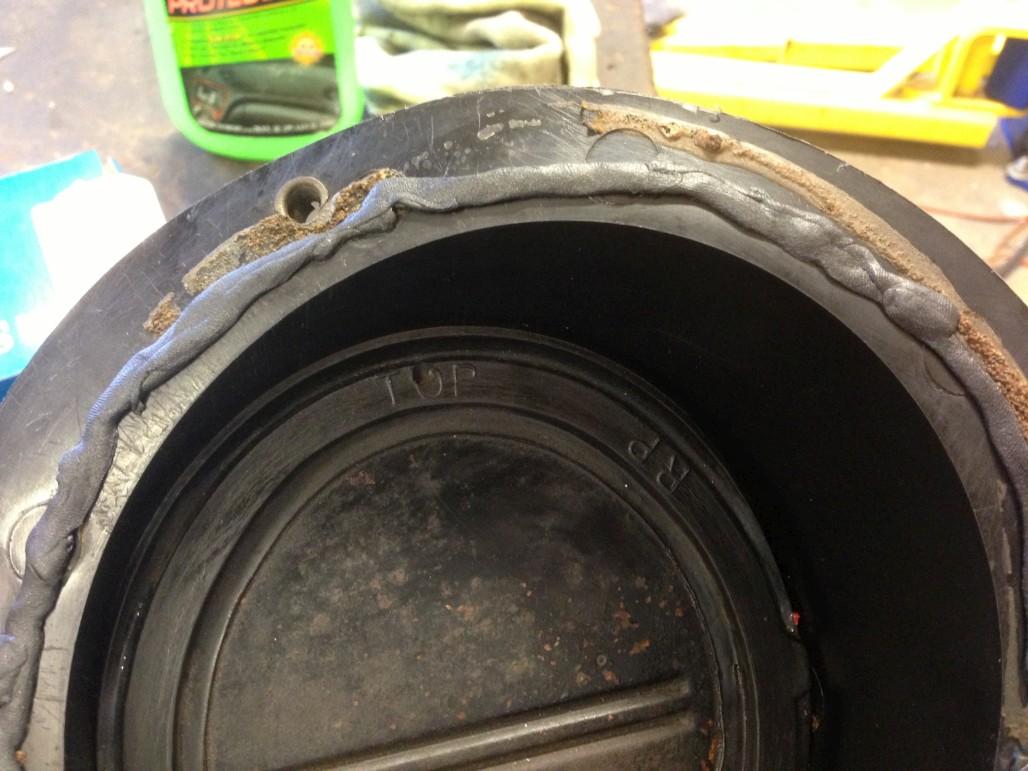
Now I was ready to put the fresh air vent back in. I cleaned it up as best I could, and it seems like the rubber around the flapper is still good, as is the cable. So I just put some strip-caulk around the inner perimeter to replace the original sealer and installed it back in place.
(Haven't taken an installed pic yet)
Well, that brings the miscellaneous things pretty much up to speed. Next is to install the steering column, which will make it a lot easier to move this thing around. Probably going to tackle that tonight. Coming up in my next post: engine progress. ![]() Stay tuned.
Stay tuned.
Ok, now picking up where I left off with the engine. The next thing was to install the heads. Here's a crappy picture of the bottom side of one head:
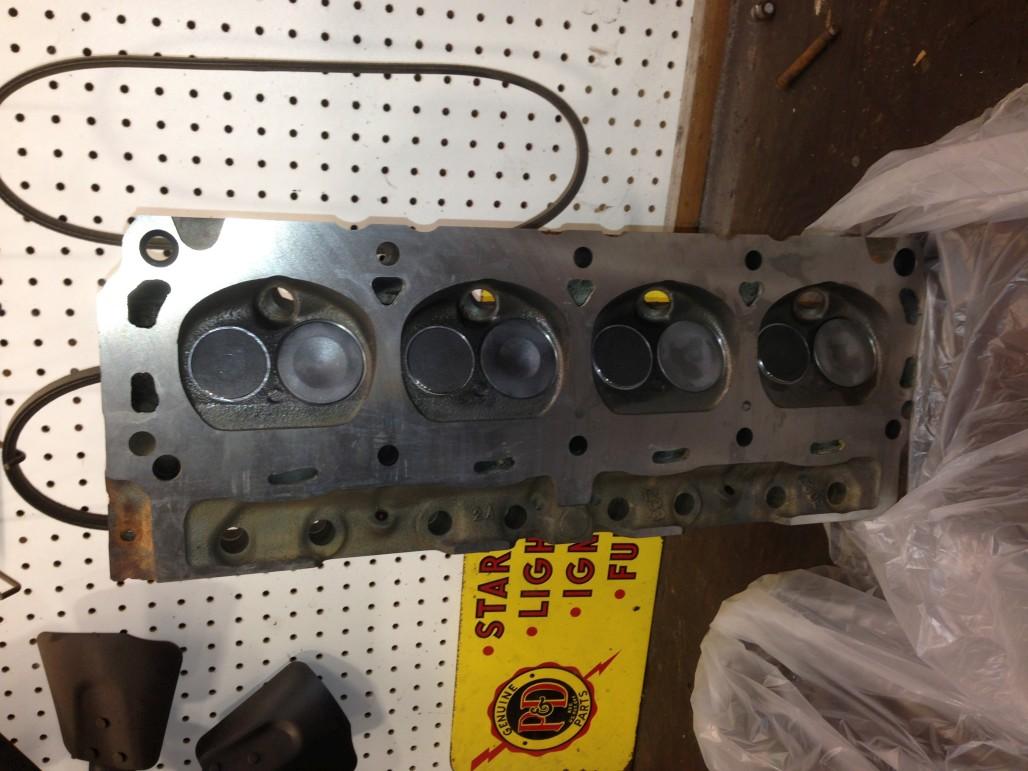
Apparently the intake valves were still in good shape so he just replaced the exhaust valves. Also he performed a "valve job" on all of them, whatever that means. I think it has to do with precisely grinding the edges to make them smooth. Also, hardened seats, etc.
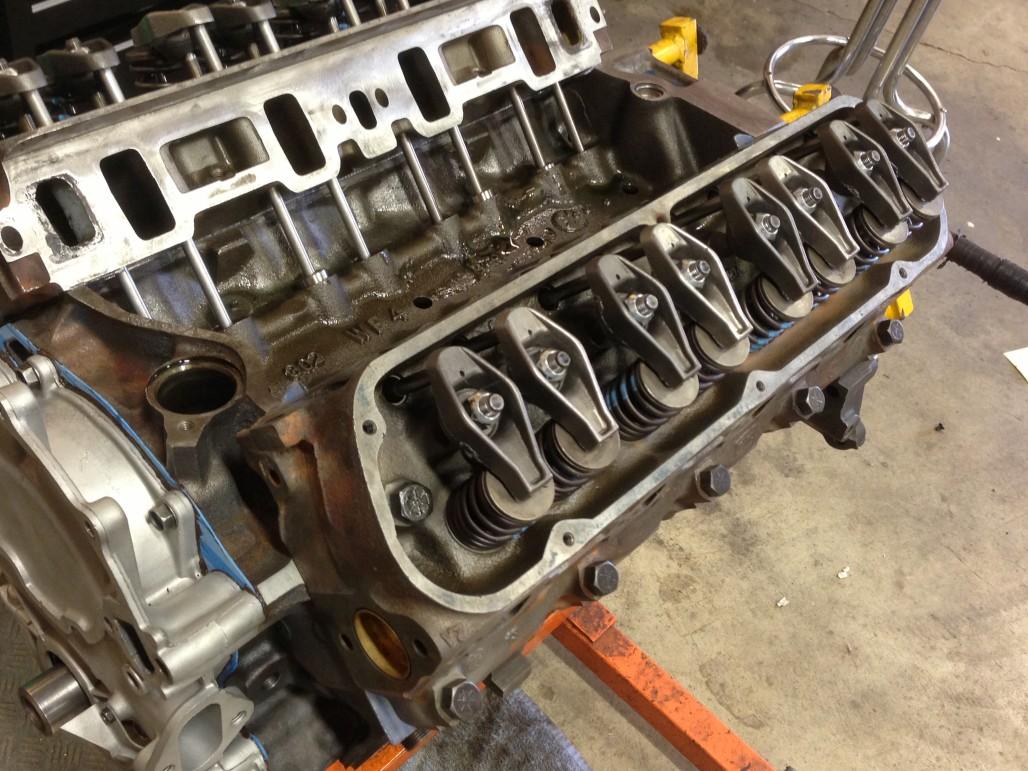
Anyway, here they are installed on the block.
Next order of business was lifters, pushrods and rockers.
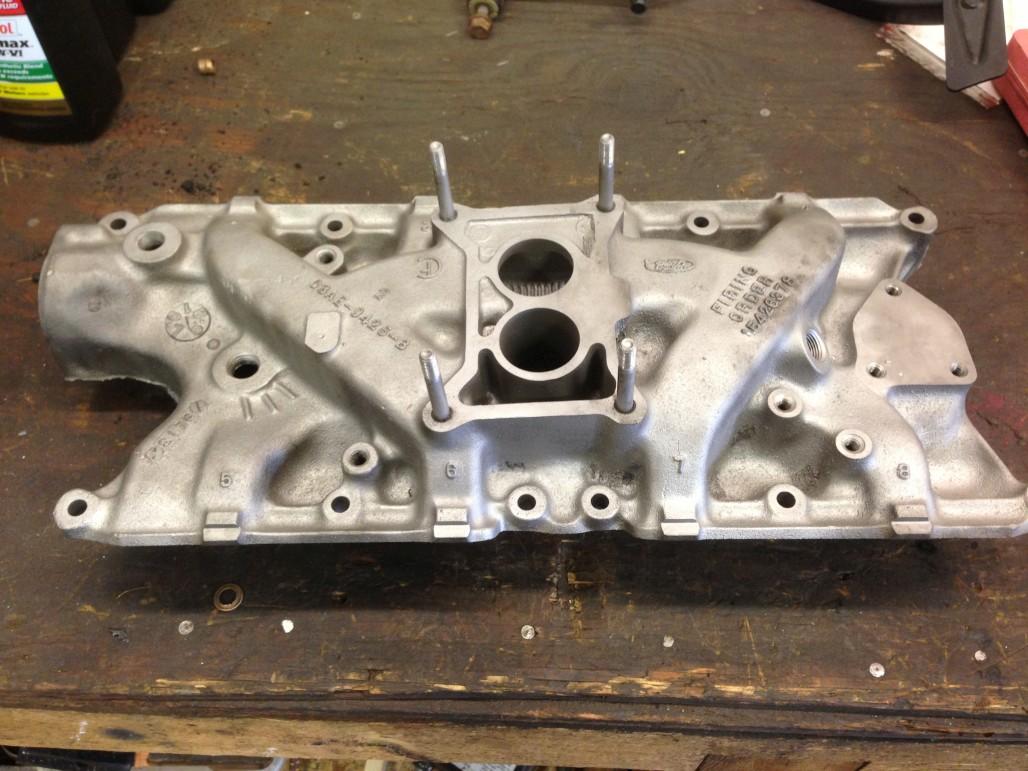
At this point I was about ready to put the intake on. But first, I had to clean it up. Ta-da.
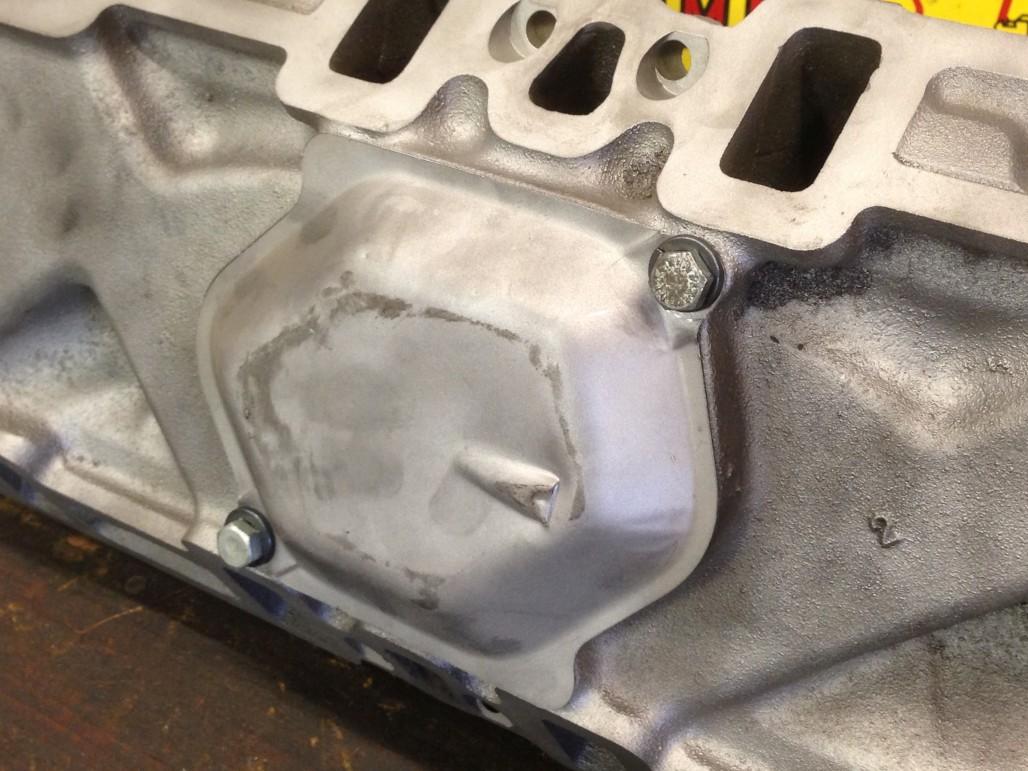
I also took off this pan on the underside. I'm glad I did because there was a lot of crud in there. Unfortunately in the process of removal, I broke one of the fasteners that held it in place. So I had to drill & tap the holes and put some bolts in there. Cleaned up inside and reinstalled.
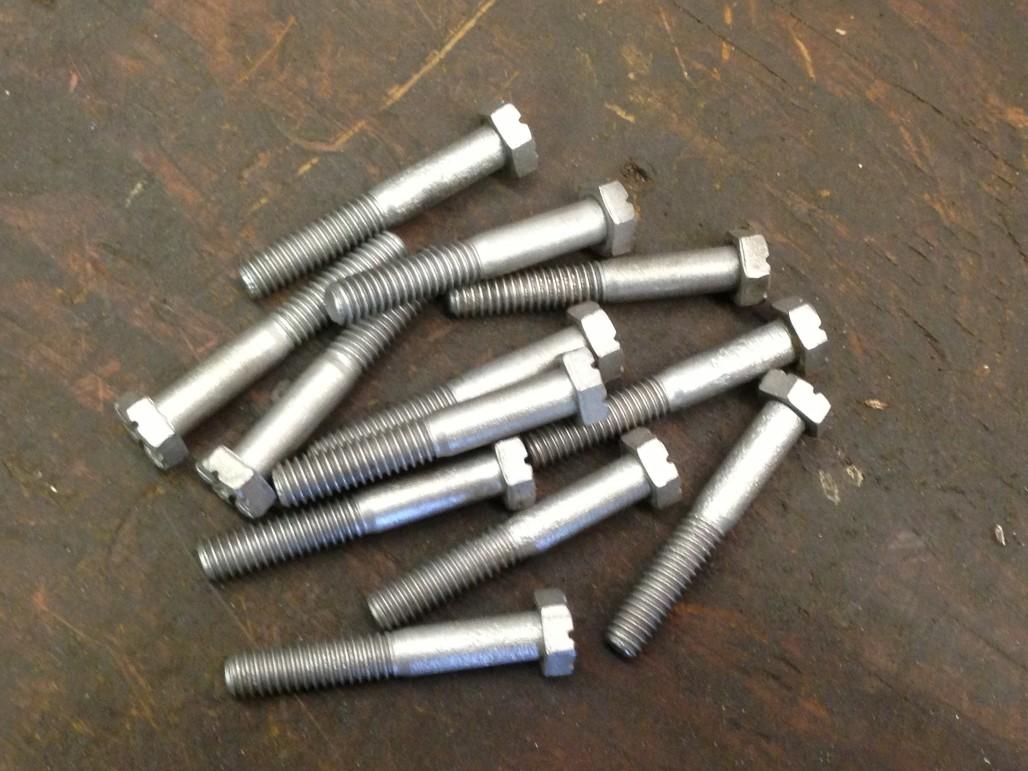
Also, this is the type of thing I usually don't bother showing, but I often spend some extra time trying to clean up and rethread original fasteners. In this case I blasted the intake bolts before rethreading.
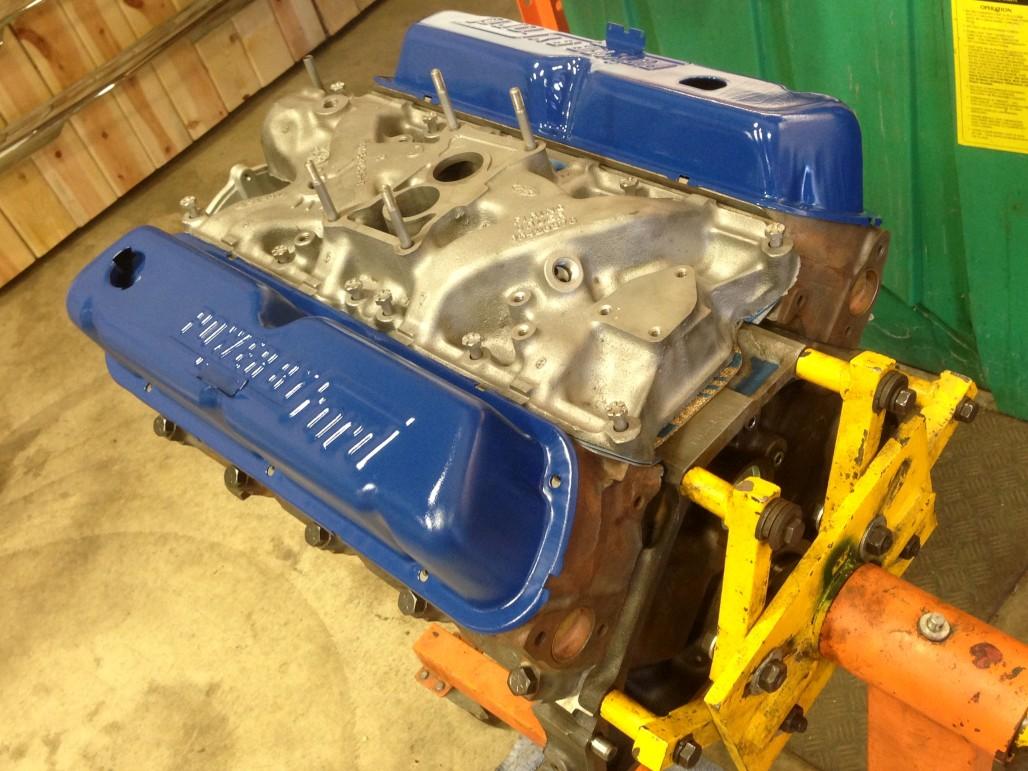
Now here's the intake set in place, and I also had painted the valve covers, so I threw 'em on there just to get a preview of what it will look like. More info on the paint soon.
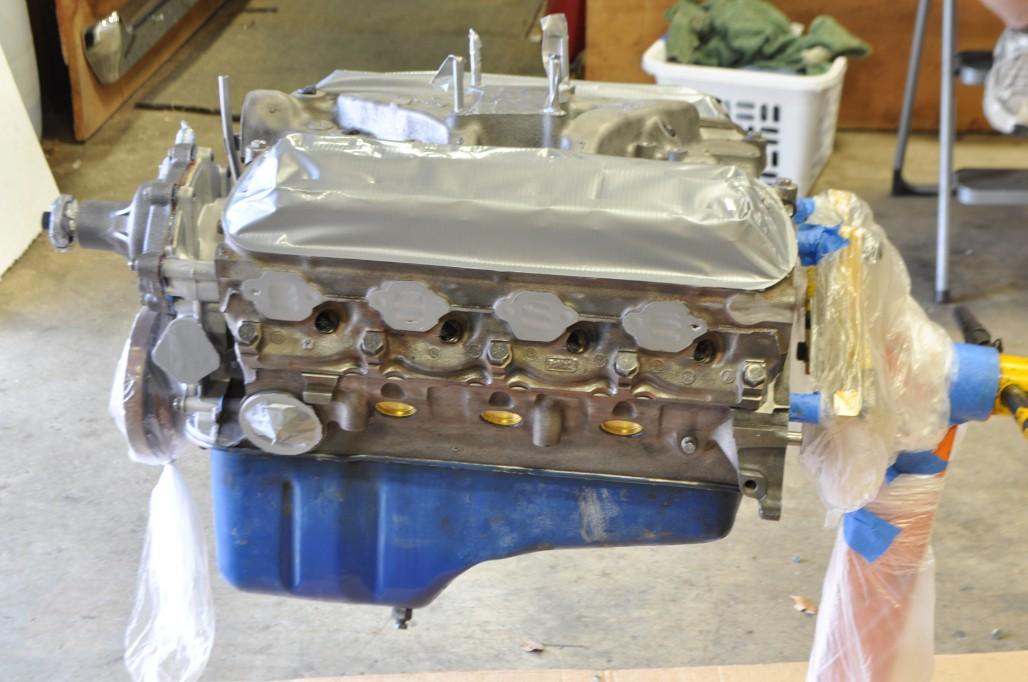
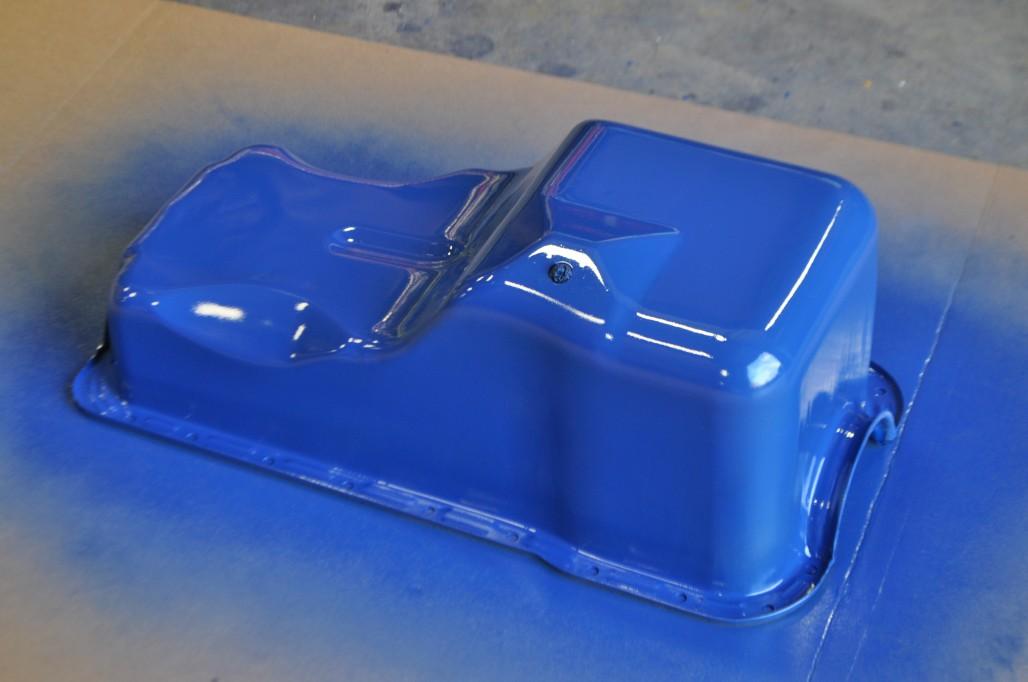
Finally, I was ready to mask off all the holes and paint the whole thing. I used duct tape because it sticks to the bare metal a lot better than masking tape does. Used some closed-cell foam to fill in holes like the spark plug holes and others. I also bolted on my old oil pan, which I'm not reusing due to a stripped out / shoddily repaired drain plug. I opted to do the new pan separately, just so I could see shiny bolt heads not painted over. Same idea with the valve covers. Silly? Maybe.

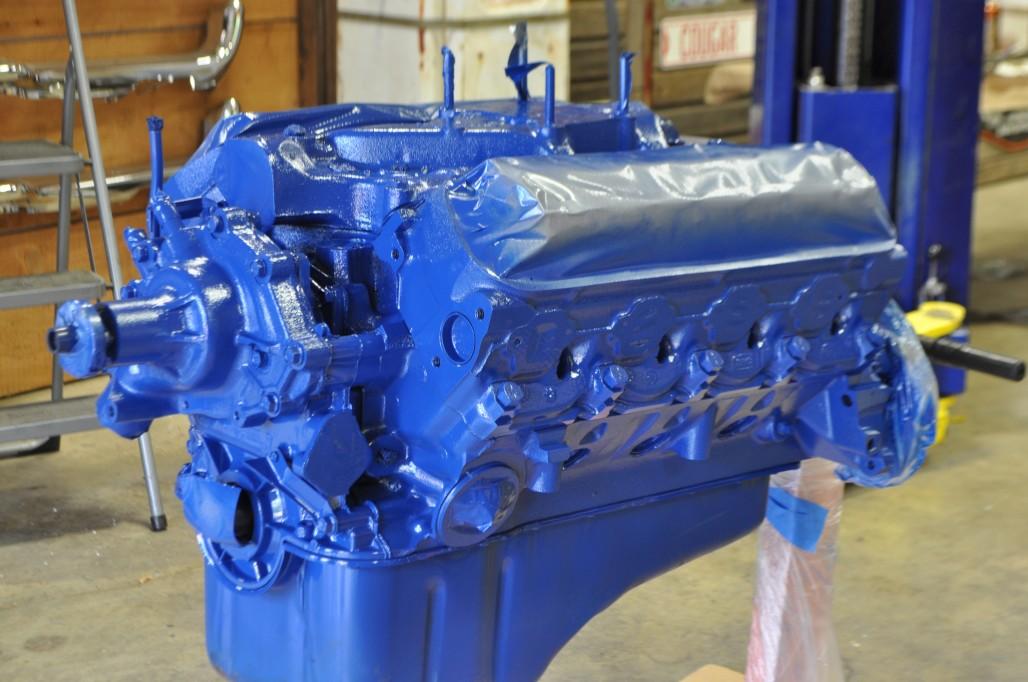
Now at last the painting could commence. I switched gears and decided to use Plasti-Kote #224, as suggested by ECI Bob and also multiple people on Mustang forums. I ditched my incorrect VHT "new ford blue," which means I'll have to re-do the air cleaner. Oh well, no biggie.
Then I did the new oil pan separately:
After a couple days to let the paint dry, it was time to start putting stuff on. Getting ready to do the exhaust manifolds here. You might notice that I masked based on where the manifolds actually end, not where the flat bosses on the heads end.
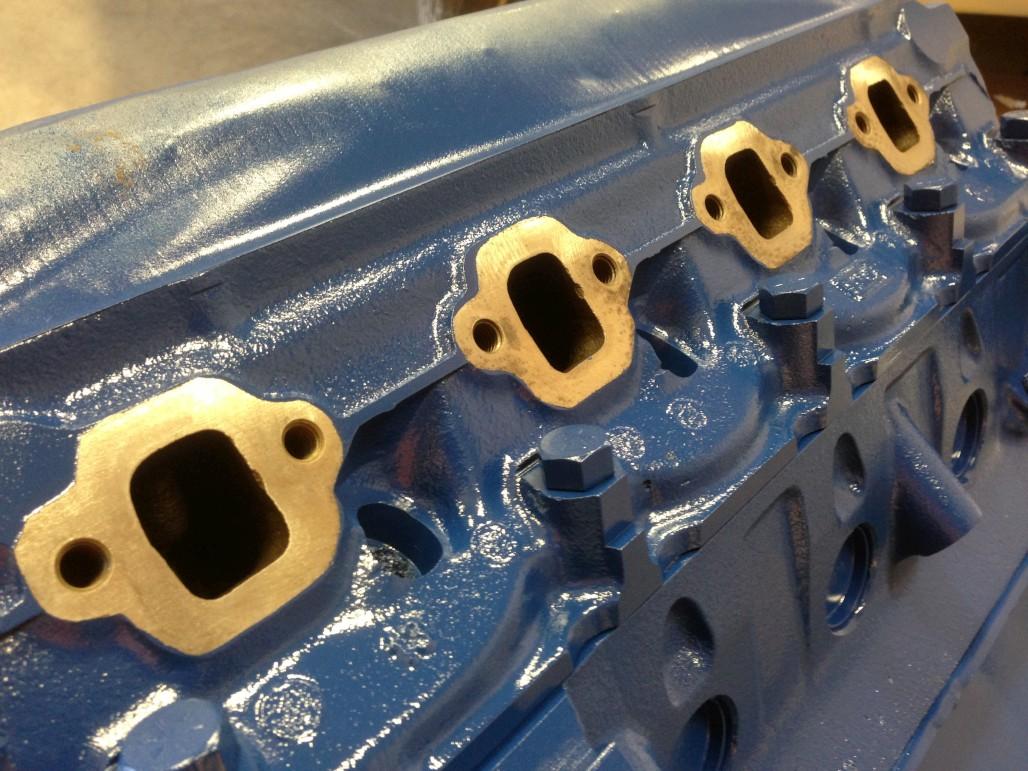
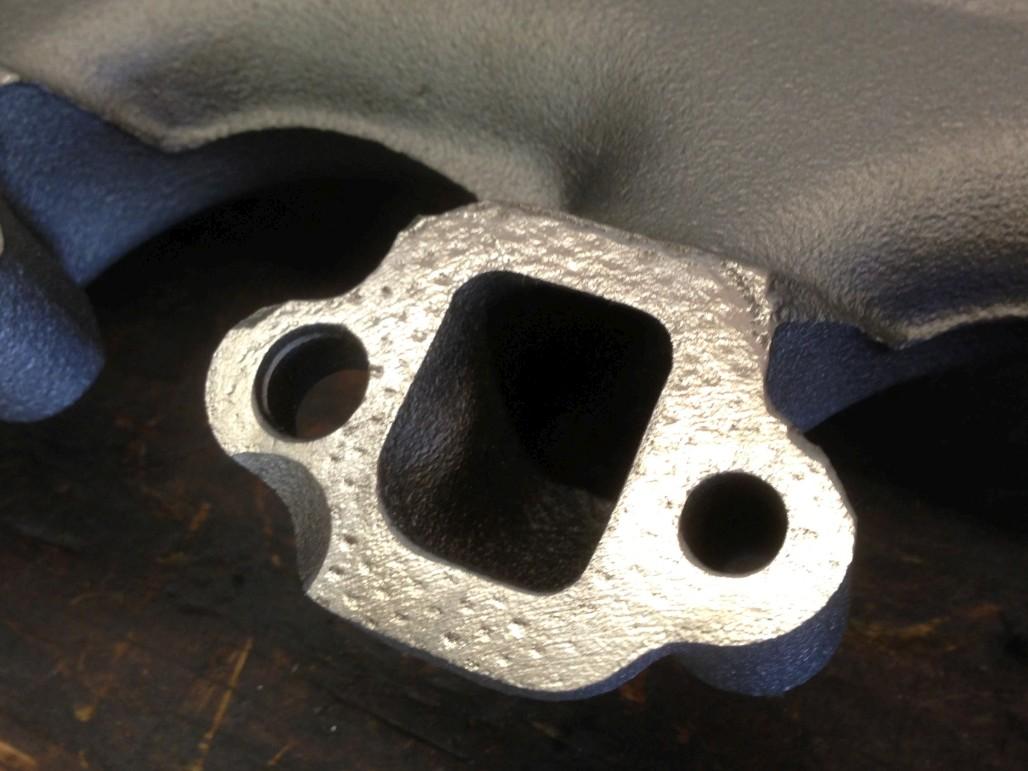
Some research told me that you aren't supposed to use exhaust manifold gaskets for this application, even though the Fel-Pro kit came with them. However, I wasn't totally comfortable putting them on dry, especially with some of the divots and pitting on the manifold flanges. (At some point in the past, gaskets were used on these)
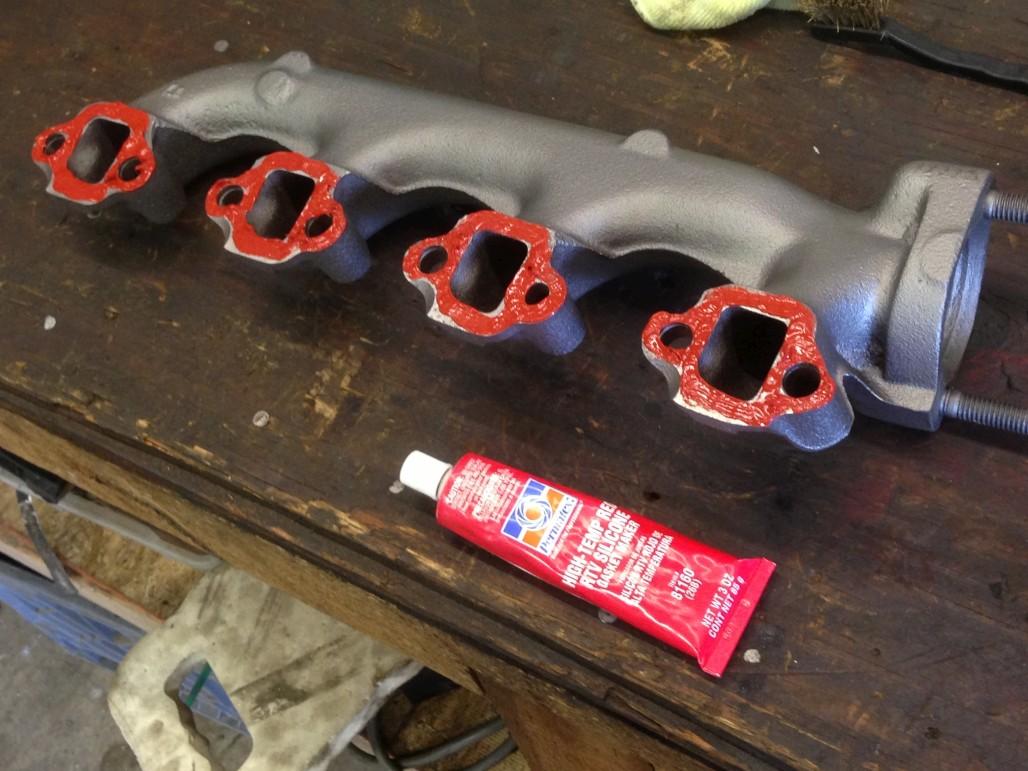
So after a little more research I ended up going this route: red high-temp RTV silicone sealant. After putting the manifolds on with this stuff, I tried to clean up around the edges so it wouldn't be visible, or at least not obvious.
Next I put on the oil pan. Used Permatex High-Tack for this.
See the shiny new bolts?
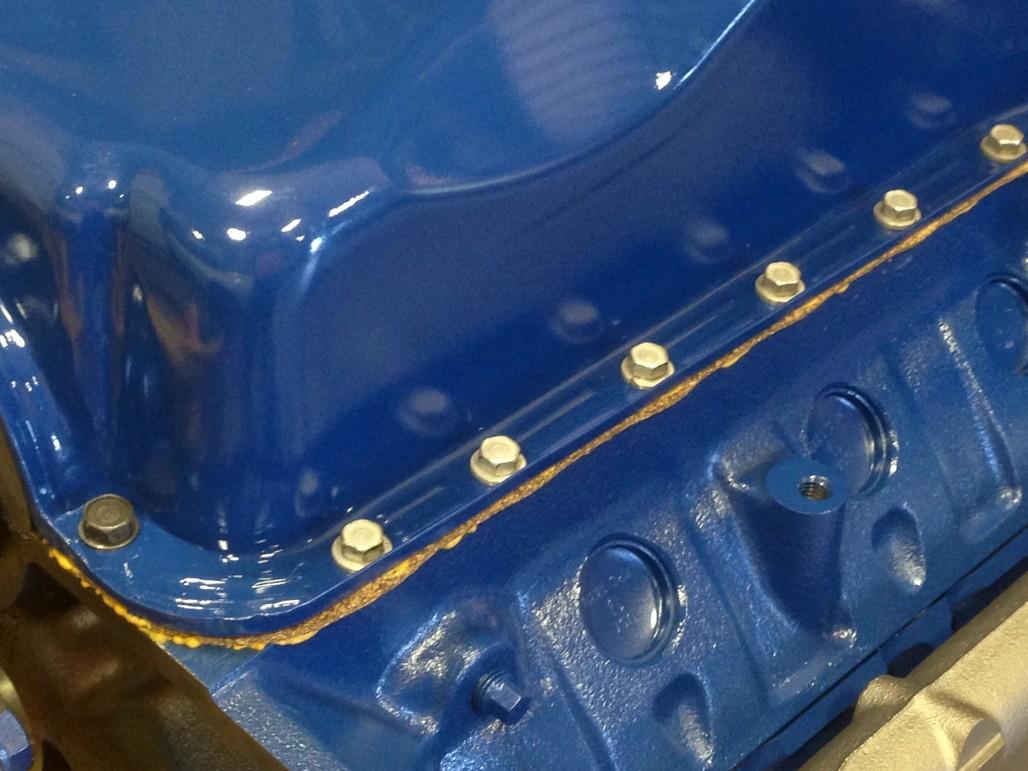
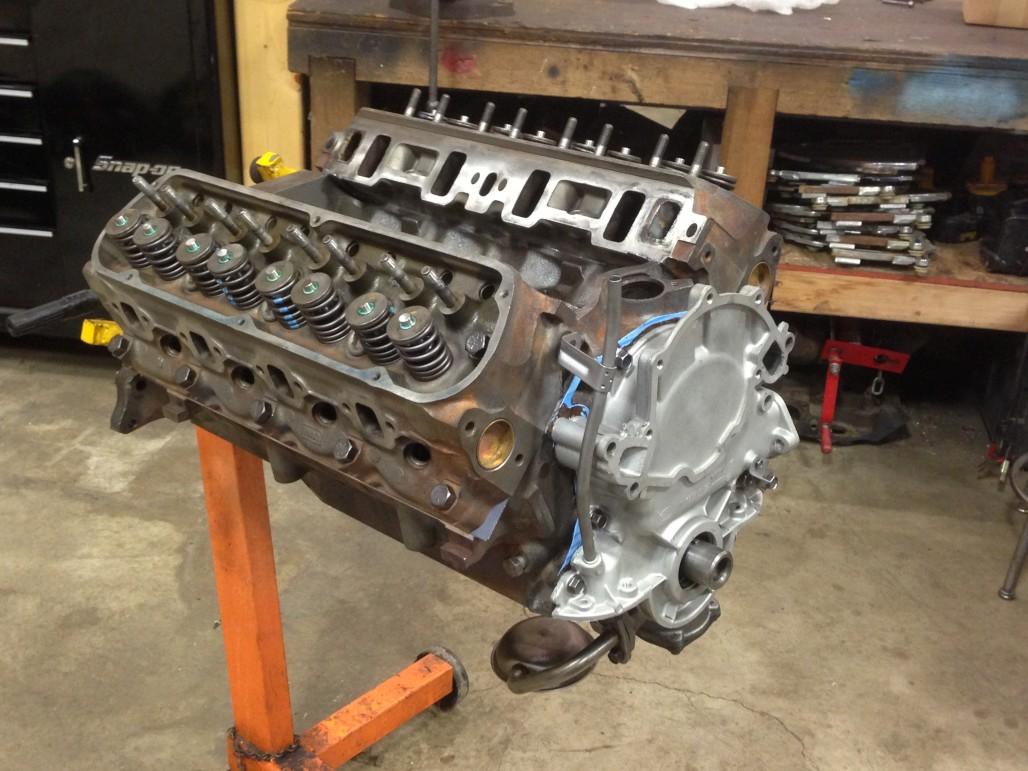
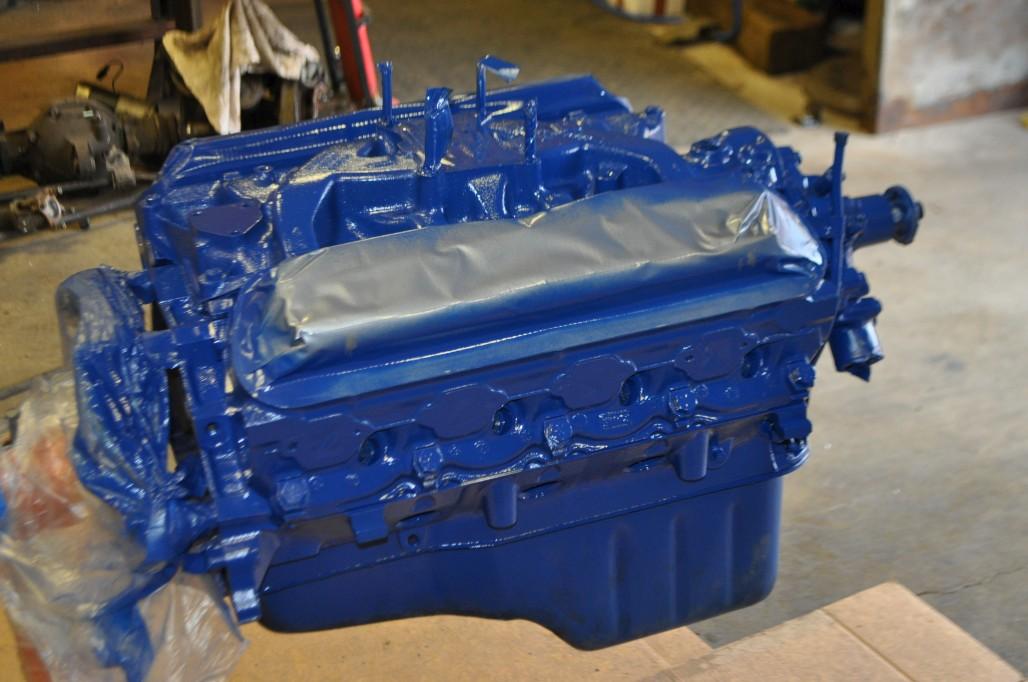
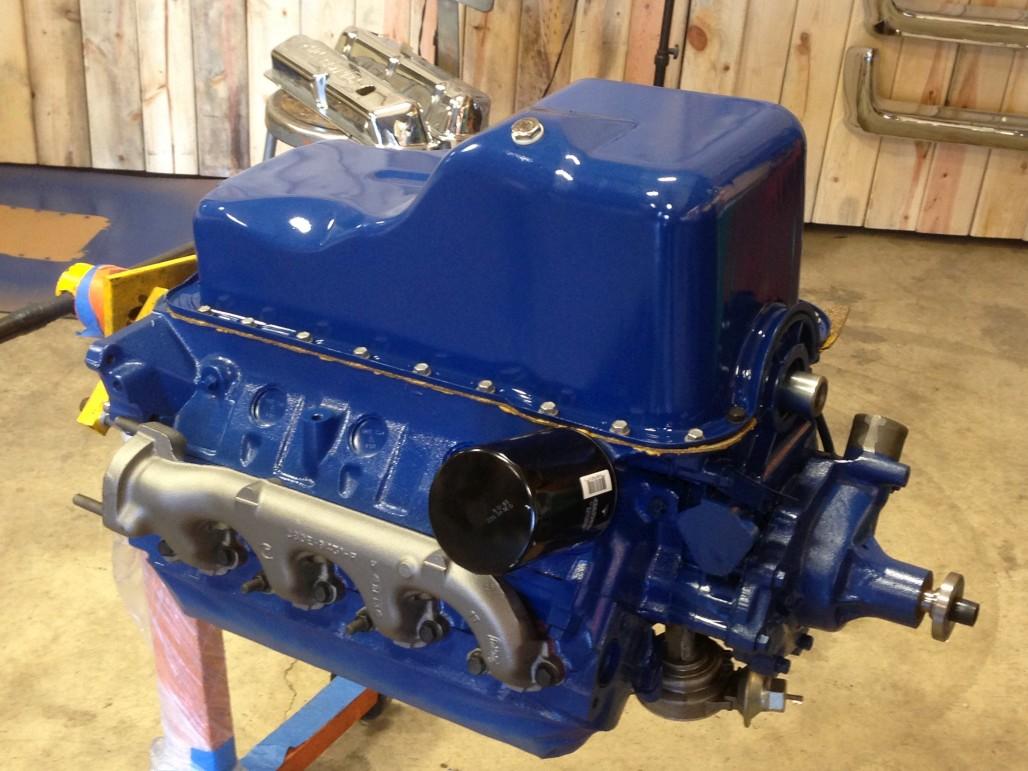
Of course then I thought it looked stupid with the gasket showing, so I carefully painted over the edge with more blue paint. Then I painted the edges of the carb spacer, installed the oil filter and fuel pump, stuck the distributor in there, aaaand this is pretty much how it sits right now.
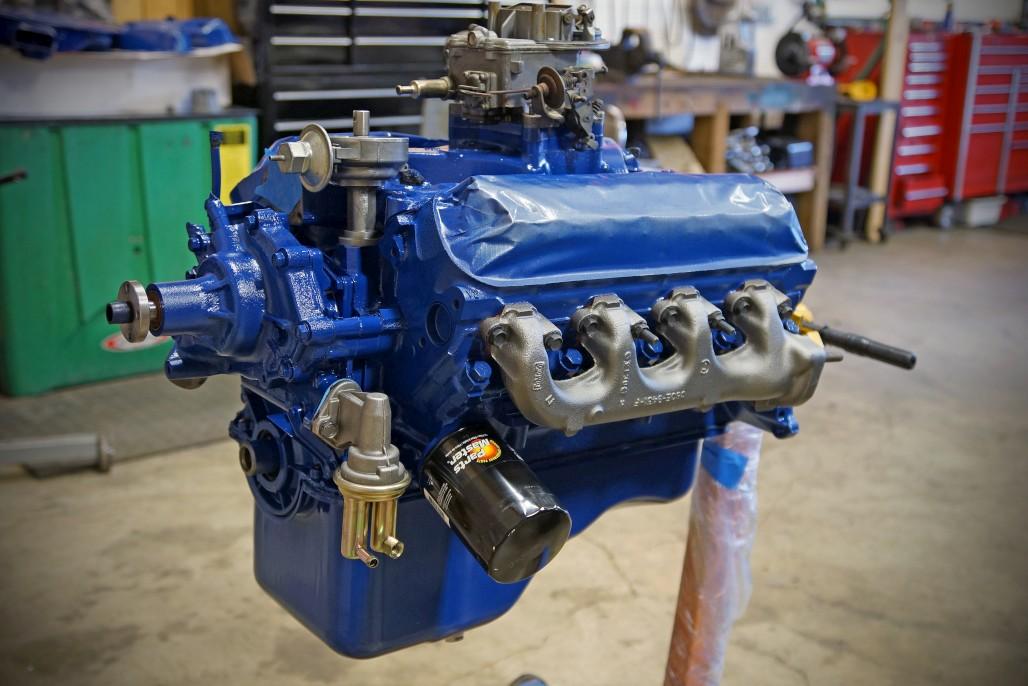
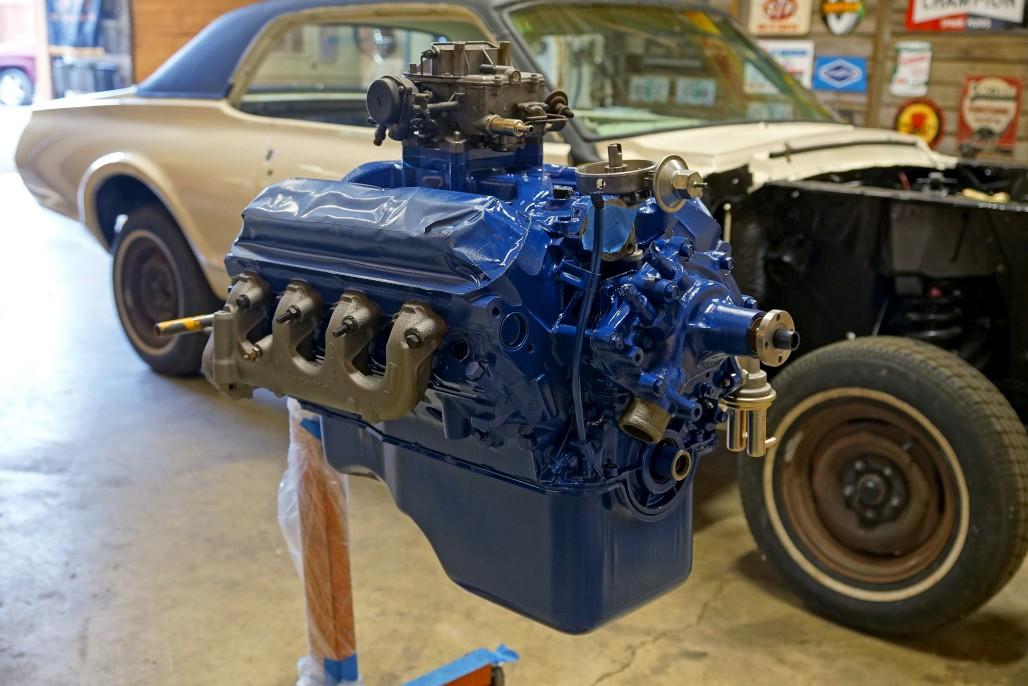
Parting shot:
That's all for now! I am liking the way this engine looks so far. Hopefully it will run even better than it looks. I was debating about using chrome valve covers / open air cleaner and such, but I think I'm just going to keep all the stock blue stuff. Since it's an A/C car, there is plenty going on under the hood to keep it interesting. Well, until next time!

So nice in honor of your grandparents.
Posted by Diggymart on 1/3/20 @ 8:04:16 PM