You must be logged in to rate content!
5 minute(s) of a 187 minute read
9-1-2014
Yesterday I went out for a while to tackle the front grille, which was looking pretty sad. I started by taking a LOT of pictures before and during the disassembly process. Nothing worse than putting something on bass-ackwards just because you didn't document your work!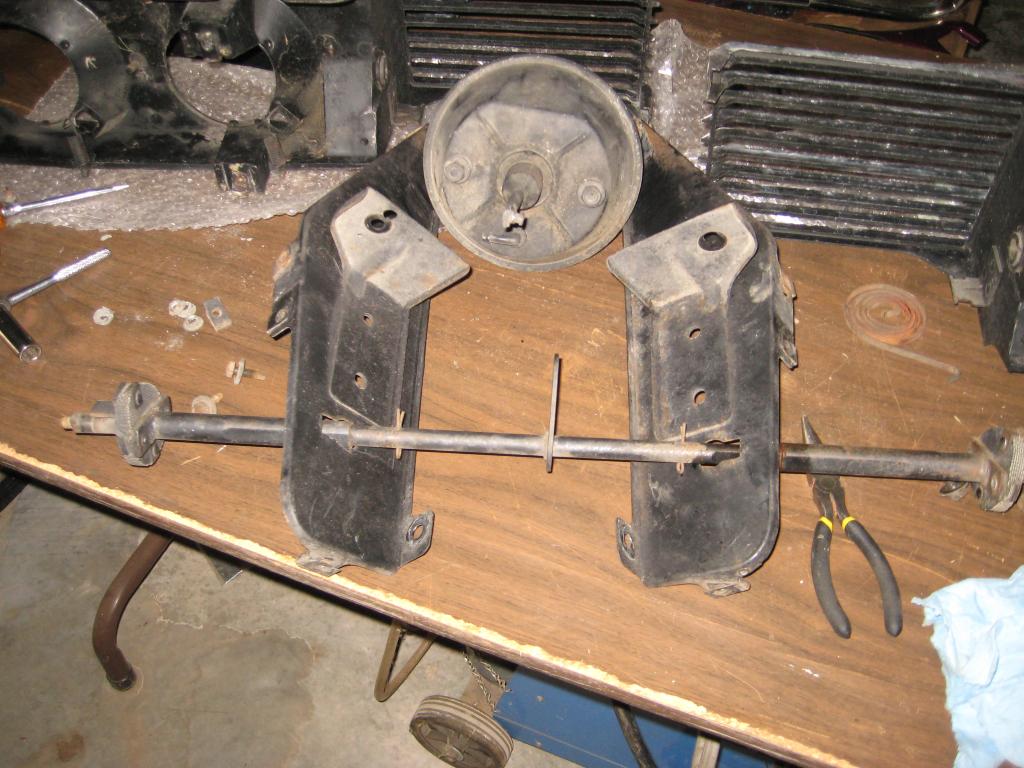
After disassembly, I scrubbed each component thoroughly and then let it dry in the hot sun. I had a lot of the original paint flake off where there was chrome underneath, it didn't look like the factory scuffed up the metal before they applied the blackening paint. Once dried each piece was painted. If there was any bare metal I used Eastwood's 'Paint Over Rust' product after using a wire brush on my drill to remove any rust that was showing. After that dried I finished the paint off with the VHT high temp black paint I had used on the brake rotors.
For the pieces with chrome that face out, I painted the black and quickly wiped the chrome outer area down with a paper towel soaked in ****** to remove the paint. Disclaimer! Don't do what I did! You should mask off the chrome and then paint!! If you don't heed this advice at least make sure you are in a well ventilated area for painting and other paint-related activities, use proper hand and eye protection, use a respirator suitable for whatever substances you are spraying, wear a painter's suit, and so on and so forth. In other words, protect yourself!!!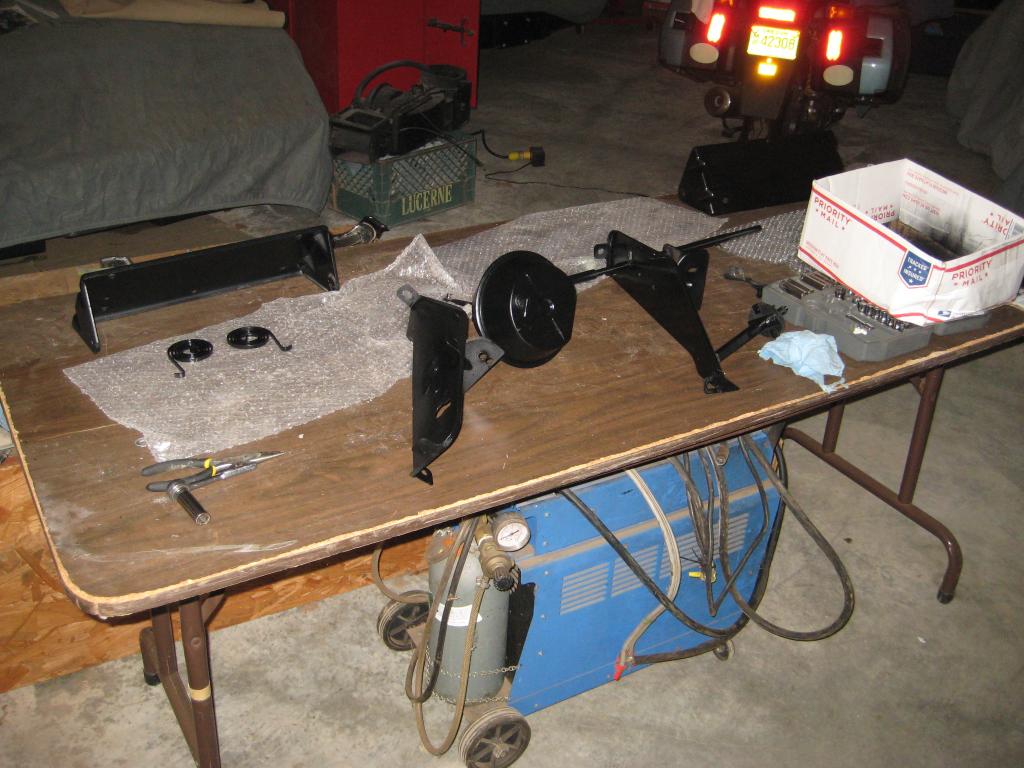
I used a drill to drill out the holes holding the Cougar emblem and background on the passenger side headlight cover. After drilling I turned the cover over and used a punch and hammer to lightly tap on the emblem studs, and the Cougar emblem came right out. 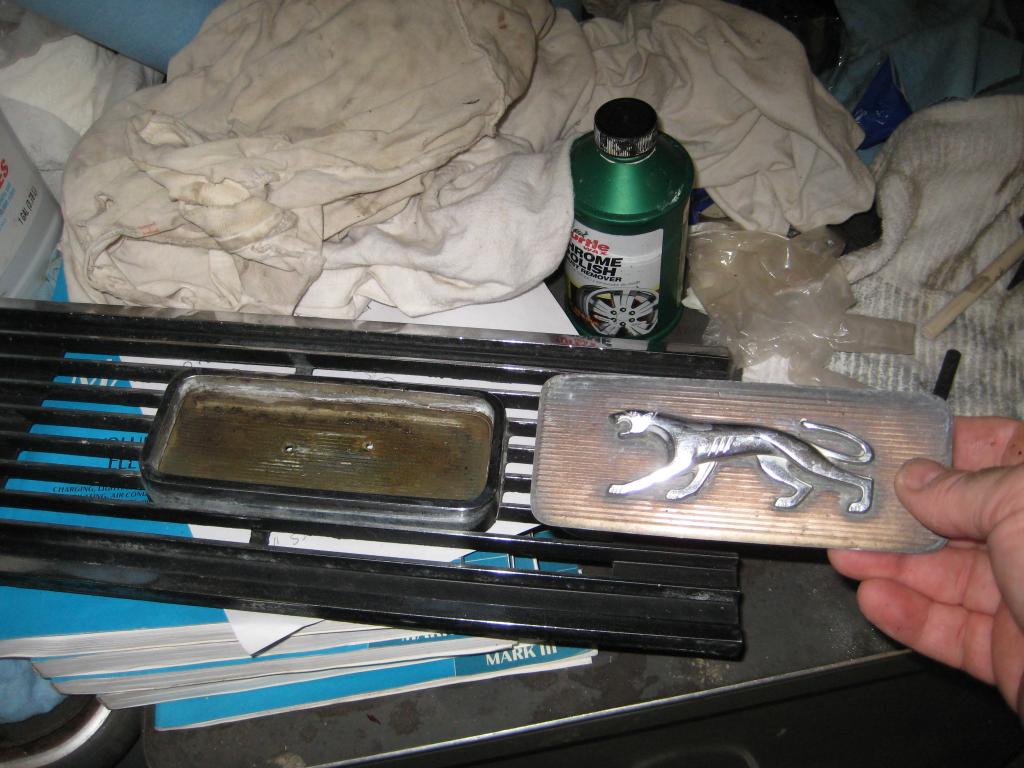
I used a thin flat blade screwdriver to pry under the black background and then peeled it off the cover. Underneath was the original glue, which I removed using a plastic scraper and then used pre-paint prep to clean the area under the cover and prep it for the new background.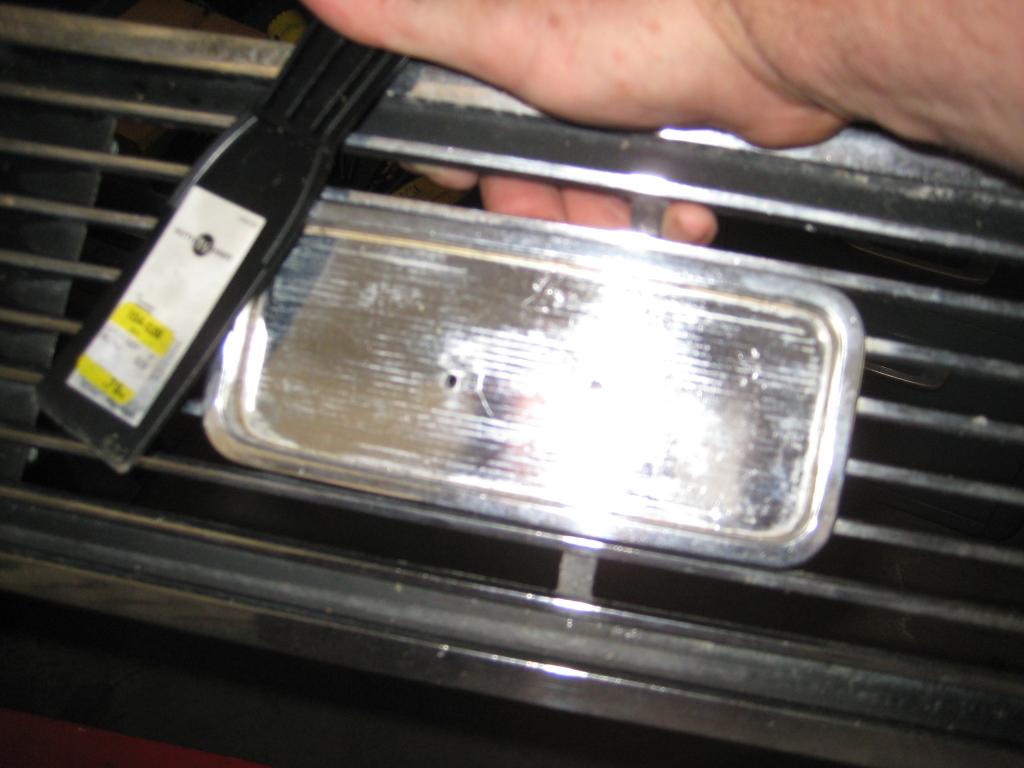
The cover with new Cougar emblem and background, fresh paint, and the chrome polished using Turtle's Chrome Polish. Rather than melt the two mounting studs on the backside of the cover to hold the Cougar emblem, I used some 3-M emblem adhesive.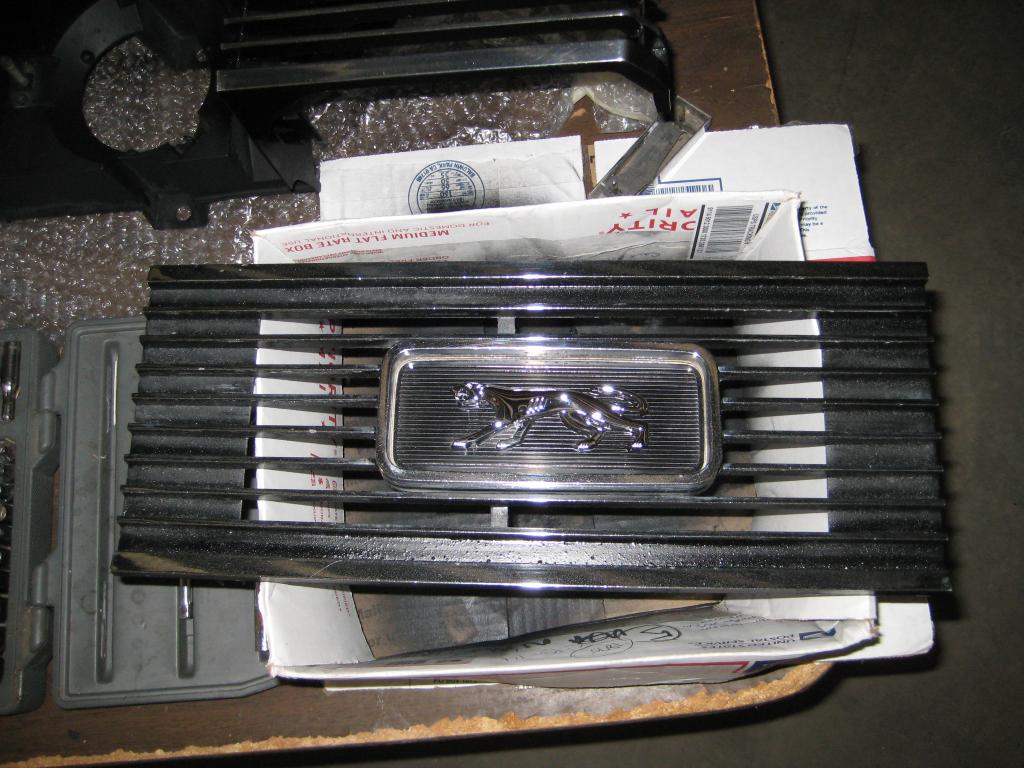
Next step will be to re-assemble the grille and get it mounted on the car.
I started reassembling the front grille but got sidetracked on the rear spoiler. I printed out the mounting instructions I got from WCCC. They show 7 1/4" in from the edge of the trunk lid to the center of the pedestal, and 19 3/8" from the top of the trunk lid down to the top of the pedestal. I taped the mounting point to protect the paint.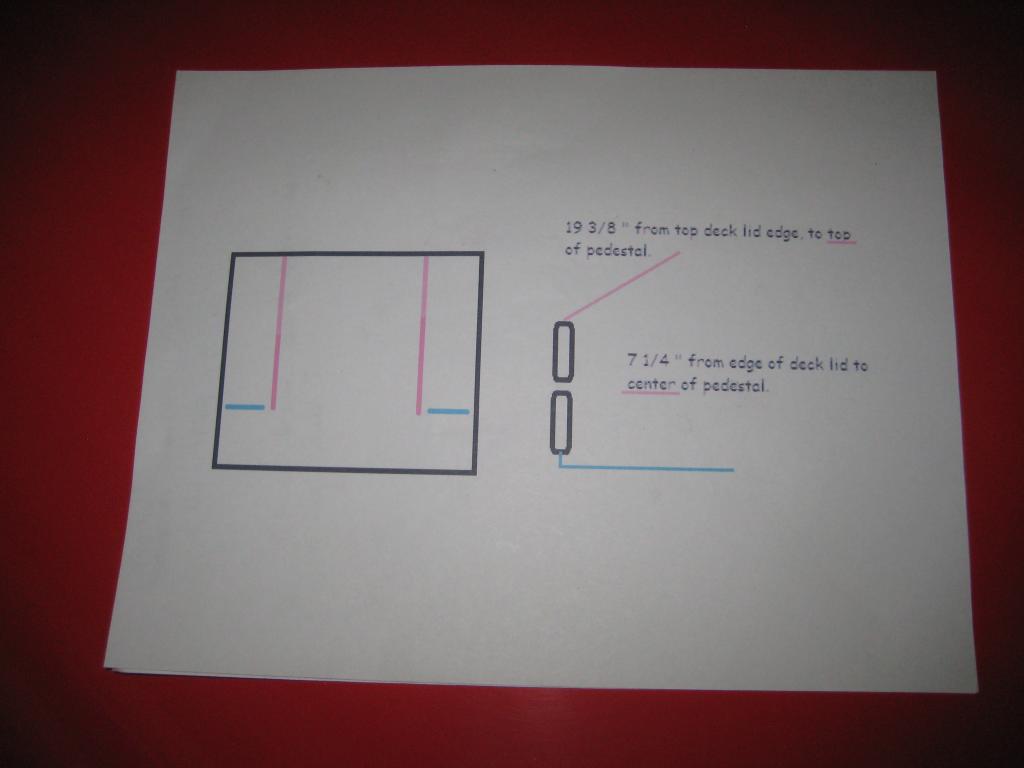
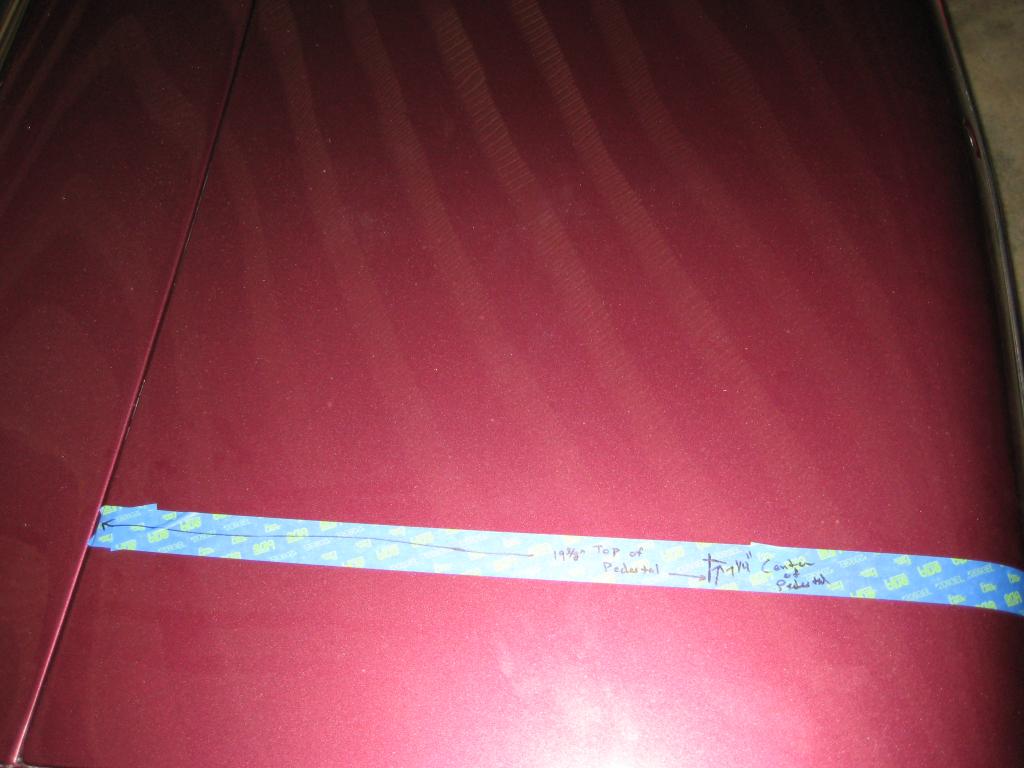
After outlining the pedestal mounting point, I brought the rear spoiler over to double check the fit. Here is what I discovered.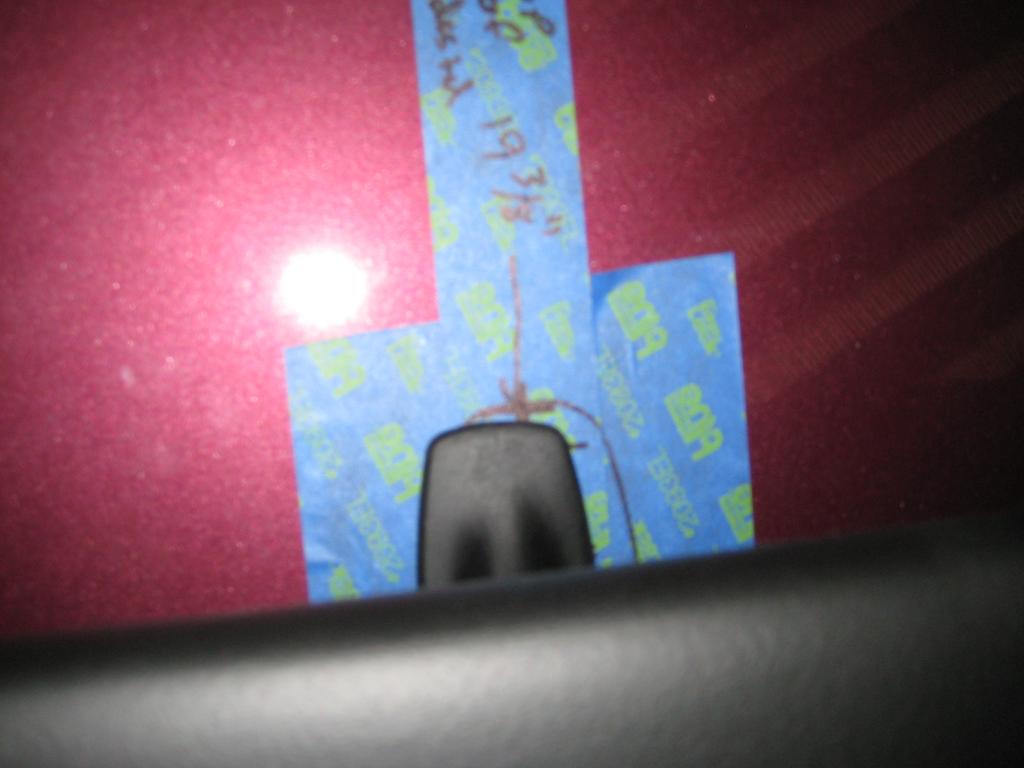
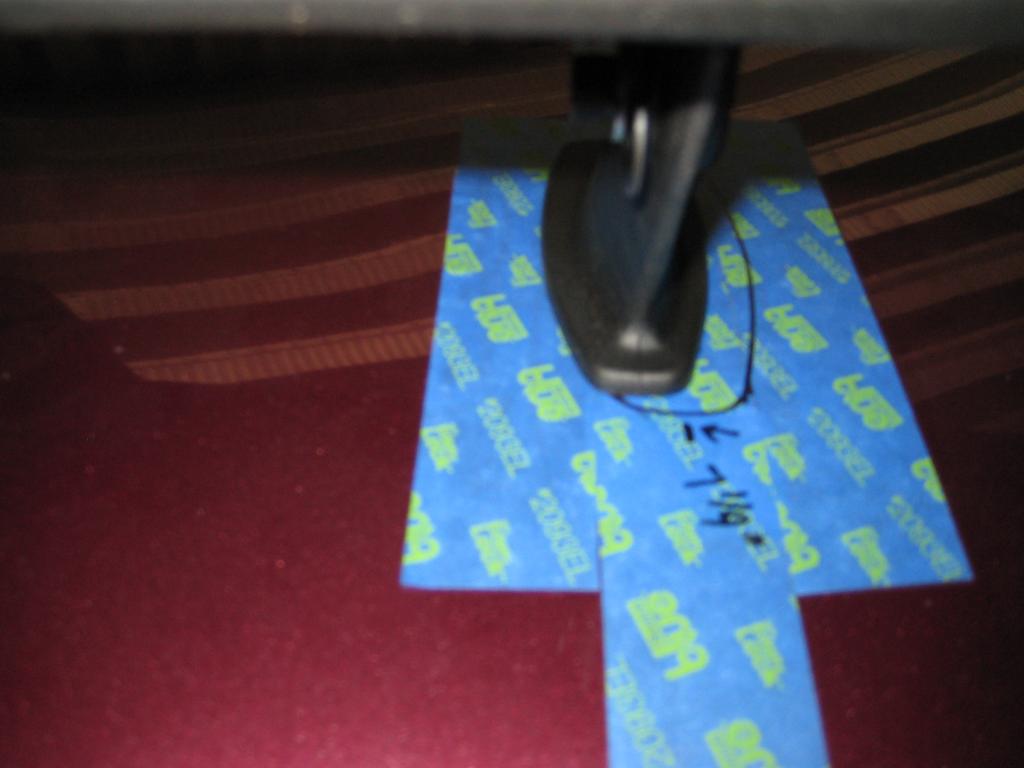
I checked the pedestal mounts to ensure they were plumb and not cocked off one way or another relative to the spoiler. I then centered the pedestal bases left to right using the spoiler and mounted pedestals, and oulined the adjusted position for the pedestals.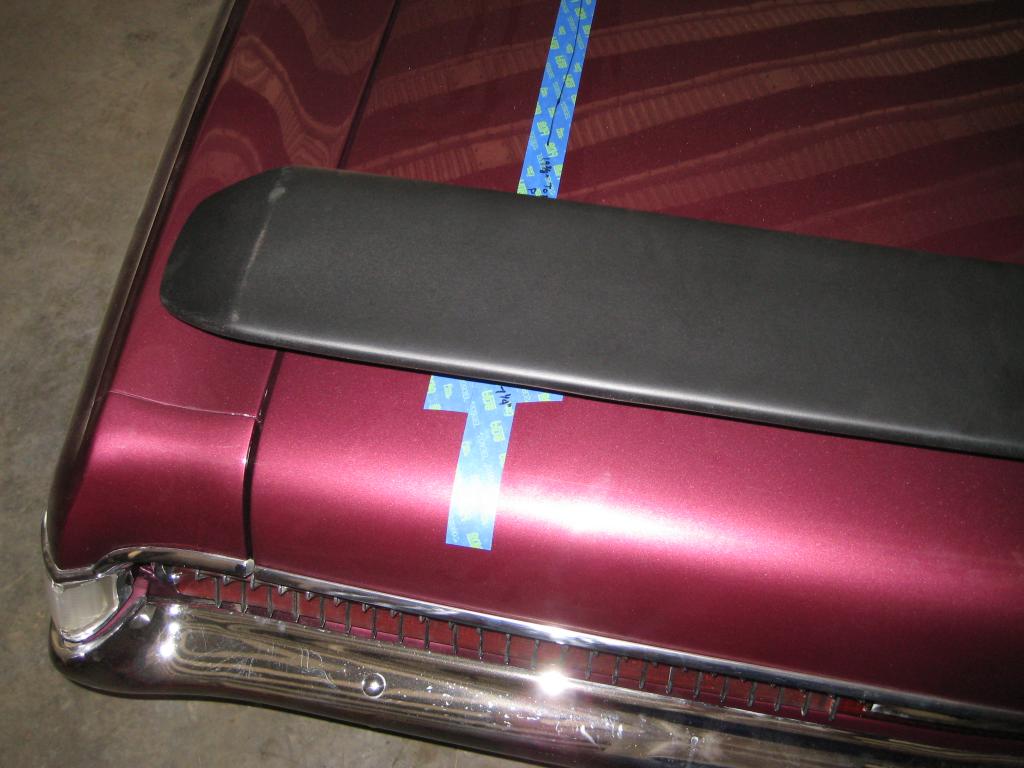
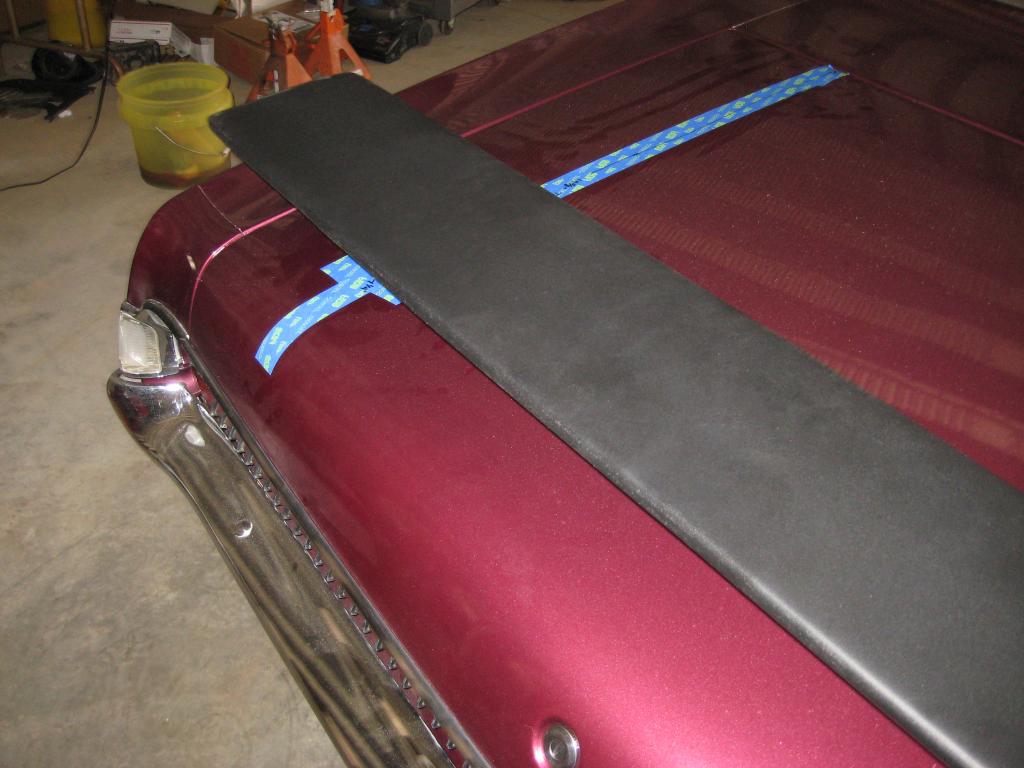
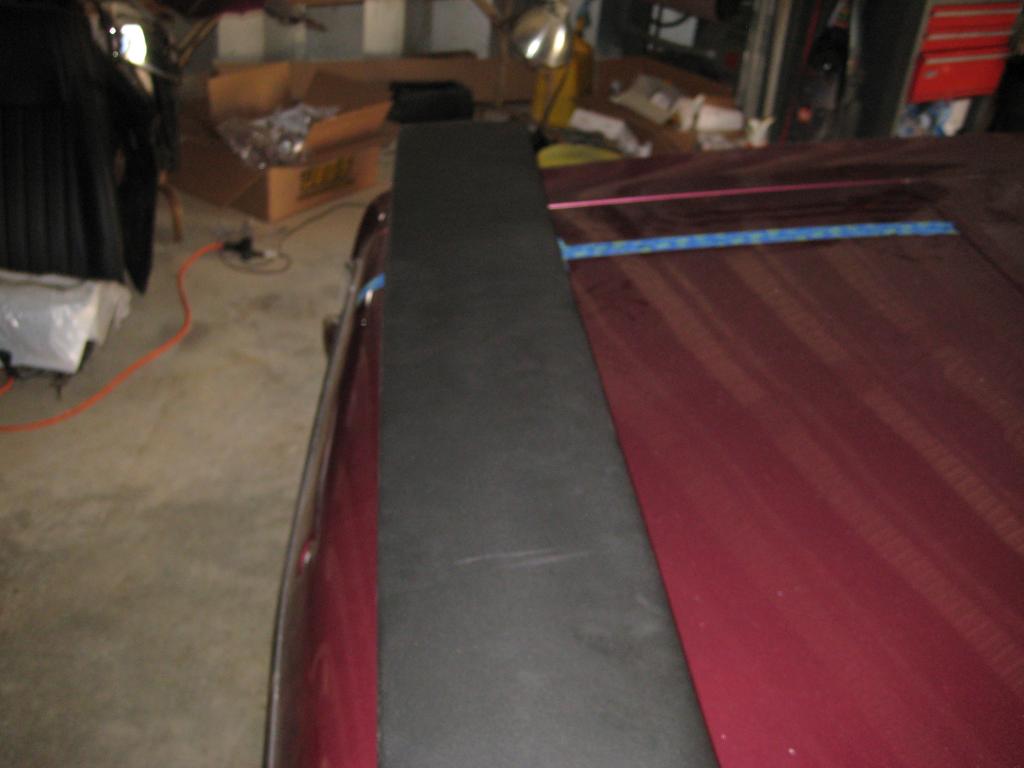
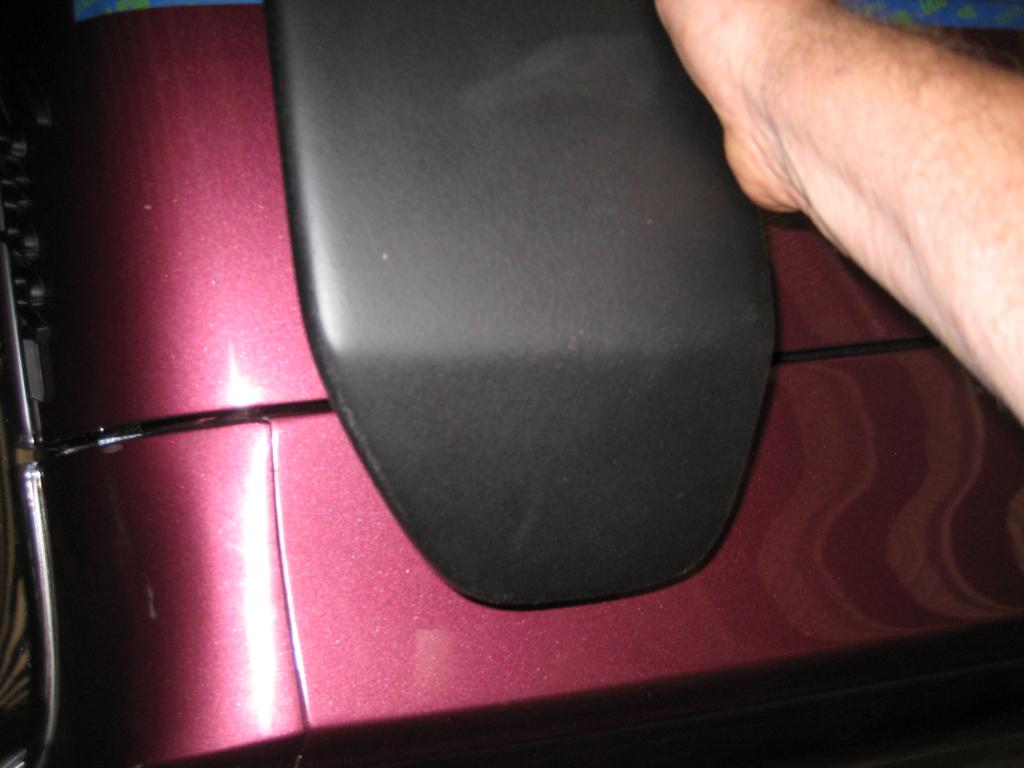
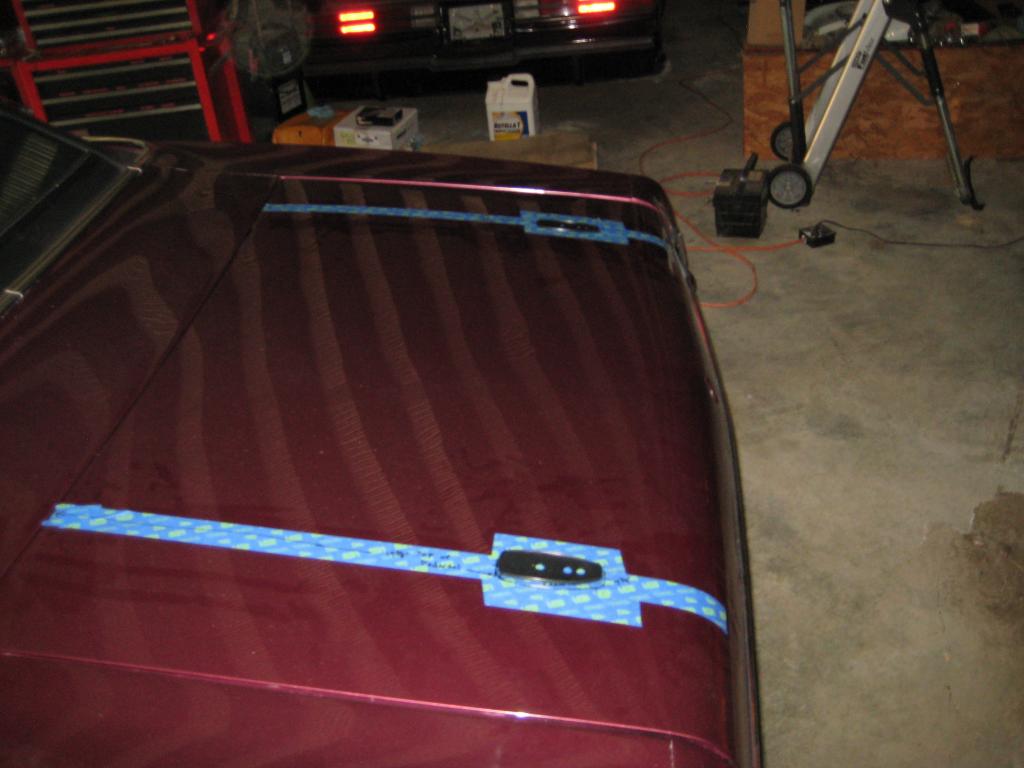
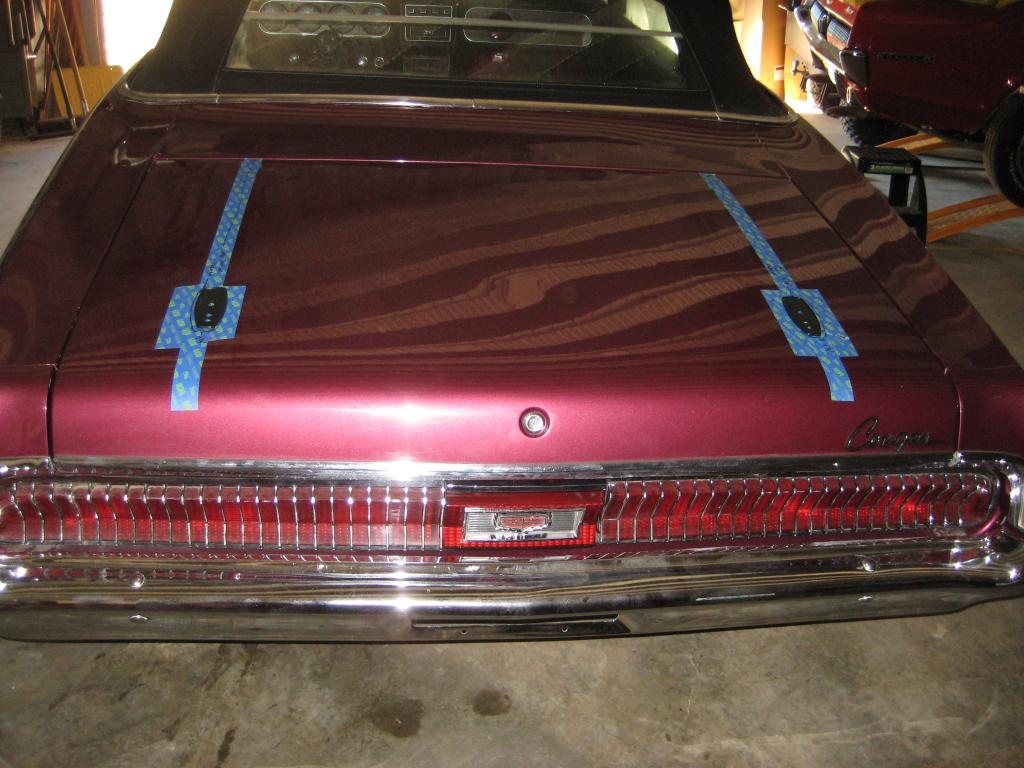
So here is where the rear spoiler will mount based on the information I was provided. My big question is for those who have a spoiler on their '69, before I start drilling holes... Does this look proper relative to the rear of the car?
Nice!
Posted by Diggymart on 3/30/20 @ 5:44:33 PM