You must be logged in to rate content!
4 minute(s) of a 214 minute read
4-21-2013
I guess some of you have started wondering if this car will ever get finished. For some reason it seems like my own projects always comes behind other things to do, but now this cat is going to be finished soon (unless something unexpected happens)
So last week I got the headliner installed. It was really hard to make it fit right and to be true I am not totally happy with it. At first I could not make it fit at all but after measuring the length between the bows and relocate one of the bows I was able to make it fit pretty good and install it without any major wrinkles.
Then it was time for the new windshield and the rear glass to be put in. I pulled out the new windshield rubber from the package and noticed to my surprise that it was marked "Made in India". Then I inspected the rubber and it looked nice but the rubber felt much stiffer than usual. I tried to get the edge of the windshield into the rubber, but ended up struggling opening up the gap in the rubber. So I went inside and pulled out another windshield rubber I had on my shelf and that I bought several years ago. It was from the same manufacturer (Daniel Carpenter), but marked Made In USA. I opened the package and yes, this was a very different and much better quality. Nice soft rubber just like I want it. so my advice is, if you can find the Made in USA rubber, get it as it makes the installation a lot easier.
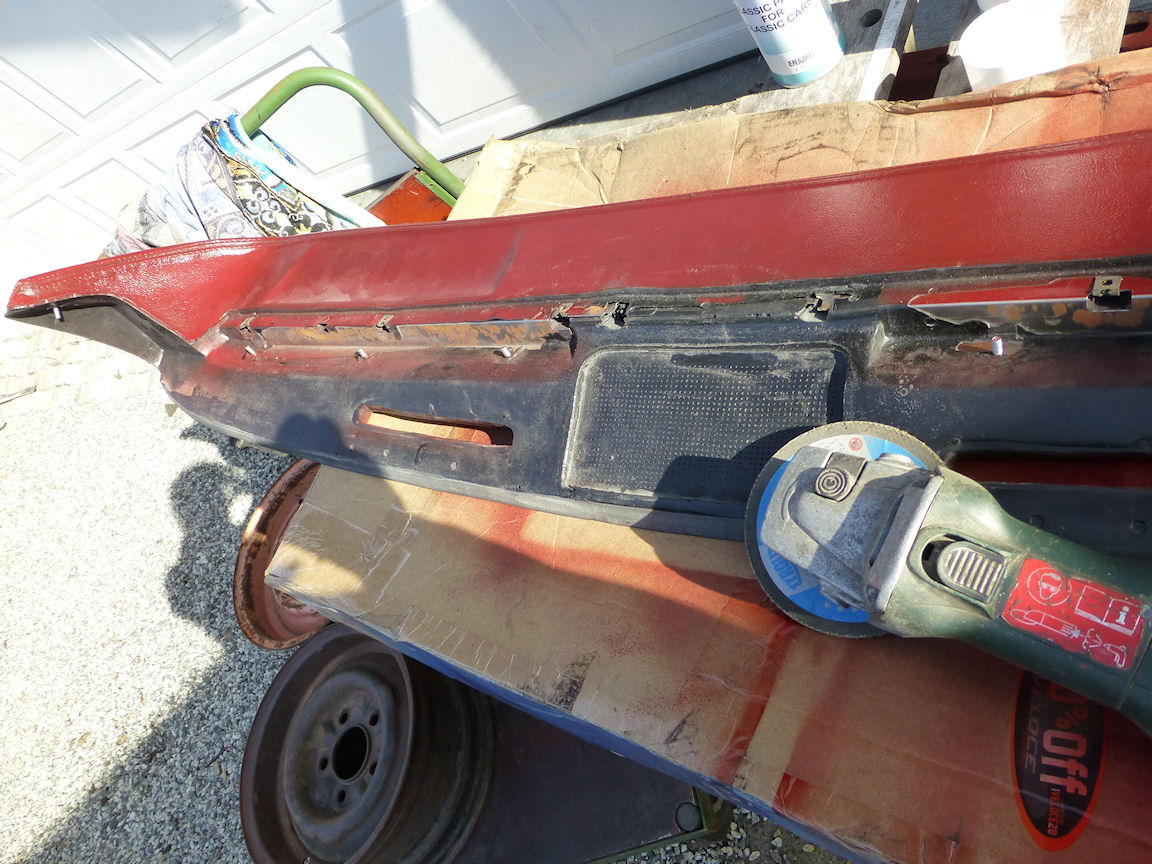
OK, so for another lousy reproduction part...... Next up on my schedule was to install the dash pad. I bought a black reproduction dash pad from WCCC some years ago. Back then I bought it for a different Cougar, but that car is sold and the new owner didn't want the new dash pad so instead of buying one in red I decided to dye it and use it for my G. I have read about the problems with these dash pads so I knew it was kind of tricky to install as it is way too thick in several places. Well, I just had to give it a try, but it just did not work to my satisfaction. Then I started to think that there must be a way to modify the dash pad to make it fit better. So I took it out and started to inspect the underside and got a pretty wild idea. I decided to grind off the excess material of the underside of the dash pad to make it thin and form-able just like the original. I took my angle grinder, put on a 60 grit sanding disc and started to grind off the foam rubber or whatever material they used to make this. It is a dirty job as the material I grind off was kind of sticky. Also if you have to dye your dash pad I would recommend to do that after this job.
If you should decide to try this please be careful. Stop often and check the thickness as you don't want to grind through the dash pad. Anyway after I got all the sticky dust removed from the dash pad I was eager to see if my effort gave the result I hoped for. To my satisfaction it did, and the rest of the installation went smooth and nice just like a dream. 
Here are some pictures showing the dash pad. Here I have started grinding the front lip.
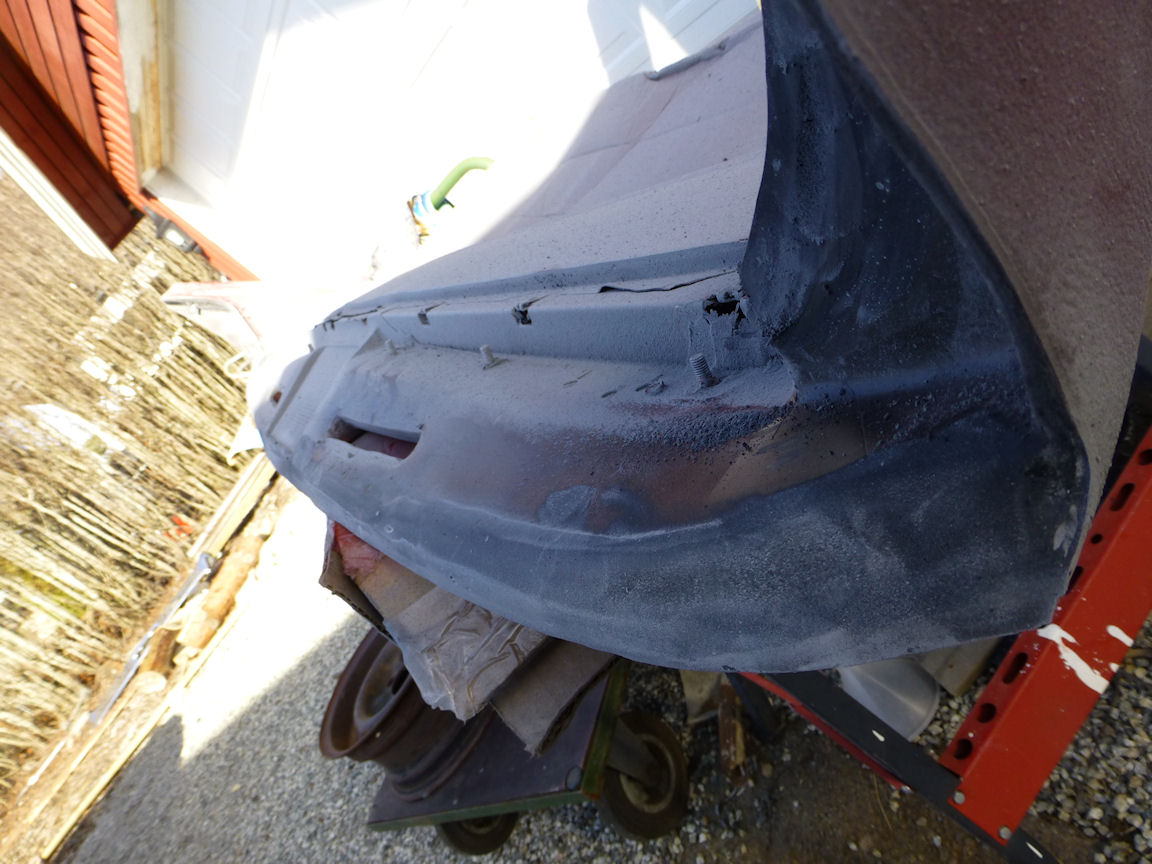
Hopefully you can see the difference here.
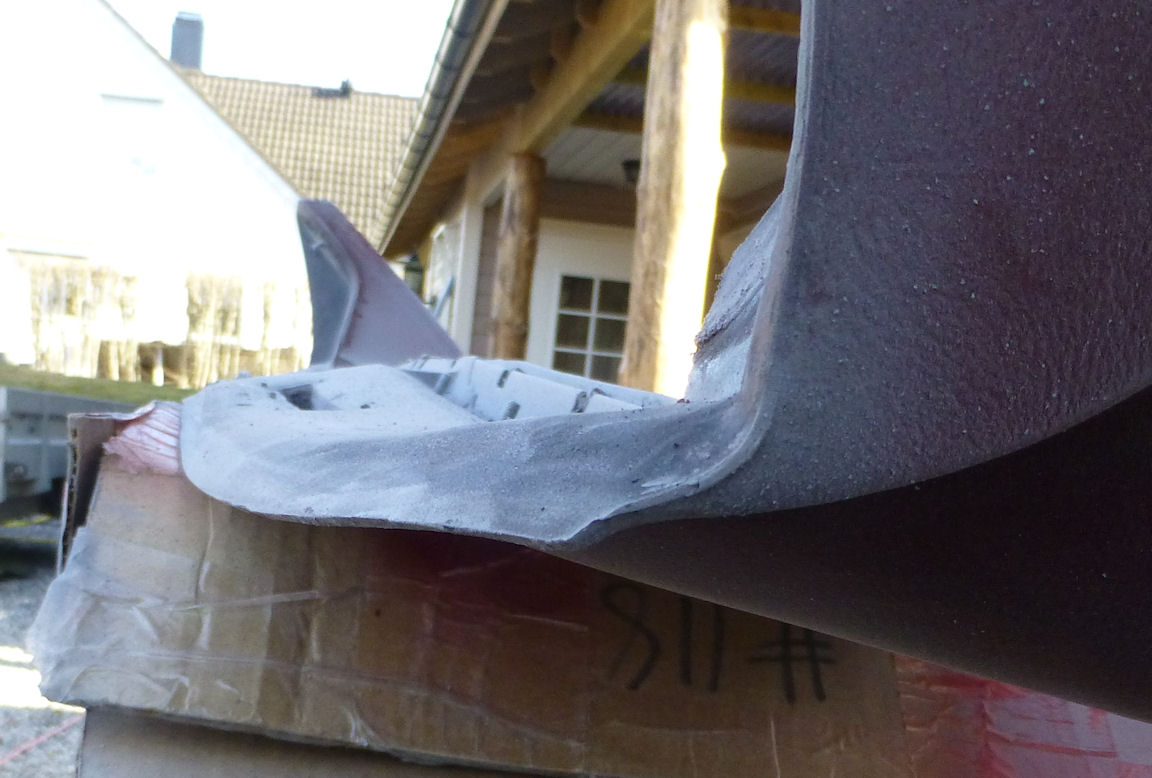
Here is a different view showing better what I have done. 
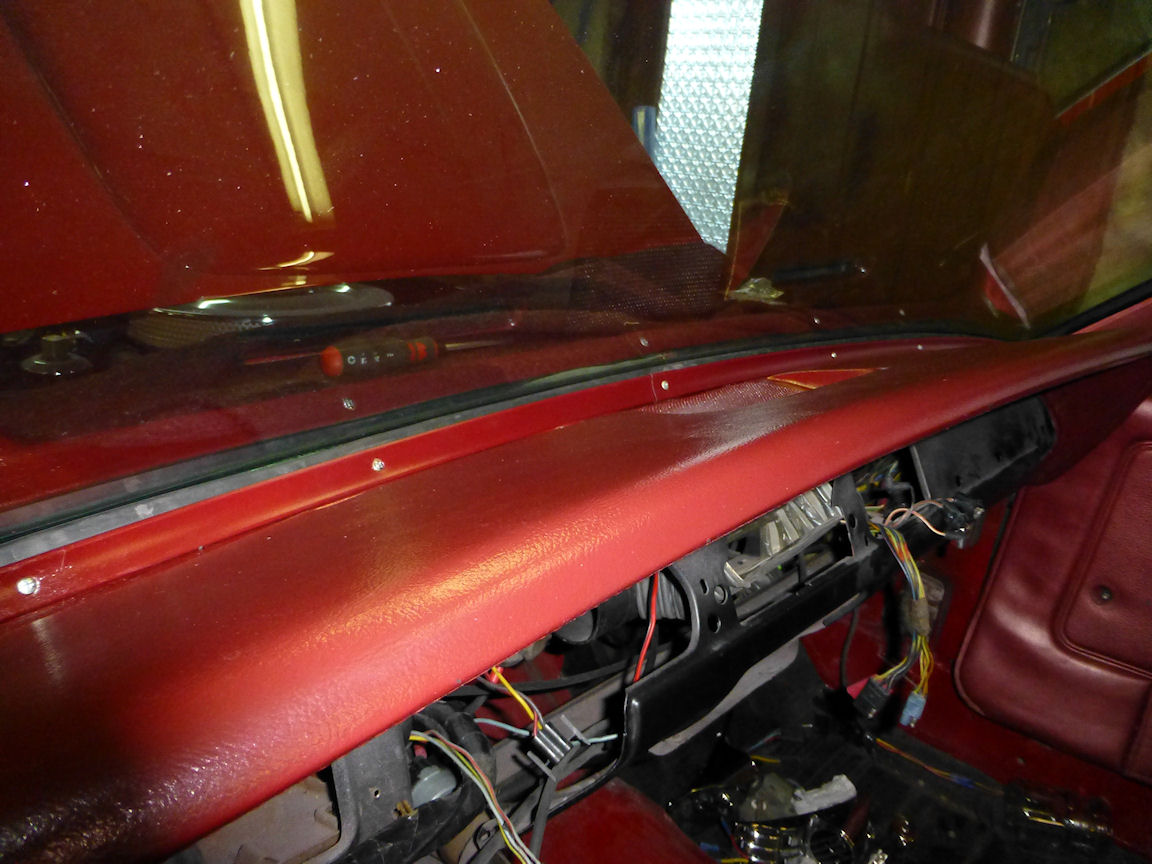
As you can see the trim for the windshield fits right and it was easy to install as well. 
Nice build!
Posted by Diggymart on 10/11/20 @ 2:20:28 AM