You must be logged in to rate content!
6 minute(s) of a 297 minute read
8-23-2008
hmm not much interest on this forum....
Updates!
More progress...Took Thur and Fri off from work and worked on the car.
I notched out the section between the shock tower braces 2 1/8" in by 1 1/8" tall.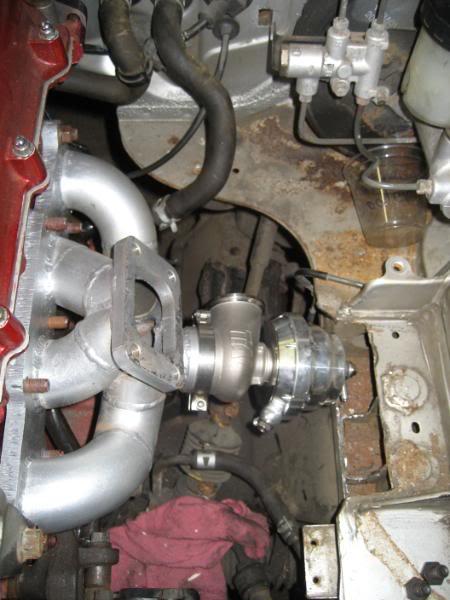
Now the wastegate fits :roll: .
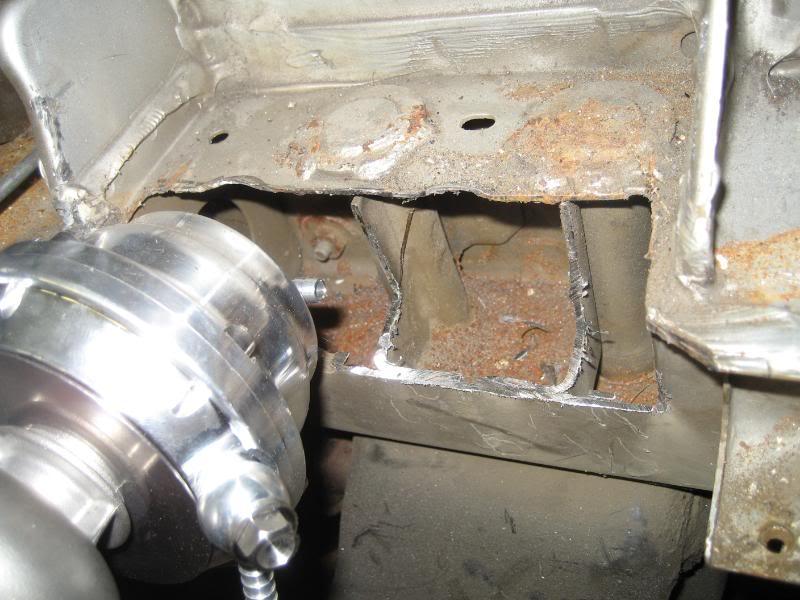
closeup of the cut. There is a little bit more bracing in there, I'm going to have to brace it back up with some gussets as this is a pretty high stress area.
side view
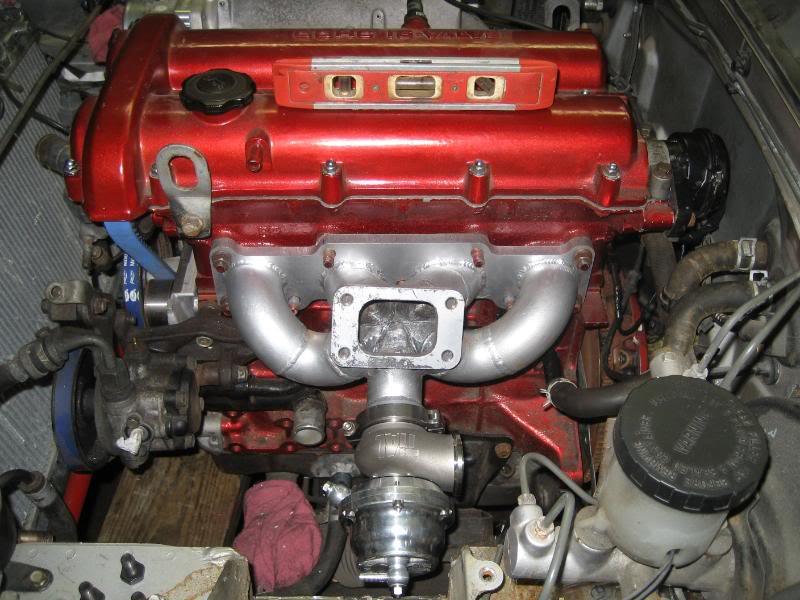
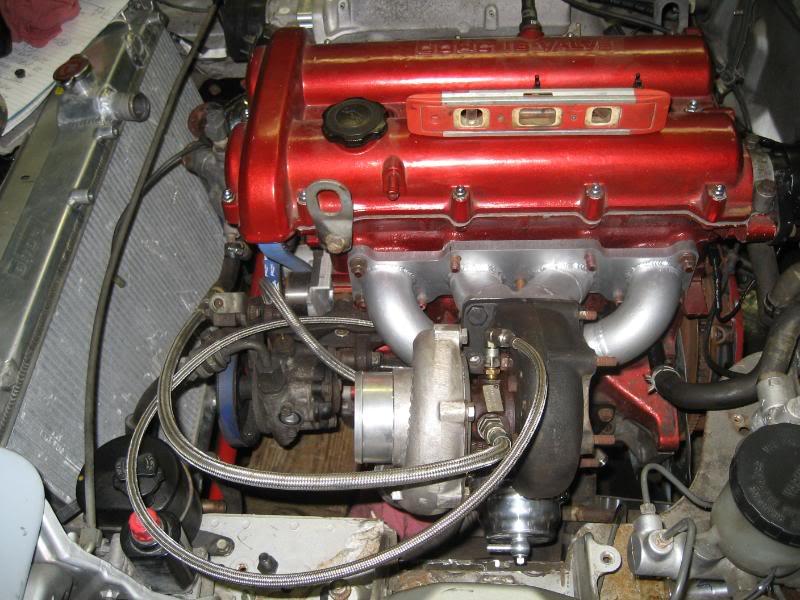
Next, I clocked the turbo so that it was positioned correctly for the manifold. Here it is positioned with the water lines more or less where they will be run. The oil feed is just laying loose, I still need a 10x1.5mm to -4an fitting for the block.
side view
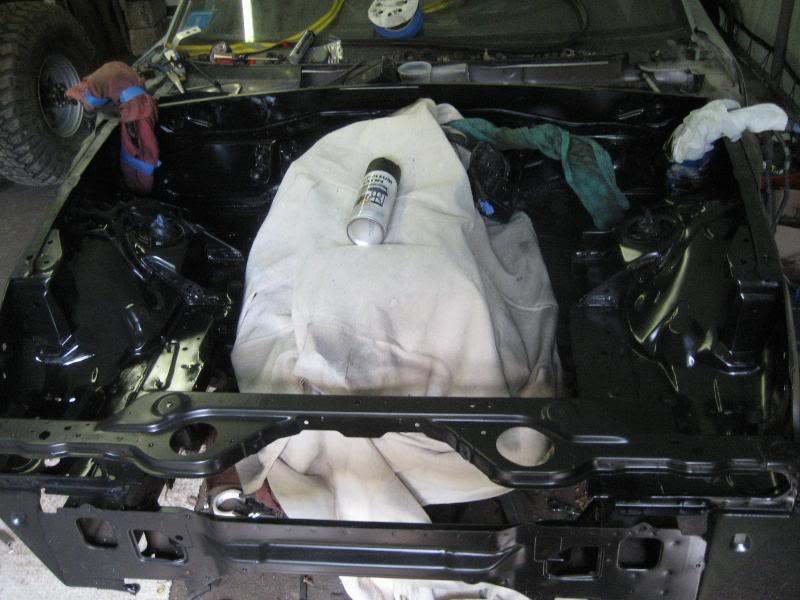
Since I had to cut the frame, I'm going to have to paint the cut section so the new bracket doesn't rust, so I decided to just go ahead and spray the whole bay, something I should have done a long time ago. What a world of a difference.
I started to remove the wiring harness and the headlight bracketry/controls.
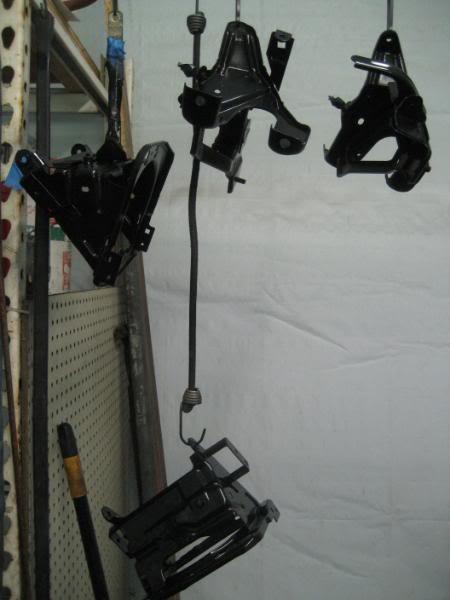
I sanded, primed and painted everything.
Priming....
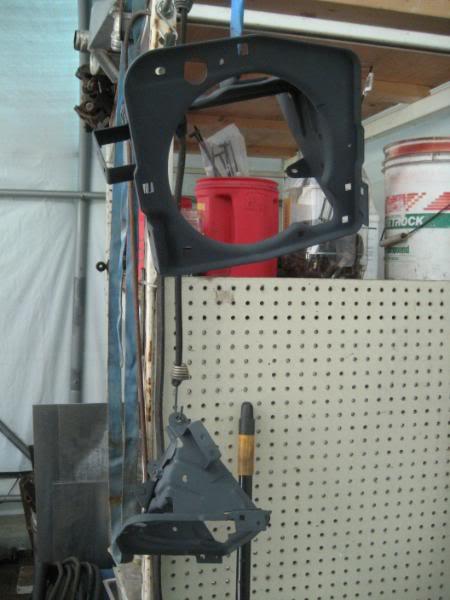
Painted
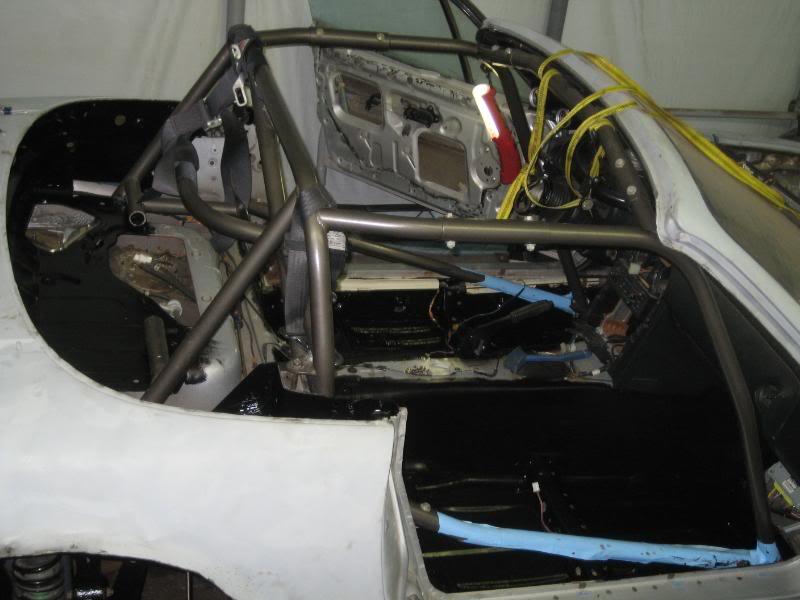
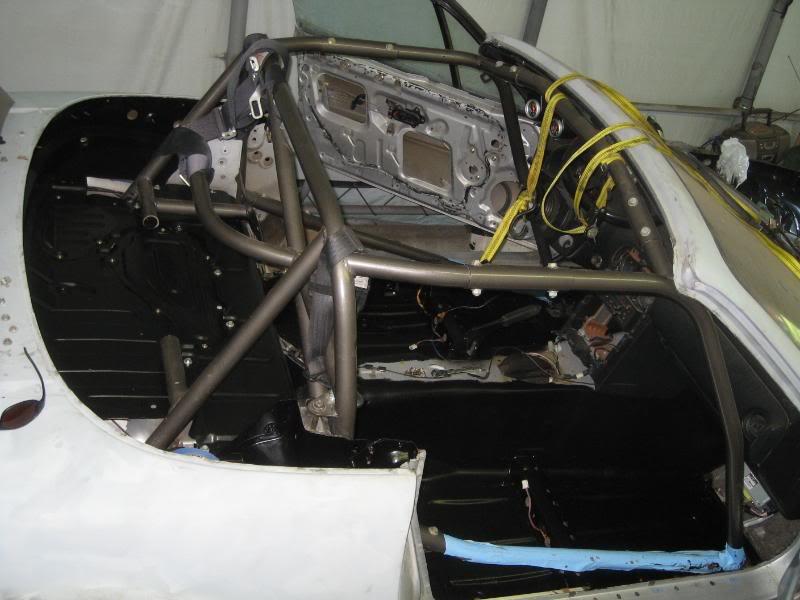
I also preped/primed/painted the interior access panels and the entire interior. Everything is getting painted satin black.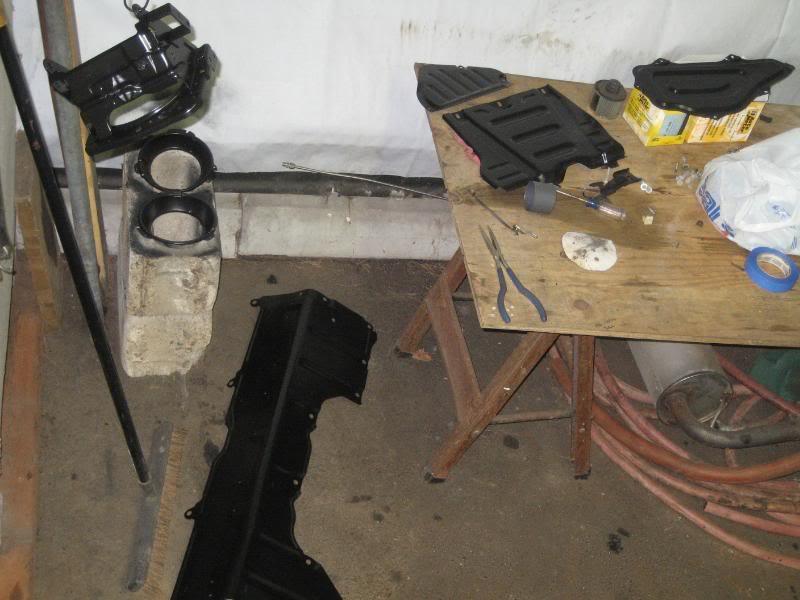
interior shot
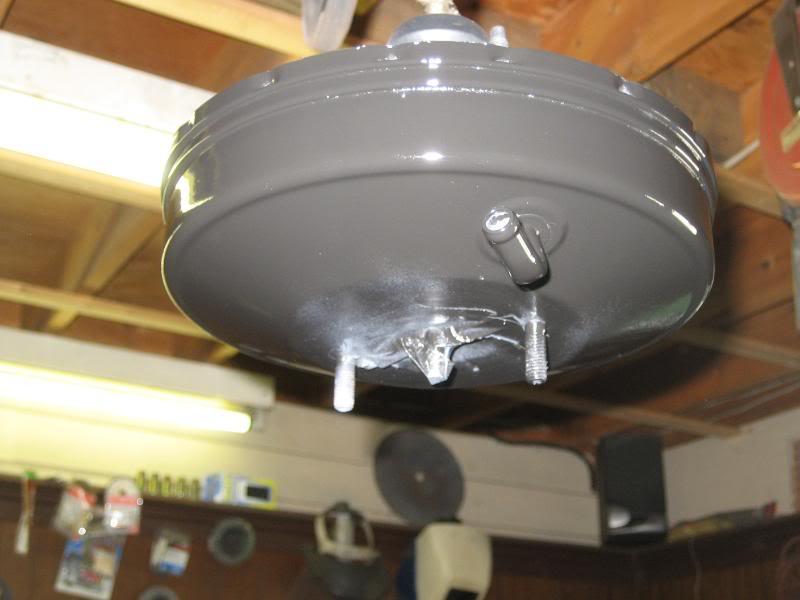
prepped/primed/painted the brake booster.
Took apart the starter, cleaned it up some and painted it as well.
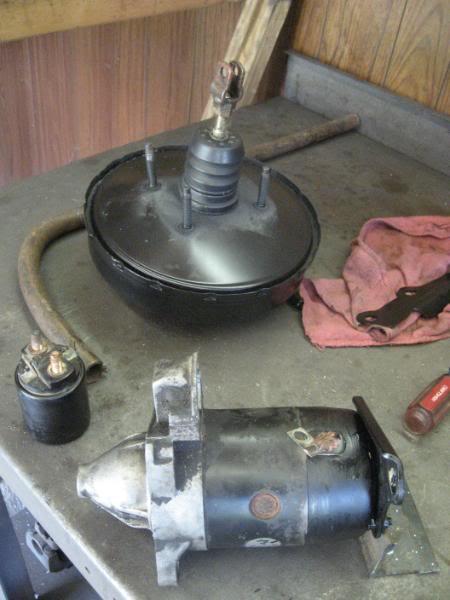
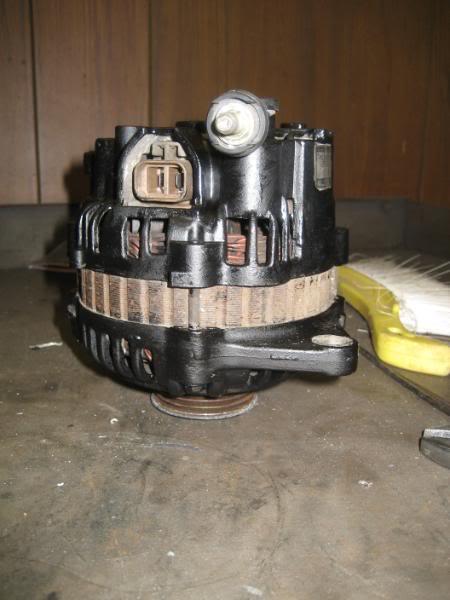
Painted the alternator....For the starter and alternator I used the brake caliper paint again as I figured it would hold up to the heat a bit better
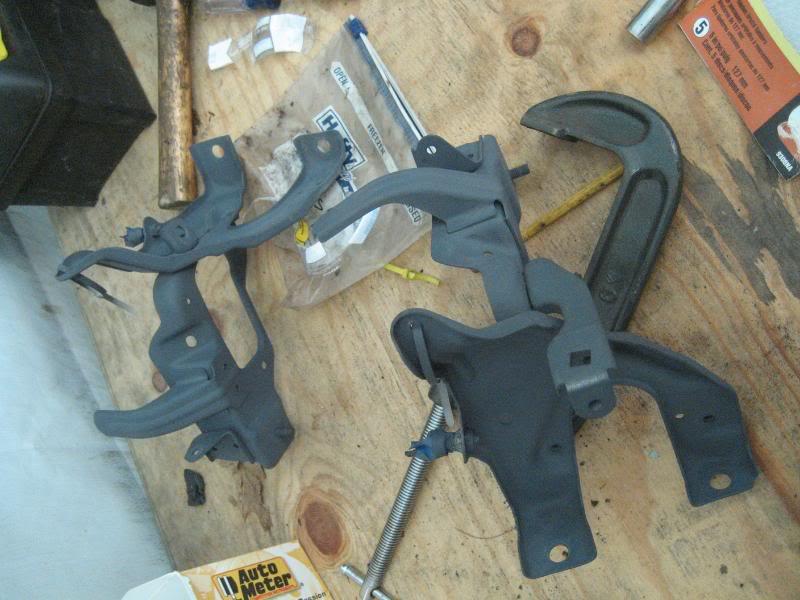
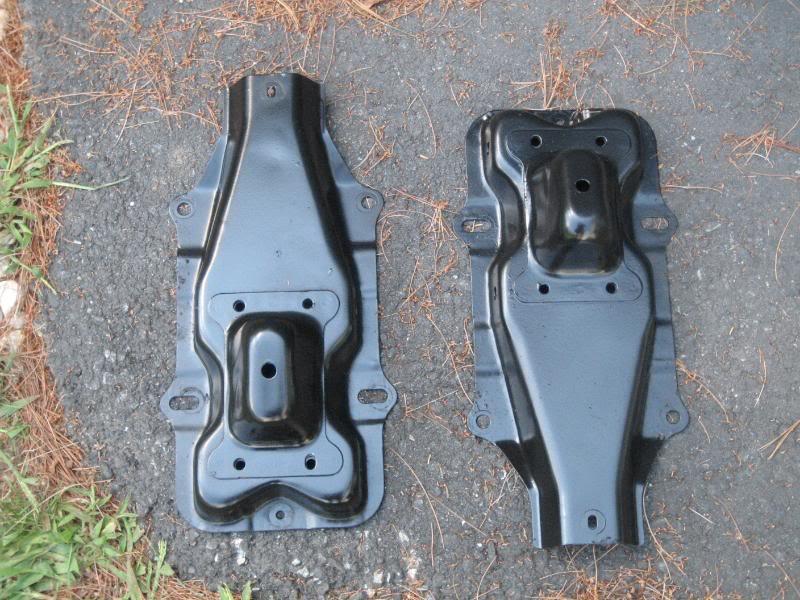
painted the front bumper supports
and installed the access panels back in the car because I kept tripping over them
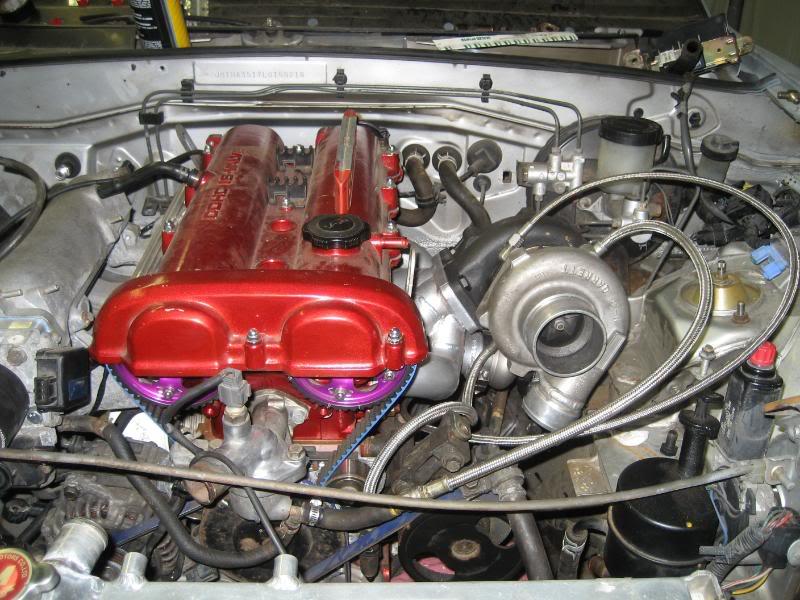
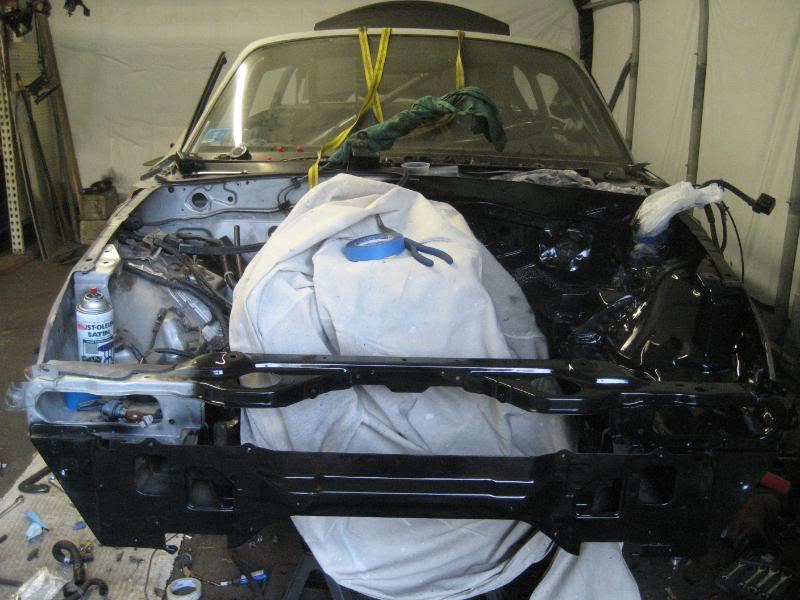
Here's another shot of the engine bay before tear down
I removed both fenders as well. Took the intercooler and radiator back out and anything else that would interfere with the painting off the engine bay. I started with the driver's side as it's much easier.
it's filthy

during the process of painting
driver's side done
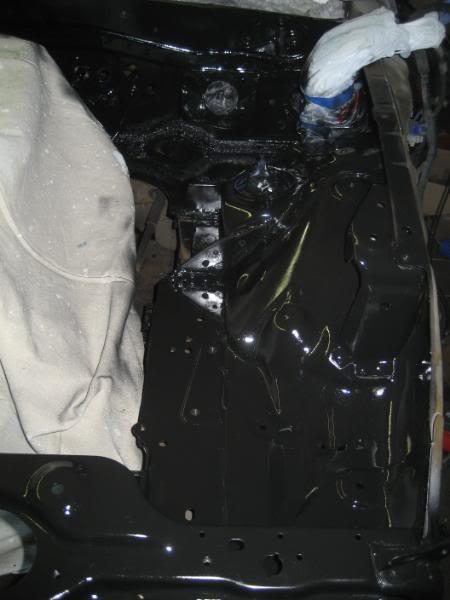
again, the engine bay is being painted in satin black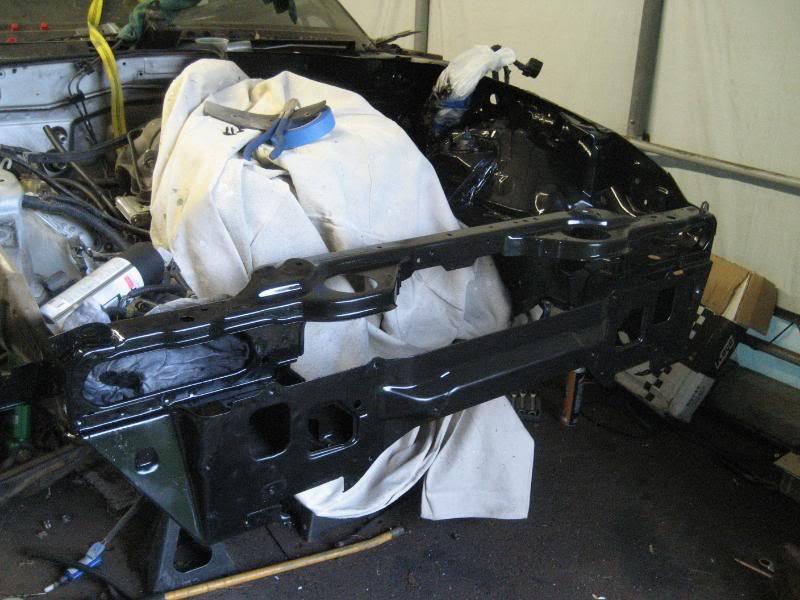
The camera makes the paint look weird for some odd reason, but it came out perfect (just an fyi).
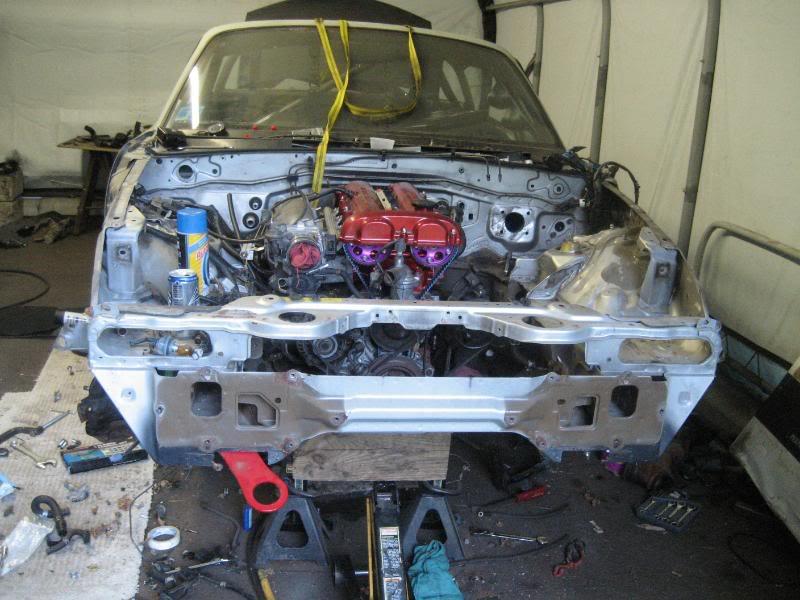
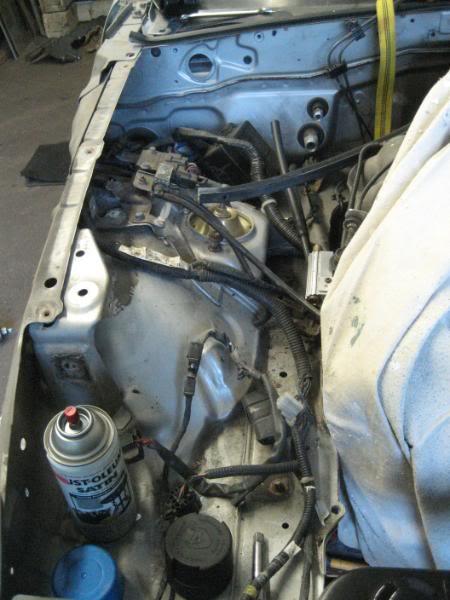
Now the passenger side....sigh, there's significantly more junk over here
All done
close up

What a significant difference. I'm much happier with the engine bay now.
2 more of the underside
driver's side
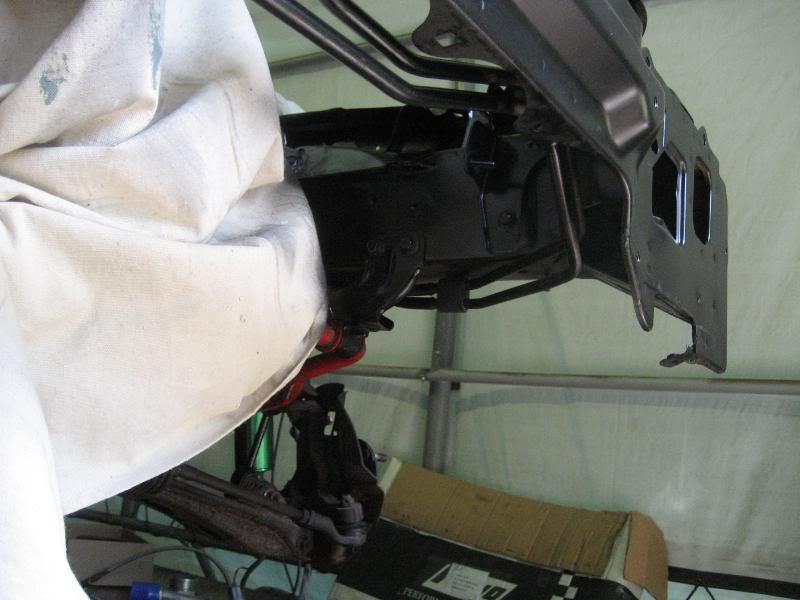
passenger side

Now to make the bracket so I can box the frame back in. I got a piece of 1/8" C channel and cut it to fit. I also made 2 tabs, one to go between the existing supports, and one to be welded on the forward edge of the bracket. Here they are cut out and cleaned up with the grinder.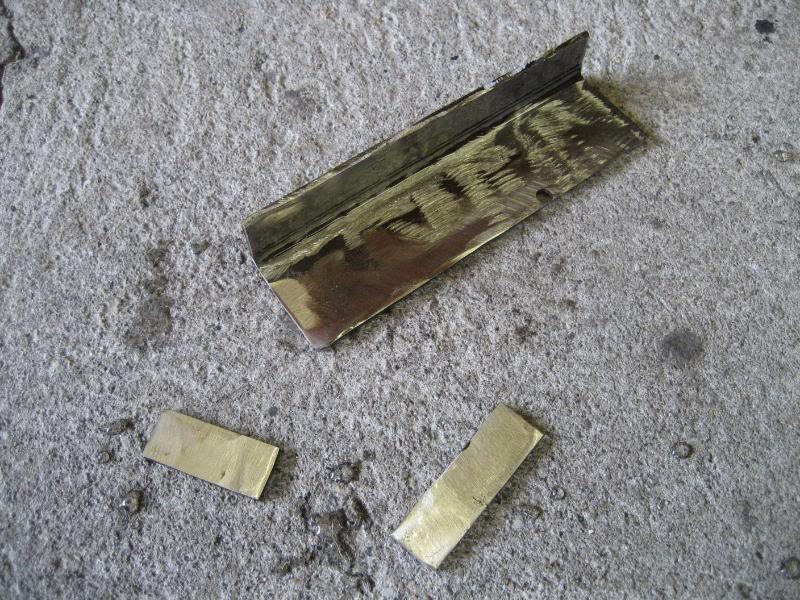
Tomorrow morning we start welding, so I'll have some more exciting updates tomorrow. I found a shop to bore out the center hole in my rotors, so I'm dropping them off Monday. It's starting to come together.
Great build!
Posted by Diggymart on 1/29/20 @ 11:22:34 PM