You must be logged in to rate content!
8 minute(s) of a 297 minute read
5-16-2011
Update:
I finished assembling all my fuel lines, mounted the catch can, and assembled those lines as well. I also swapped out the factory harmonic damper for an ATI Super Damper.
Breaking news!
Also, after some investigating, I have located a rubber plug that fits in the firewall holes for the engine harness! The plug is for a hole 2 7/8" in diameter, from an unknown Toyota, and can be bought from this vendor on ebay: http://cgi.ebay.com/ebaymotors/ws/eB...IF%3AUS%3A1123
They took close to a month to get here, but they fit perfect and look right at home on the firewall. I'll post some pictures of my work and these firewall plugs tonight.
5/17/2011
Did a little more work on the car last night as well as took some pictures.
ATI Super Damper and Flyin Miata oil cooler setup: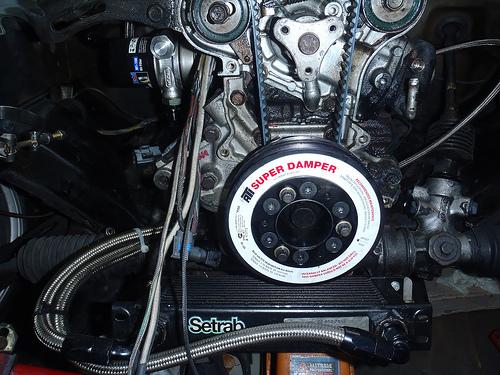
The more or less completed fuel lines and the wiring harness going to the front of the motor: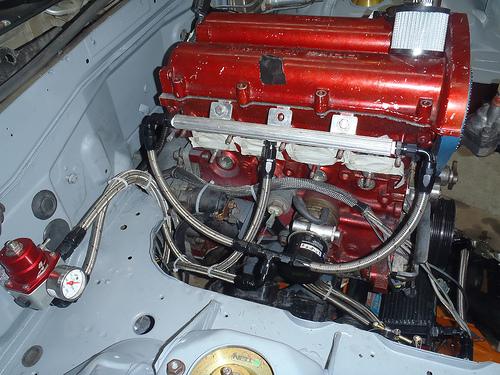
And now for the firewall grommets! I also took about the wiper motor apart and painted it.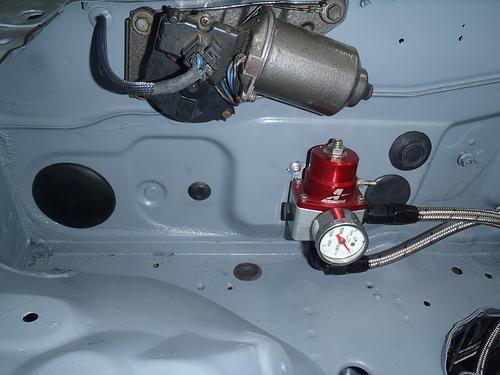
Driver's side grommet: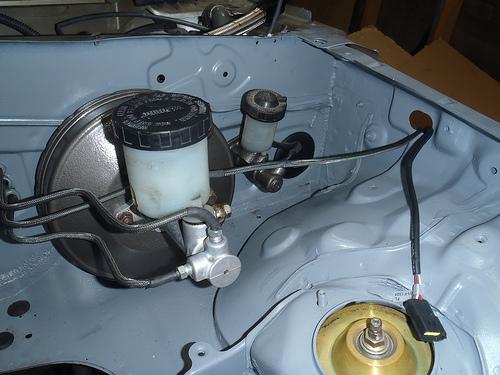
Here's where I will be mounting my catch can: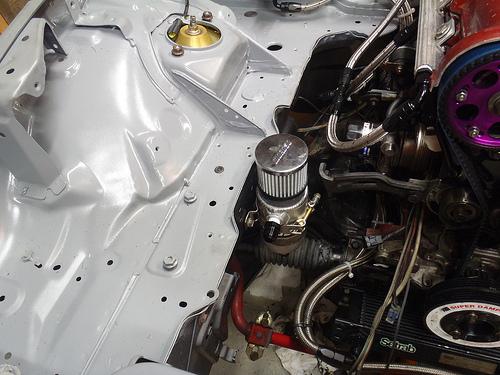
And a pic with the intake, and the fuel system all bolted back together:
I routed all my fuel lines so that they don't come in direct contact with anything. The catch can and it's respective lines clear everything as well. I'm going to be running a drain line to a valve tucked somewhere hidden that I can easily access.
6/1/2011
Couple pics:
I will be wrapping the vac lines in Techflex. The main vac line off the intake runs to a 6an bulkhead fitting, and then over to the brake booster.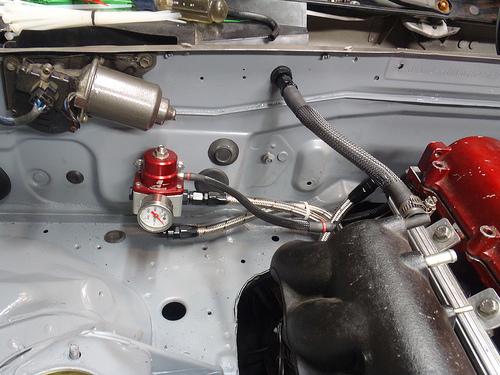
The wiring on the passenger side is complete and all ready to be bolted down for the final time on the pass side. Here's a shot of the routing under the passenger headlight: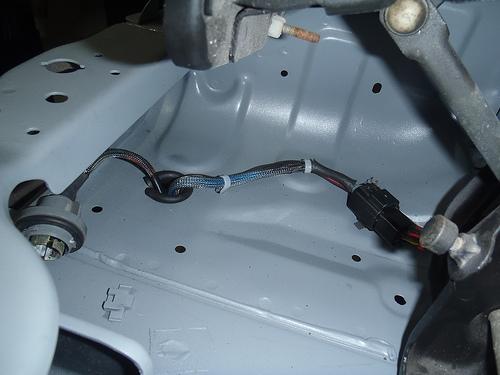
I forgot to take a shot of the harness running up the fender, will do that next time I'm out there.
6/5/2011
Got the exhaust manifold, downpipe, and turbo back on the motor. I also drilled and tapped the mixing manifold and the thermostat neck to accept a 6an fitting to eliminate the need for a short section of hose. Most of the lines are now bolted down, although I took the following pic during the install, so they might not be in their final locations. It's starting to look like a car again!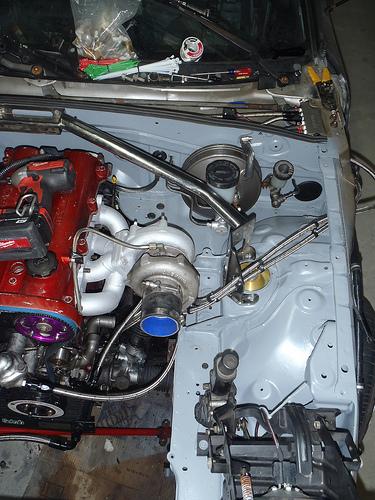
6/13/2011
Dropped a few things off to get powdercoated with a local powdercoater. I had them match the color I painted the roll cage (a dark bronze) with, and then go over it with layer of clear. Excuse the dust.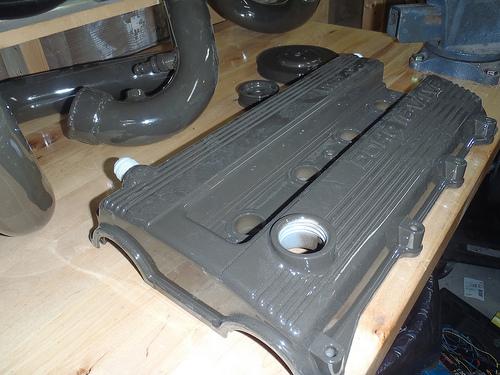
6/15/2011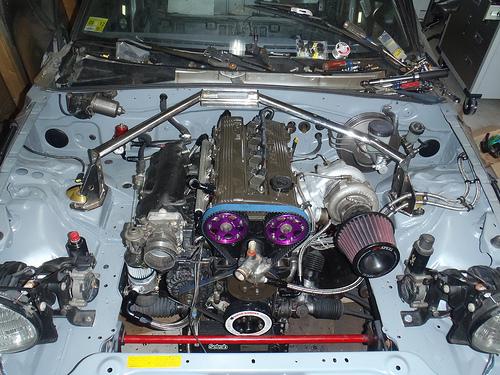
6/25/2011
crappy iPhone pic (I'll take a better one I promise), but the engine bay is all set minus fluids. Couple more terminations with the dash I need to finish, put the interior back in, and I should be back in action. Trying to get it ready for next weekend.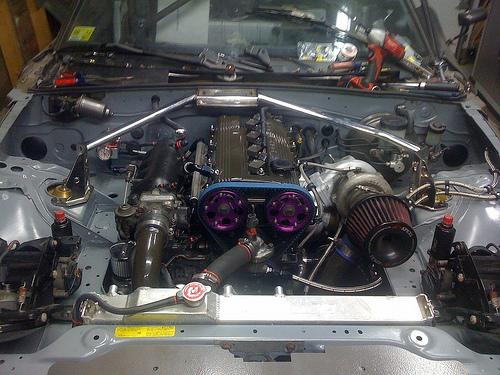
7/2/2011
The car is back in fighting shape! It started up almost immediately. All of my wiring with the exception of the oil temp. gauge is working as well, which was a relief. I'm wondering if I might have disrupted the connection to the gauge when I was putting the dash back in. Ran the car for about 30 minutes to make sure the fan cycled on, and everything was normal, no leaks, etc. Tomorrow I'm going to have a buddy come over to help bleed the brakes and then it's off the jack stands hopefully for a looooong time!
7/5/2011
Took the car out for a test drive yesterday- it's running pretty good! I believe I have a small vac leak at one of the wastegate fittings, but other than that everything seemed happy. I'm going to put some more time on it before checking the catch can to make sure I'm not blowing oil out still, but I'm about 99% positive that was due to a poor seal job on the baffles.
I freaking love this car.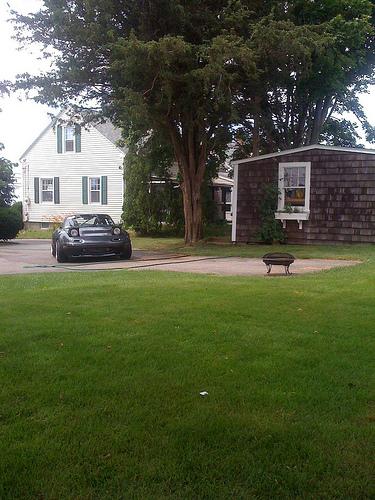
7/6/2011
I finally mustered up the courage and mounted my hood-pins over the weekend.
First cut is always the hardest: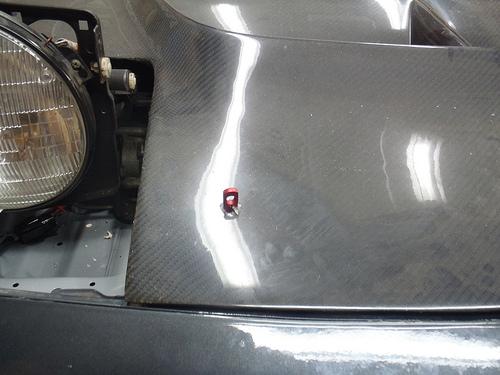
Put down some blue tape and traced out the pattern for the latch: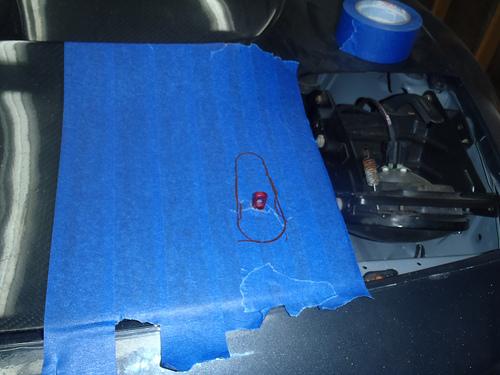
With a combination of a drill, grinder, jigsaw, and a sanding disc I was able to test fit the latch (I know I'm jumping from side to side here, sorry about that):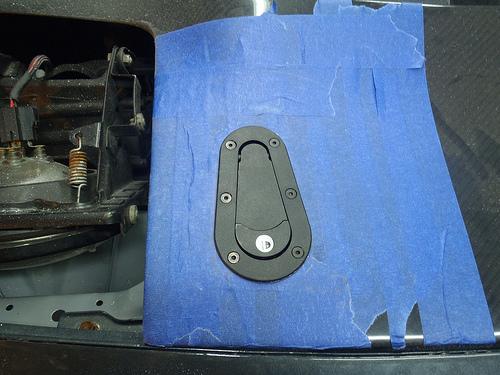
Here I am test fitting both of the latches, and making sure they are able to catch the pins.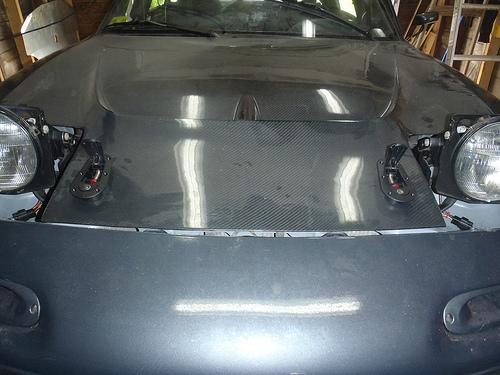
All done! I put some silicone sealant around all the cut edges as well as the perimeter of the latch so water can't get in. Took this pic before cleaning up the excess silicone and dust.
7/14/2011
I went to go and install the Tein EDFC control motors last night, and it turns out they aren't compatible with Tein RA coilovers- ARG! I'm going to call Tein USA today to see if there is someway I could retrofit them on. The issue is the top stud on the coilover where the motor threads on is too short.
7/18/2011
Couple pics a friend took from our little cruise last Friday. I haven't gone through the pics I took yet, but I'll post a few once I upload them.


7/26/2011
Put some heat shielding on the underside of the hood, as well as on 2/3s of the brake reservoir (Thanks Revlimiter for the link!!). I left the section facing the fender open so I can still check the fluid level.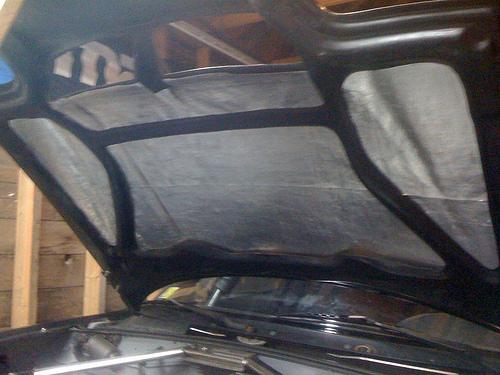
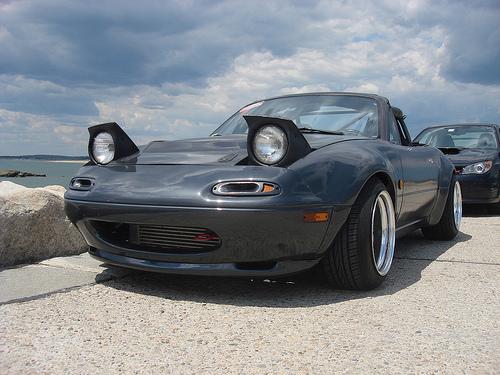
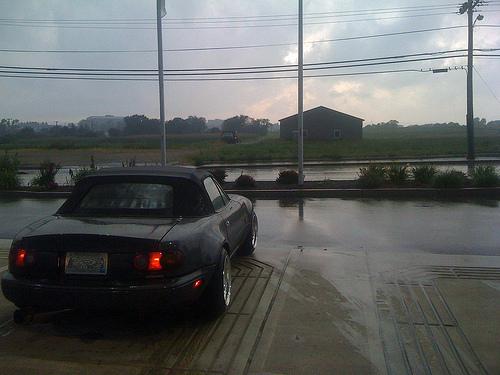
Went for a spin after work and took a few pics with my phone. I'll post one for now...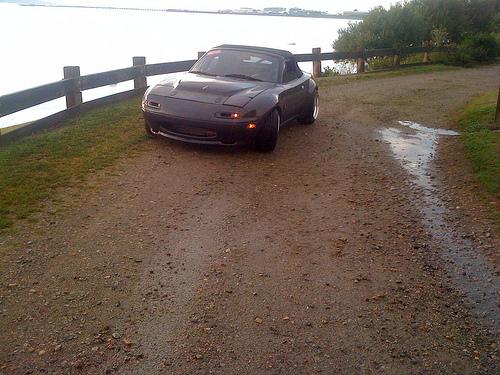
7/27/2011
Few more pics from my drive last night. Sorry for the poor quality, I used my phone.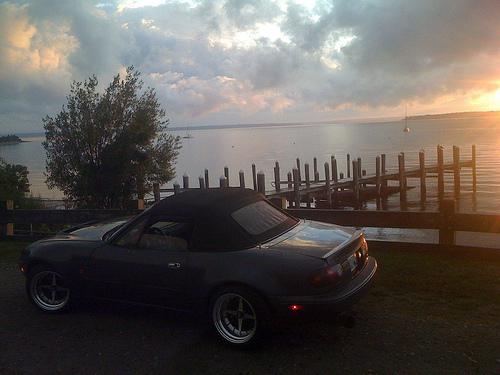
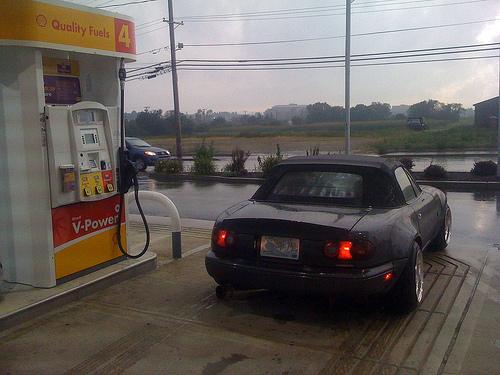

This last one was from a previous day, but still a neat picture: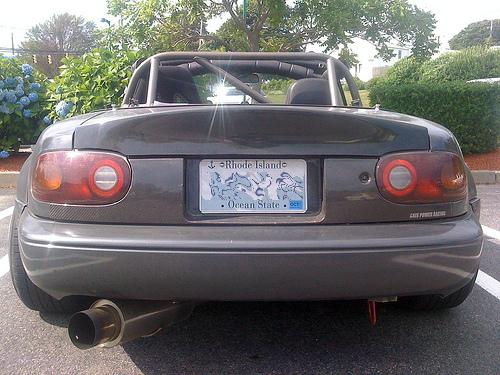
Great build!
Posted by Diggymart on 1/29/20 @ 11:22:34 PM