You must be logged in to rate content!
9 minute(s) of a 297 minute read
4-11-2010
More progress this past weekend! Crappy iphone pics too!
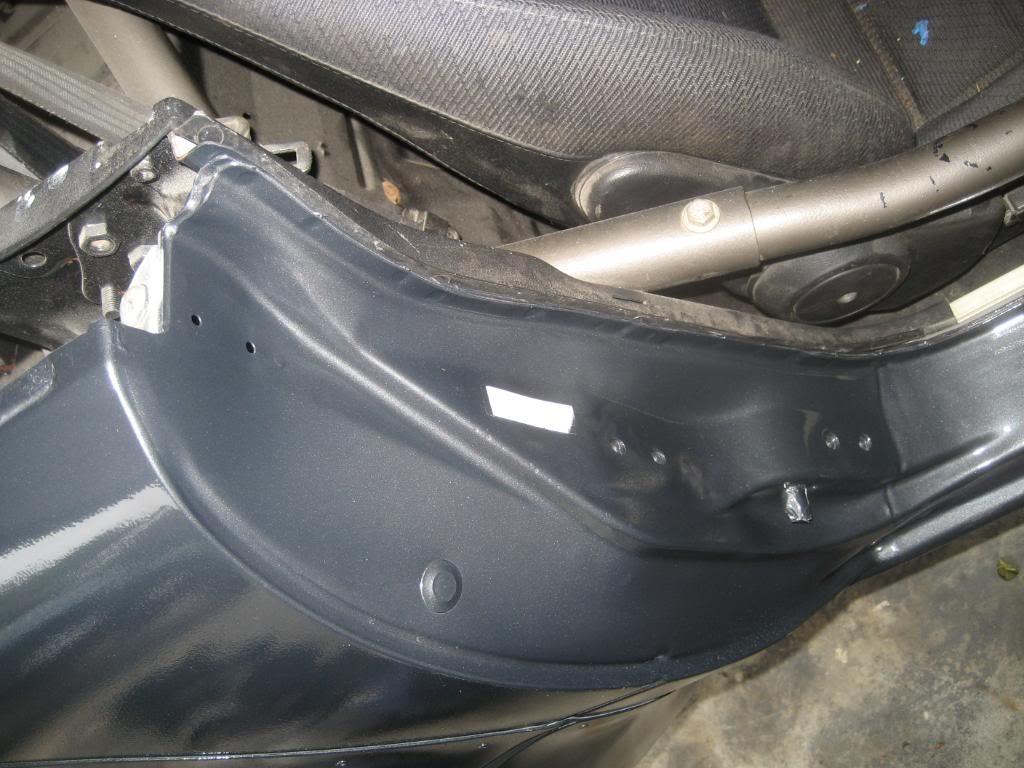
Got my new frame rail stiffeners/skid plates finally installed: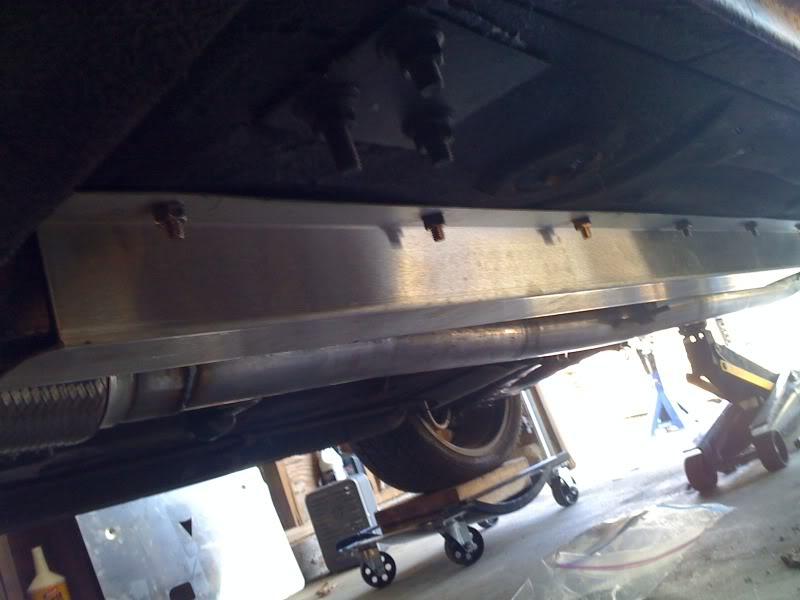
I flipped the hard line bracket around and bent it up so the lines sit below the frame rails, but off the bolts sticking through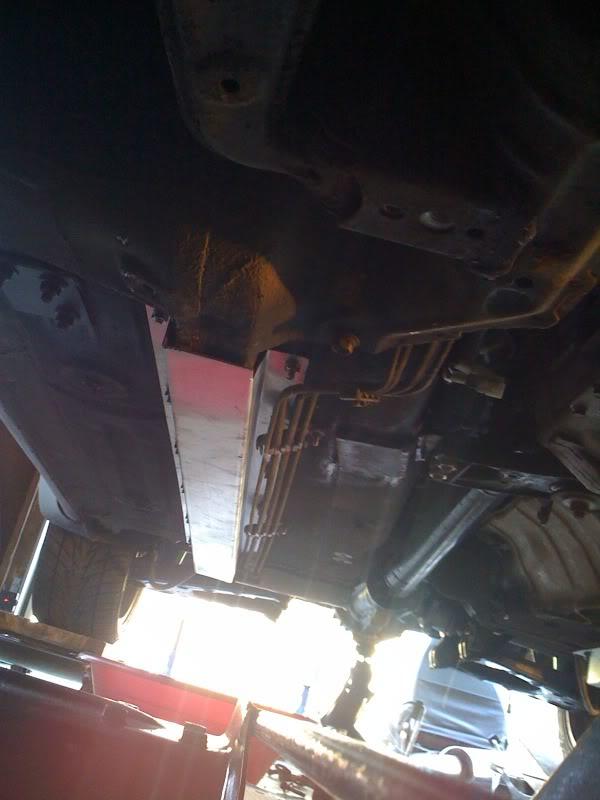
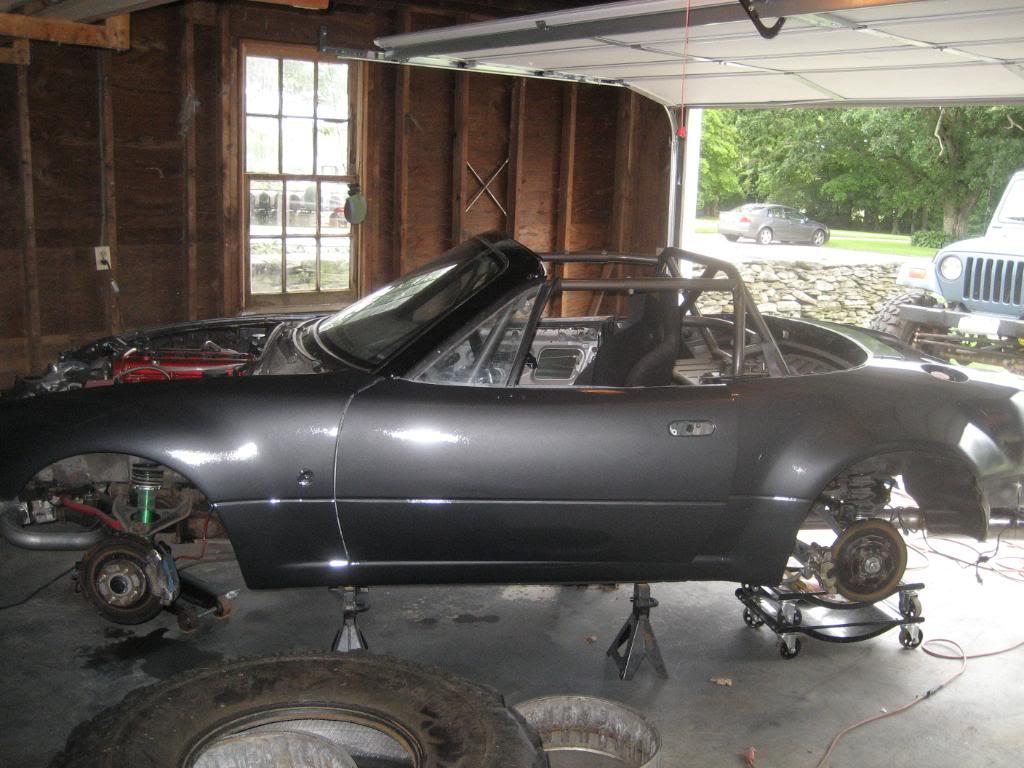
I filled the tranny with fluid, filled the power steering system with fluid- no leaks! I had to remove the back half of the exhaust to get the fluid in the tranny as the fill on the TII is on the same side as the exhaust now. Next I removed the radiator so I can start building a shroud for it Lastly, I installed the wideband o2 sensor. I stuck it in the driver's side air vent.
I also took a better shot of my exhaust and rear bumper cutout:
Lastly, a shot of my garage after I cleaned it up and put everything away:
4/19/2010
So one of the hard lines going into my power steering rack is cracked, and thus leaked out all the fluid I just put into the system  . I'm debating on just yanking all the power steering stuff out and dealing with it some other time if I feel like I want/need it back.Thoughts?
5/8/2010
Ordered paint last night. I also fixed the PS leak, mounted the fan, remounted the radiator/intercooler and filled up the PS fluid again- let's hope it doesn't leak this time. Heading out to the garage now, more updates later today.
5/19/2010
I'm going to try and start the car this weekend. Any tips with megasquirt or things to look out for? This will be my first time using megasquirt, and also the first new engine I've fired up. I have one of braineak's megasquirt PnP, and he loaded a basemap on for me. I plan on priming the engine with oil, verifying I can get it started, then bringing it to the dyno for break-in and tuning. Will this be an issue for the break-in process if i get it running and immediately shut it down? I don't want to bring it to the tuner and have to pay to diagnose some silly issue, as I'm sure many will come up.
5/25/2010
Ok I think I figured out the wiring part, so everything is wired up now. I pulled the plugs and the fuel injector wiring, and was able to turn the motor over! This means my math on my adapter plate was correct! I was able to prime the motor with oil as well (pressure gauge went up to almost 30 while I was cranking it). As soon as the serial port-usb adapter comes in it's time to fire it up!
I have a couple more wiring questions/issues to sort out now.
1. When I dim the dash lights, my gauges dim the opposite "direction"- i.e. as the gauge cluster gets brighter, the leds in the gauges get dimmer. I'm using autometer sport comp w/ their LED replacement bulbs- If I swap the wiring around, will this solve the issue?
2. Should the wideband o2 sensor be getting power from the same power line as the ecu power? When I crank the engine over it turns off currently.
3. The LEDs on my A-pillar gauges (boost & EGT) stay illuminated all the time, I think I must have wired them incorrectly, going to sort that out at a later date.
5/29/2010
so it didn't start  . I have fuel, and I have 12v at the COP harness. I think some setting with the basemap may be the case, but i'm unsure of where to begin. Any ideas, or things I could check??
5/31/2010
I've decided to just bring the car to the tuner (dentsport) to diagnose the issue, as well as break in the motor and then dyno tune. I'll be calling them tomorrow to set up the appointment.
6/1/2010
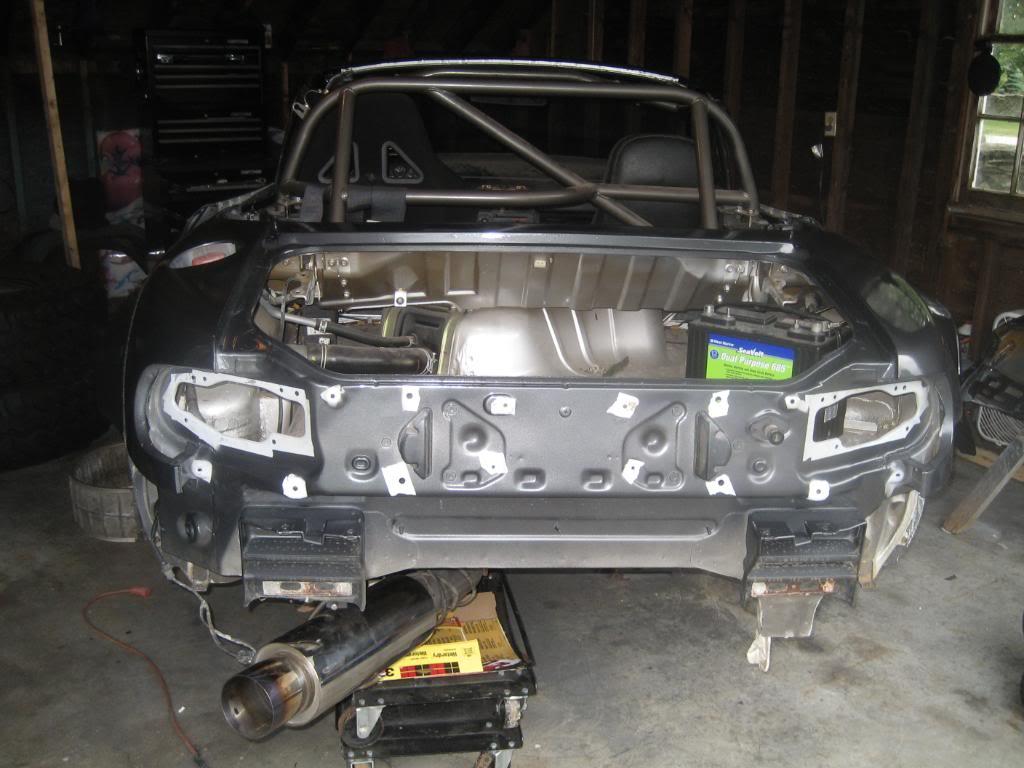
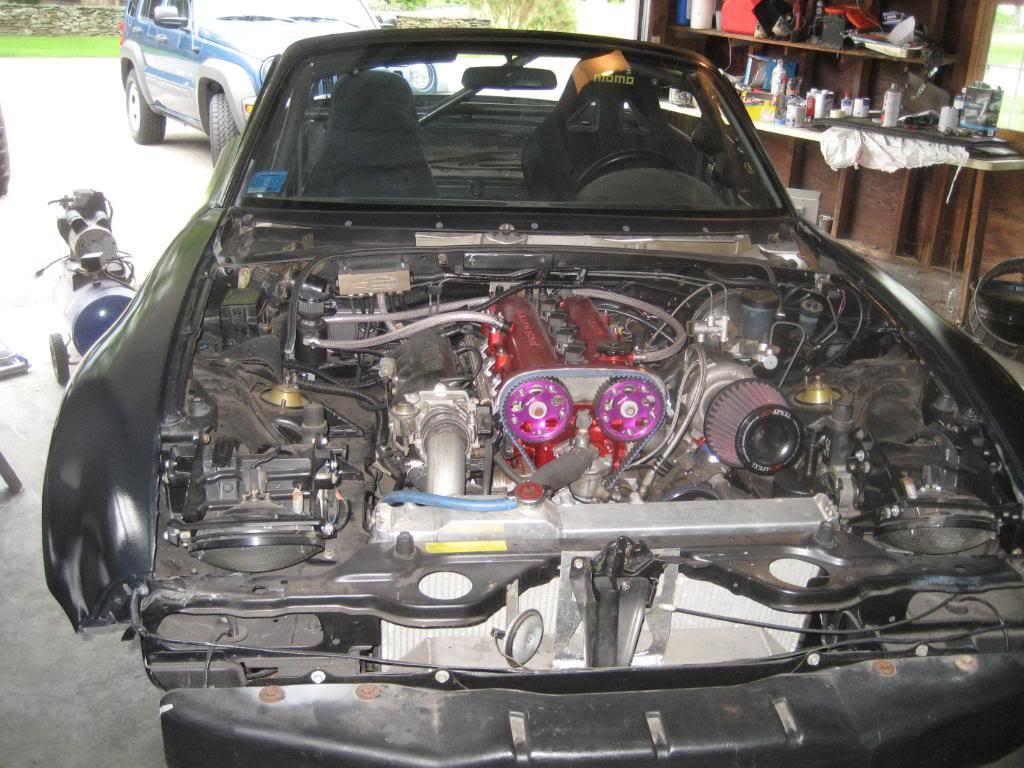
I took a picture of the engine bay (as it's more or less finished) today on my phone for your viewing pleasure: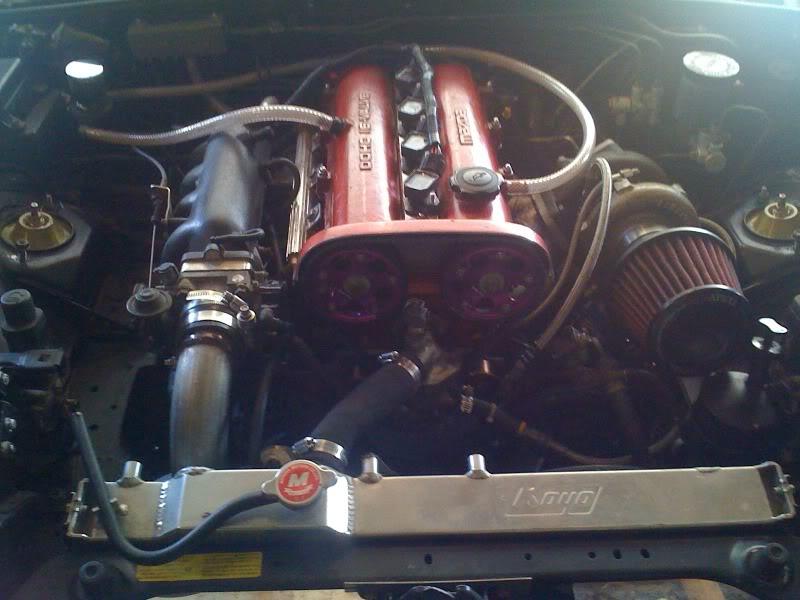
Note the cut valve cover, the vac block mounted on the firewall, the catch can mounted to the fuse box bracket, and the new apexi filter, to hit on the big ticket items.
I have a buddy coming over tomorrow to try a couple things on the no-start situation, so hopefully we can get it sorted!
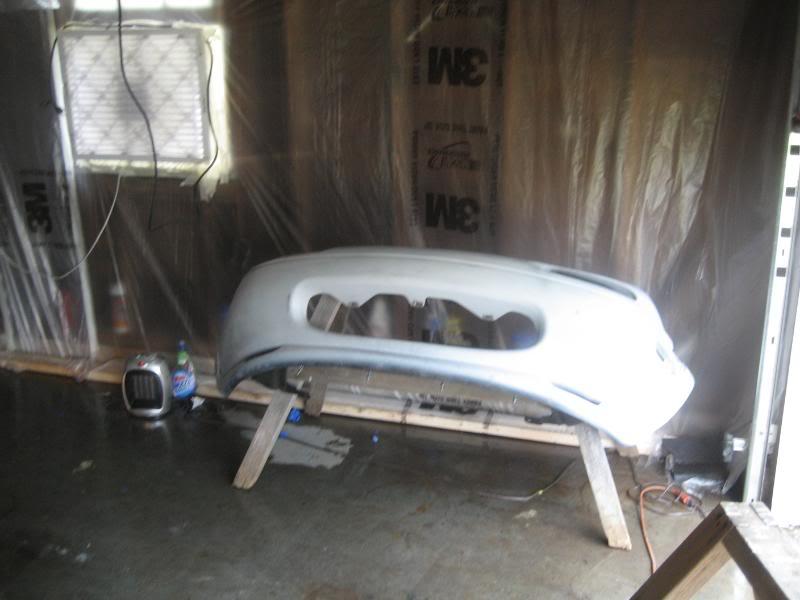
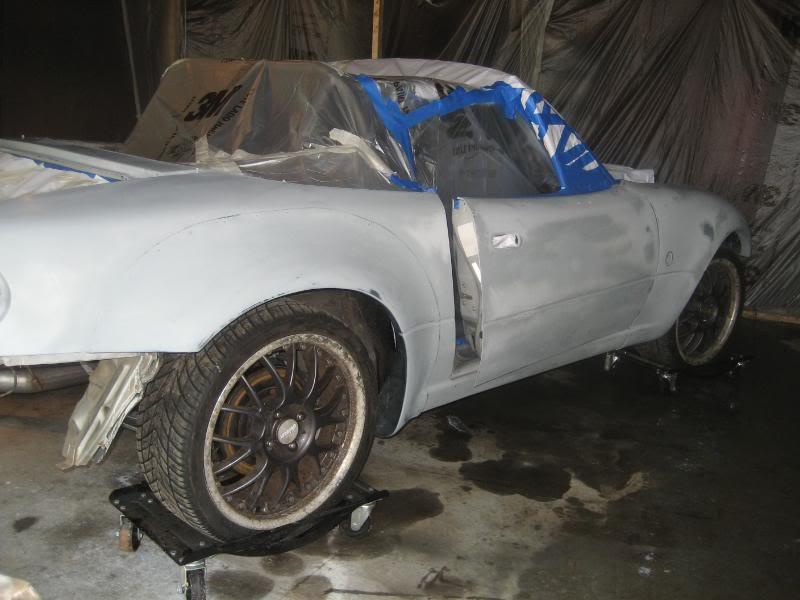
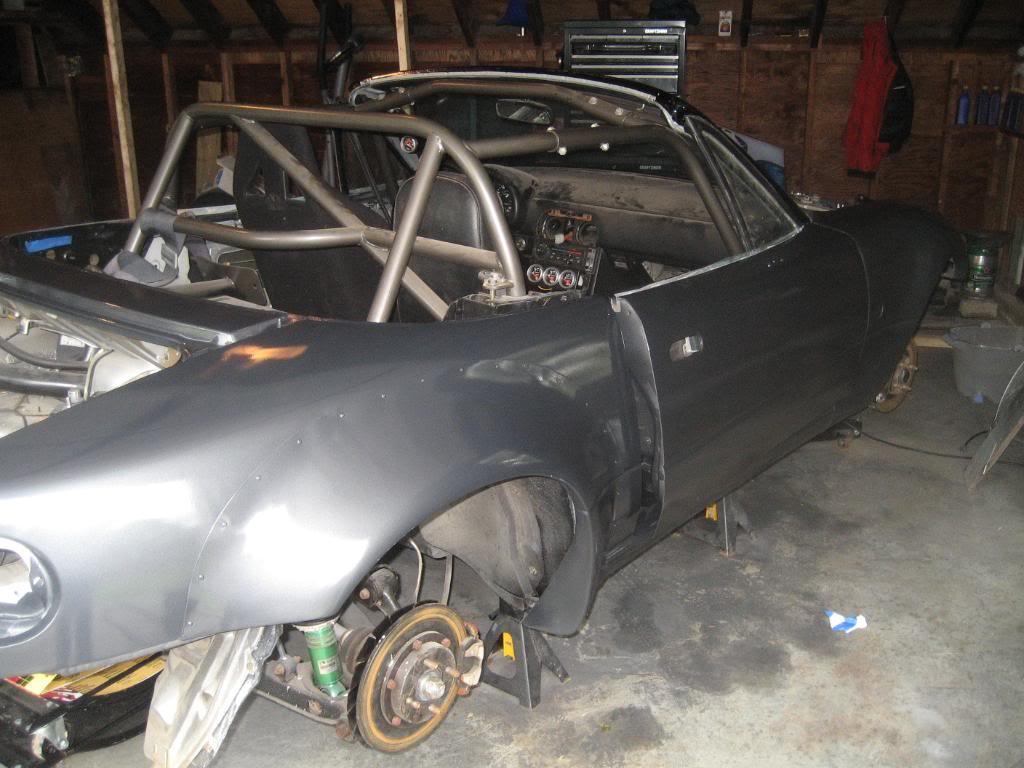
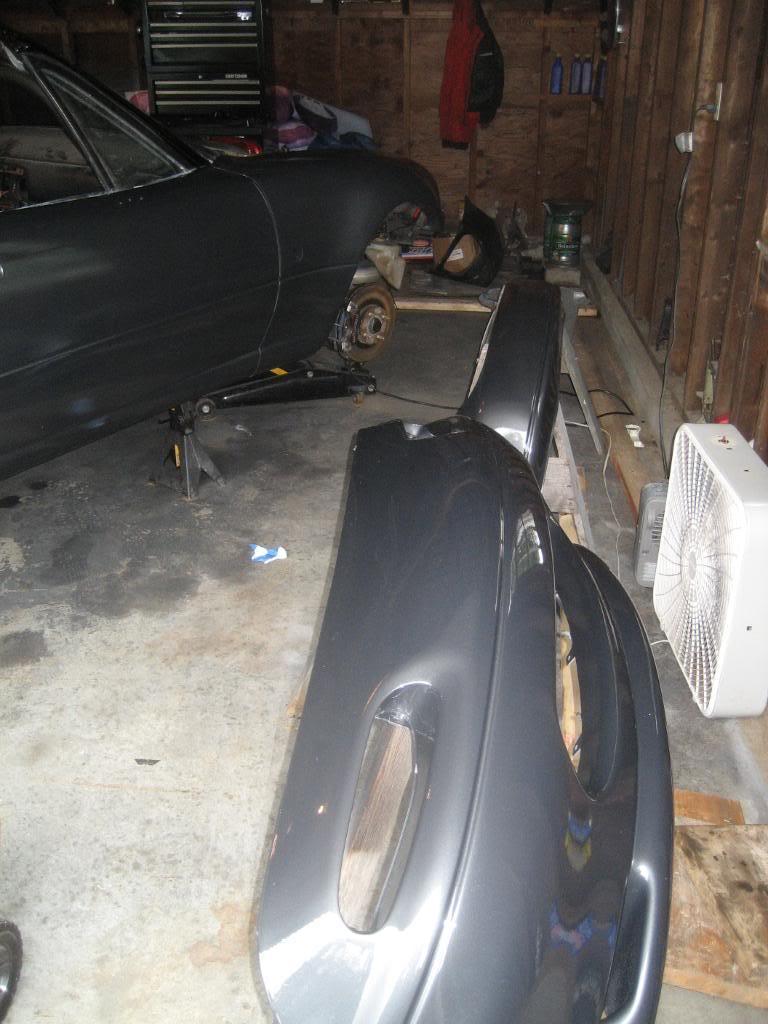
Went out after work and played around for a little bit. I took the bumpers off the car in preparation for paint and cleaned things up a bit. I also borrowed a real camera and took some good pictures.
Here's a good shot of the engine bay: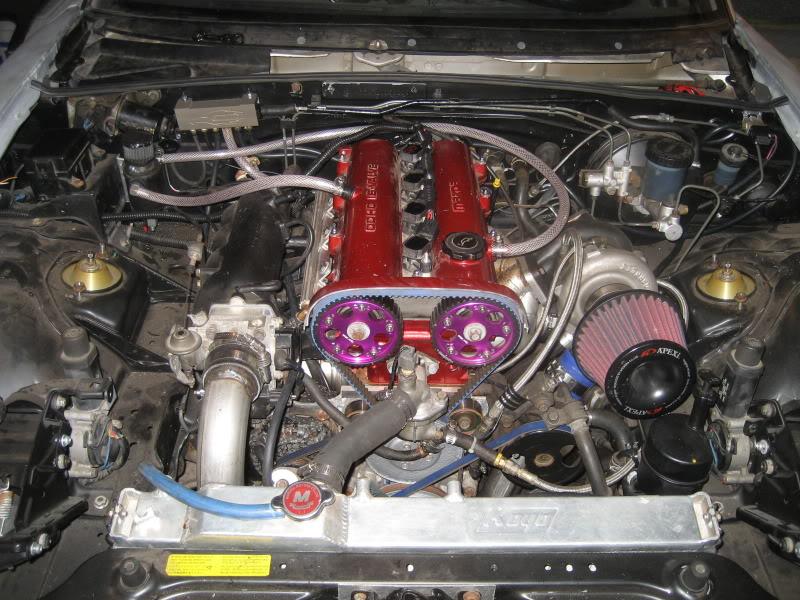
and one of the catch can/vac block:
And one of the garage:
6/9/2010
Pics! Sorry if they are out of order.
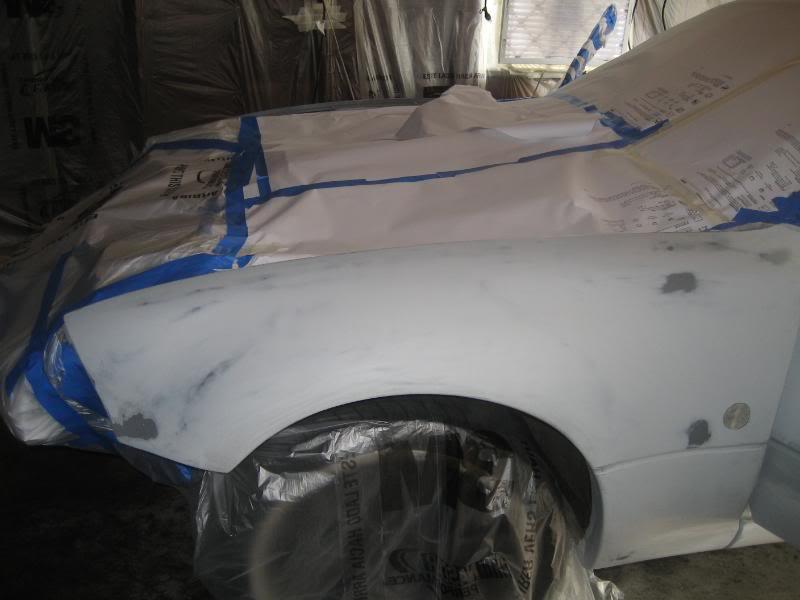
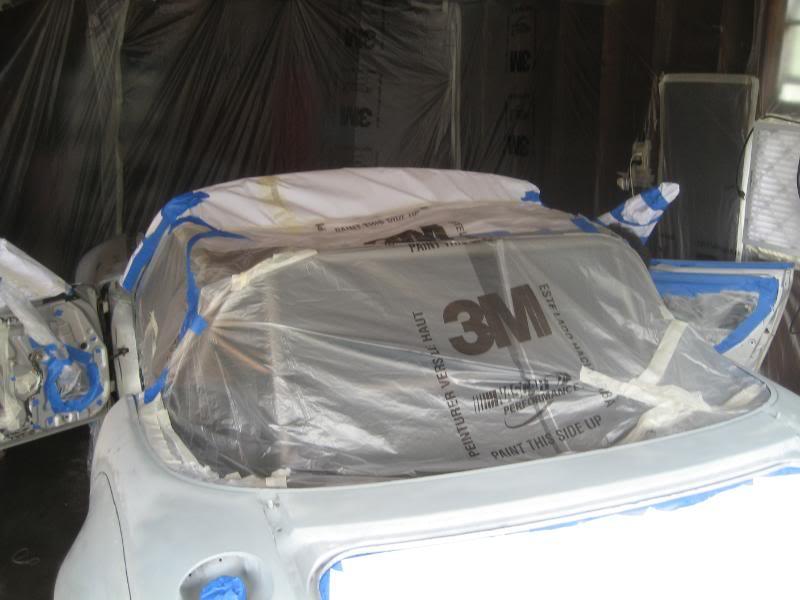
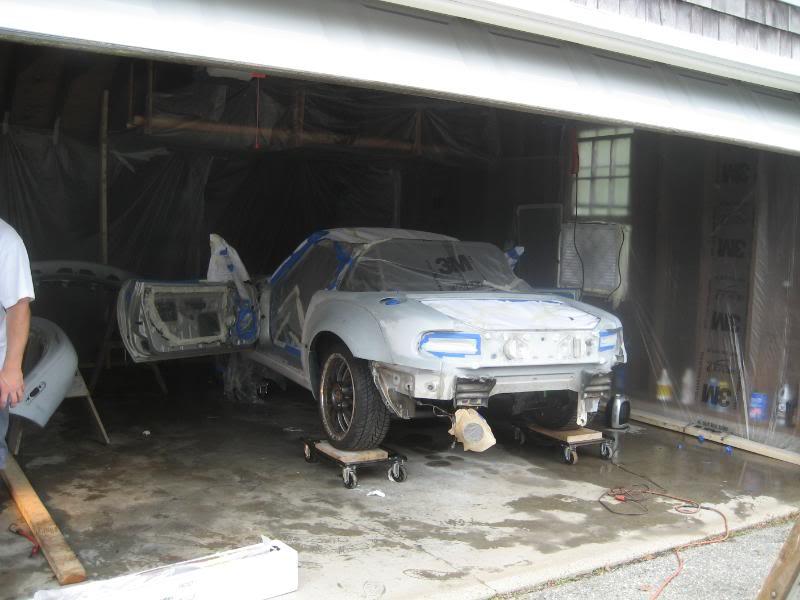
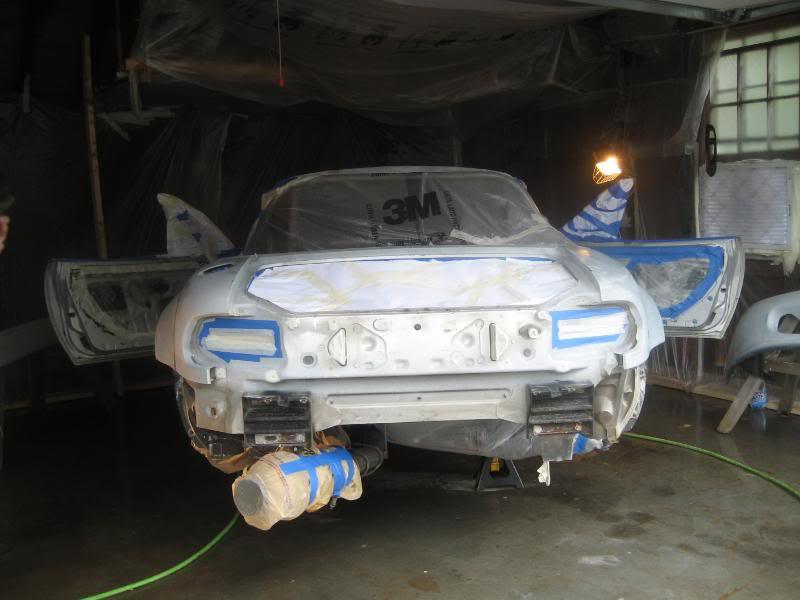
Booth constructed, car prepped, taped up, and ready to go:

6/9/2010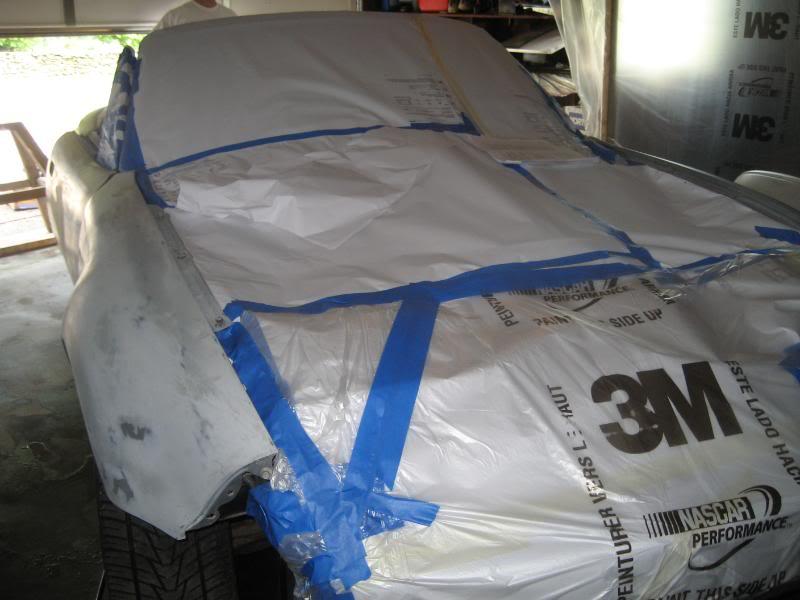
mixing the base coat:
spraying on the color:

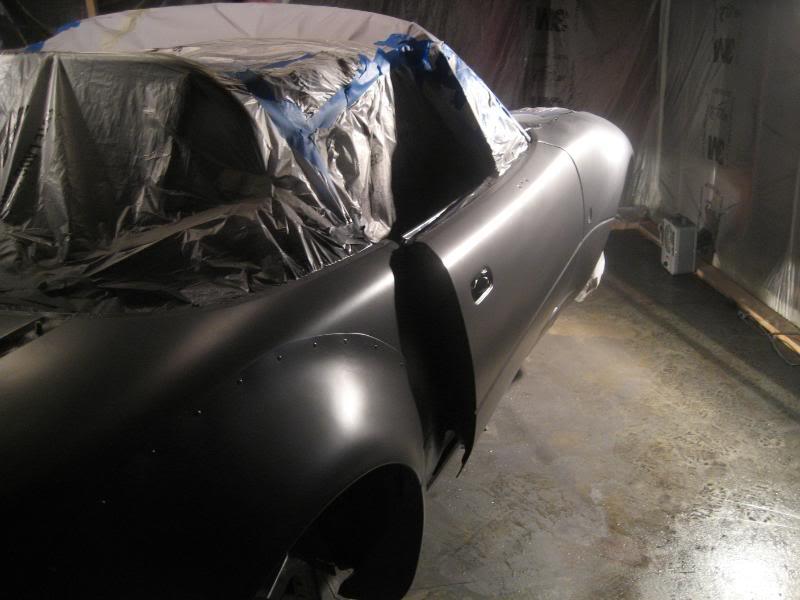
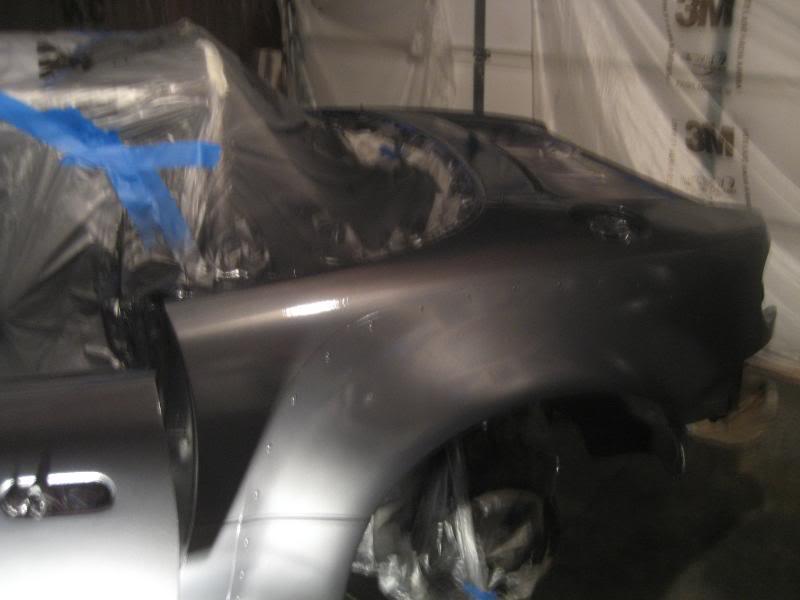

With the clear coat: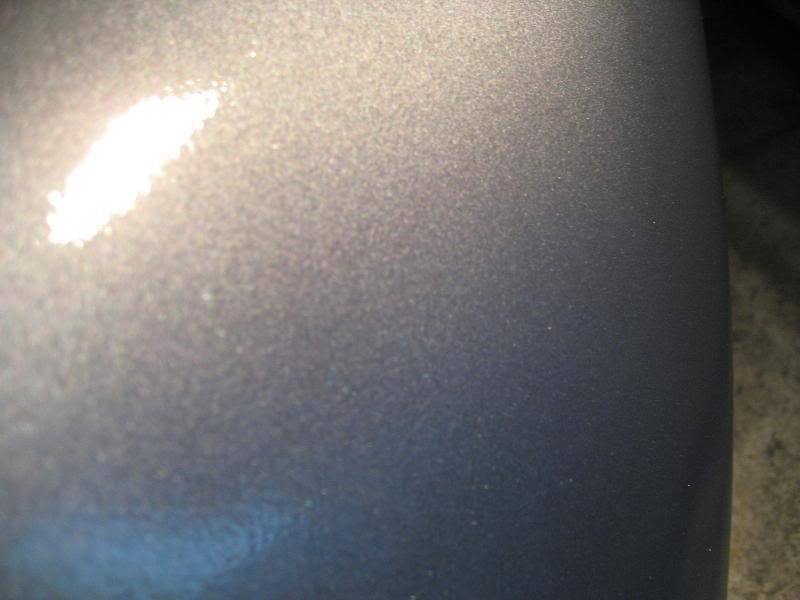
black on the windshield frame...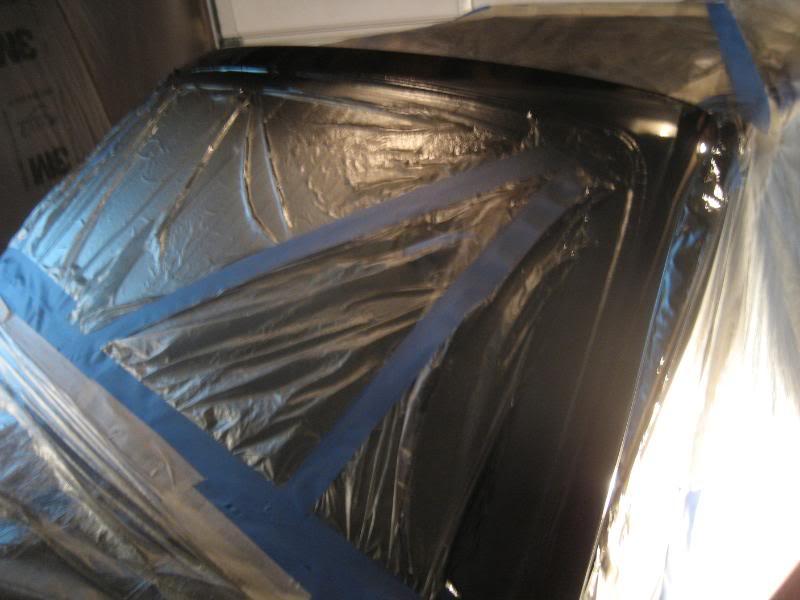

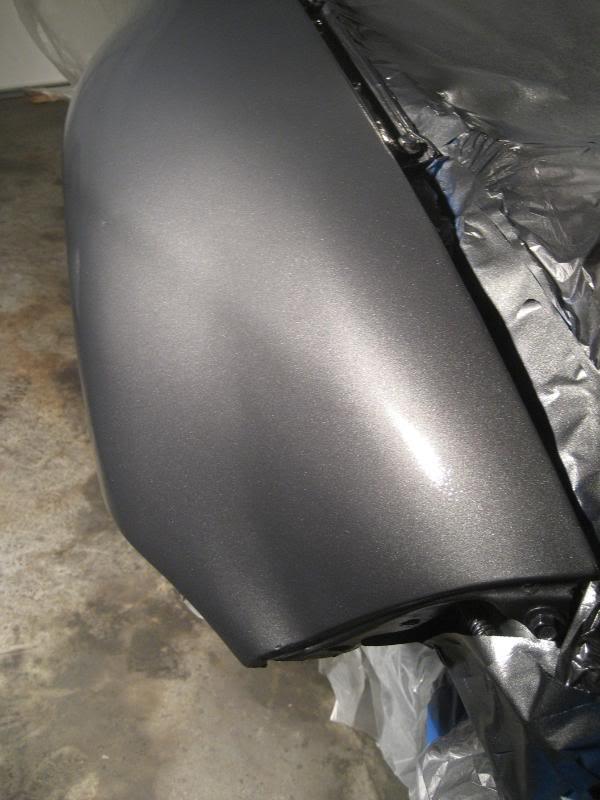
Once I unwrap the car I'll take some full car shots. Overall I'm very pleased with the results- not bad for my first time painting a car! After it's running I'll give it a wetsand/buff/polish to make it really shine.
6/10/2010
Nevermind the mess in the garage. Now on to the pics!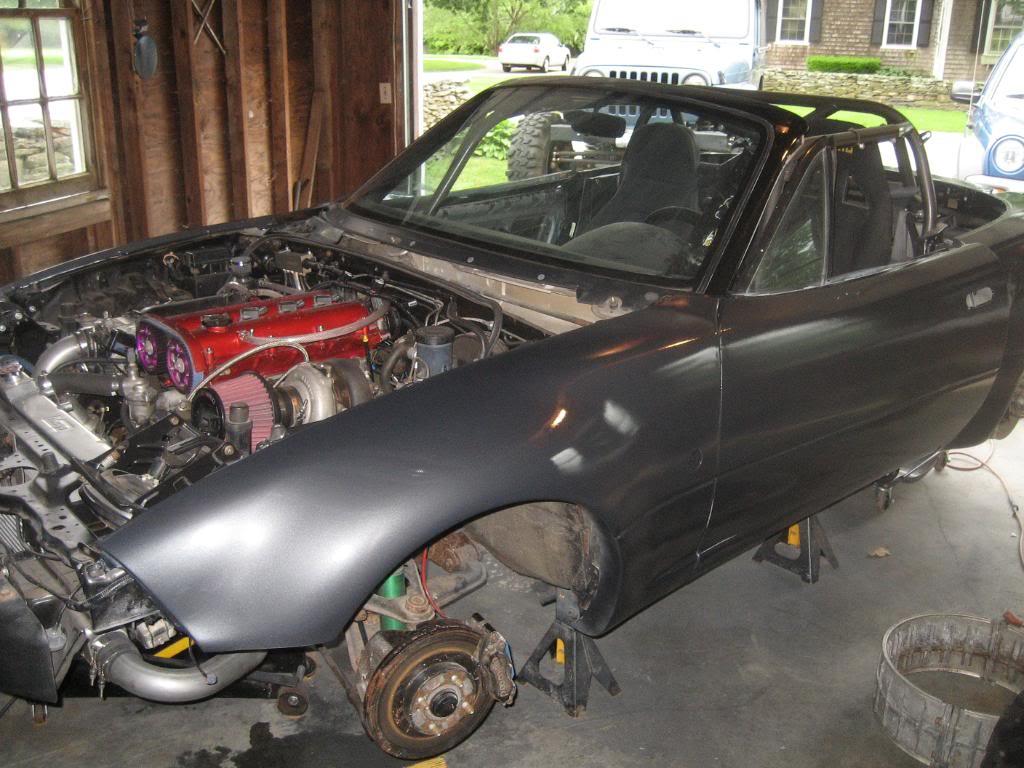
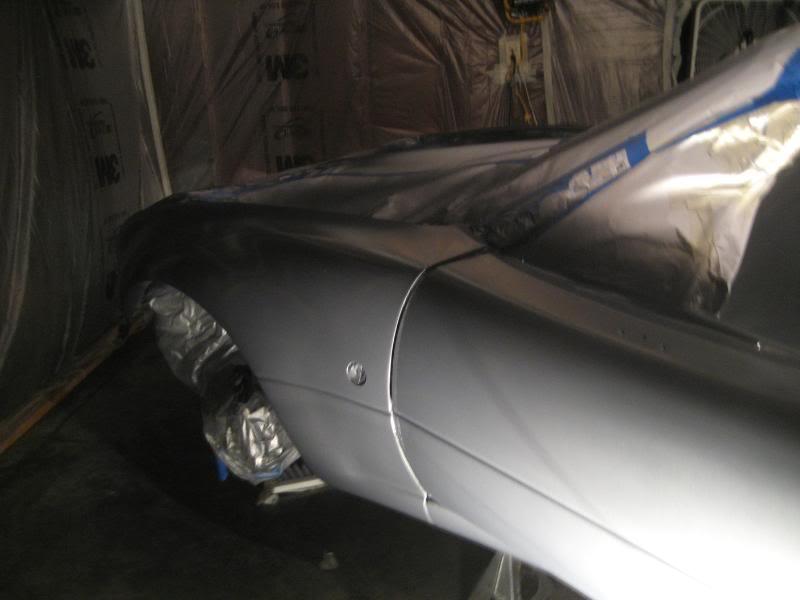
taped off the VIN stickers in the door jams: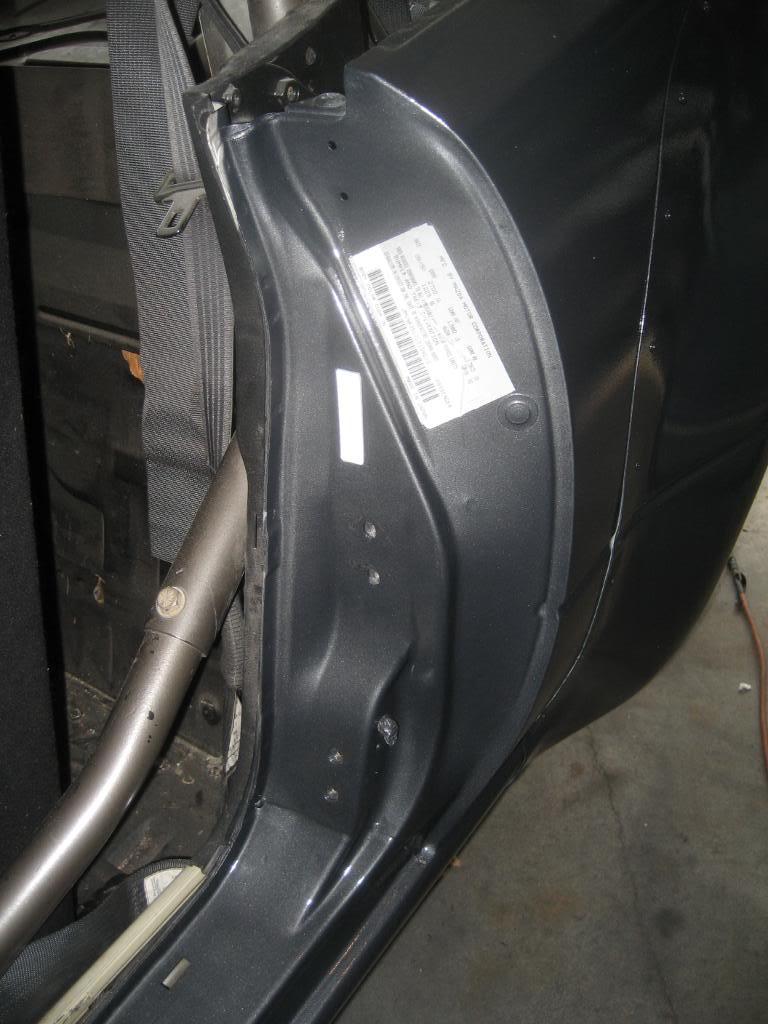
and on the doors: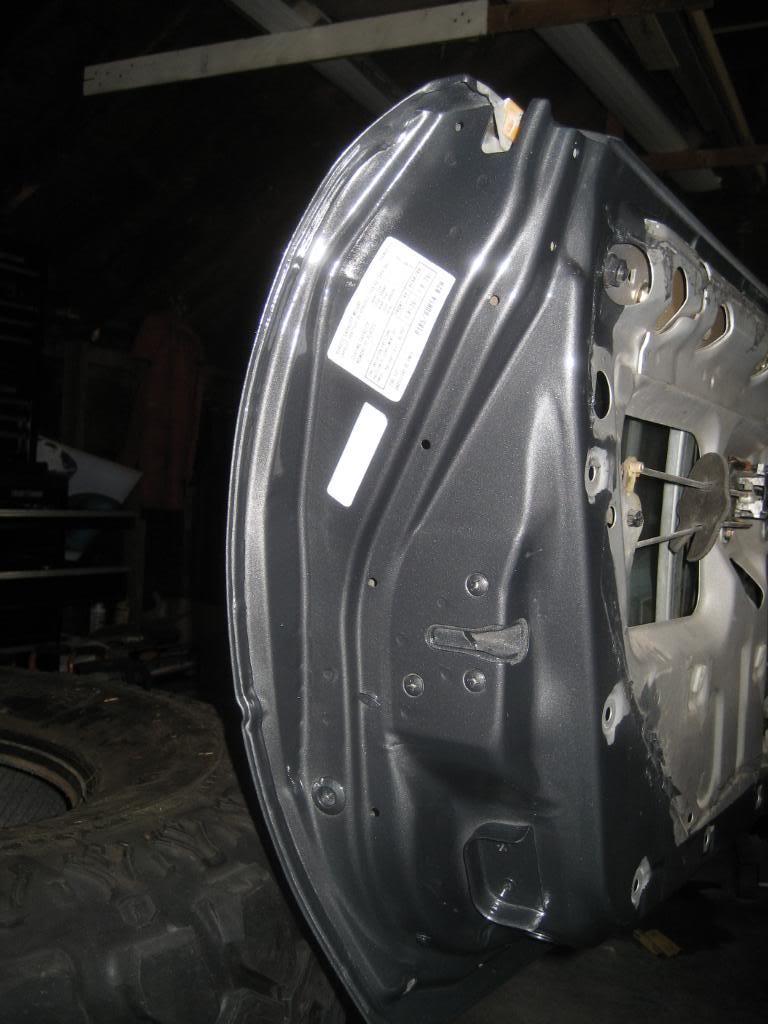
Great build!
Posted by Diggymart on 1/29/20 @ 11:22:34 PM