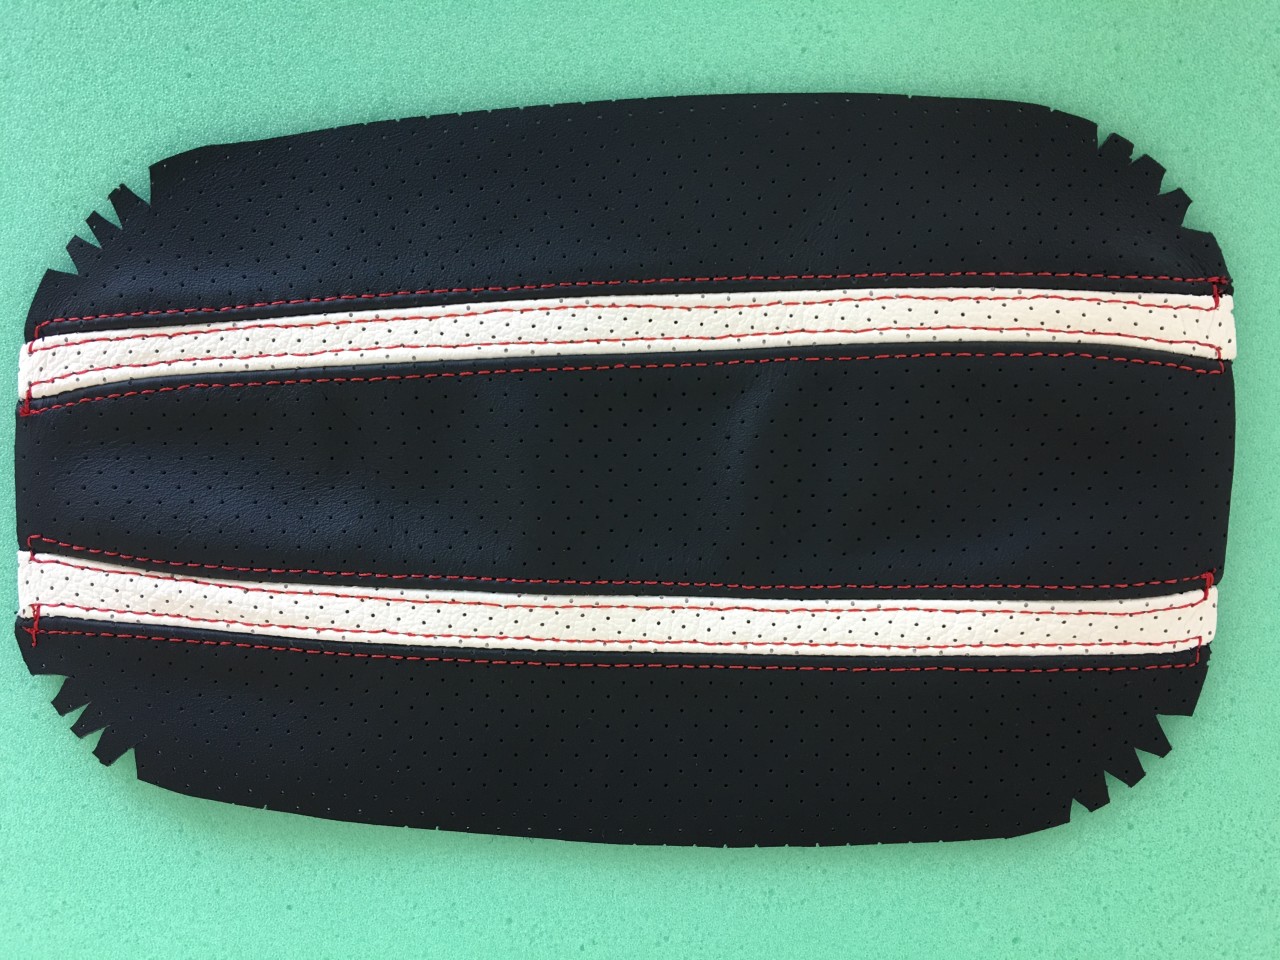
- Custom made Redline Goods MX-5 (ND) Armrest Cover
- Padding ordered direct from Redline Goods -OR- High Density Foam (1⁄4” - 1⁄2” thick)
- at least 8” x 10” in size
- Small Flathead Screwdriver
- #2 Phillips Screwdriver
- Sharpie
- Exacto / Hobby Knife / Scissors
- Spray Adhesive
- Contact Cement / Superglue
- Binder clips / clamps
- Toothpicks
- File / Jeweler’s Saw / Sandpaper
You must be logged in to rate content!
8 minute read

RedlineGoods Armrest Installation Instructions for the Mazda Miata (ND)
Note: Read ALL instructions before beginning this install. Vehicle will be drivable after step 14 (Console removal) if necessary.
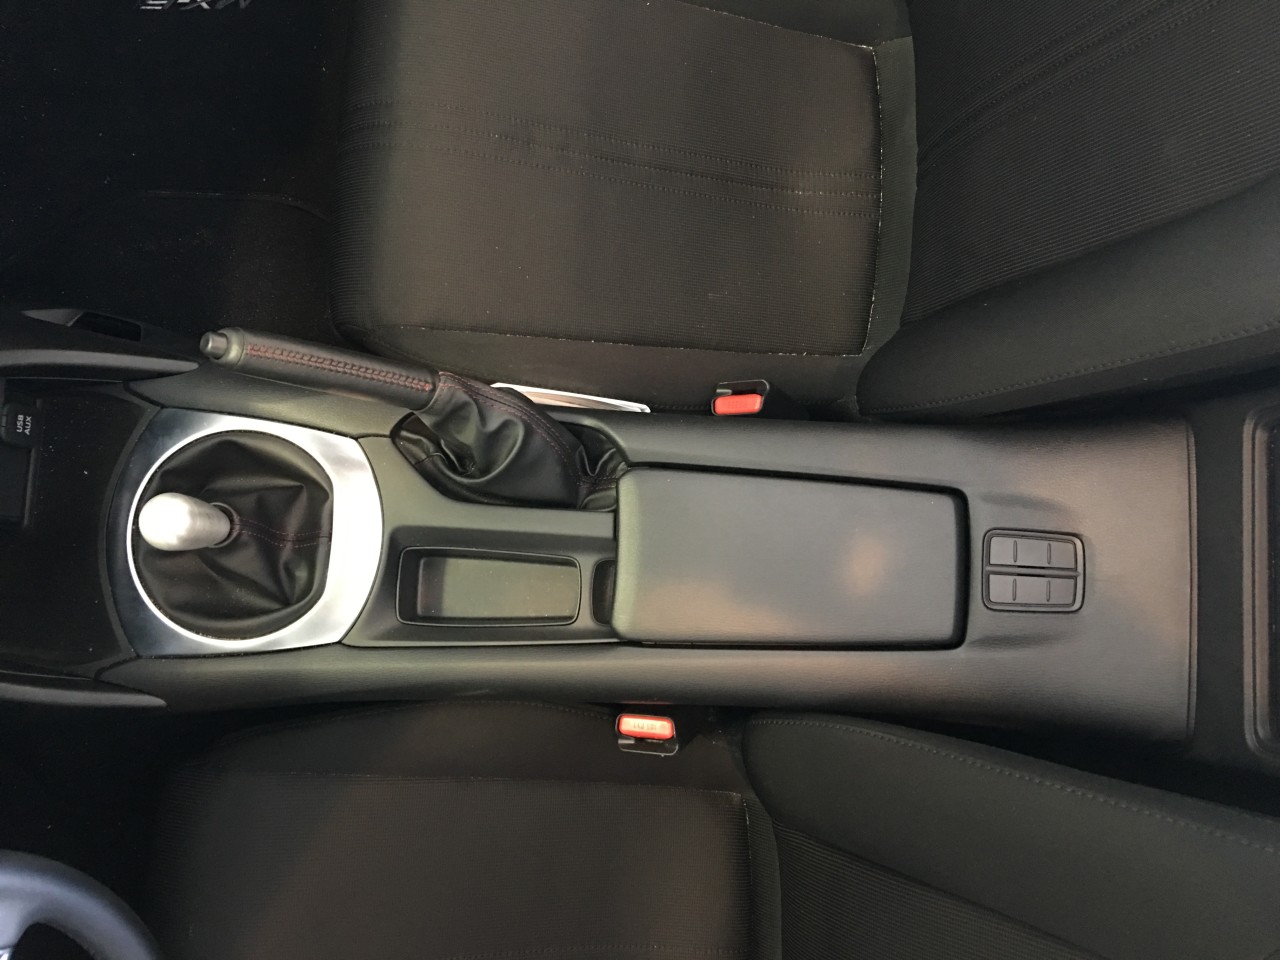
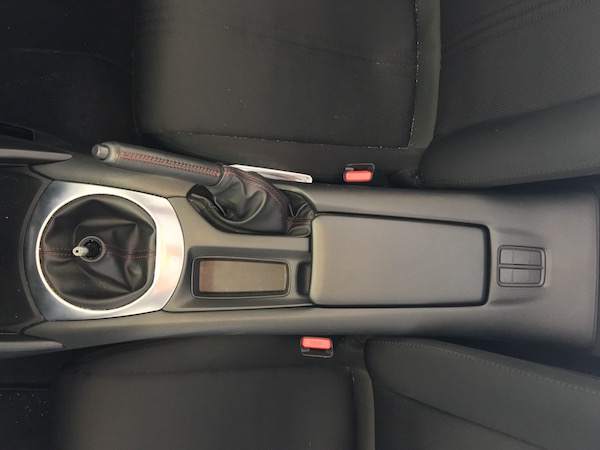
Step 1: Console Removal
1. Remove Shift Knob by unscrewing from shaft, set aside.
Instructions:
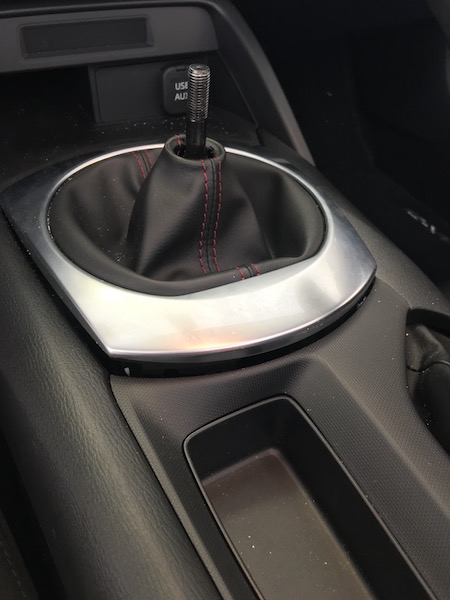
Use small flathead screwdriver to lift shift Boot Surround.
Work from front corner down one side, around bottom and up to opposite front
corner until loose.
Remove Shift Boot Surround and attached Front Cubby Liner, set aside.

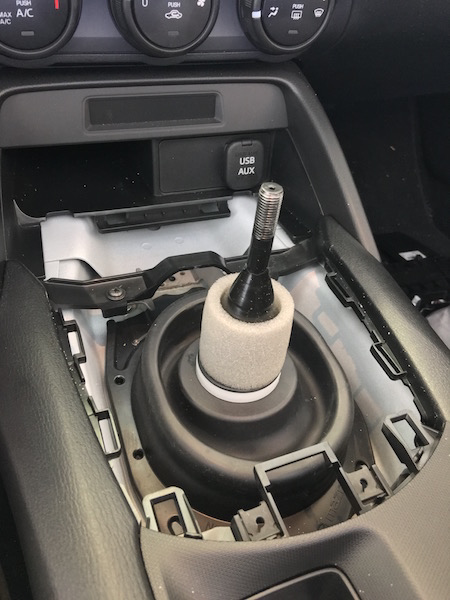
5. Remove (2) phillips screws forward of Shifter Shaft. Label and set aside.
Placing thumbs as shown below and lift gently with cupped fingers from below to pop front clips out.
Remove & unplug Infotainment Control Module, set aside (Sport models - skip this step).
Slide E-Brake Boot over handle and as high up the shaft as possible.


Remove Seat belts from retainers on seat.
Move seats all the way forward and tilt up all the way to allow max space behind
the seats.
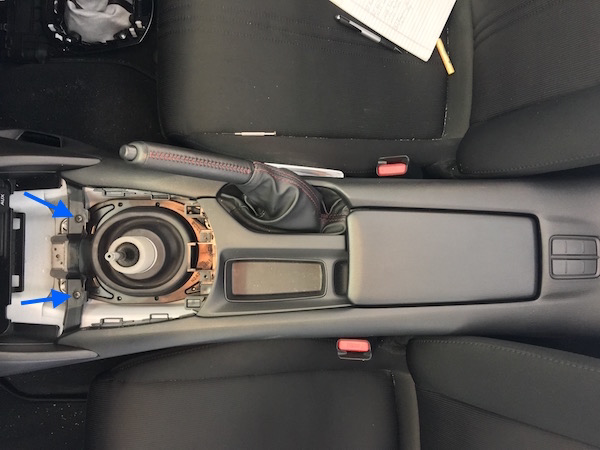
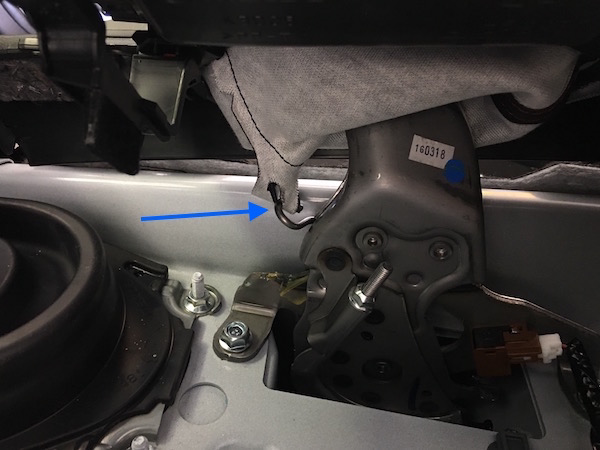
Step into space behind seat and grip console on either side of cupholder mounts.
Lift gently to release rear clips.
Reset seats to normal position.
13. Lift console slightly and unhook bottom of E-Brake Boot from retaining hook.
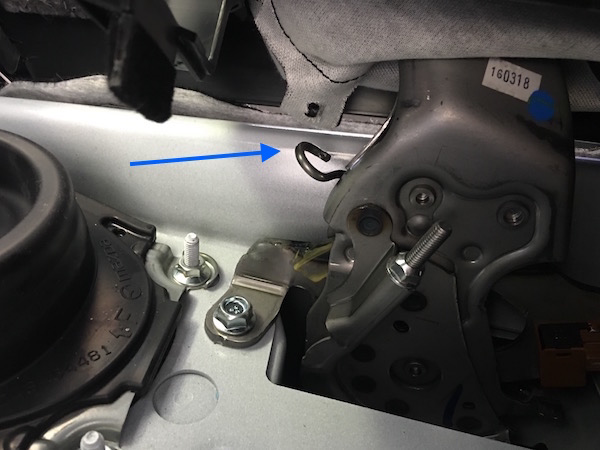
Lift and move console forward so console comes away from vehicle and E-Brake
Boot slides over handle and off.
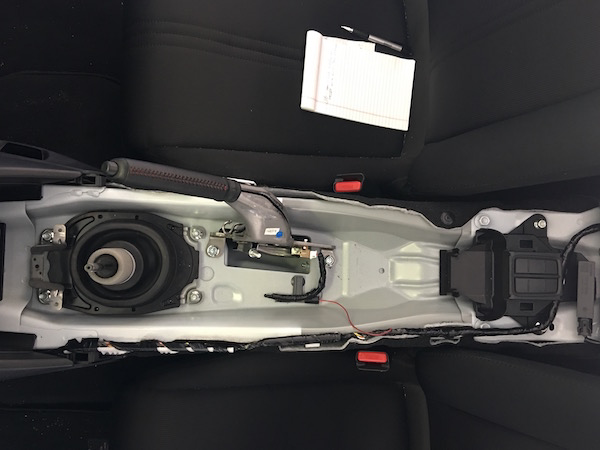
Celebrate the glory of the naked tunnel, remove any extra grams the engineers
may have missed.J
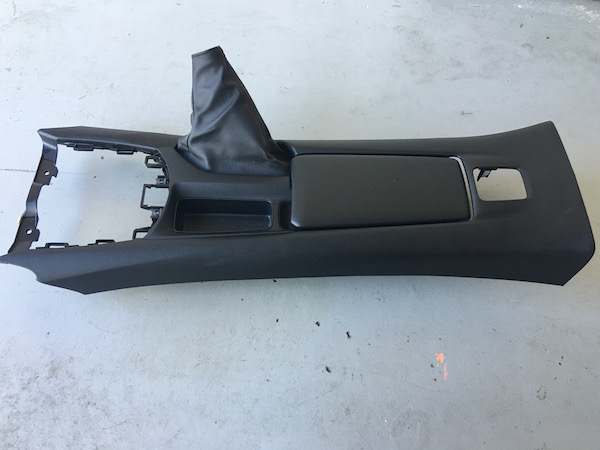
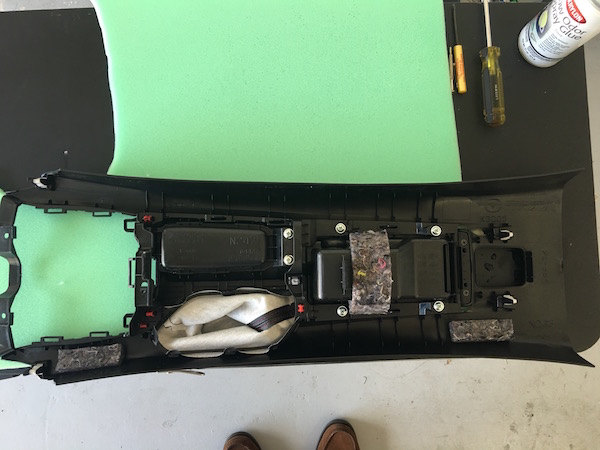
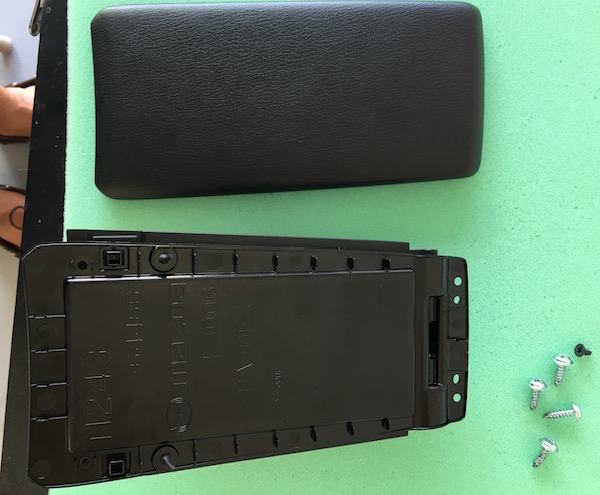
Step 2: Armrest Cover removal
16. Flip console over and place on padded surface.
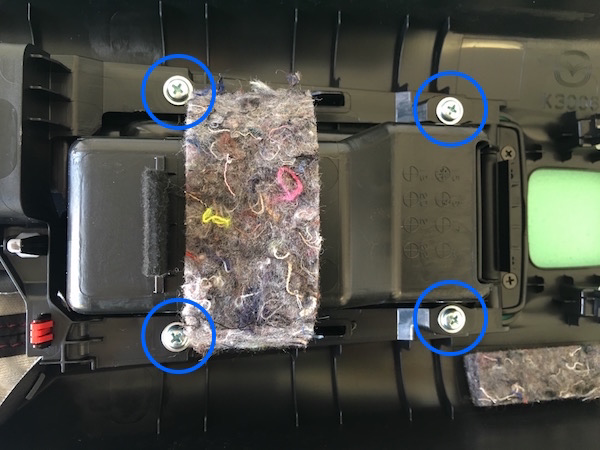
17. Remove (4) SS phillips screws holding Armrest Cubby to Console Frame, set
aside.
18. Remove (2) small black screws that connect Armrest Cover to Armrest Hinge Plate, set aside.
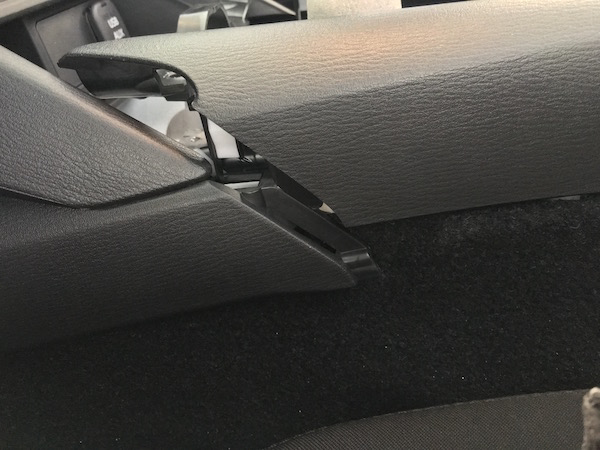
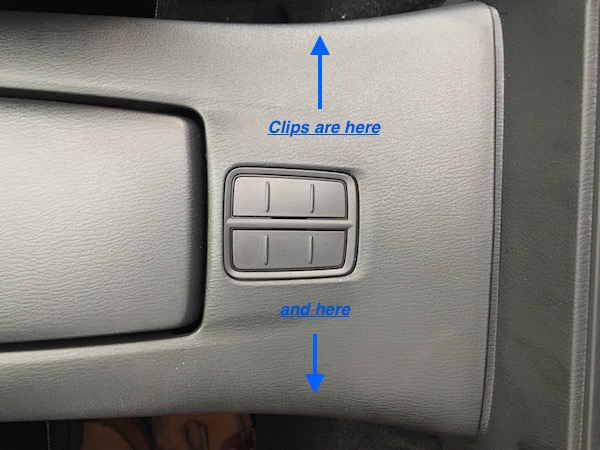
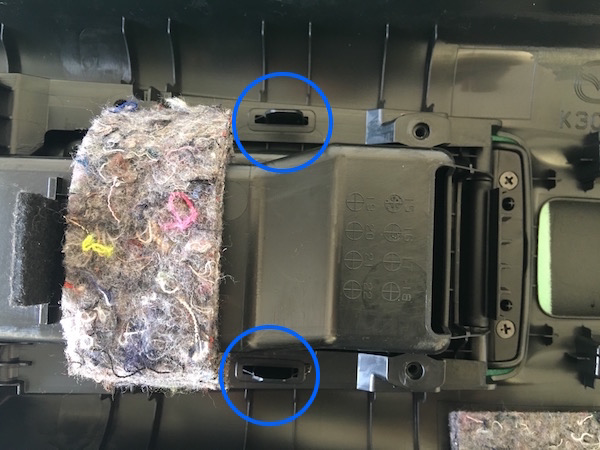
19. Gently press black plastic clips out and push Cubby / Armrest assembly out. Set console aside.
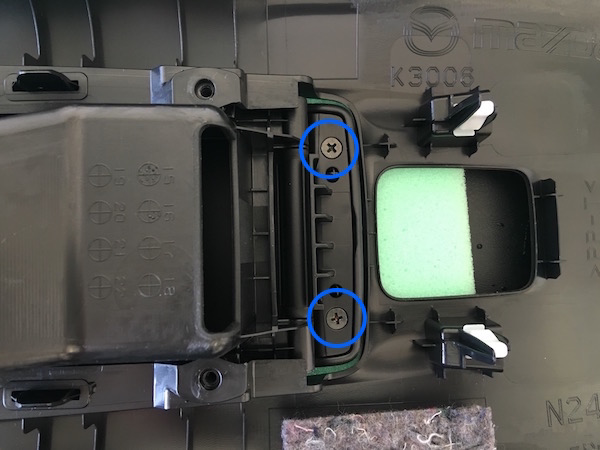
20. Open Armrest Cover and remove (2) black screws holding Armrest Cover to front
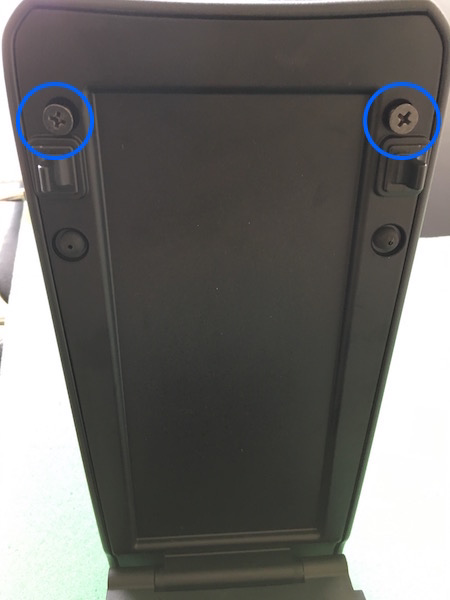
end of Armrest Hinge Plate, set aside.
21. Remove Armrest Cover Plate from Armrest Hinge Plate. Set Hinge Plate / Cubby
Assembly aside.
Step 3: Mounting the RedlineGoods Armrest Cover
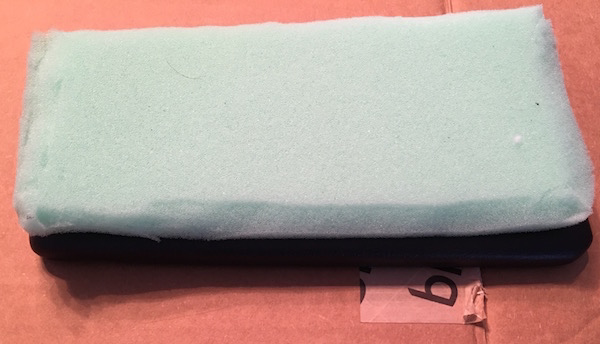
22. Clean plastic Armrest Cover and wipe lightly with Isopropyl Alcohol.
23. OPTIONAL: if you bought the RedlineGoods supplied padding, it should be sized
correctly, but trim if necessary.
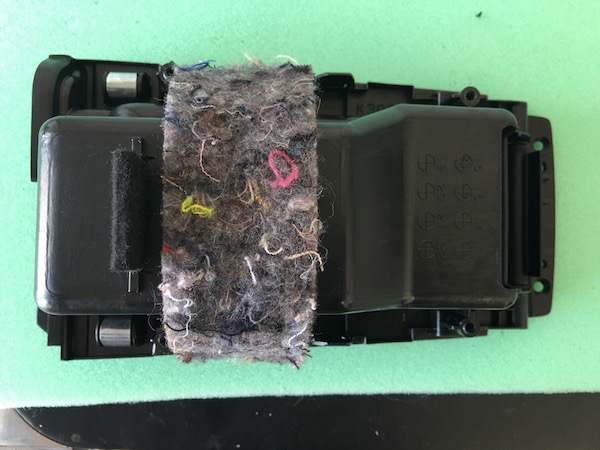
24. Trace outline of cover onto foam and trim padding 1⁄4” smaller than outline.


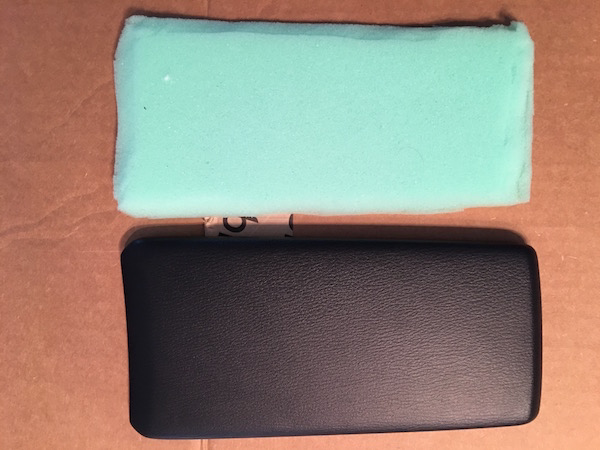
Use hobby knife to bevel edge if desired.
Use Spray Adhesive to tack foam to top of Armrest Cover in correct position.
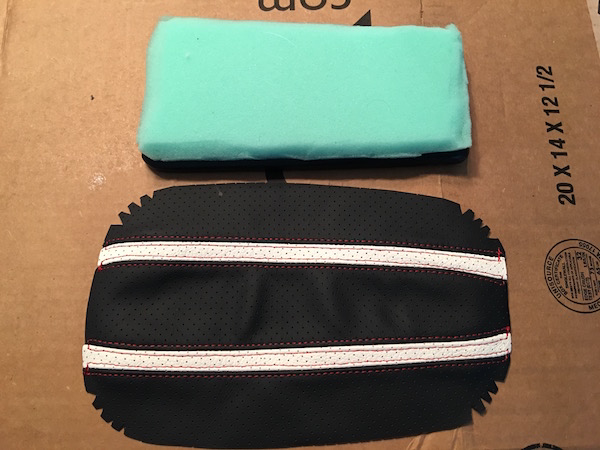
Lay Redline Armrest Cover upside down on cushioned table.
Lay Armrest Cover w/ padding upside down and align F/B, L/R.
Apply a small amount of Superglue to both narrow ends in strategic places and
allow to dry 10 minutes.
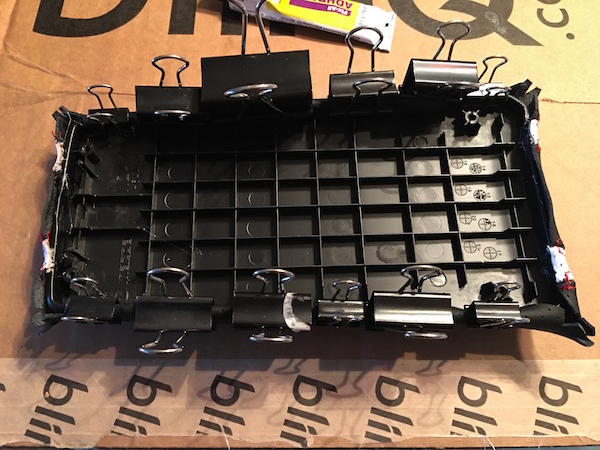
Apply pressure to entire back of Armrest Cover to compress padding (this is important to ensure cover is tight and smooth). Bend leather cover around edges at
tack points. Hold in place with clamps or binder clips until dry and tack point stay in place.
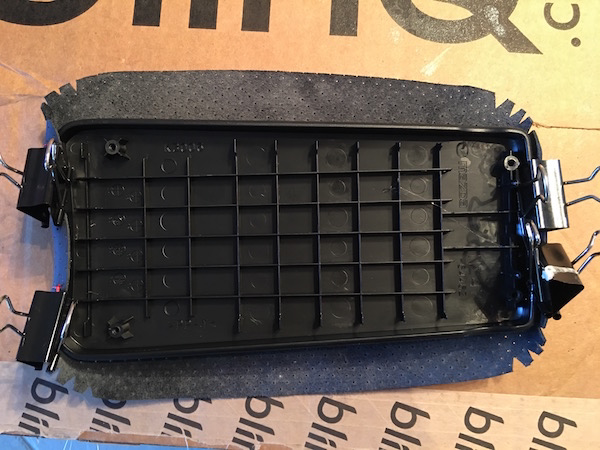
31. After initial tack points are dry, remove clips and apply bead of superglue along
long edges. Again, while applying pressure to compress padding, wrap long edges of Redline Goods cover around Armrest Cover and clamp in place. Allow to dry at least 30 minutes.
32. Note: Adjust clips periodically so they don’t glue themselves to the leather. This is particularly important if you chose perforated leather as the glue will seep through the holes.
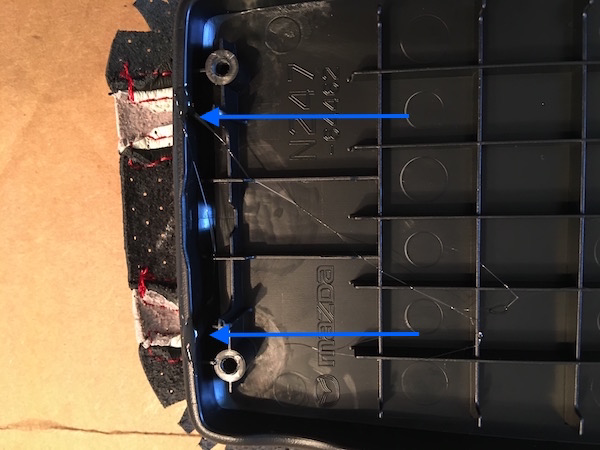
After leather/glue bond is dry on long end, remove clips and use toothpick to apply bead of superglue along short edges under leather. Again, while applying pressure to compress foam, wrap edges of Redline Goods cover around Armrest Cover frame and clamp in place. Allow to dry at least 30 minutes
Cut slits in corner material as needed and carefully glue down. go light on the glue, you’ll have to hold it in place with your fingers along the corner curves.
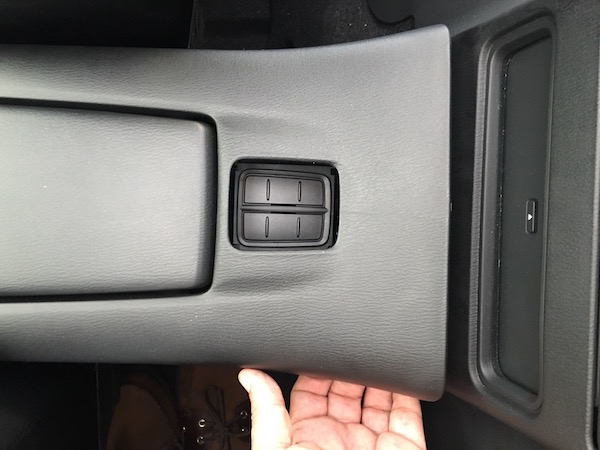
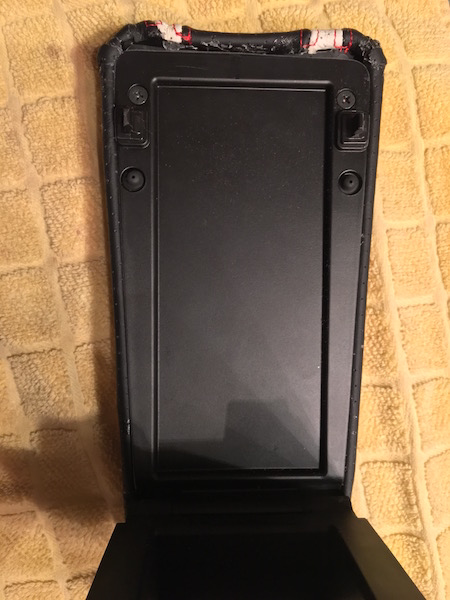
35. Once the glue dries thoroughly, test fit the Armrest Cover to the Hinge Plate.
36. Most likely, you will need to trim the length and width of the Hinge Plate using your
choice of a fine saw, file, or sandpaper. In any case, sand smooth.
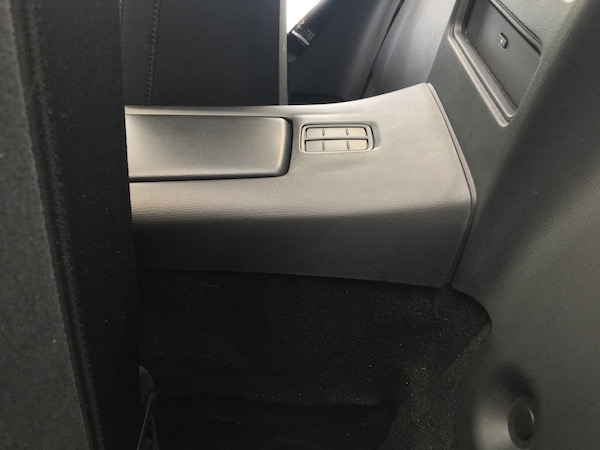
Once mounting plate fits flush within the Armrest Cover, you can begin reassembly. 37. Flip Armrest right side up and admire your work. Allow glue to dry at least 1 hour.
After glue dries, carefully use blunt edge/point of hobby knife to peel away any excess glue.

Step 4: Reassembly
Beginning with Step 19 and working backwards (don’t forget to reattach E-Brake boot to retaining hook, step 13), complete your Armrest upgrade by reattaching your shift knob.
Take a step back and enjoy the results.
Total time (most to allow glue to properly dry) is approximately 8hrs. Vehicle is
drivable with console removed (Step 14).
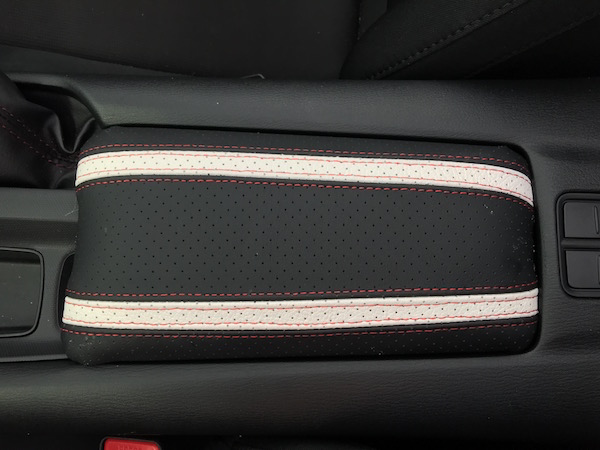
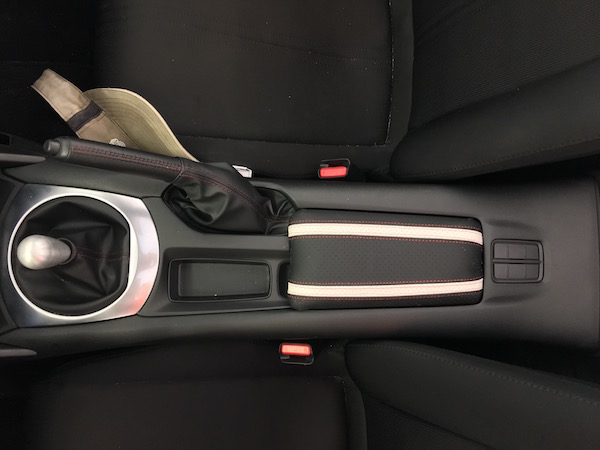
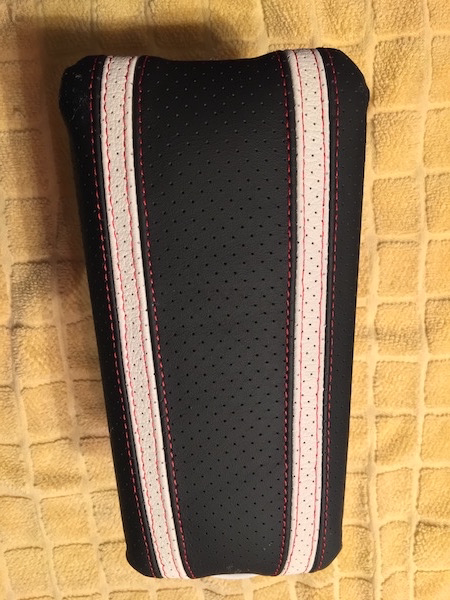
Completed install with a custom design of Black Napa Perforated Leather, Racing Stripe in White Perforated Leather, and Red (JDM) Stitching. ENJOY!