You must be logged in to rate content!
8 minute(s) of a 391 minute read
11-27-2012
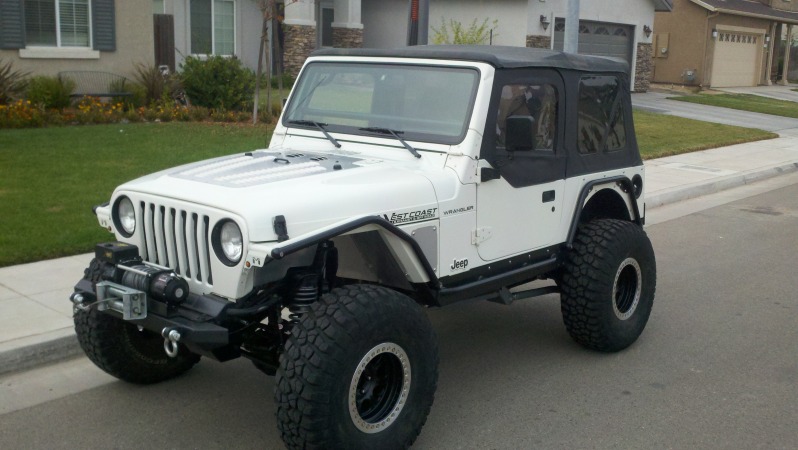
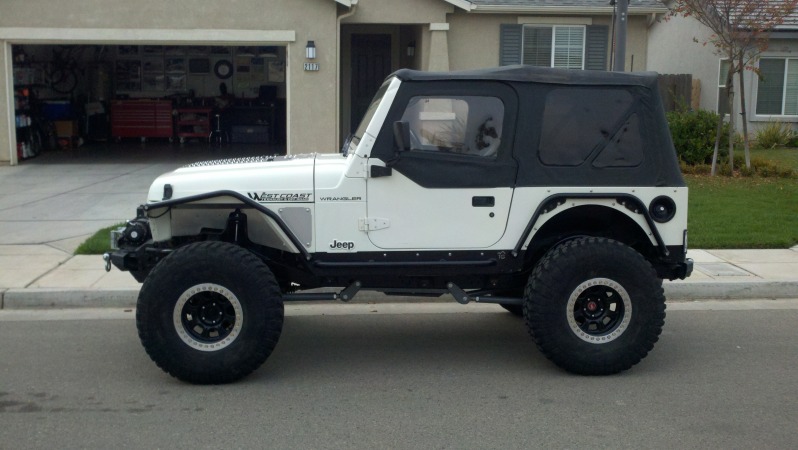
Finally have to admit winter is here. Winter mode activated. This may be this tops last season...... that rear window was a pain to zip!
Ok so here's the plan. Order two 1" JJ's, two 1" tube adapters and four 1.25" tube adapters. Snow wheeling this Saturday!!! Tear down next Tuesday when my brackets arrive, and reassembly throughout the week / weeks..... depending on how everything goes. Goal to be ready for our annual Snow wheeling trip on New years day. 
11-30-2012
Ok so next week is a big week for my little Jeep. My UCF brackets arrive on Tuesday, and tear down begins. I've decided to leave my rear links alone. After doing some research on what length's have been working well for people these are actually already pretty close at 28.5" eye to eye. Short for a "long" arm. I am going to take approx. 2 inches off the front links and get them down to 27" ish. I need to do this because at my low lift height, and lower profile of the UCF mount my links will most likely hit the frame, as it is now it's very close.
I also just ordered this....
It about killed me to spend the money, I don't see why it costs so much! Pretty exciting changes. I can't wait to dig in.
12-1-2012
We had a fun time wheeling today. I tried some new lines, had some success and some failure! The group consisted of 3 teejays, and one H1 HUMMER...... that broke. Looking forward to my tear down but was glad to get one more wheeling trip in before the really heavy snow.
The traditional air down and sway bar disconnect to start the day.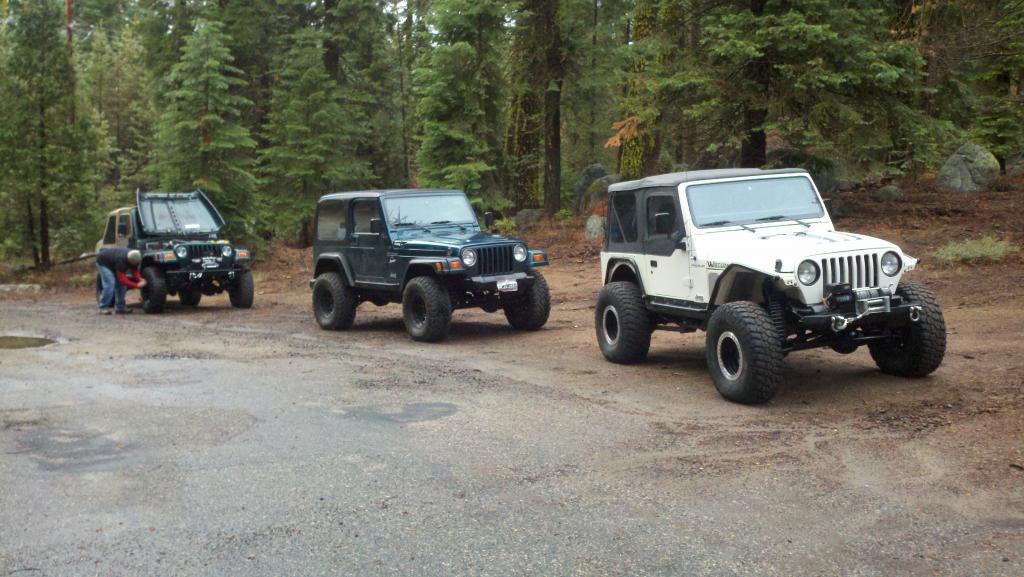
Today's terrain consisted of a lot of wet rock and a lot of snow up a little higher. Very fun conditions.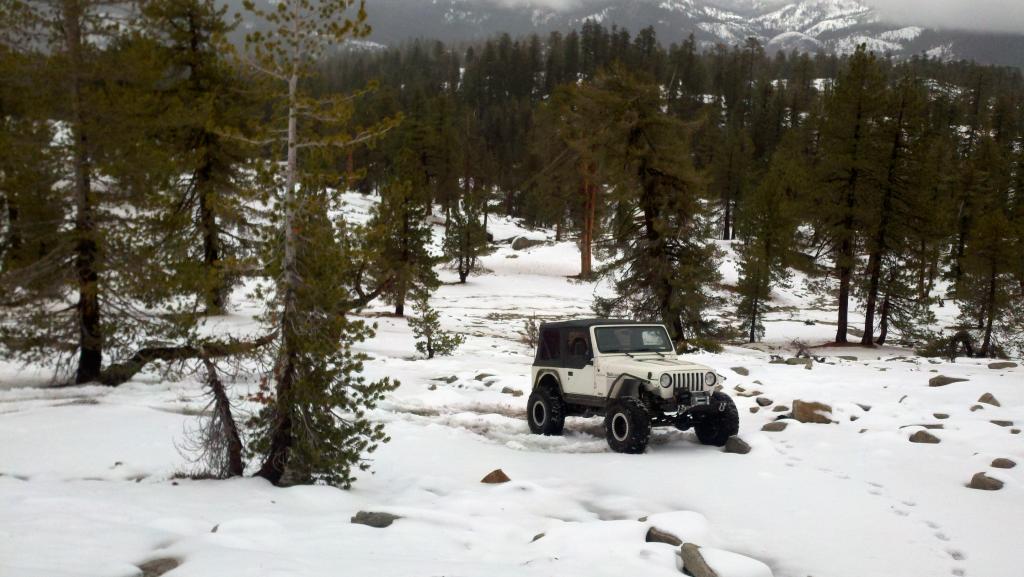
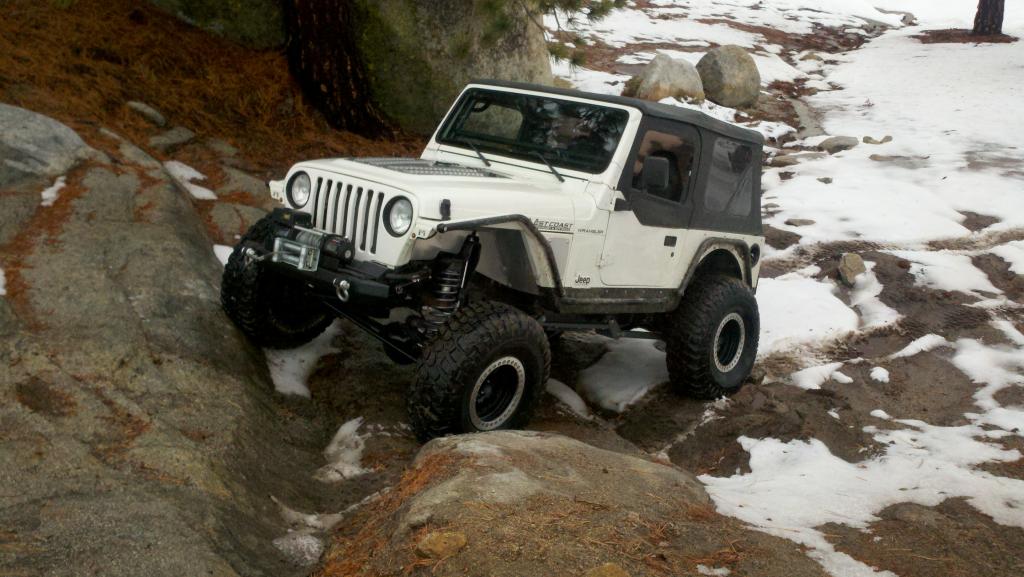
It's hard to tell, but this is a long steep loose rocky hill that we came down. The actual trail is on the right, but the snow pushed us to the left and everyone was way out of shape trying to control the slide and stay on trail.... this photo is funny, I had made it down already and was just laughing at the these yahoo's all kinds of sideways and out of shape.
Beadlocks collect a lot of snow...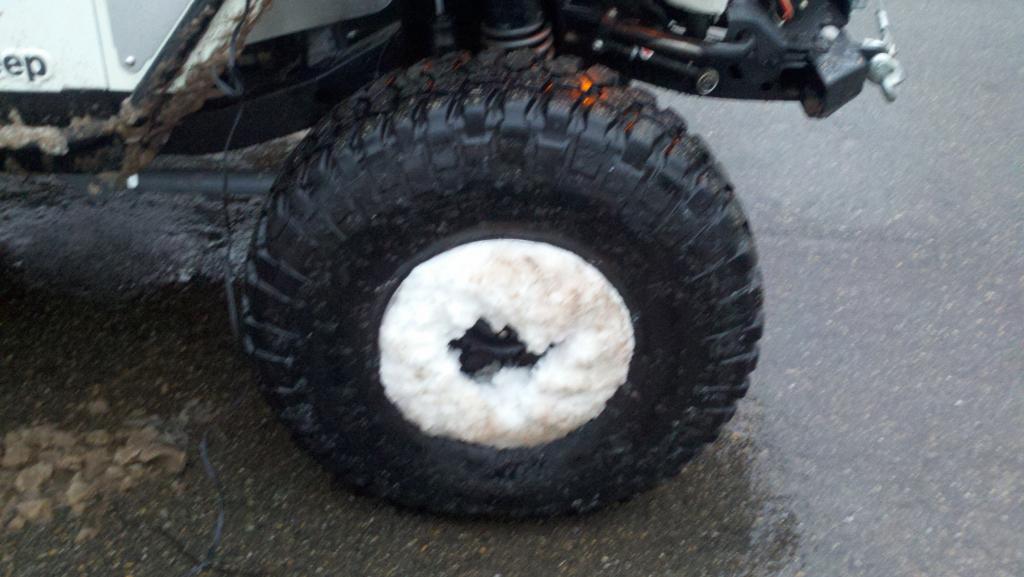
Finally made it out.. after several hours helping the hummer. One of his front axles came undone from the center section, well it either sheared the bolts or they backed out.... and guess what??? The axle captures the brake rotor and the caliper is on the inside too.... all I could do to get him out was get the axle un wedged from the rotor, caliper and let it droop down on the a-arm and we took it slow in 2wd. It worked luckily, cause I wasn't wanting to take it apart..... not that I even knew how to! Long tow into town for him.... about 60 miles after we hit the main road. But I got him out!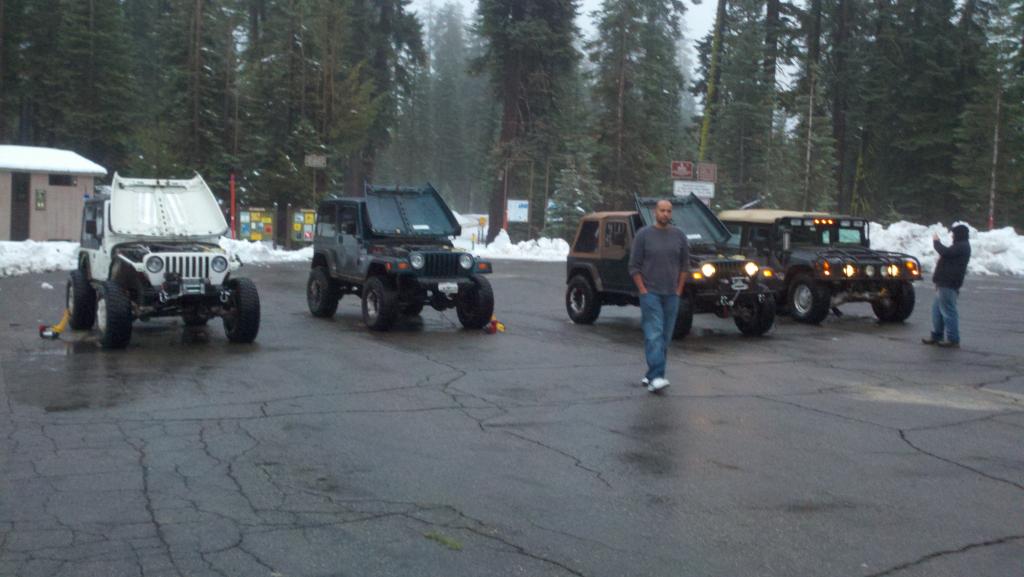
Well it was a memorable day. Can't ask for more. 
12-2-2012
Trail turns into a stream in some areas in the winter. Pretty fun to cruise along it.
http://s13.photobucket.com/user/gst95dsm/media/video1.mp4.html
12-3-2012
Cleaned up and ready for surgery tomorrow. I'm going to tackle the shock outboarding, then the link mounts.... Wish me luck! 
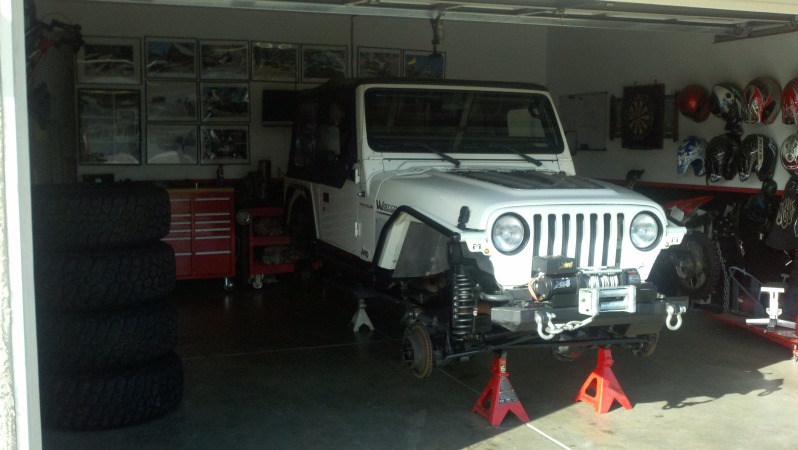
I walked into the garage right now to get that measurement for you.. then realized my Jeep is on Jack stands, haha. As soon as it's back together I will get it.
Well my shock relocation stuff came in as scheduled and is quite beautiful. Nicely tig welded. I also ordered some tube adapters from Poly at the same time..... and BOOO! They sent the wrong ones! One size too small, and yes I did order the right ones. Oh well I'm sure they'll make it right. So tomorrow is strictly focusing on the shock outboard.
12-4-2012
It's going...... teaser. 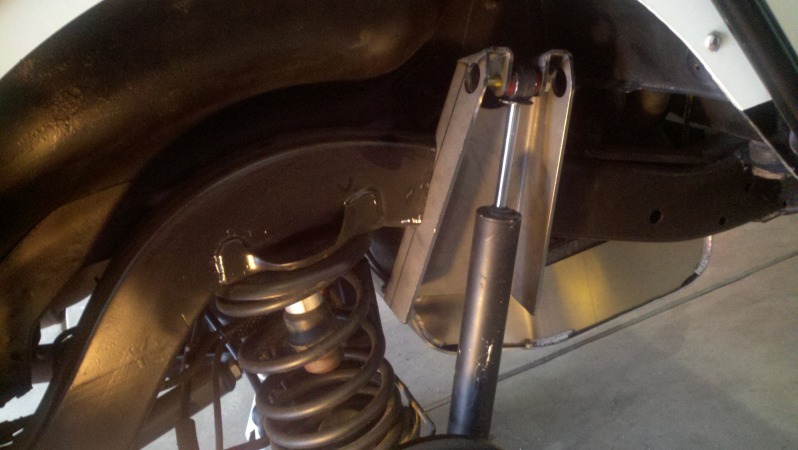
I worked on the shock outboard pretty much all day today. Everything went fairly well. There was quite a bit more grinding and fitting than I envisioned for some reason. Part of the problem was me being timid and making my cuts less than what I knew they needed to be and grinding to the final dimension. Better safe than sorry.
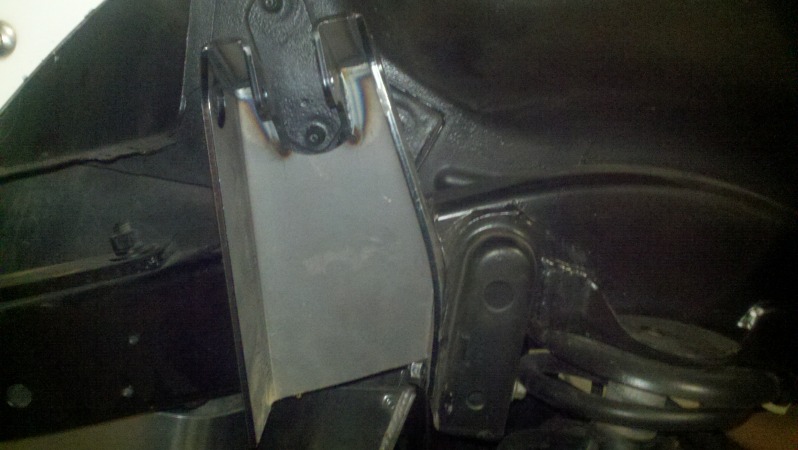
Fit up on the lower shock mounts I thought was going to be as simple as sticking them in between the control arm mounts and tacking them up.... WRONG! Haha... this was really my only surprise today and ate up some time while I got my head together to figure out why they didn't fit up well. They are made "square" and well, the place they go (assuming stockcontrol arm mount) is NOT square. The control arm brackets are at an angle in relation to the axle tube that needs to be matched by the bracket in order for it to be level horizontally and fit in between control arm bracket tightly. It probably would not even matter if it wasn't level, but it looked wrong and it didn't fit against the tube very well. So the grinder had to start making noise.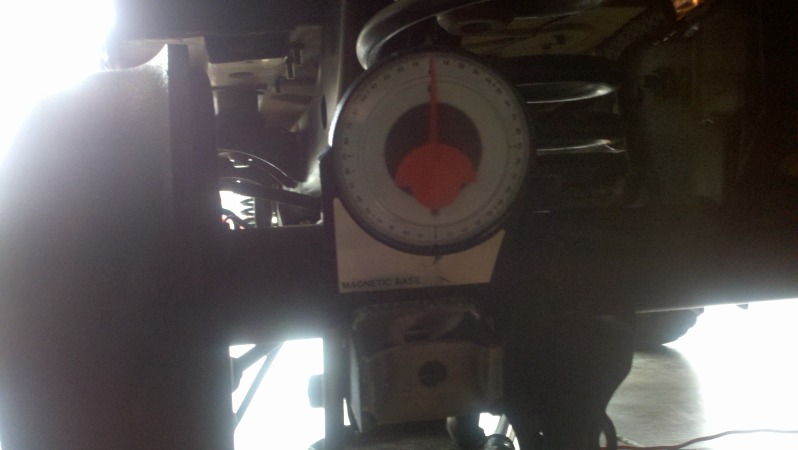
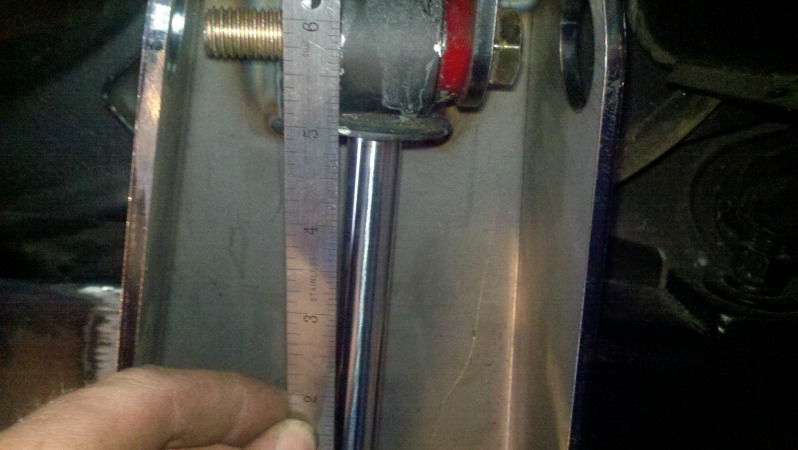
Oh here's a quick pic of why I really wanted to do this. And it's actually only 3 inches... this is where I discovered my axle wasn't level. Oh yeah.... it's NOT easy to get things level, using jack stands. Good lord.... I was driving myself nuts going from side to side taking measurements.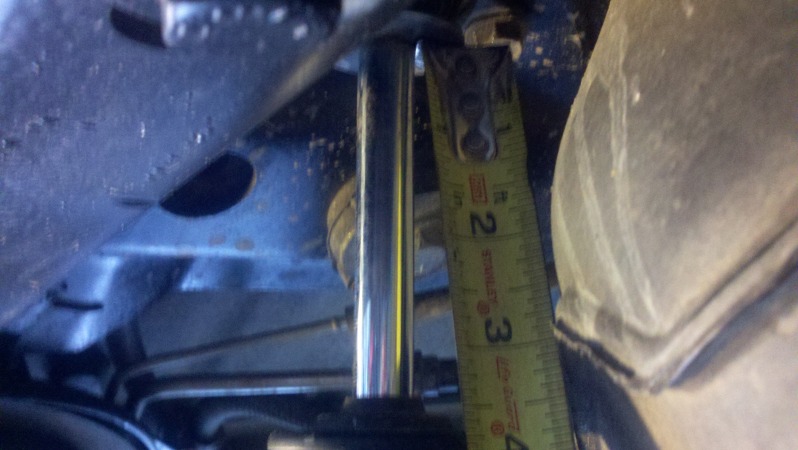
Now onto cutting the frame.... just measure, fit, measure, think, measure, think again, measure, then start cutting. No real advise here, sorry.... I found it awkward to figure out. I cut small and ground my way into fit up a little at a time until I got the desired amount of up travel. Be careful if you're using a grinder to cut, I had a drop today, and luckily did not hurt myself.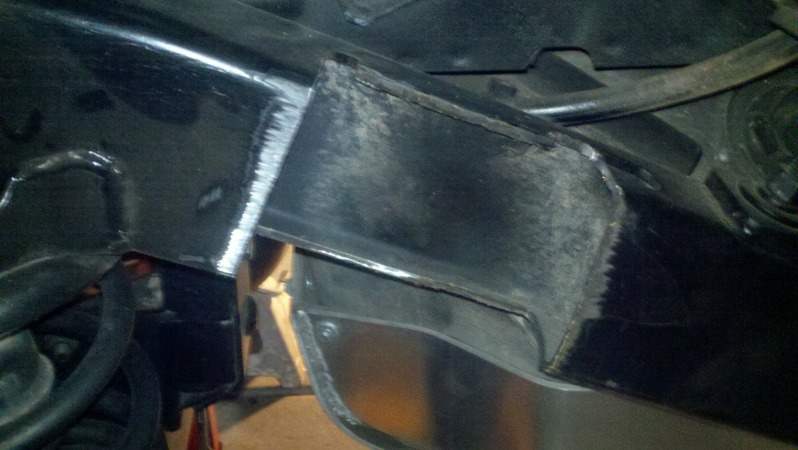

I have the drivers side completely fitted, I just need to clean it up a bit and it's ready for welding. The passenger side is much more difficult dealing with the track bar bracket. I'm about 80% fitted up on that one and it's going pretty well. I plan to get that squared away after work tomorrow.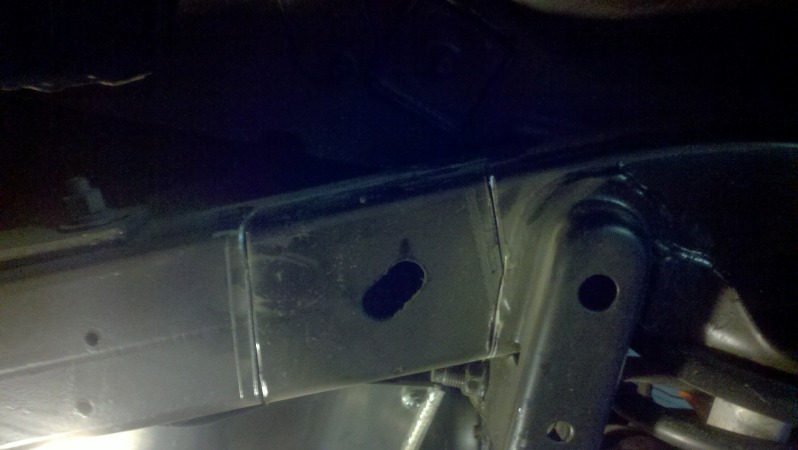
So all in all I was productive today, a little slow and a little messy but I think it's going to work out.
Wow this is something!
Posted by Diggymart on 12/1/21 @ 7:43:28 PM