You must be logged in to rate content!
10 minute(s) of a 620 minute read
1-27-2012
Cowboyup94, I'm glad you like this method. I do have to ask, what is the other way that you are familiar with? I don't mean to put you on the spot, you don't have to answer if you don't want to.
LA-Sahara, without any pictures, I hope I explaned well enough.
Now for the painted/bed linered crossmember and hangers. Yes, I made a mark in it during assembly.
I took a long time fitting all these pieces together when building them. The biggest pain was the way the frame tapers wider from the front to the back of the truck. Working with this was tough, no matter what I did I always had to compensate for the angle. Once again, what I figured would take a couple nights, ended up being a little over a week. Just another lesson, if it's something you've never built before, how can you put a time limit of completion? You gotta stick with it til it's done.
Anyway. as I started to say, when it came to final assembly, it all fit together like a well made crossmember kit.
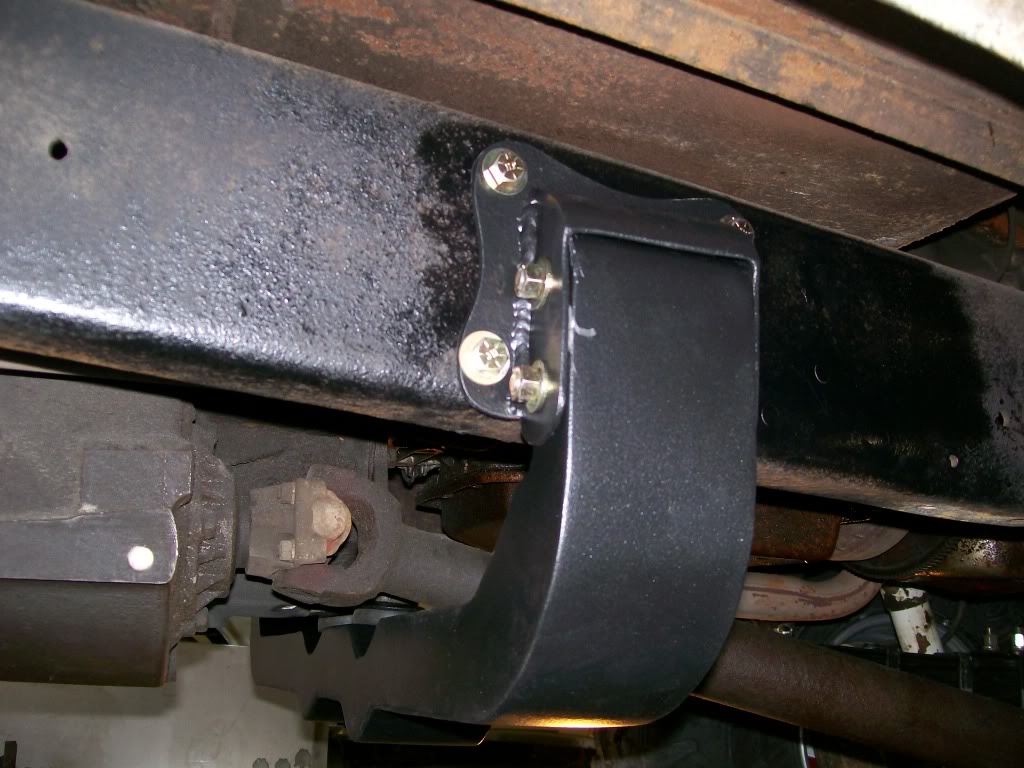
I like this front picture of the crossmember. One issue I have to settle is the engine location. This will all be taken care of probably in spring time. Other wise, when I lowered the weight onto the crossmember, it didn't flex at all. This is me high fiveing myself in the mirror. Ha ha, I crack myself up.
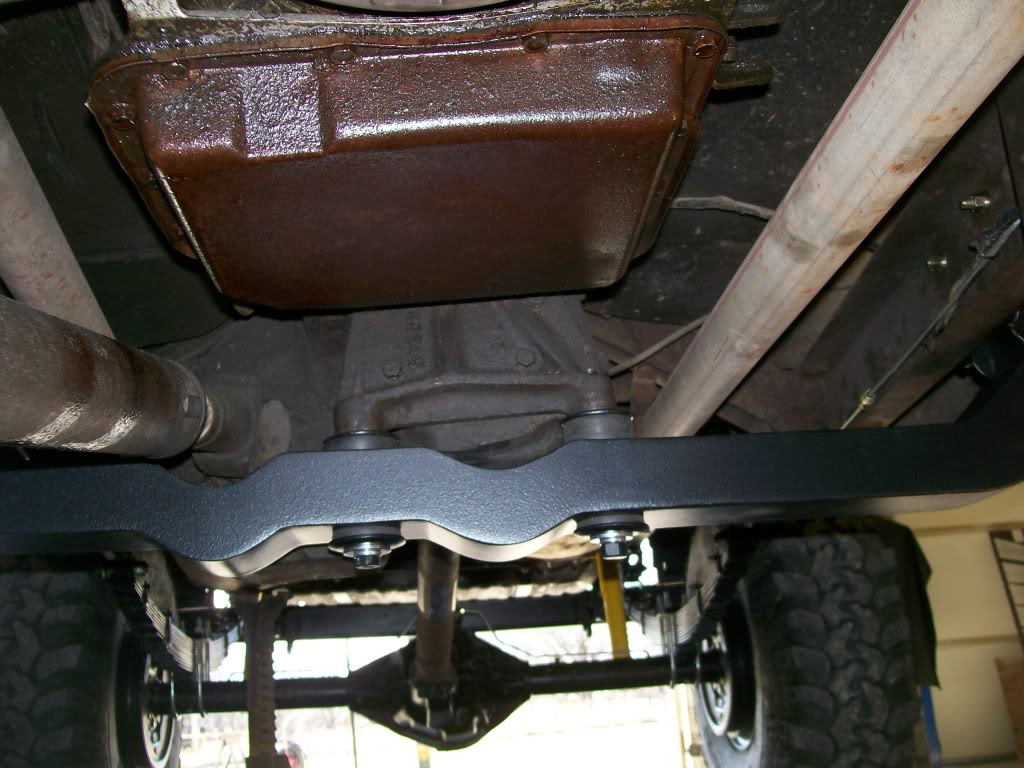
One more from the other side.
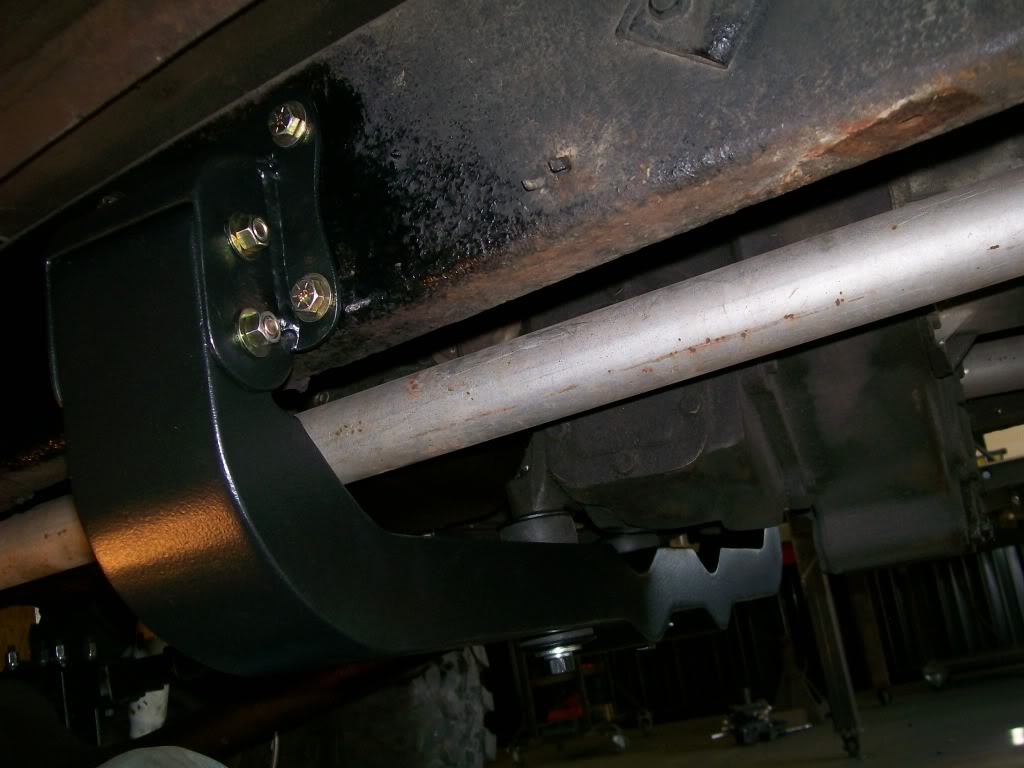
Ok, I don't know the absolute rules of the forums. For the next month or two I'm gonna tinker with a couple other projects. We've seen the '57 Chevy truck in the background. I had just dropped a big block Chevy in the enginebay just before my dad passed away. I need to get it in primer and take care of a few odds and ends. In the next picture is another hobby is just building stuff. This started out as a seat on the floor then I drew with chaulk the outline of the frame, and built from there. Behind it, under the car cover is a '65 corvette. I've got sme odds and ends to tinker with on it.
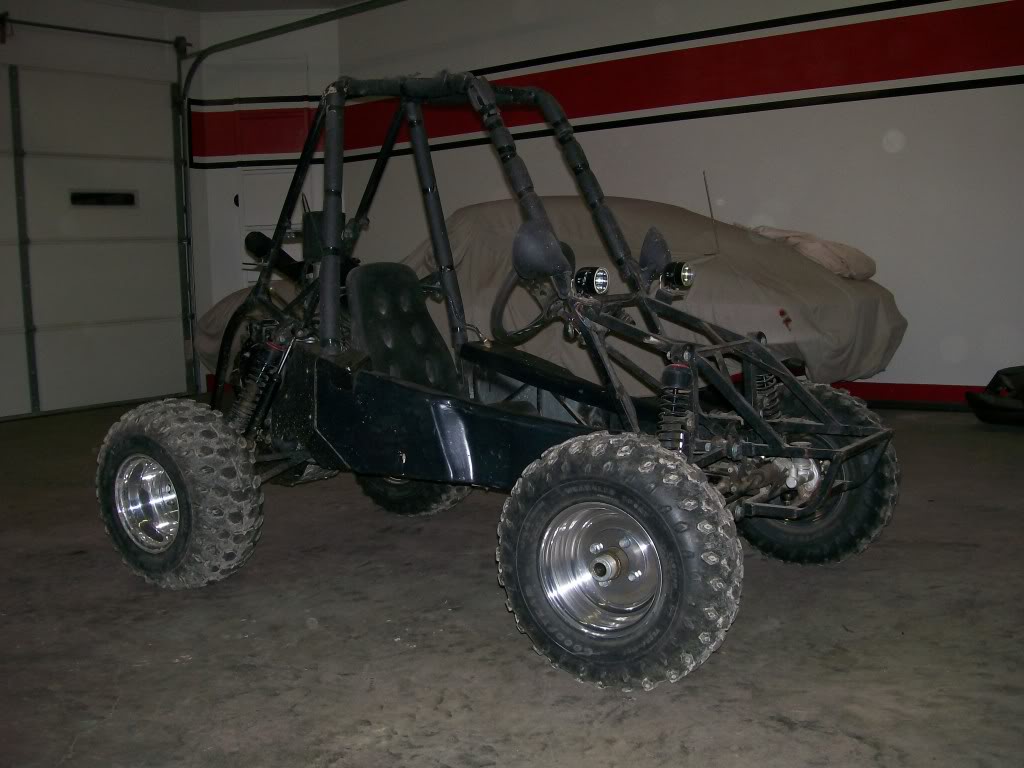
My point is, This thread has turned into more of a fabrication thread than a 1950 Willys rebuild. Even if I fabricate stuff for something other than a Jeep product, is that allowed?
hallsofstone, since it is your question that brings up the idea of stuff other than Jeep stuff, I will continue to post. There is alot more to learn in toolusage and fabrication.
1-29-2012
hallsofstone, You are correct, if while doing other projects I do fabricate or rebuild an engine, carb or transmission, this knowledge will still be very applicable to building or restoring Jeep projects.
The reason I have to stop working on the Willys is there is still the possibility of getting some bad weather and anything else I do to it is gonna make it unusable if we get a large snowfall.
One project with the Willys is I do not have a strong crossmember that goes under the engine. The original one was cut out before I bought the truck and I never put a strong one back in. Since the engine has to come out to build a crossmember, I'll wait til spring.
On the '57, the frame is in great shape already. Around 20 years ago before my dad bought it someone swapped the old front straight axle suspension for a elcamino front frame. Whoever did the swap, did a nice job, I have no problem working with it just the way it is.
For the last 20 years he didn't get to enjoy the truck. It had a bad hestitation, the charging system didn't work right, the 327 ended up having a crack in the block, and a few other issues that never provided him with a confidence inspiring drive. This takes us back to when I mentioned the need to know how all the parts on a vehicle work, without this knowledge you'll never feel confident to really enjoy driving something old and classic.
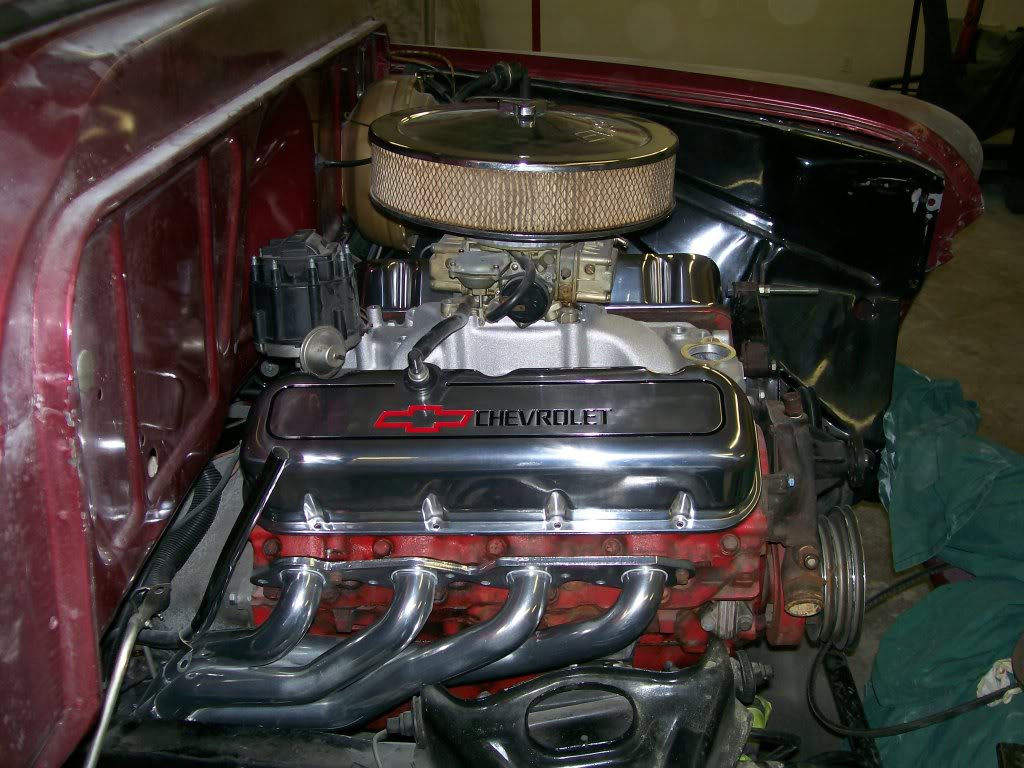
We started from scratch with the body to the powertrain. I had a 396 Chevy so we bored and rebuild it for the truck. I figured I'd fulfill his need for power and there's something about opening a hood and seeing a big block sitting there. So his visual would also be fulfilled.
Of course it is a tight fit, and I took my time fitting it in. My priority was that there had to be space all around the engine to be able to work on it later.
Here is a picture of the engine sitting in place. I was just doing a mock-up so some of the parts are there just for size and dimentions.
1-30-2012
Just did a couple odds and ends on the Willys this weekend. Metal working wise I decided it was time for a Willys key chain. Cut out of 1/8" stainless steel I downsized the emblem image to a key chain size that I used when I made the Willys emblem on the gas cap cover.
Know this, once the plasma cutter is done there is a slight slaggy mess that I have to file and clean before it looks this good, but it's worth the effort.
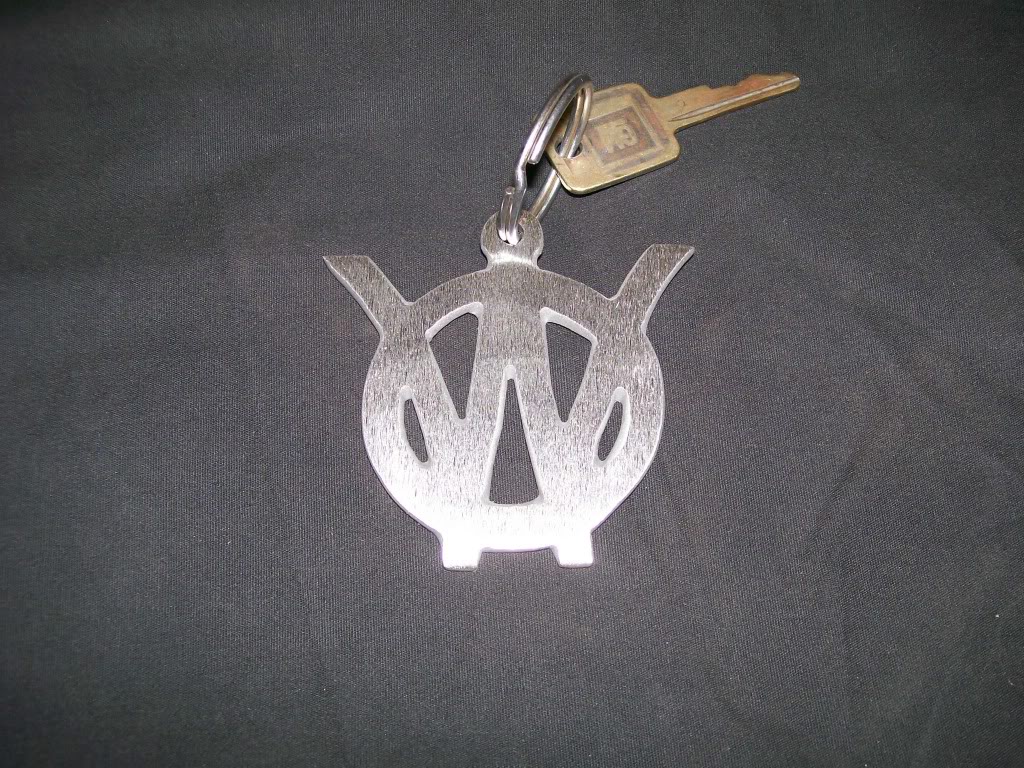
Only problem is the W's have sharp edges. Be careful when in the front pockets.

1-31-2012
On the key rings, I'm gonna see if I make some more in the next couple days. Like I mentioned, after the plasma cutting is done I still have a fair amount of work to do to get it looking like this. In the past I have made key chains. The ones I have made were for commercial use. Basically the vehicle had a single diget number so I cut out the number that represented the vehicle. These are used 6 days a week and still look like the day I made them.
What I'm saying is, being stainless steel they look great, and stay looking great. If I'm gonna sell any of these they're gonna cost around $30.00 a piece with shipping. If your still interested let me know.
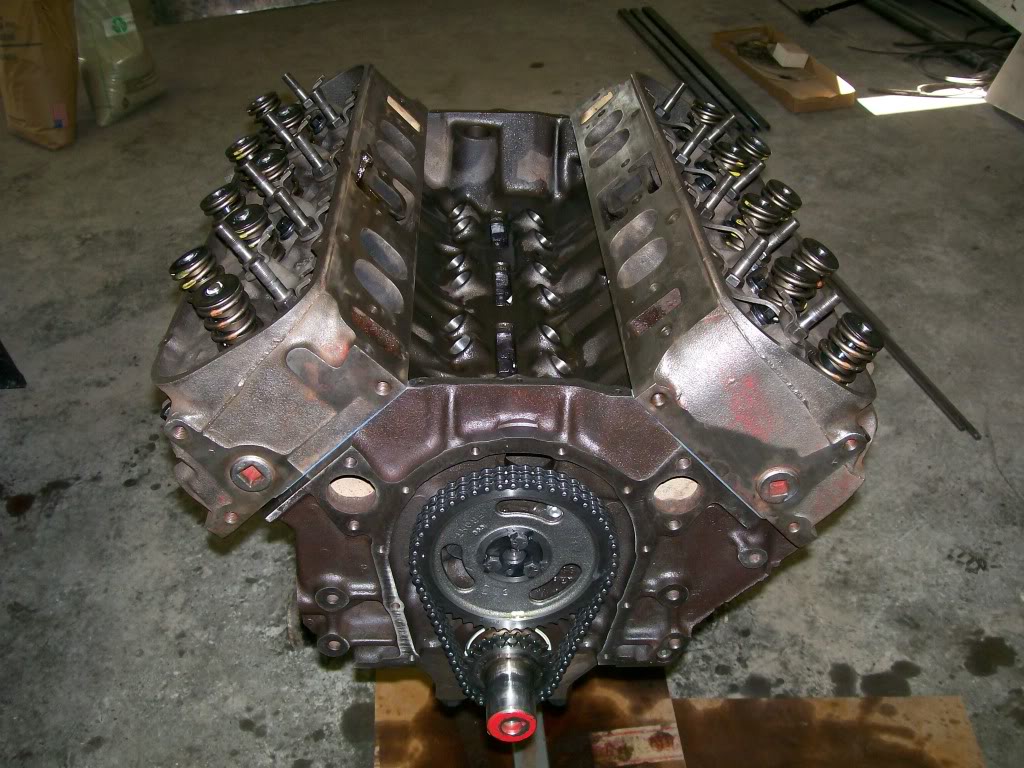
oldtime_ironman, glad to make your day. Since the engine is the focus for a moment, and I figure many here haven't seen much of the insides of an engine, we'll crack it open and take a look see.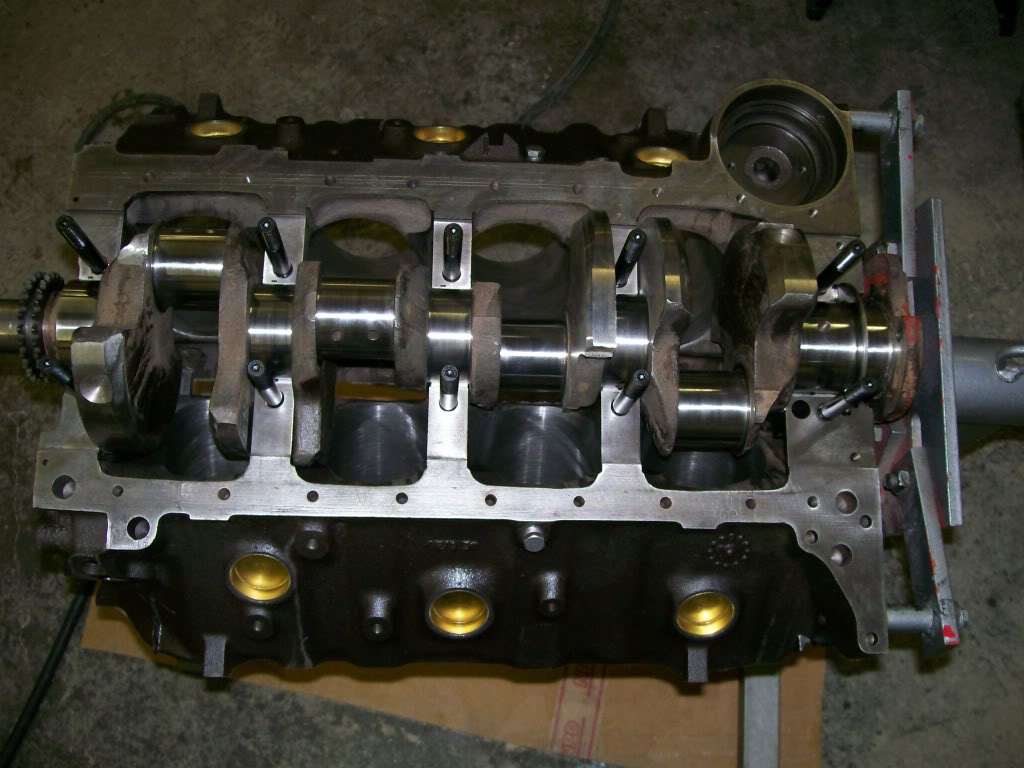
Basically the bottom side of a big block Chevy. One thing we can settle for many is the term "4 bolt main block". This particular engine is a two bolt main. Simply put, you can see the crankshaft in place. Not looking at the very front and the very rear of the crankshaft, but at the center 3 journals where you see a stud pointing upward you see one stud on each side of the crankshaft, this is a two bolt main. If at these center three journals you see two studs perside this would be a "4 bolt main".
I have installed studs vs using bolts. The factory used bolts that's why it's called "4 bolt main". There are kits to where if one feels it is necessary to have 4 bolts/studs you can purchase aftermarket caps with the 4 bolts then you have to drill and thread the block and take it to a machine shop and have machine work done to match the new caps to the block.
Who here has heard of a plastiguage and didn't have a clue as to what they were talking about???
Much simpler than one may think. The clearance between a rod or main bearing to the crankshaft if very, very critical. There is only a couple thousands of an inch that is allowed during assembly. Problem is, once the parts are assembld, there is no way to see the clearance.
This is where a plastiguage comes into play. Plastiguage is nothing more than a string, a little larger in diameter that heavy duty fishing line. This is made from a soft plastic. The way you use it is to assemble the bearings and the crankshaft as usual, put before you put the main and rod bearing caps in place you put a piece of the string between the bearing and the crankshaft. Now tighten and torque to spec. Now untighten and remove the cap. What you will find is that the soft plastic string will be crushed. The more clearance, the less crush. The less clearance, more crush will happen.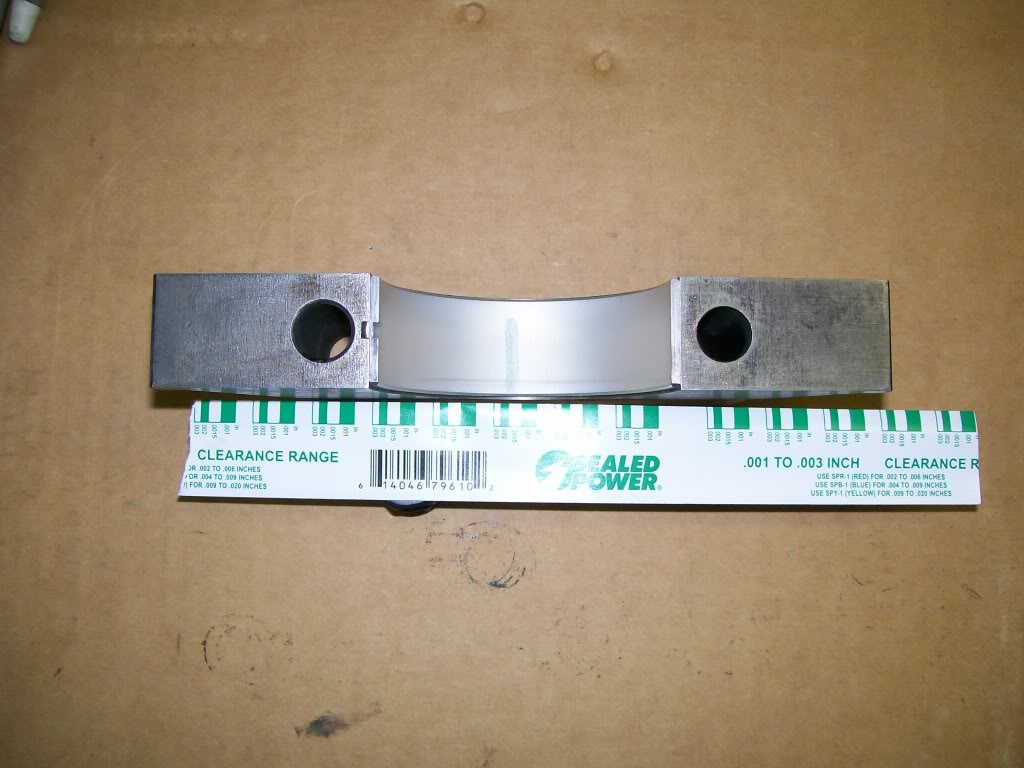
There is a proper spec for every engine. This engine I'm working with is a tight cleance motor. In the above picture look close to the cap and bearing and you'll see a green mark going across the bearing surface. Ok, now using the scale that I have placed by the green mark you'll see the width of the smashed green mark will be close to one of the widths of the scale. In this case the clearance of this bearing to crankshaft is between .0015 to .002 on the scale. Now I know the clearance I have for oil to be able to lubricate the bearing. I also know that the clearance isn't too great of which will cause a knocking sound and also cause a low oil pressure situation.
And one of the engine coming together.

Ultimate classic truck right there
Posted by CCmyVW on 12/26/20 @ 4:17:42 PM