You must be logged in to rate content!
15 minute(s) of a 620 minute read
10-14-2011
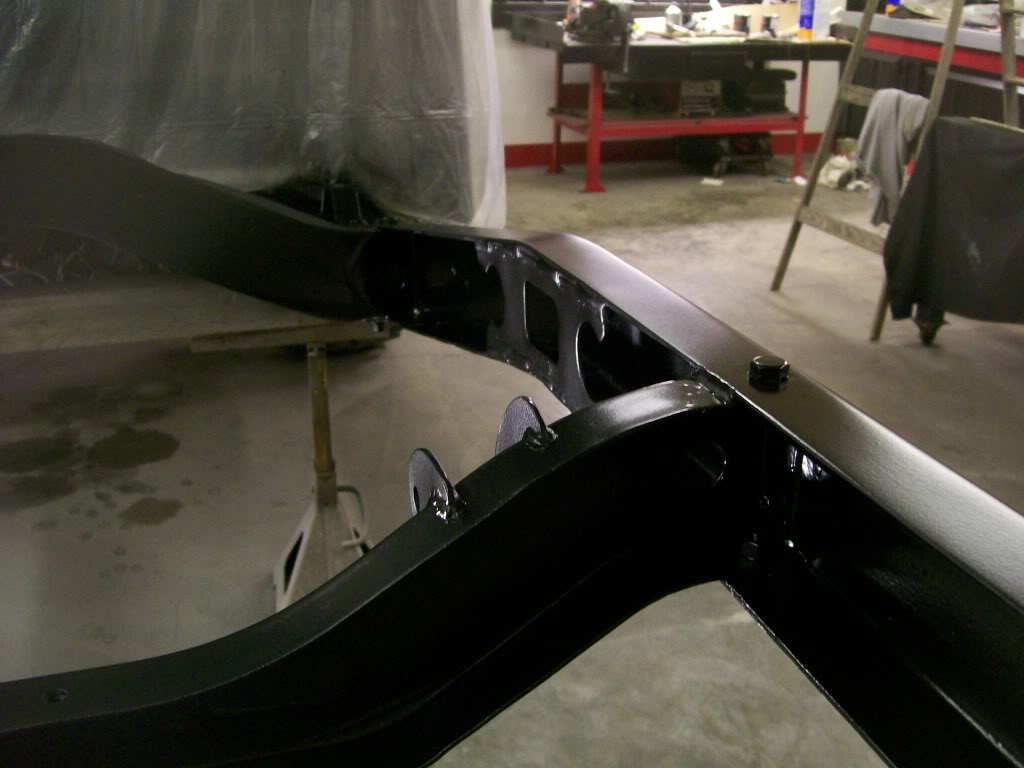
Don't worry guys, the paint on the frame stays just as it is. I've never been much for satin black finishes, but this is such a nice rich black.
A couple more before a afters. Getting the frame painted is just the beginning of the end. In the shop I've been priming and painting the rear rims. In all honesty, rim painting sucks. Too much of a dish shape and it's hard to get a light to see what's going on. Plus I want the back side of the rim to have a good finish just as the front side. I still have to finish smoothing the axle, and so on and on and on.
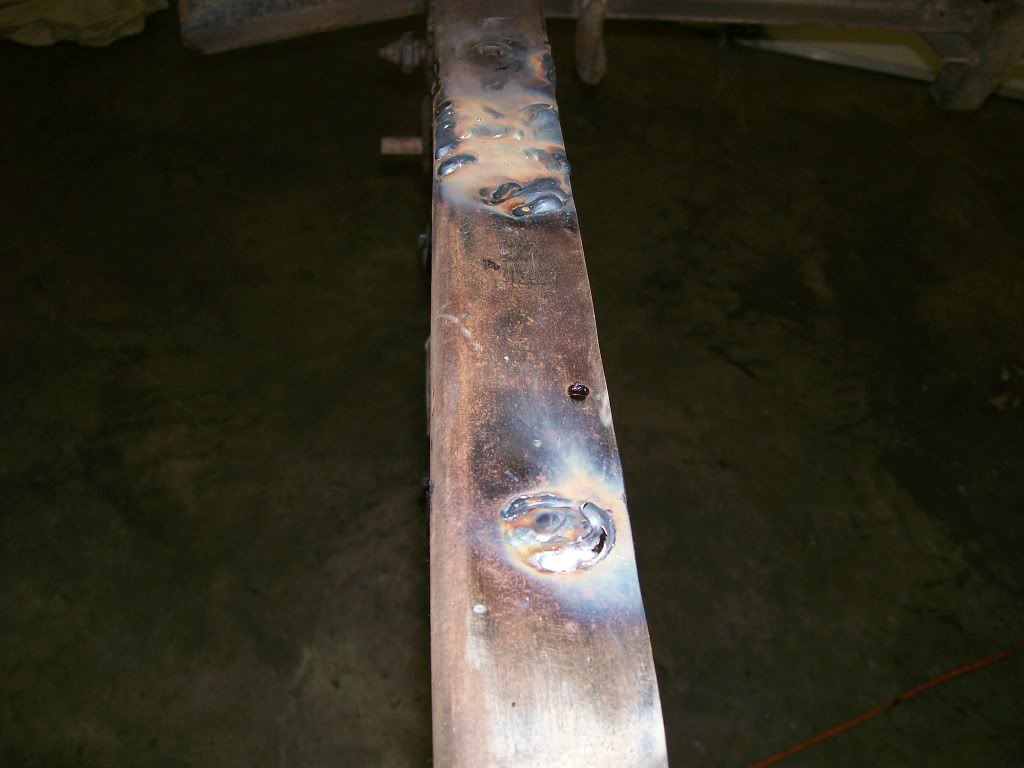
On the frame I must have welded 30 or 40 holes in the frame. In this picture you'll see it's not all pretty stuff. Sometimes it's how you finish and dress the welds that matters the most.
The top of this frame rail not only had holes to fill, but also rust tracks from the original shock mounting bracket that was attached across the top of the frame.
Now the after picture. Same frame rail, just a different angle. Yup, gotta love that black.
10-16-2011
You're right mikewheels, value wise these old willys don't rank too high in the price catagory. Good thing about that is, they're more affordable to build something unique.
Let's step back to the paint and preparation for a bit. So far there has been good conversation regarding metal primer and primer surfacer/primer fillers.
A very common item used in body work it body filler. Some times called bondo, or evercoat or mud and probably others also. Basically it's a putty that requires a hardener, activator. The labels always give you a mix ratio of mixing the both of them. Honestly though, squeezing out of a tube doesn't allow you to keep a perfect reference of how much hardner you're using exactly. So keep the ratio as close to the instructions as possible, and buyan extra tube of hardner, they're cheap and it sucks to run out.
Along with the body filler you'll need spreaders. Simply plastic non handled putty knives, they come in different sizes to meet your needs. They're firm enough to spread the thick putty, yet flexable enough shape it with your hand to comform to different angles.
If you've never used it yet, focus on one thing when you apply it to the car, the smoother you apply it, the less sanding you'll do to get the results you're looking for. Now when sanding, first focus on the outer edges, try to get the feather edge, that's when the filler blends right to the metal with no bump where the filler meets the metal. Now you can focus from the center out to the feather edged areas. In most cases it is best to wrap the sandpaper around a paint stick or something similar. Often times I'll tape two paint sticks together. This will be strong enough to where it will only sand off the high spots and not flex and try to follow into the low spots. If you do a search you'll find rubber blocks, and many other items that replace the paint stick idea.... your choice and preferance here.
You'll have multiple choices on the sandaper grit. This is totally personal preference, but ... on large repairs where you don't want any waves when done, I start with as coarse as 40 grit. This agressive paper will knock the high spots down quicker without much pressure. The idea of staying away from unnecessary pressure is to keep the sandpaper from shaping to the filler vs the filler shaping to match the paper. Once you've reached a straight fill now go to an 80 grit, then perhaps a 220 grit. You don't want to leave the 40 grit paper scratchings then primer over it. It's not such an issue with good primer surfacers, they'll fill those scratches and be ok. Many primer surfacers will fill the scratches but over time they will shrink and these scratches will haunt you later, the paint will settle down into the scratch groove and you will see the body work under certain lighting. So, sand it down smooth, no issues.
Once the body filler is done, and you primer to a primer surfacer, it's block or usually known as wet sanding. Spraying the primer surfacer is merely a sandable coating over the car body, or as you saw in my case, over the frame. In this process we want a block, or the paint sticks, ect, with paper that is created to be used with water. Simply working the sandpaper back and forth, usually starting around 220 grit, following the curves of the body panel with medium pressure have a bucket with water. Now when sanding, use a sponge or clean rag an slowly dribble water exactly where you are sanding. This process allows the paper to maintain a good cut without clogging the paper with primer powder. Most paints want a sanded finish arount a 400 grit before applying paint. As I mentioned leaving 40 grit scratches before priming in bad, same with much coarser paper before painting will also produce an issue where the scratches will show through once the paint dries.
An expection... I dry sanded the frame. The frame has many hidden areas that the water can run into. Now once the water dries it will leave a powder residue. If I don't get in to the crevices with a pre paint cleaner, the paint will not stick later. So by dry sanding I saved myself from a hassle later.
I'm trying to condence this, ha, I'm not doing very good.

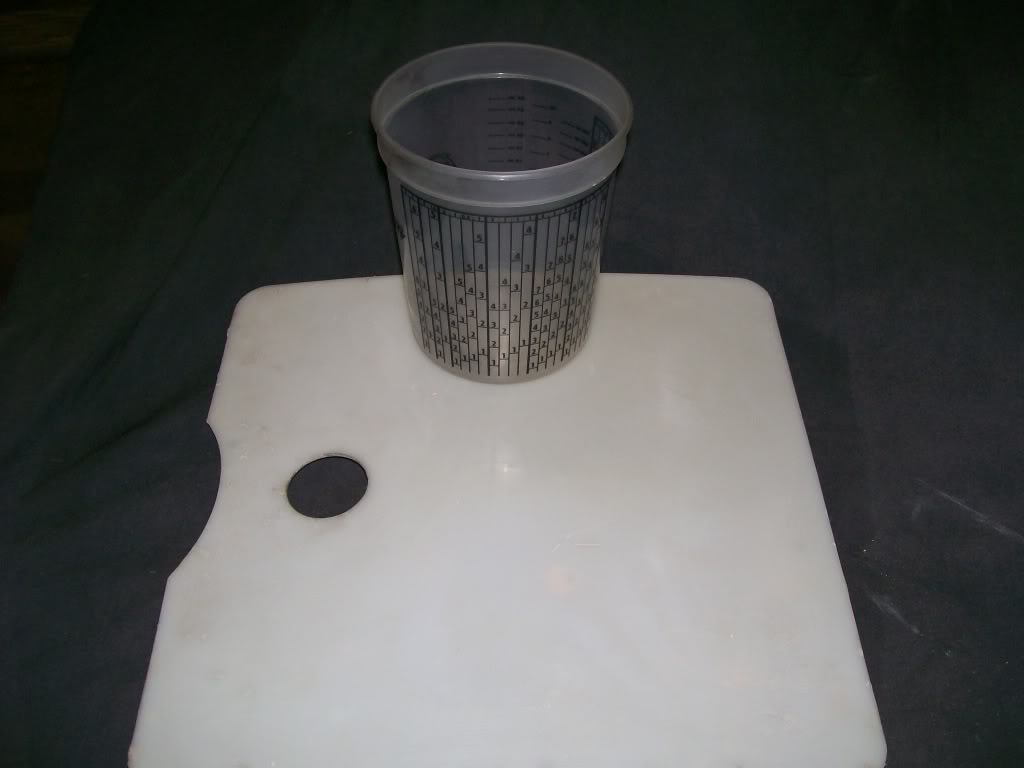
Lets bring in a picture. I mentioned mixing the body filler with a hardner. In this picture I have a plastic flat plate. Years ago I used cardboard to mix on, not good. As soon as the filler gets put on the cardboard the solvents get absorbed into the cardboard, now we loose some of the fillers ability to stay workable for the right amout of time. I've had this plate plate for years, use it and clean it with thinner, and you're good to go.
The cup is a must anymore. Most all the primers and paints now require mixing activators or hardners with the product. I get these from Eastwood products it has many different scales showing many different ratios. If you plan on using a HVLP gun, you have to mix your stuff in a seperate container anyways, these are and good way to go.
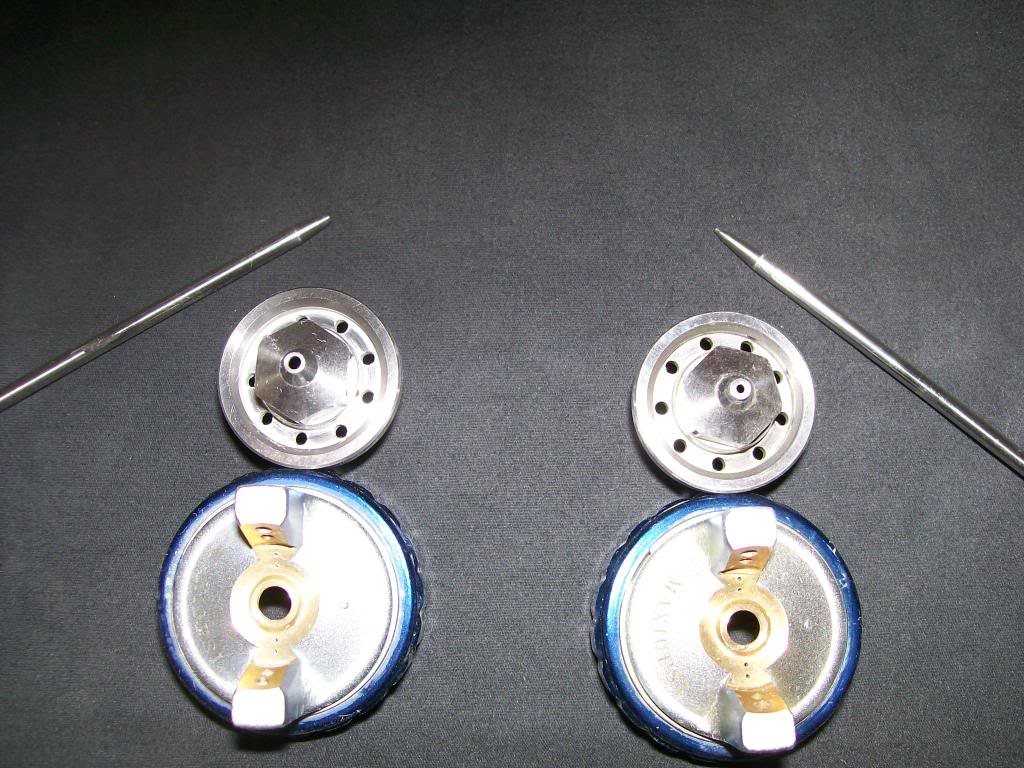
If you are looking for a paint gun probably the old saying of "you get what you pay for" is pretty accurate. But you need to know how technical you need to have before you buy. My stuff is usually middle to upper grade. One thing I will say is... buy a gun that is a name brand if possible. Why, the gun doesn't really wear out, it's a couple gaskets, and couple seals, and the main needle that wears out. With a name brand these parts can usually be purchased seperatly and your gun has a long life. Next, clean the gun so you can never tell what colors you've sprayed, clean, clean, clean. One other thing with a good gun is you can purchase different tips/ nozzles. In this picture is a 1.2 tip used for paints and clears. The larger one is for real thick fluids such as primer surfacers it is a 1.8. Good guns will give options to order different tips.
More info in the paint area but if I continue I'll probably loose my dial-up and loose all this writing.


10-20-2011
Not too much going on in the shop for a couple days. It turned cold overnight so I fired up the heater and it worked the first time. Then the second start-up had a bad rattling sound, then no sound, this can't be good.
It ended up being the fan that crates a fan forced exhaust, it rusted so bad it broke apart. Got a new "power exhaust assembly" and installed it tonight. The new one works and the shop is ready for cold weather.
A little while back I posted the rims, they had a bad rust issue that was crawling under the paint. Nothing the sand blaster couldn't handle. Since then I did the metal etching primer and a couple coats of primer surfacer.
With the color of the truck being a dark blue I painted the rims light blue last time. I"m working on the idea of going to a charcoal metalic this time. I figured silver metalic would be good for the rims this time.
One issue with painting rims is painting them completely without having marks where they made contact with the floor, workbench or however you're holding them in place while painting them. The other issue for me is there are
three sides to paint, the front face, the rear facing and the outer portion which is cover by the tire once installed. I want all sides to be painted at one time, no marks and no dry spots from over spray that didn't melt in with paint that was sprayed in one of the other 2 sides.
Let me say.....I hate painting rims, the deeper the rim, the worse it is. These rims are 10 inchs wide so the suck 10 times worse.
 I need a good reflective light beam so I can see the exact amount of paint I'm spraying, rims just don't allow it.
Ok, my idea for holding the rim, and not leaving marks where is made contact to anything is to support the rim by the lug nut holes. The lug nuts will cover any marks left behind so it's perfect.
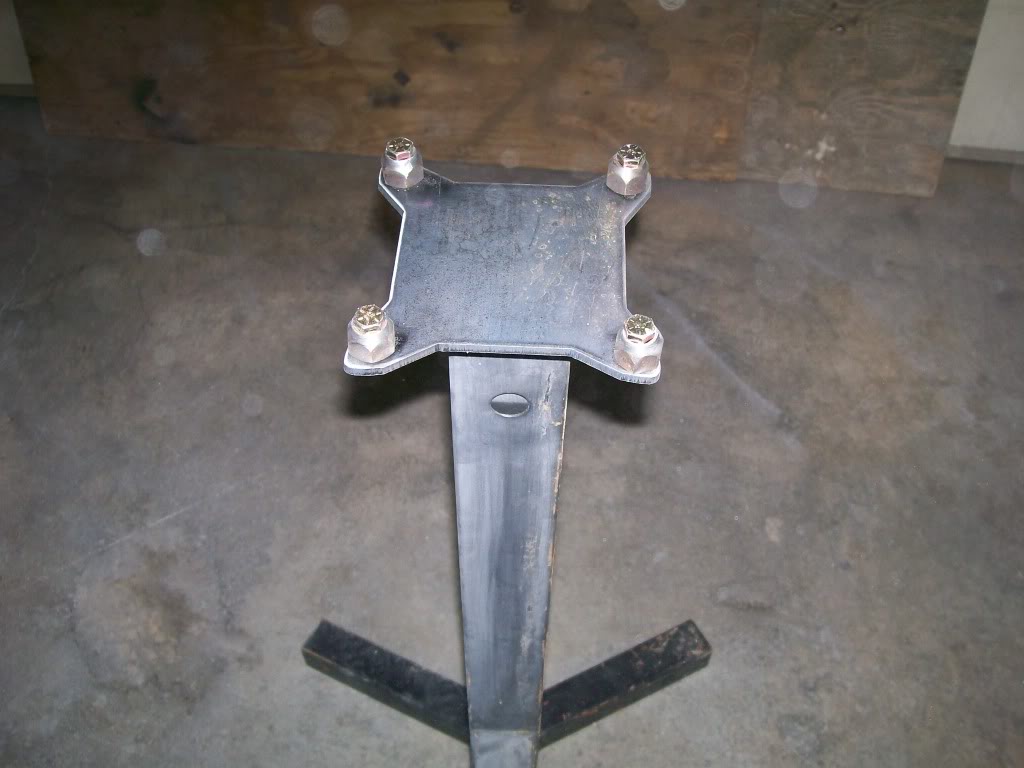
Once again you need a plan. I start with the rim mounted back side up, then spray. Then grab the outer portion with both hands, lift, rotate and put it back down with the front face up. Spray the front face, then area where the tire beads meet the rims, but not all the center where the tire covers.
Let the paint dry til finger slick. Meaning you can very lightly touch the paint while moving you finger from side to side. Now flip the rim, paint the second coat on the back side, flip the rim, spray a light coat on the center portion, then go to the front facing, now back to the center portion with a light coat.
Now in most cases 2 coats of a good acrylic enamel will cover good. If a third coat is needed, hold off doing the center portion til you do the third coat.
I also opted to do 2 clear coats also, this really adds shine, and the strength to the finish.
Here is one rim with the acrylic enamel without clear.
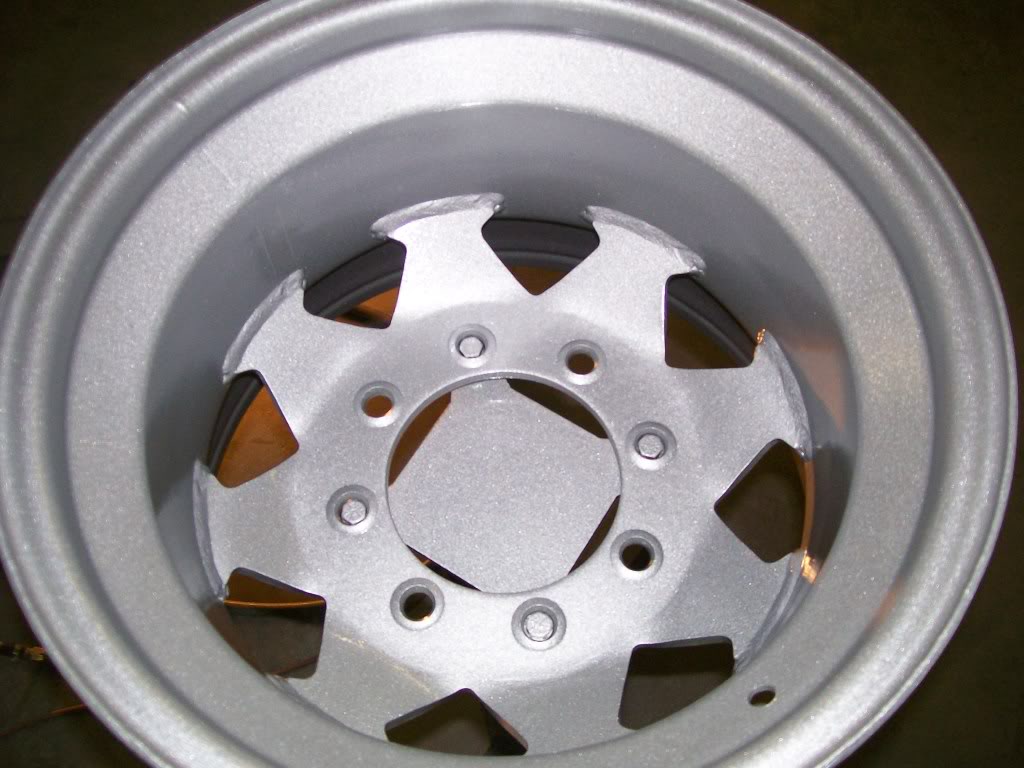
10-22-2011
Alright hallsofstone, as long as you're caught back up with the class, you and the boyfriend will have to deal with your issues off the school property.
mikec4193, absolutly I'm gonna keep this build posted. The build is gonna have stages. Hopefully within the next week or two I'm hoping to have the suspension and rear axle bolted in. Winter is getting close, I have firewood still to gather. But there will many more pics to post.
There is one very good thing I appreciate about the car rebuilding reality shows such as American Chopper, American Hot Rod, ect. For years I've battled small issues such as leaks, or ticks, or paint issues, ect. It's so easy to want to just walk away sometimes and say "screw this". But after watching the reality shows, , they have the same problems too. Not that I'm happy they have problems, but now I feel better knowing even the pros have issues.
What I have come to realize is the fact that I am out in the shop pushing my limits of my abilities, and the fact that I am out pushing my abilities I will come up against the good and the bad. I will learn new ways of getting the results I'm looking for. Now if I sat in the house and never pushed my abilities I'd not have any problems. But that's not me, now, although I still hate problems I know it's because I refuse to just settle and do nothing.
Case in point. I hate painting rims, but I have no choice. The rims were looking good while painting but I just had to push the limit. Next thing I knew, I had a sag. Grrrrrrrr. Even with the catalist added to the acrylic enamel there is still a time required before the paint is cured enough to reapply paint over the sags. One tool I use the heck out of is a heat gun. To ensure the paint is cured as soon as possible and it has dried well enough to sand, I heat the rim over and over with the heat gun.
While the bad paint is curing I still have the other rim to paint. Learning from the sagging paint, I am more careful. The next one came out good. After painting a couple coats, I left it sit til the next day and spray 2 coats of clear directly over the paint. It worked great, the finish has very glossy finish, and will stay glossy for many years.
Ok, here's the sag. yuck.
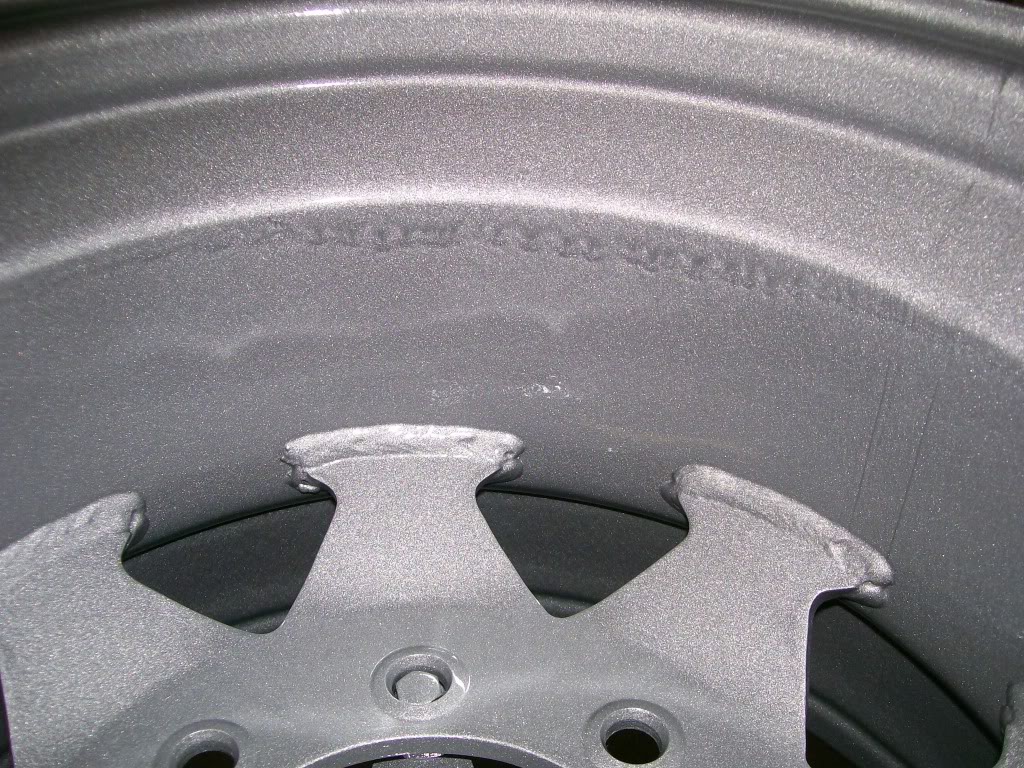
The saggy paint rim is all sanded and painted and cleared. I can't tell which rim is the one had the sags now. This next pic is the metal etching primer on the rear axle. The work of simply filling the pits with body filler was worth the effort. The axle tubes show no pits at all. After this primer coat, I did the primer surfacer which allowed me to final sand the surface to prepare for paint. I did not clean and prime the rear cover. I bought a new cover by Body Armor. It is very heavy duty but I also liked the look. Since the axle is very exposed on this truck I figured I'd give it the finishing touch.
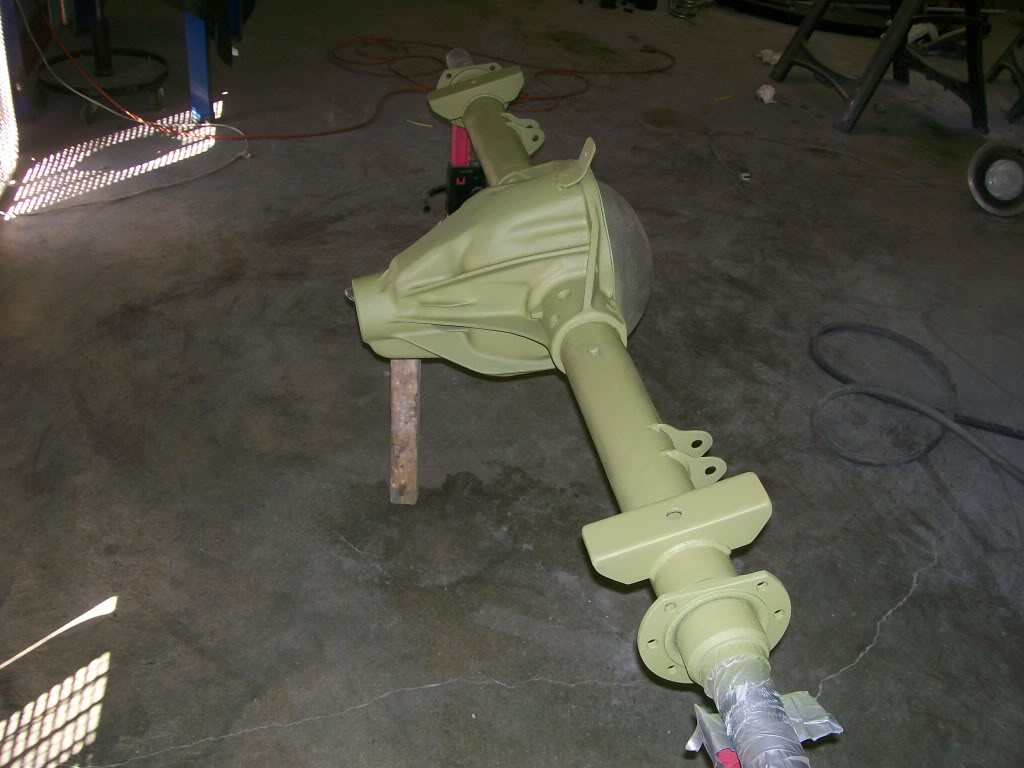

Ultimate classic truck right there
Posted by CCmyVW on 12/26/20 @ 4:17:42 PM