You must be logged in to rate content!
12 minute(s) of a 620 minute read
9-5-2011
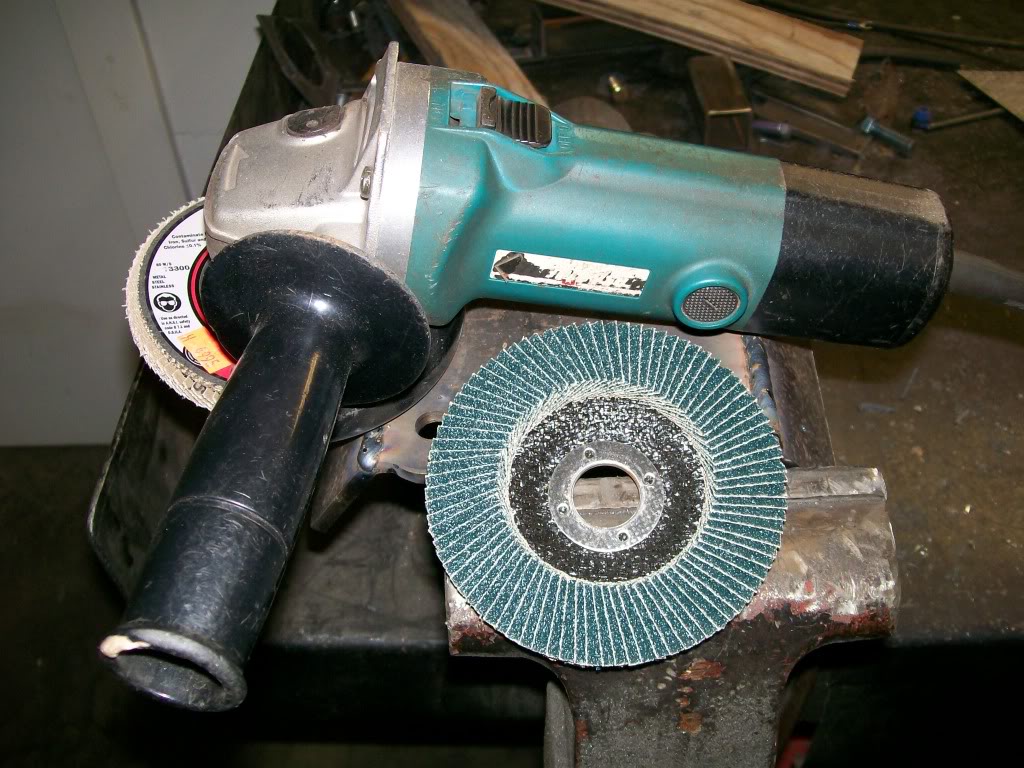
Finally, getting close to the end of the leaf spring plates. I've mentioned the term flap discs before. They're a great alternative to using regular grinding discs. These discs combined with the high speed of a 4 1/2 grinder offers a wide range of possibillities as you all have seen so far. As with most tools there is a place were they come up short once in a while. The idea behind the flap disc is as the grits wear out, the paper backing will slowly dissolve exposing the next layer of grit. Ok, here's the problem. When grinding something with an edge, or around corners these are great. When grinding something flat and smooth the grits will wear away but without an edge the paper doesn't dissolve and expose next layer of grit. Now instead of griding away material, it will start to polish it with the paper that hasn't dissolved yet. With that said..... I couldn't live without them.
 they work fantastic in so many situations. Here's a good picture of grinder and disc.
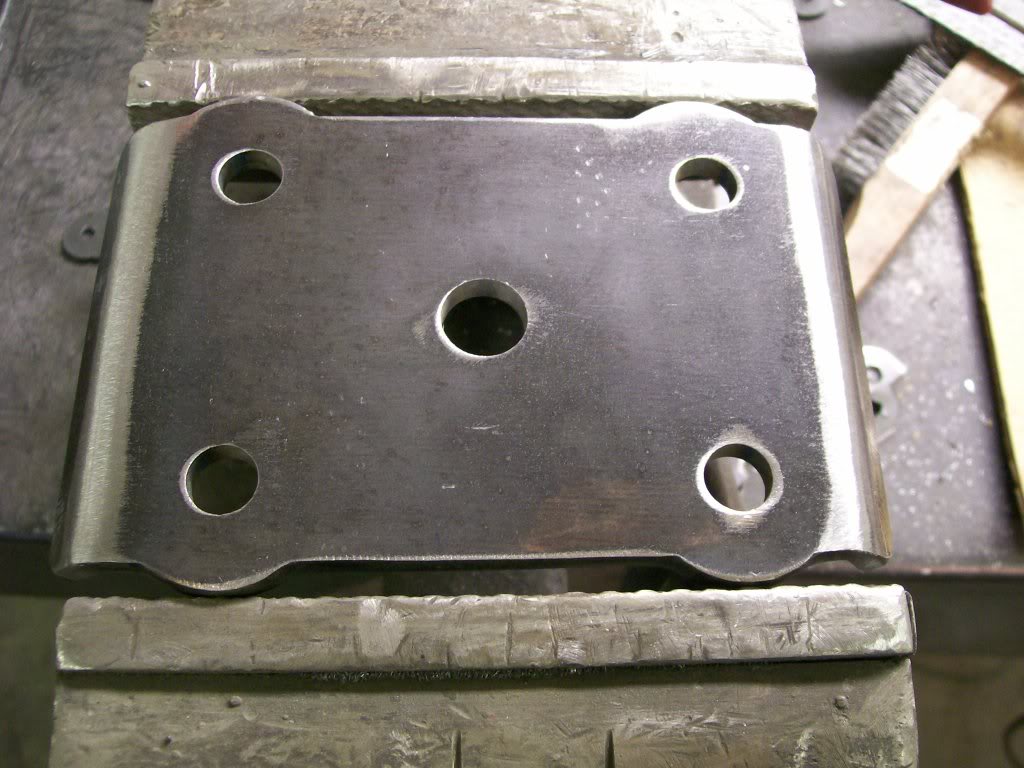
Here is the final grind on the plate after the weld filling, it looks great. Using the grinder to get really nice results like this does take time to learn how to hold and apply the grinding. Like anything else, practice, practice.
9-6-2011
You guys are great, the feedback is great. At my age I've reached a point to where I am happy to teach. My ideas and interests, I'm happy to pass them on and I'm sure you all will take something away from this thread and put it to use.
I'm getting close to finishing most of the metal work, well maybe a couple more weeks anyway, then I'll prep, clean, and begin prime and paint. Alot of the priming and painting is the same as working with a car body that has been stripped to metal. I'll keep the pics coming as I'm moving along.
Class is back in session..... get out the notepads, wipe your eyes and let's move forward. Ahhh this thread is getting some characters.

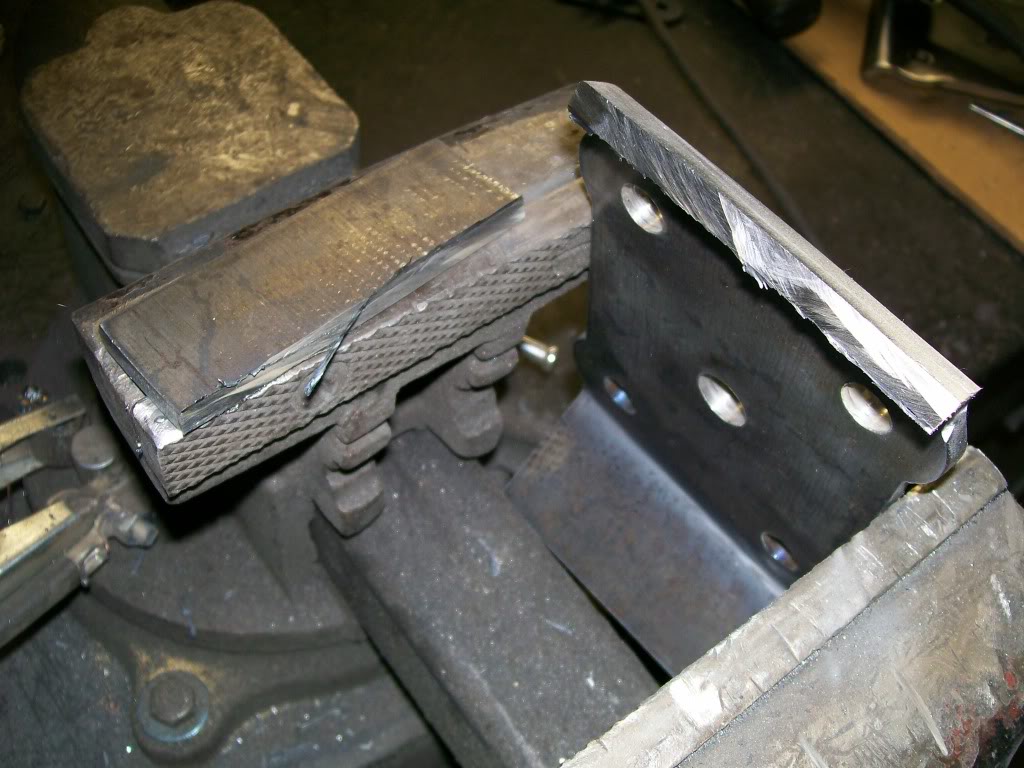
Last picture showed the grinding of the outer edges but before I'm finished I have to cut off the extra inch or so I left on both ends of the plate. So many choices, I can use a torch, plasma, hacksaw, 3" inch air grinder or 4 1/2" grinder with a cut off wheel. I'm going with the 4 1/2". Picture here has the cut off wheel attached.
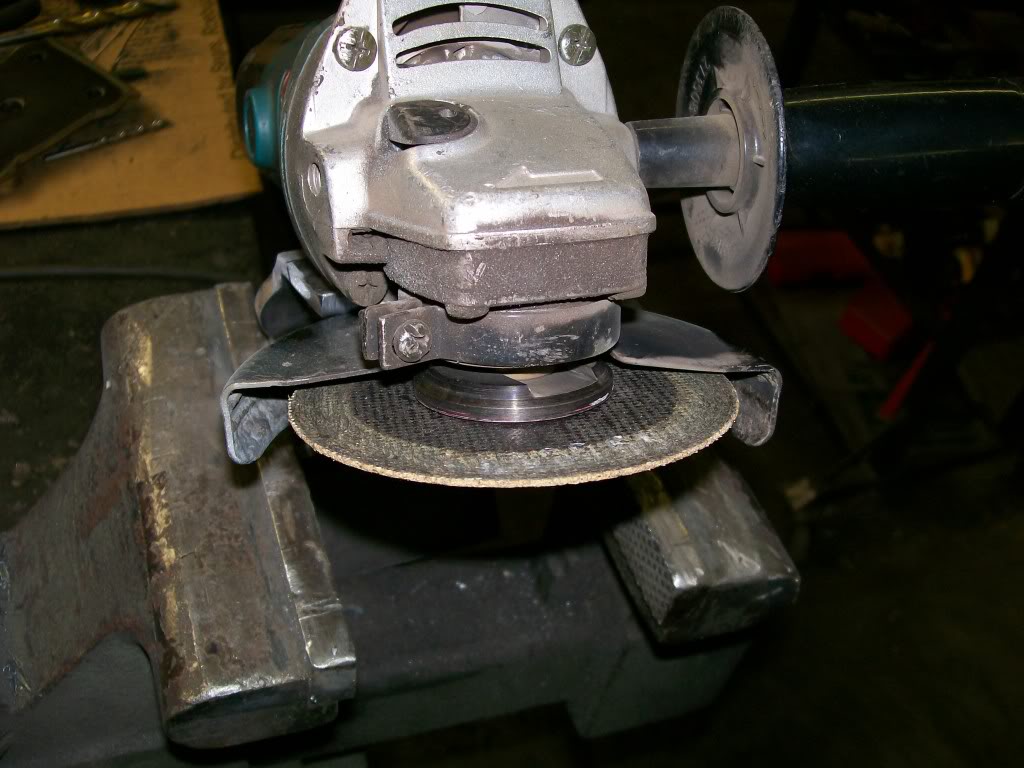
The shapie marks the line to cut. I figured about an 1/8" extra material for grinding and shaping later.
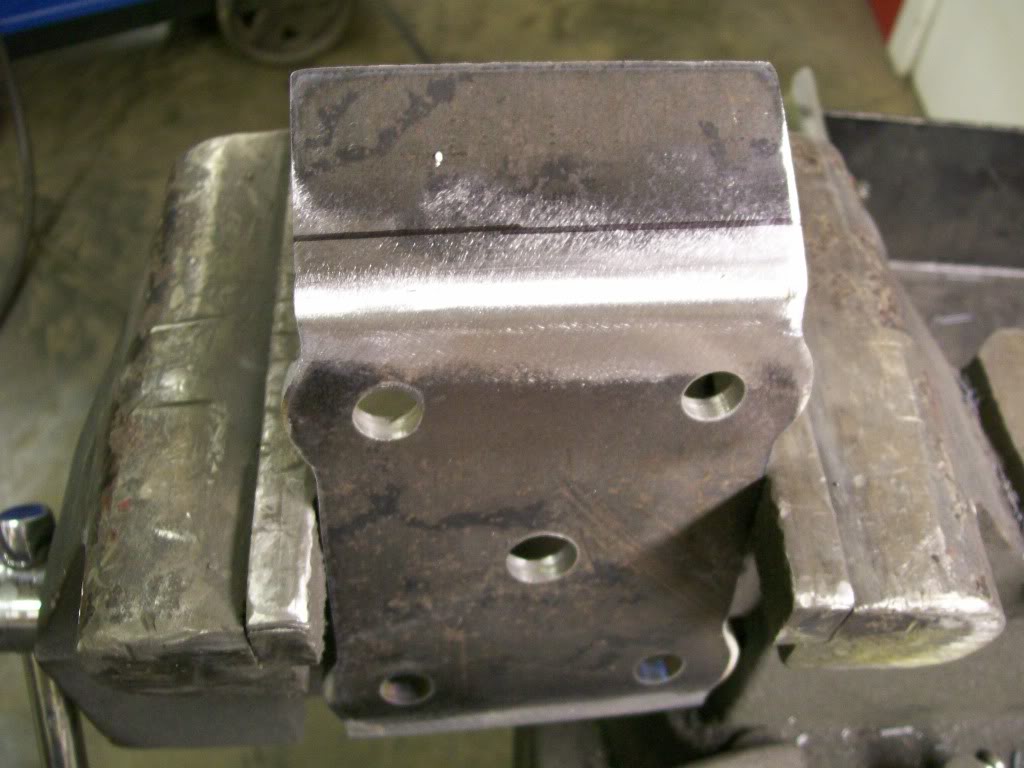
Cutting is done. Be carefull when using the 4 1/2" grinder for cutting thicker materal as with 1/4" plate. The first couple passes are no problem, but the deeper you go you have to concentrate on keeping the cut off wheel straight and true, other wise the sides of the wheel will grab the sides of the plate in the cut zone and the grinder has the torque to jerk the grinder around unexpectantly .
.
9-7-2011
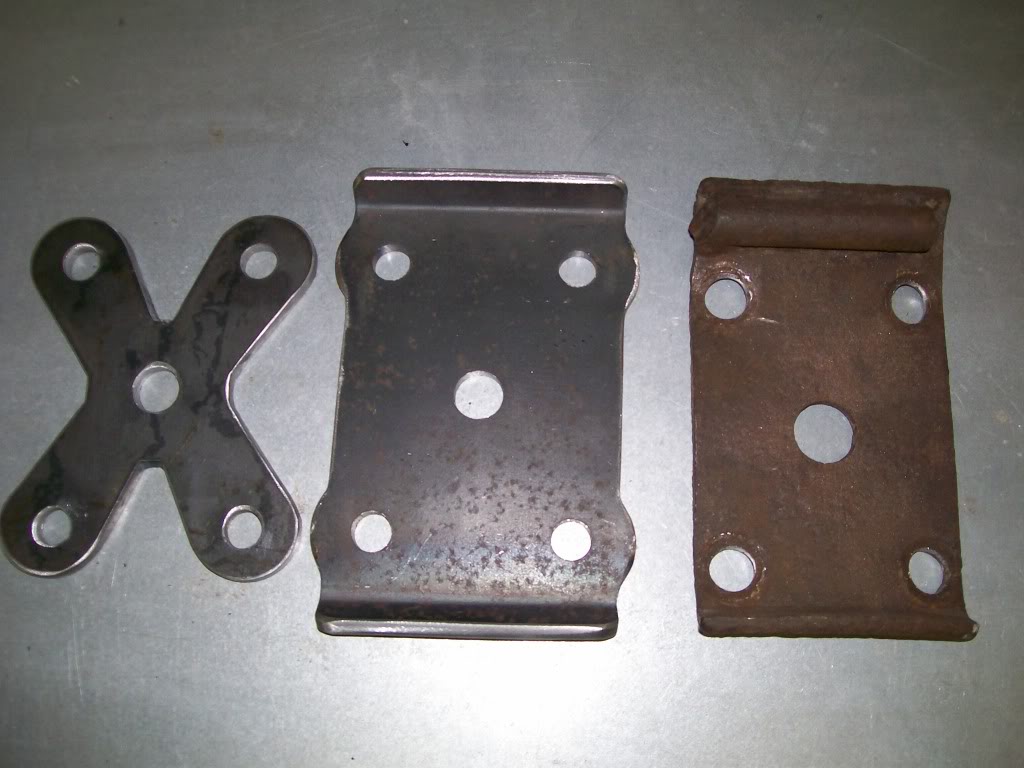
Yes Endimar the flap discs are gonna clean up the grinding marks and smooth and shape the ends. This will be the last pic focused on the top plates. Let's think back a week or so..........they're leaf spring top plates........have you ever thought top plates would be something to wait in anticipation to see how they're made and the finished product? No, I didn't think so. I like to think it's the product made by two hands, something we've lost touch with in a world of quick fixes and mail order products. You all are further ahead than I, you can see what can be done with a little imagination, you've seen indetail just a few tactics on how to manipulate metal. I'm so pleased to read where some have mentioned that you're motivated to buy some welding tools and go at it. The best part of welding and fabrication is that it is an art, it is a skill, and it is practical, when finished you get a rush out of something you built. Here's a before and after pic.
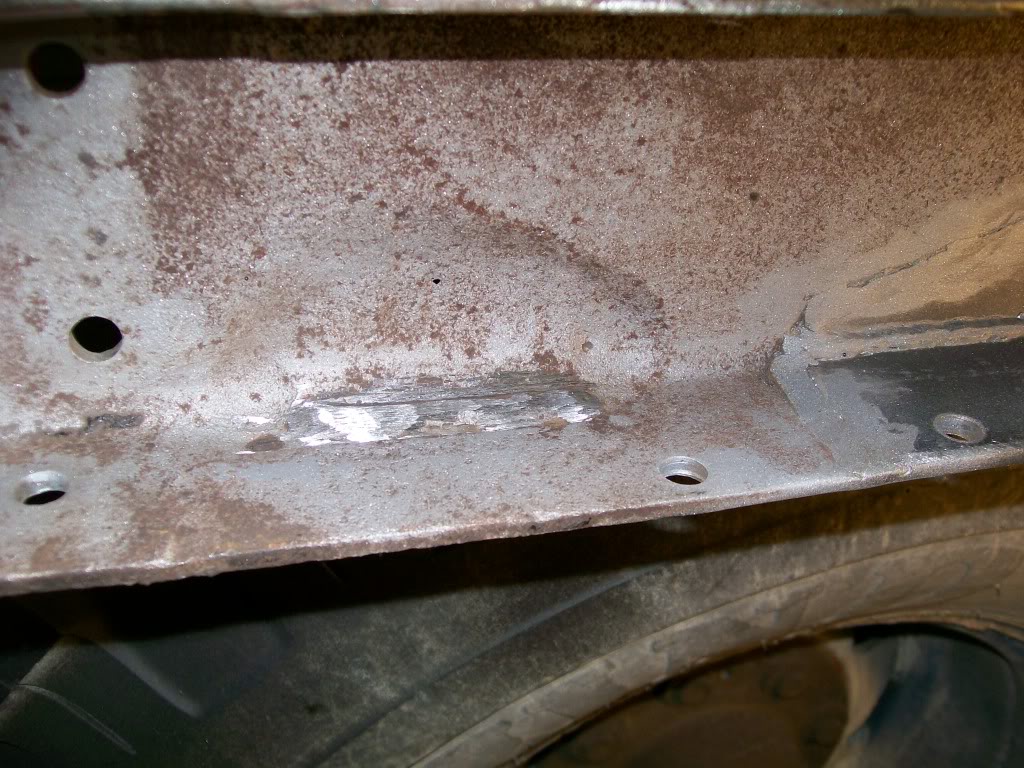
Suspension along with shocks and mounts are pretty well set, they just need some final welding and grinding before primer and paint. I have to get back to finishing some of the areas that the rust ate into. I still have the rust pockets that formed behind the original shock brackets. Here's a close-up reminder of what needs filling yet. I did the same with these as I did with the rusted away spot above the rear spring mount. Start welding to fill and grind flat. What sucks here is the enclosed area to work in. With a top and bottom frame rail so close it's gonna take careful grinding of I'll start grinding somewhere I don't want to.
9-10-2011
Endimar, it must be true....love hurts. Seriously though, lots of grinding usually has a touch of flesh sacrifice mixed in. I can remember many times of the friction scratch and I felt that if I didn't look, it wouldn't be too bad. Then a minute or two later a bit of red shows up on the tool I'm holding, grrrr I hate when that happens.
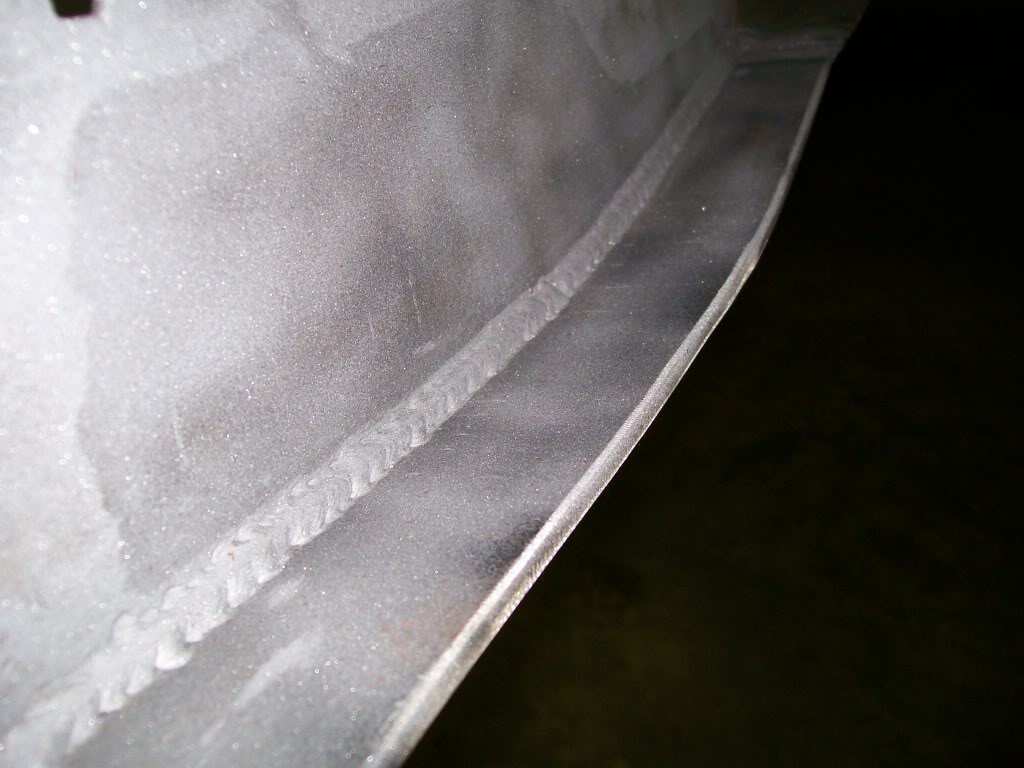
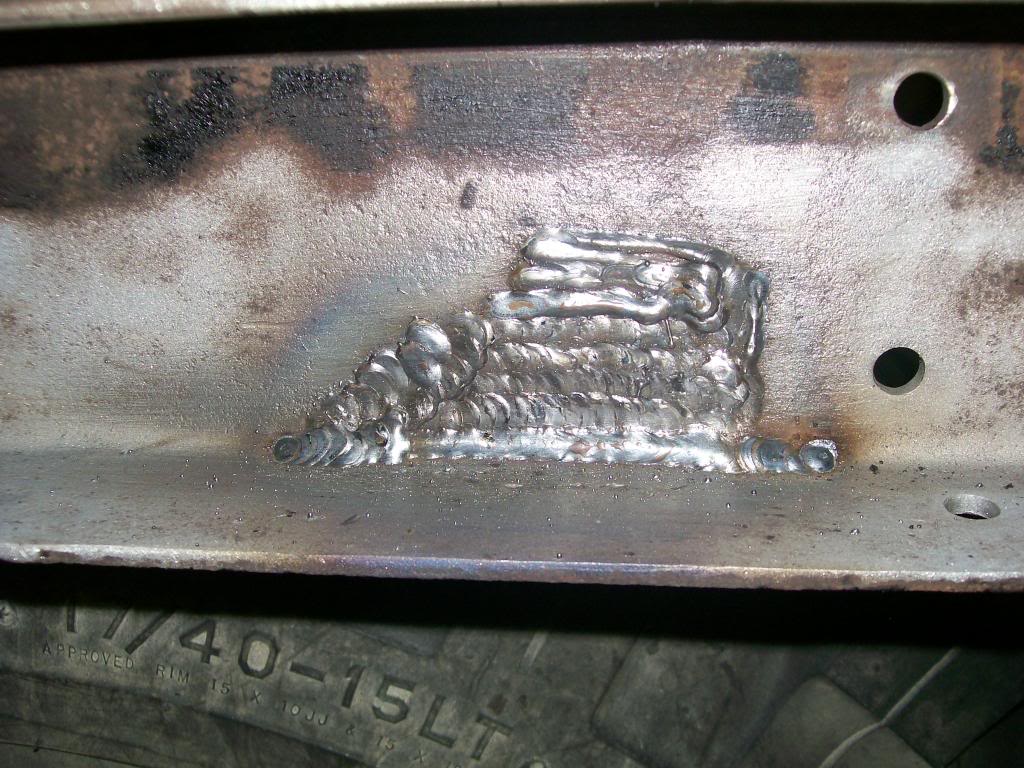
I did take a closer pic of the weld to no where, it is pleasant to look at.
I mentioned that now the shocks and plates are pretty well settled I've got to get back to the rusted out areas. It's back to filling the rusted away material. I begin the fill.
9-11-2011
I did sandblast the welded area.
I can't think of a way to clean the metal and get right down to the bottom of any pits as well as sand blasting. We've talked about alot of tactics along this thread and I'm surprised no one has mentioned paint over rust products. The idea of spraying a liquid over rust and it will convert rust into a paintable surface.
I haven't expressed any opinion either way on the product. I have seen a couple threads where guys have used it. Just like any any other spray on product I'm sure preperation is a huge factor determining the outcome of the products ability to do what is advertised.
As for me, I'm a bare metal and start over guy and nothing gets me there better than sandblasting.
Now that we're here look also at the same pic. Looking closely you'll notice the new metal that I welded in has a black or darkened apperance. That area has to either be sandblasted or surface ground til the darkened area is removed. When you buy metal in large sheets there is a very thin left over layer of something from the making of the sheet. This layer, although it is well attached, will not stay after sometime. If in the future it decides to lift off, so will the primer and paint you sprayed on it. So before I'm ready to spray, I'll give one more blasting to ensure I've removed enough of it so I won't think about it later.
Now that we're here again.. I have seen, and many of you also I'm sure have seen where someone puts many hours, days, weeks, months into a project. Then finish the project only to find something fails way sooner than they thought. Sometimes the project is a huge experiment, trying something new, a new design, ect. I applaud that person for stepping out of the box. Now there's the other person who puts their heart and soul into a project of restoring. Everything is done right for the first part, then a bell rings in their head that it's taking too much time, we've all been there. Now it's a battle, do I keep on as I was or do I cut corners. Everytime I've cut corners in the back of my mind I'm thinking and watching the areas I cut corners. I now don't have the piece of mind in the end result that I wanted and why I started the restoration in the first place and that is to drive it with no worries.
9-12-2011
Endimar the sandblasting equipment will be a big help. Note to all... having sandblasting equipment is good but it has not power behind it if the air compressor can't keep up. Sandblasting has one of the largest consumption of air so if your air supply isn't up to the task all you'll do is push sand out of a hose without results.
Going back to the shock mounts to the cross frame for a bit. I always think things look better when corners and edges are rounded off, it gives a finished look to the project. Here's a pic of the bottom of the shock mounts. I still need to finish the welding here. I'm gonna finish the weld before I round off the edges. If I rounded the edges first I'd be removing material that can help absorb the heat of the weld and possibly do more burning away of material than welding. Here's the cross frame flipped over, still needing welding and grinding round.
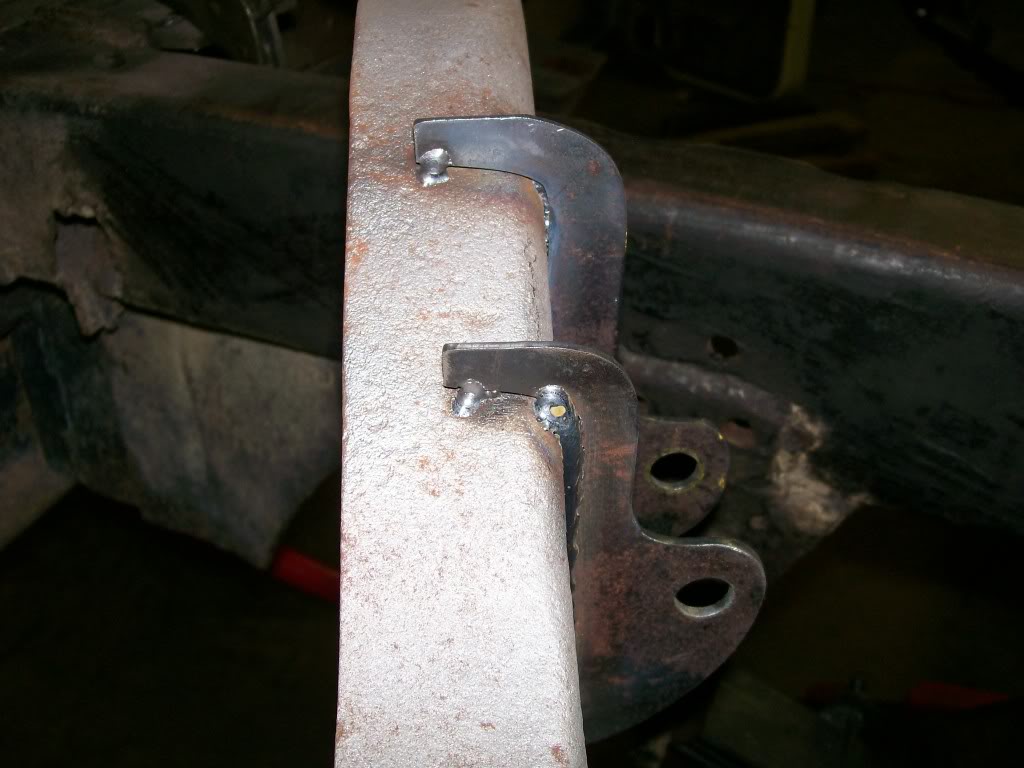
Now the welding is done around the outer edge of the shock mounts. I can take the 4 1/2 ' grinder and round the edges. Nothing fancy on the welding I know, these will never be seen later.
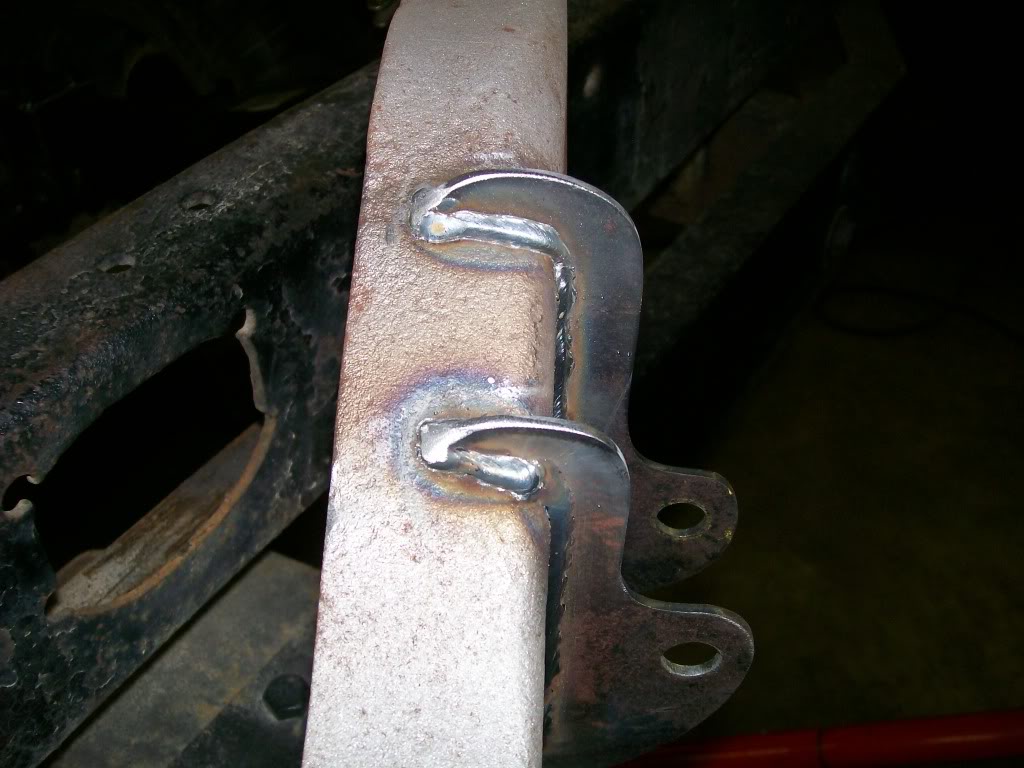
Now the finished product.
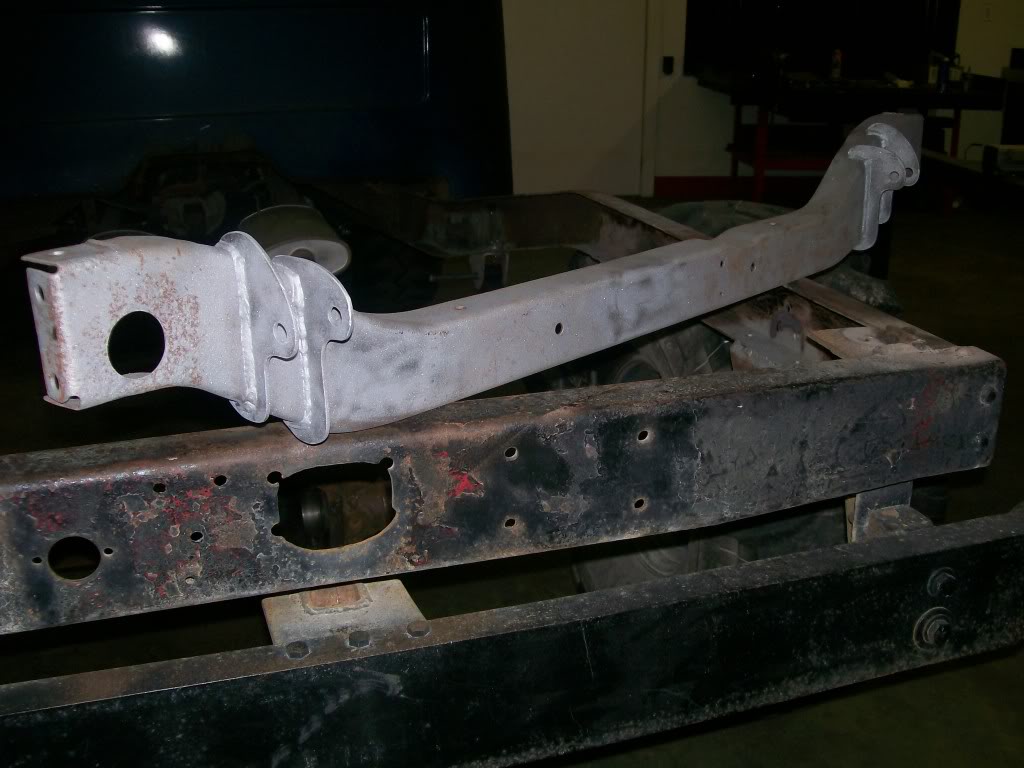
Once again I have to reassemble to check the fit of all the pieces so far, plus it lets you know the project is moving forward. After so many weeks you have to do what ever it takes to find motivation. My dry time is about the time I've done the diassasembly and been working on the repairs for a couple weeks, after a while it gets a little tiring. Point is, I know there are thousands of started projects that never get done, gotta keep moving forward. Here's a shot of the pieces in place.
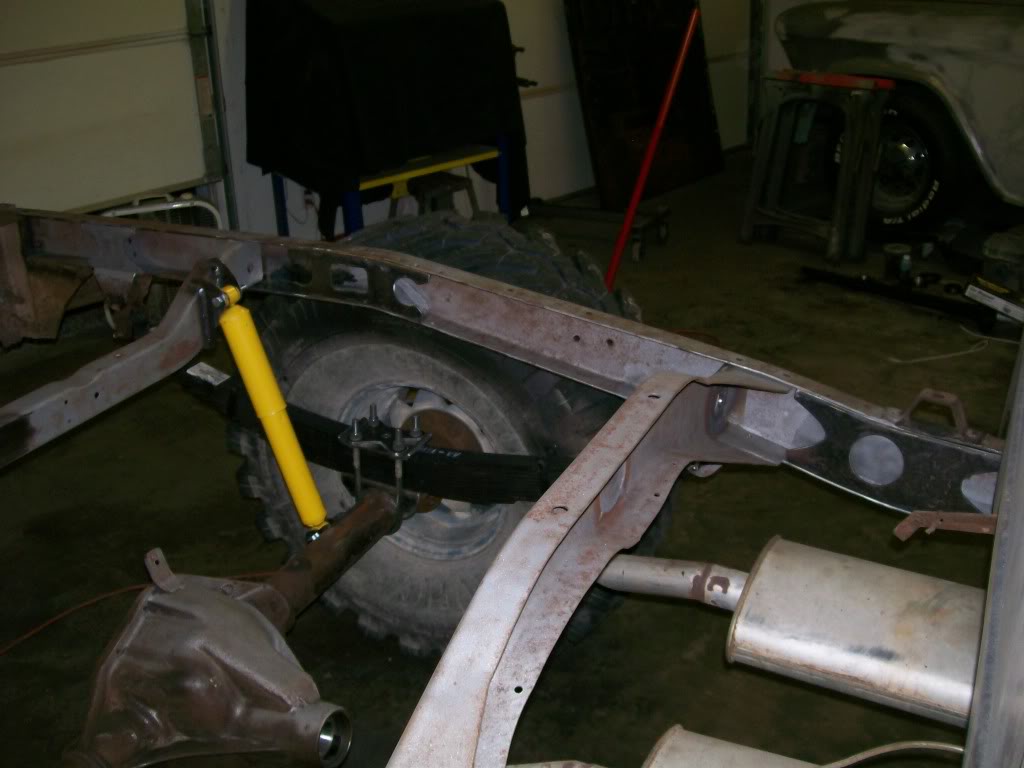
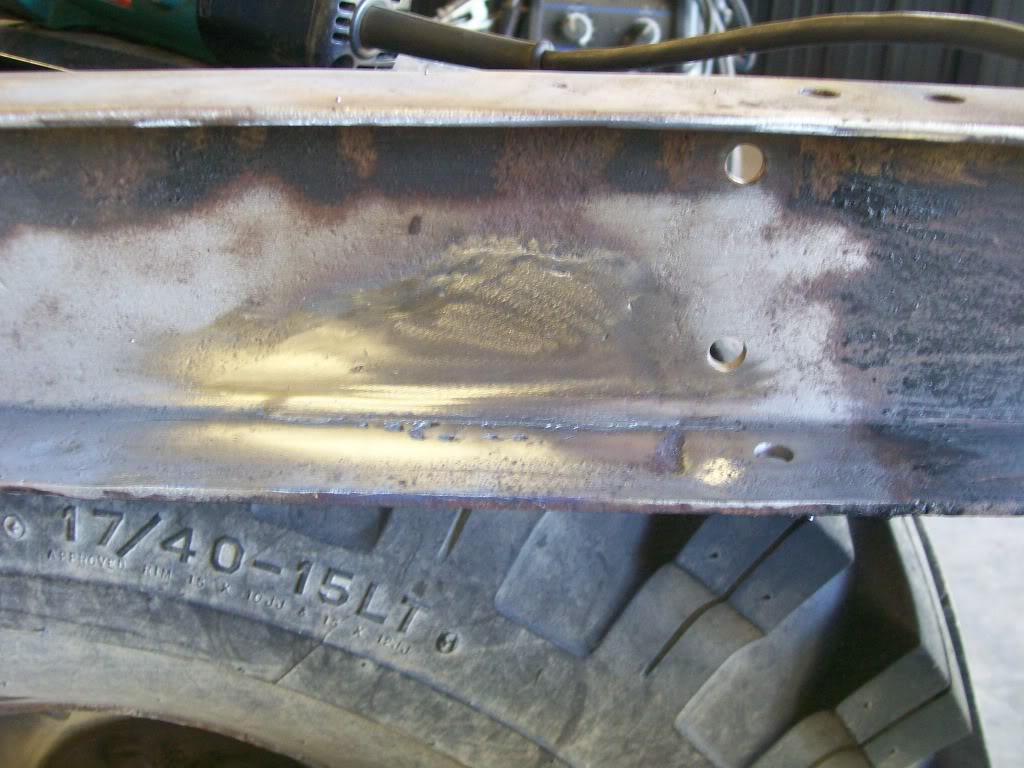
Back to progress. I already showed the pic. This will be the next focus of fabrication. I've mentioned the process of filling and grinding and refilling. I tried to get a better pictorial display of the process. Here we go.

It is alot of filling. The tough part is working within the frame rails. This next pic is the first grinding.

Ultimate classic truck right there
Posted by CCmyVW on 12/26/20 @ 4:17:42 PM