You must be logged in to rate content!
5 minute(s) of a 190 minute read
11-4-2008
I plan on taking all of next week off to pull the mustang in my shop and put in a full work week on it. Maybe two weeks if I can hold customers off for that long.
I plan on getting a **** load done next week. Stay tuned for the next few weeks.
1. Getting the brake master cylinder in and all the lines done up.
2. Putting the motor in.
3. Trans put in and measure for the drive shaft.
4. Relocate coils inside the cowl panel and get a custom wire set made.
5 Cooling system done.
6. Mount the MSD box under the dash were it will be easy to get to for tuning.
11-20-2008
I got the plug wires figured out. I'm having a sponsor build a custom set.
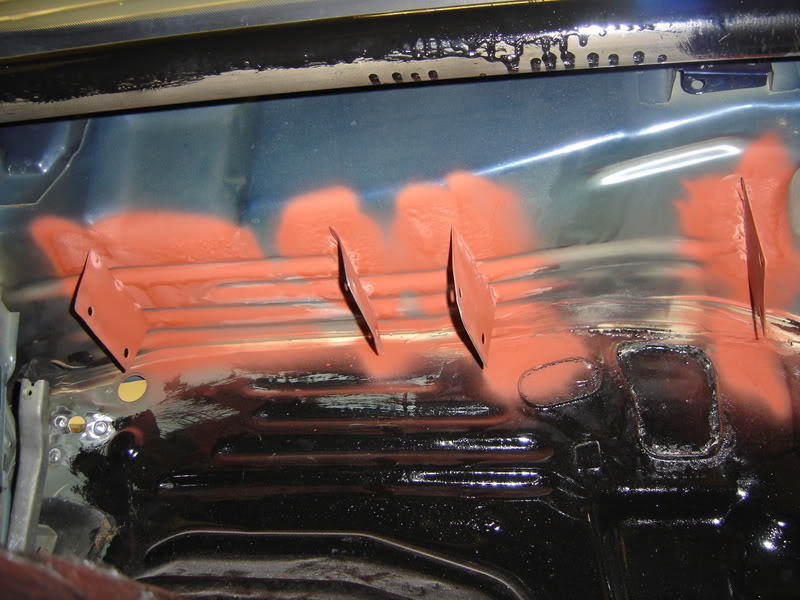
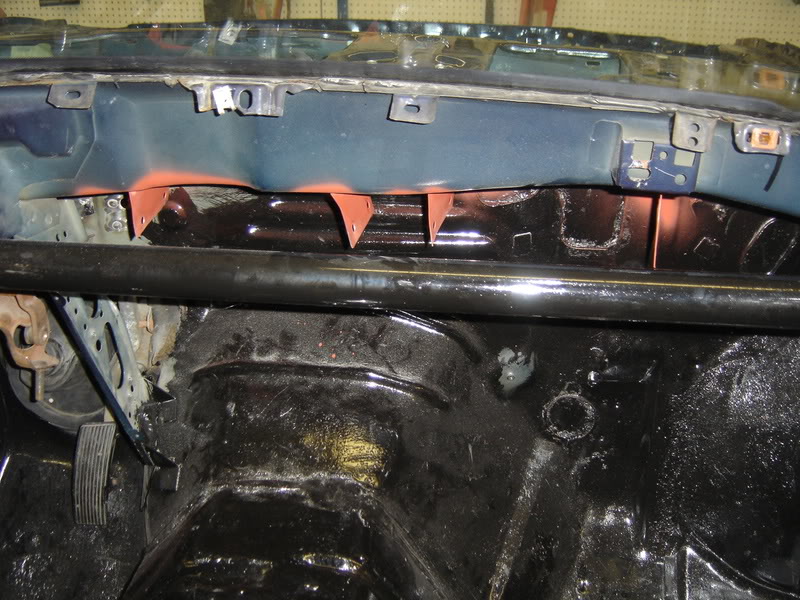
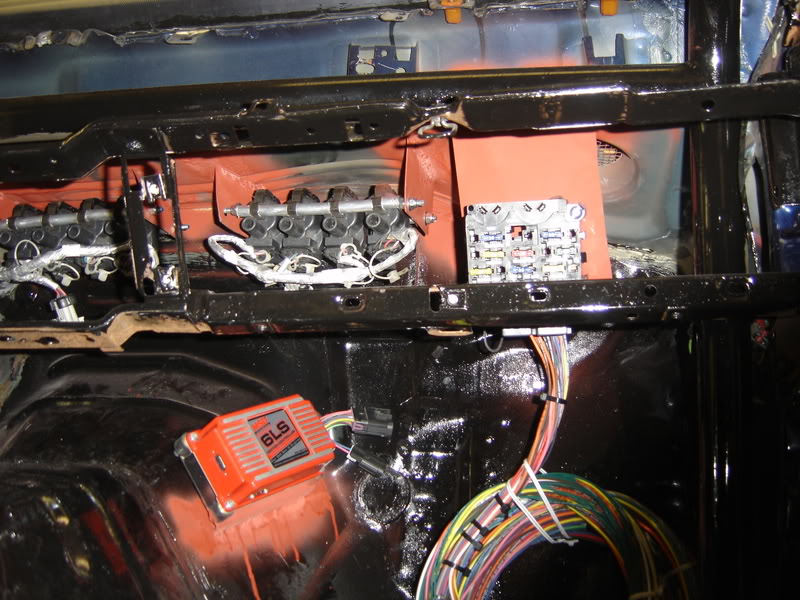
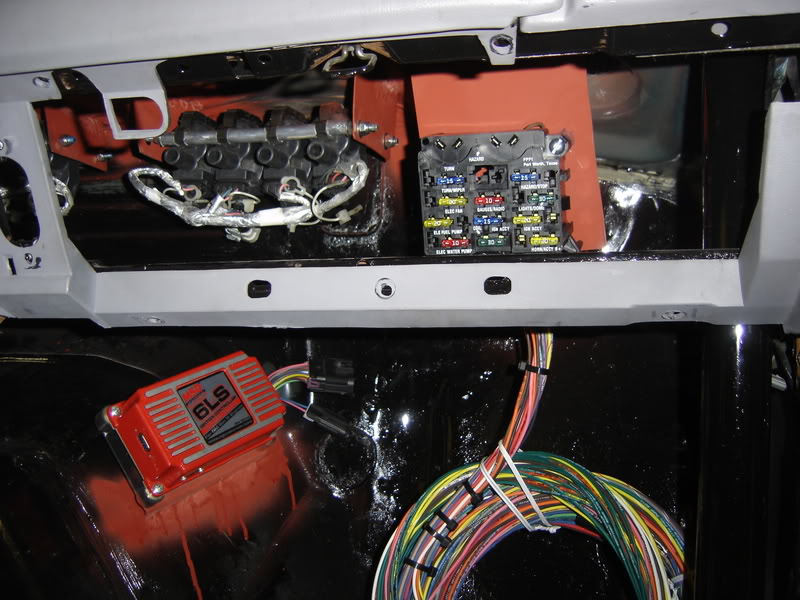
I made coil brackets today out of a 1/4 all thread and aluminum spacers with 1/4 lock nuts on the ends. Then took 22 ga sheet metal cut to 4"x2.5" sheets, drilled two holes in each end for the all thread to slide through. Then welded them to the bottom side of the cowl. They are right above the trans tunnel.
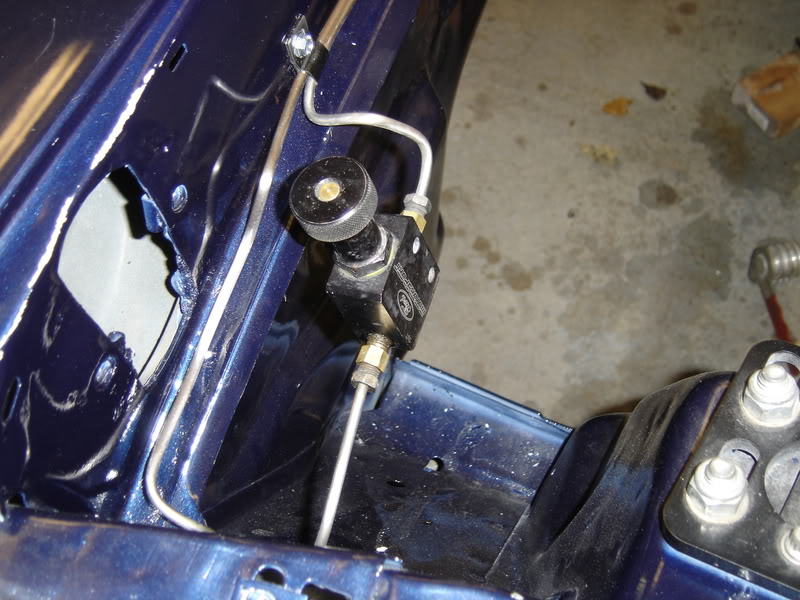
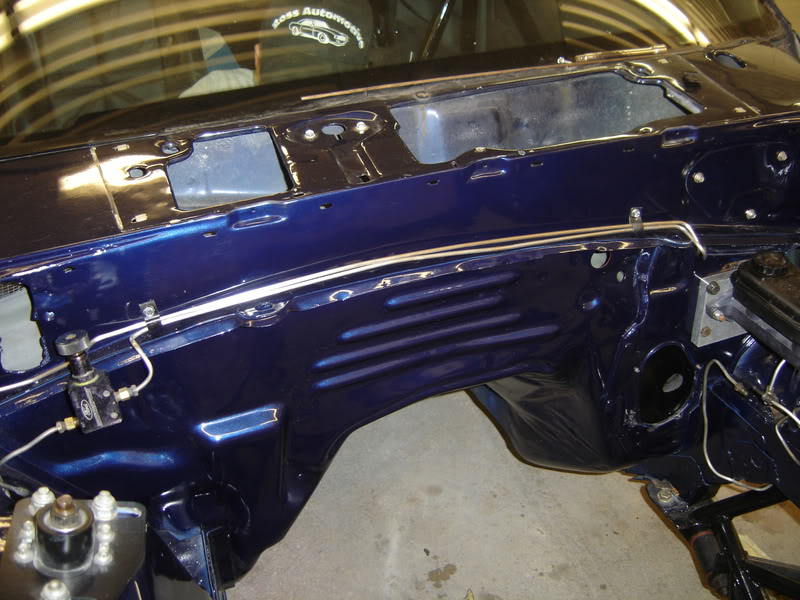
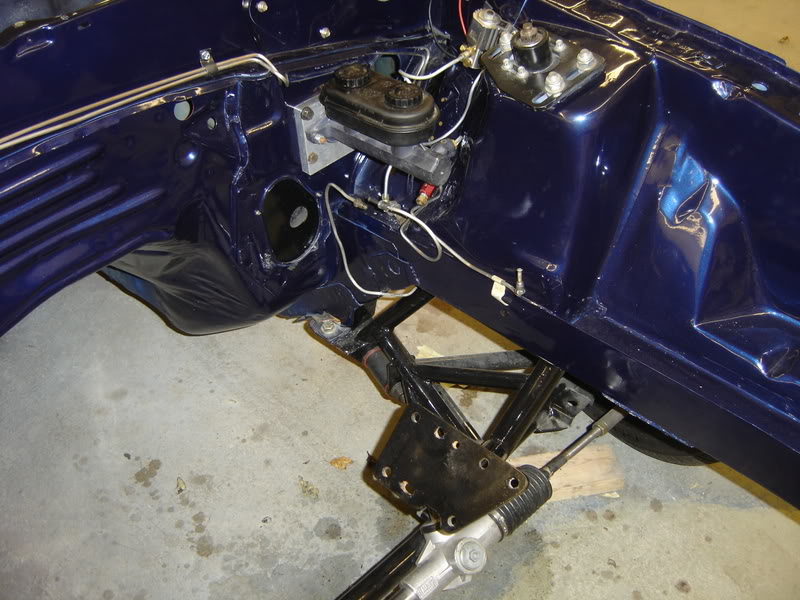
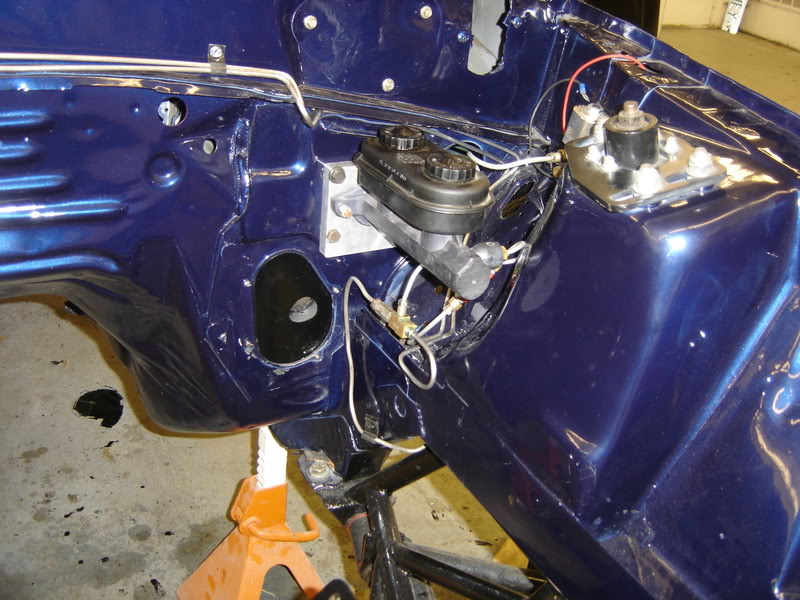
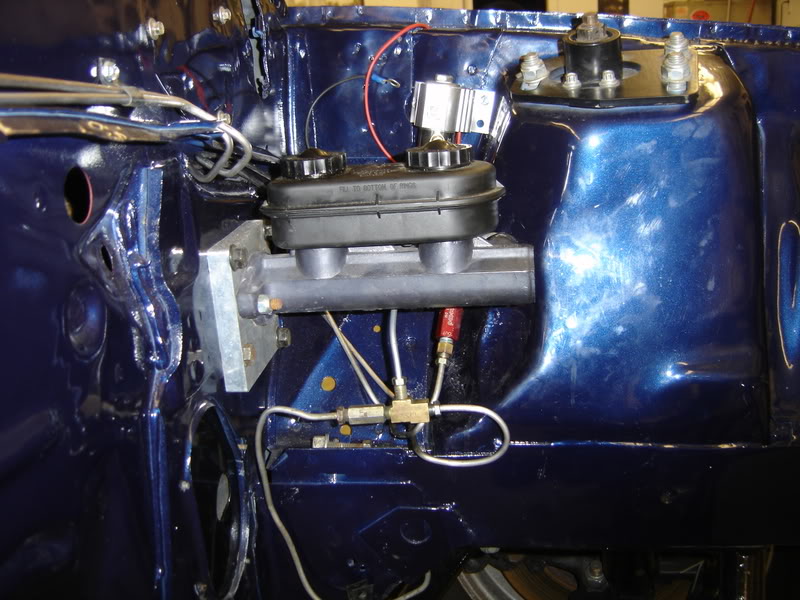
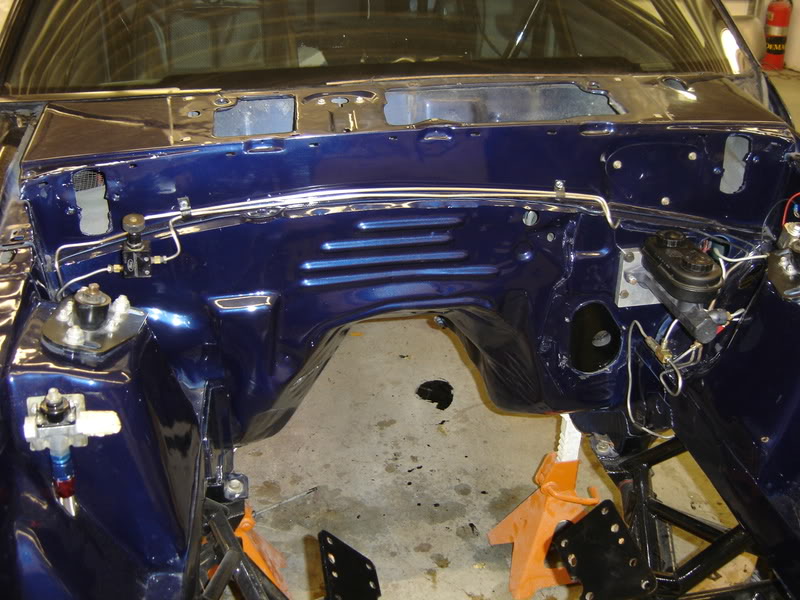
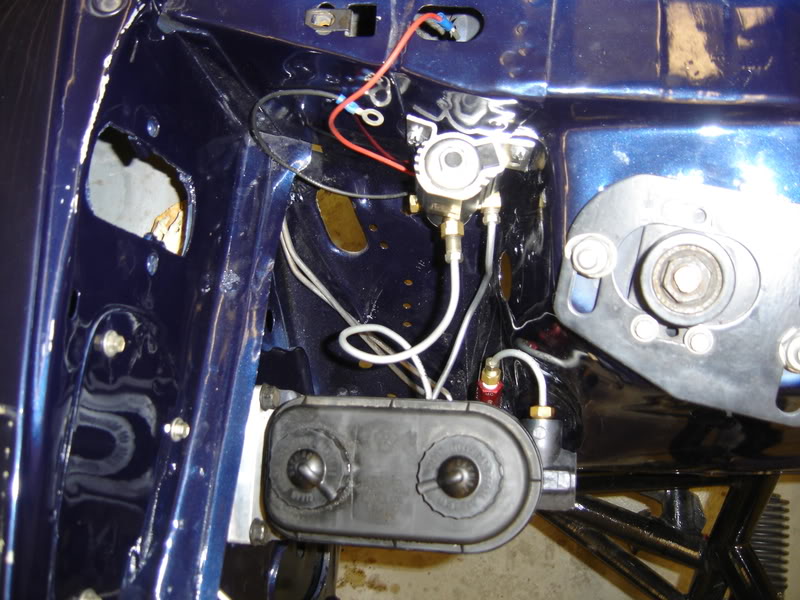
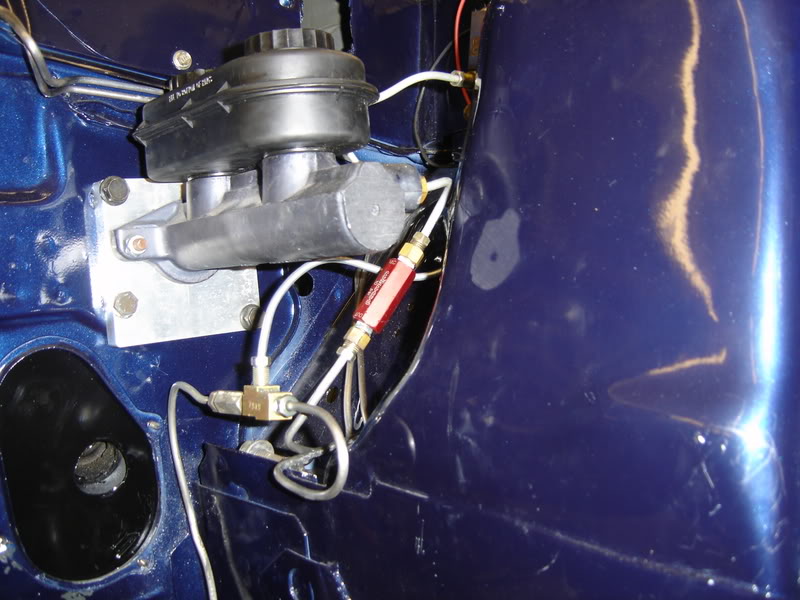
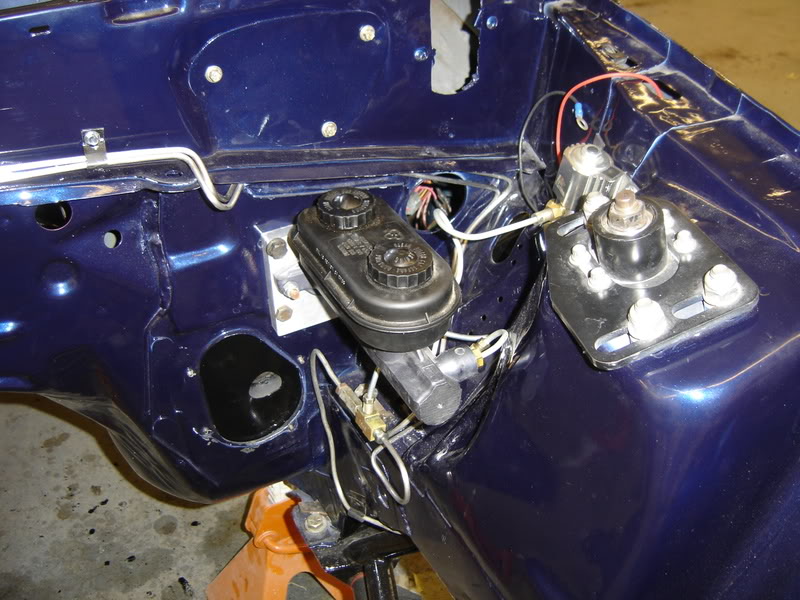
I also got the brake lines all worked out. I put a wilwood manual master cylinder kit on. Reused most of the stock brake lines, had to clean them up with a scotch brite pad. I did away with the stock portioning valve and I have a 10psi residual valve on the rear with a ford motor sports adjustable portioning valve.
I have to cut and shorten two lines and get one fitting that did not match up to a tee I have for the fronts. And my buddy is bring home the flare tool.
I will get pics tomorrow, I forgot the camera today.
11-11-2008
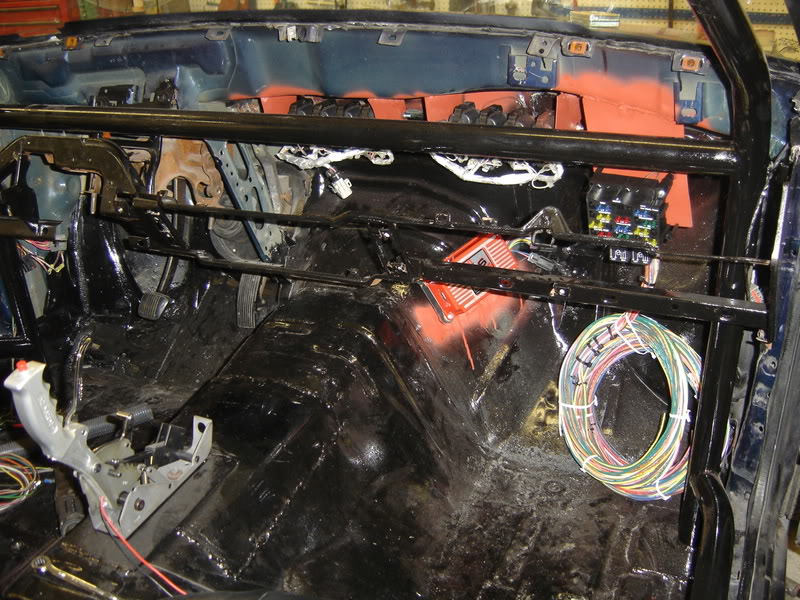
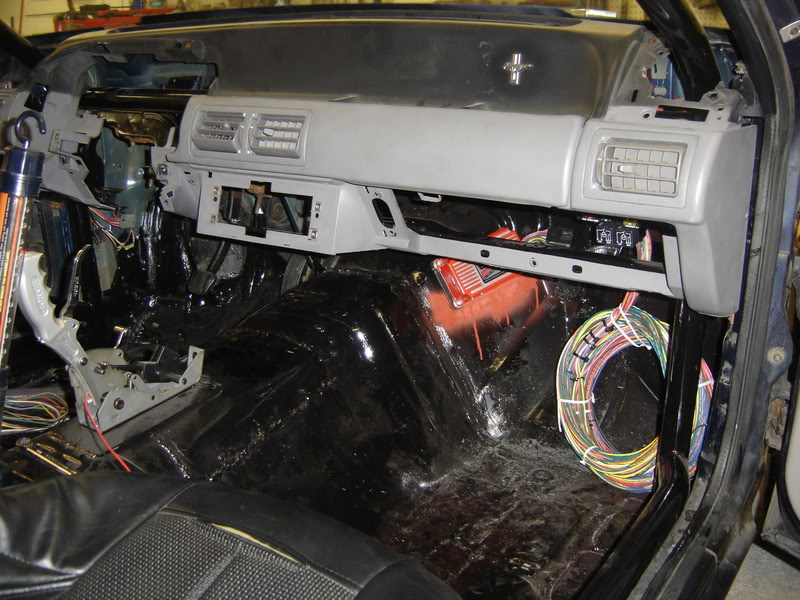
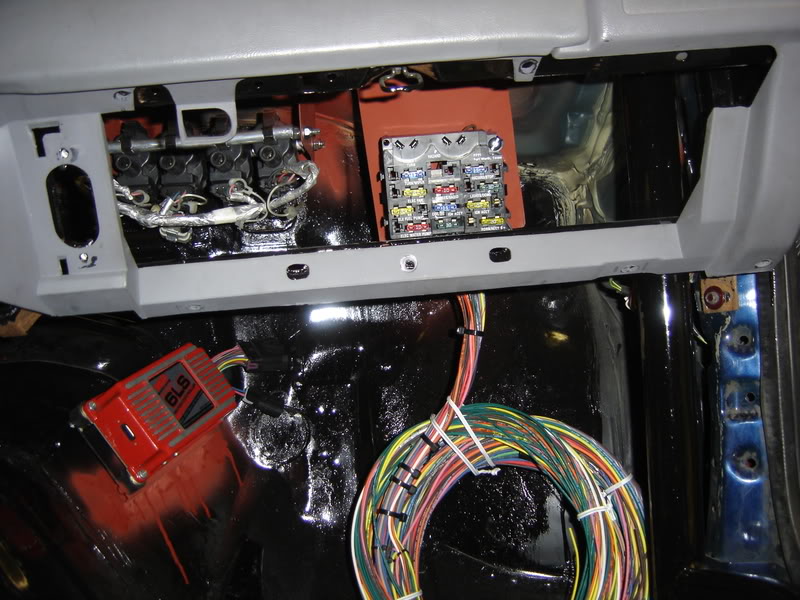
OK, here are the coil brackets I made to hang the coils on.
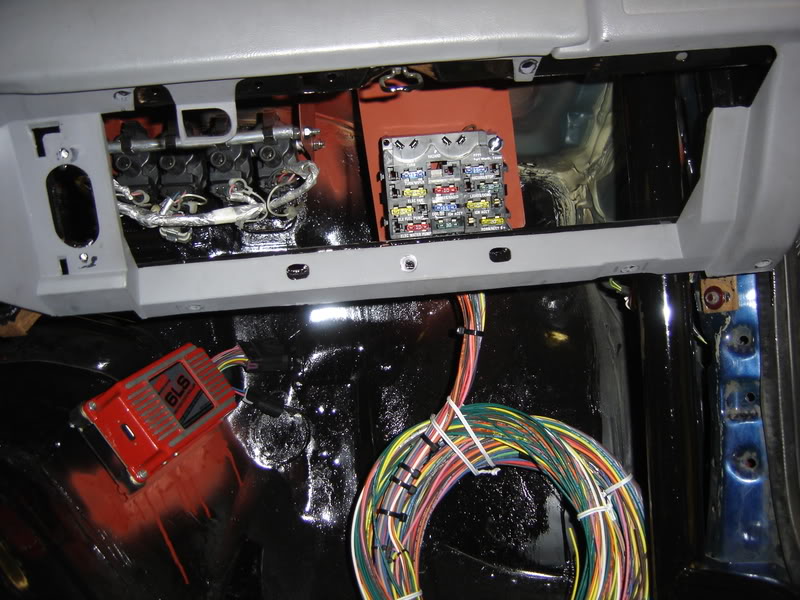
I also mounted the MSD 6-LS box down on the trans tunnel were it will be out of the way and easy to get to for tuning.
I found a nice spot to mount the painless pro street fuse panel. I will end up cutting the glove box off to make way for easy access of the fuse panel.
I got the brake lines finished up. I will admit, it does not look as if a race shop did it, but it will get the job done. I topped it off and pumped some pressure on it to look for leaky fittings. All is good so far. I need to bleed them really good over the next few days.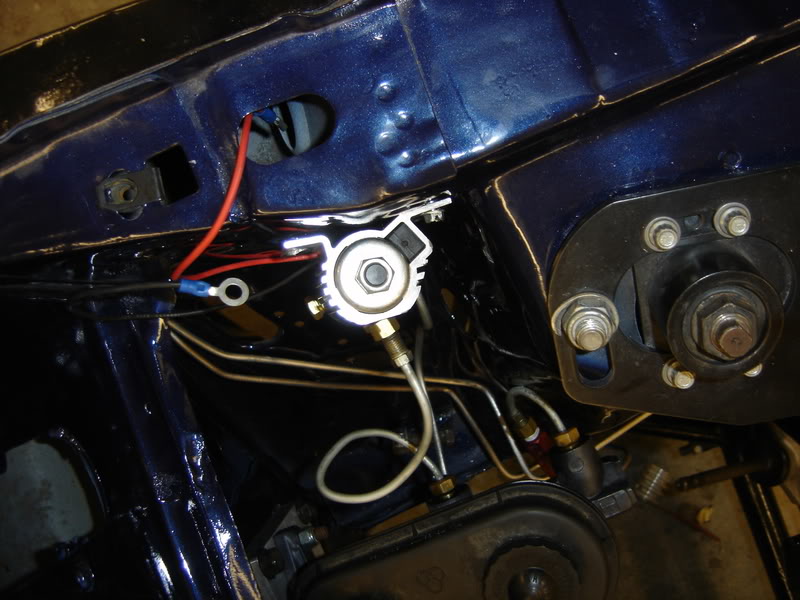
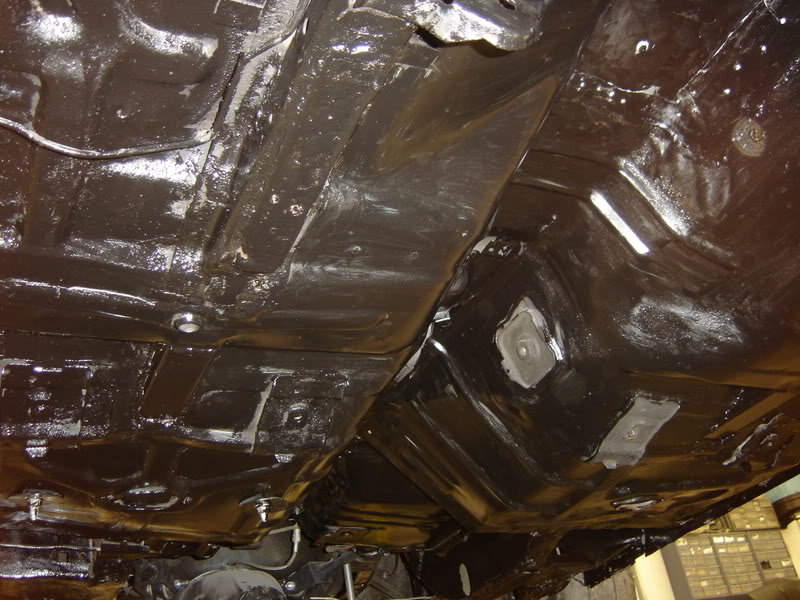
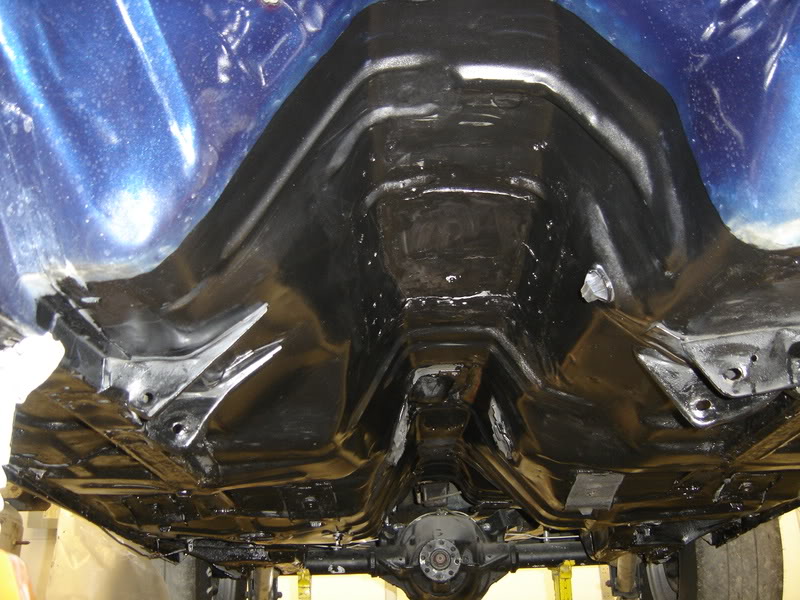
Also managed to POR 15 the bottom side of the floor. I hate messing with that stuff. It's difficult getting it off your skin if you drip it on you.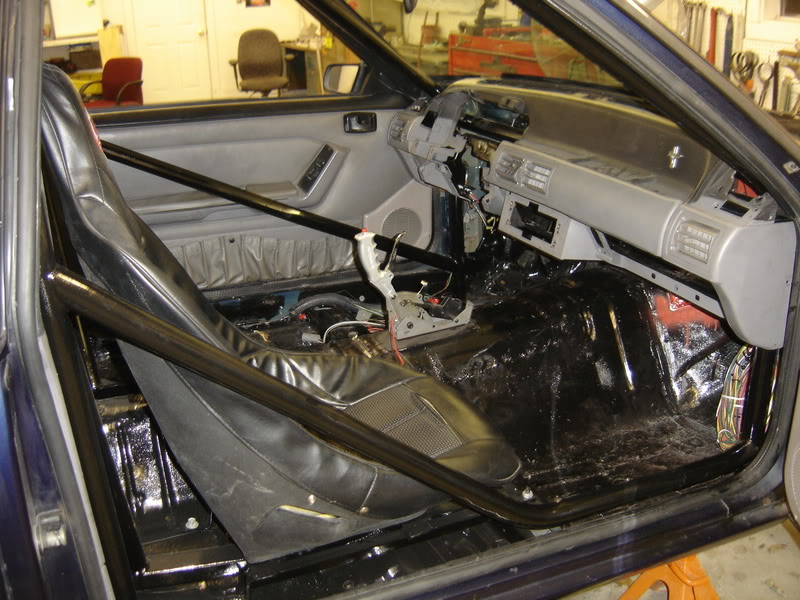
Great build!
Posted by Diggymart on 2/1/21 @ 1:15:12 AM