You must be logged in to rate content!
11 minute(s) of a 418 minute read
2-21-2013
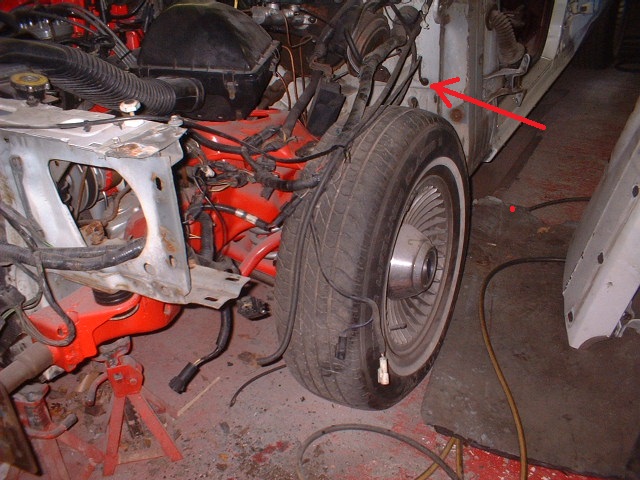
Just spotted that I have lost my hood release cable hole! Here it is/was from an old photo
Put it on my list! I've got a big list.
2-25-2013
Remember this rusty thing?
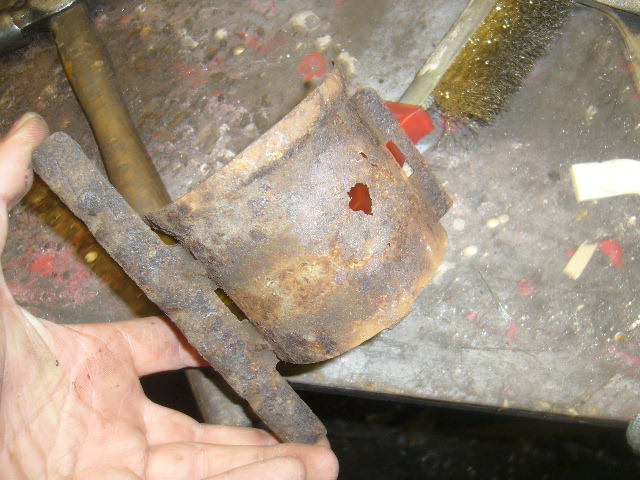
That was acid dipped to look like this?
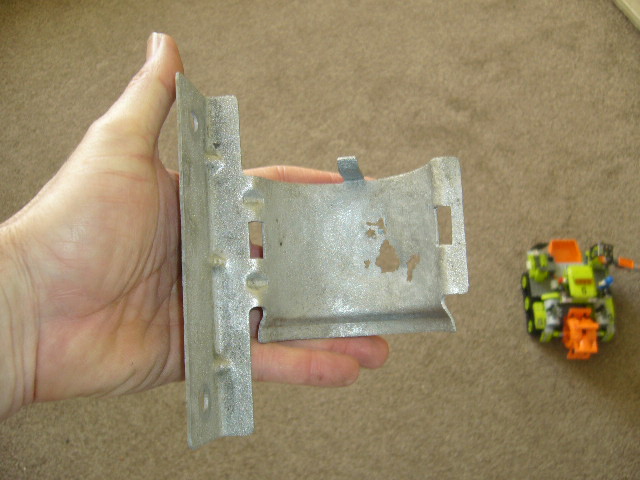
Well I welded it up and painted it. Now it looks like this
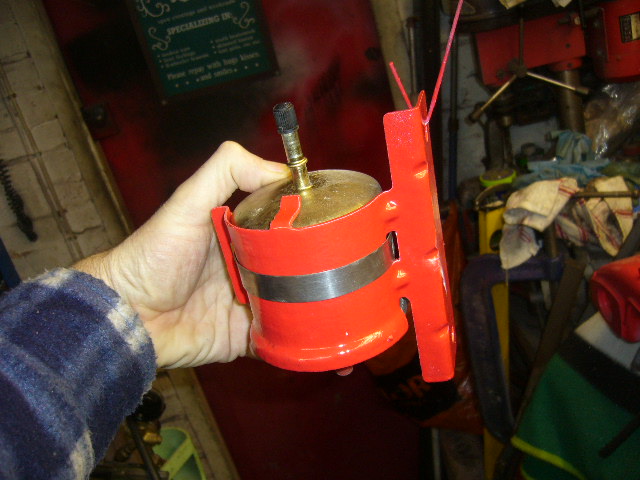
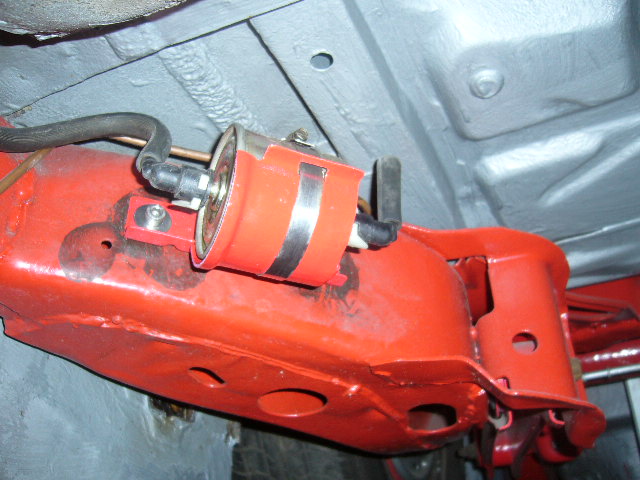
Funny how the simple little things like this are really pleasing!
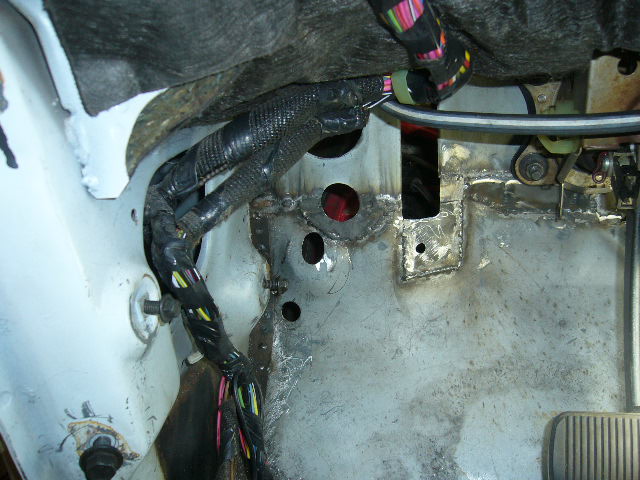
Onto my hood release cable. Not to make it too simple, I drilled the right size hole through, then enlarged the sheet steel on the outside of the firewall to smoothly join with the emergency brake cable slotted hole!

From the inside
Heater box next!
2-28-2013
Had an optimistic completely mad thought that the heater box would just about fit! Never know, just MIGHT......
Well, did it fit? Err,......no. Not a piggin' chance. Why did I even think it might?
More photos to come-as if anyone else will do something as stupid as this!
3-4-2013
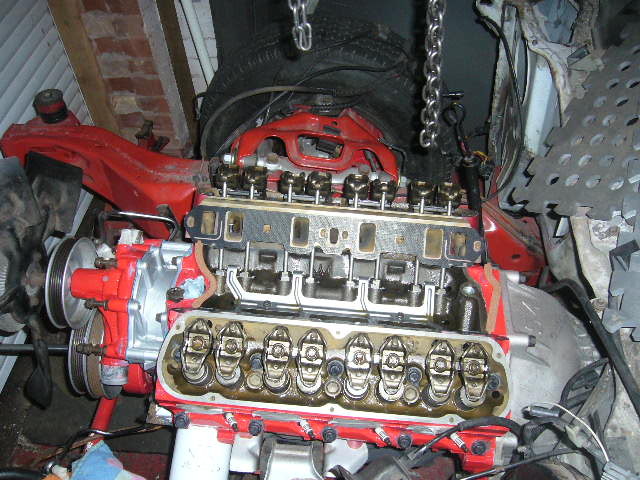
Bolted the heads down on the block so I can start to see where various things need to go! Photos soon.
Meanwhile for a break from the metal fabrication, its seeing if I can get the heater to fit time!
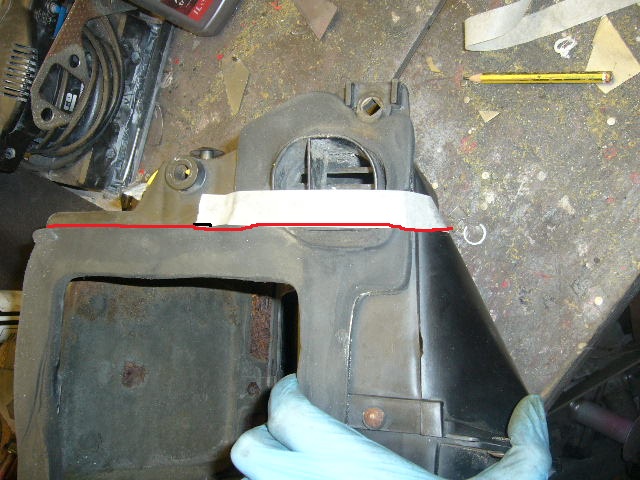
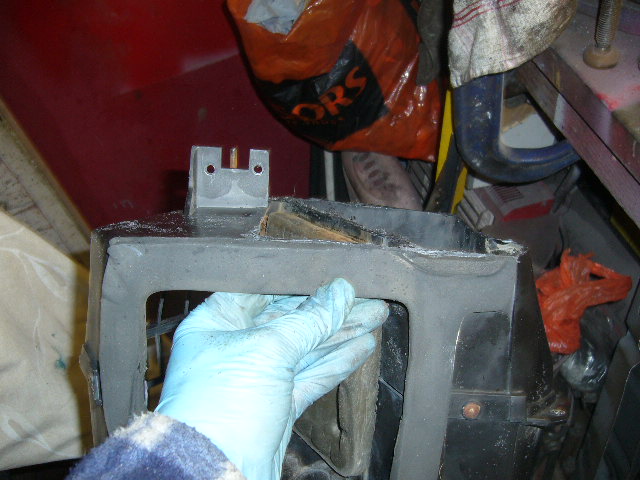
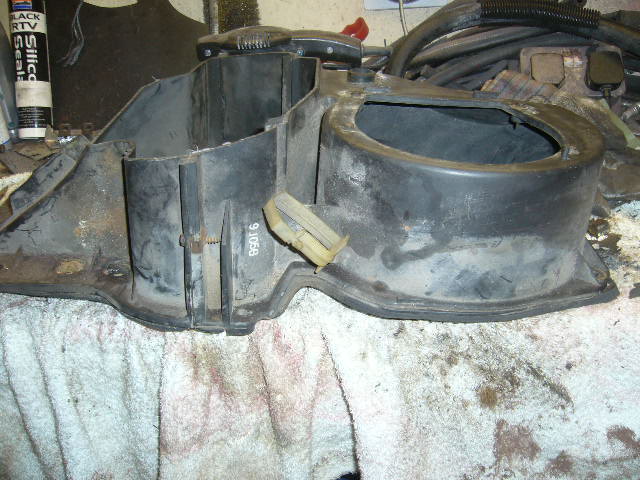
First the "air inlet assembly ducting" as its called in the shop manual.
This thing
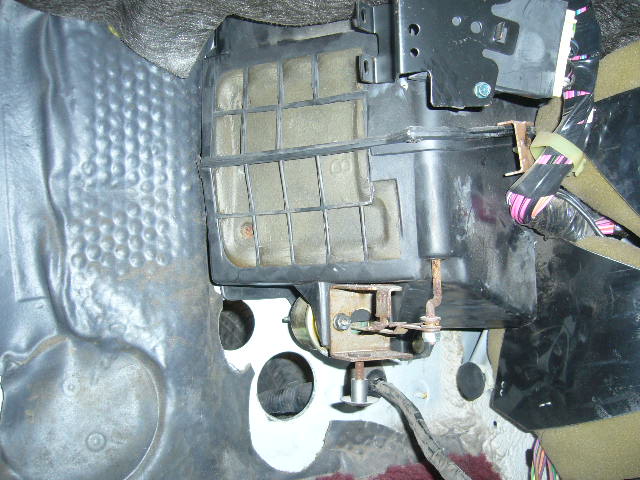
Here's a temporary fit and you can see where the bottom of it is touching the firewall before it sits flush
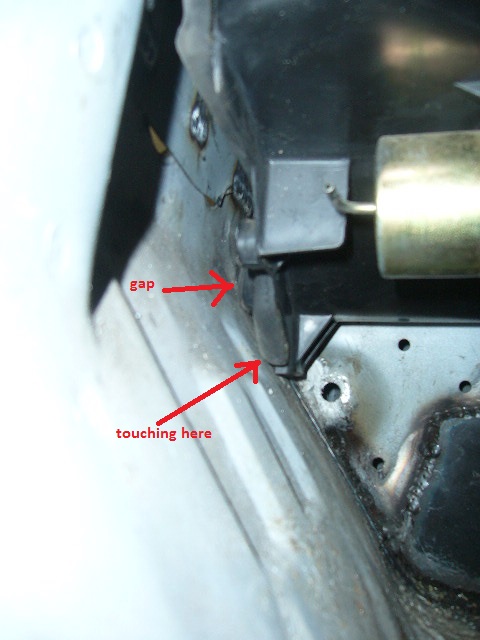
So I need to cut the bottom off so it has a chance of sitting flush.
Here's the cut line planned to completely flatten the bottom
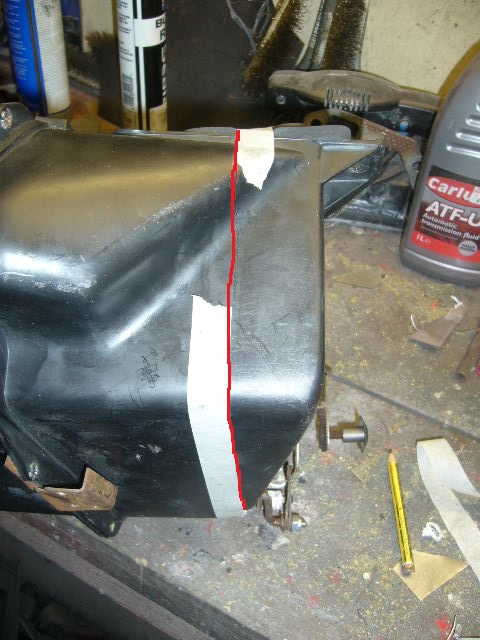
Here's my airsaw in action
Here's the bottom cut off flat
And a side view looking across the bottom showing the flat profile
I'll make a new base and bond it in, then produce a water drain hole.
Then its onto the other heater boxes...
3-9-2013
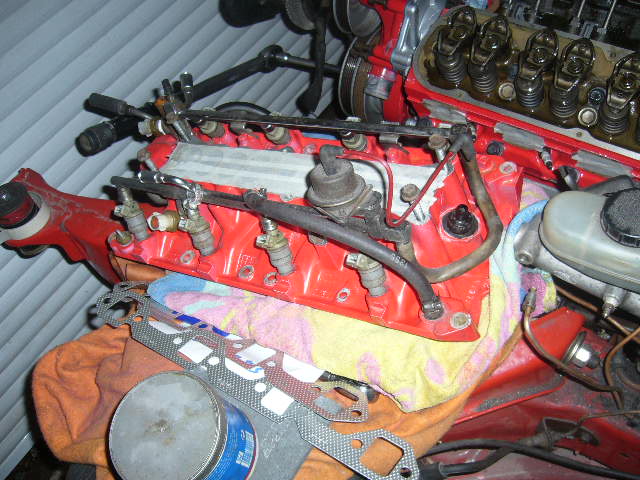
Been assembling the engine so I can trial fit the throttle linkage etc.
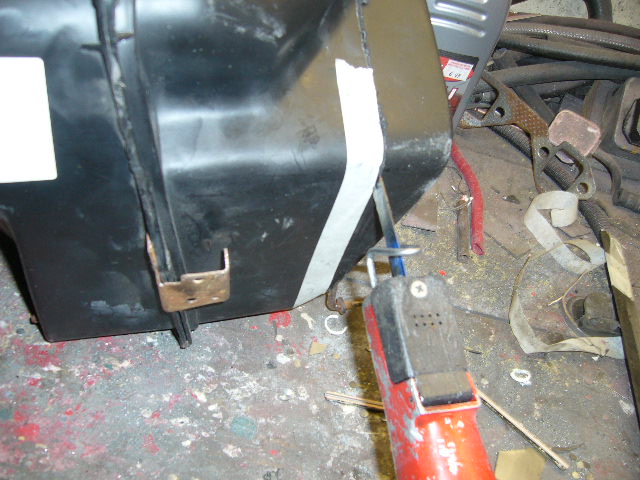
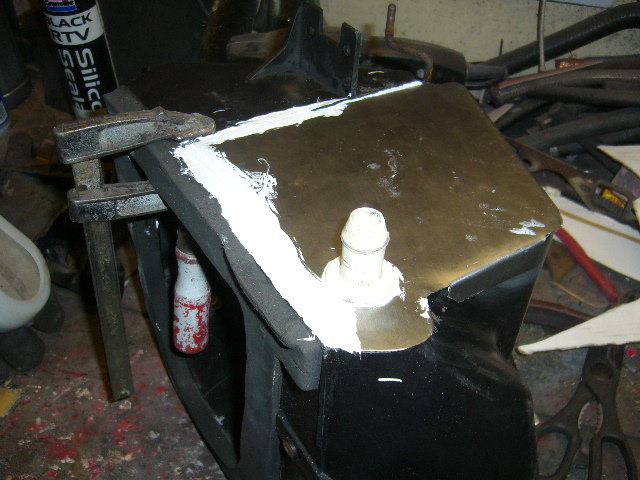
Back onto the heater box. Fabbed a closing off plate for the base and a water drain hole. Now its completely flat on the bottom and actually fits the firewall now!

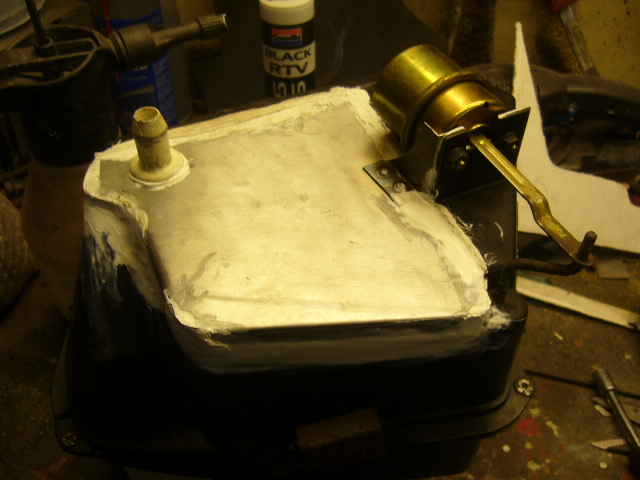
and a view to the inside
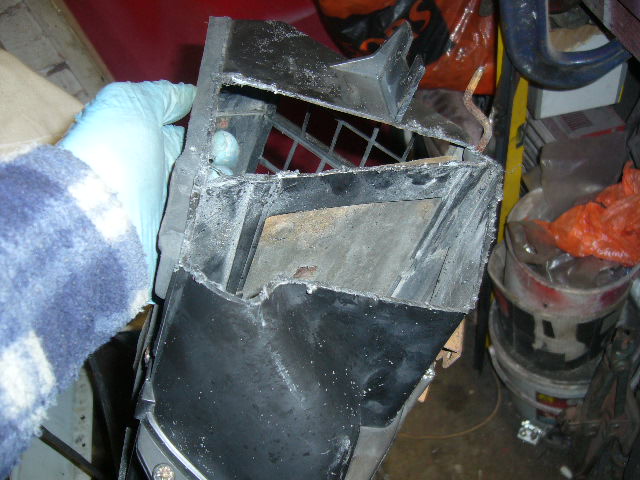
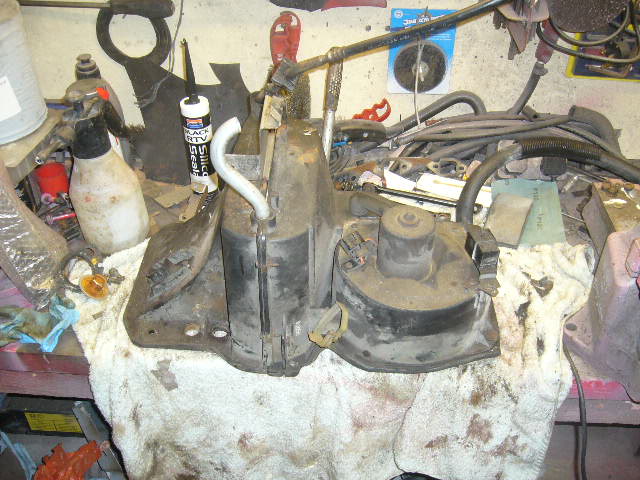
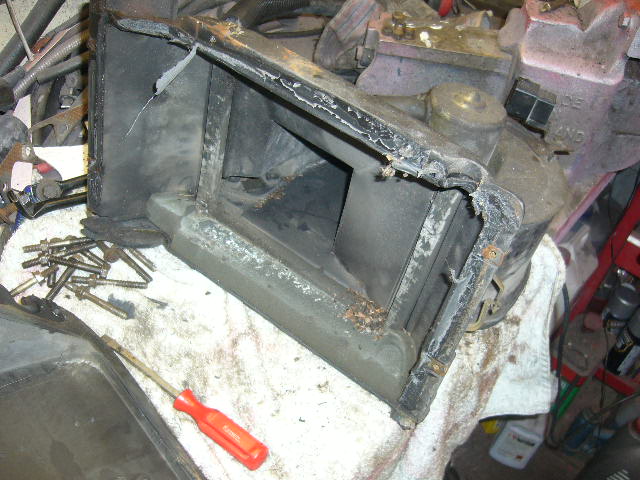
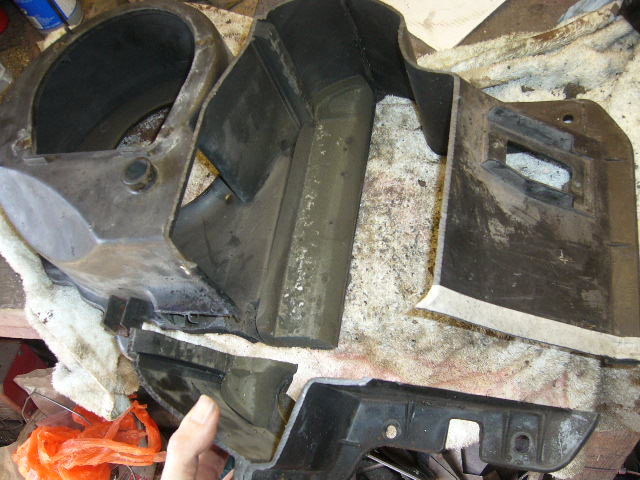
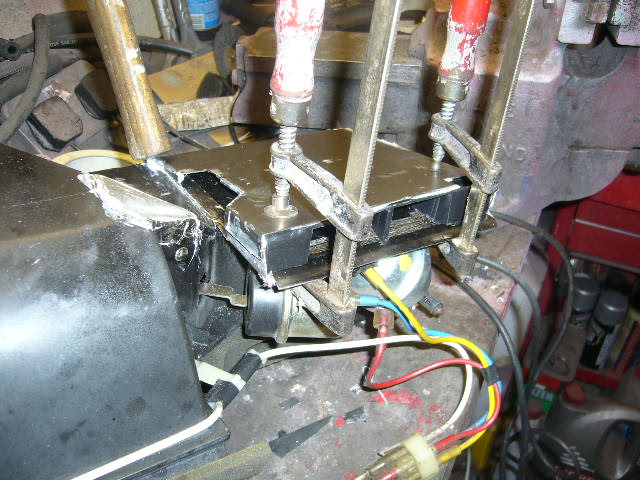
Onto the A/C fan heater box that goes on the firewall under the hood.
I don't need the AC matrix now so I split the box open to remove it
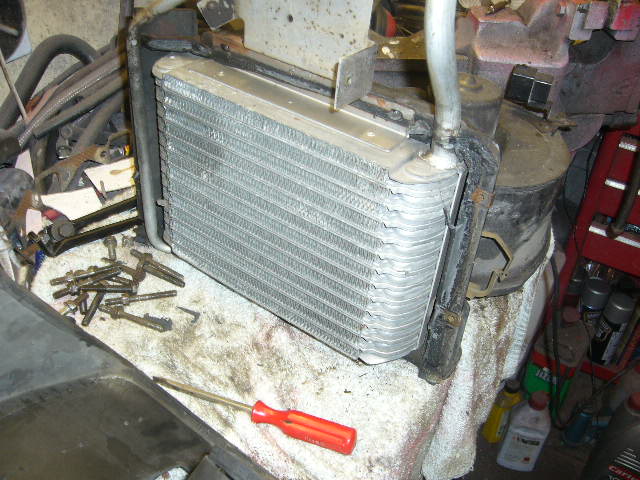
The other side of the matrix (fan side) was filthy and partially blocked with debris
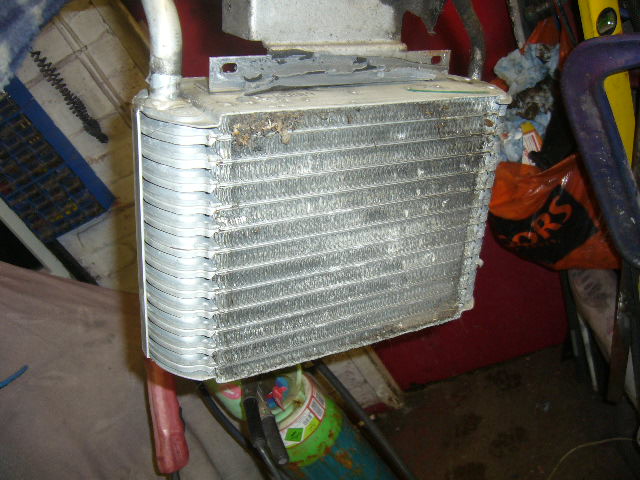
And here's some more debris in the case
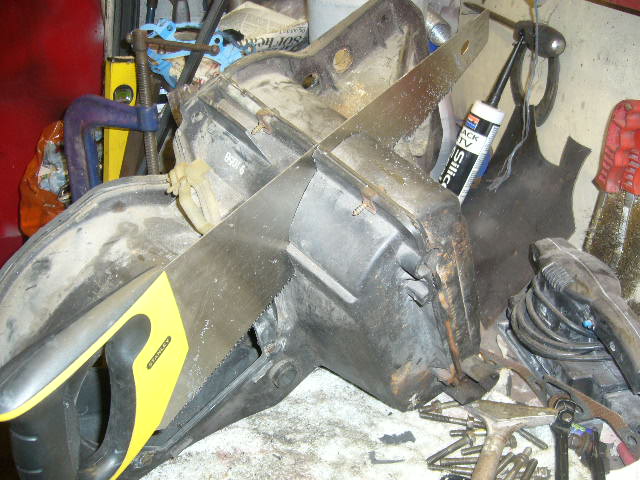
What I intend do here is cut the box diagonally with a saw to remove the bulk and close it off with a steel plate and incorporate an oil pressure gaugein it perhaps! To show everyone what I mean, this is the exact thing I did when I built my 77 Trans Am back in the early 90's
![]()
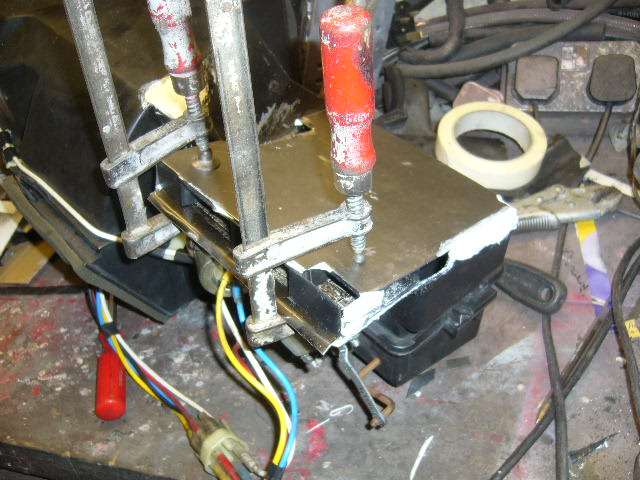
Here's my saw in action
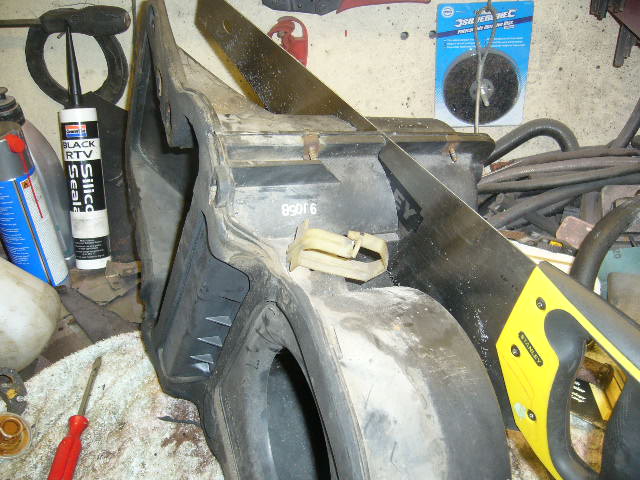
A trial fit and the base is touching the frame (just) so tomorrow I'll remove the bottom "bulge".
3-11-2013
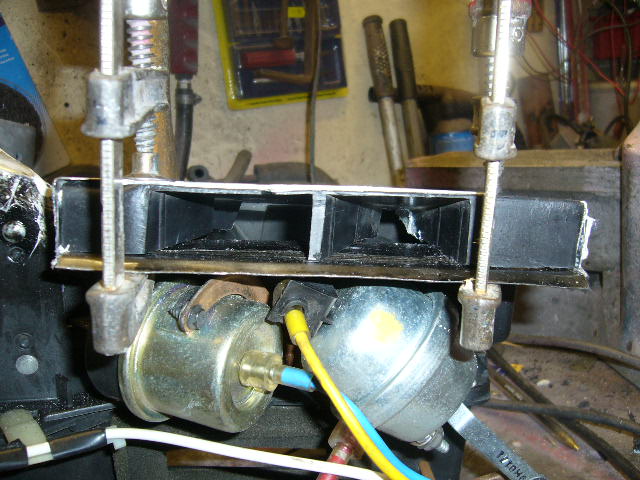
Had to shorten the height of the box and then plastic weld a bit of it back together. Hopefully the pics will tell the story.
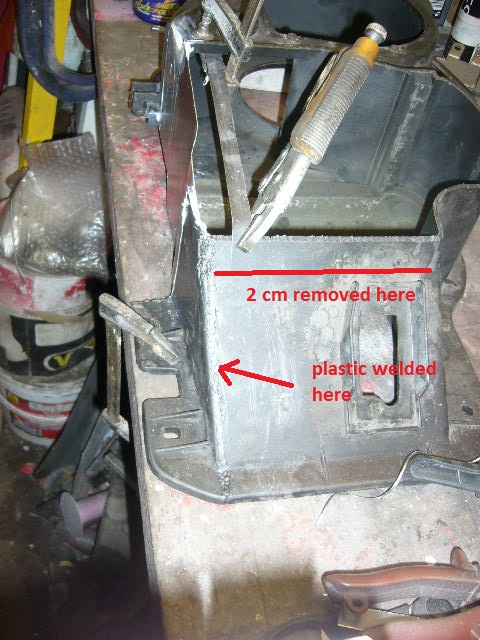
Steel closing off plate bonded in to the base and left to set.
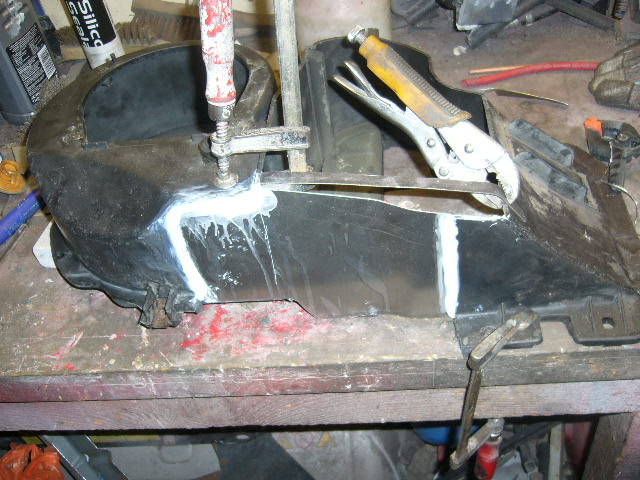
Still got a flange to weld on and a corner to cut, but not far off finishing this bit now.
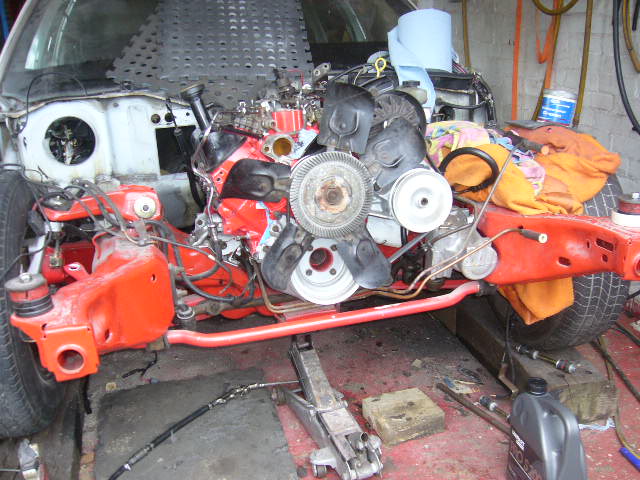
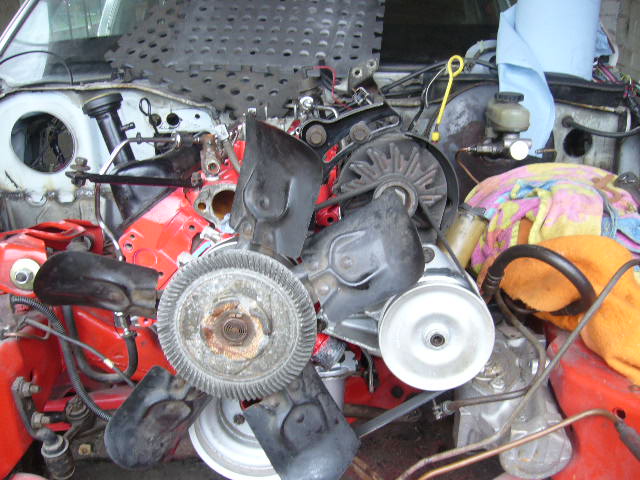
The main heater box that contains the heater core nearly fits!!! But it may as well be miles off.
Finally got the inlet manifold on and the fan and alternator, but it looks too tall to me! I will relocate the alternator down low on the other side and most likely use an electric fan.
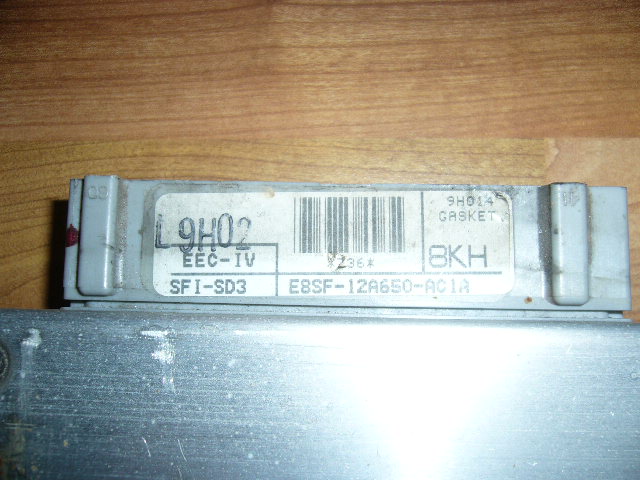
Has anyone got one of PCM's these lying around? Need a spare just in case!
3-17-2013
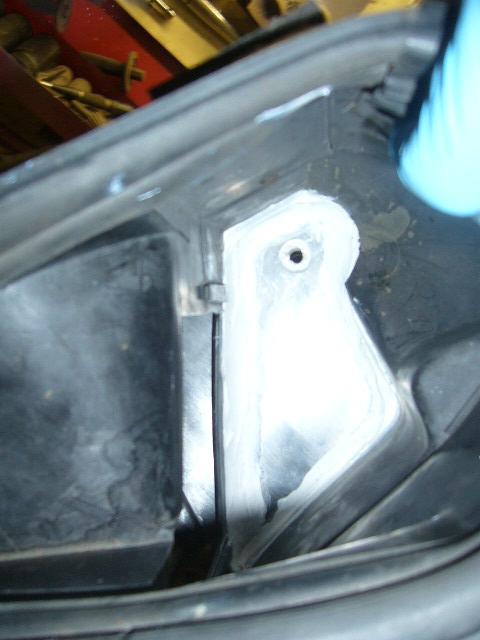
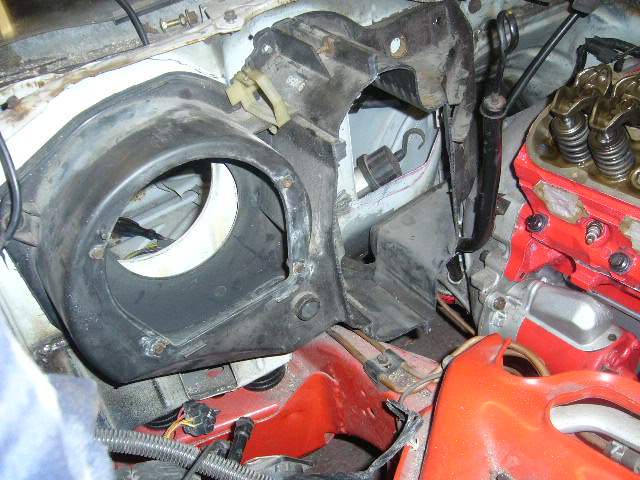
Onto the inside heater box where the core is located. As you might expect. it doesn't fit, but its not far off.
But this time I can't shave the box down because the flaps are too close to the outside of the casing, so there's no choice but to modify the firewall and trans tunnel.
Got to be careful I don't get too close to the top of the transmission if I ever have to pull the engine again!
Here's the largish hole!
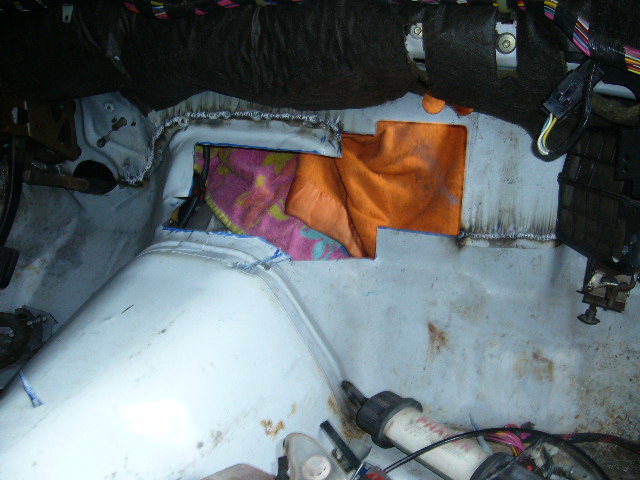
I'll weld it up when I hoist the body off the chassis in a few weeks.
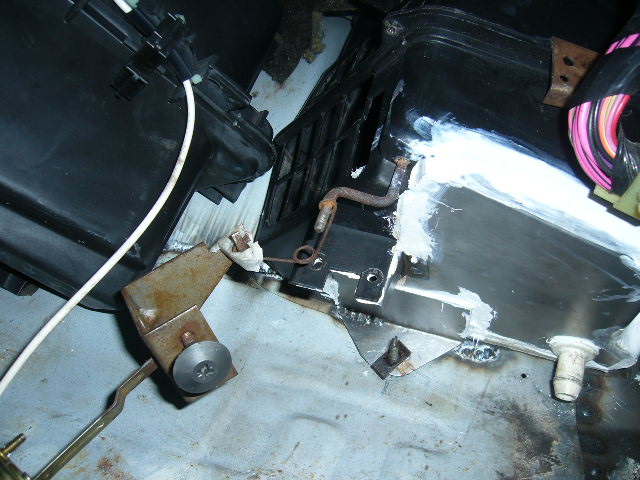
Here's a fabbed bracket bonded to the underside of the air recirculation box to secure the heater boxes together through the firewall (just to the left of the drain hole).
Fitted the plenum to the motor today, but the throttle cable was slightly too tight, so I spaced the bracket off the plenum about 10 mm.
I'll see how that works out with the engine flexing about.
3-28-2013
Right its shortening pedals time.
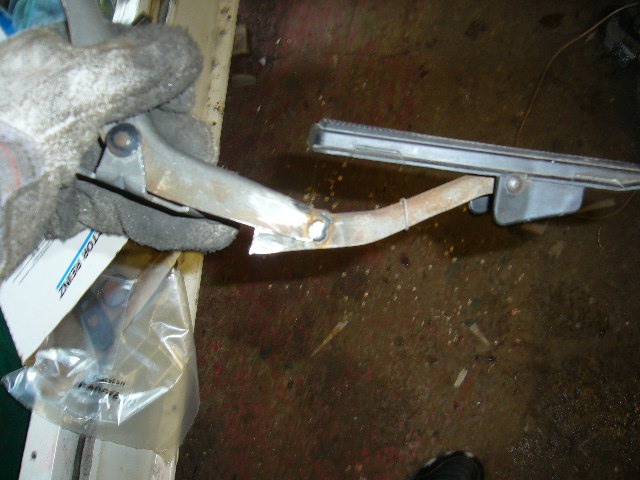
Here's the full length gas pedal
and here's the pedal shortened awaiting finishing and final welding
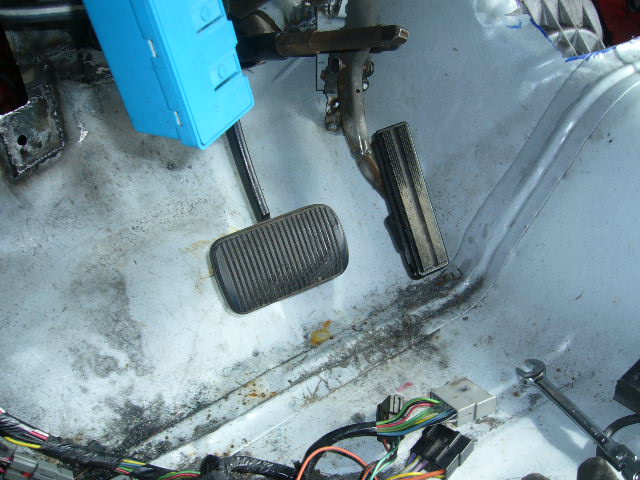
And bolted back into its new welded in mounting place
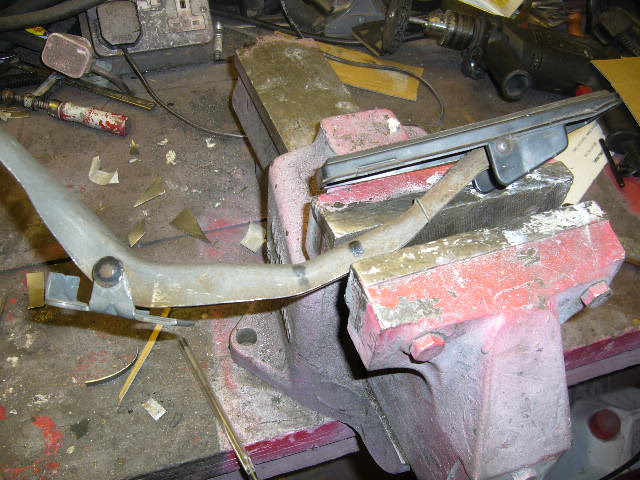
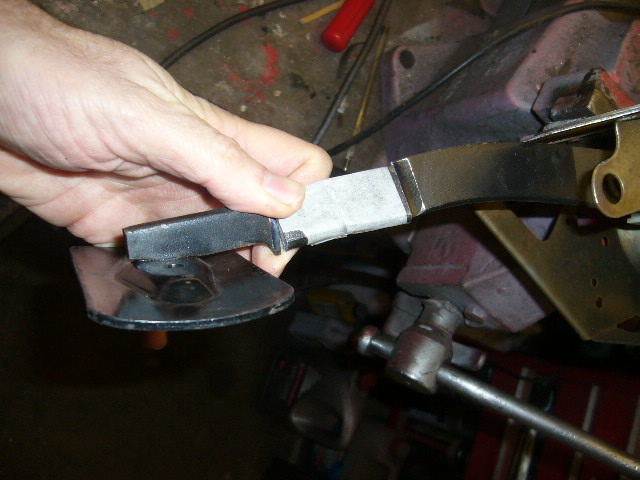
Now the brake pedal wants shortening
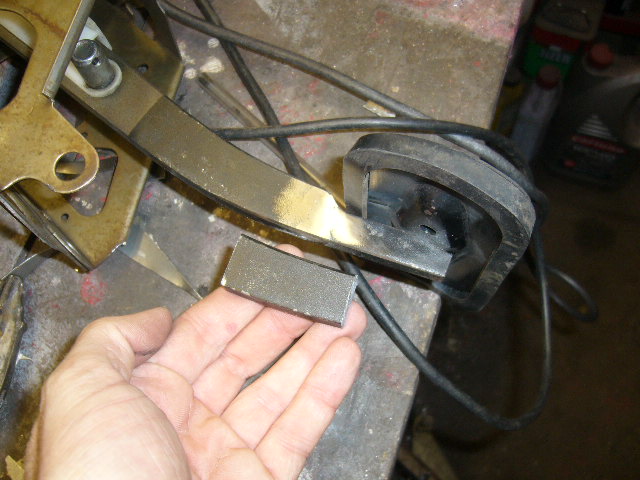
Here's a section cutout awaiting welding back together
and fully welded with the missing bit looking on!
4-8-2013
Don't know whats more painful, having a nerve trapped in your back with the inevitable red hot daggers down my right leg all day, or trying to get this damn car to work again!
Anyway, back to the heater. Last job to do is the shrinking down of the lower centre air vent that directs air over the trans tunnel and down to the footwells.
This is how big it was in height

and this is the new lower profile design
Now thats finally done, its refitting dash (joy) and steering column and see if I can get the column to connect up to the steering box!
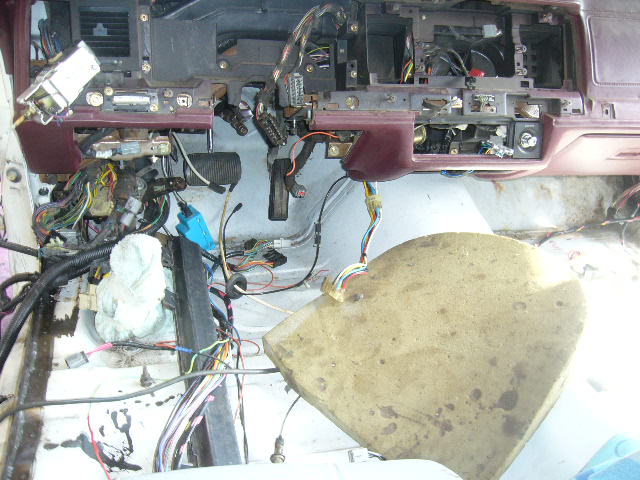
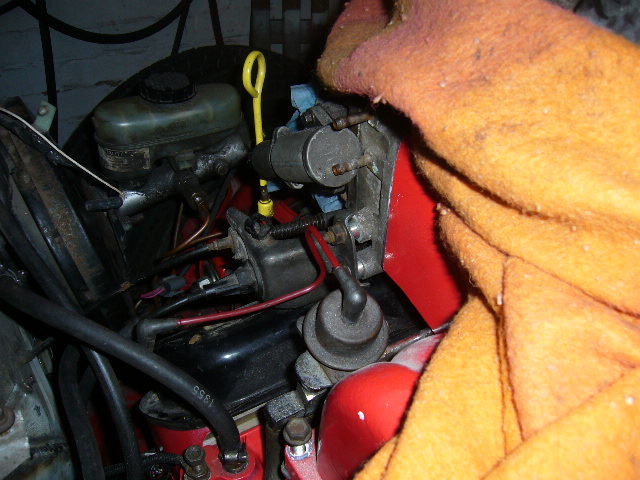
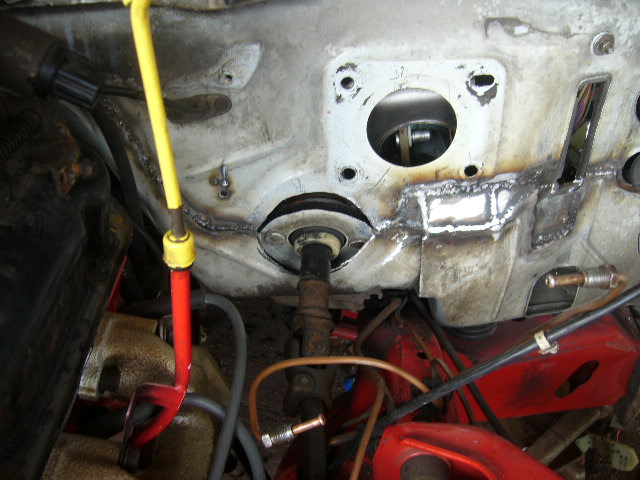
And servo removed to get access for cutting and welding.
Here's the firewall cut out a bit more and ready to tack in position. The UJ misses the bottom of the servo by about 10mm! But it works and it steers!
Finish weld that up, strip it all out again and its hoisting up off the chassisfor its final welding and painting underneath.
May even get this to the paint shop this year!!


Love this build, so much work!
Posted by diyauto on 1/21/21 @ 1:46:55 PM