You must be logged in to rate content!
7 minute(s) of a 418 minute read
2-5-2013
No quitting here I can tell ya!
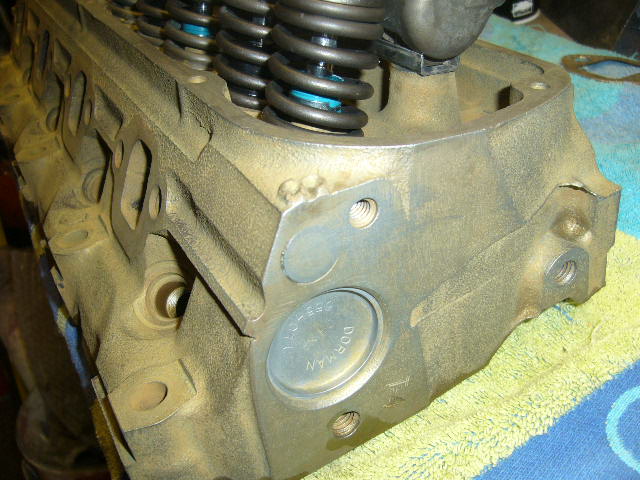
Heads rebuilt - phosphor bronze valve guides, 3 angle valve seats..
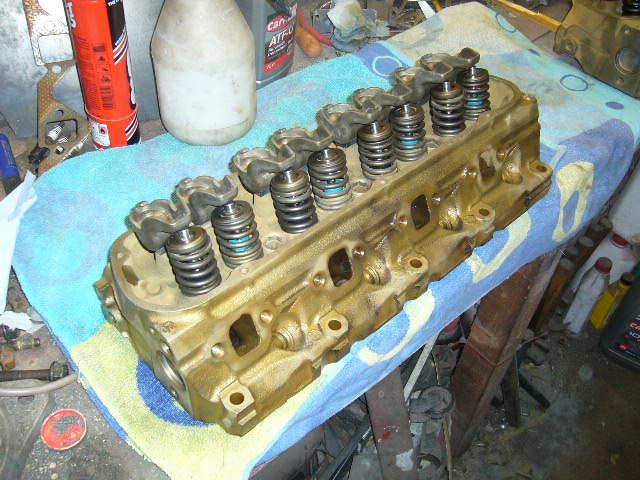
Taperd plug fitted to seal off unwanted passages
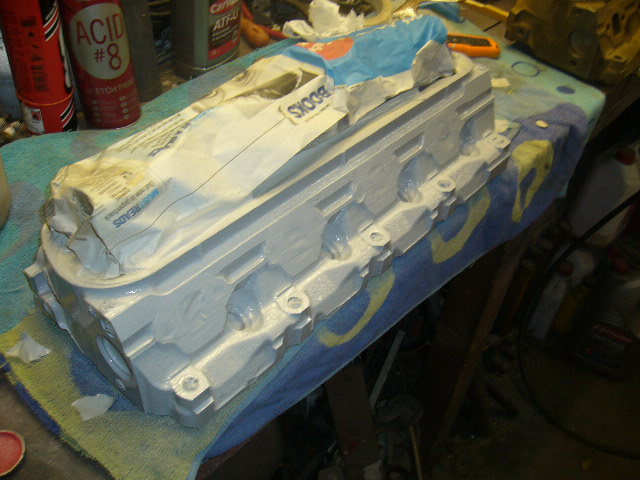
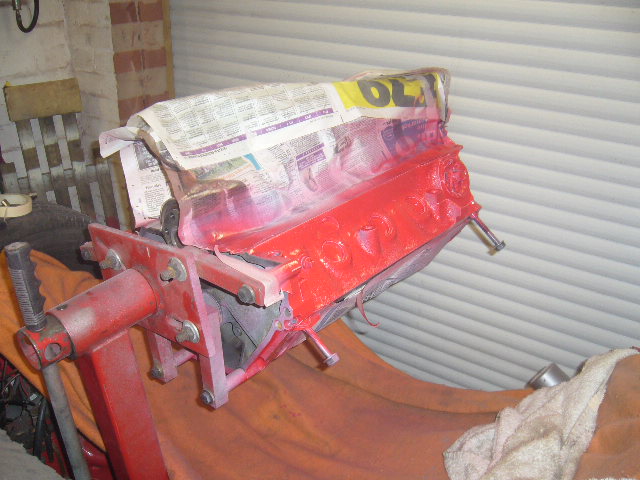
Etch primer
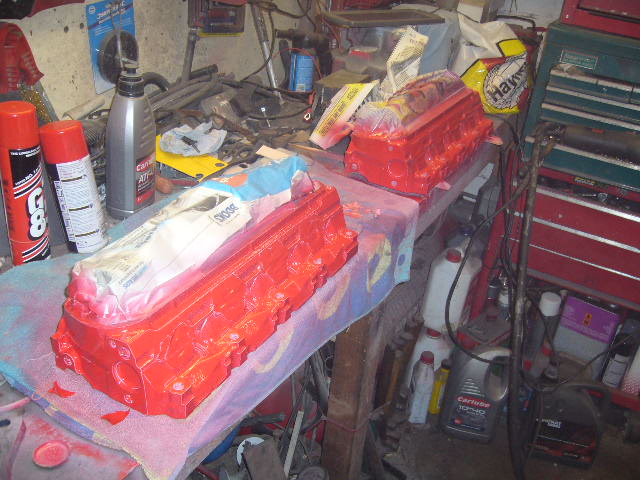
and bright red!
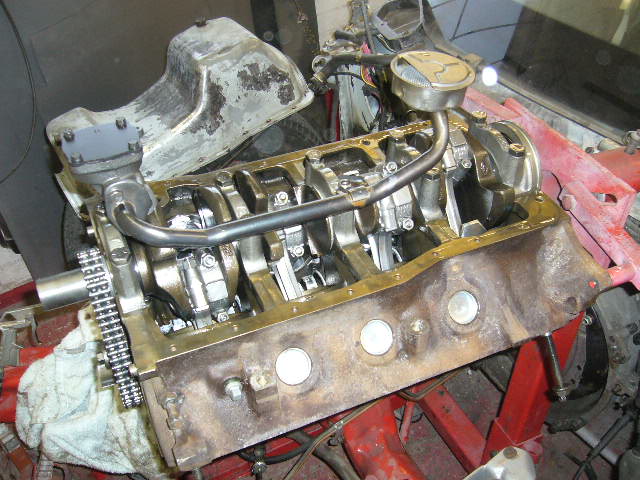
Onto the engine-bored 40 thou over

Oil pan and timing chain cover next.
2-8-2013
Spent too many hours prepping and painting engine parts..
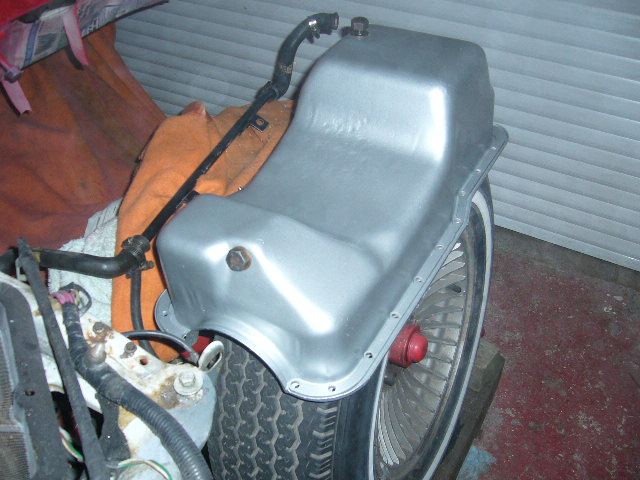
Oil pan...
Timing chain cover
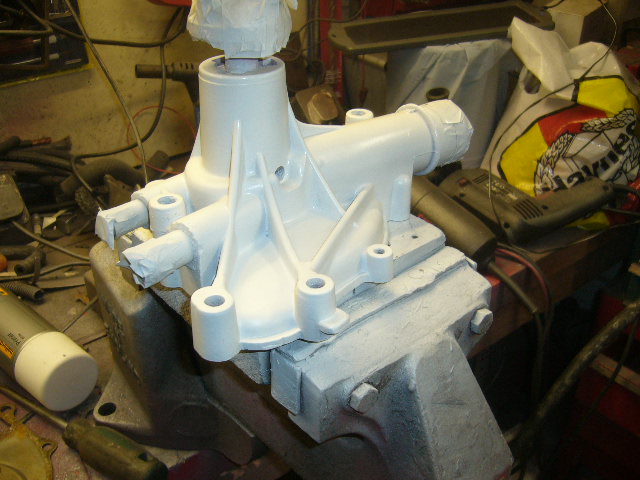
Water pump etch primed
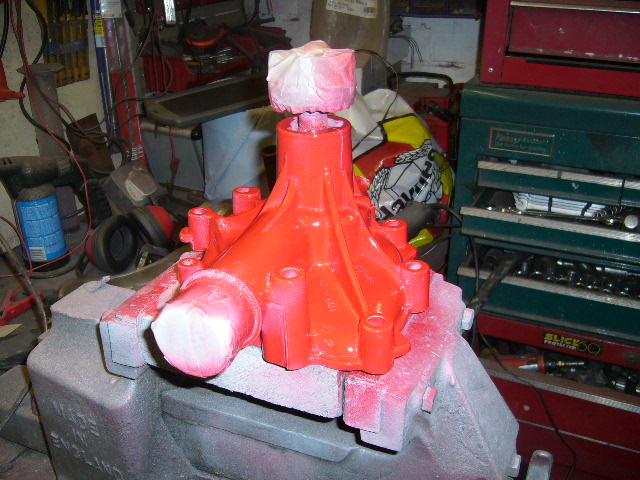
and painted red
This weekend its back to the welding!! I'll see if the back seat will fit and if my head catches the roof! As if I'll be sitting there anyway.....
I know for certain the back seat rear squab wont latch because they are in the wrong place!
Oh, and the throttle pedal welded back in its new place would be a good idea...
2-10-2013
Finish welded the rear wheel arches and trial fitted the seats
The stop on the drivers side was slightly out so just needed pushing over slightly (you may be able to tell)
Slightly out of line on the passenger side
So off it comes
And in its new position

2-13-2013
Ok. Confession time!
Tried to fit brake pedal box but it wouldn't fit. I welded the firewall up without bolting it up to check! Yeah, I know.........should have known better.
So, had to cut across my welds and pull the firewall out at the bottom a bit
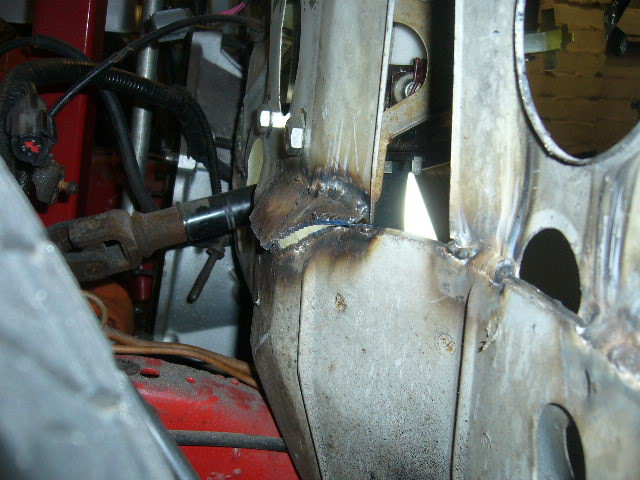
Then making sure the pedal box is in, cut out the plates I so lovingly welded in before (serves me right).
Pedal box in as first plate is welded in
Oh dear!!! Soon be back though!
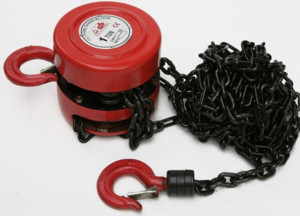
I've also just got my block and tackle pulleys to hoist the body off the frame very very soon!!
2-17-2013
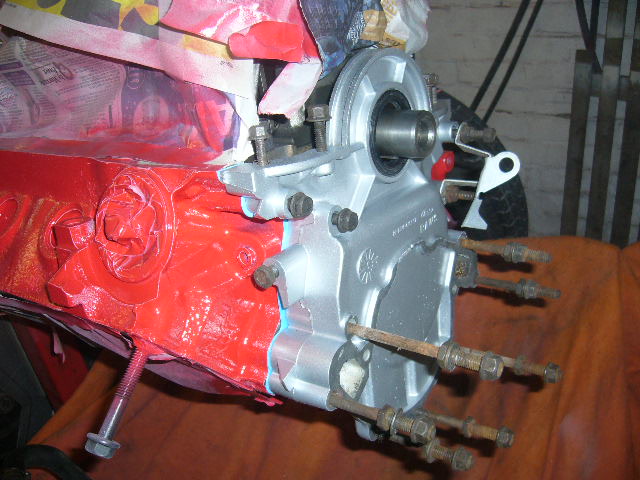
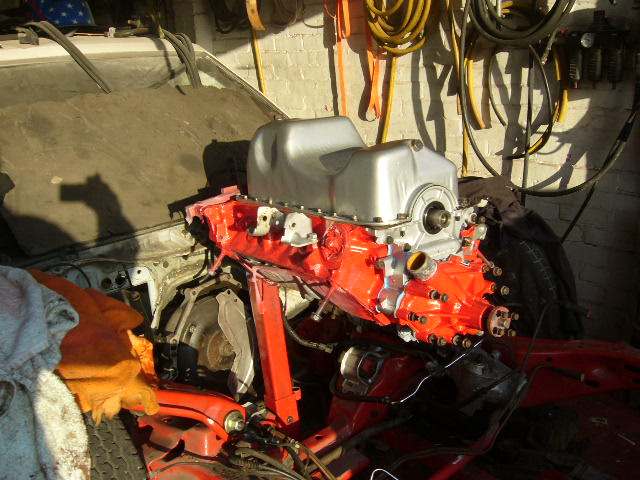
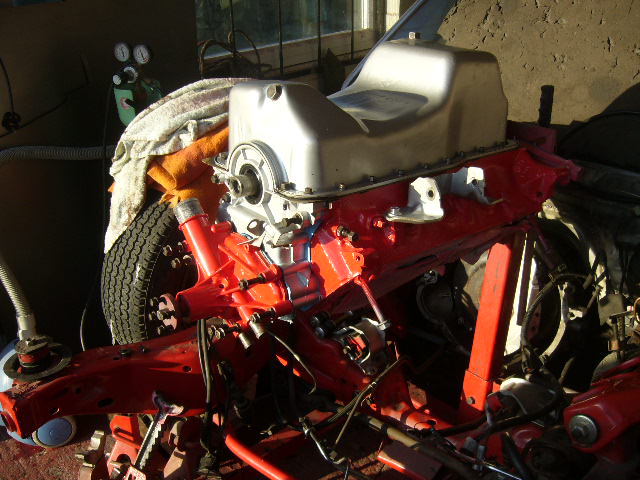
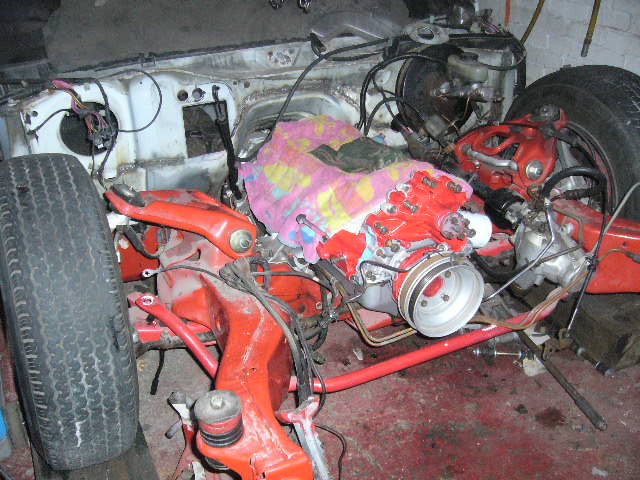
Fitted timing chain cover, water pump, oil pan and crank pulley and harmonic balancer.
Why has the water pump got to be such a PITA thing to fit?
Small block chevys are a damn site easier!!
Fitted my block and tackle in the roof and took the strain!
Intentions are to pull the engine off the stand, fit the flex plate and install the engine. Then hoist the body off the frame, wheel out the chassis and finish weld underneath. Then paint entire underside and bolt back permanently to the frame.
Then its painting green time!
2-18-2013
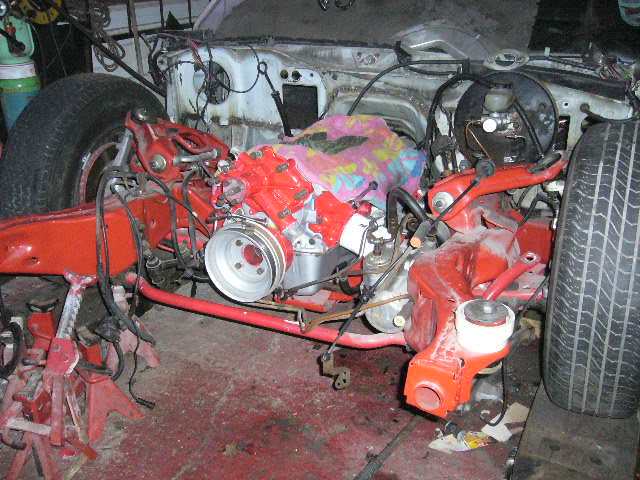
Isn't it just typical...... when you want some help to do a quick car job, everybody disappears. Especially when it involves a bit of work-like helping to put an engine in.
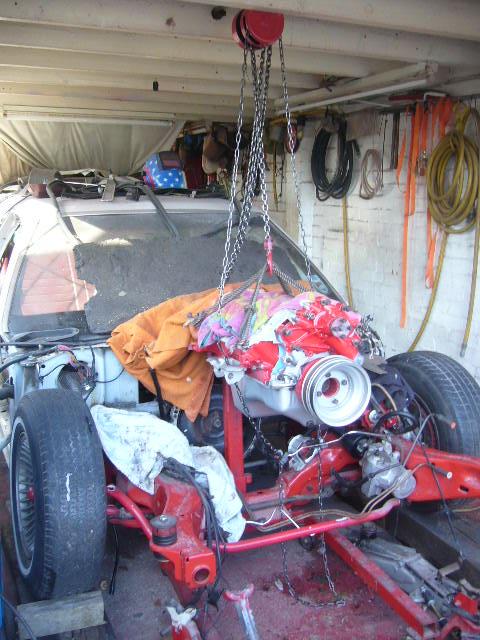
So on my own it is.........
After a short time it was in. No swearing, cussing or anything like that. Just a smug smugness!!
Tomorrow its starting to hook things up like trans shifter cable, heater, vacuum lines etc. But I can't hook the throttle up until the heads and plenum are on and I haven't got the head bolts till about Wednesday.
In the meantime, 2 more block and tackle pulleys to go up in prep for lifting the body off the chassis.
2-21-2013
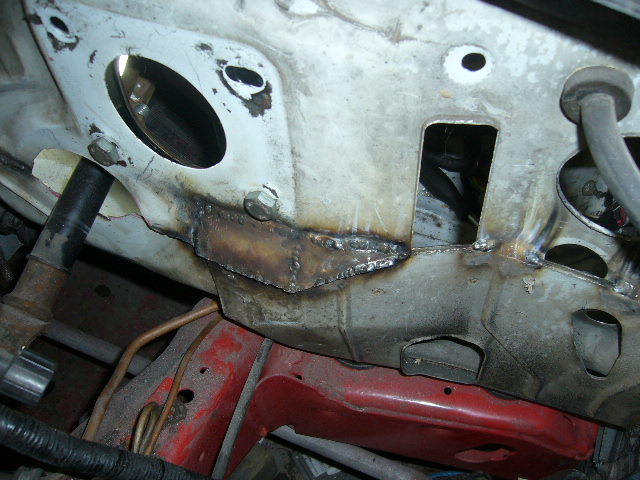
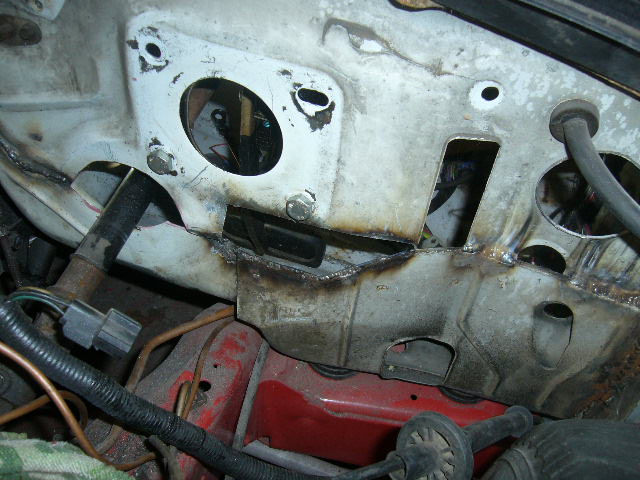
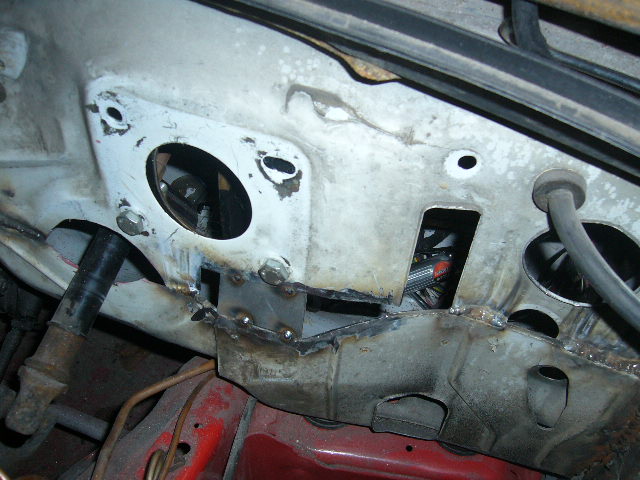
Time to fabricate all the simple things on the firewall now. Starting with the hole for the Trans shifter cable and ECU slot.
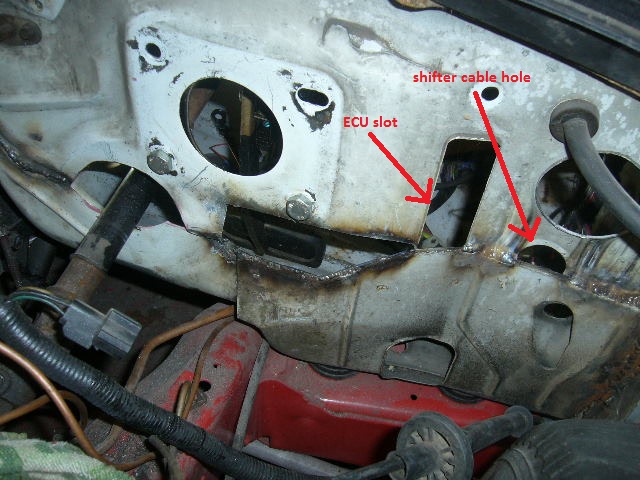

After hours of messing about, this is what we have ended up with
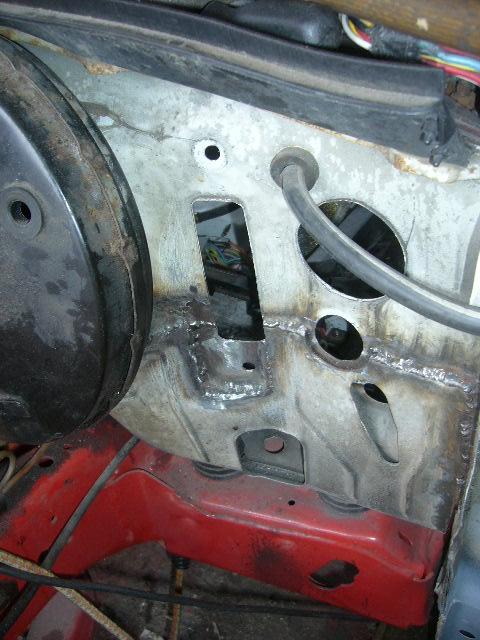
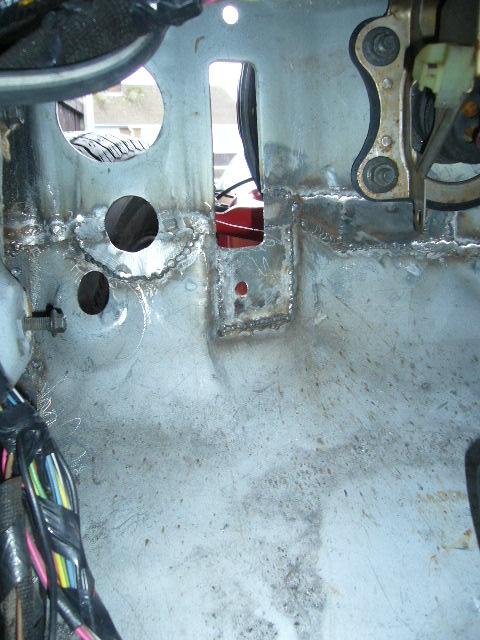
Now at least I can refit the ECU bracket and shifter cable.
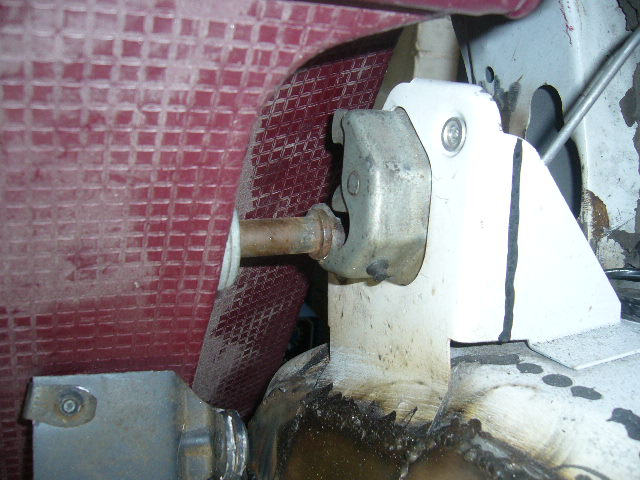
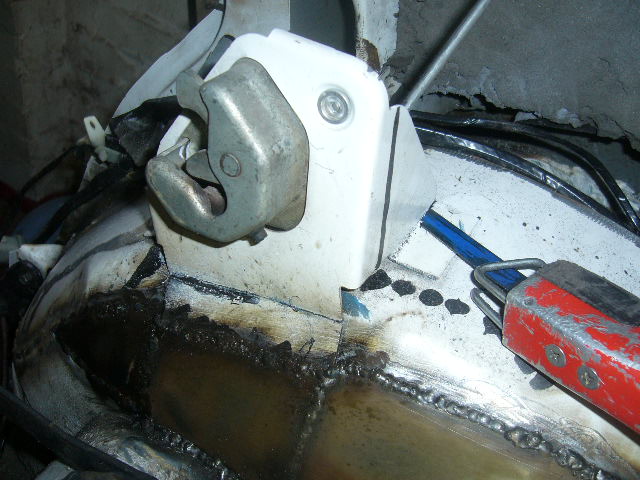
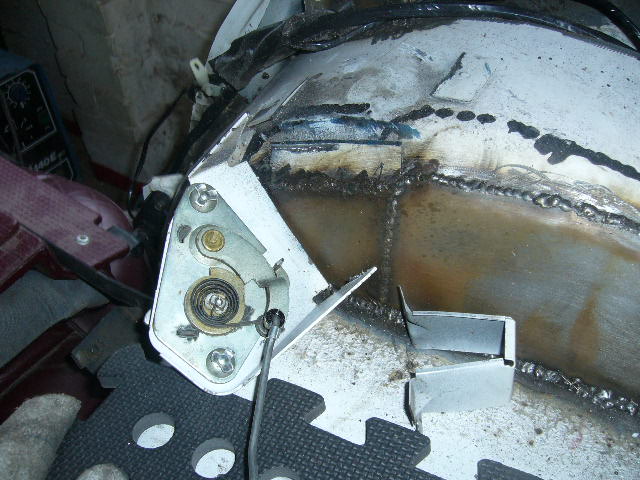
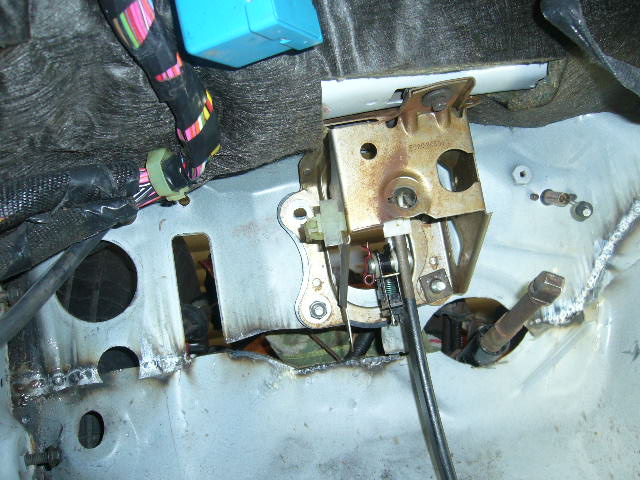
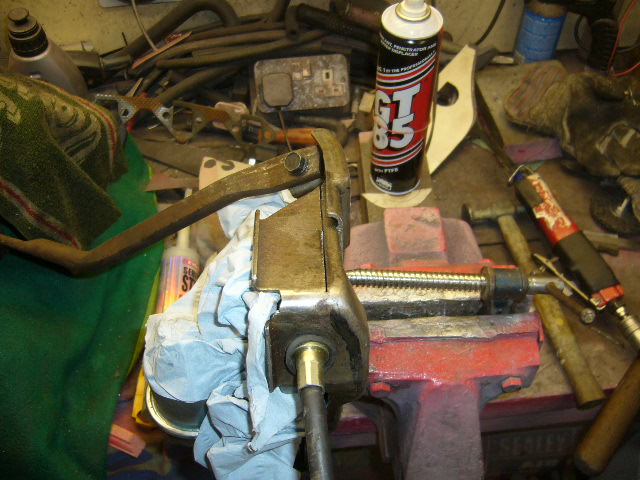
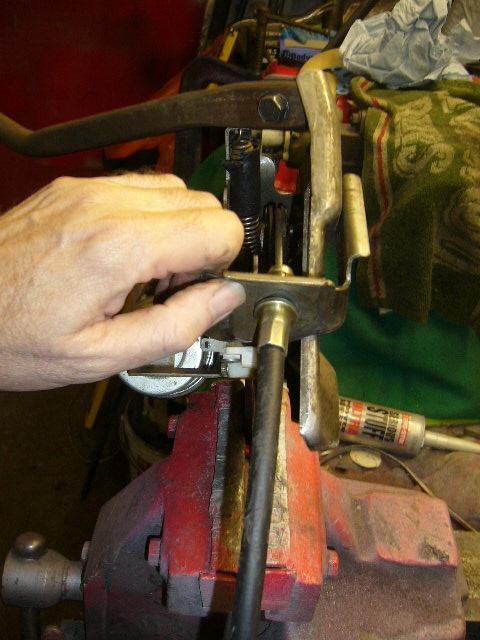
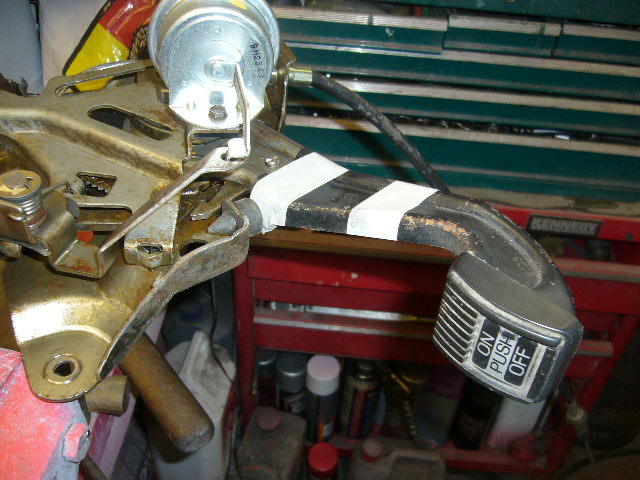
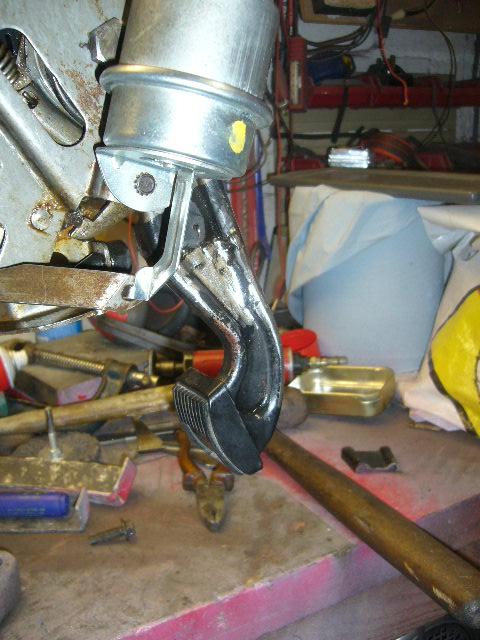
Now onto the parking brake. The hole where the cable goes through has moved up 10 cm so will no longer be any good - although I could cut up the bracket and relocate the cable.
and relocated about here
I'll post a photo of the finished product later on.
In the meantime, the pedal is too long!
Needs this much cutting off
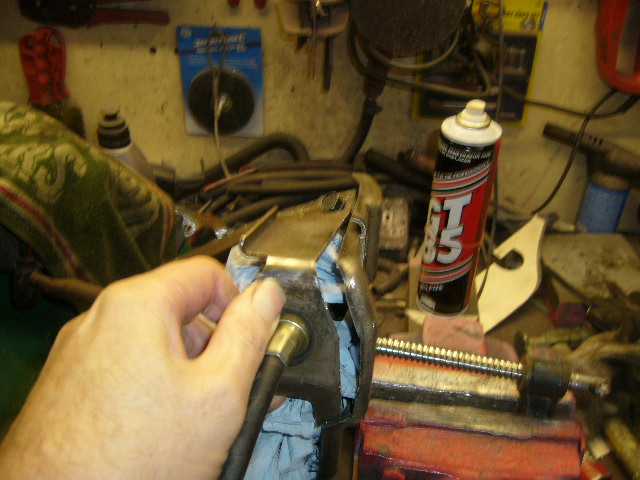
And rejoined but had to be flared to match the contours

The almost finished product
Heater box next.


Love this build, so much work!
Posted by diyauto on 1/21/21 @ 1:46:55 PM