You must be logged in to rate content!
10 minute(s) of a 418 minute read
7-13-2012
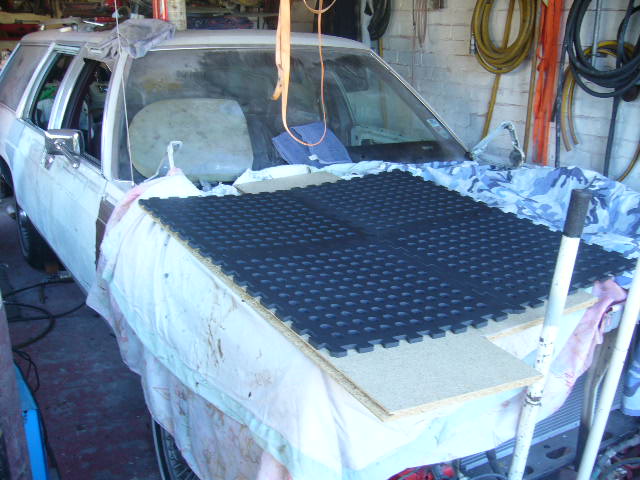
Heres my new temporary worktop in my small garage!
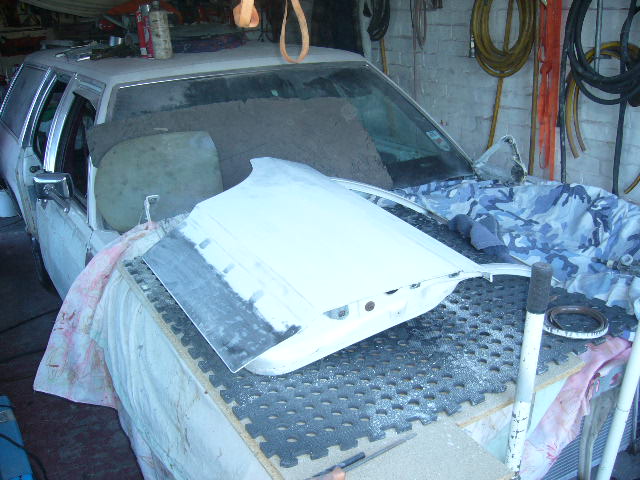
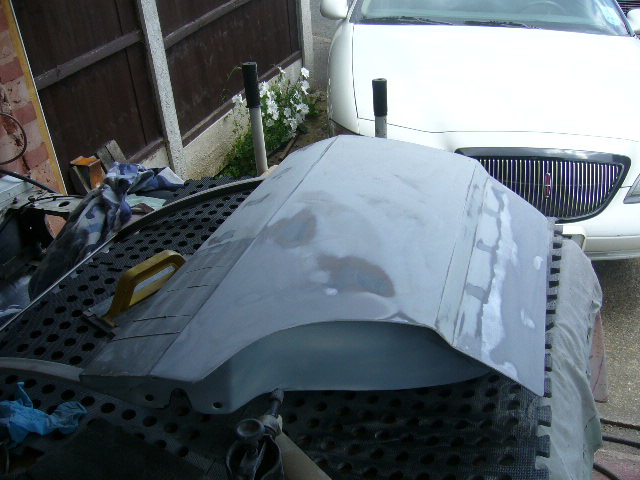
Skim of filler on the welded up door and off we go to the worktop
Base of door paint stripped off to check for any corossion (none)
Then door turned over and bottom lip bent open to find any rust beneath. There was minor stuff but not too bad (forgot to take a photo but I will soon). I made up a container to fill with phosphoric acid out of an old gutter and submersed the bottom of the door in it for a day or two.
I fancy laying the windscreen back a few degrees to make it look more streamlined, so will have to do a few drawings to see what it looks like. I'll have to do that after the chanelling though.
7-17-2012
Back to the plot..
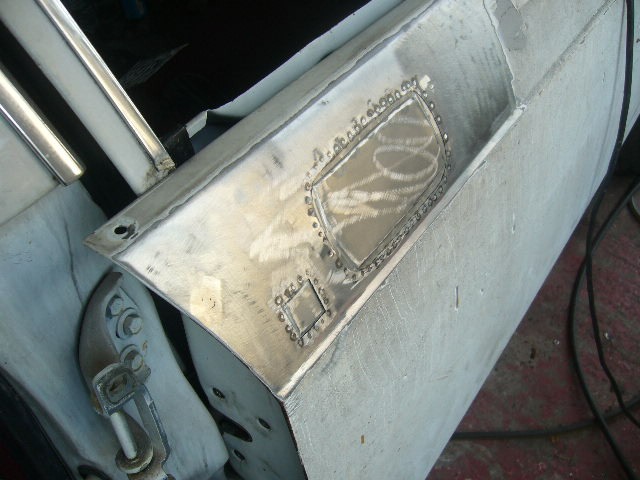
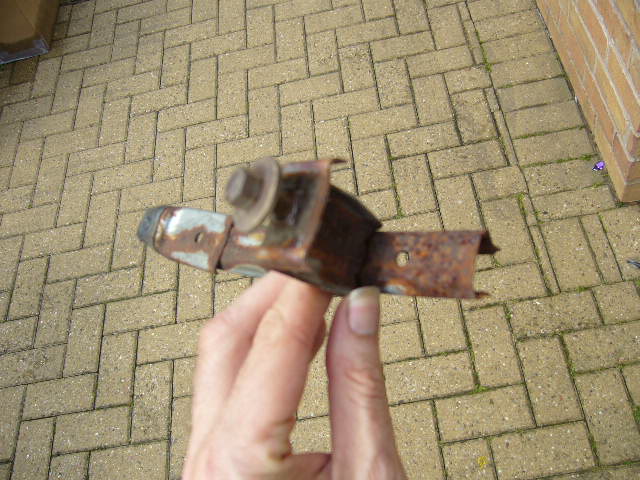
Here's the front passenger door lock and handle cut out
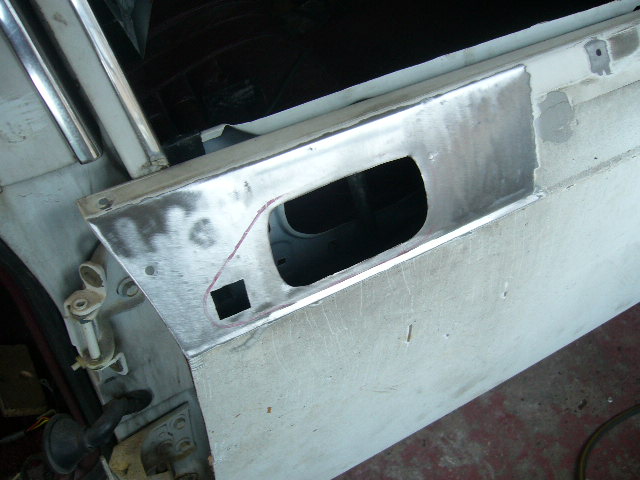
and joddled patches spot welded in
Heres the bottom of the pass rear door that was in the acid guttering bath
Looks good and rust free.
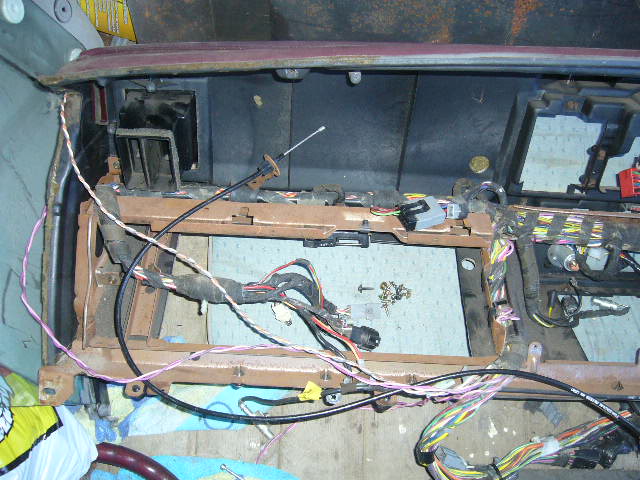
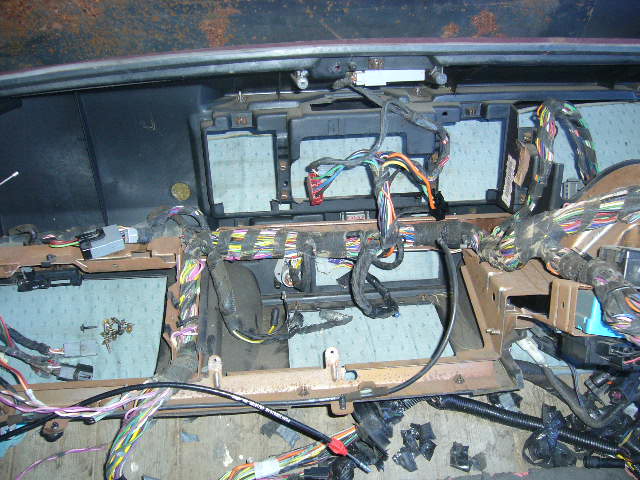
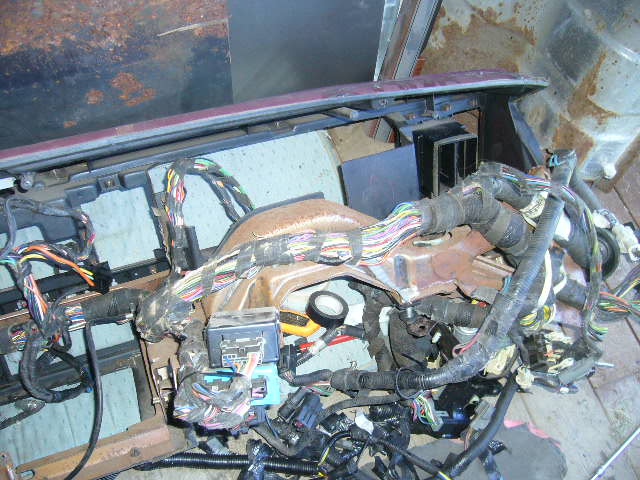
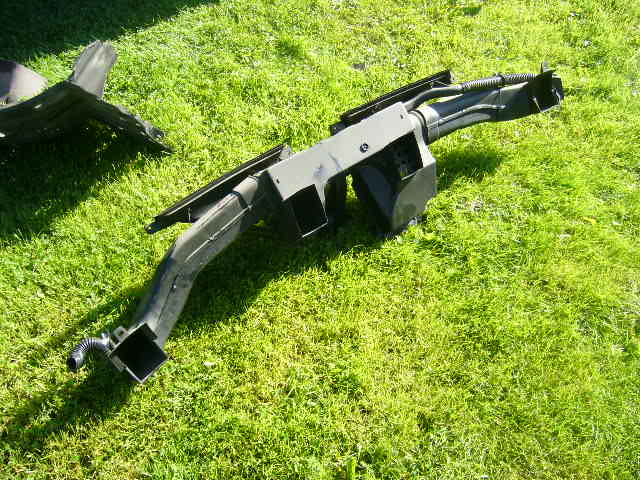
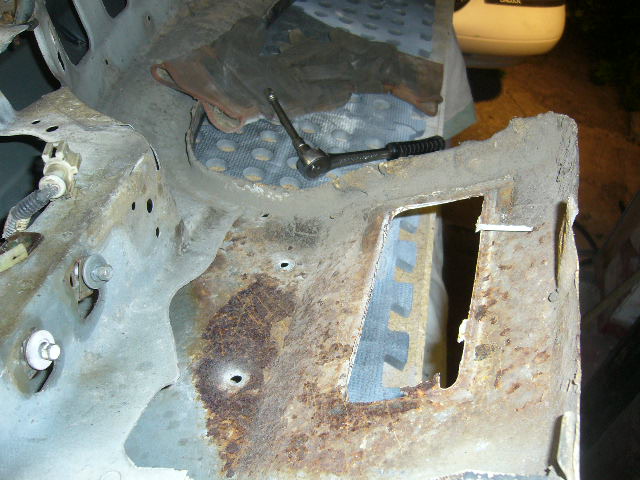
Onto the dashboard wiring tidy up. Removing all the airbag wiring. Once the defroster/heater ducts are removed theres plenty of room and plenty of wires came out
More tomorrow, but never imagined how events would unfold over the last few days.............
My poor Dad at 88 years of age had a stroke last wednesday night, which is bad enough, but then fell down the stairs he was just at the top of. Unfortunately he has now lost the use of his right leg and right arm, broke his sternum and one rib and now doesn't recognise anybody or knows what he is doing or saying. My Mum, who is 92 is shattered. None of her friends are alive anymore so she has no-one to talk to of her own age. Living to an old age doesn't seem so attractive anymore.
In a way this project of mine is really keeping me sane. Certainly takes my mind off things temporarily. Heres hoping for some peace for my Dad, whatever that turns out to be.
7-21-2012
Thanks guys.
Back to the wagon.
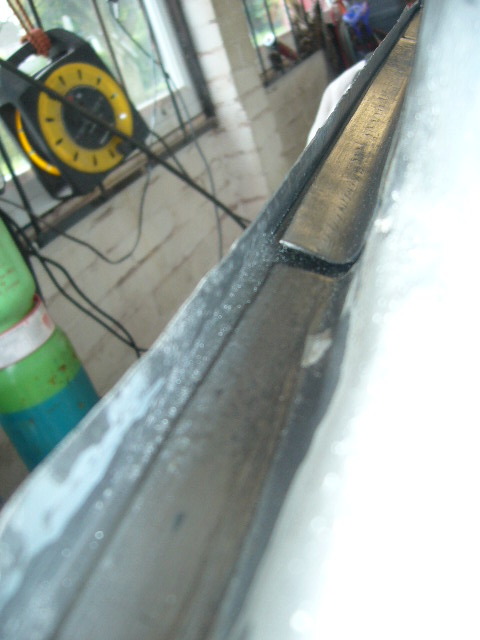
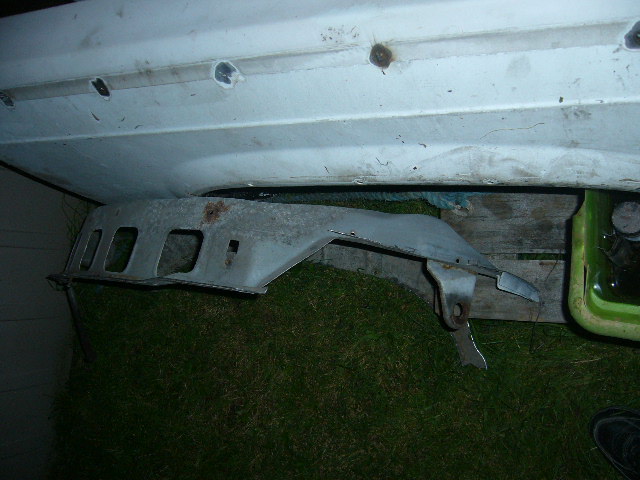
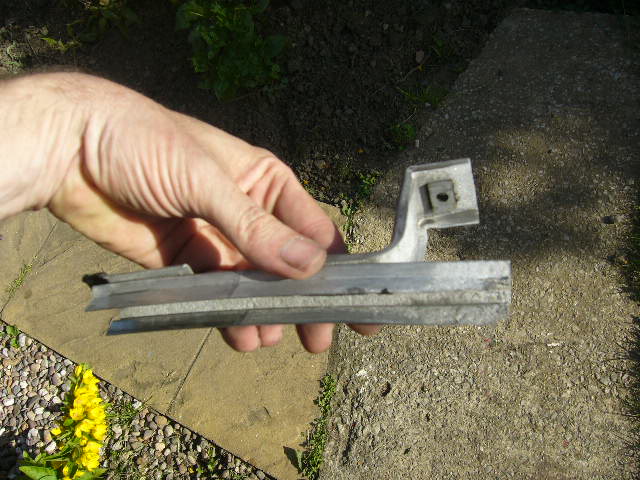
Heres the extension to the window channel inside the rear passenger door

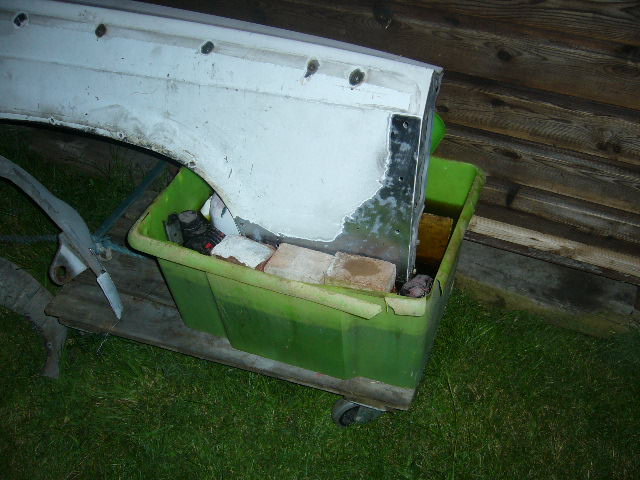
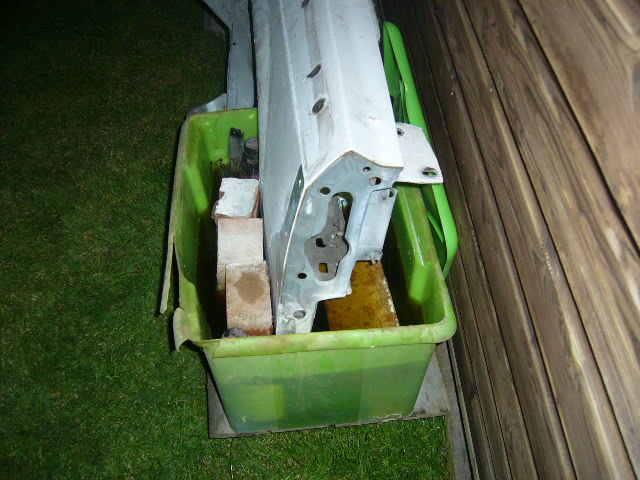
This has now gone into my acid bath at the top of the garden!
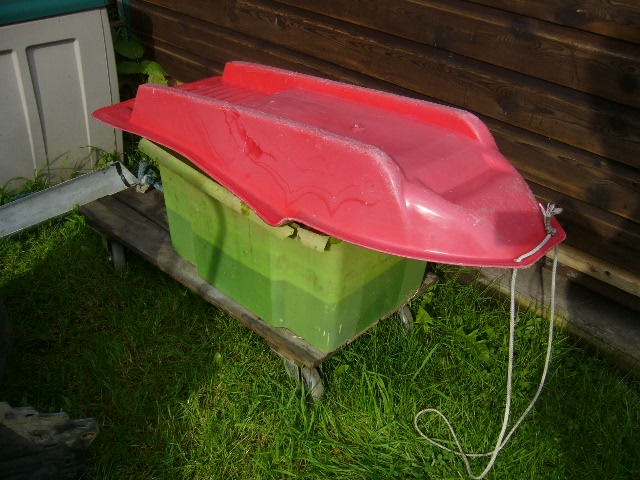
That red thing on top is a sledge for anyone that doesn't know about snow!! I know the summers in the UK are bad but its only there to stop the acid bath being rained in!
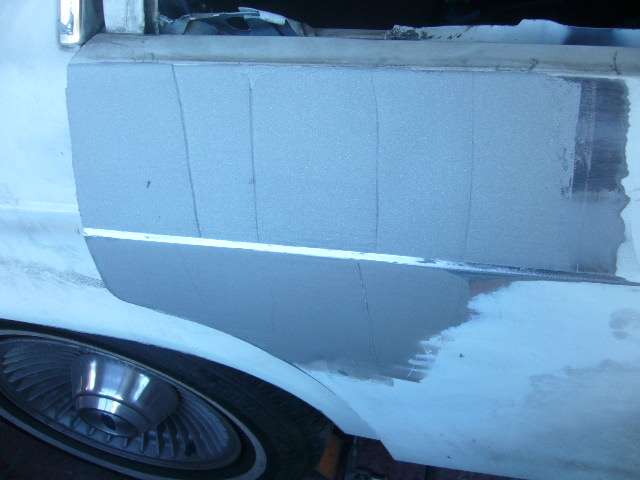
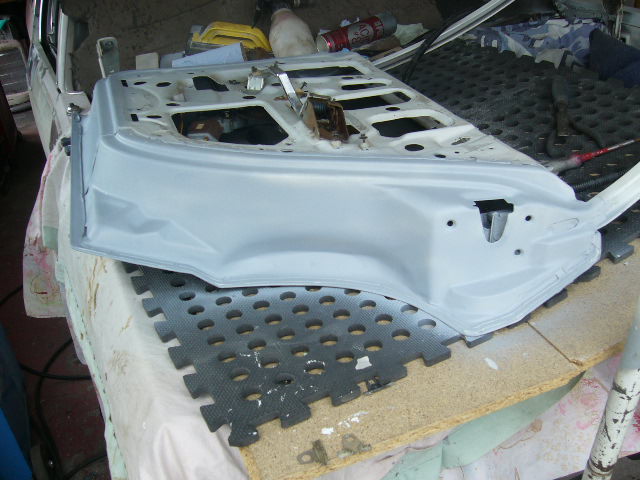
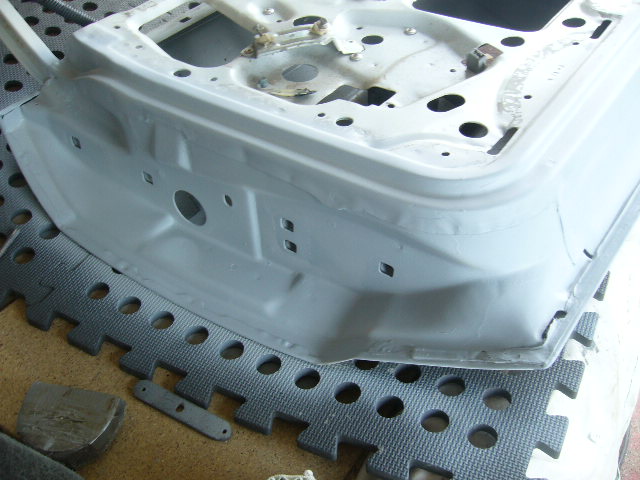
Here's the rear pass door skimmed with filler and awaiting primer
And the back of it already primed
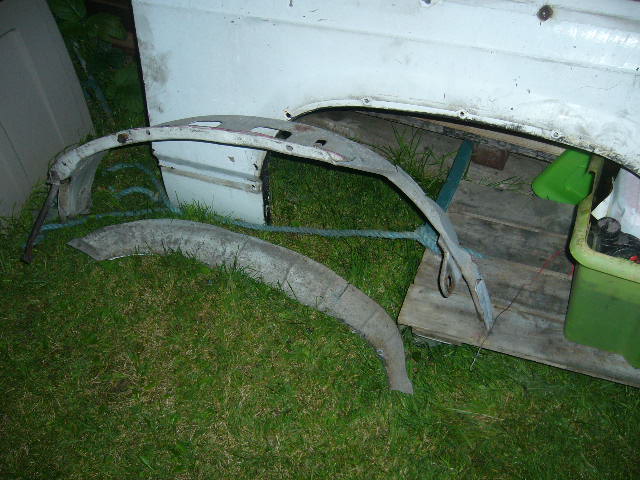
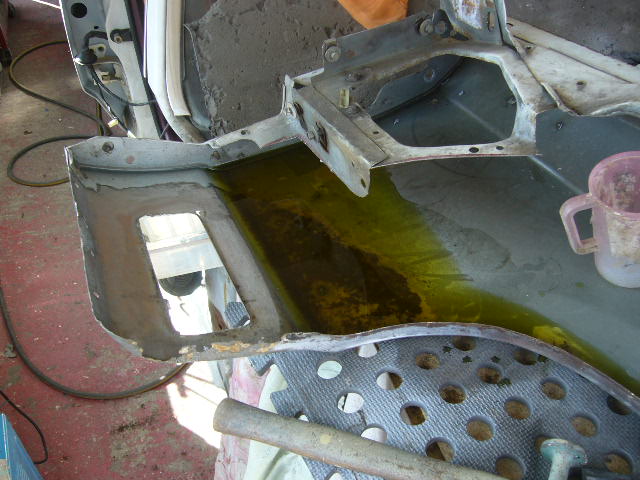
Moving onto the fender and off it comes
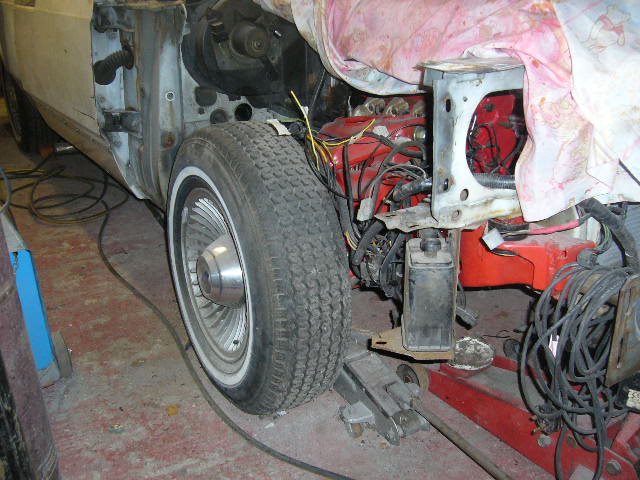
This is a familiar view of rust carnage..
I'm going to cut the hell out of it tomorrow with my air saw!
7-22-2012
inner fender cut out exactly as the other side and the lower front sat in my acid bath
That will be in there for a day or two so its onto the front door. Onto my worktop it goes and the base stripped of paint just in case there is any rust underneath
Which is a good job because if you look closely in the next picture you will just be able to see some rust marks that would have bubbled the new paint up.
I knew of the underside rust but hadn't seen it for a bit, so door turned round and here is my next job!
Should be simple enough to sort out....lip bent back, rust cut out, a spell immersed in acid and weld in new steel.
7-23-2012
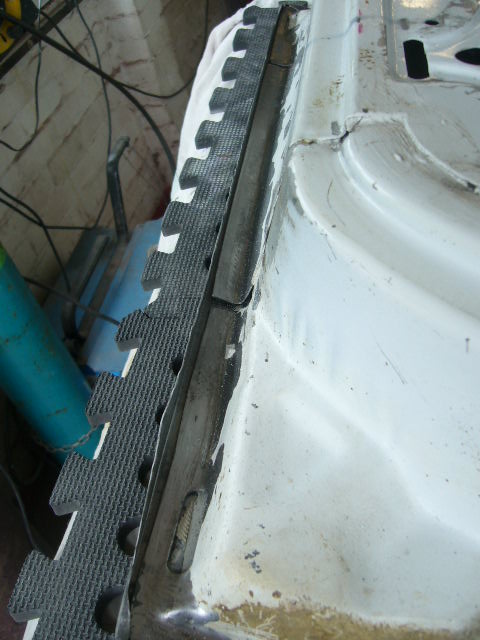
Remember this window channel?

Here it is out of the acid
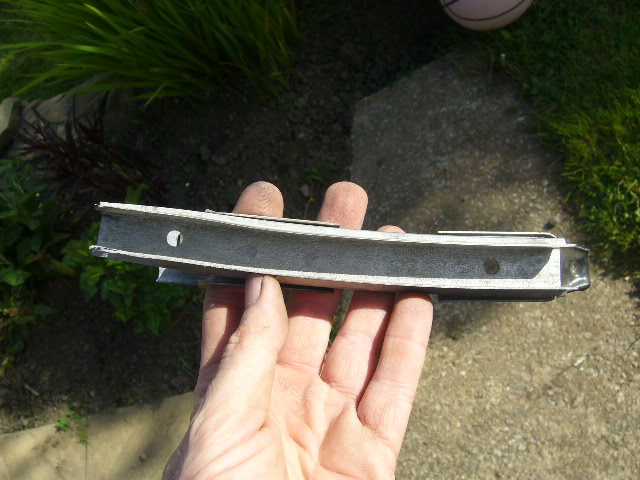
Its now etch primed.
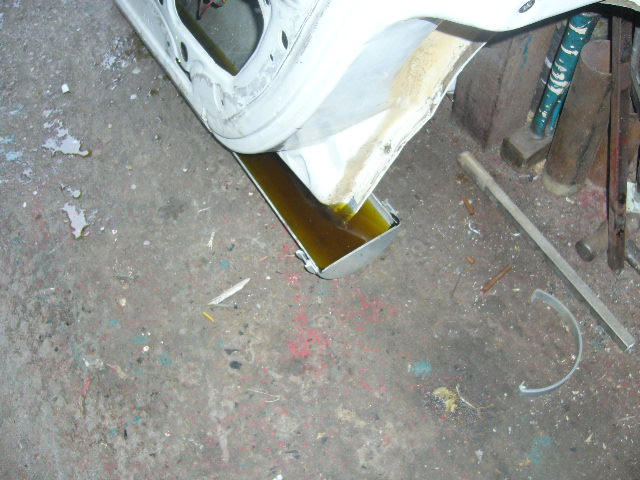
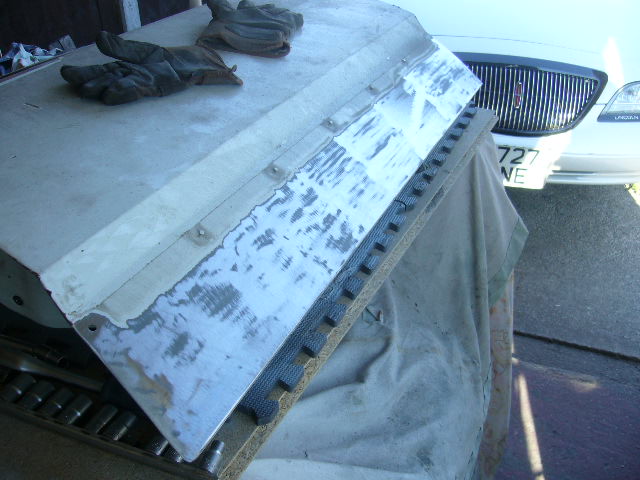
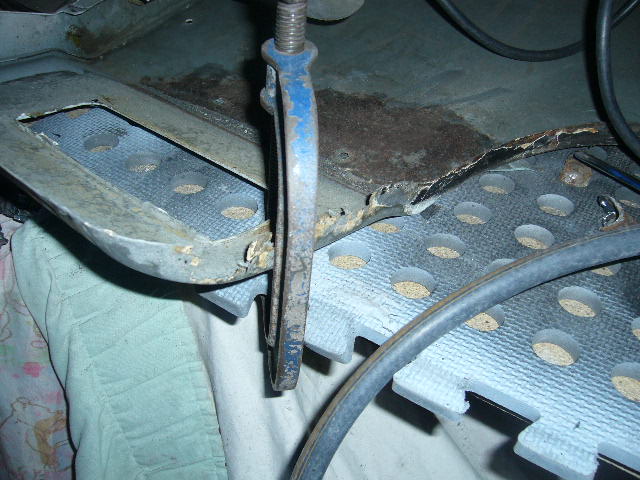
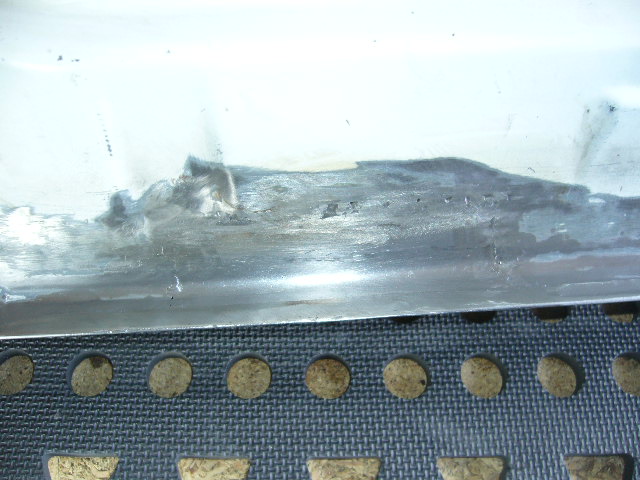
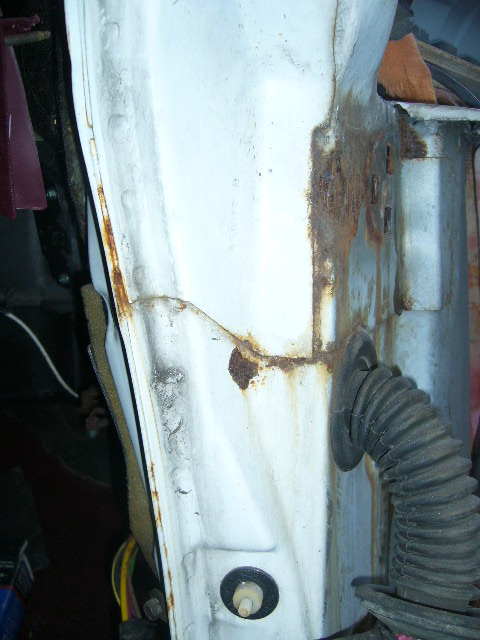
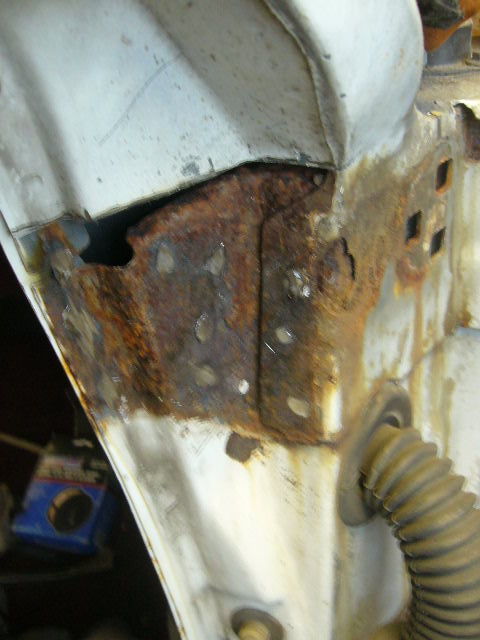
Remember this one rusty spot under the passenger front door?
here it is now

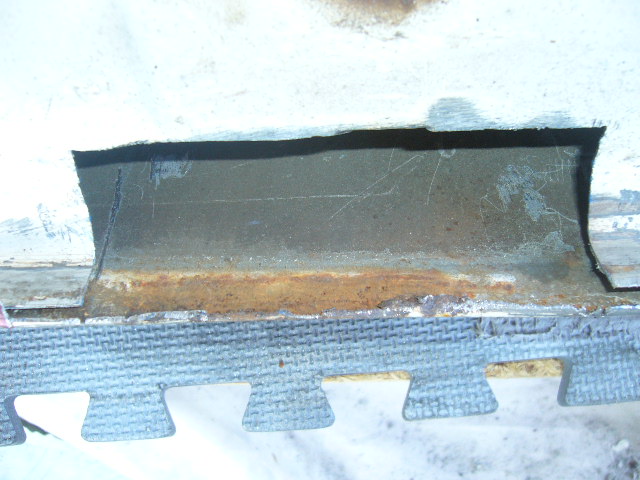
Even though the lip of the skin is rusted the actual skin is not perforated, so its into the bath of acid to see what comes out.
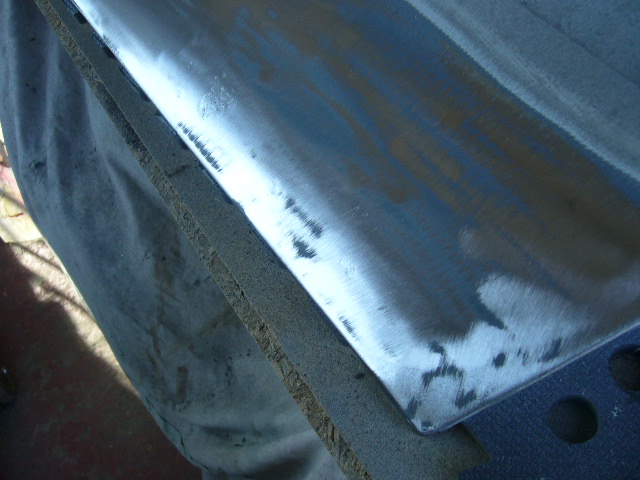
Fender out of the acid bath and onto my worktop!
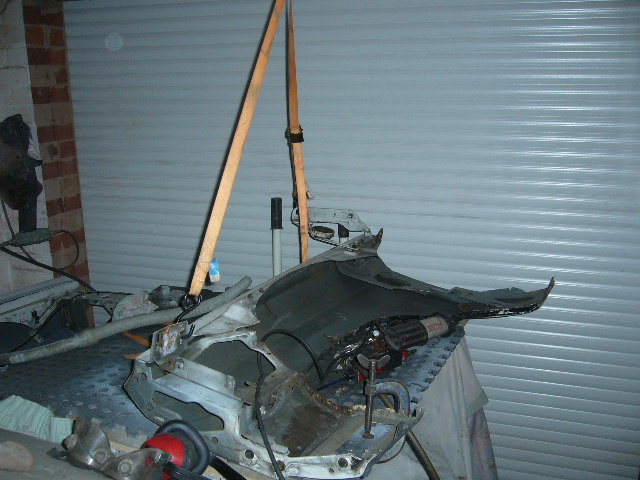
I've strapped it up to hold it at an angle so I can de double skin the lip.
Here it is all gone.
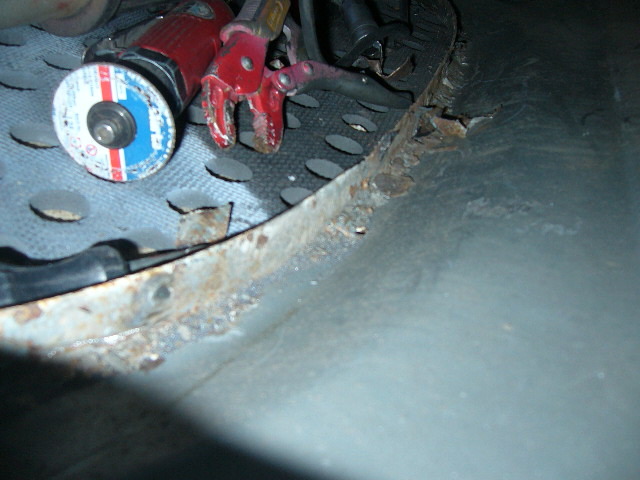
Apart from that one area, it actually looks in good condition- a bit rusty but not thin. Far far better than the other side. Spot of media blasting coming up!
7-27-2012
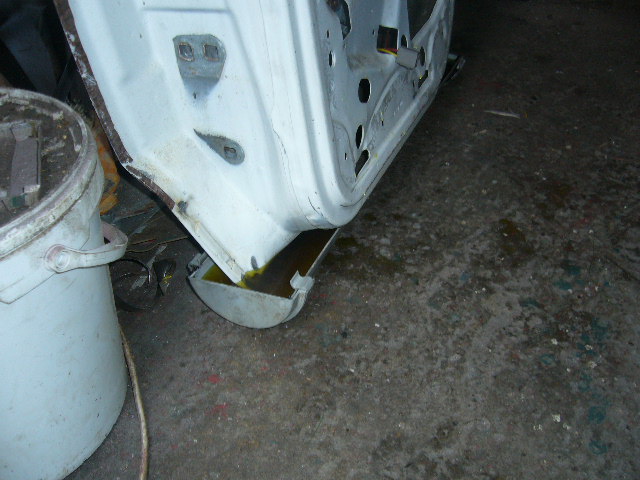
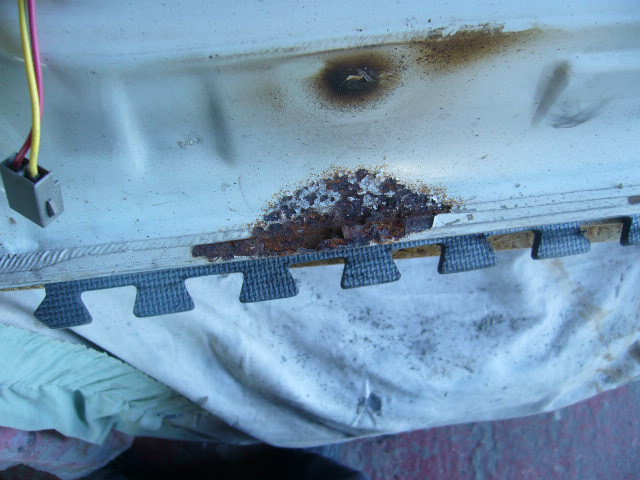
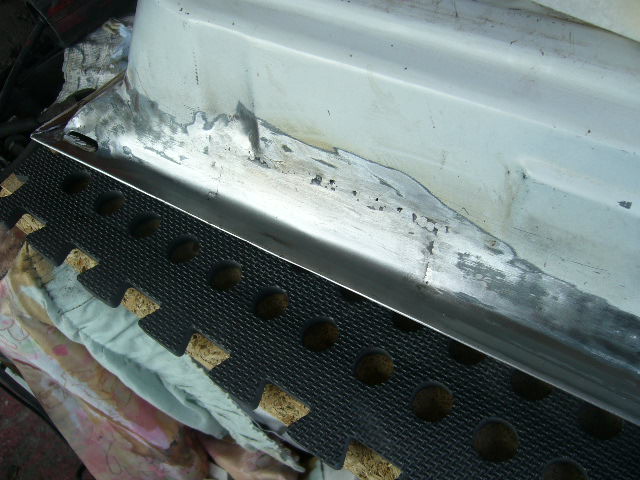
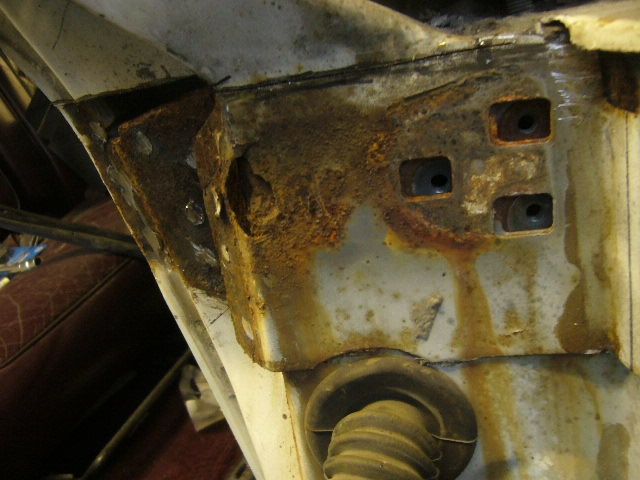
Remember the rust at the base of the passenger front door?

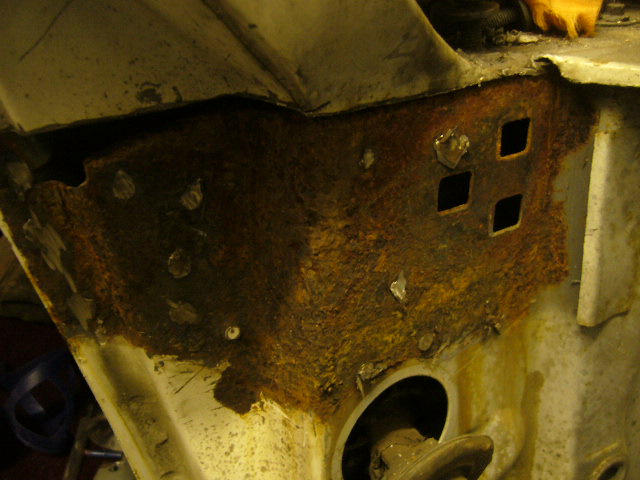
Which turned into this
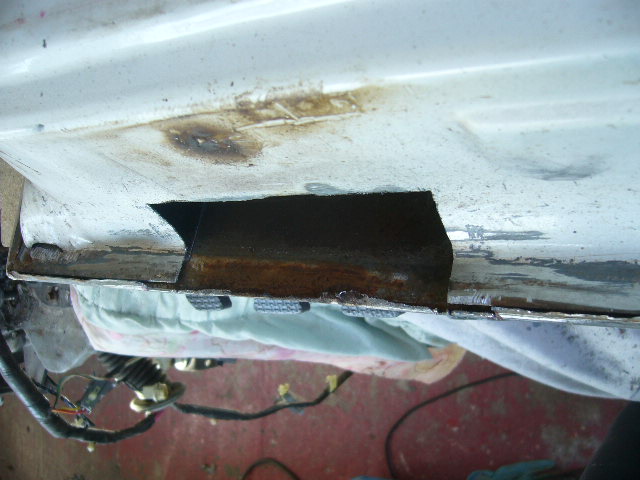

and finally into this
That has now been seam sealed, so back onto the fender. A puddle of acid to get rid of some more rust
Leave that do do its work and onto the hinges on the passenger A post.
The top one had been welded for some reason. You can just about see where the weld has pulled a lump out of the corner of the A post
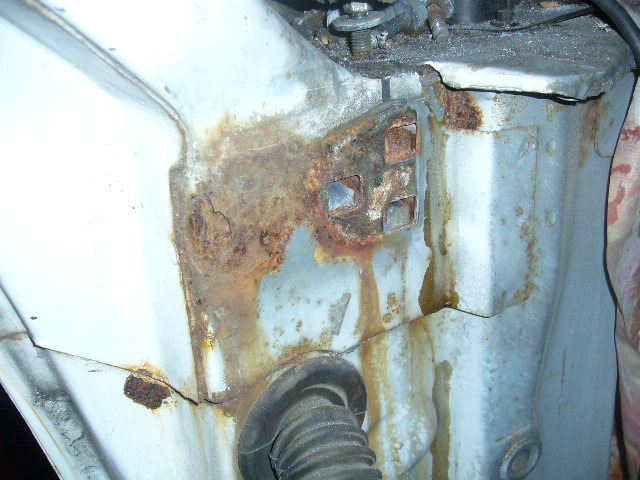
and the corresponding hinge
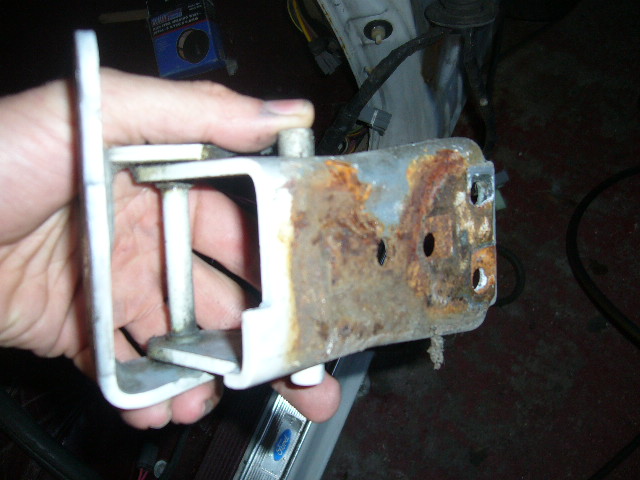
pity you cant see the lump of weld on the hinge face in the photo very well.
I'm moving on a bit so I can get this car channeled within the next 4 weeks or so!
8-2-2012
Been on holiday for a few days so managed to find a few minutes to do a quick sketch of the finished project!
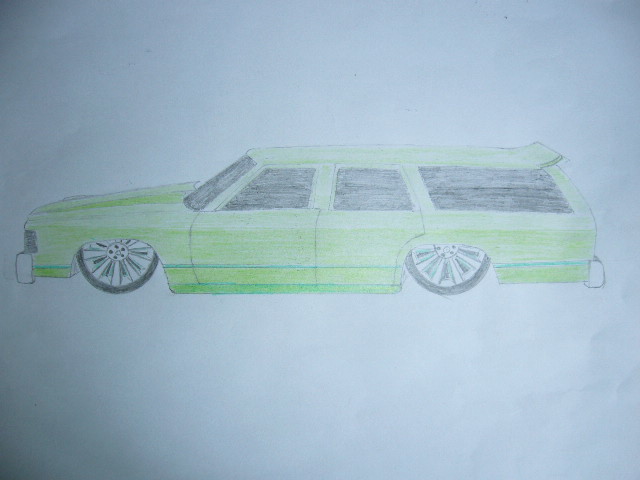
Not to Chip Foose standard but we can't all be geniuses!
8-12-2012
Heres a progress update.
Onto the passenger A post top. Heres a sequence of photos as it is cut away
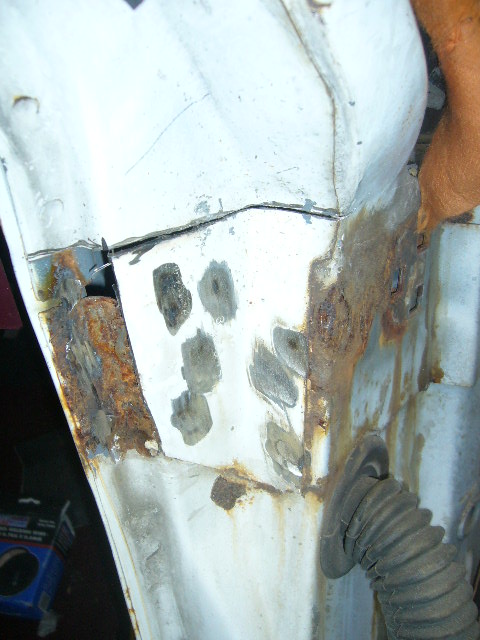
Going to have to go down one more layer. Certainly far worse than the other side. Shouldnt take long to do though.


Love this build, so much work!
Posted by diyauto on 1/21/21 @ 1:46:55 PM