You must be logged in to rate content!
11 minute(s) of a 418 minute read
2-27-2012
Nows the time to dismantle the front end so the fender can come off for repairs/mods. And to start to design and build the new headlight and grille arrangement.
Here's a simple sequence of photos. Needless to say the centre grillescrews had to be drilled out because they were seized in, but other than that, a simple dismantle.
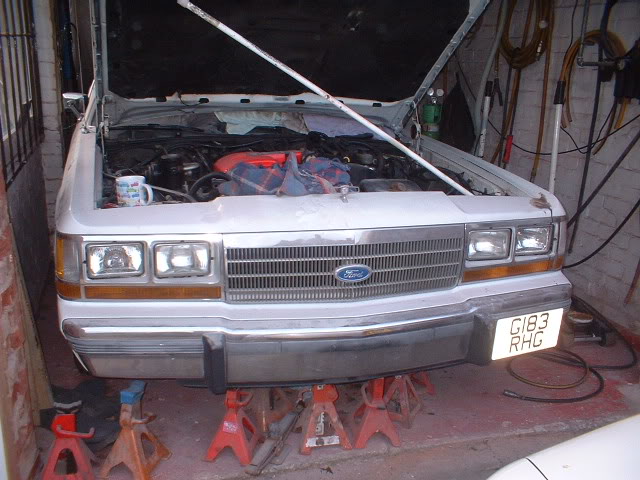
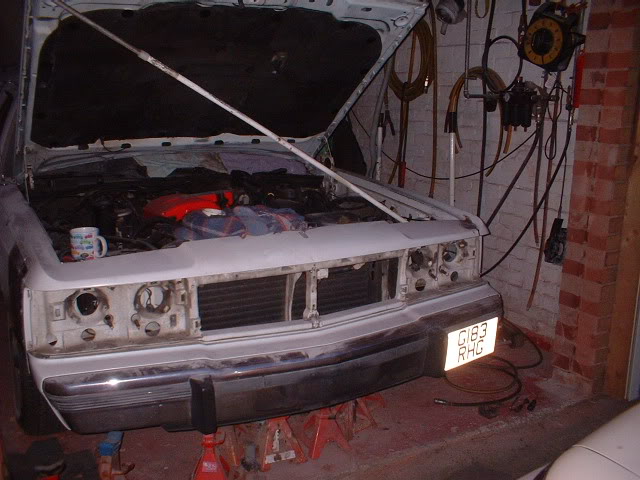
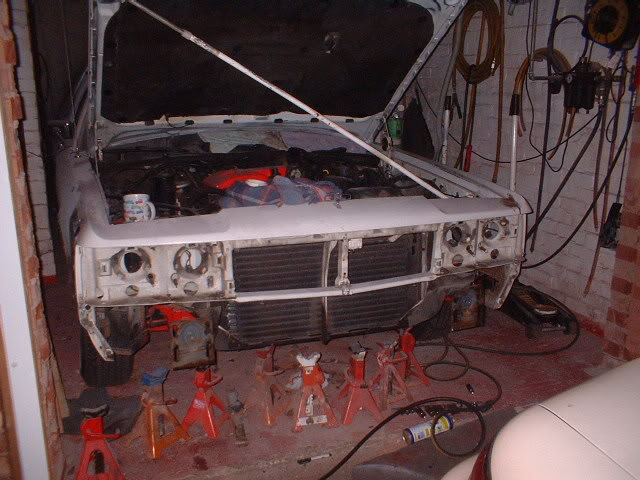
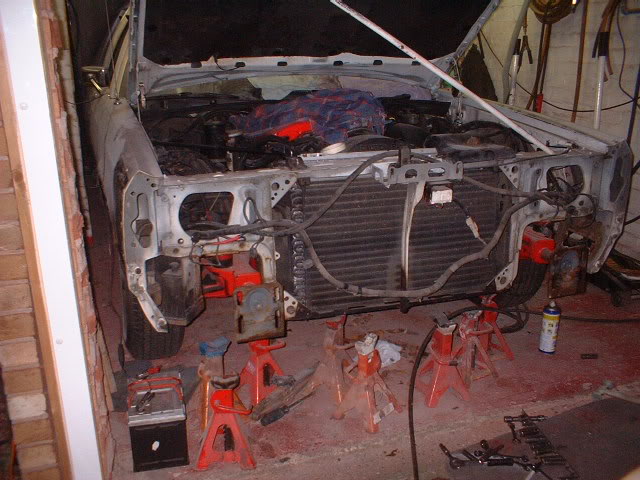
Time will tell exactly what goes back!!
2-29-2012
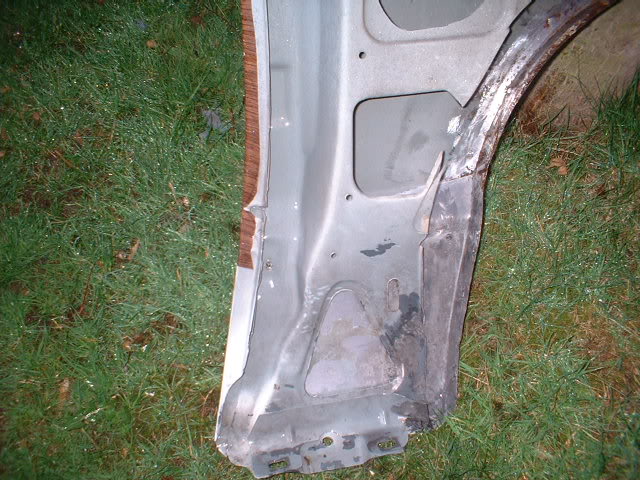
Finally finished welding up all the trim holes in the front drivers side fender, and there were 22 of the stinkin' things!! Ford could have saved all that money on machines that stamped those holes out!
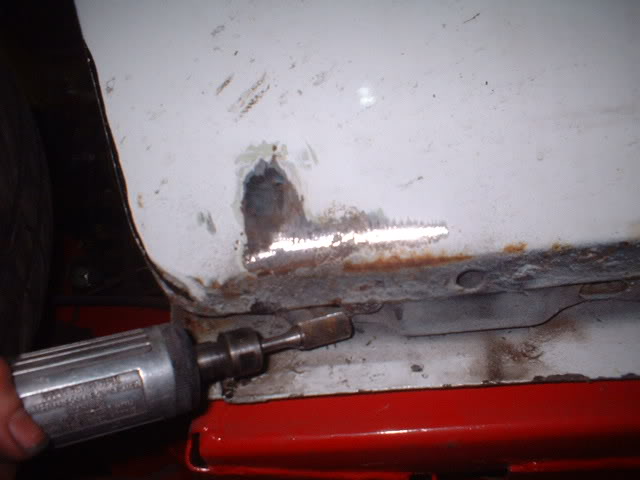
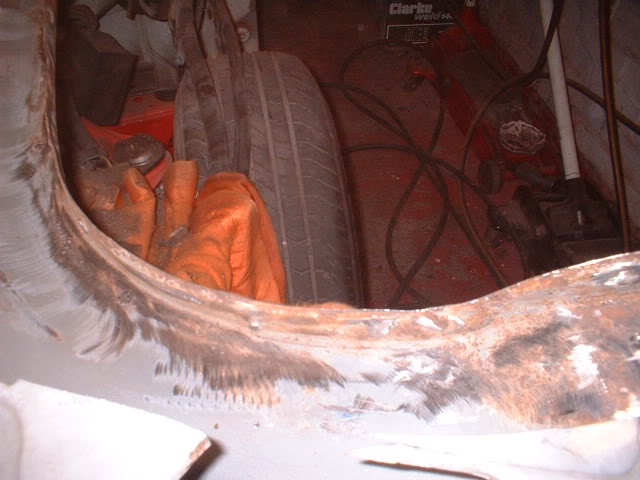
Time to weld in a patch to replace the light that was at the bottom of the fender, but I saw some rust behind there a while ago, so lets have a look
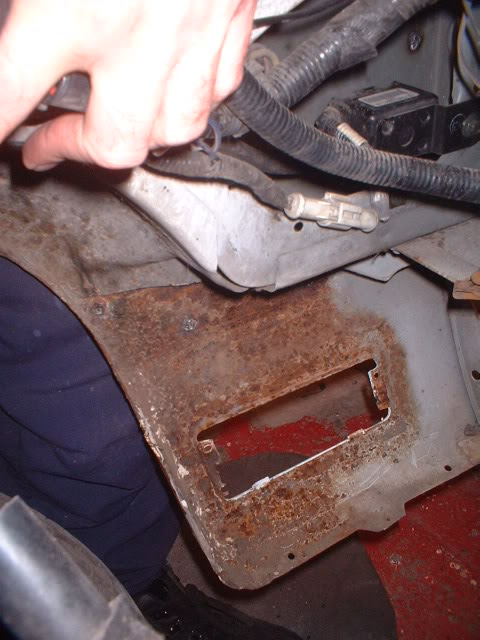
And here's a view of the lip that has been skimmed over by my grinder. The white stuff is bondo...

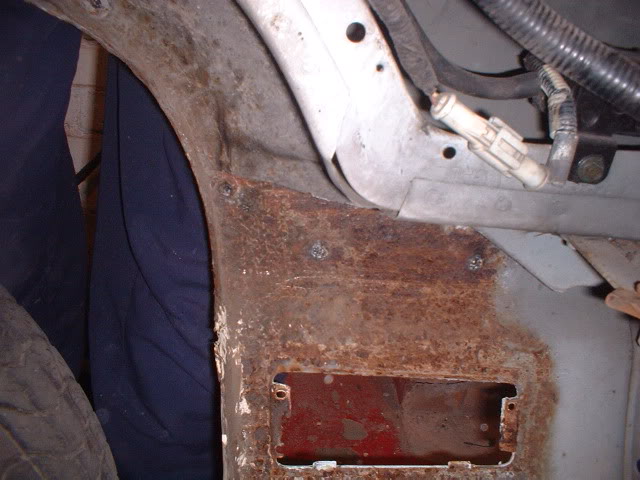
So its time for rust repair again! No panels available, so its back to the fabrication again. This car's got more rust than a rusty oil rig....
I'm going to reduce the fender lip by about half and separate the 2 skins, just like I did in the rear. i've got to make sure there is no rust lurking between seams to bubble through the new paint.
Better get my media blaster out then...........
3-3-2012
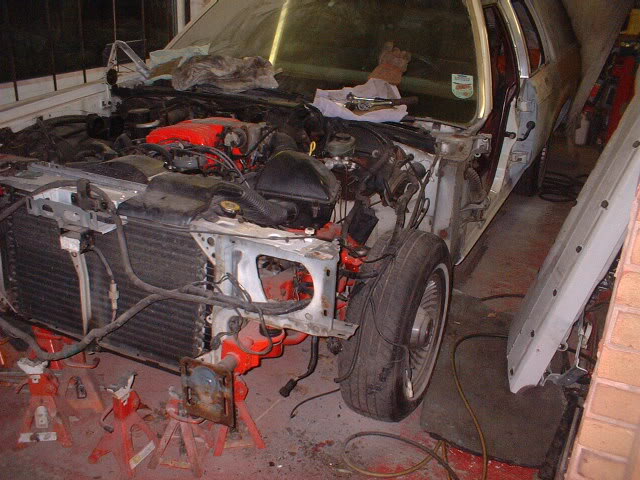
Okay so its hood removal time so I can get that fender off

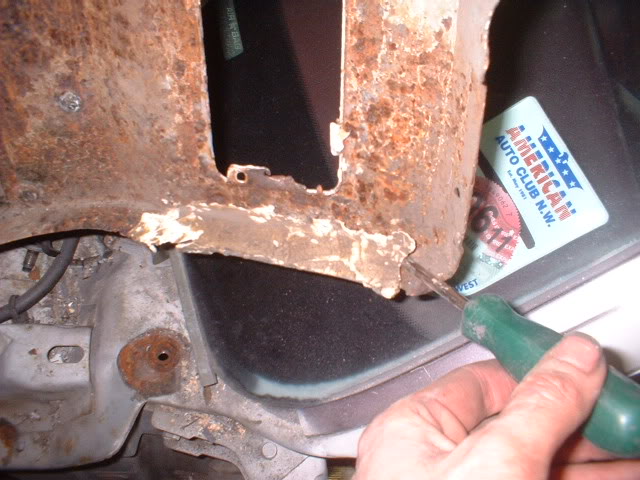
Really surprised me how many bolts hold the fender on! 12 in fact!
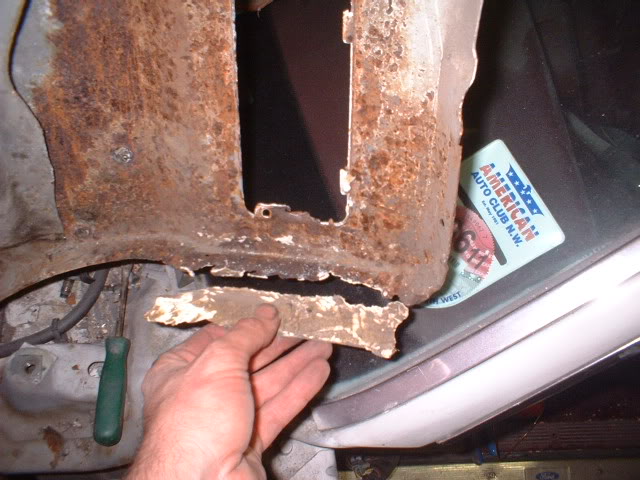
This is the only one that didn't come out. It loosedend and then kept spinning. No doubt the captive nut holder broke in half
So it was out with my air grinder to grind the head off
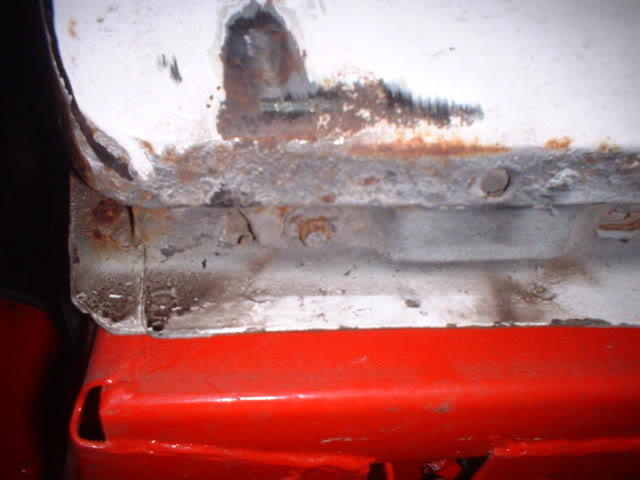
Fenedr came off but is that the remains of a bulb at the bottom of it?!! How the hell did that get there?
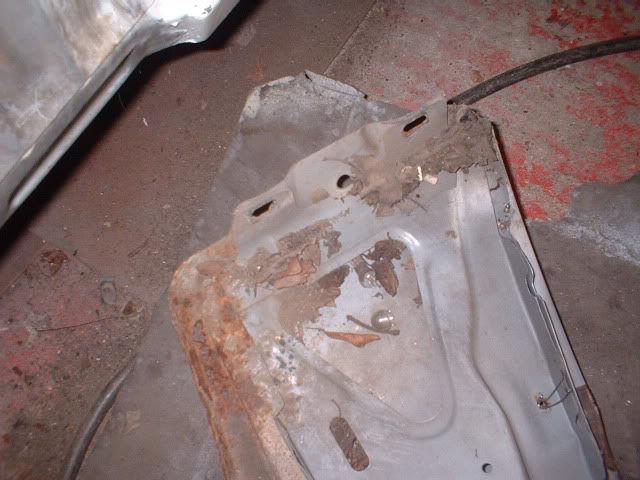
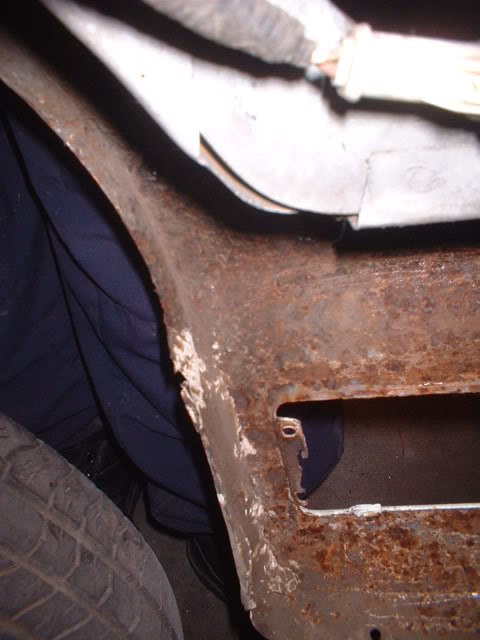
Doesn't look too bad at the bottom, but here's the other side
Looks a bit sad now!
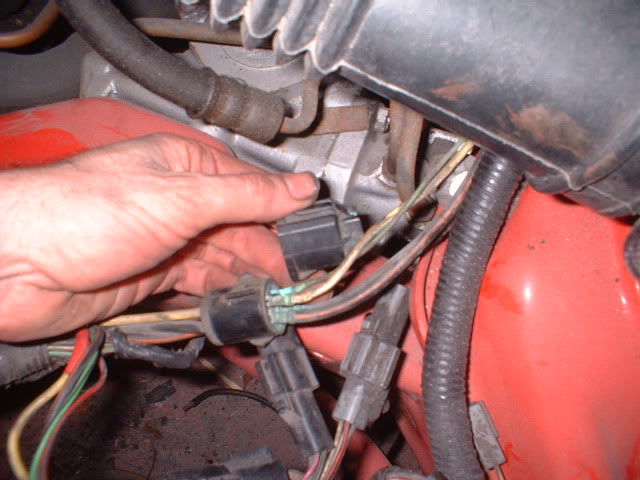
I try to fire the engine up every so often, and today was it. But it wouldn't play ball-no dash lights or any life at all. Finally spotted this connector that had literally fallen apart! And I had pulled apart a connector where the air compressor used to be. Oops! Started up straight away then.
More to come tomorrow, but the plans for the car are to complete all the exterior bodywork and assemble everything to make sure it all fits, the the fun starts!!!.............
The major lowering will be the cutting of the floorpan and lowering the body over the frame. Airsprings will take place of the coil springs front and rear. Shockwaves at the front.
The car will lay frame when slammed, and I don't care how much work that takes. It's do or die
The frame may need notching at the rear, and the upper and lower control arms at the front may need modifying, and even the frame may need Z'ing.....but I won't know until it all goes back together for a mock up, after the exterior bodywork is done. Even the body to frame mounts may need modifying.
I'll post plenty of pics-don't worry.
3-6-2012
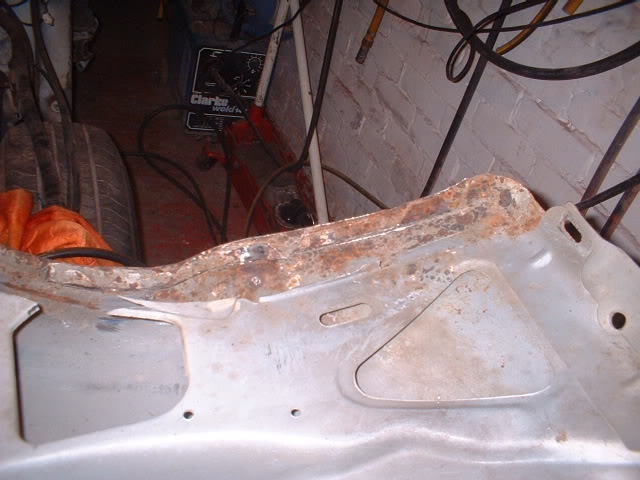
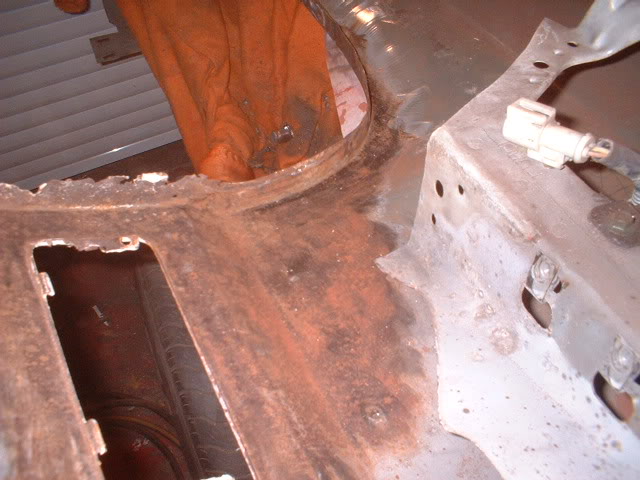
Time to remove the inner skin from the fender and see how far the rust goes. I'll also need more space for the wheel to go up into the arch when it lays frame! So here is the cut...

Here's the main section removed

Just leaving this section on the lip. Here's my fav air saw cutting through the top layer - I hope!!
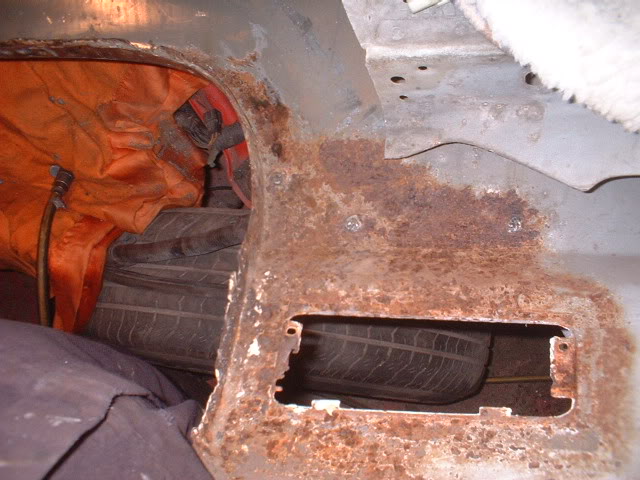
Here's how far the rust goes up the inside of the front of the fender - it reaches up further under the inner skin than I thought.
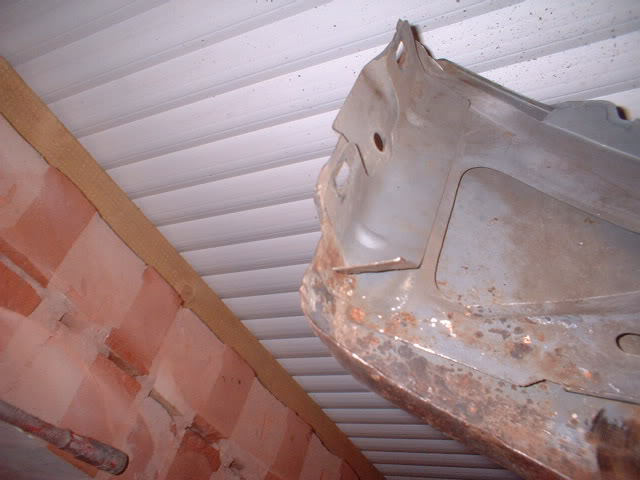
Here's a few views of the fender lip that is left. I now need to remove the inner lip clean from the outer one by grinding through from the inside and causing little or no damage to the outer
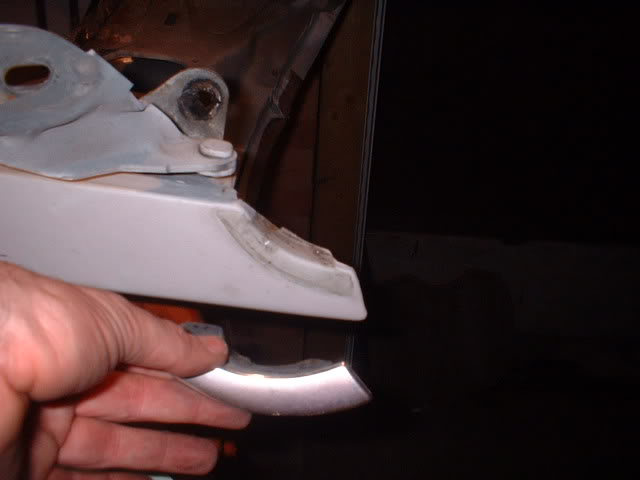
Just before I packed up for the night, I did a surprisingly satisfying job! Removed the chrome trim from the back of the fender near. the screen!
3-7-2012
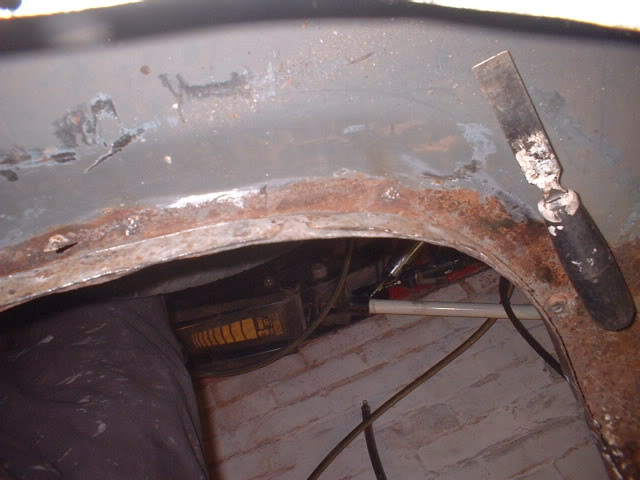
Managed to get an hour on the fender tonight and started to grind back the welds on the inside of the lip and peel back the inner lip. Here's the first bit bent back
And finally we are all clear
Rust has only gone through in 3 places but I will replace all the lip anyway.
I ran the grinder over the rusty steel and it looks far better than before
Rather than media blast the whole thing, I am going to use naval jelly(on liquid form) to eradicate all the rust. I am going to dip the fender into a BIG container and leave it for a day or so till all the rust is gone. then the welding starts.
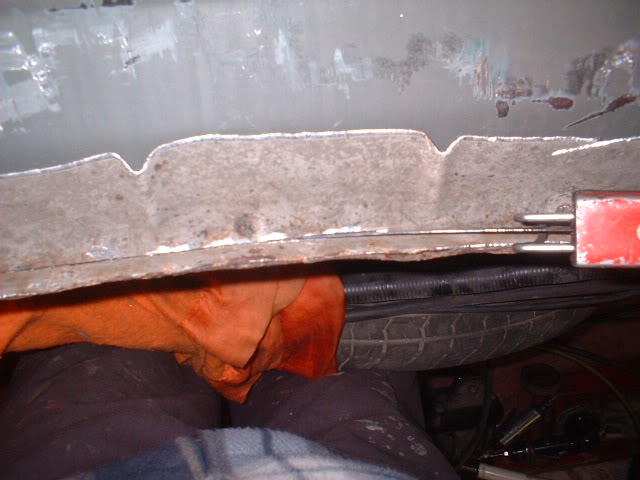
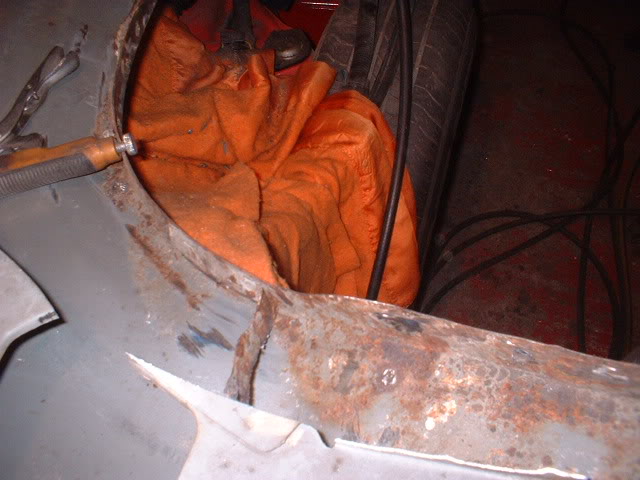
Heres the back lower portion of the fender bent back to check for any rust under there.
Looks okay under there.
3-18-2012
Here's the bottom of the fender immersed in deox c rust remover
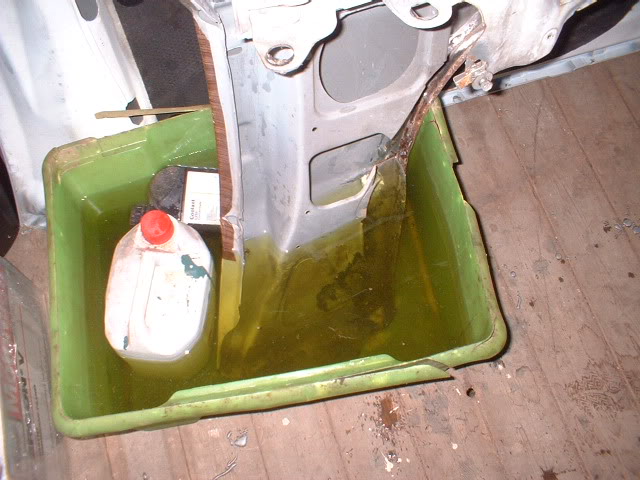
And here it is a few days later
and etch primed
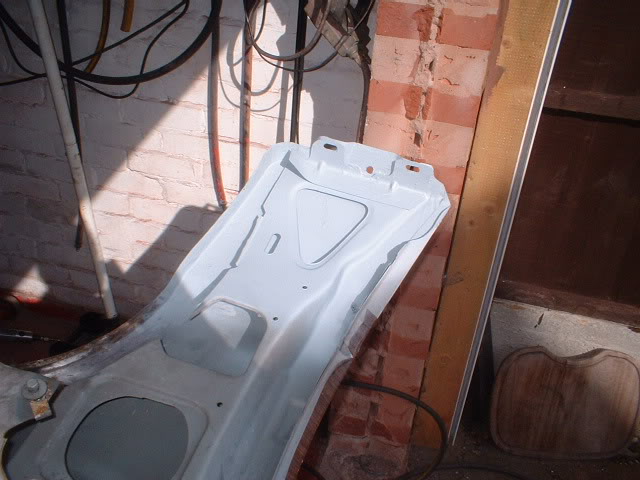
Now on to media blasting the lip and then start to reconstruct.
4-9-2012
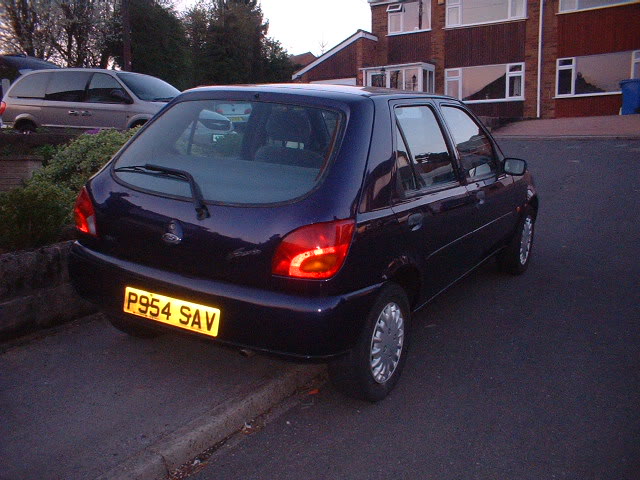
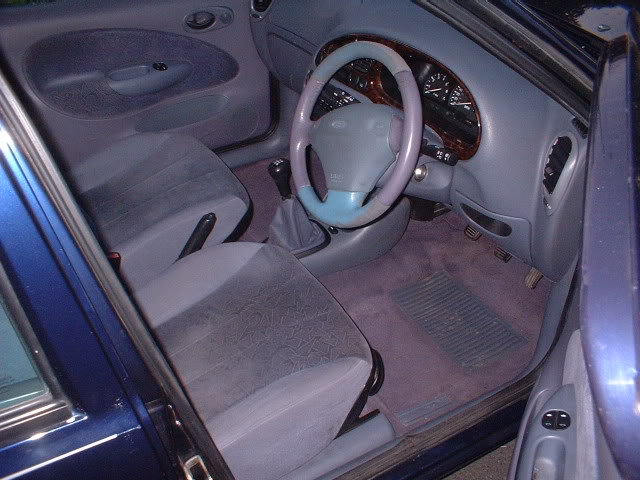
Bit more progress at last! I've actually restored another car in the time I've been away! Not a classic though. A small teeny everyday thing! A 1997 Ford Fiesta 1.4 Ghia

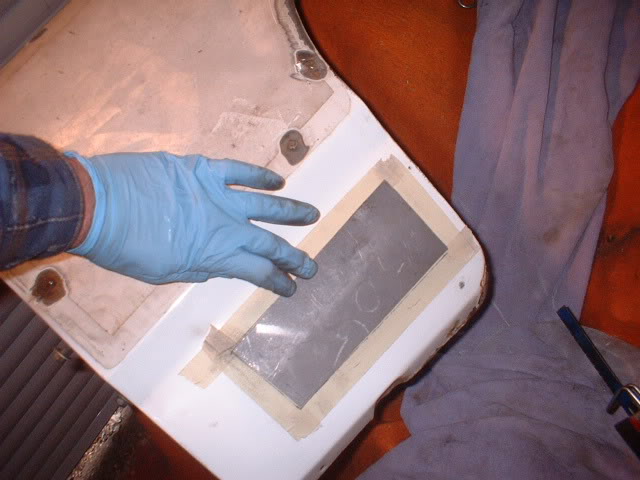
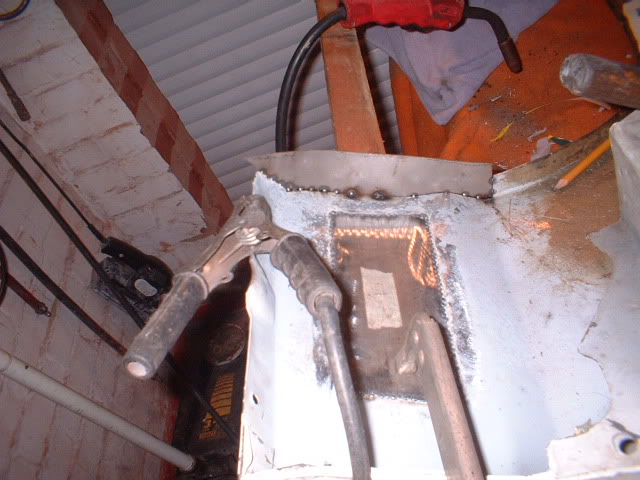
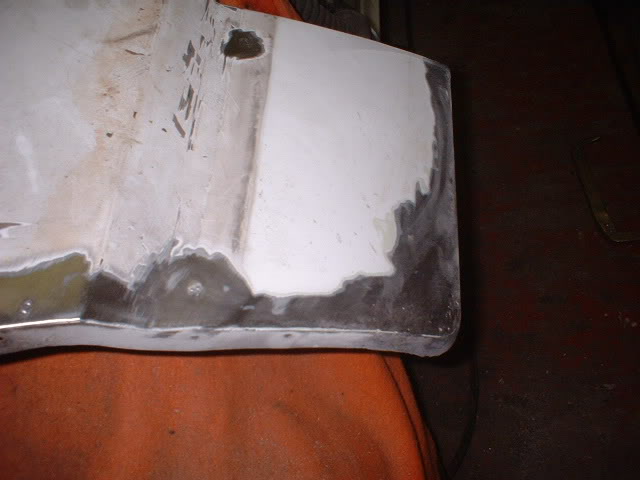
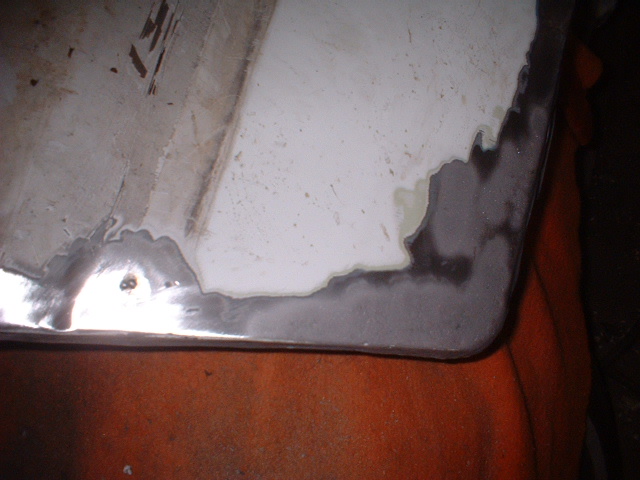
Anyway, back to the country squire. Time to weld up the light in the fender
Here is a patch cut to cover the hole
And the hole cut out very accurately for a butt weld
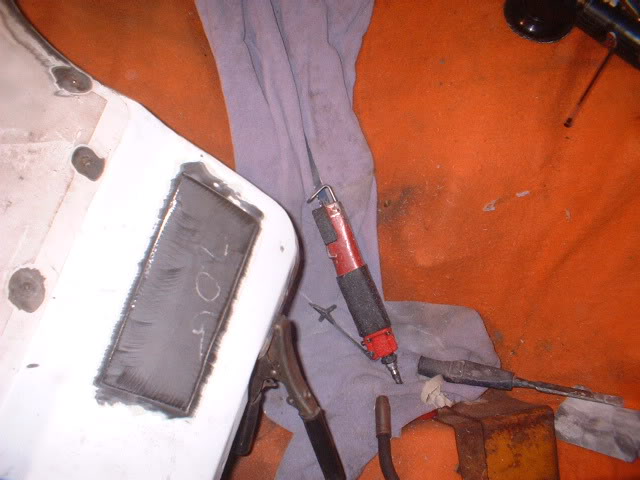
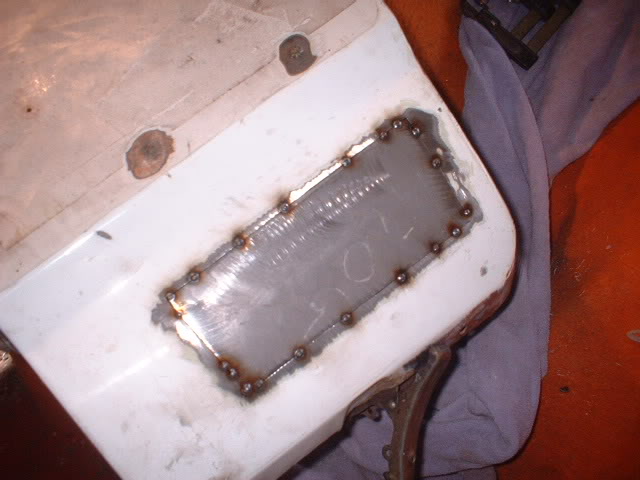
Tacked in
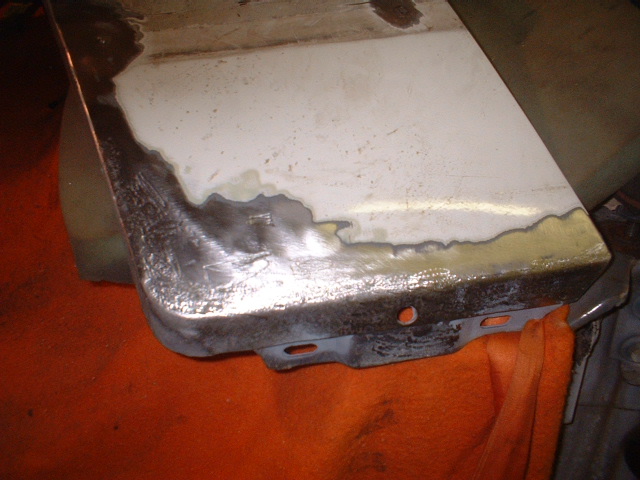
The welding caused slight distortion so I made a decision to replace the weak lip so I can panel beat it back to shape without losing the shape. So, a piece of wood clamped across to keep it all straight and out comes the first part of the lip

and new lip welded in prior to cutting to width
fully welded in
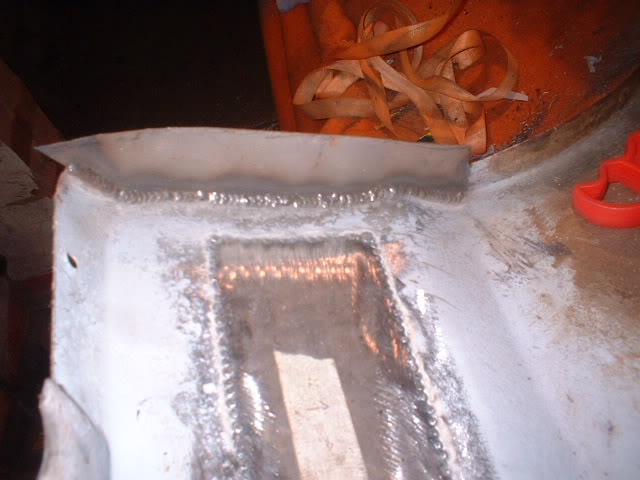
Now to panel beat it all flat.......................tomorrow.
4-9-2012
Got to panel beat it almost flat.
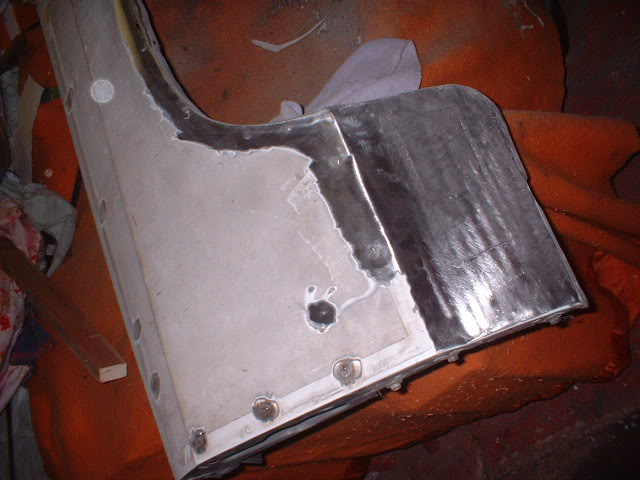
Then stripped all the lip ready for welding repairs in 2 spots.
Also took the paint off the other lower end of the fender to discover some pitting that would have bled through my new paint! Media blaster out next then.
4-29-2012
Media blasted the remaining rusty areas of the fender on the garden!
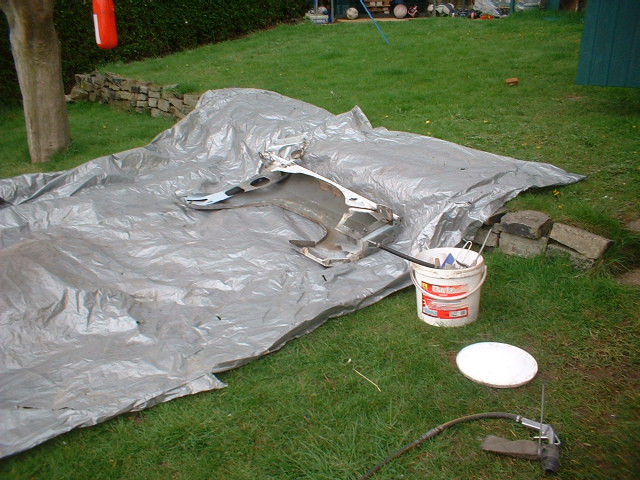
Here's the pitted area photographed above blasted
And then gone over with a polyester wheel on an electric drill and any deep pits gone over with a die grinder.
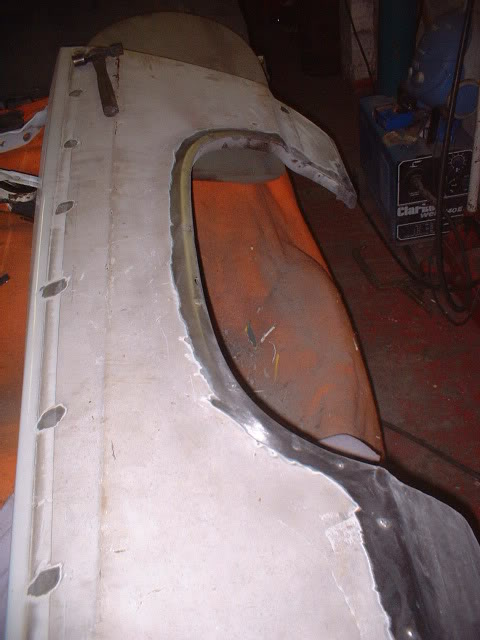
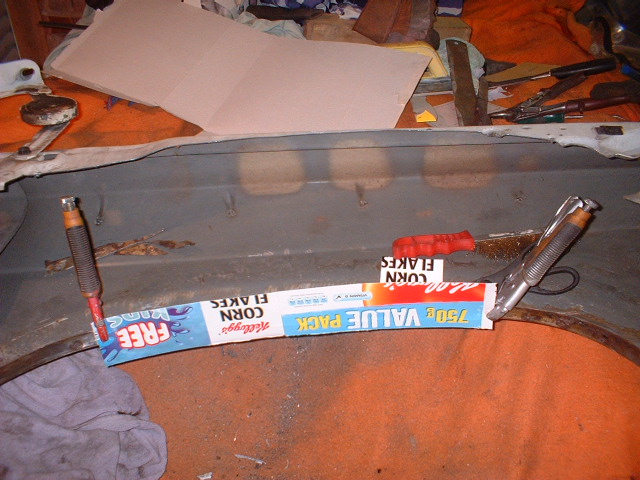
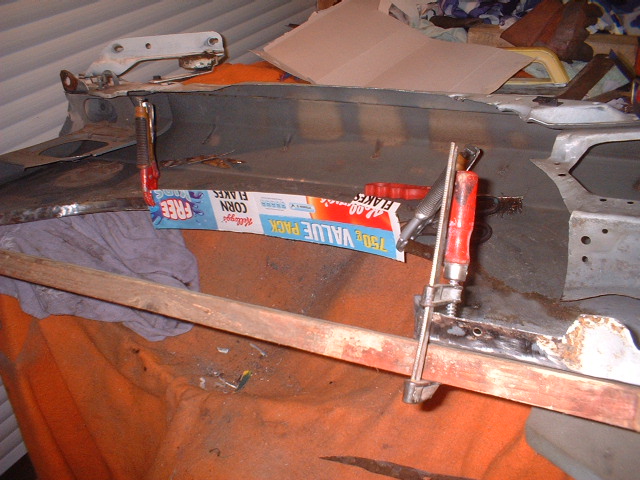
Final job to do on it before prepping for paint is to replace a section of the rusty lip and reducing it all in width.
Here's the bad bit cut out

Part of a cornflake packet being used as a template!
To be honest the fender was junk! Its took me weeks to get all the corrosion off, and will take me loads longer to get it flat! But, none available here in the UK so thats that. And I've got to do it all again on the other side!


Love this build, so much work!
Posted by diyauto on 1/21/21 @ 1:46:55 PM