You must be logged in to rate content!
15 minute(s) of a 418 minute read
5-28-2011
Feels like ages that I made some progress on the car. a comnbination of a really busy job getting teenagers ready for their big exams in school, major house mods underway (my Wife's idea), elderly and poor health parents and 2 of my own kids!!
But, here we go.
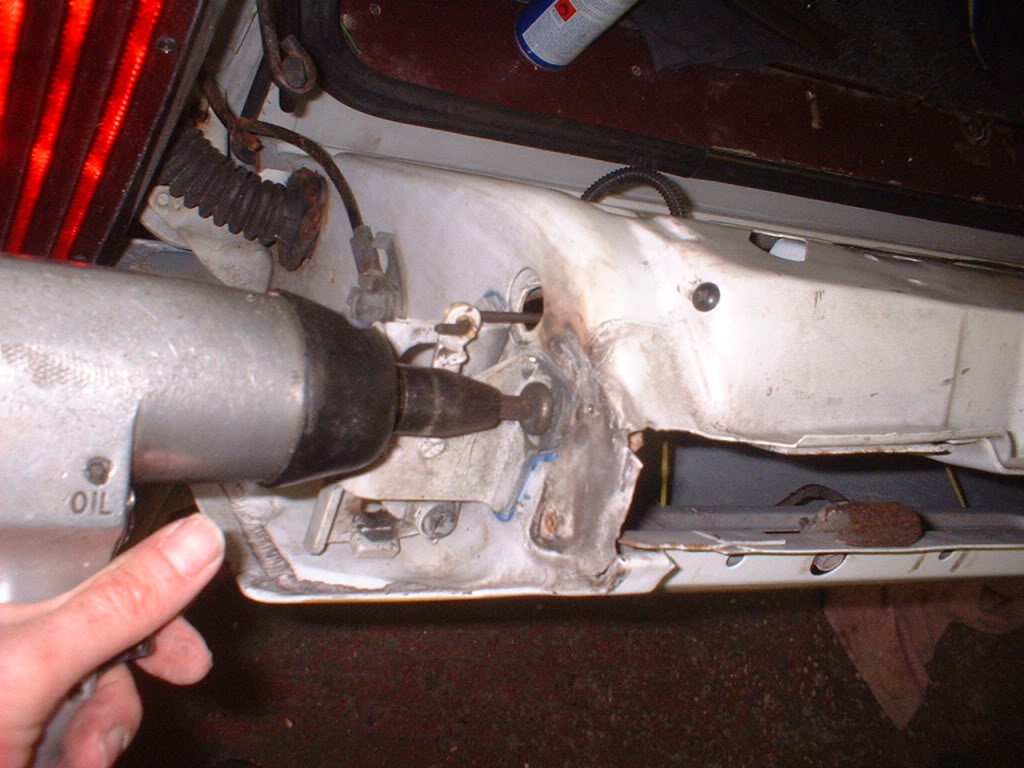
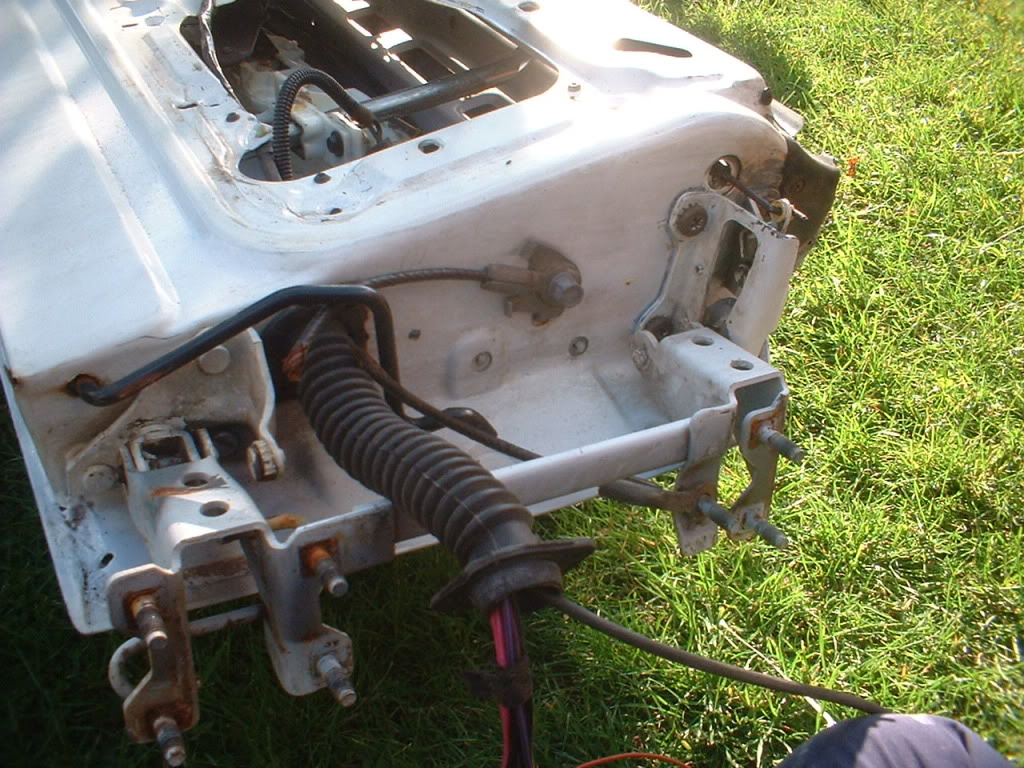
There is wear in the tailgate hinges, or at least in the bottom one. Not quite so sure about the top one, so out it must come to assess its condition.
The three crossheaded screws are BIG and tight, so I had to use my air gun with a screwdriver attachment to shift them
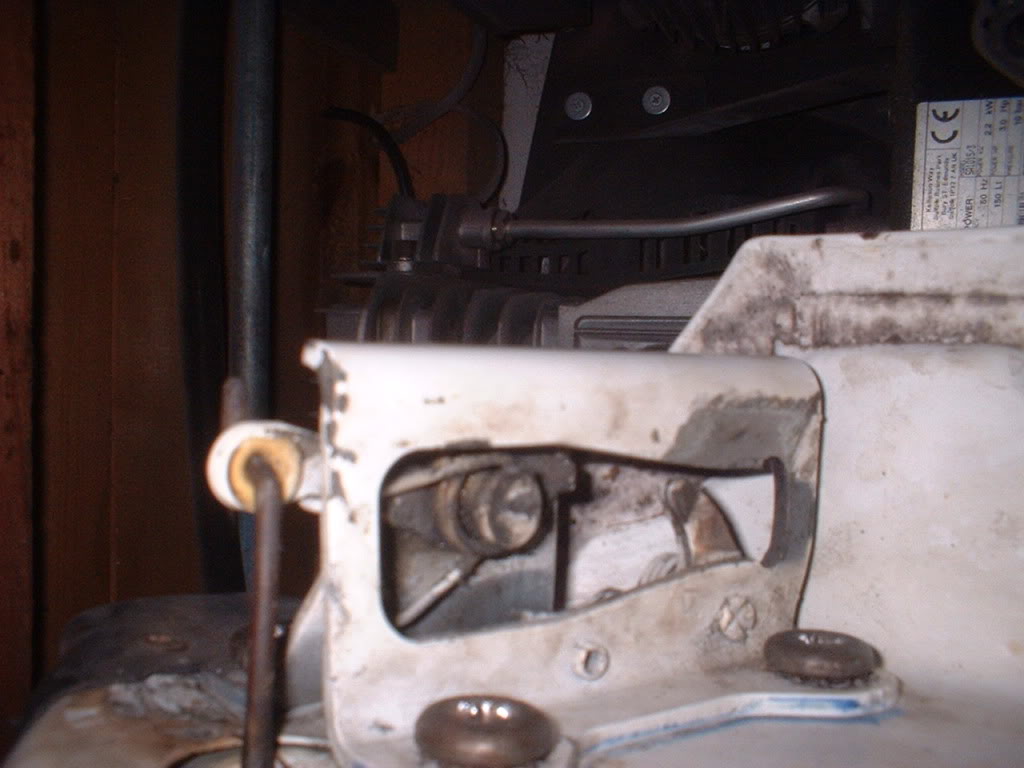
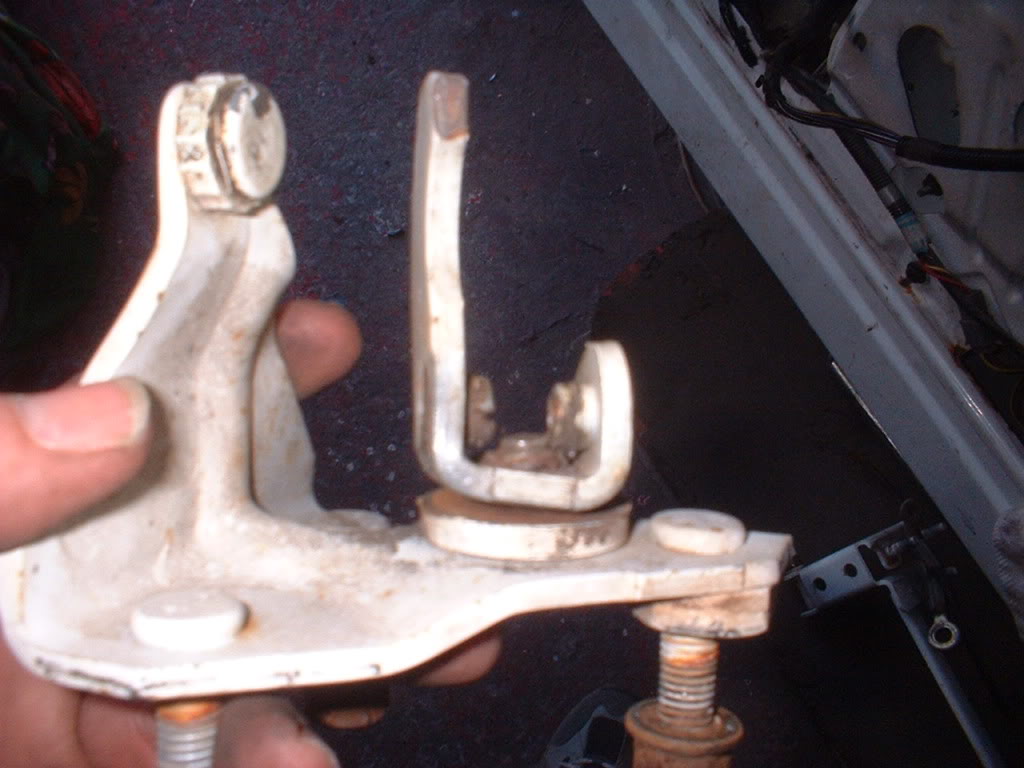
Here it is removed with the rusty plate from behind it.
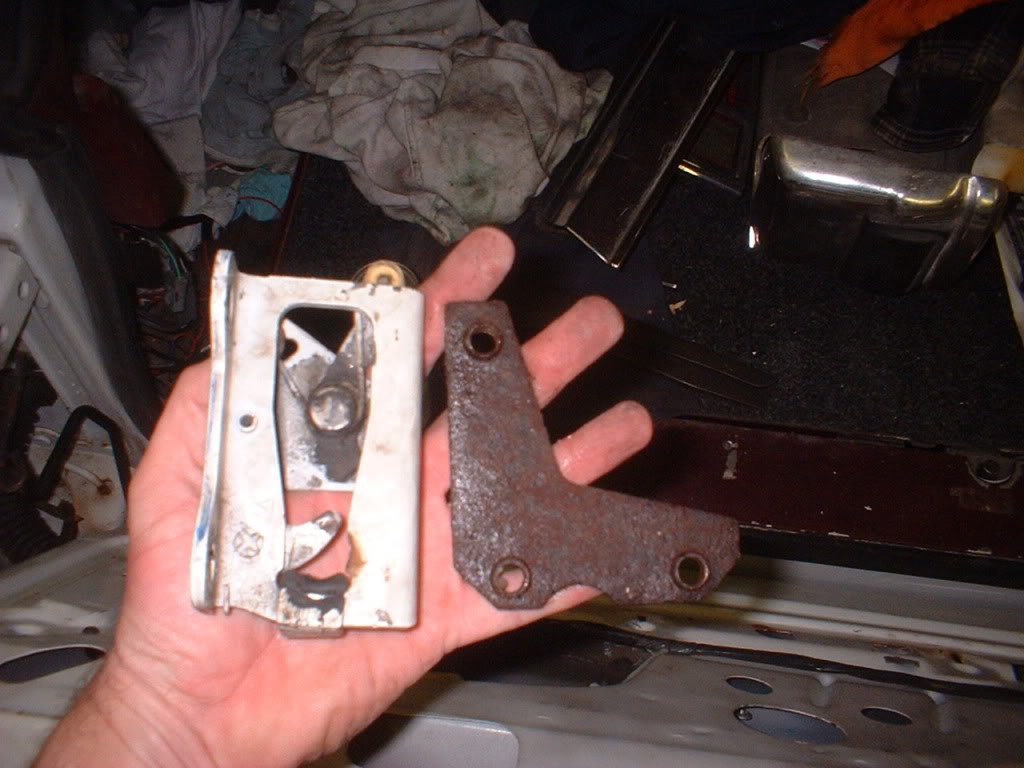
Now heres the wear in it. You can just see the worn rusty area where the roller goes in. It has worn slightly out of round, so I will weld it up and file it back into shape.

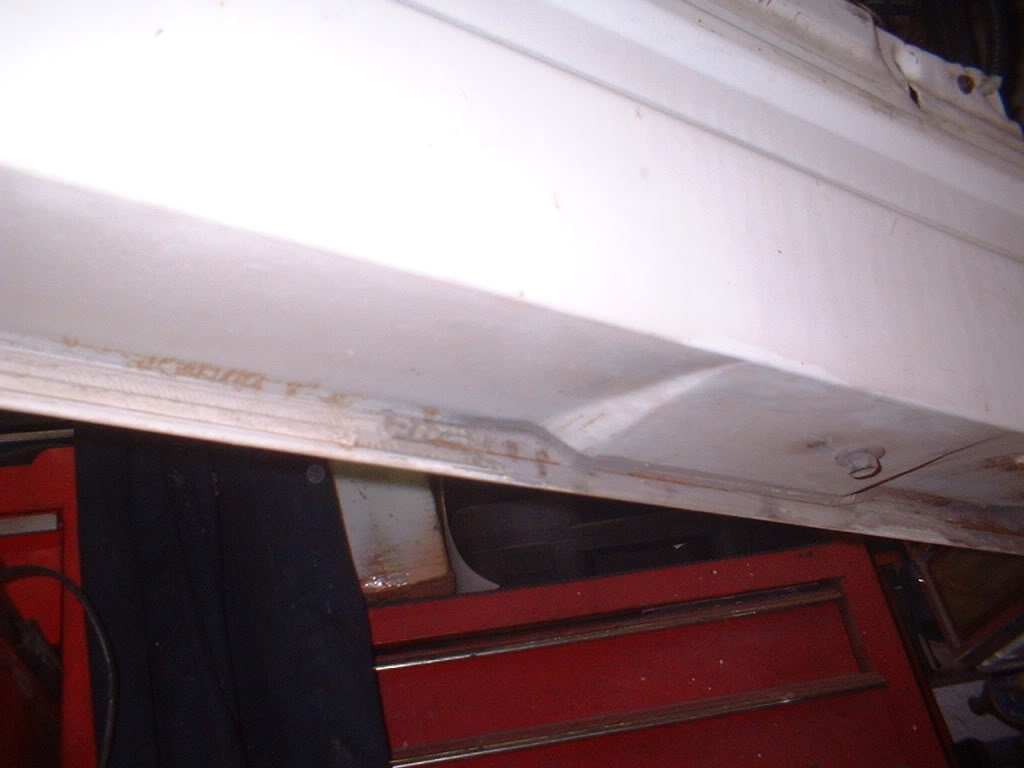
Heres a view under the tailgate

Rust starting to form in the seams. So after shotblasting........
Heres a quick view of the smooth tailgate
More thoughts to come soon.
Now probably just the same as anyone else, I am always thinking of this project, even when I am busy. Probably too much thinking time, because.....
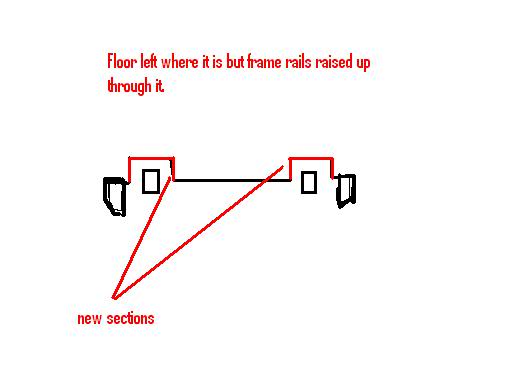
I think its time to perhaps lower this car but without lowering the suspension. This needs to be channelled. leave the chassis where it is and all the suspension but lower the body over it.
Now theres 2 ways to do this,
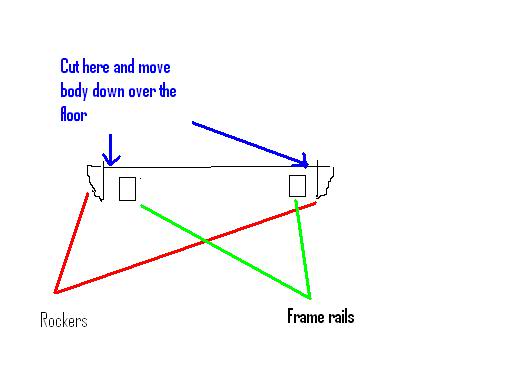
The first way will ensure the seats still fit but I'll loose interior height and my head may hit the roof (6' 2").
The second way will keep the interior height but may affect the seats.
Hmmm, more thinking needed. What do you guys think?
6-1-2011
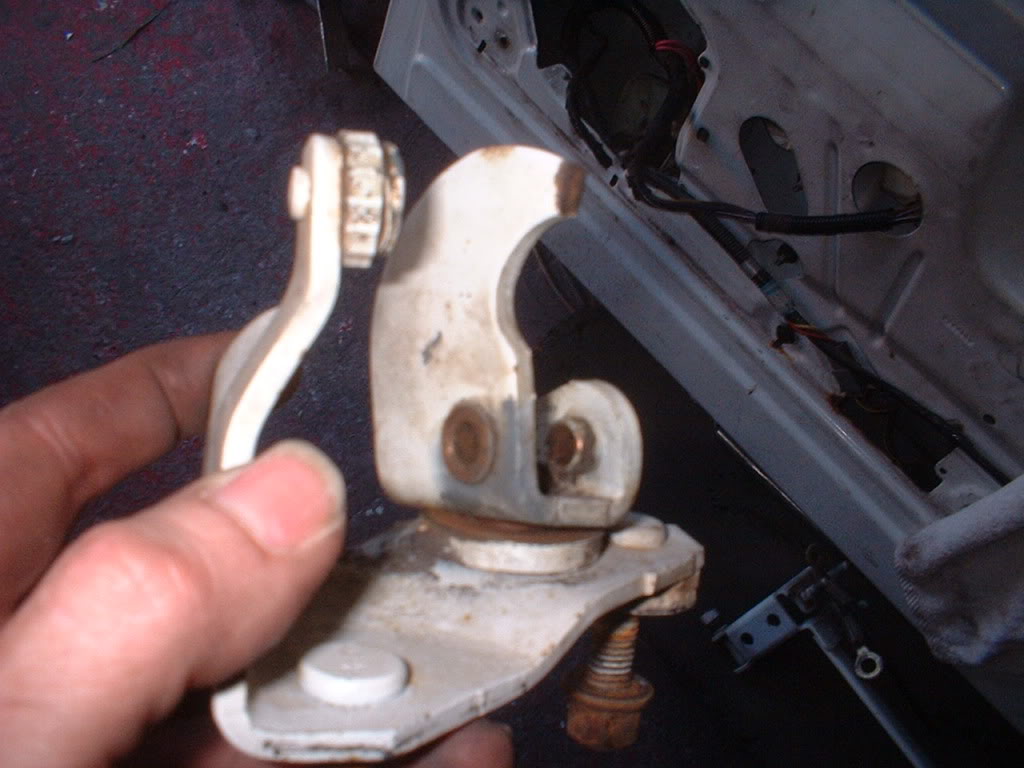
Heres the worn guide welded up and filed back
Now its tailgate off time to assess the lower hinge damage
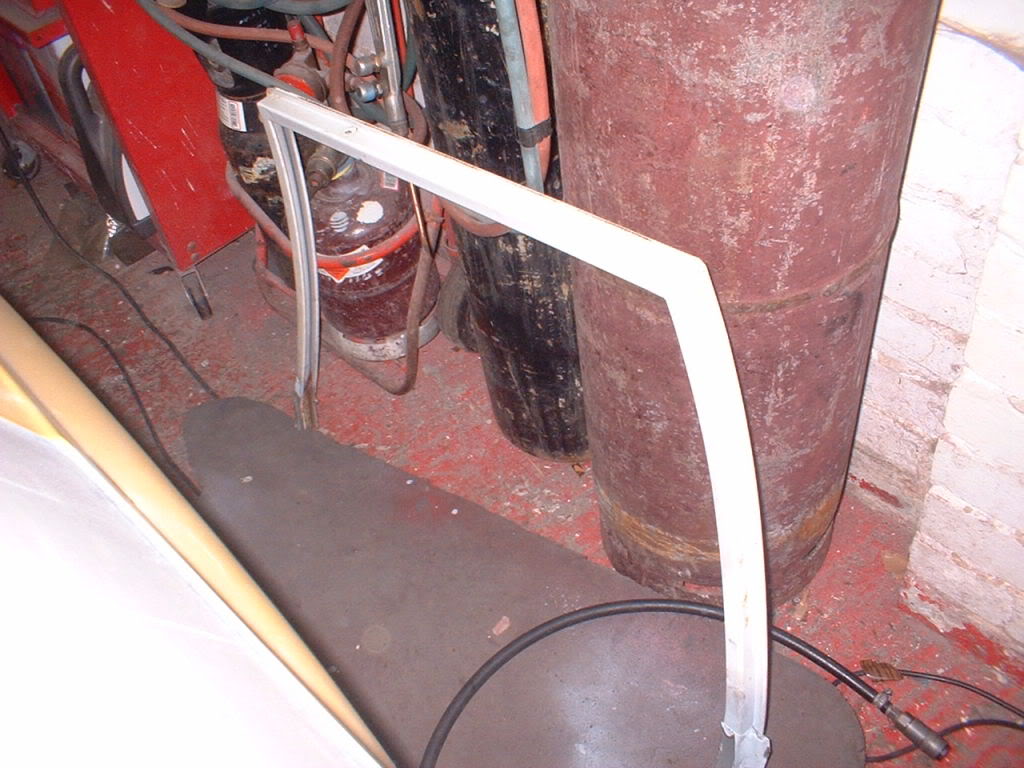
On the floor awaiting dismantling
Have a look at this short vid of the wear. The pin and bushes are okay but the other pivot isnt
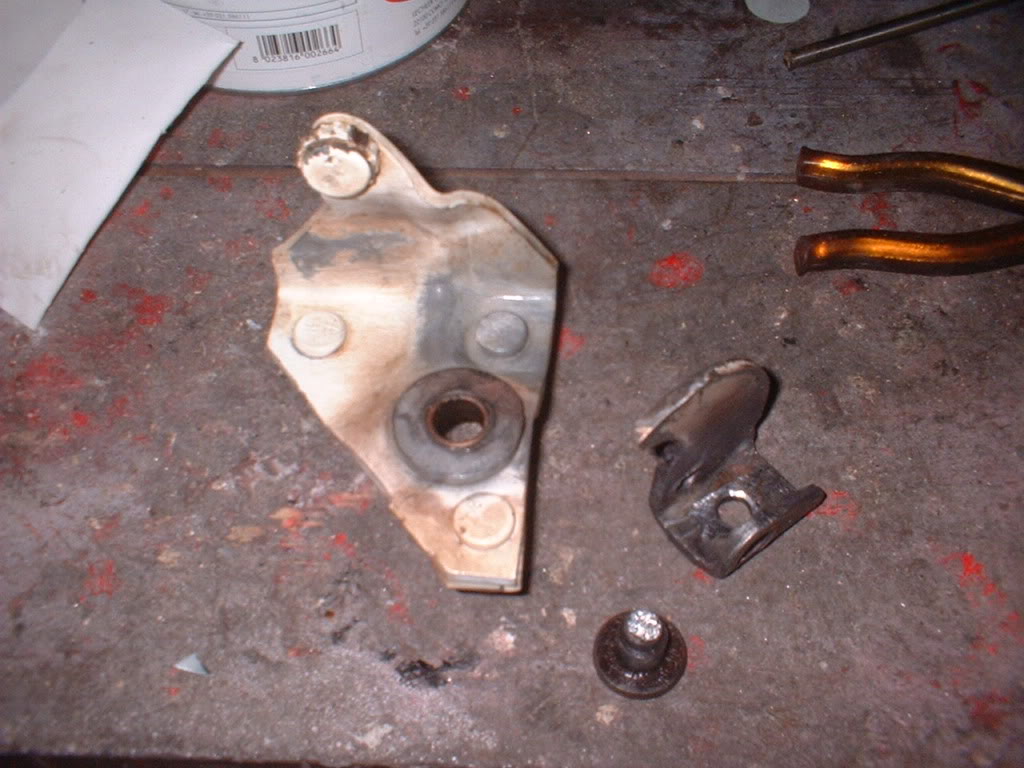
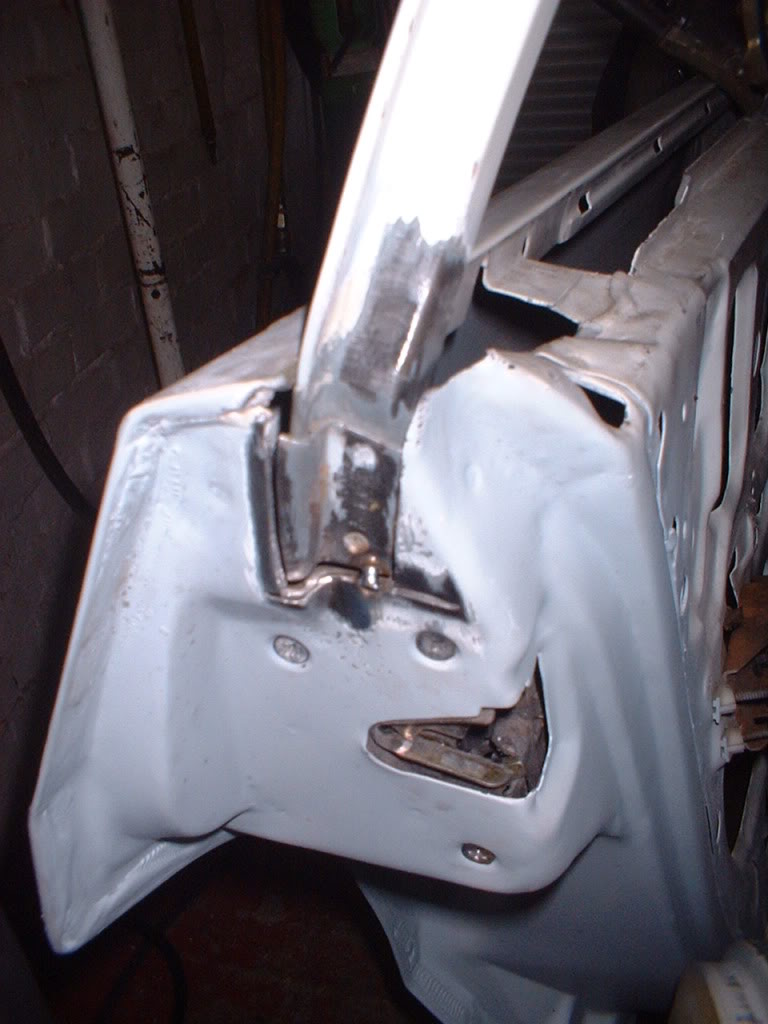
Here it is off to reveal another slight problem
Its actually twisted. Must have been a lot of force to do that.
Rivet welds ground off and took apart then straightened. Didnt realise there was a bronze bush under there. I am going to machine another pin/rivet that is a tight fit in there.
7-17-2011
Hi all.
Sorry for the lack of postings recently! I've not lost interest, just delayed slightly. Very keen to get on with things.
I pack up work on thursday for a 6 week holiday, and the house mods are coming along well, so it shouldn't be long before I am back on it.
I've been spending about 20 mins a day on wood sticker peeling though! Only front doors and fenders to peel now.
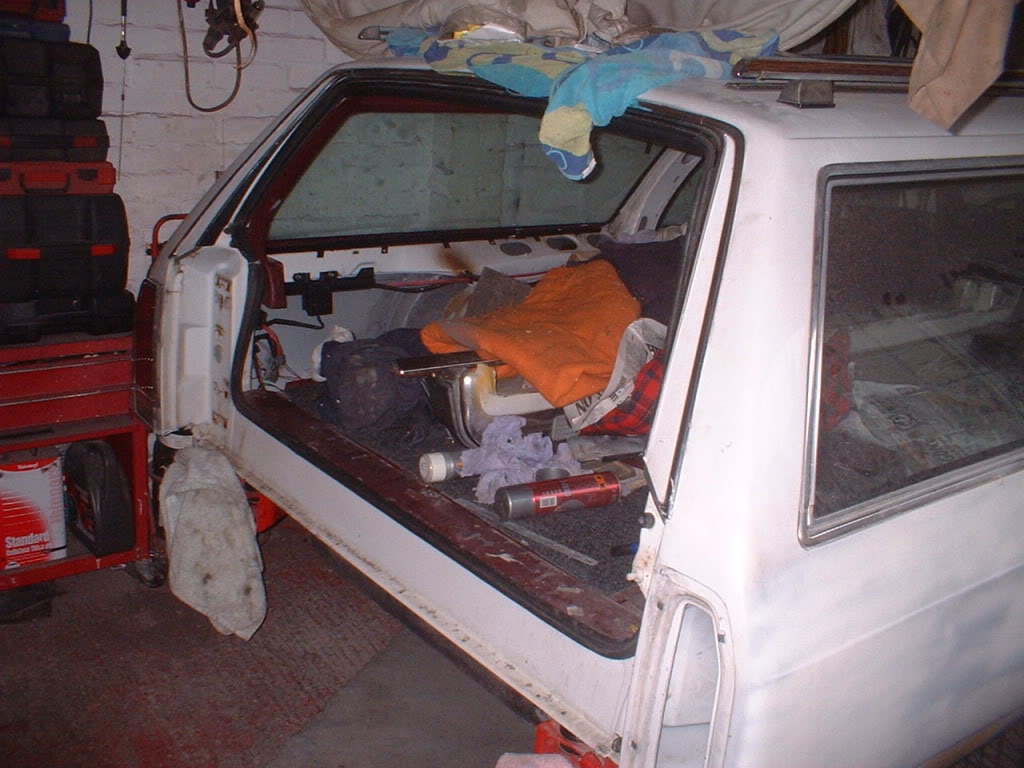
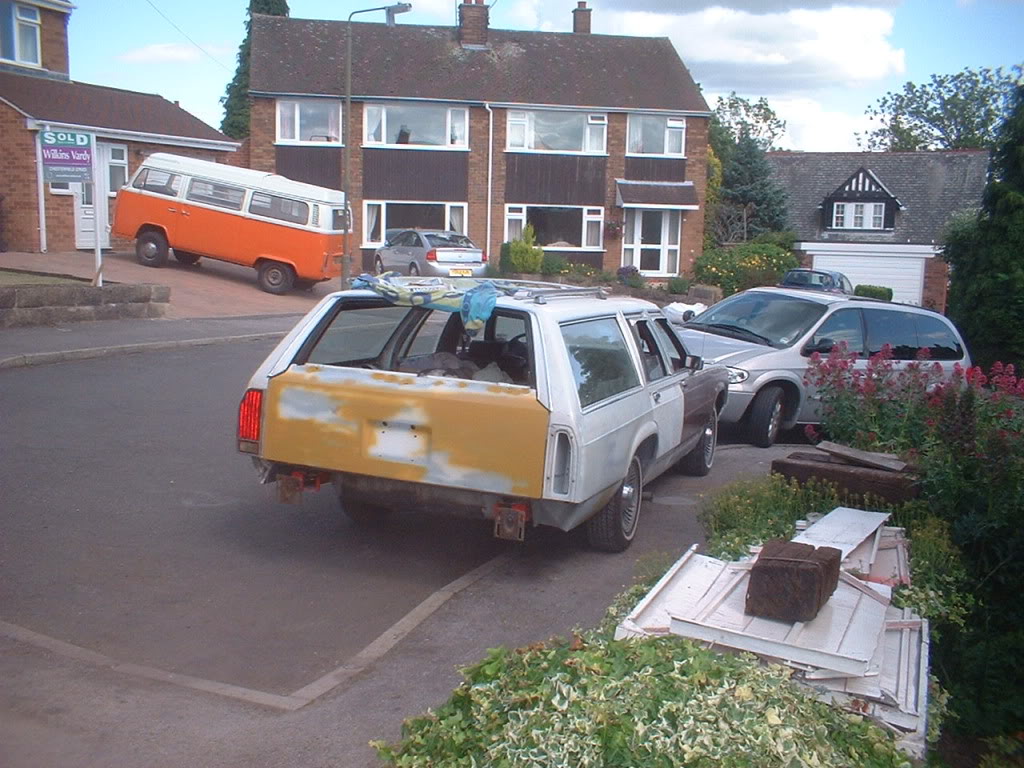
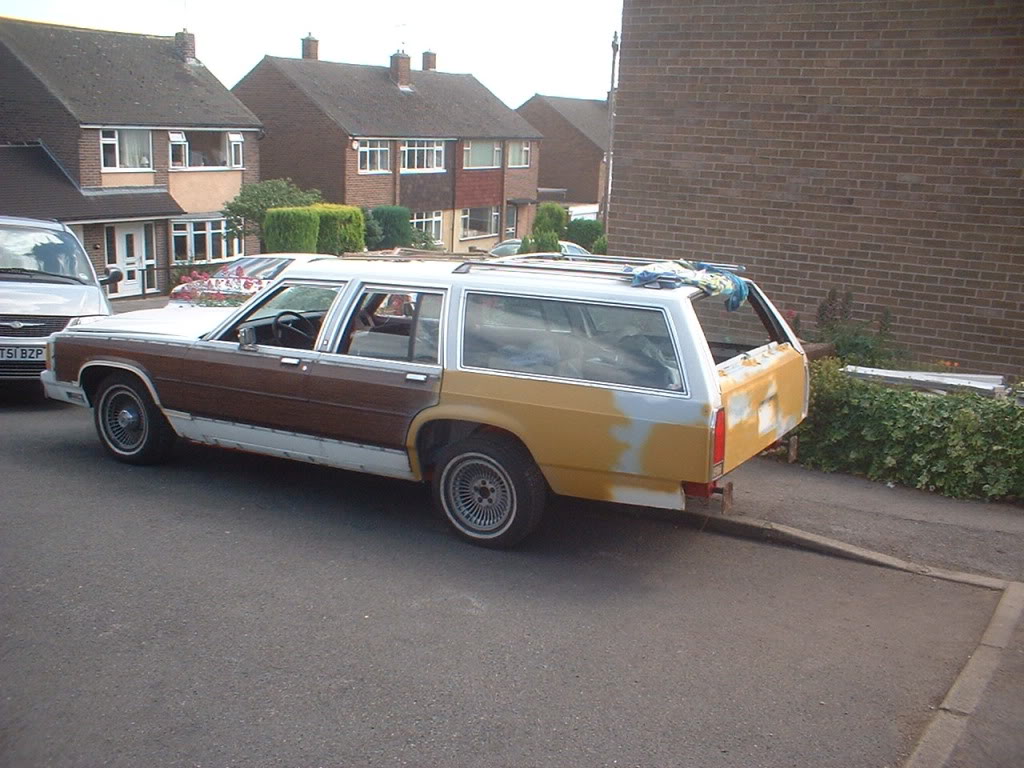
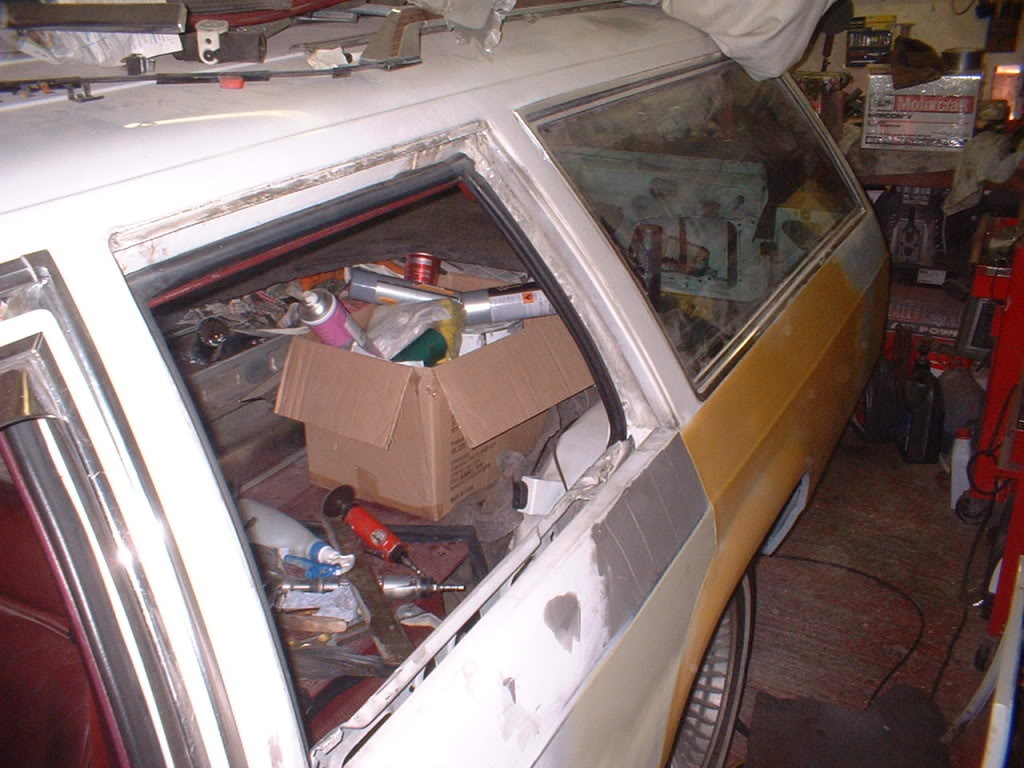
Heres a couple of photos when I was modifying the garage a few weeks ago and chucked the car out for a bit.
7-31-2011
You are not kidding!! And it stinks when heat is applied!
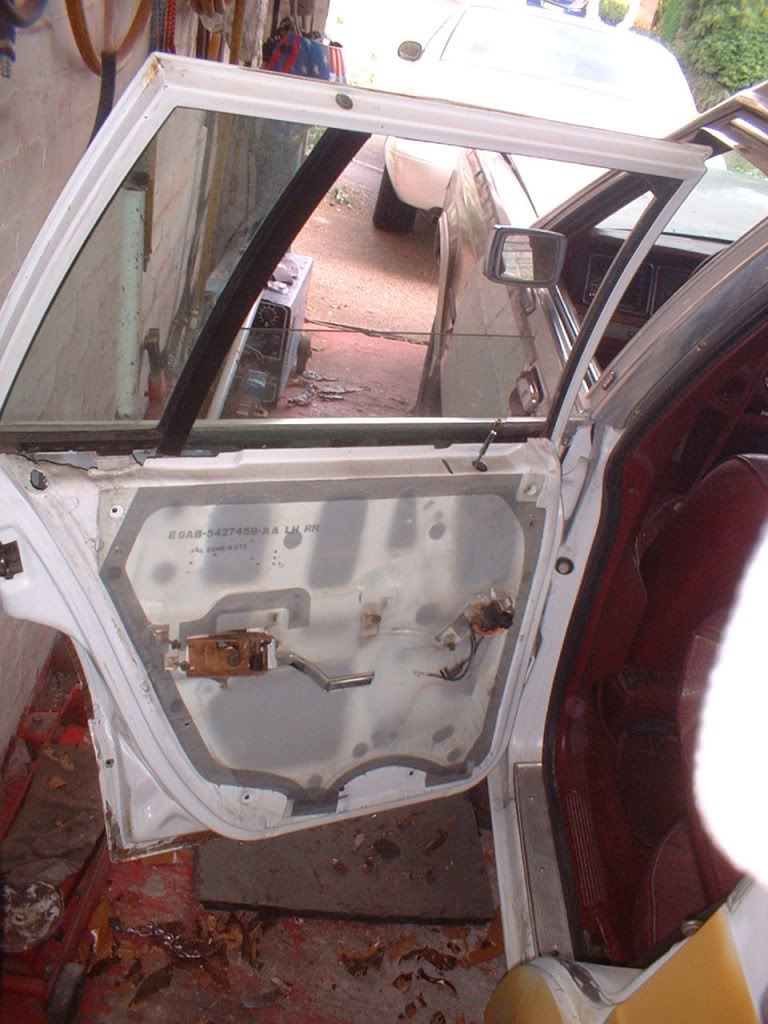
Managed to get some time on the car. Next is the rear drivers side door.
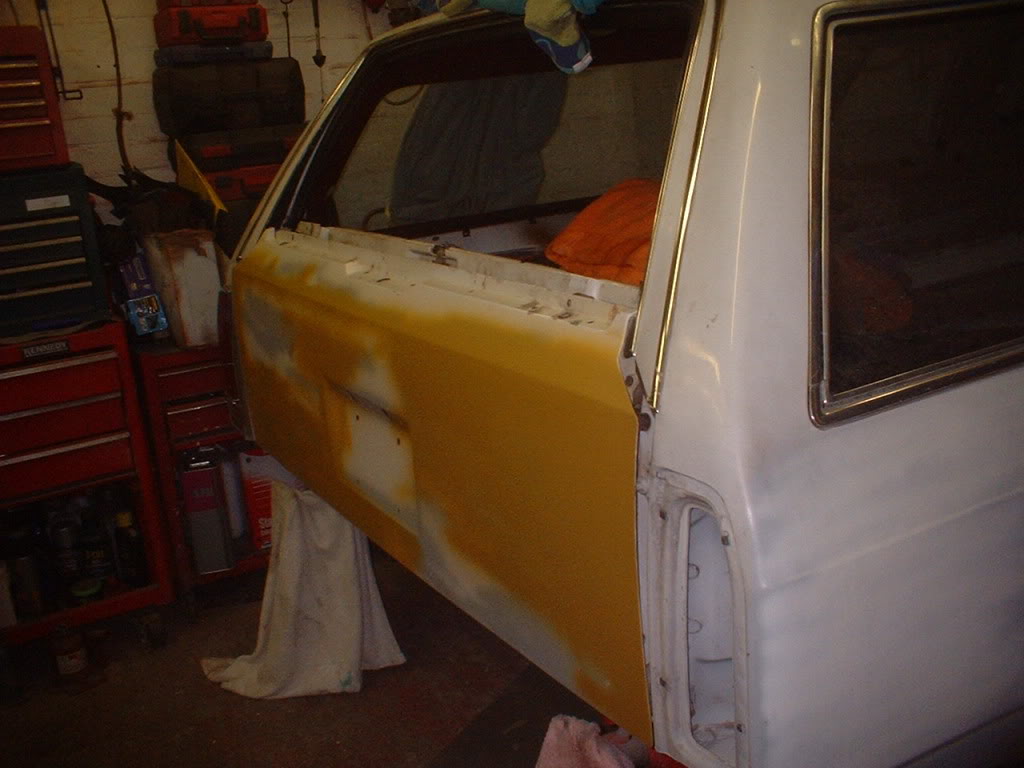
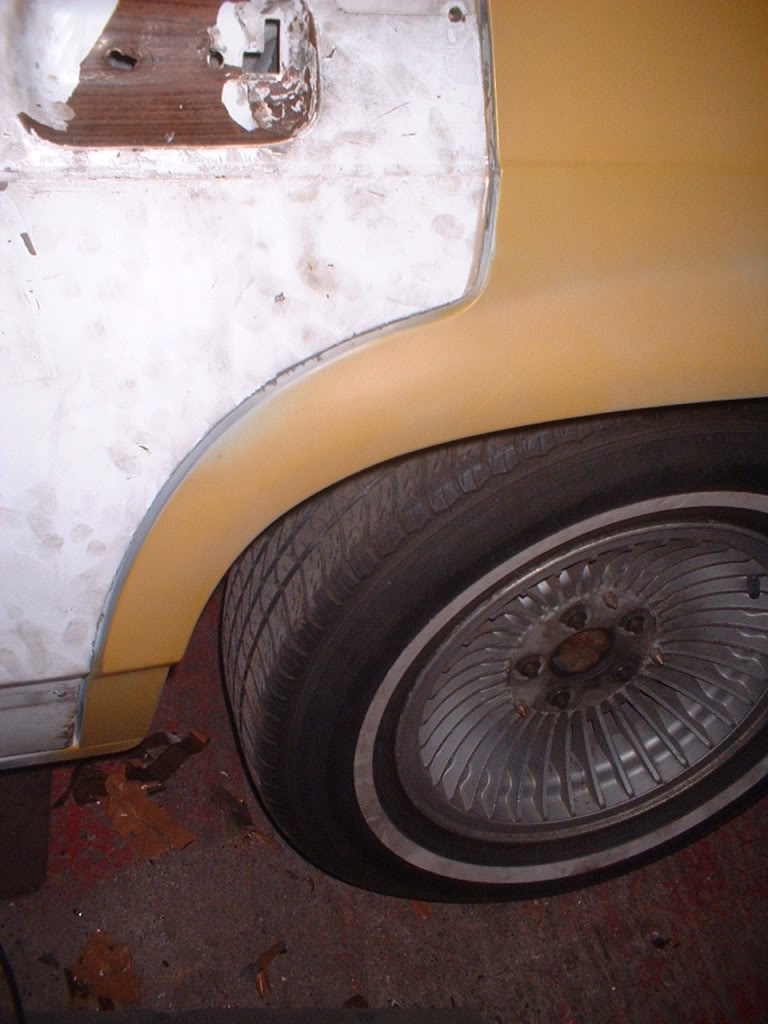
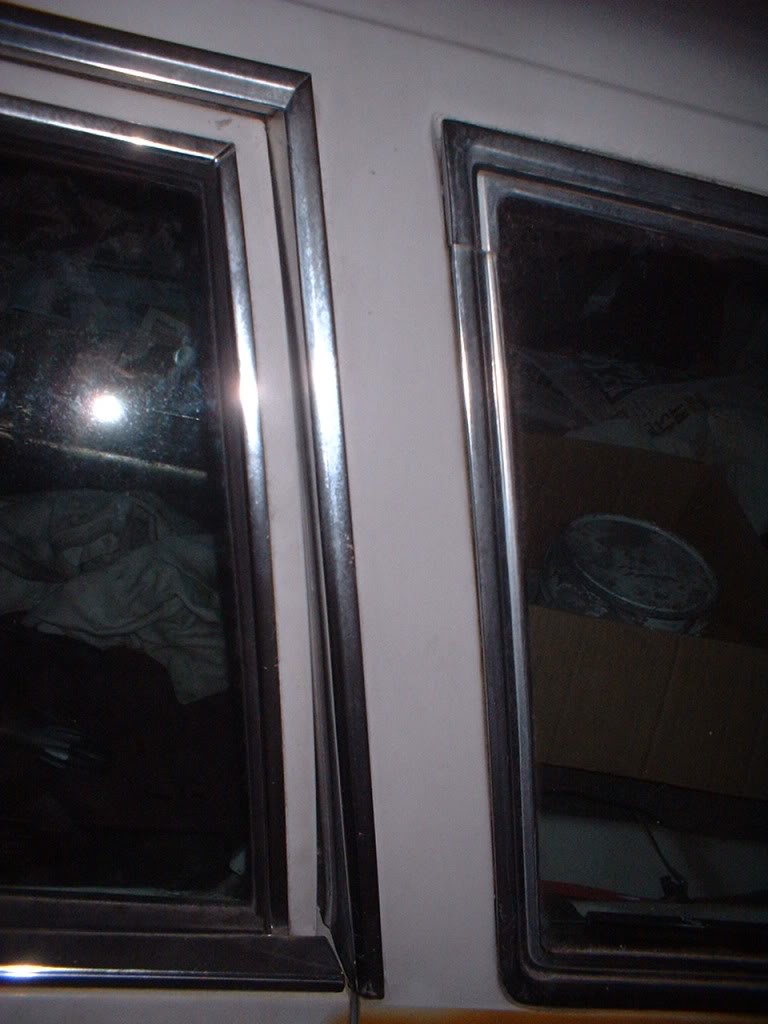
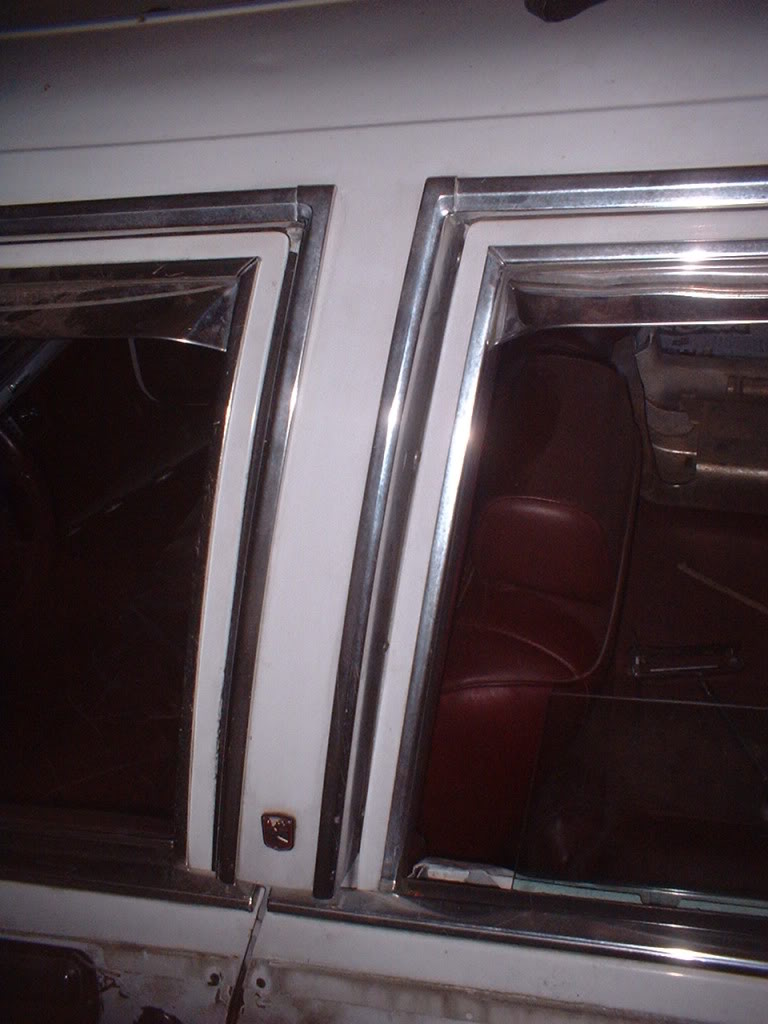
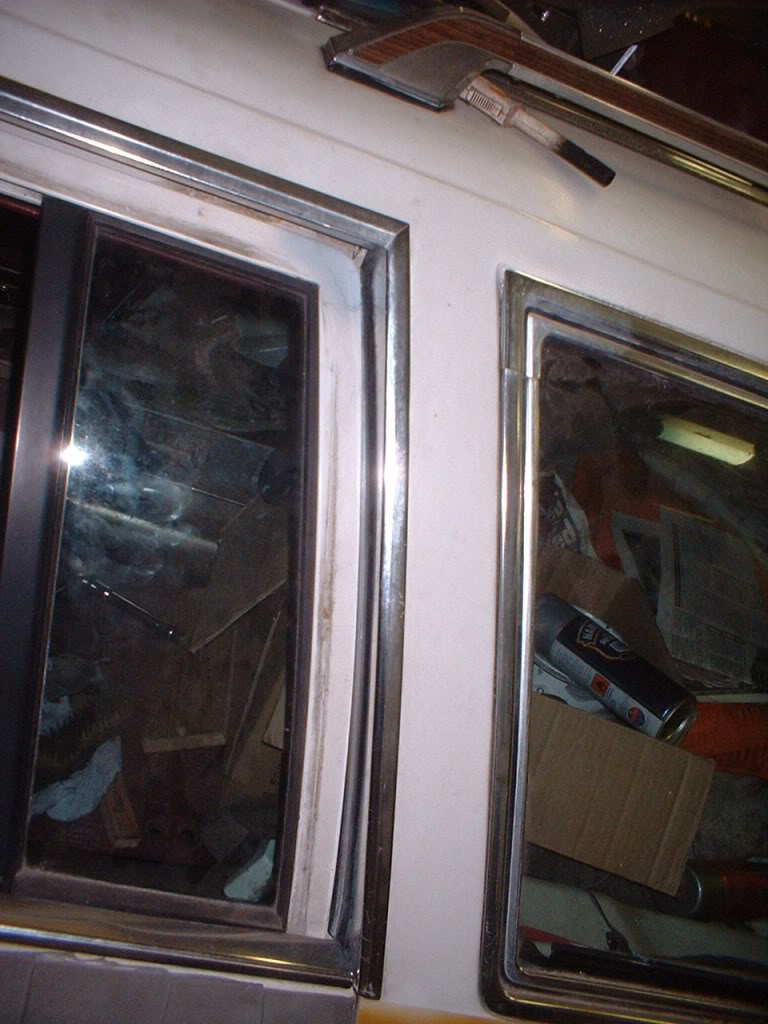
If you have a look at this photo you should see the front edge of the door sticking out past the back of the front door, and definitely not in line with the rocker. This is a pet hate of mine. Doors that are not in line at the bottom. I am assuming that over the years when the rear door has been opened against it stops it has bent the B post where the hinges attach and effectively moved the pivot point outwards.
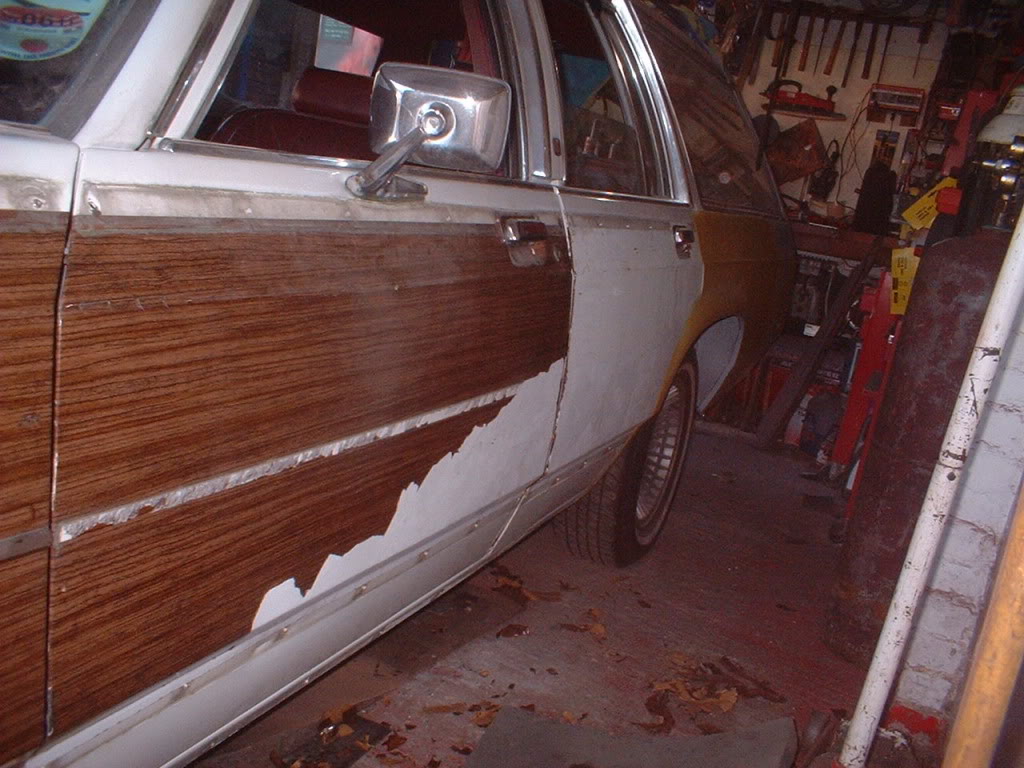
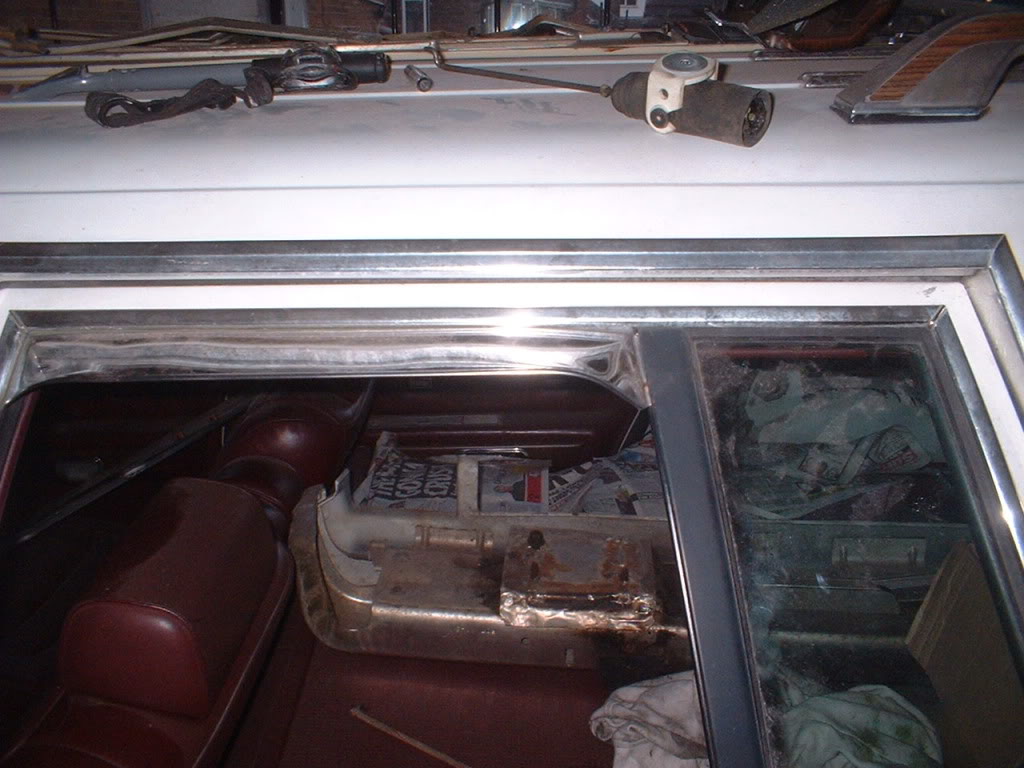
Heres the car with the fake wood off up to the fender.
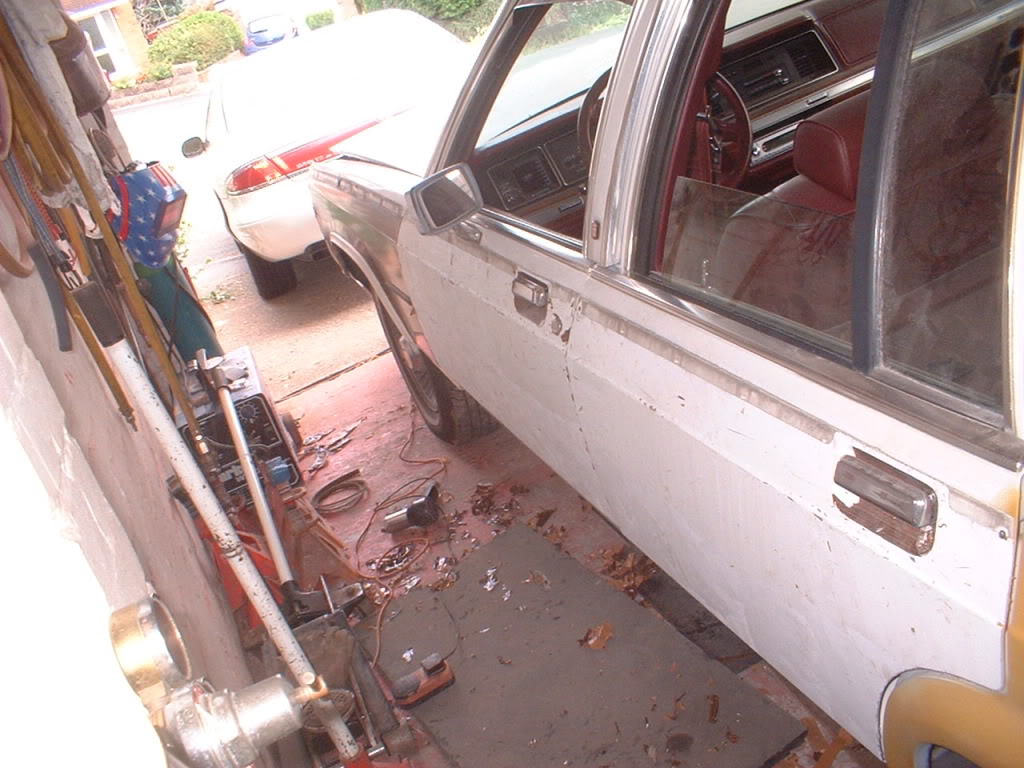
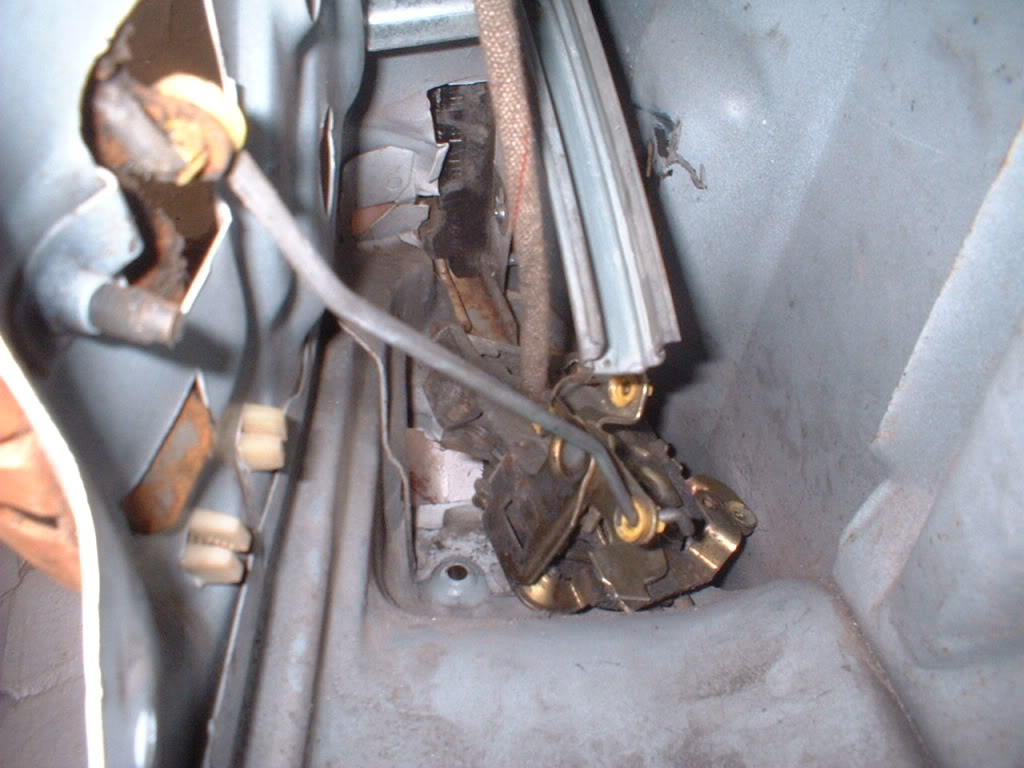
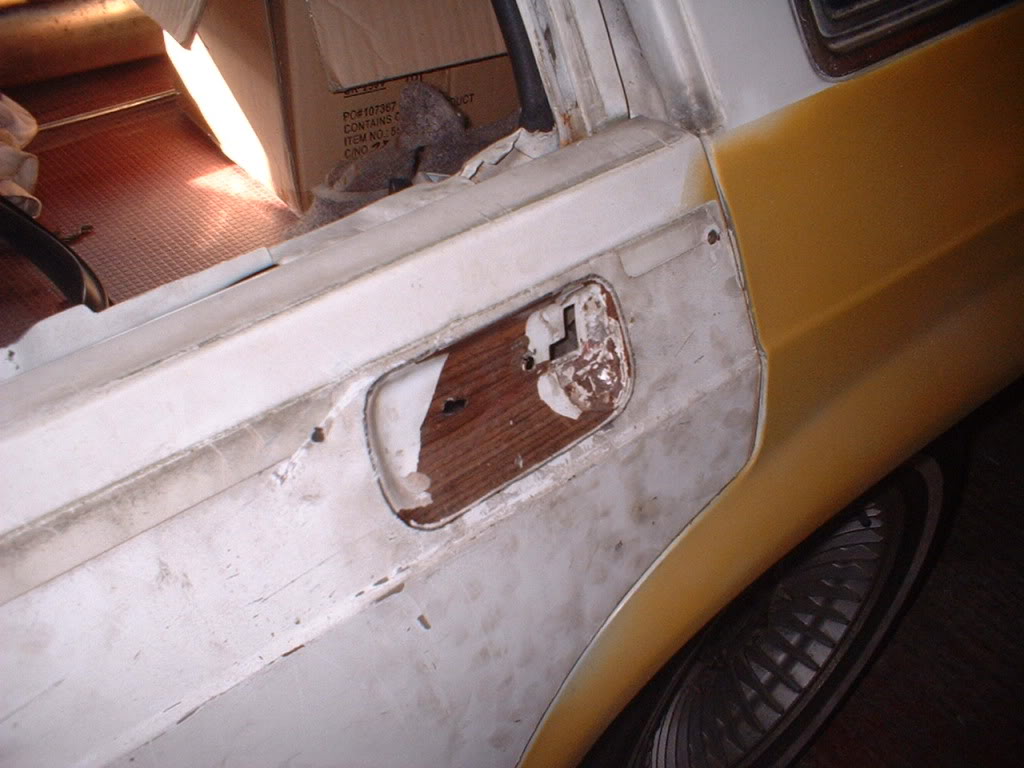
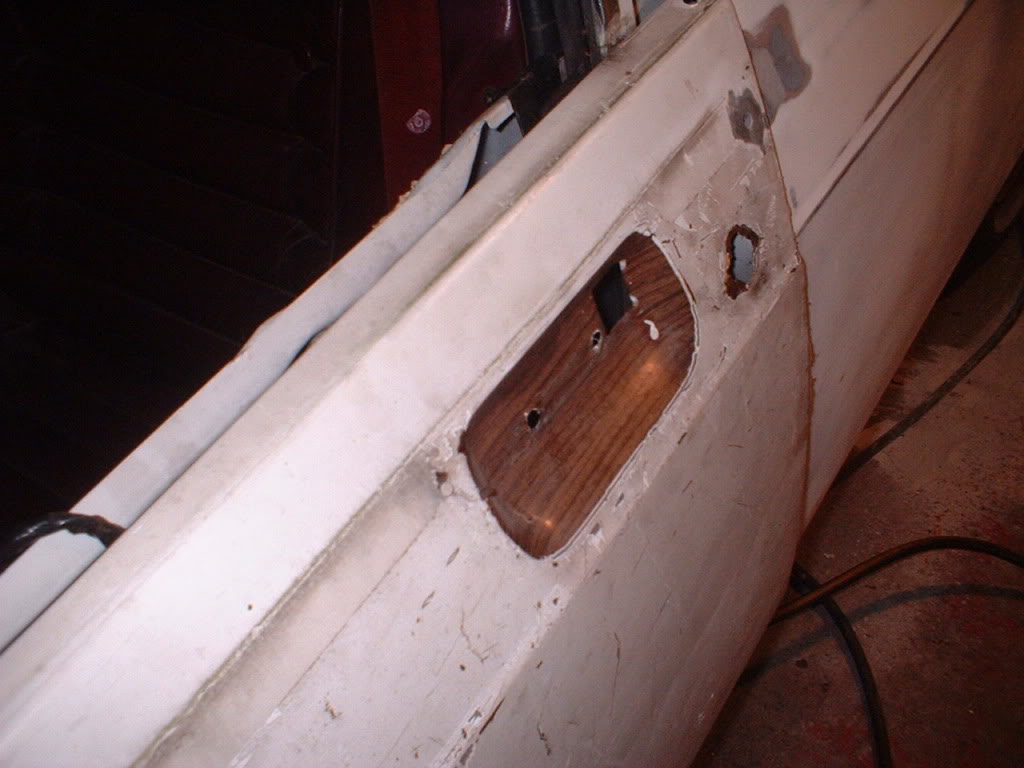
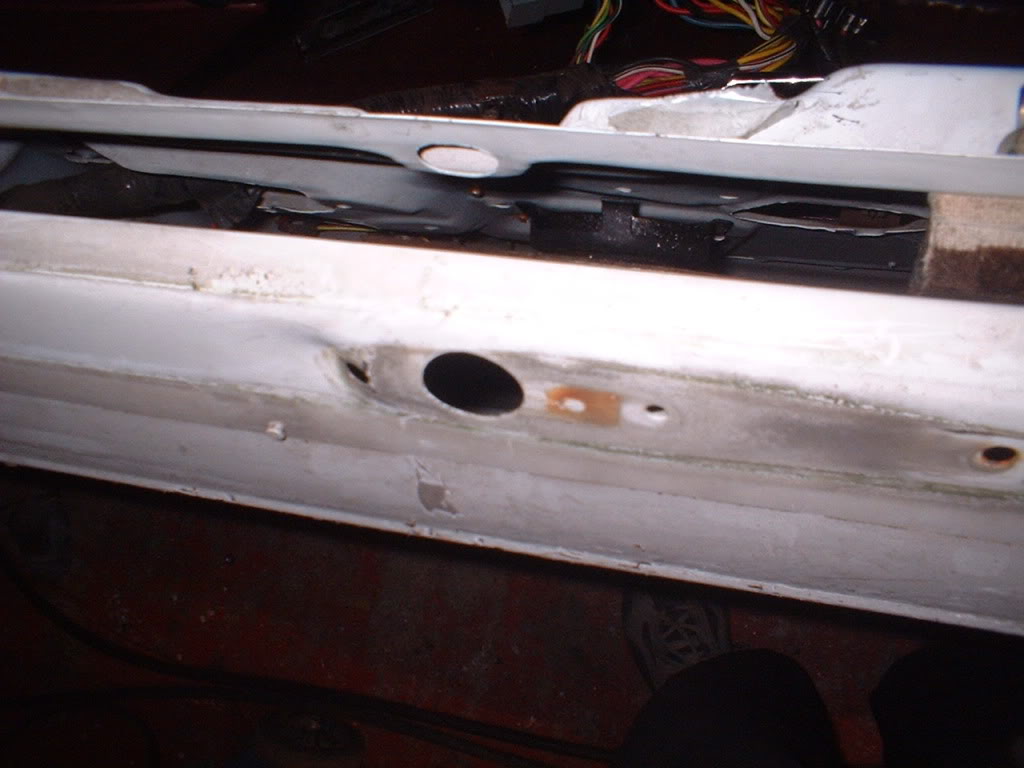
Correcting this means removing the door which menas removing interior trim and pulling the wiring through. So while I am in there lets lose the door handle and the lock solenoid. Which is a shame really because it works well! Anybody want it for a small fee? Here it is
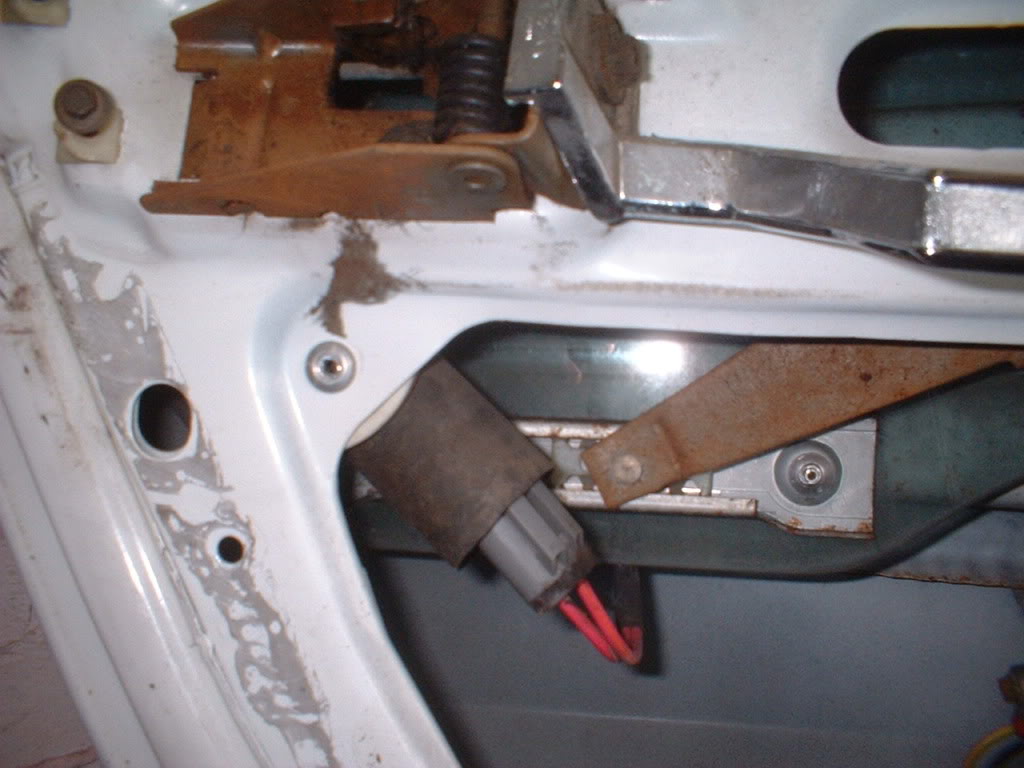
Another shame is that the waterproof membrane under the inner door trim hasn't been touched in 21 years!!
Once the door is back on and lines up I will weld up where the door handle used to be.
8-3-2011
I managed to adjust the door so the front of it is in line with the back of the front door with a consistent gap.

Gap by the rear quarter is also good
Gap by the rocker is also good
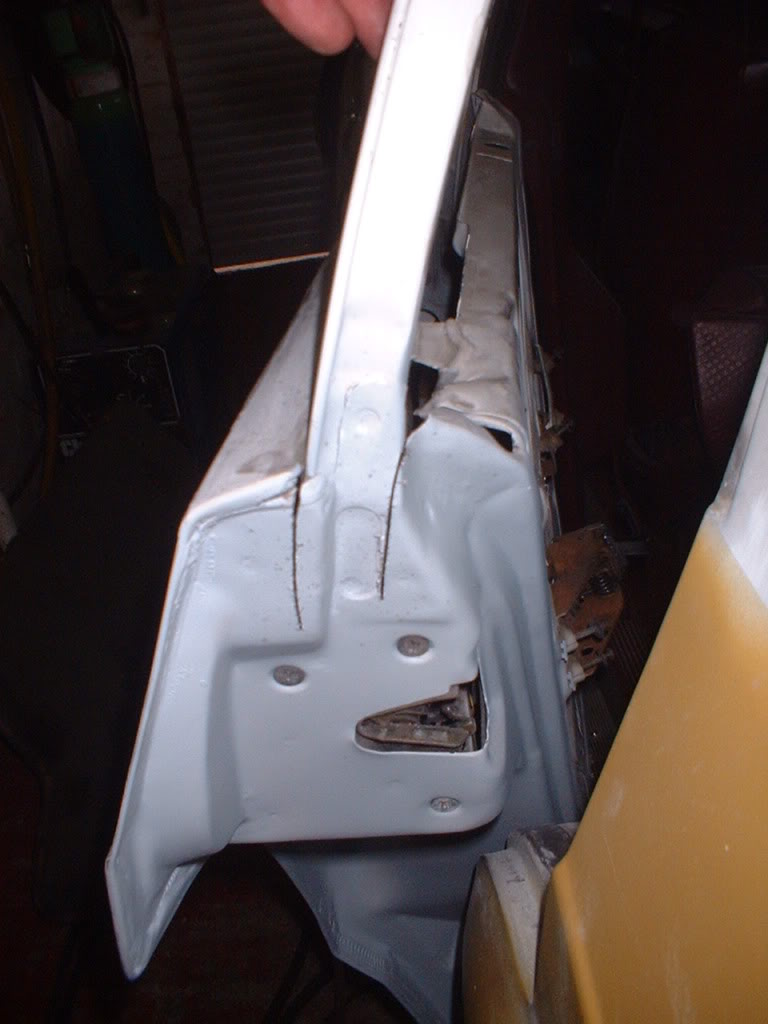
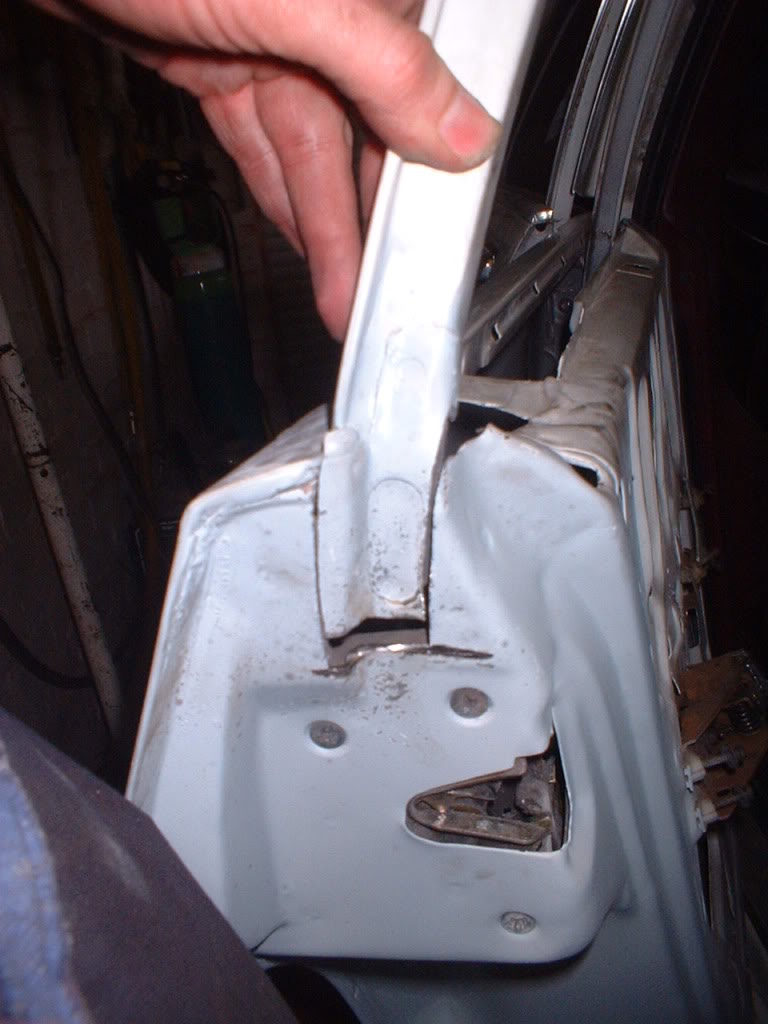
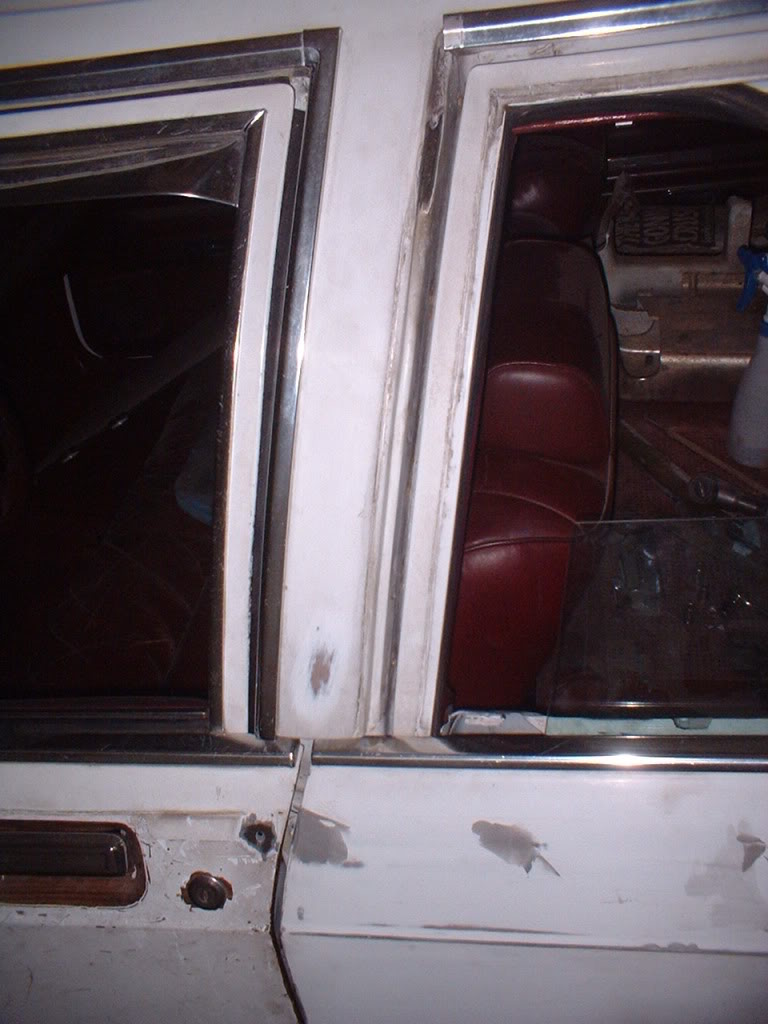
BUT, look at the gaps at the top of the door.
This is the top right. The top corner is actually touching the door post but a wide gap at the bottom
Top of the door is really tight.
Top left is too wide

So it looks as if the door frame around the window will be removed and rewelded back into a better position! Bit drastic but the only way.
As a side note, since the door handle will be welded up I have no need for locks, so no need for locking solenoids and locking mechanisms. Only 1 rod is needed to the inner door handle and another link to a door popper solenoid.
10-23-2011
Thanks guys.
Rightio then....................
Now I've got the chance, its the drivers rear door clean up time
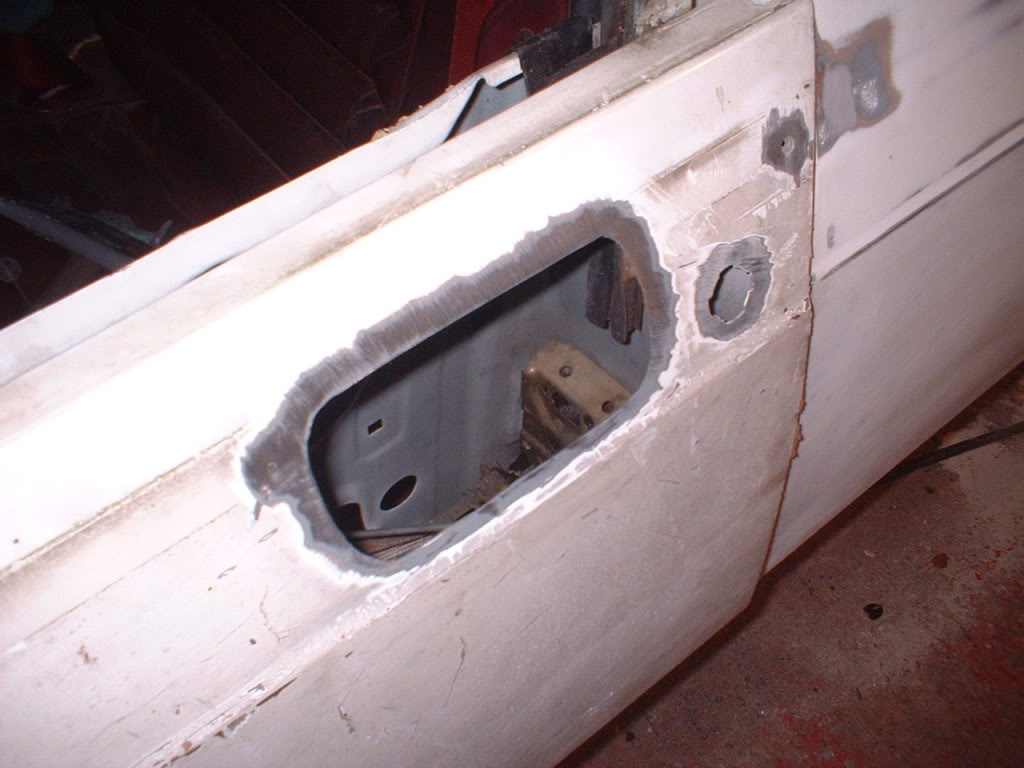
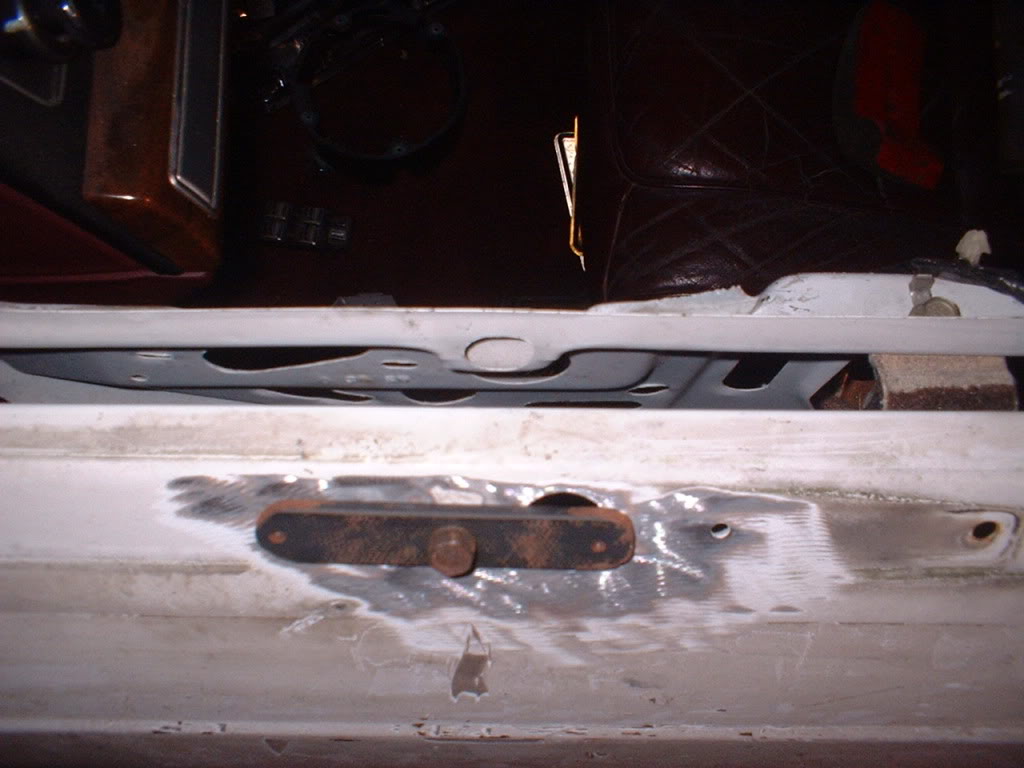
Door handle removed
Cut out

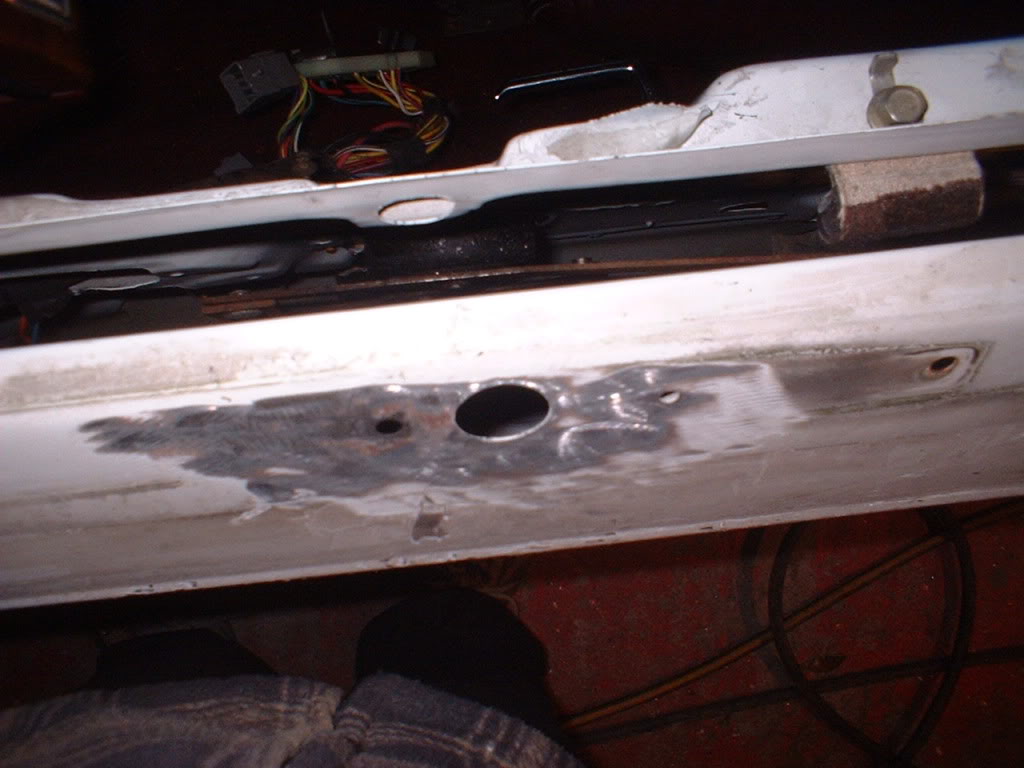
Plate cut out and held in place by a magnet
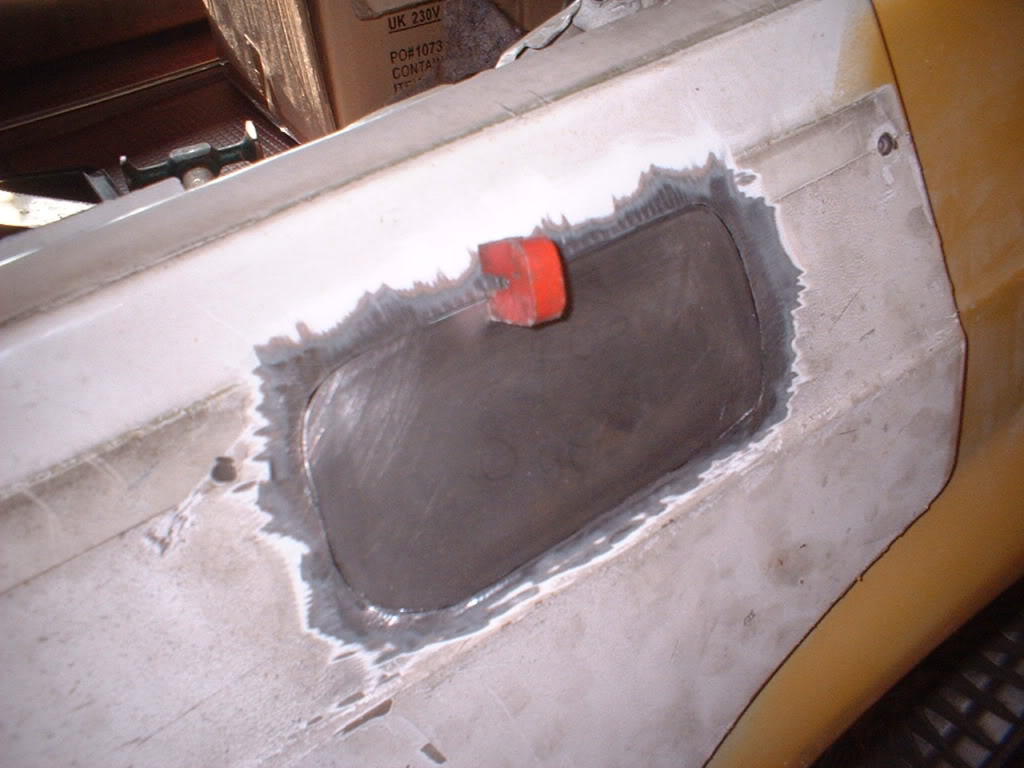
Welded up
There was a bit of distortion, but nothing that an hour of persuading/panel beating couldn't sort out.
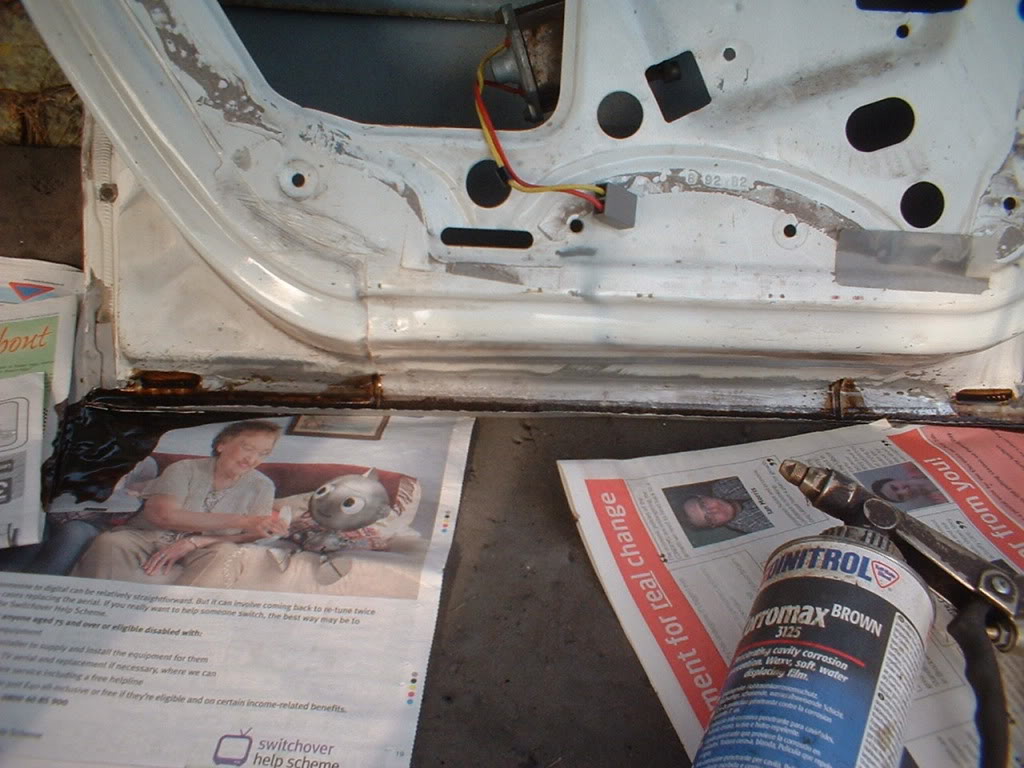
Then its door off and media blast the bottom.
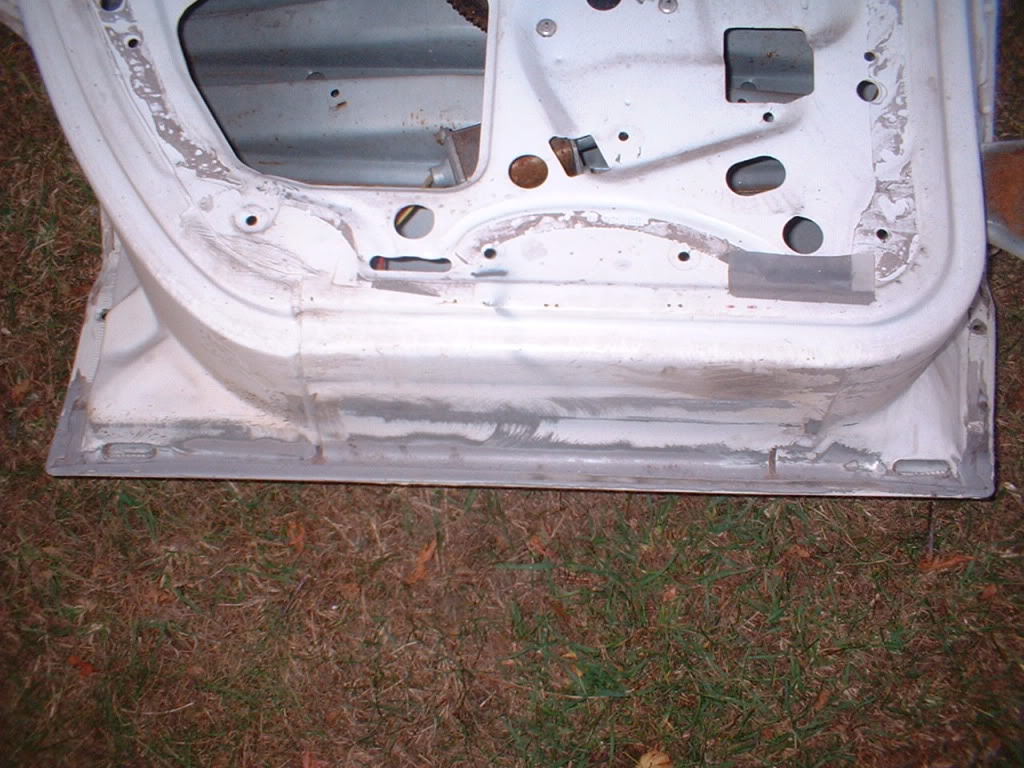
I am going to bend the bottom lip out slightly and pour some dinitrol 3125 rustproofer down and tap it tight again. This will prevent any further rusting inside.
Hers a good sight of the old vinyl wood grain stickers in its rightful place!!
10-26-2011
Here's the back door with the bottom lip bent out at 90 degrees. Good job as well because there was some corrosion.
Dinitrol 3125 squirted in the door and then heated up with a hot air paint stripper to make it run inside all seams.
Then more squirted on top and the lip bent back and warmed up again to make it flow everywhere.
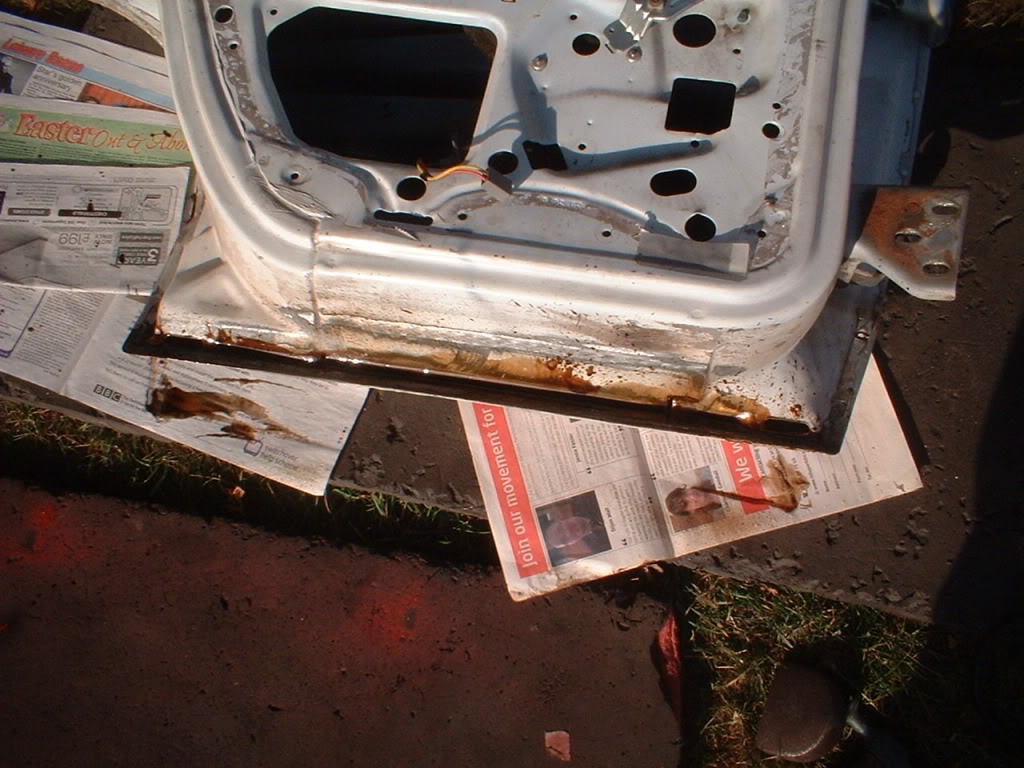
Then seam sealed.
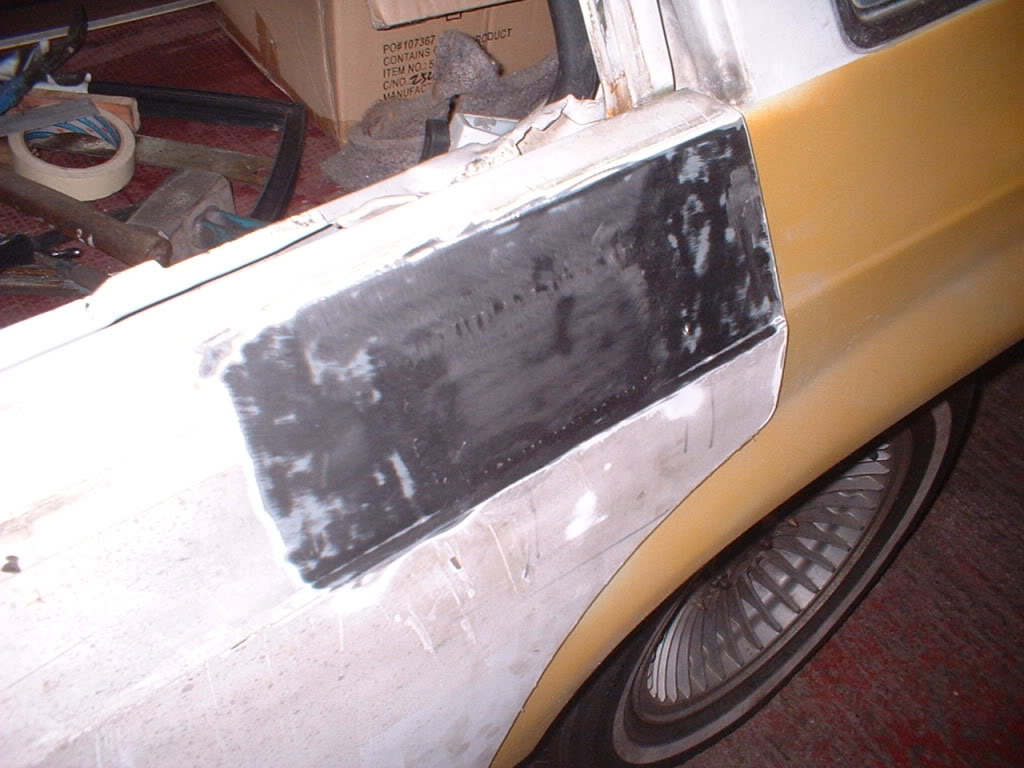
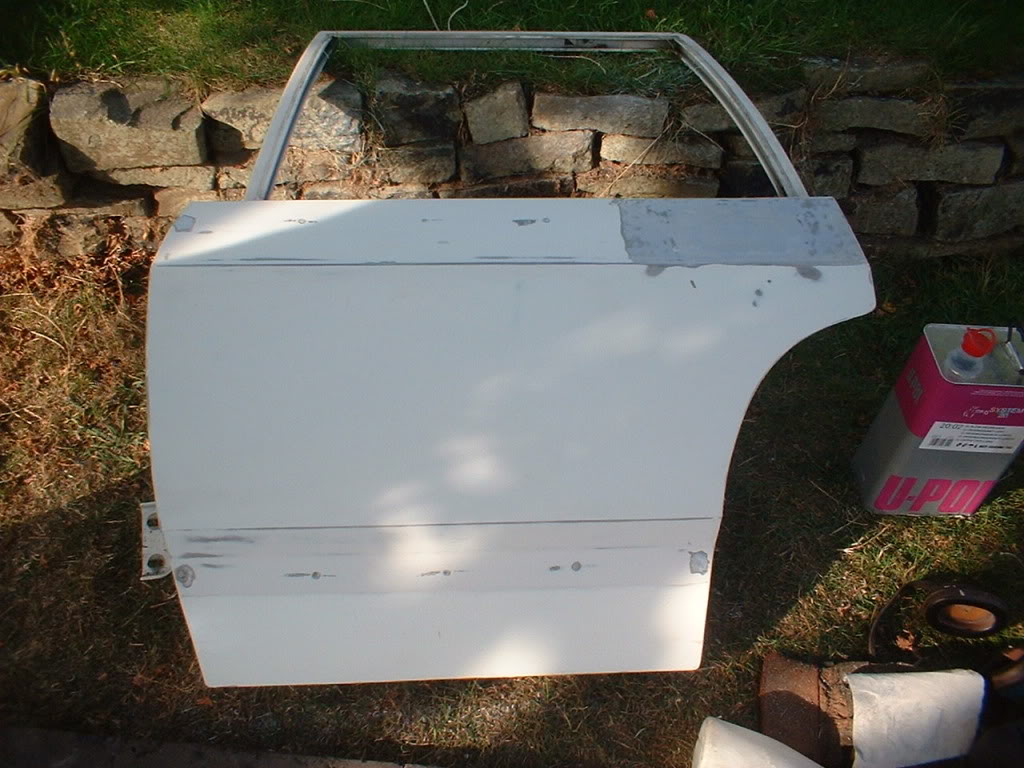
Here's the door after removing all the adhesive with panel wipe solvent and 120 grit paper, and all holes welded up. Looks smooth.
11-6-2011
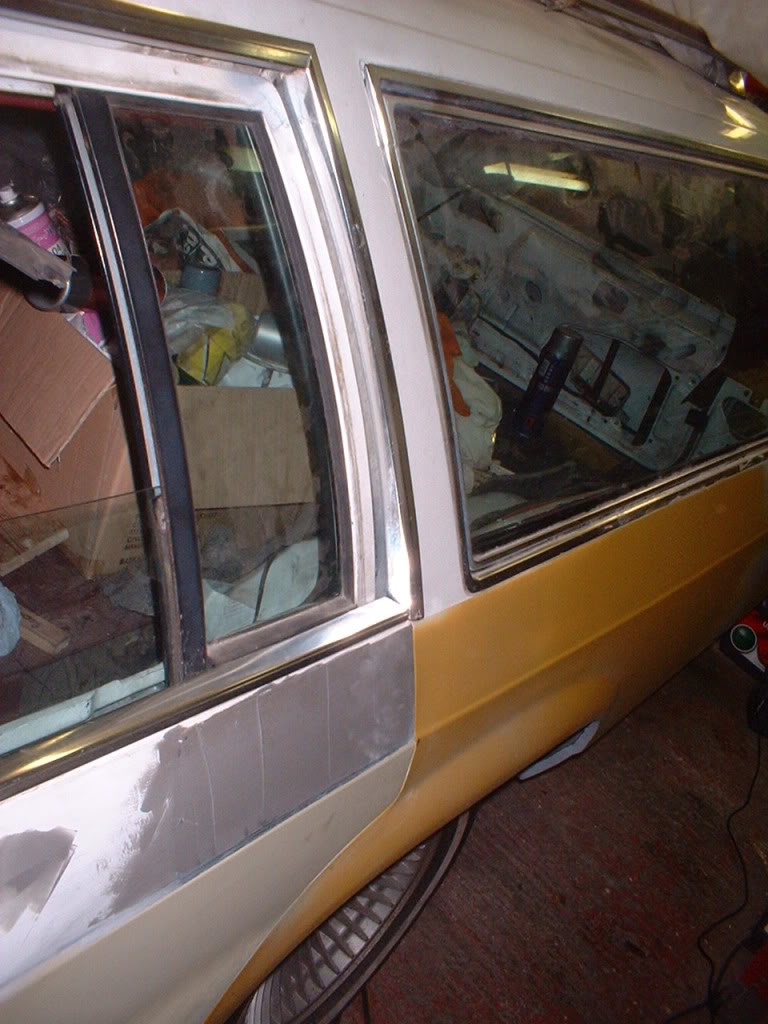
Now its time to make the rear door on the drivers side to fit properly. For those who remember, the main door is now lined up well with the rear quarter and the rocker, but the window frame touches on the top right....
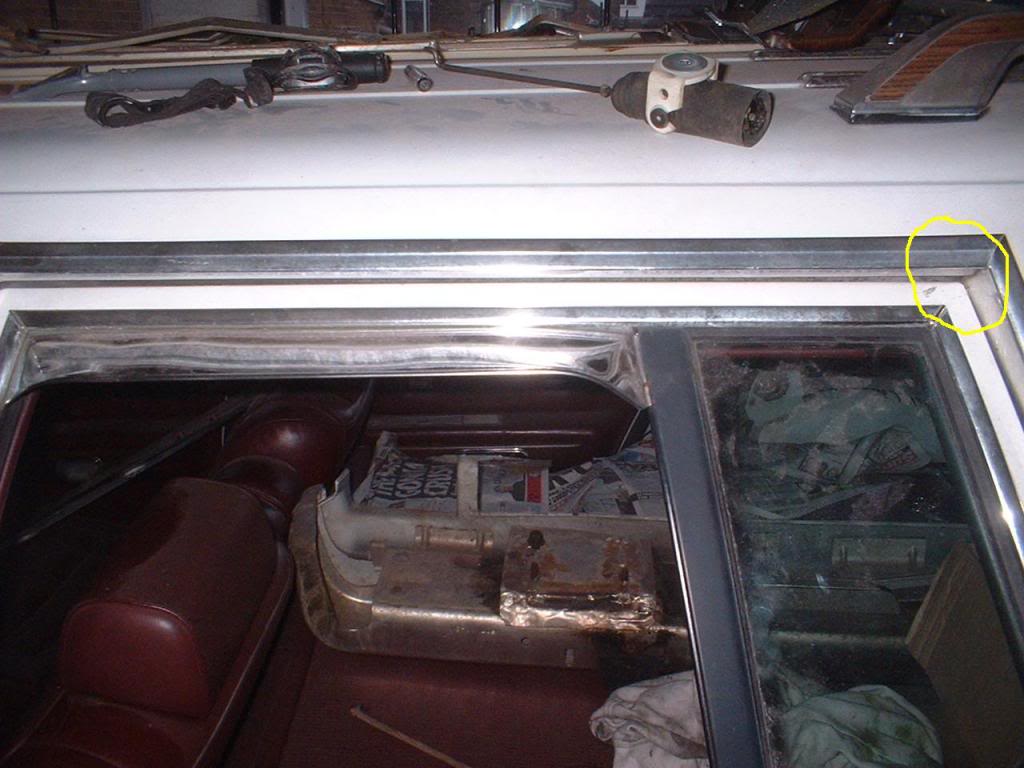
and is too far from the B post on the left........
So it needs to be moved to the left about 1 cm...ish.
Heres the first cuts with my trusty fav tool - my air saw..
As you can see I am cutting out the frame along with the steel it is attached to and then move it over a bit.
Here it is loose on one side
Other side not photographed but cut the same way.
Heres the door frameless!
Pity I can't get that to work! Looks good. Or could I? No, stop it - lets just get this car painted!!!
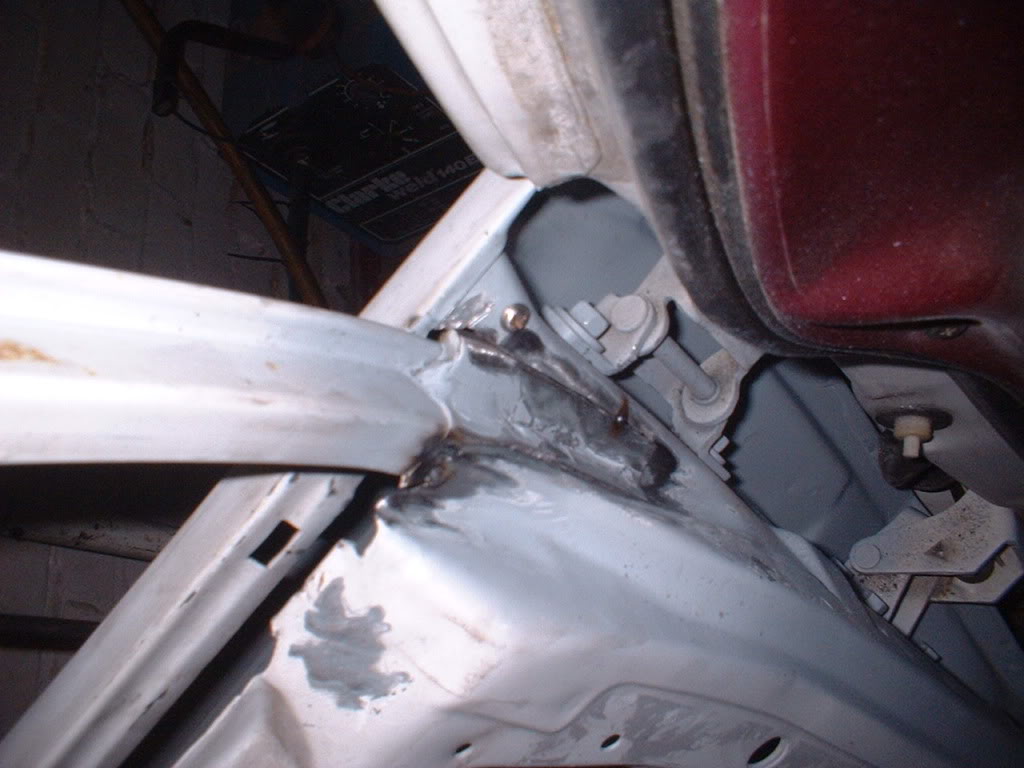
Completely cut loose and ready for prepping for welding
Here it is moved to the left a bit and tacked in. You can see how far it has moved over by the gap
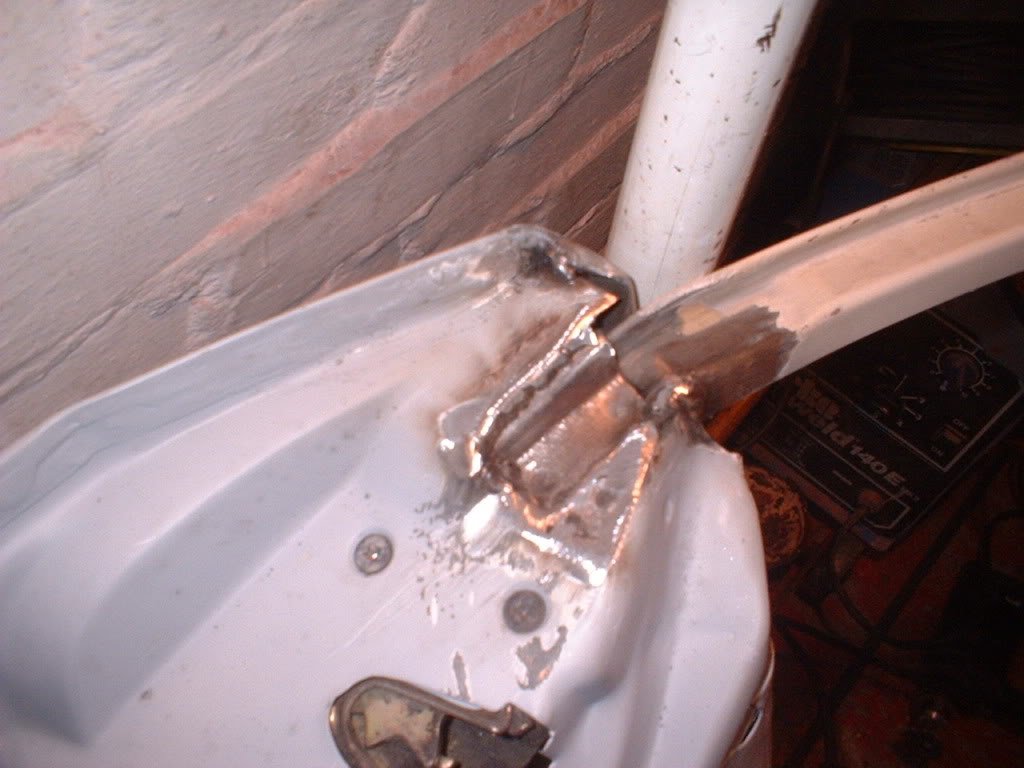
Tacked in the other side
Fully welded
Now need to reassemble the door and move the window runners over a bit and also the dew wipe on the weatherstrip trim that goes on top of the door.
Then its on to the drivers door.
11-7-2011
Managed to get the door back on today and trial fitted the glass. And it all works!!
The gaps look superb...don't know how it comes over in the photos.
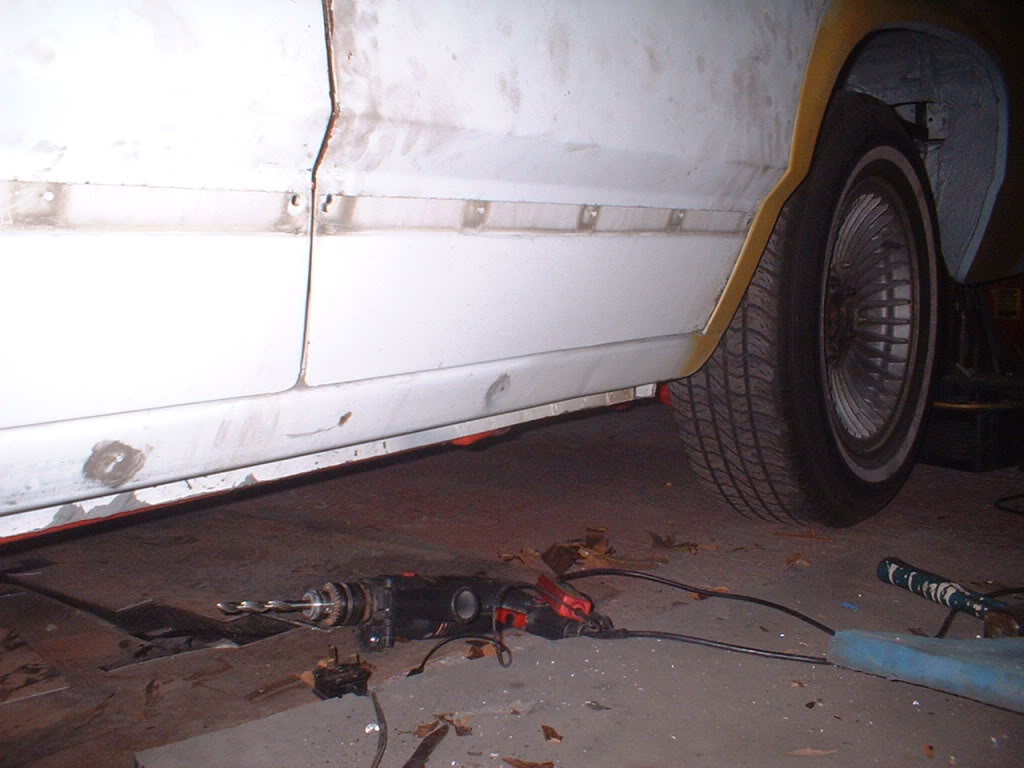
I love the smooth look already down the side.
And the glass is not blacked out yet. Looking forward to stripping it back down and prepping the door now for primer.
11-13-2011
Thank you
Drivers door stripped down next and after removal of the door trim and glass, time to get rid of the handle and lock..
I'm seriously glad to get rid of those handles. I'll have 5 spare soon if anybody wants any!
The door mirror will be the next to go the way of the trash! When I took it off it fell apart! Have a look at the repair job underneath the mirror

When I looked at the door under the mirror it was obvious that the mirror had been hit and made a good job of bending the door
Here is the first attempt at straightening it out. Thick plates and a bolt between them
An hour or so later... the straight version
Its going to be welded up anyway and another mirror moved to a proper position a bit further forward. In fact I may even use the internals of the old mirror and design and build a new outer shell.
11-13-2011
Progress is okay at the moment, certainly going to be a few hours spent in there this winter!!
Thinking forward, once every panel is cut, welded, smoothed prepped and primered, they are all going to come off and go into storage (may have to leave front fenders on though).
Car will be put into the centre of the garage with the wheels on a railway sleeper each. The the front and rear springs removed and the wagon lowered down onto its bump stops.
Then bump stops removed and wagon lowered further until the front ball joints go to their limit of side to side movement.
The distance from the bottom of the rocker flange to the floor will then be measured. This is the distance the body will be channeled over the chassisso I can get it on the floor at full drop on the future airsprings.
The car will then be raised back up to its original factory suspensionposition and soild rods fabricated and put in place of the springs.
Then the fun begins - car stripped to a shell and floor/firewall cutout and everything lowered. And welded up.
One thing I know for certain is that the hood will have to be a cowl induction one to clear the engine, that will have made a break upwards!!
This is going to be one fun winter!!!!!!


Love this build, so much work!
Posted by diyauto on 1/21/21 @ 1:46:55 PM