You must be logged in to rate content!
12 minute(s) of a 418 minute read
4-17-2011
Interesting projects you have there. I see what you mean about not having time!! Good luck anyway, and i won't have to work in any snow showers for a few more months!
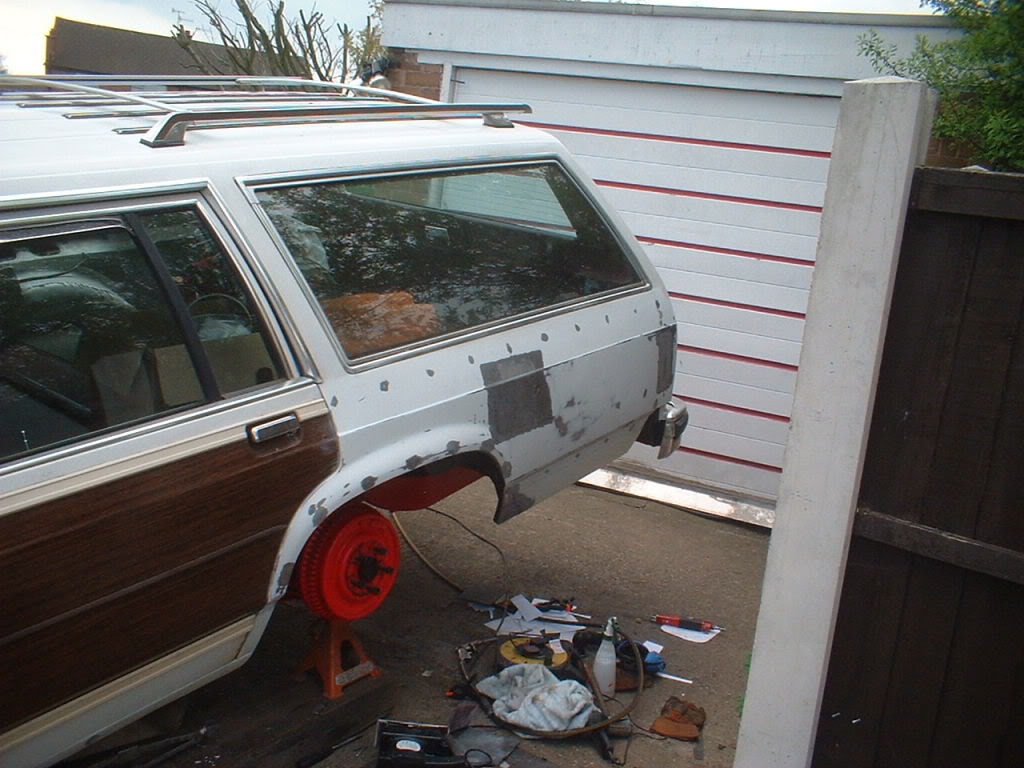
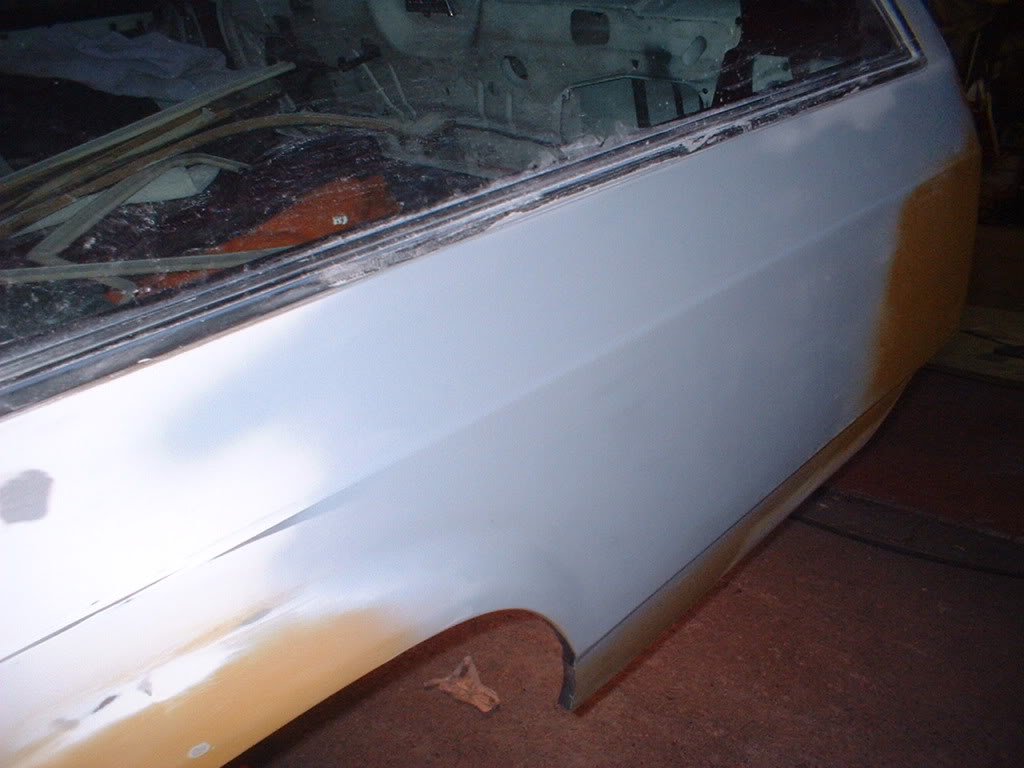
Heres a view of the drivers quarter panel with all holes welded up and all glue residues removed. Took me about 2 hours with a panel wipe solvent and a flat bed sander to get rid of all the stickiness!!
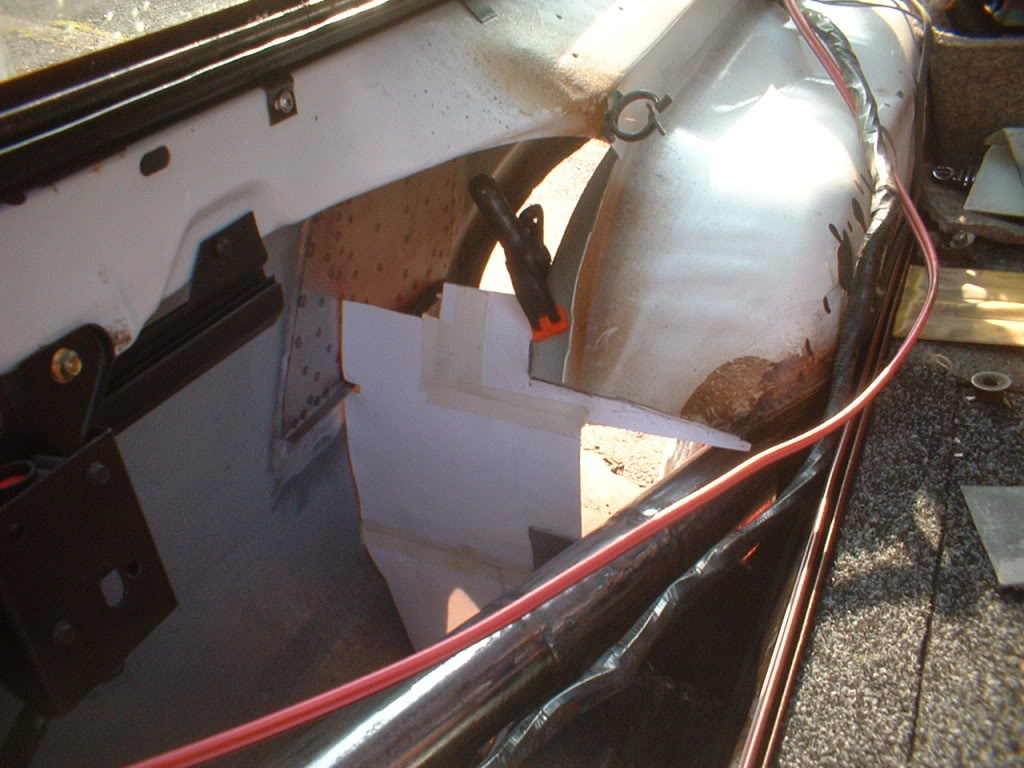
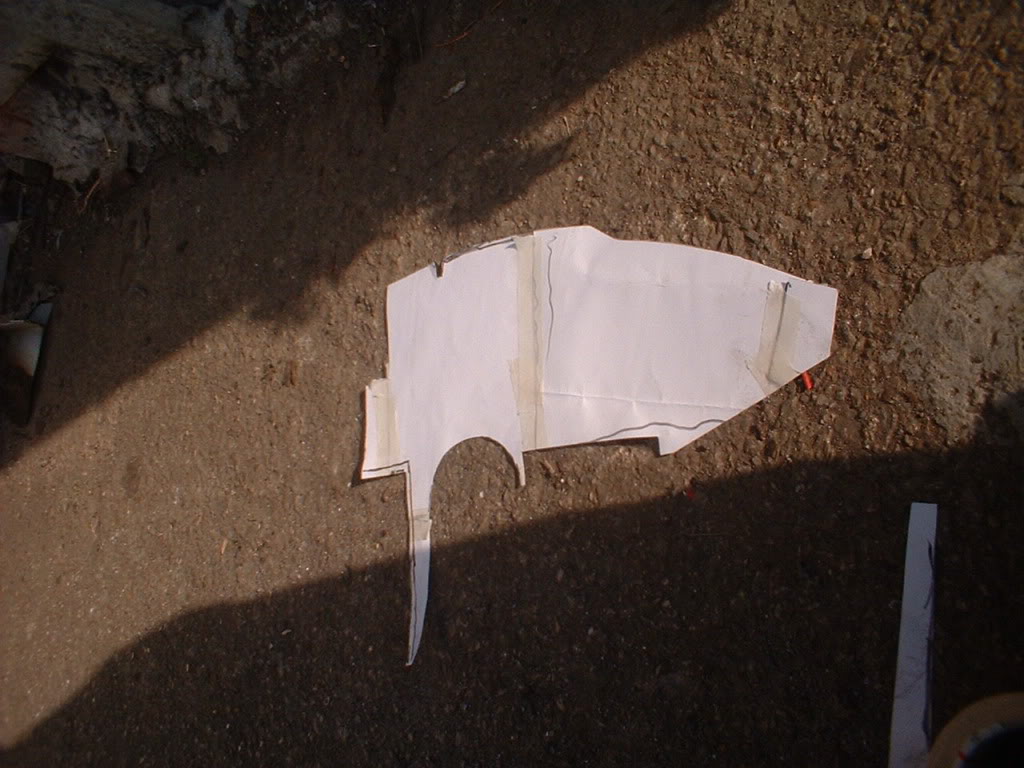
I then started making card templates for the inner arch. Here the first one in place....

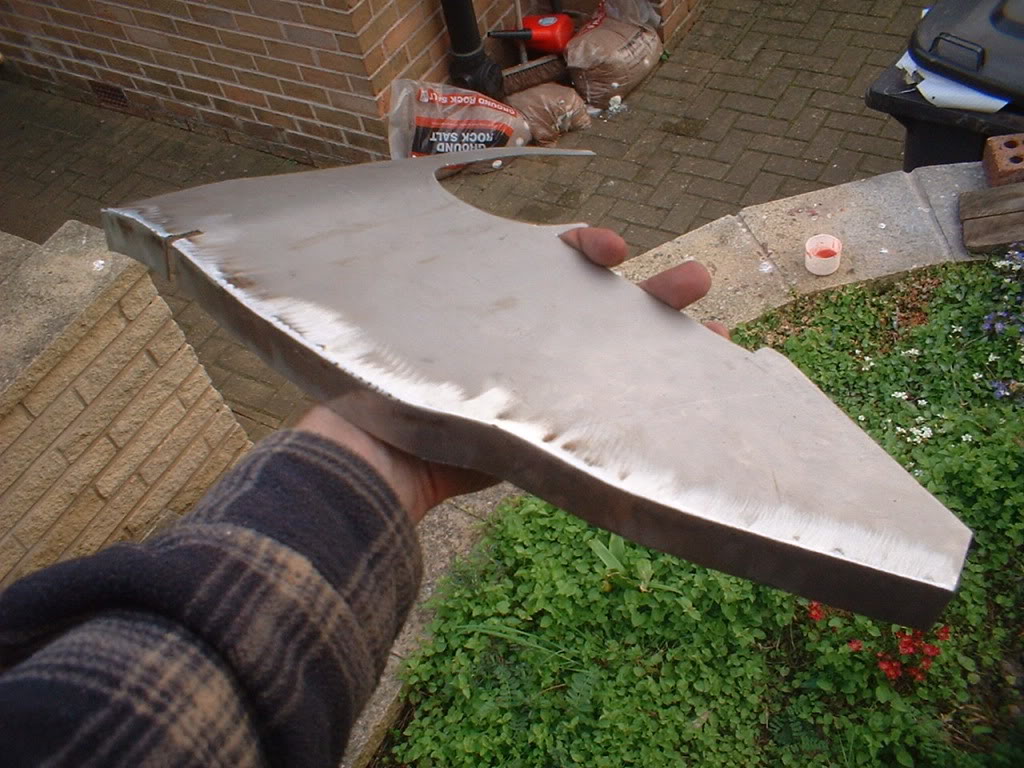
Here it is transferred to steel and a 90 degree flange welded on
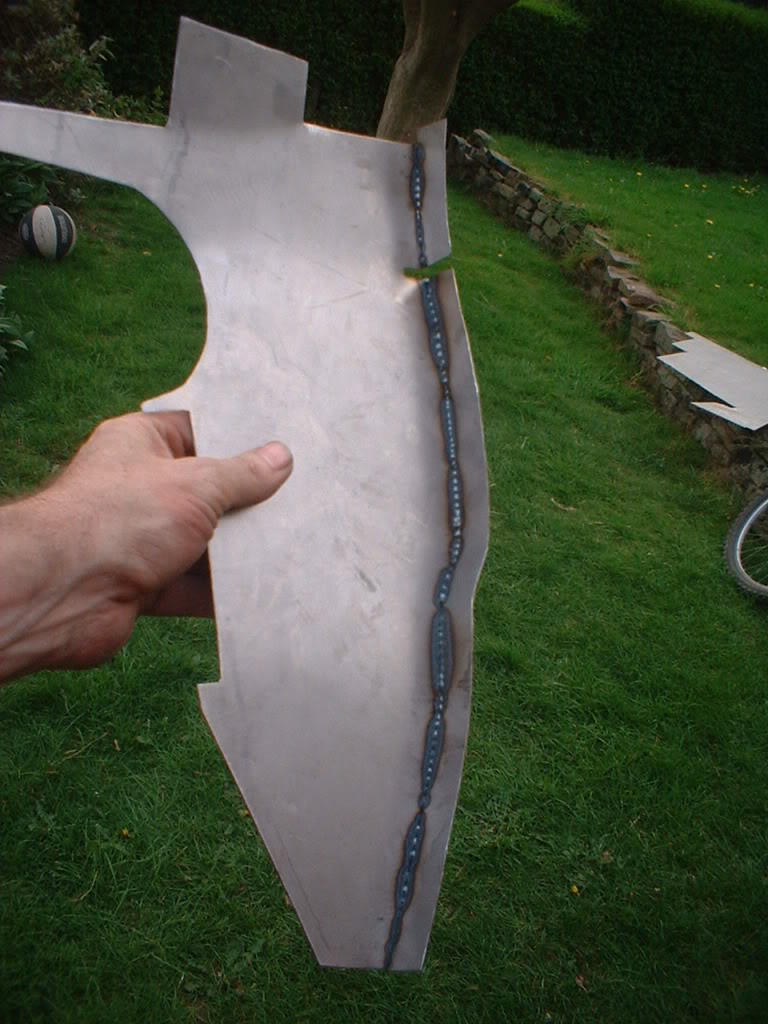
and here it is clamped for a final trial fit.
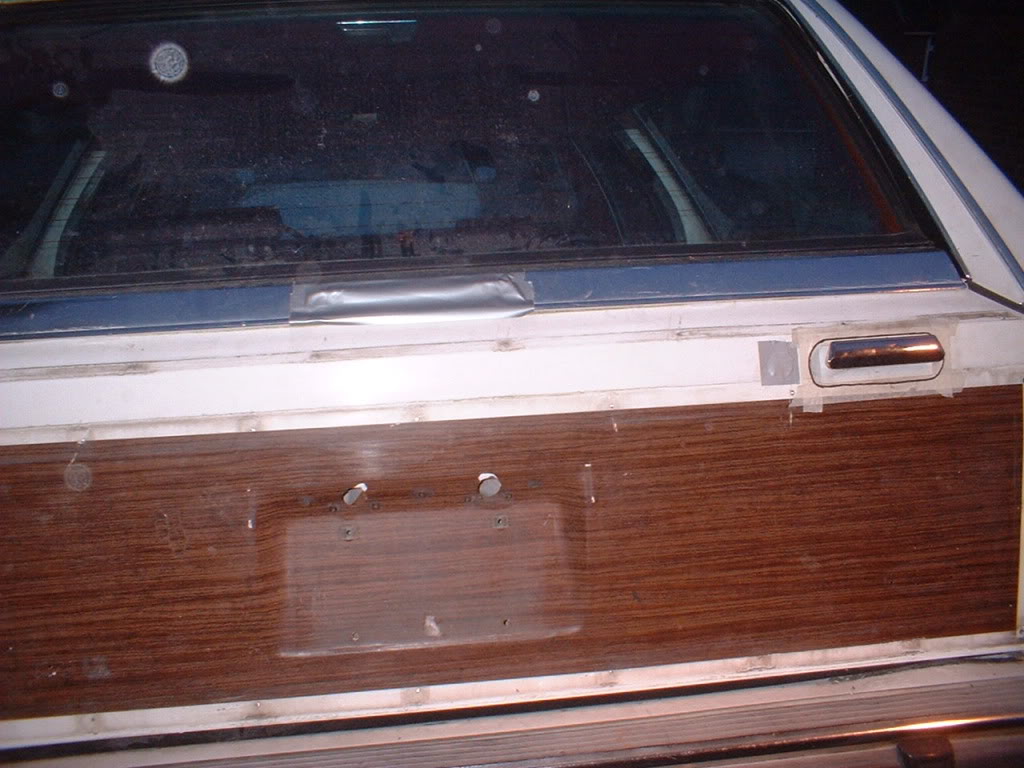
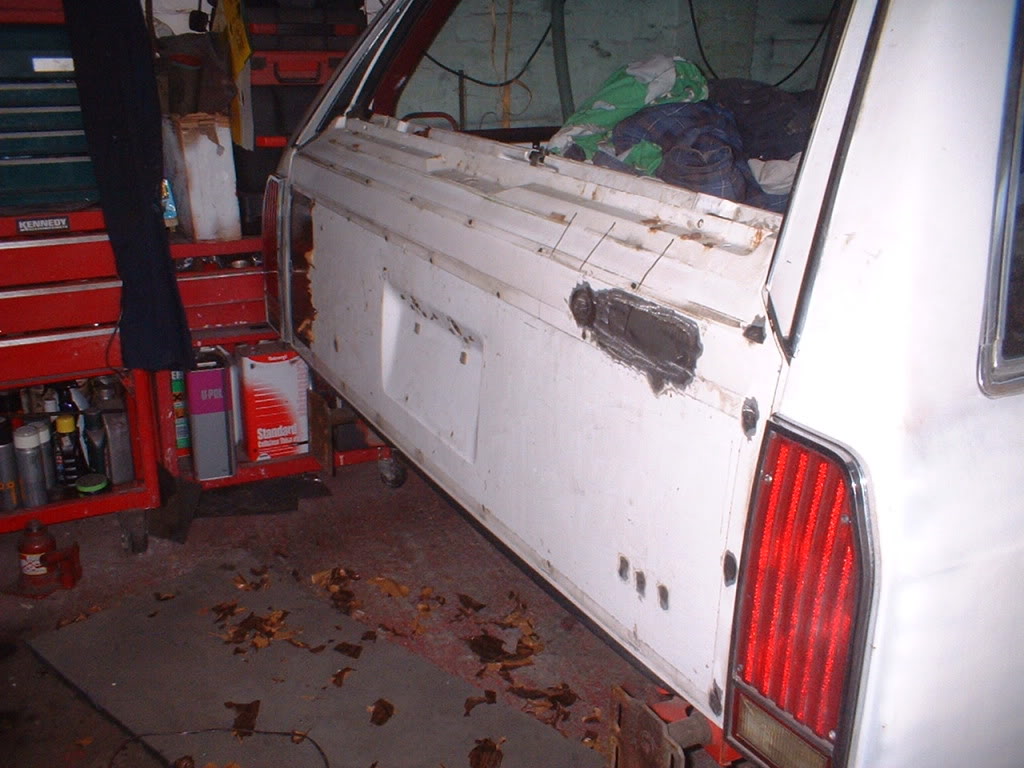
Ran out of time then and got too late to do an grinding/welding so decided to strip the tailgate. Here it is with most things stripped off....
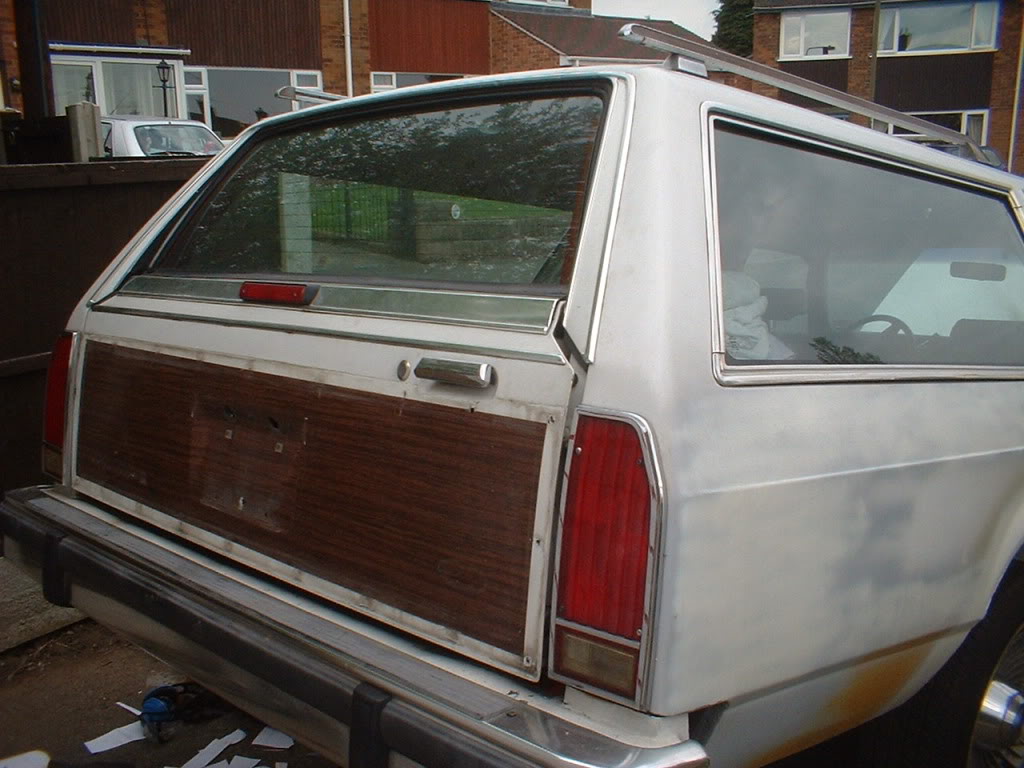
Looks a lot better!
I need to remove that lock and handle, so I will have to use a remote to mimick the action of the lock. One button to wind the window down, and a solenoid to pop the tailgate open. I will keep the interior handle so I can still drop the tailgate down.
Now I know this is a silly question and I know what the answer is going to be...whats the chance of getting a new tailgate window seal!!!!!
4-20-2011
Right, I've got a week and a bit to do as much of the bodywork as I can. So first job is to fabricate and weld in the inner wheelarch.
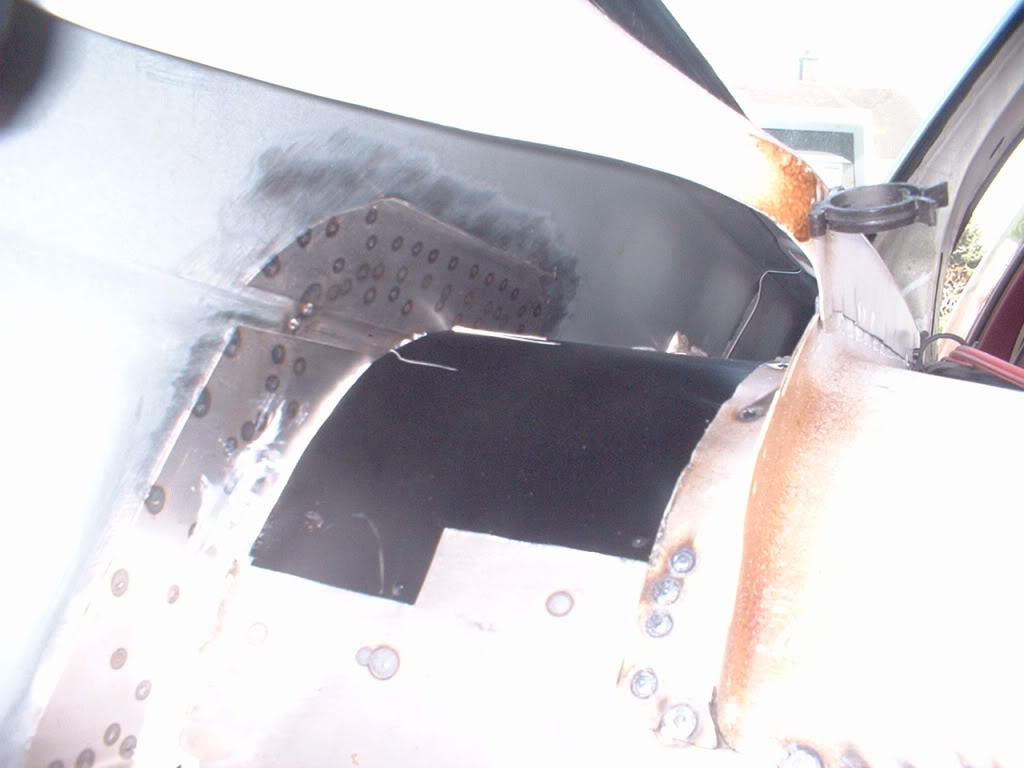
First 2 sections tack welded/glued in.
Hopefully complete all the rest tomorrow and final weld in.
4-24-2011
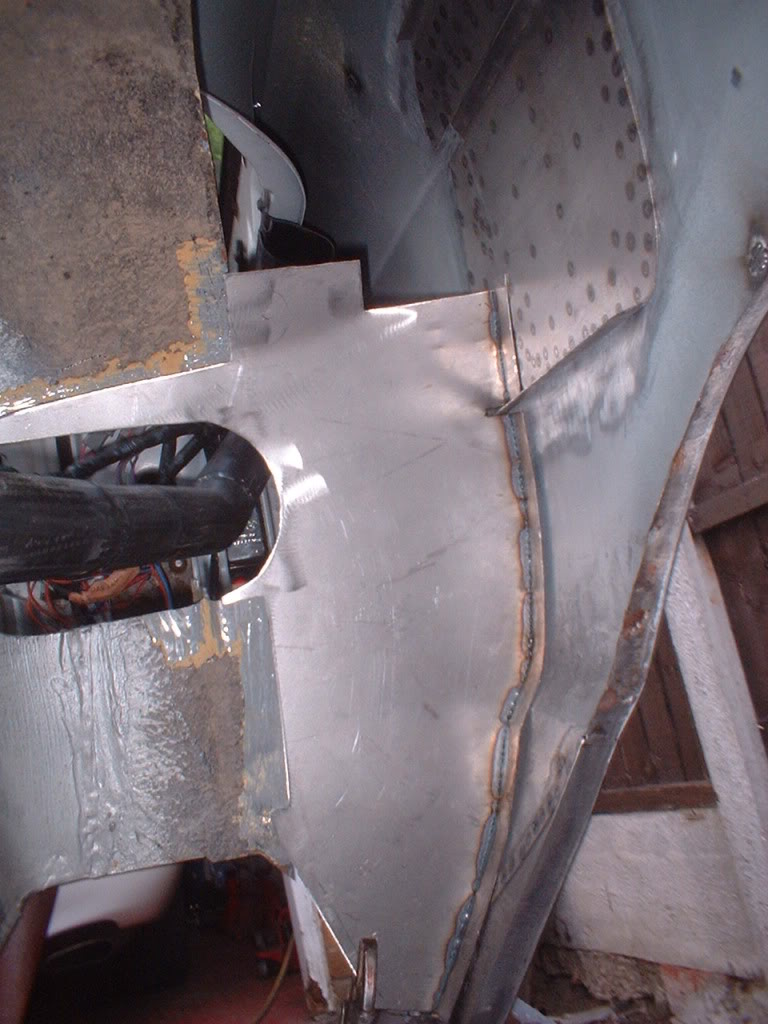
Heres a view of the inner arch tack welded in. This is the single skin outer quarter I wanted. No rust for me inbetween the 2 layers!
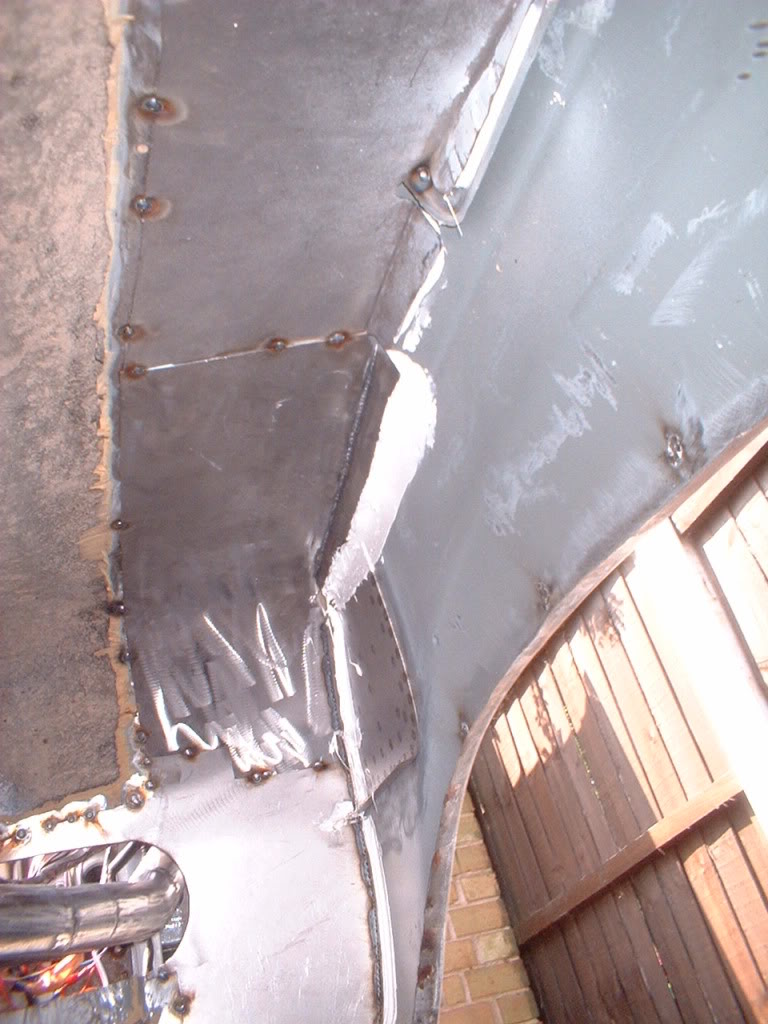
View from inside the tailgate area
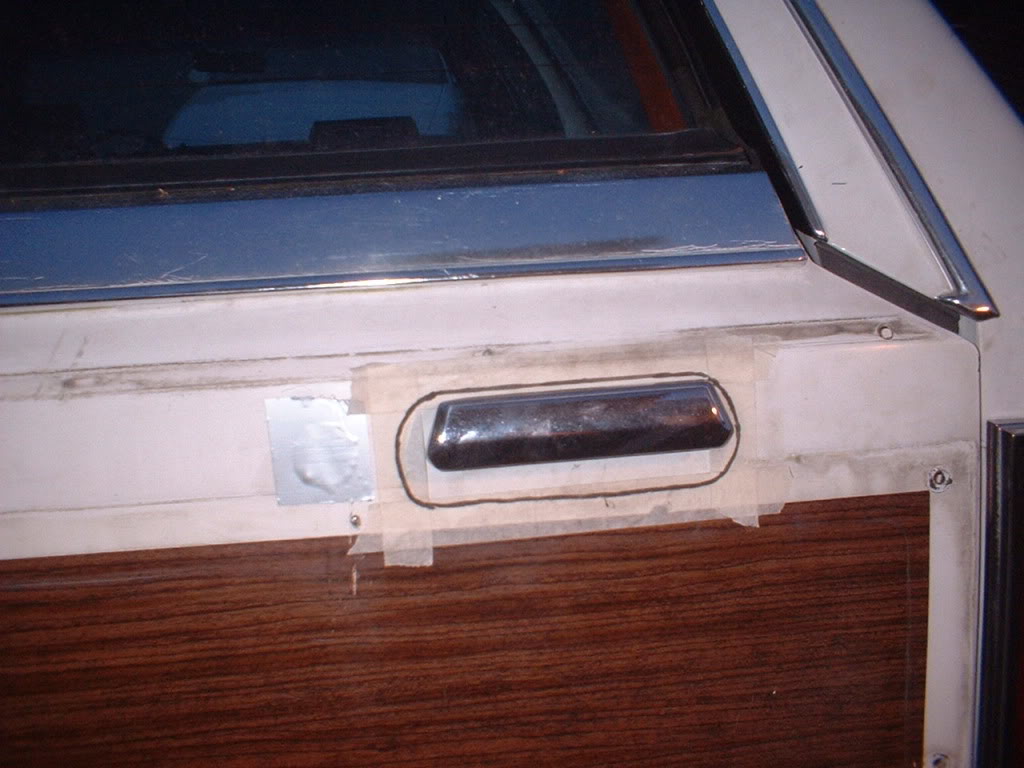
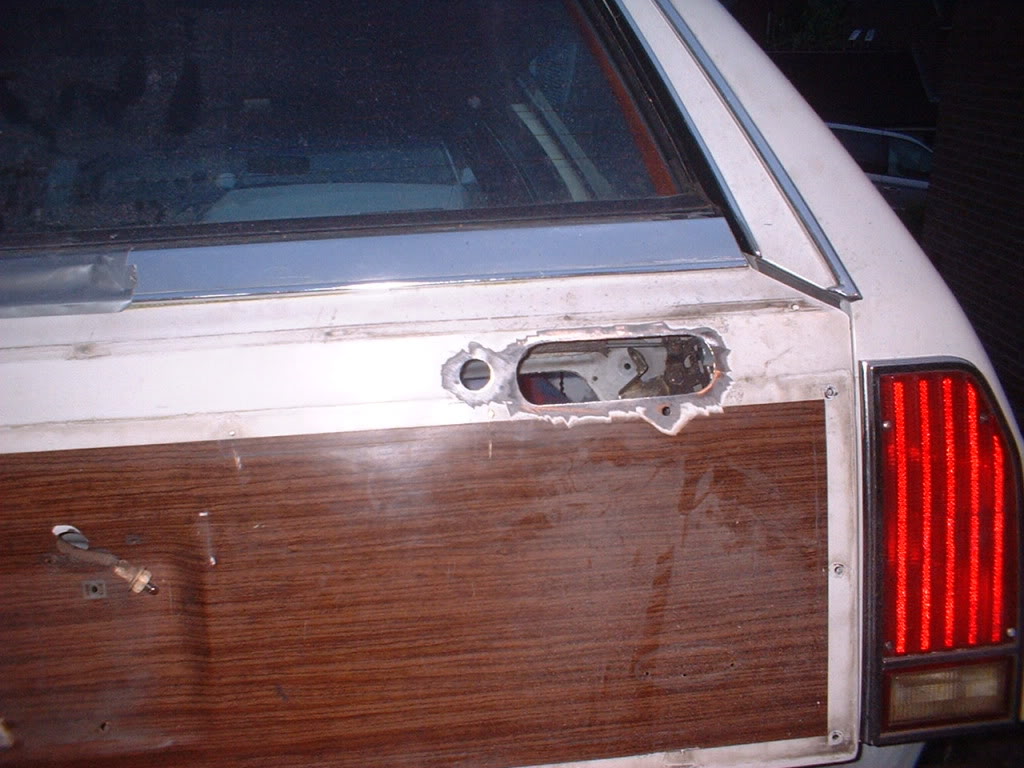
Now onto the tailgate. I want it smooth and clean. Just the license plate and illumination. Which means welding up the hole where the hi level brakelight used to be and, of course, welding up the handle and lock holes.
Here you can see the black line where I will cut and weld
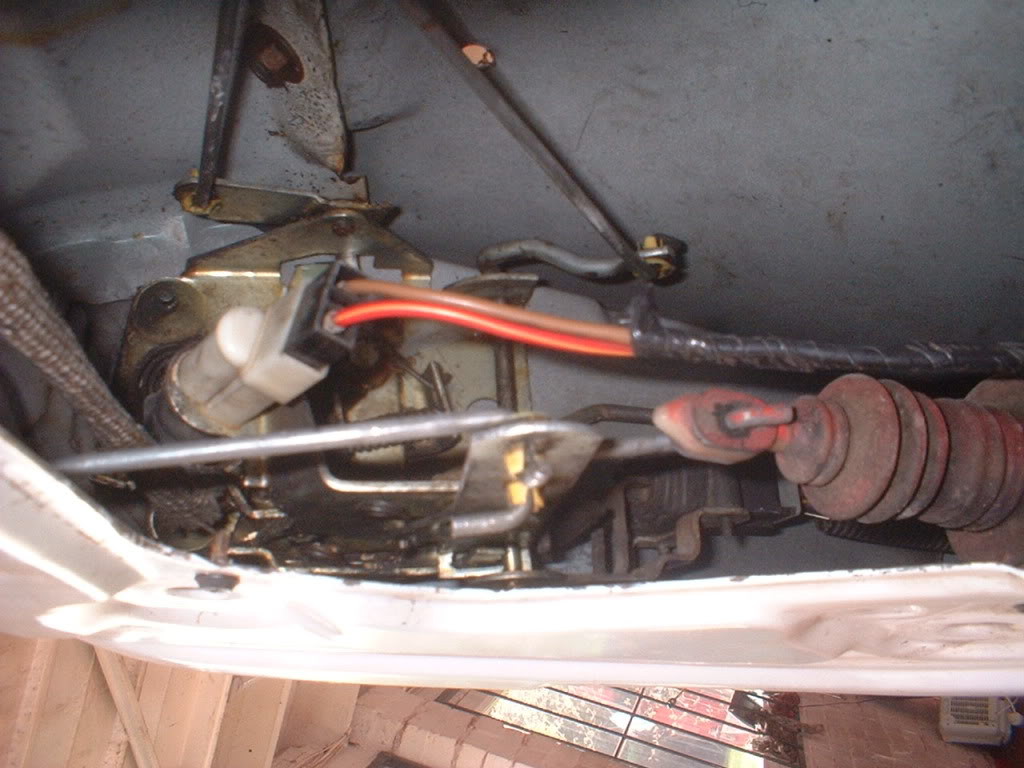
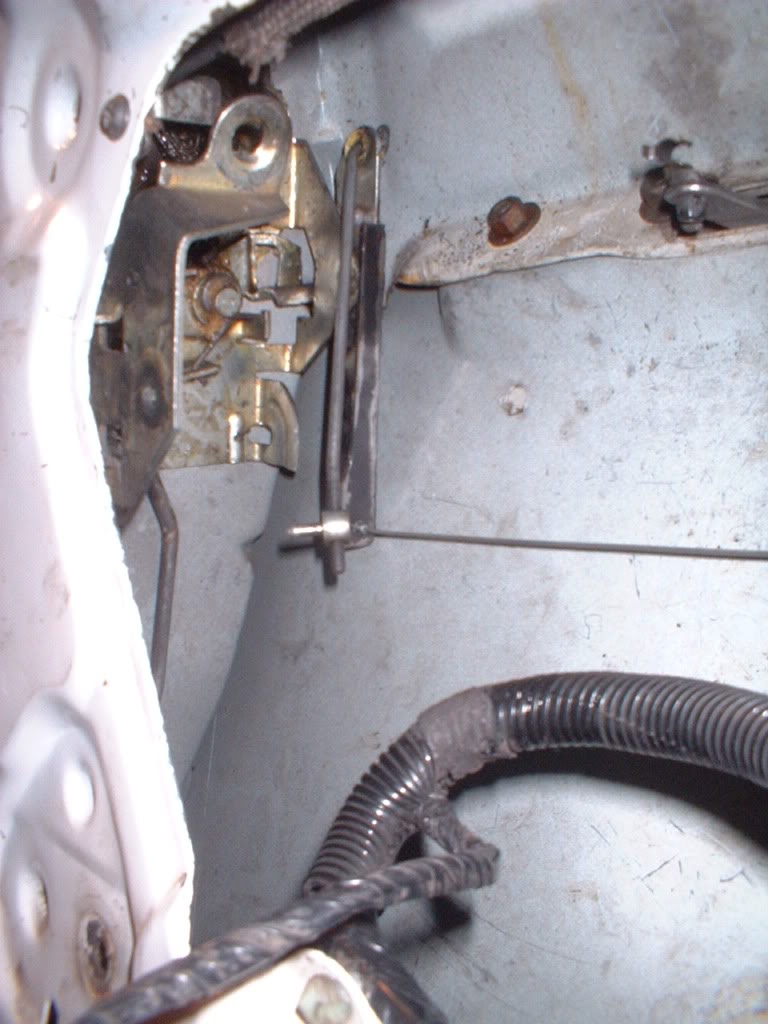
Once the outer handle is removed I have no way of opening it until the remote solenoids are installed (which wont be till I order them!!), so I need to rig up another external way of getting in - which will also act as an emergency entrance if the electrics fail. So its upper latch removal time, locking bars/rods/linkages removed (locks? we dont need no stinking locks!! Not without handles anyway). This alternative entrance method will involve a throttle cable routed through the tailgate to behind the same light unit where the gas filler neck is.
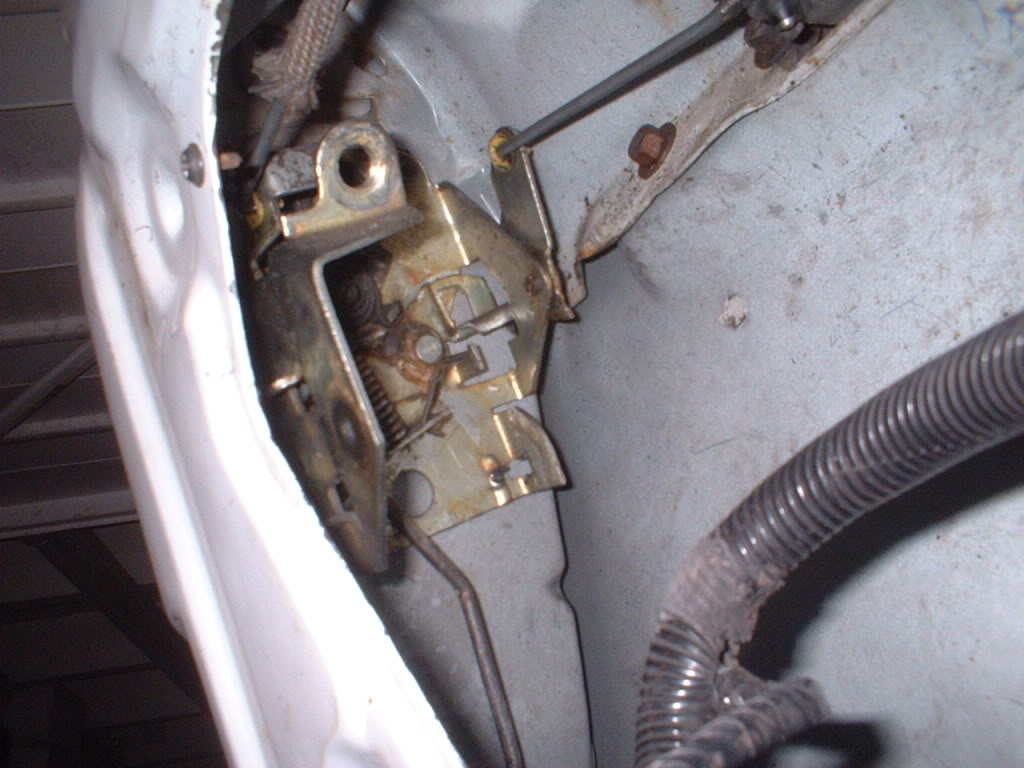
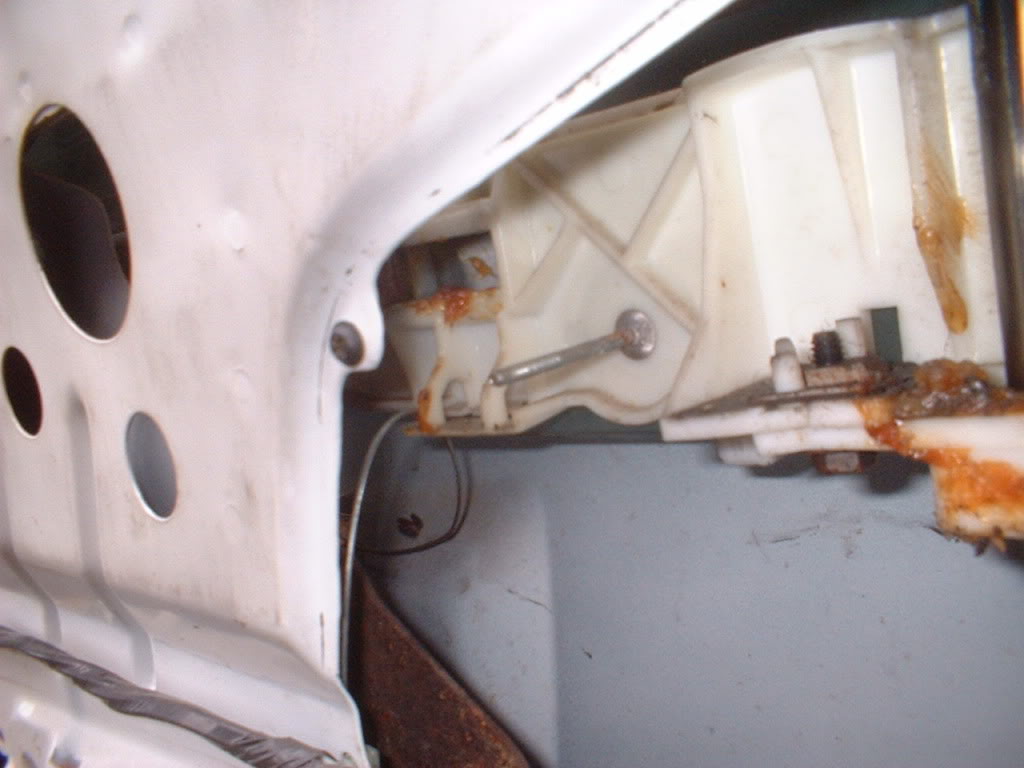
Heres a couple of views with the stock latch
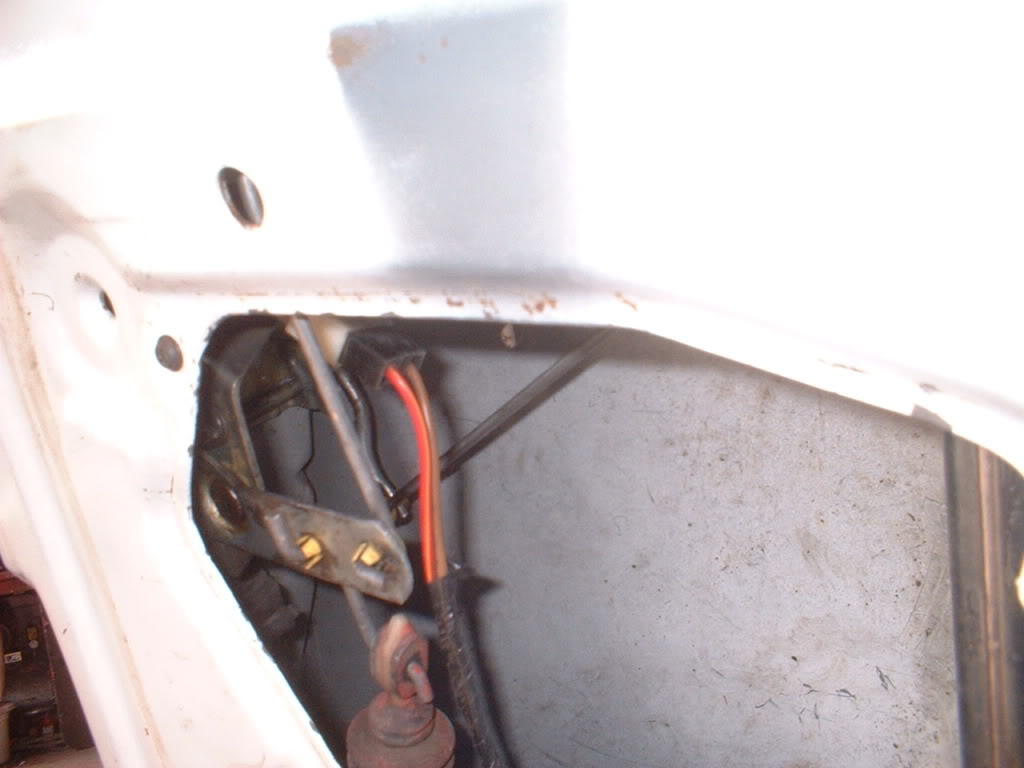
And heres what was removed...
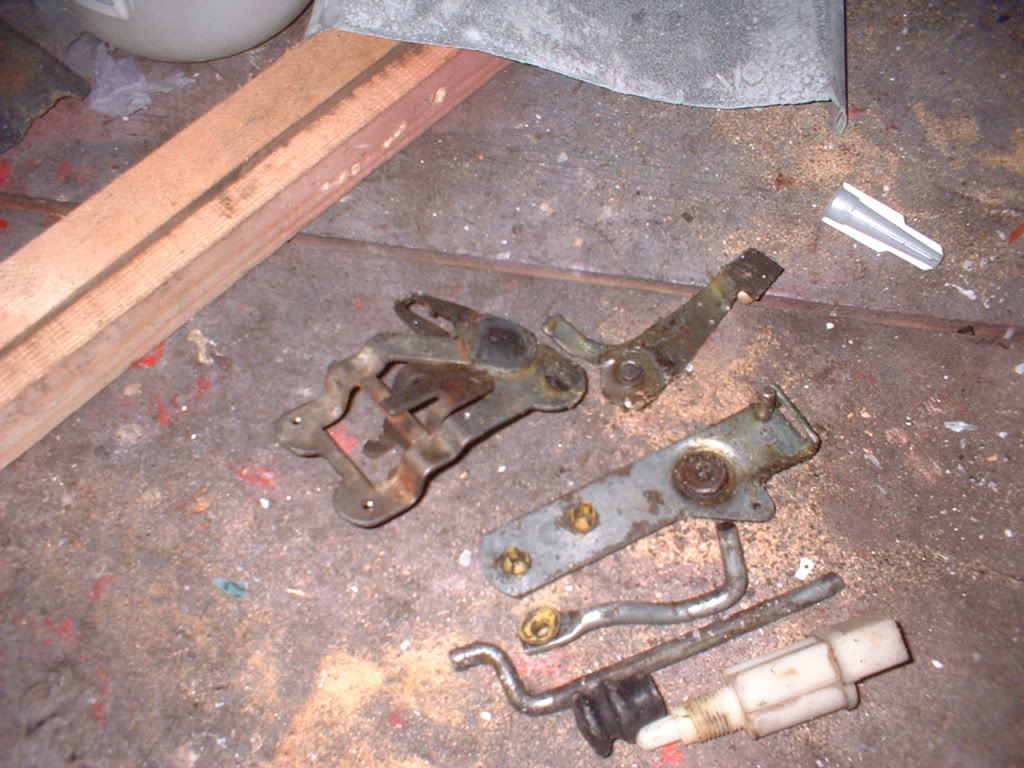
And heres it all installed back and a lot less cluttered
Looking forward to removing the handle and rod next.
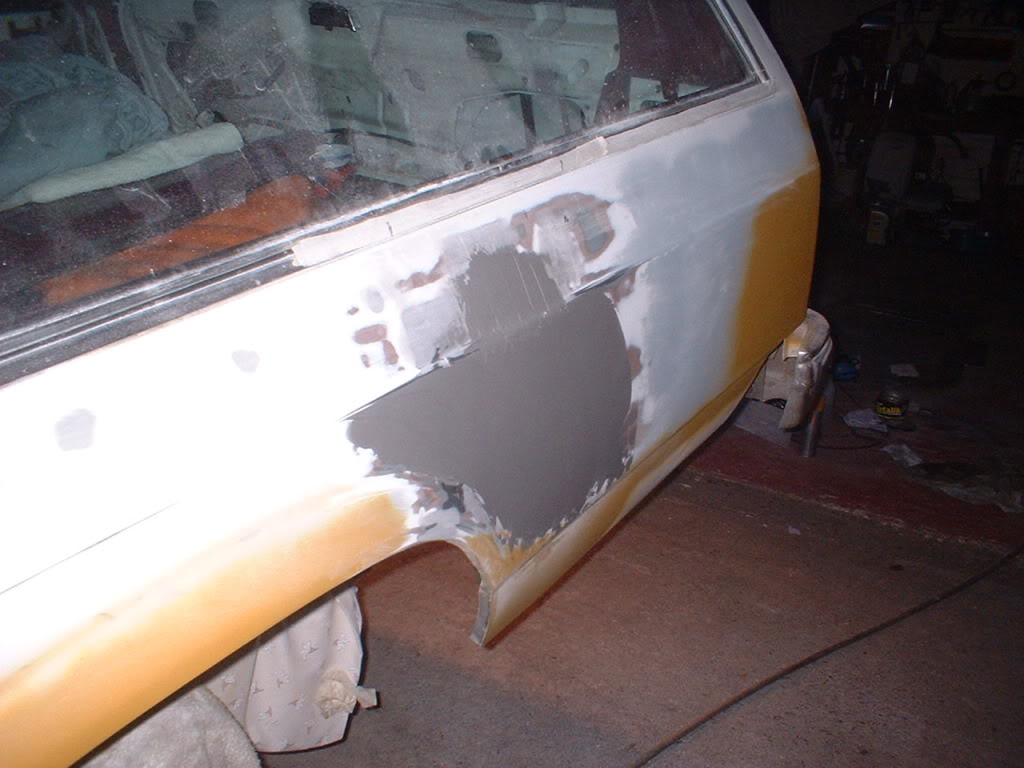
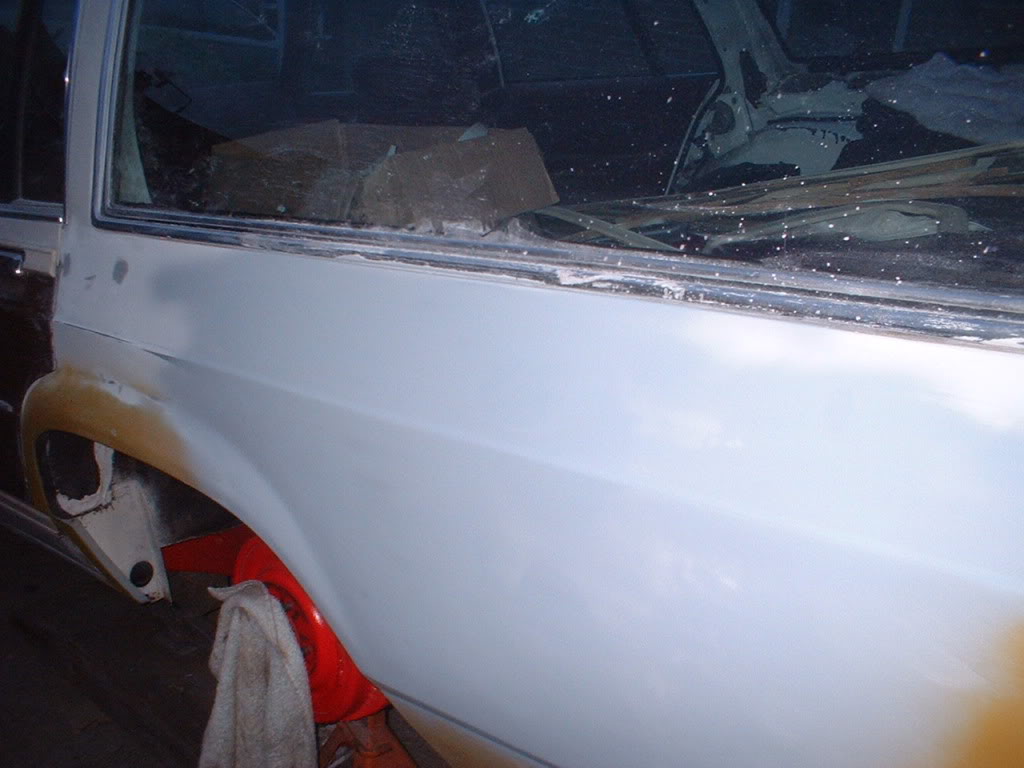
Heres a view of the quarter with a skim of bondo on ready to be flatted
4-25-2011
Its a 2 part ISOPON METALIK.
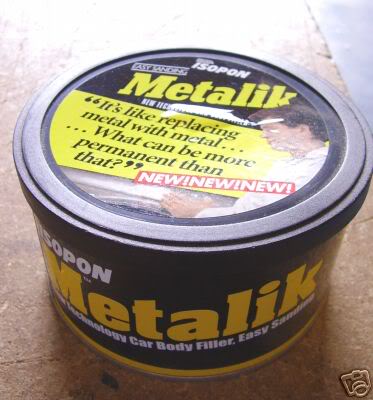
Allegedly one of the few non water absorbing fillers. I've skimmed many a shaved door handle panel with this tuff and never had a problem.
I must finish the mechanical emergency entry to the tailgate before i can weld up the tailgate handles and locks.
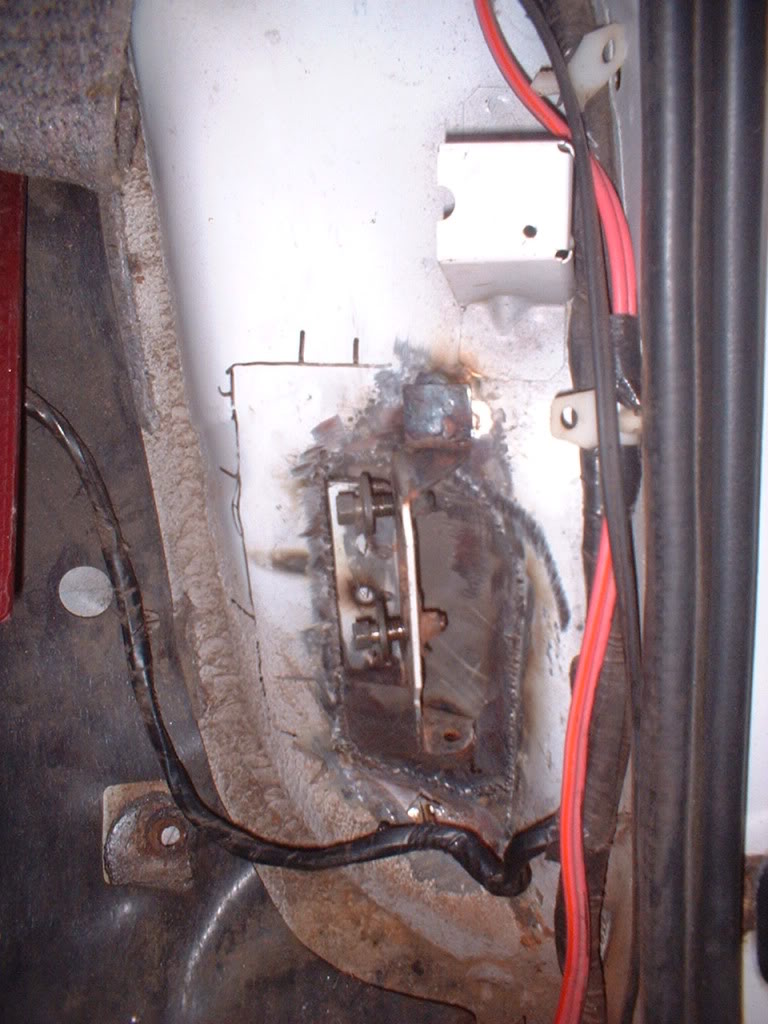
Heres a view of the latch with an extension welded in and a stainless wire attached to it.
Heres the wire going through the tailgate with 2 hooks made from galvanised nails and electrical connectors to attach the wire to the hooks!
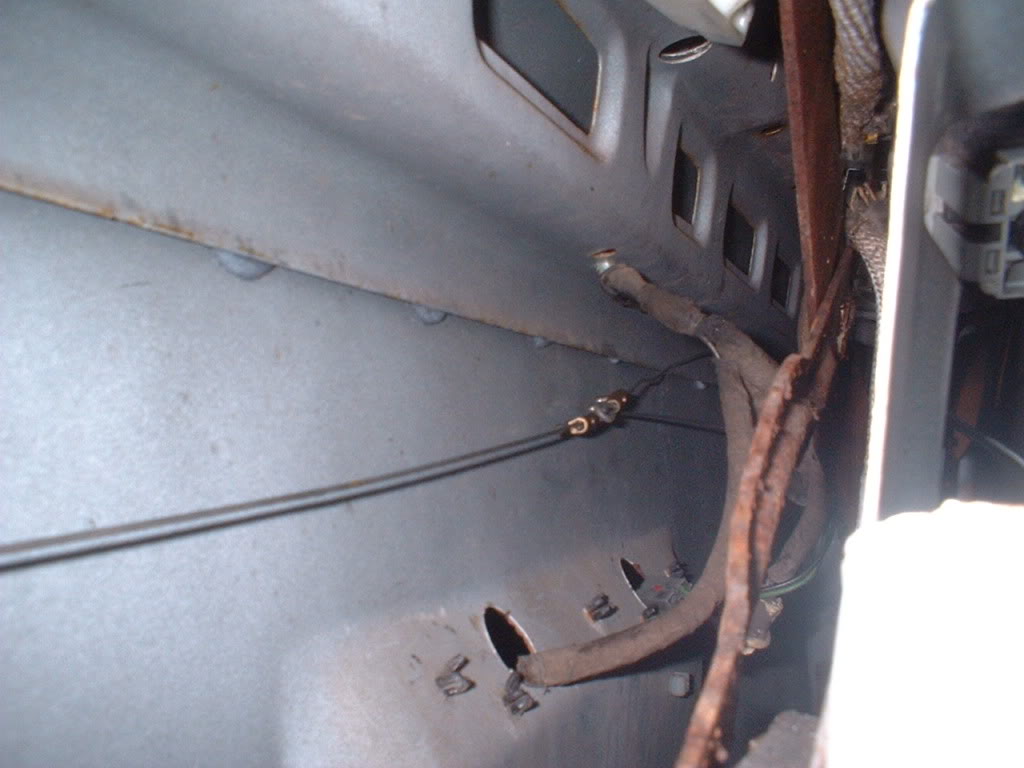
It still needs securing properly.
Here it is secured to the loom with bright yellow tie wraps in the opposite corner of the tailgate and going through the conduit into the back of the car
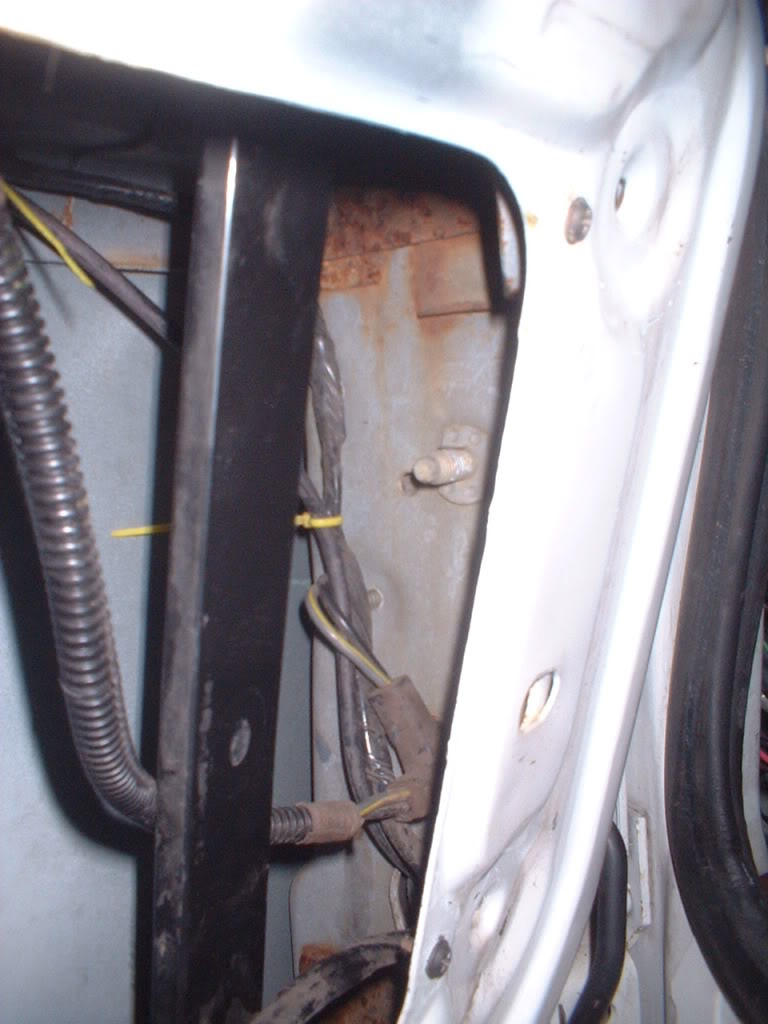
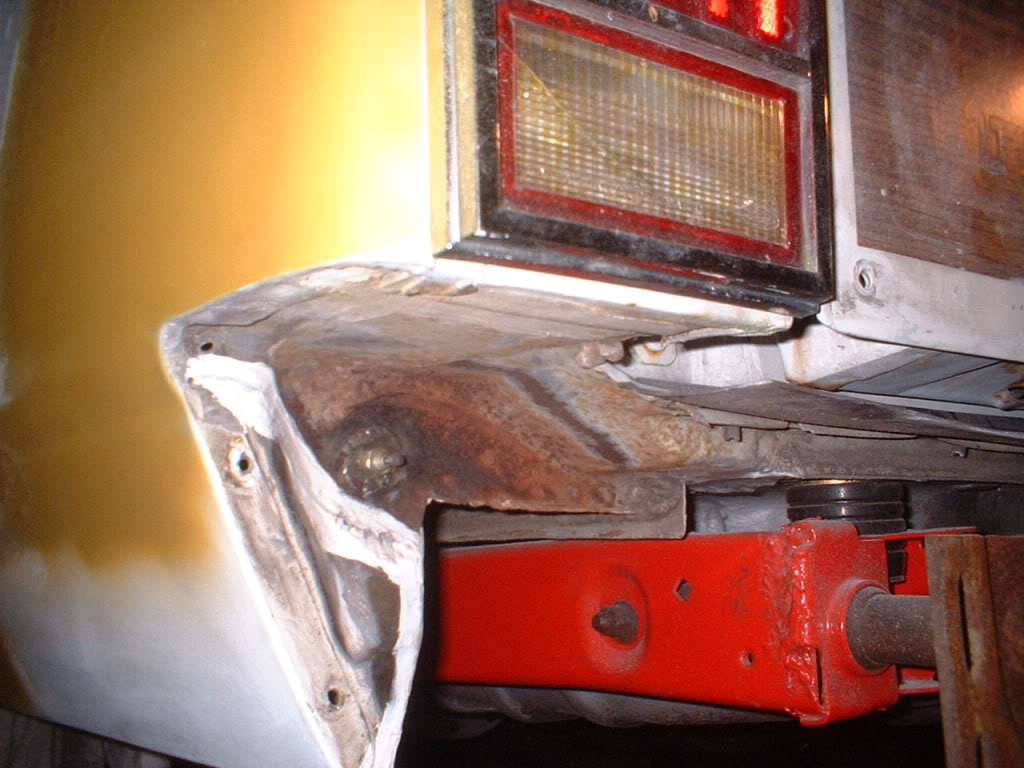
And a view of it coming into the back and bolted through a welded on plate behind the corner of the bumper
And a final view of the cable sticking out of the rear. I know need a lever or handle designing.
And you know what?.............It works! So tomorrow is welding up time.
4-26-2011
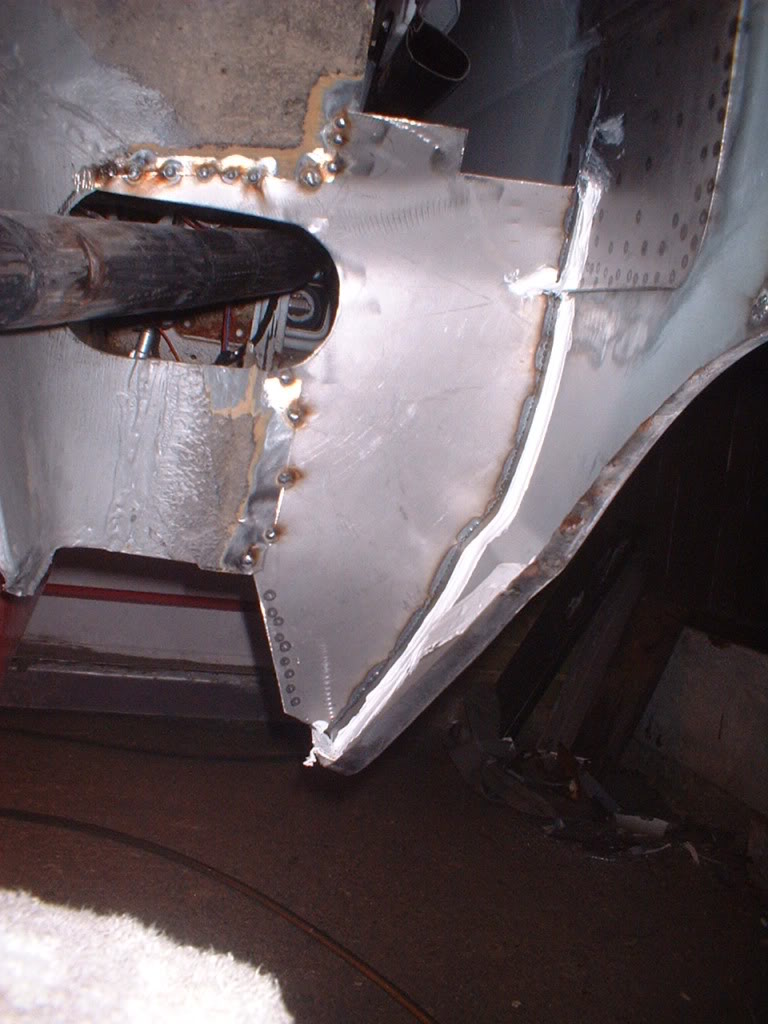
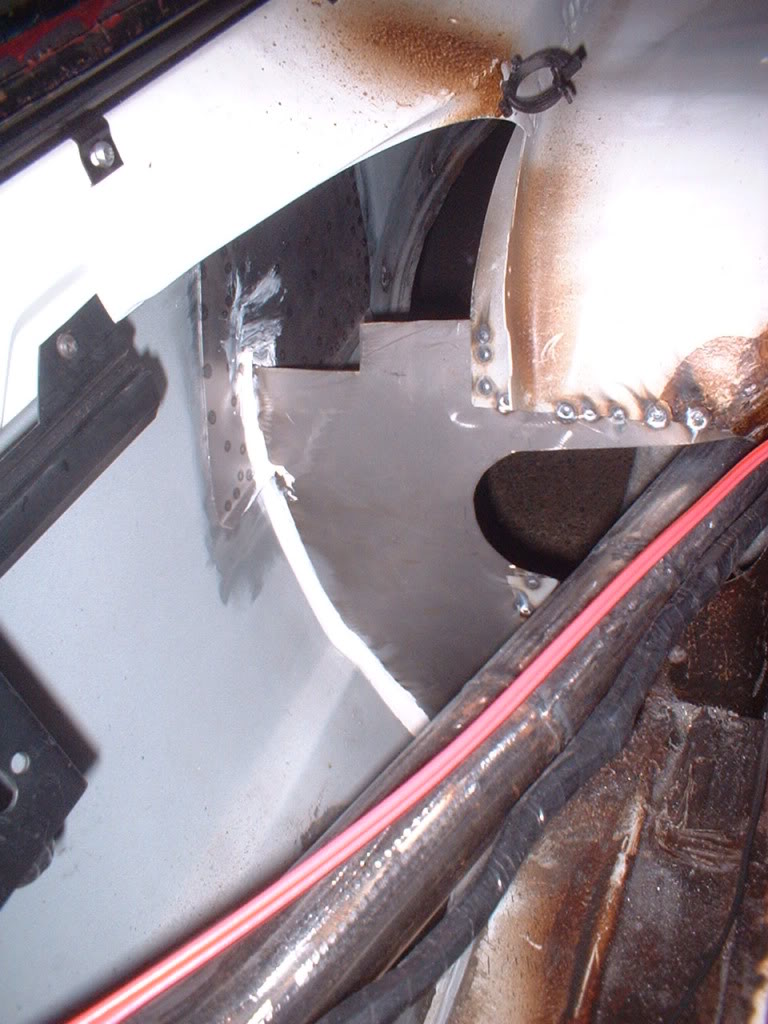
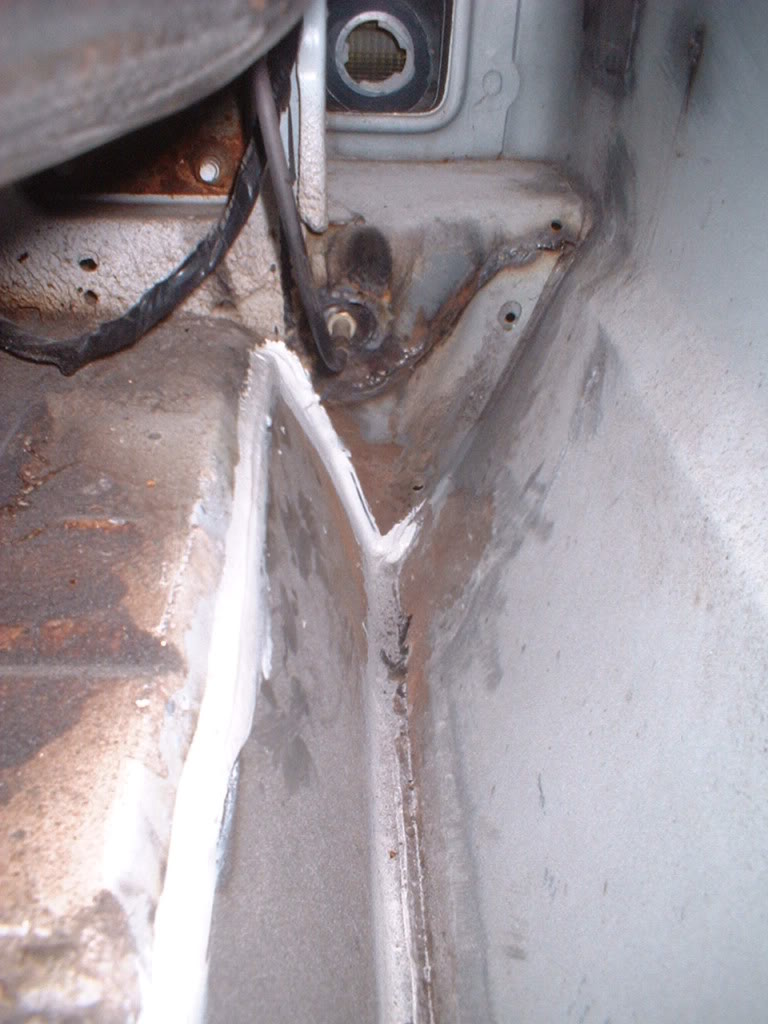
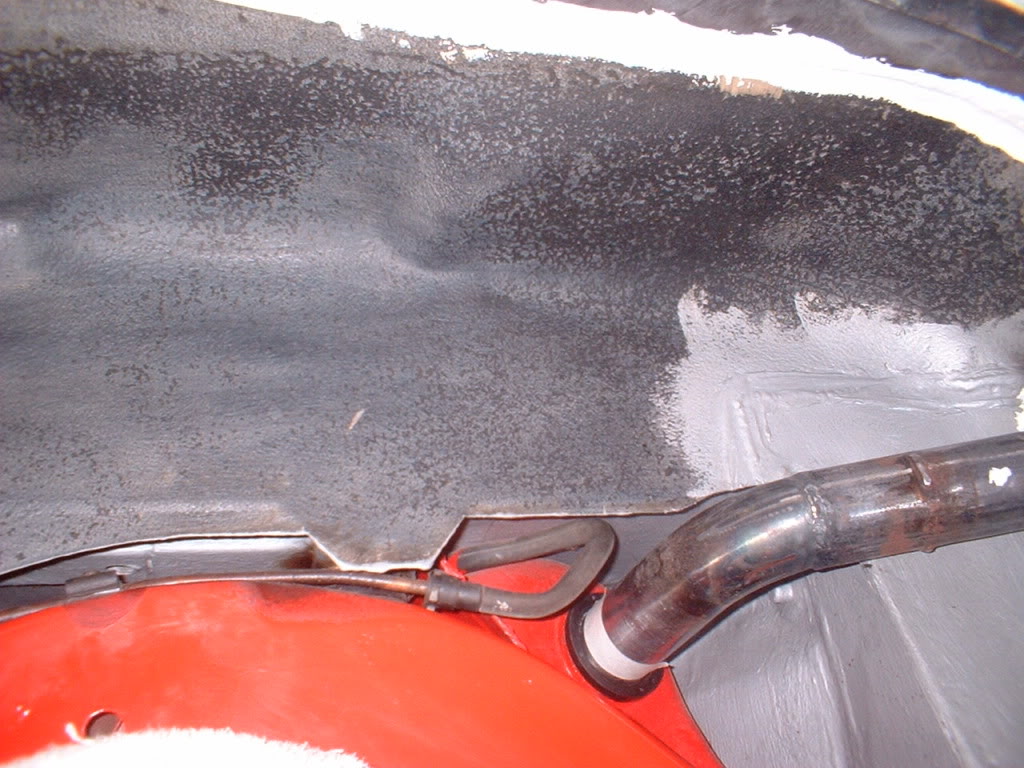
Inner wheel arch fully welded and sealed. Heres an interesting shot looking up from the drivers rear wheel arch
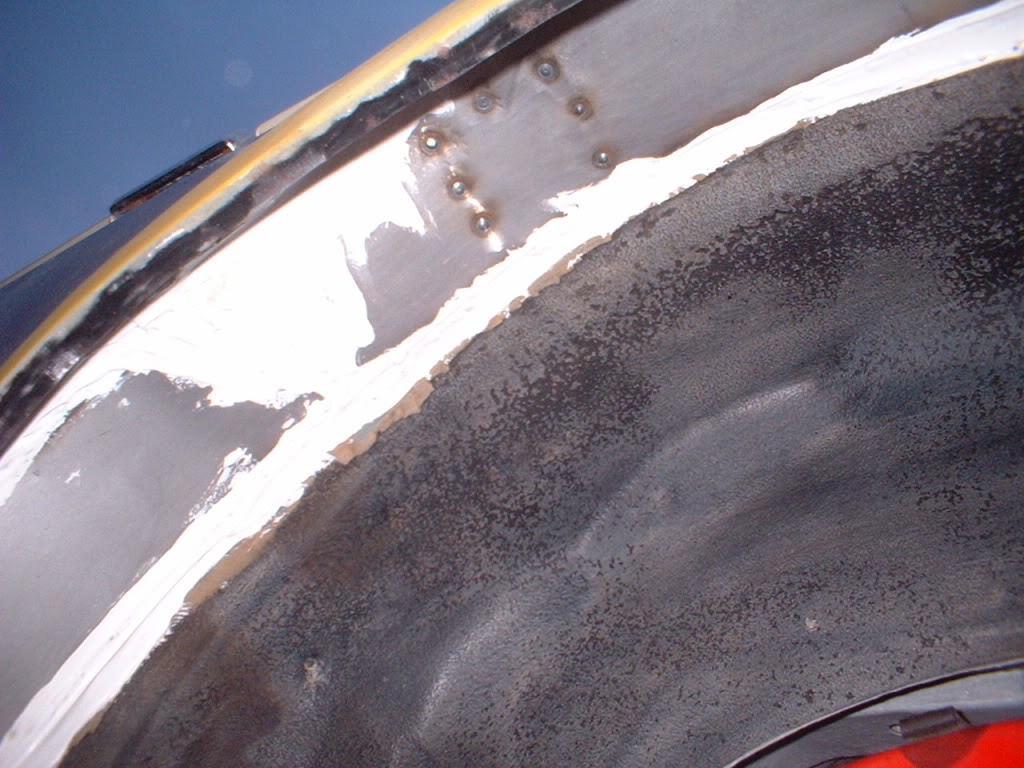
Thoroughly cleaned inner arch ready for the epoxy paint. Looks in fantasticcondition seeing as its now 21 years old!
The gas filler pipe is going in tomorrow for powder coating. Dare I do it the same colour as the frame!!
I was having trouble getting the profile right for the body crease where the gas filler door used to be. So I came up with the idea of cutting a bit out of the old gas door, welding a handle onto it and dragging it across some newly applied bondo on a straight base (part of our dining room door panel!!).
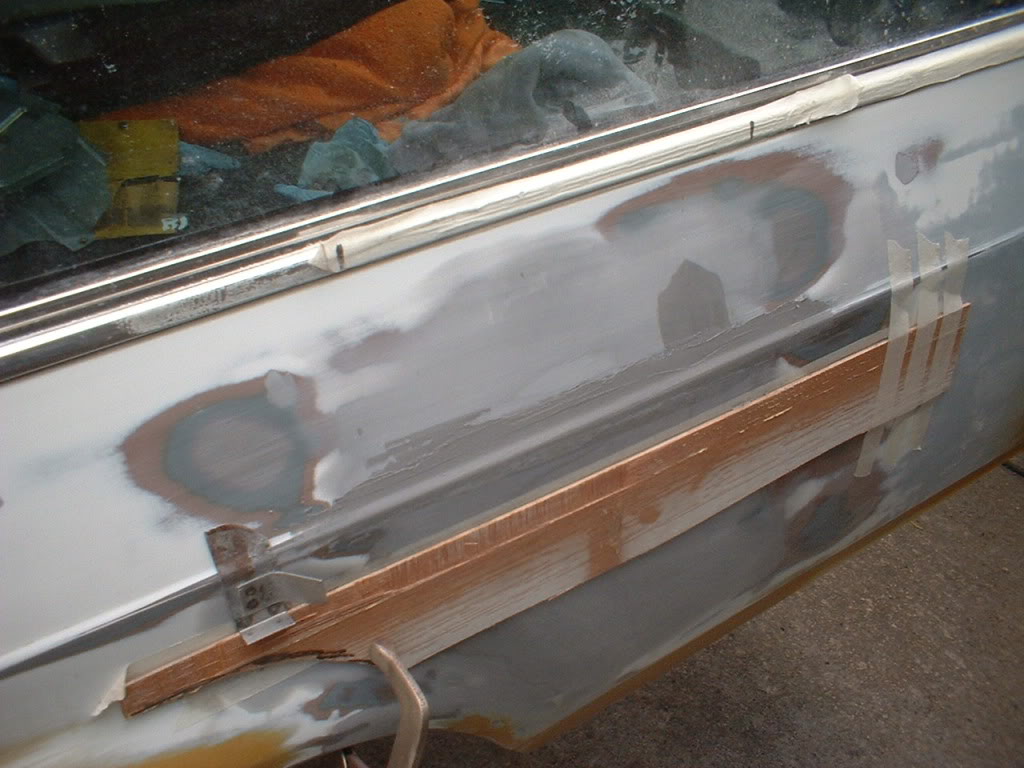
Results were very good! Spot the gas door!!
Onto the rear tailgate. My air saw and carbide burr made short work of the panel.
Welding up tomorrow.
4-28-2011
It hasn't actually rained here for weeks! So I've been using it to get a serious amount of bodywork done!
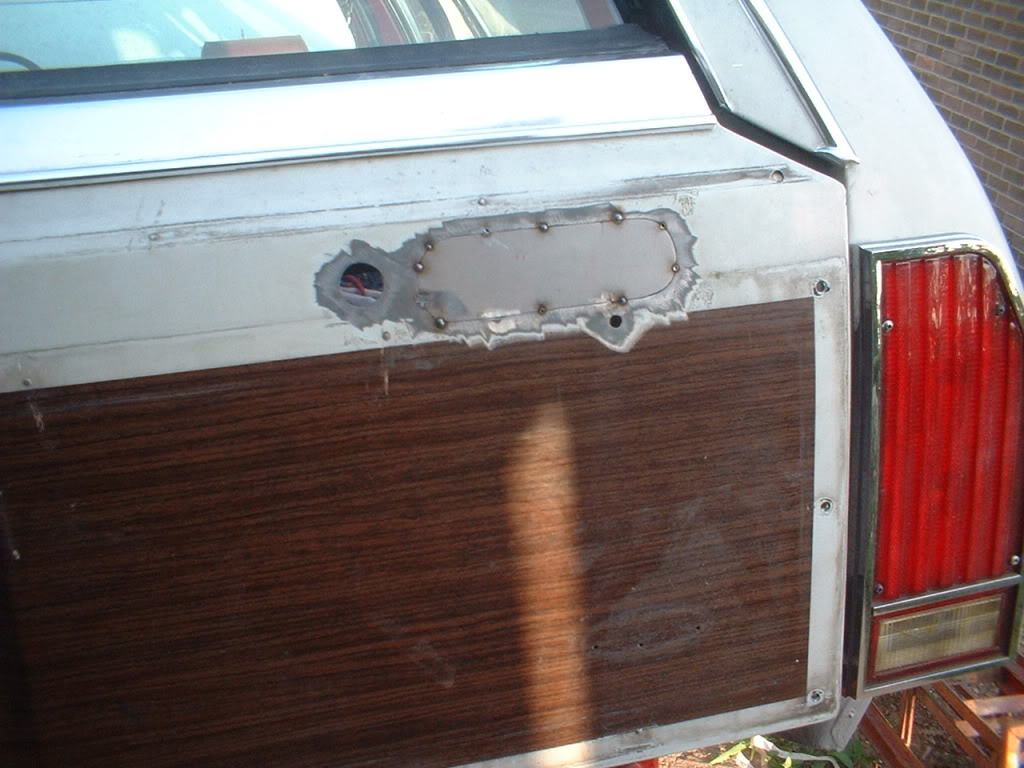
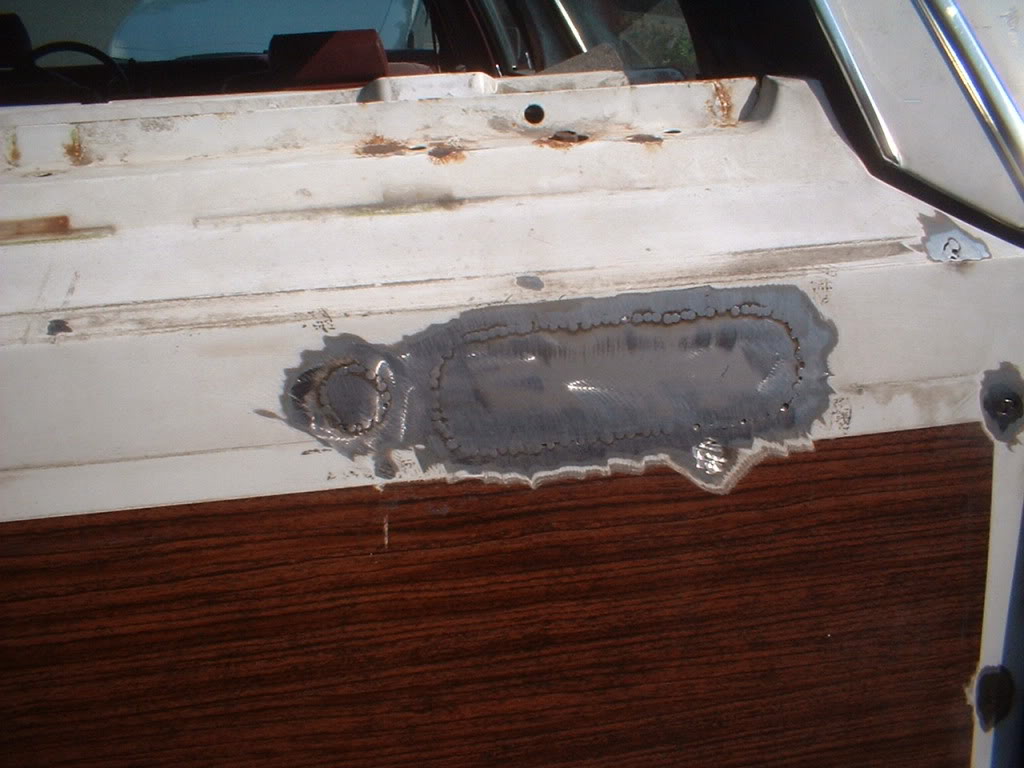
Heres a patch for the tailgate handle tacked in late one night...
Too late too grind so I media blasted the wheel arch lip. Now this is a good sight. A completely rust free lip inside and out! Not bad for a 21 year old in the UK
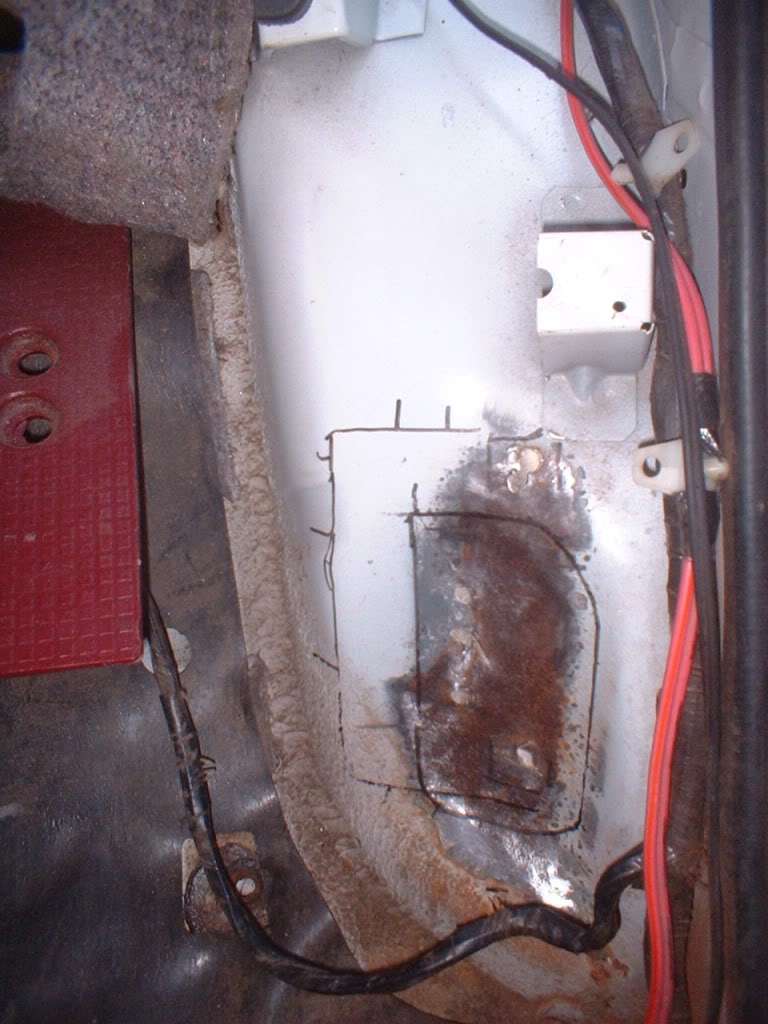
I was prepping the rear wheel arch for its epoxy silver paint and noticed the rear seat mounting bracket that is spot welded to the inner archwas rusty (I had forgotten about it!). So I couldn't paint until that was repaired.
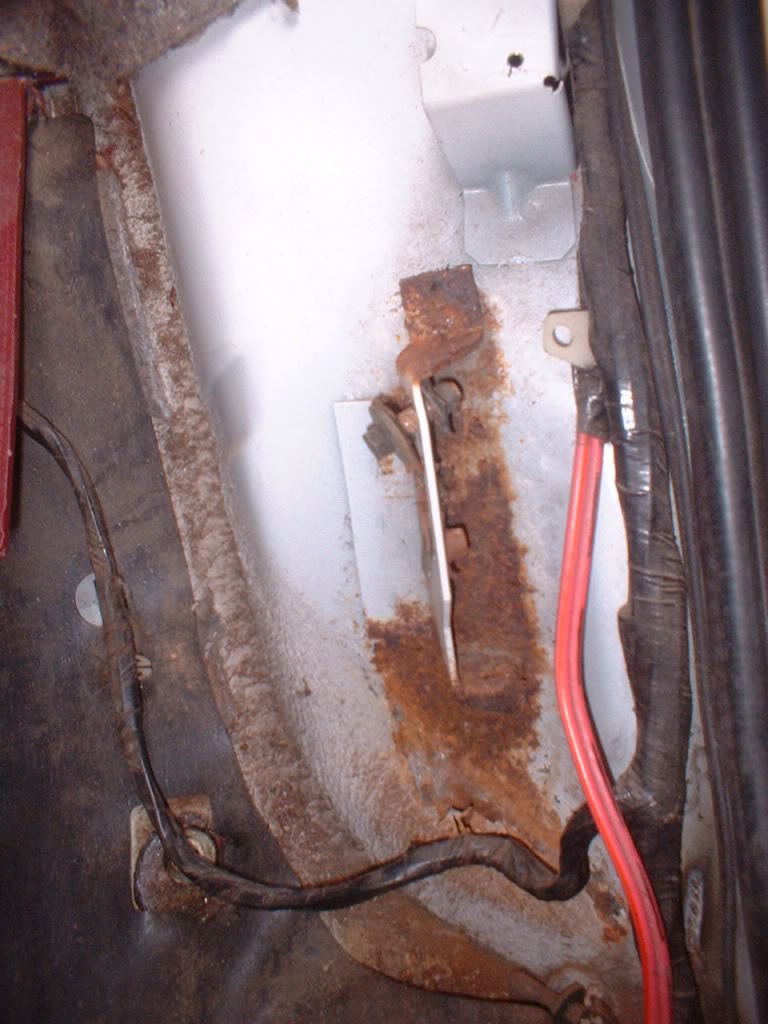
Here it is with the bracket removed
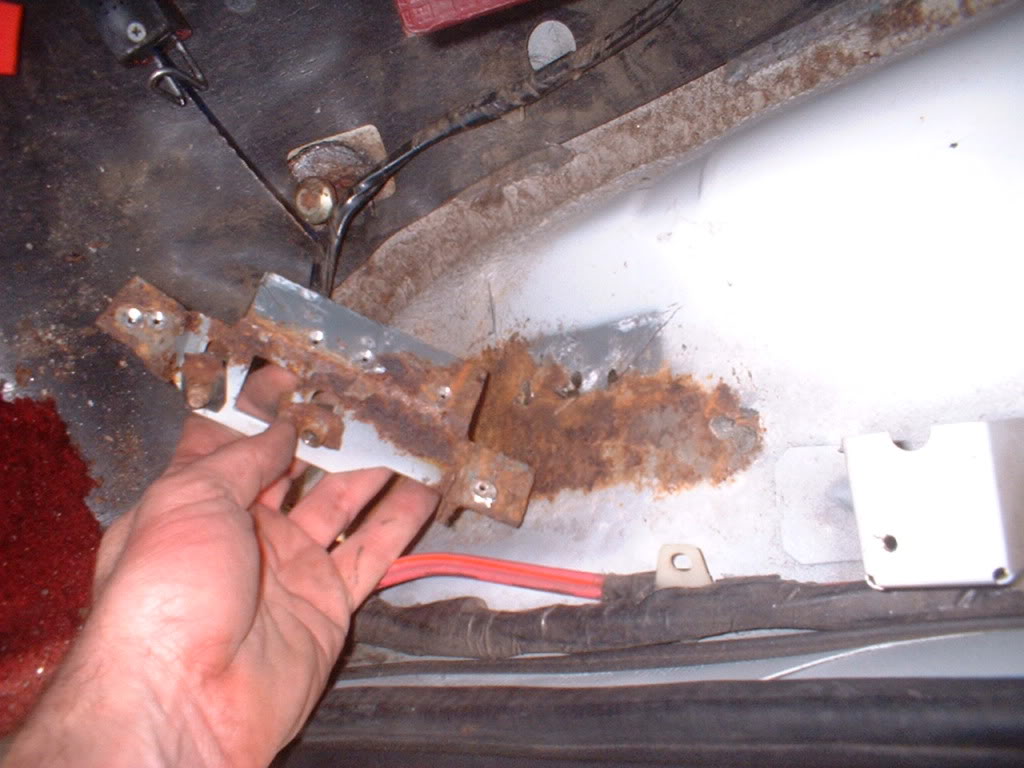
There was a couple of rust pin holes below the bracket that had gone through, so it has to come out
Heres some new metal ready to be welded in when the rusty bit is cut out
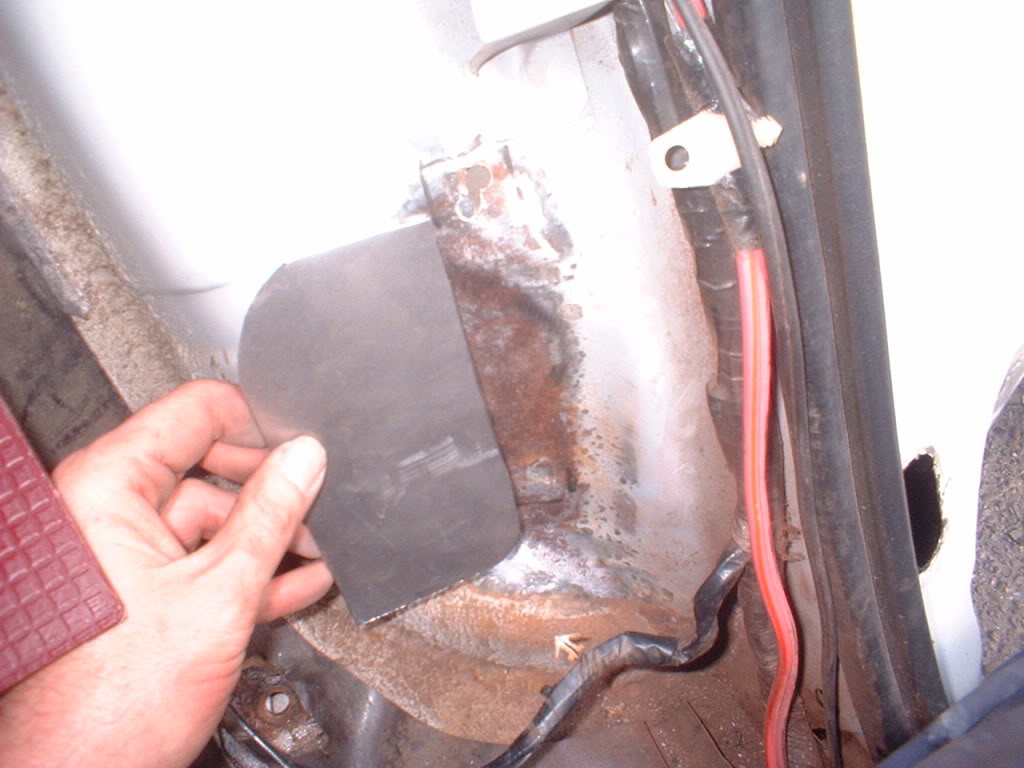
Here the outer black line is a locating mark to make sure I get the bracket back in the right place after the repair, and the inner one is the cut line
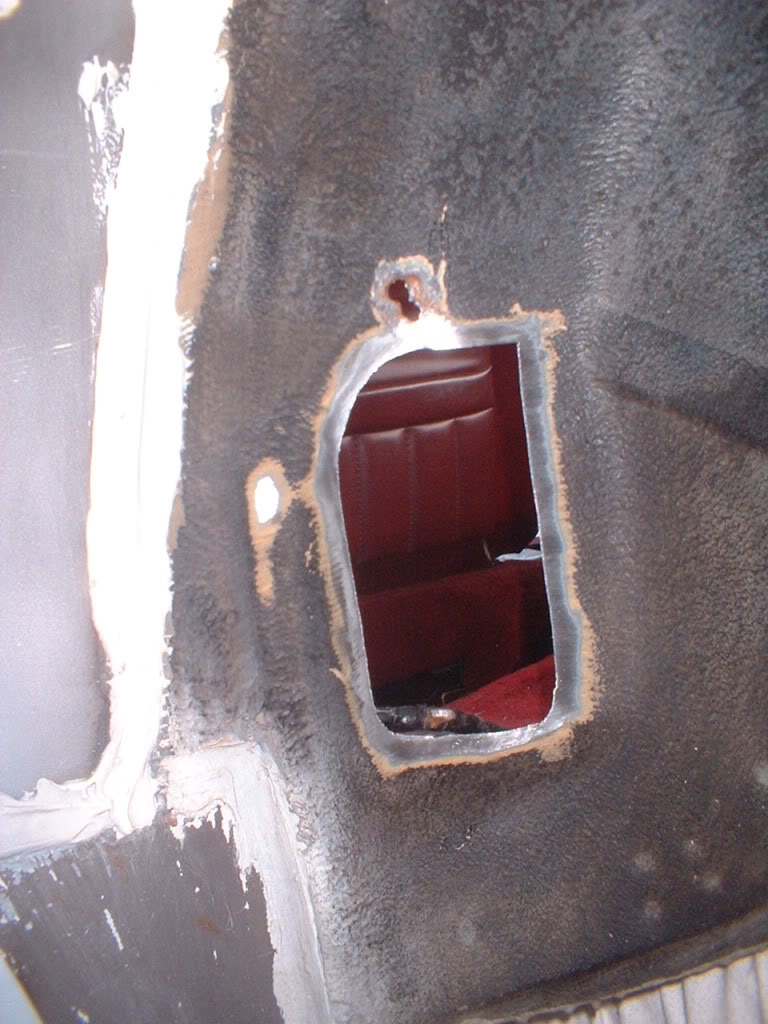
Heres a good view of the rust cut out from under the arch. You can just see the back of the front seat
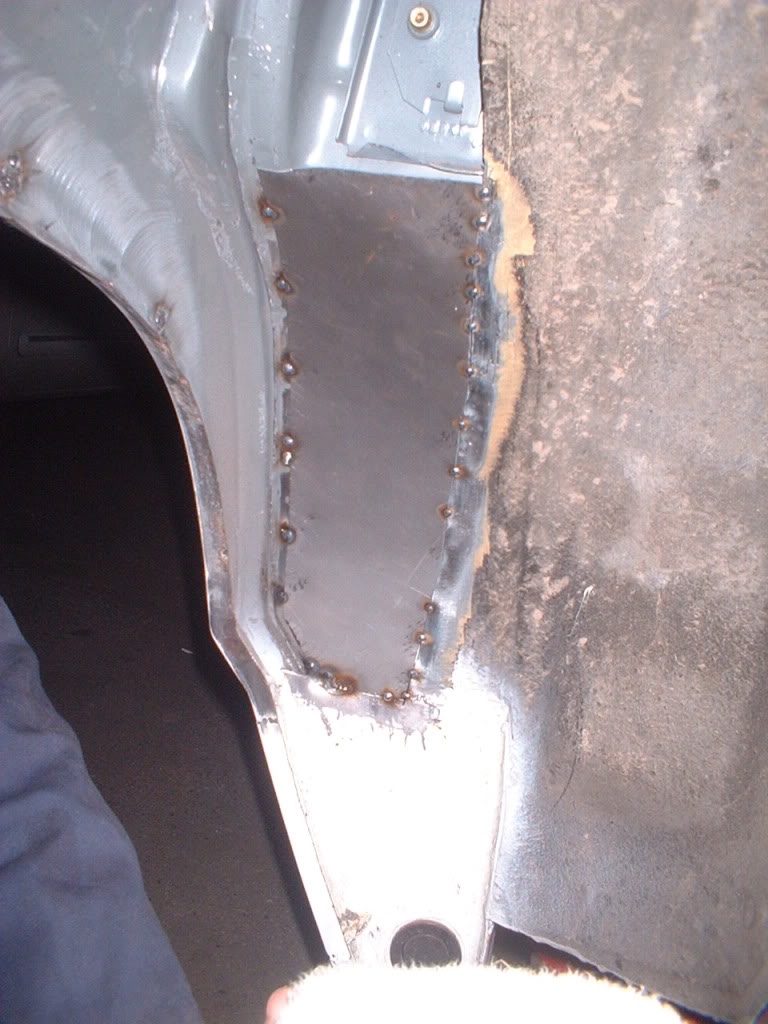
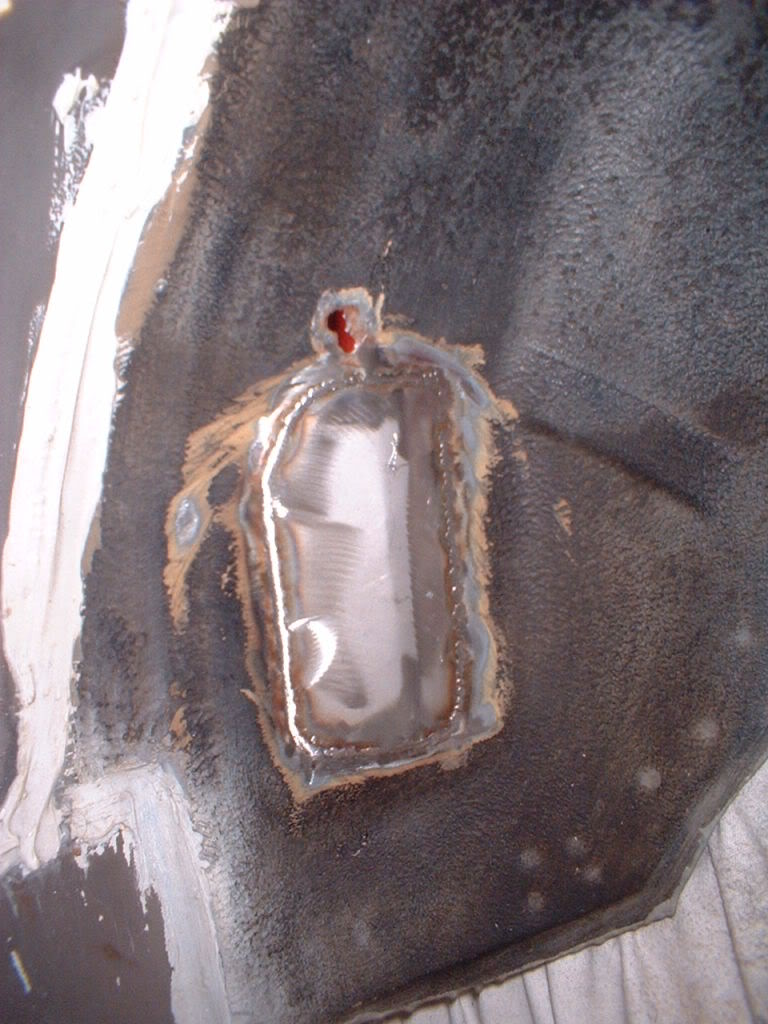
Patch welded in
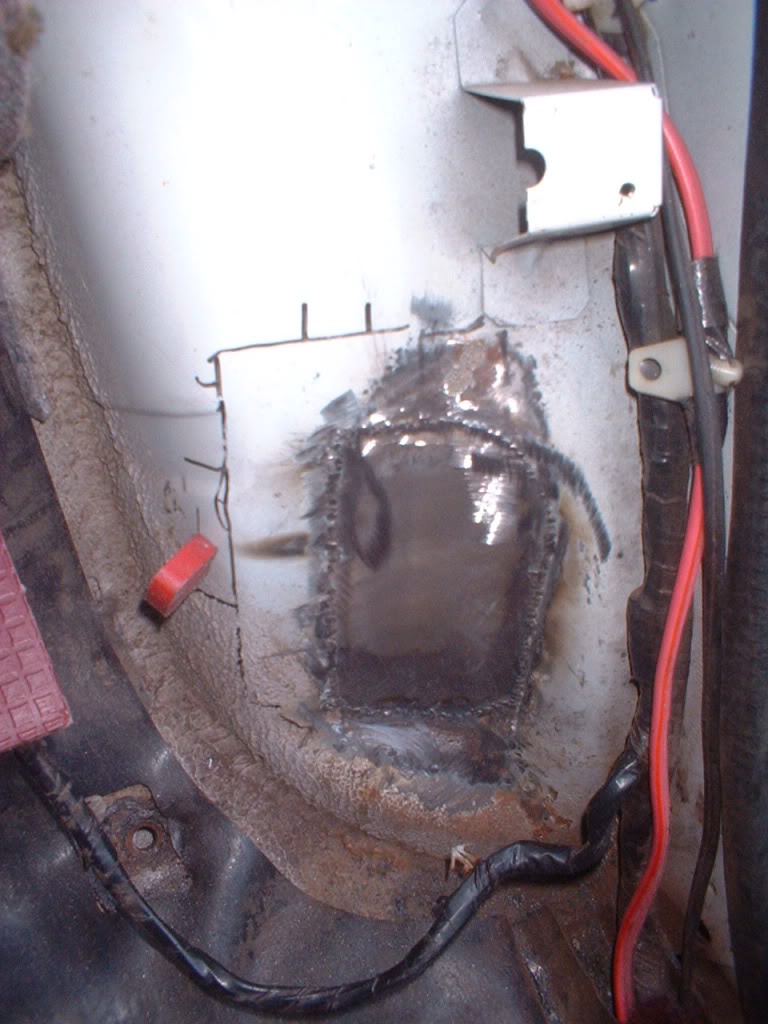
Bracket cleaned up and welded back in by plug welding from the back
Looks a damn sight better than before.
I'll have to weld in that tailgate panel handle patch tomorrow!
5-5-2011
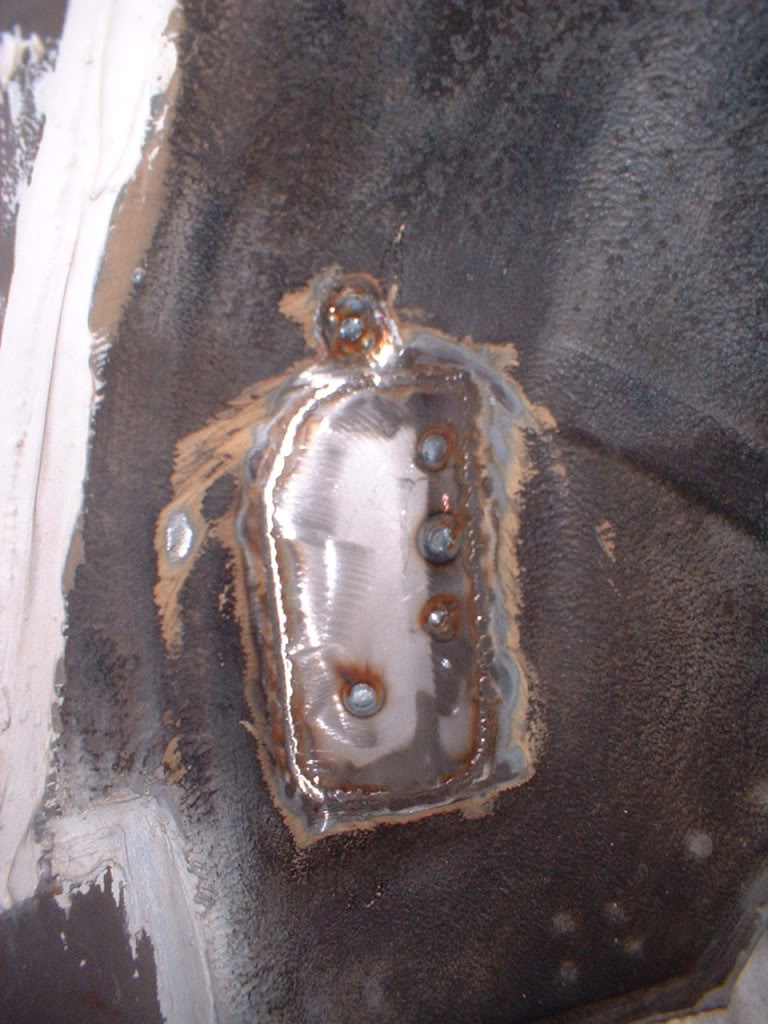
Heres the handle and lock welded up
Now heres an interesting sight..when trying to drill out the rivets holding the rear window in I saw this
It should look like this
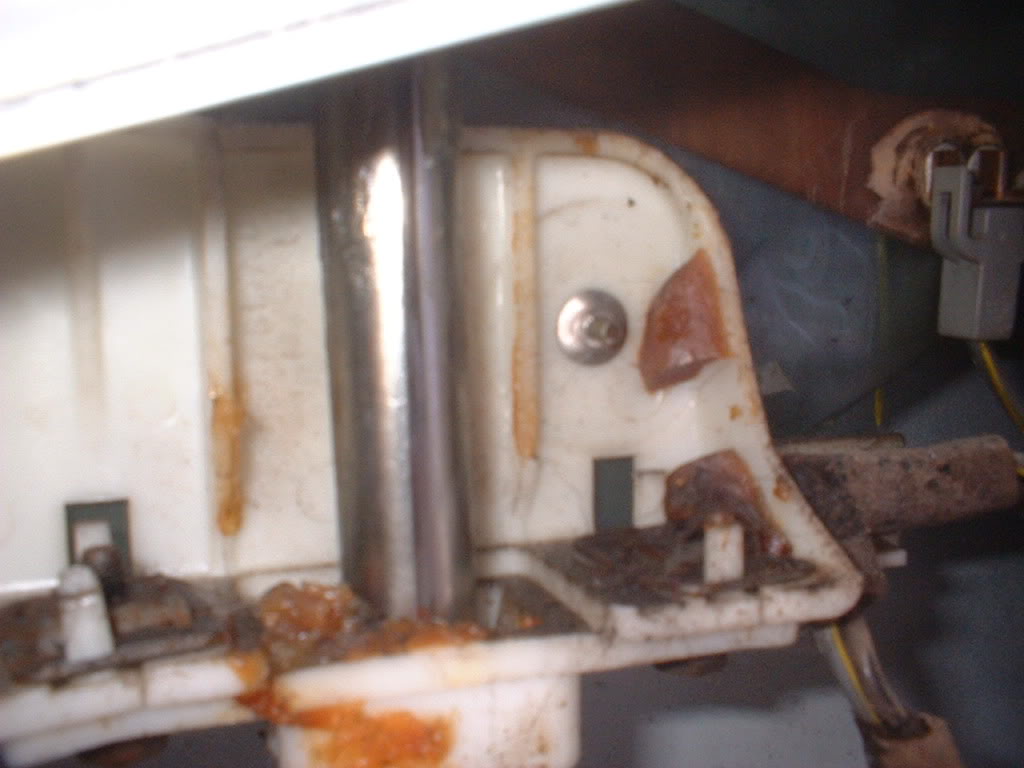
The rivet centre has failed to break off. I am really surprised that it didn't catch on something on the way up! Or perhaps it did!
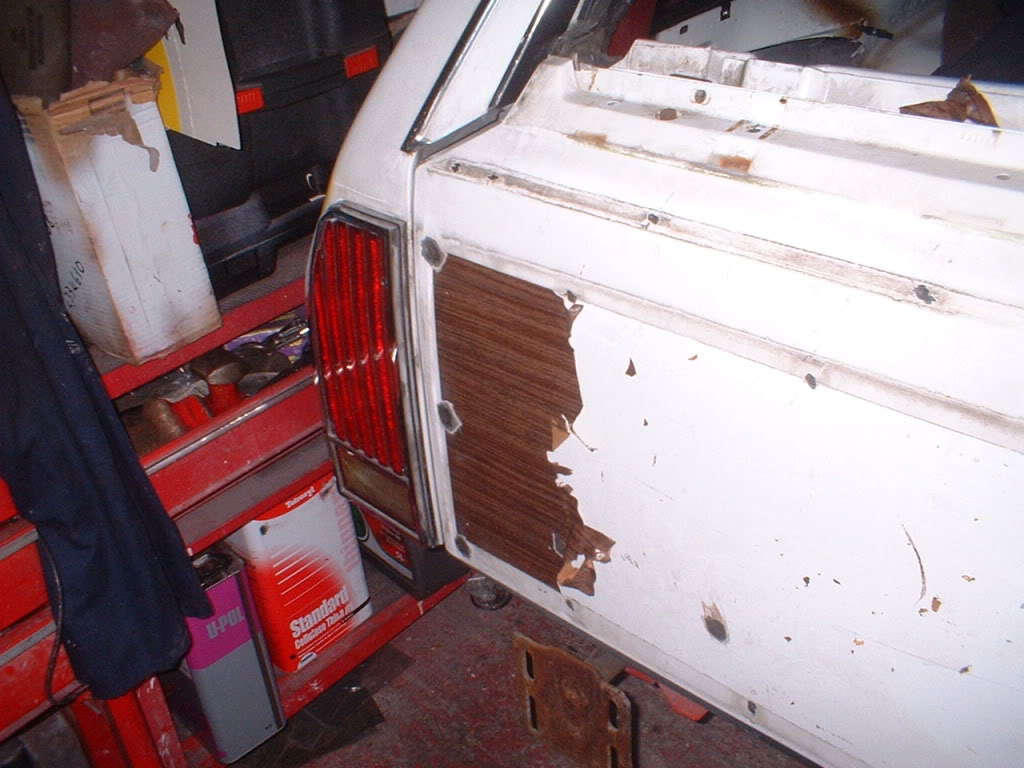
Heres the wood grain being warmed up and scraped off
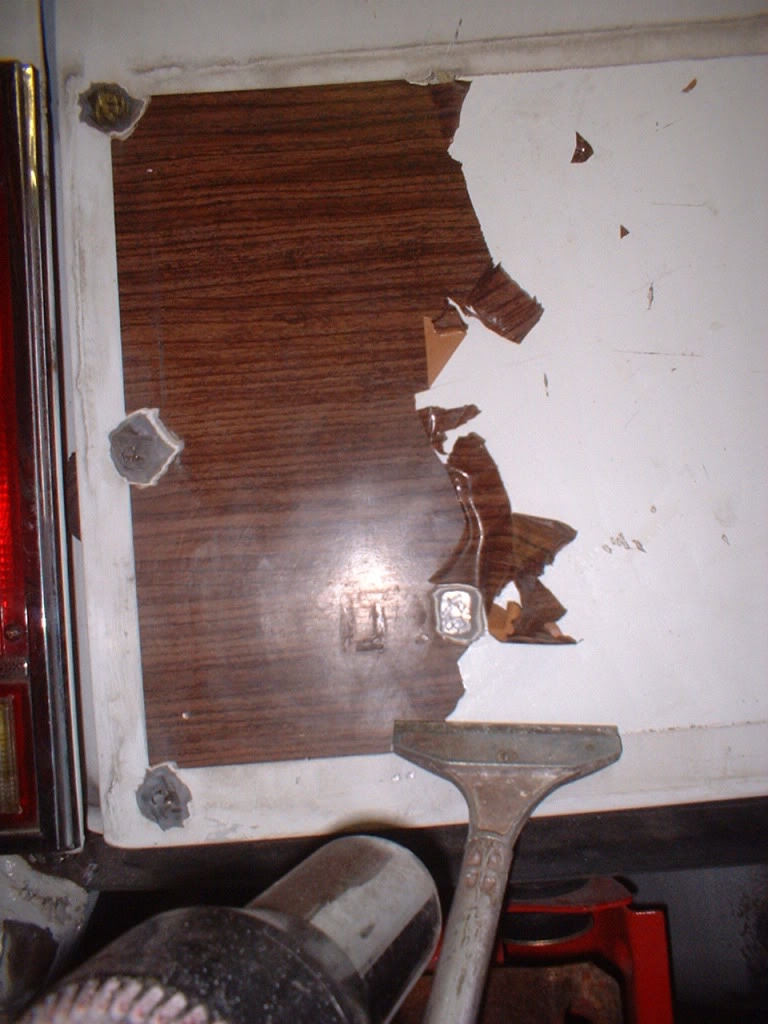
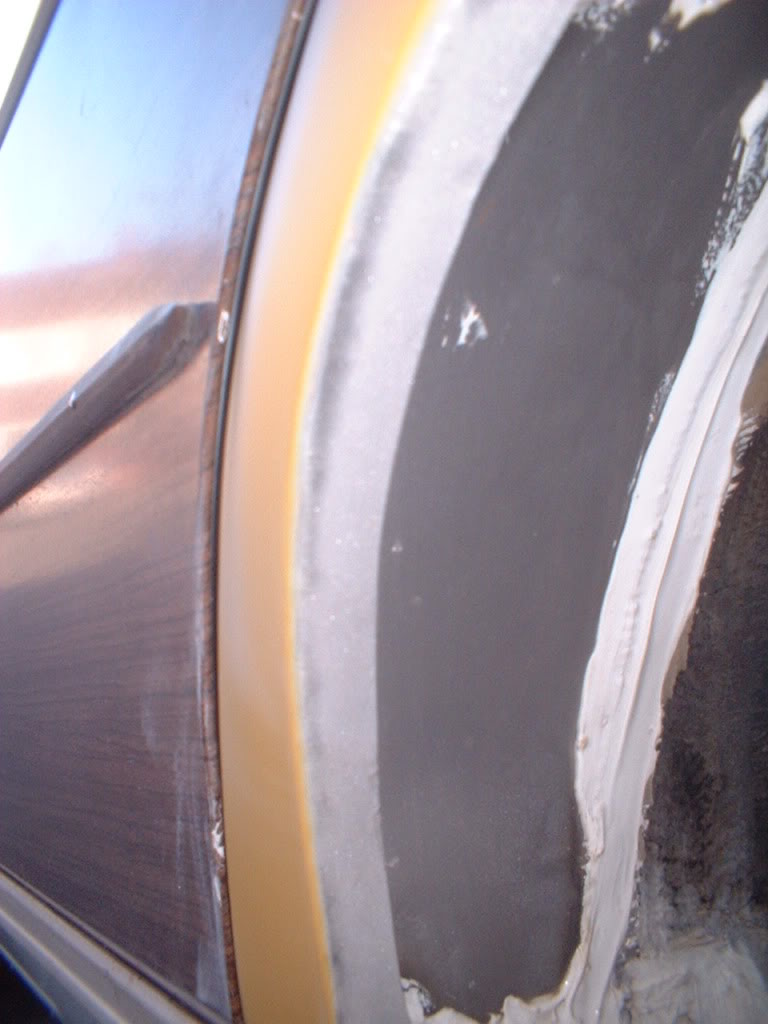
Now I dont know if you can see this, but when I was sat on the floorscraping off the wood sticker I saw some writing that isn't visible at all from any other angle. I tried to get a photo of it. Have a close look at the white section just above the wood...
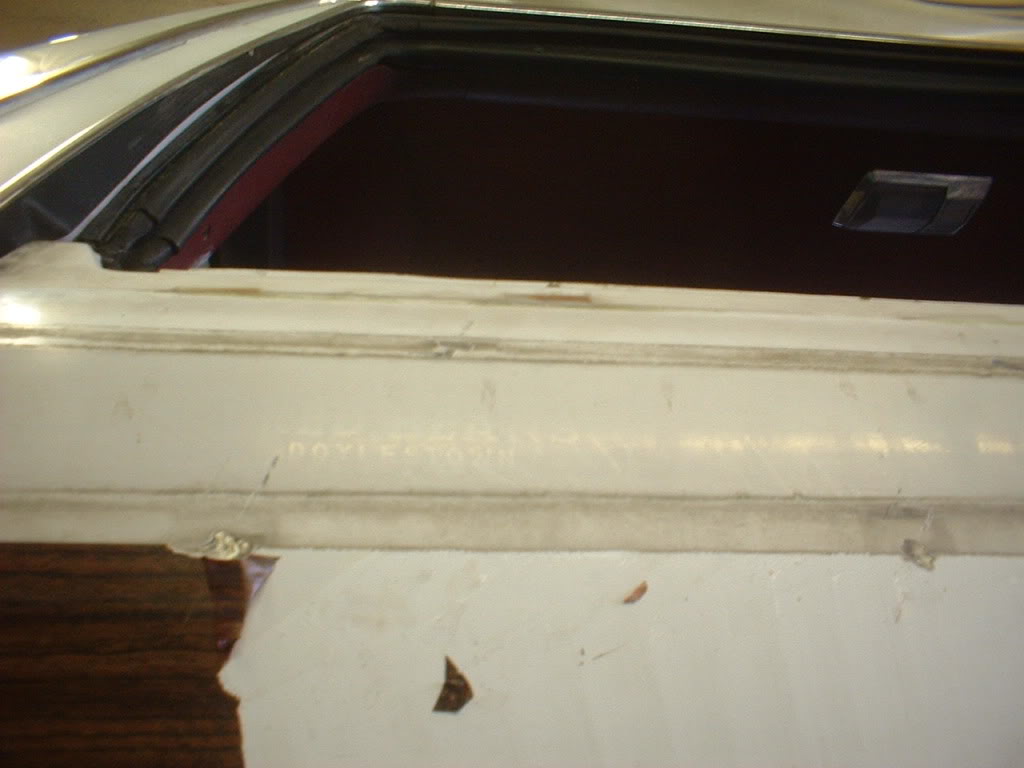
It says "FRED BEANS DOYLESTOWN". Obviously a sticker from a car sales place. After a google search, it is located in PA. Nice to discover another secret from its past.
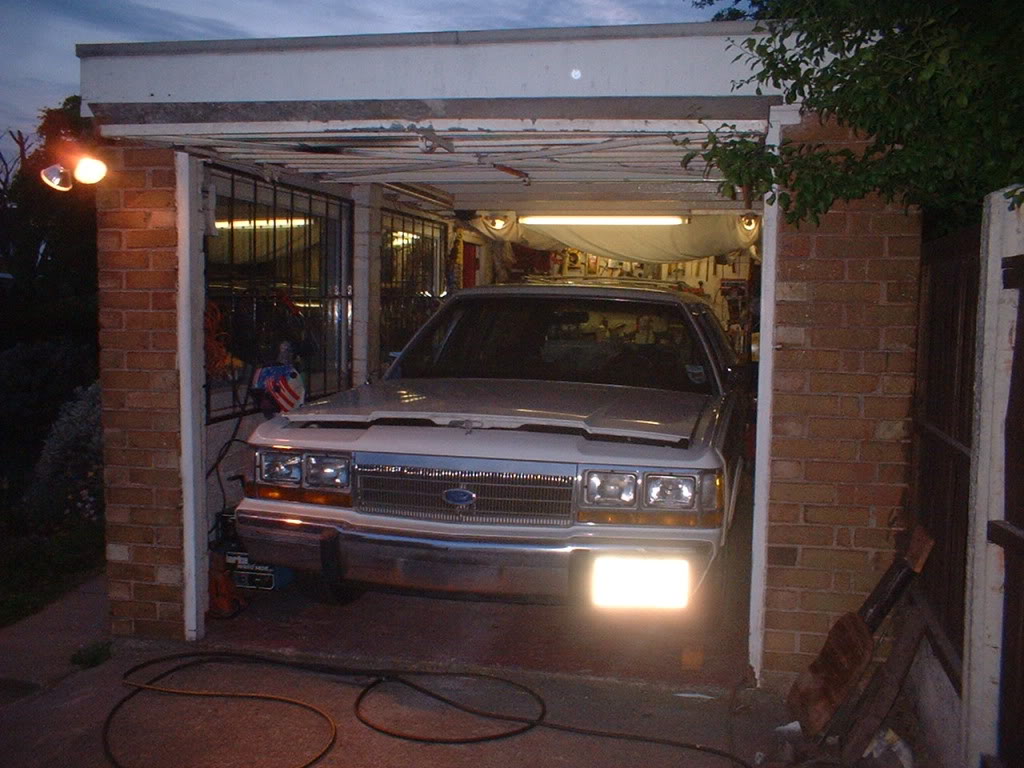
Finally got the car to fit in the garage ...just!!! can't open my toolbox drawers though until its pushed forwards a bit!
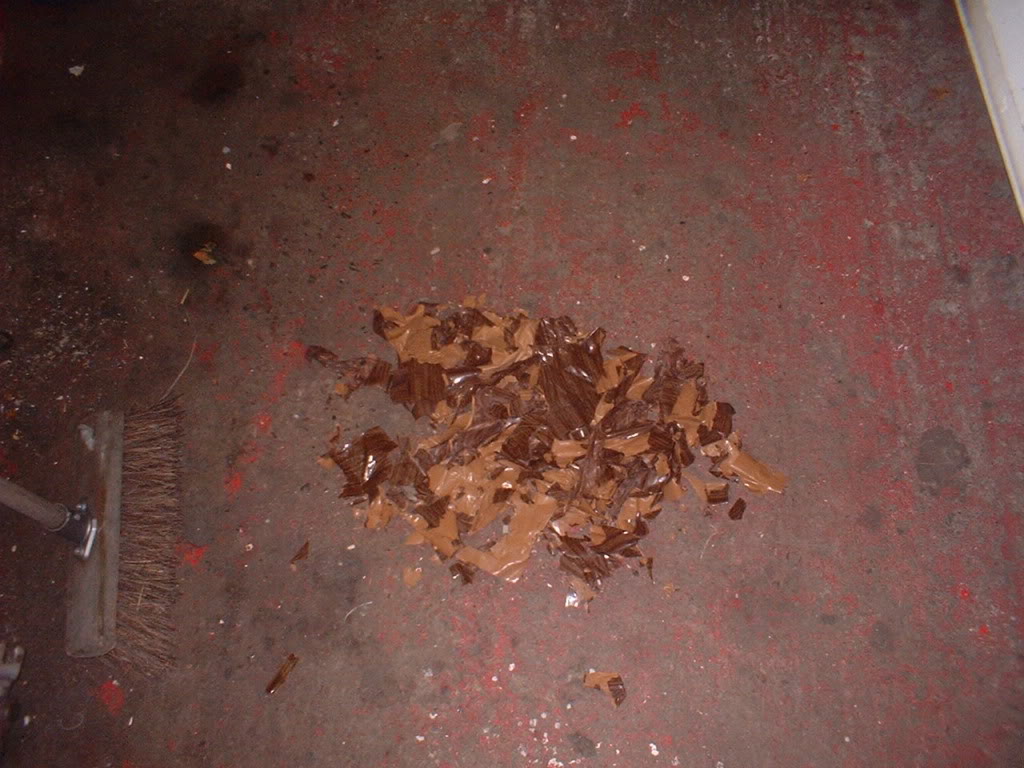
Heres the remnants of the wood from the tailgate!!!

Comments

Agree! Tons of labor went into this
Posted by bdub on 1/21/21 @ 1:48:34 PM

The Country Squire was very popular! Great work!
Posted by Diggymart on 1/19/21 @ 5:12:09 AM
Love this build, so much work!
Posted by diyauto on 1/21/21 @ 1:46:55 PM