You must be logged in to rate content!
10 minute(s) of a 418 minute read
2-28-2010
Thanks Bert.
We go even deeper today!
Media blasted and seam sealed loads of welded joins today. That stuff is smelly and "harmful" so it was out with the air fed mask and get stuck in.
I got everything set up to go underneath, set myself up underneath and got comfy and......... forgot my masking tape to get a smooth edge! "Sod it" said I so I just put it all on and I will clean up the edges tomorrow. It will also give me a chance to see how well it has stuck.
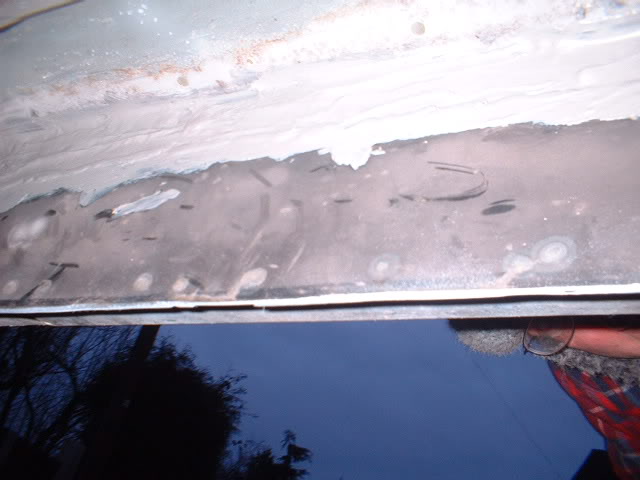
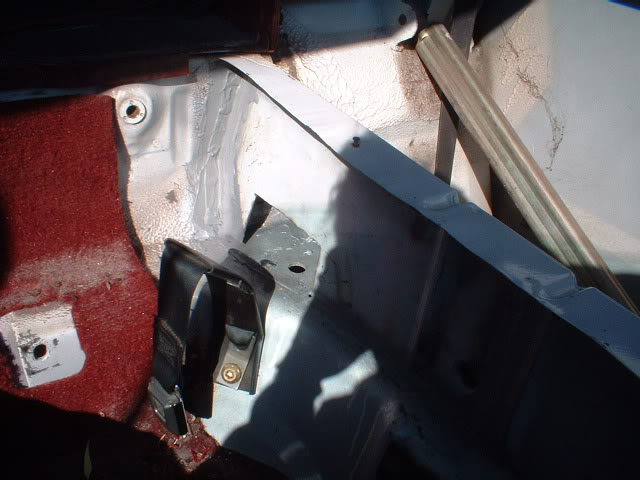
Just got to weld up the metal fatigue cracks and we can start painting the passenger side.
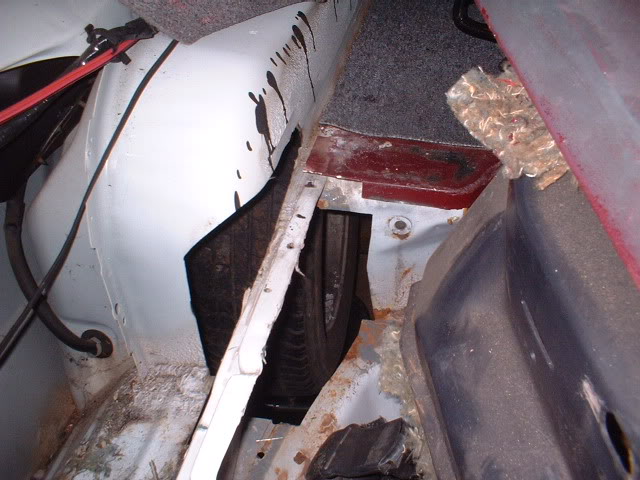
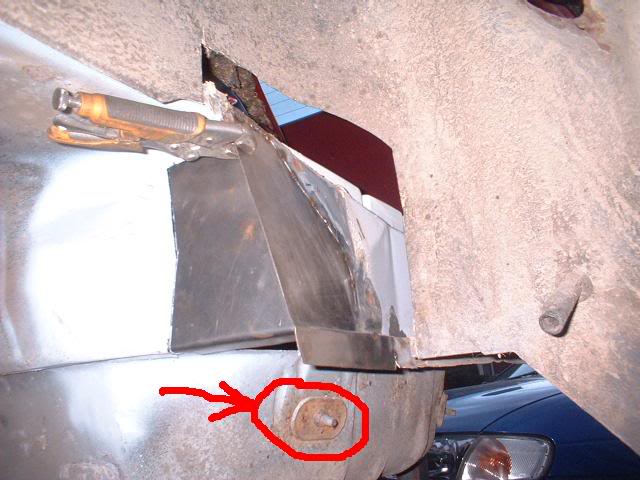
But something is not quite right. The capive nut is spinning and the metalseems thin and weak. But it welded up okay with no burning through so it can't be thin due to rusting.
Theres no alternative but to open up the panel and have a look inside.
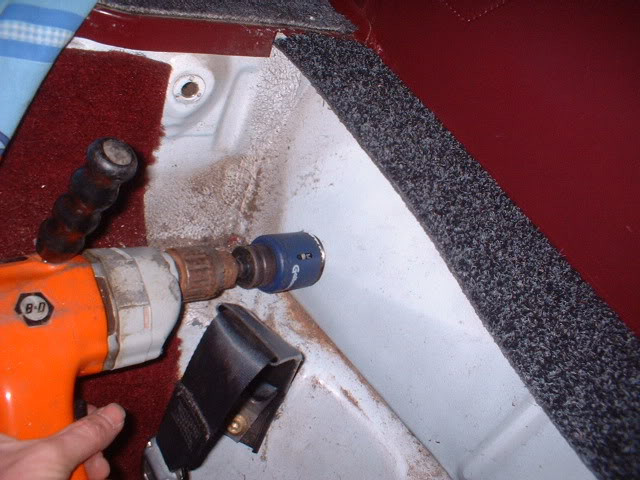
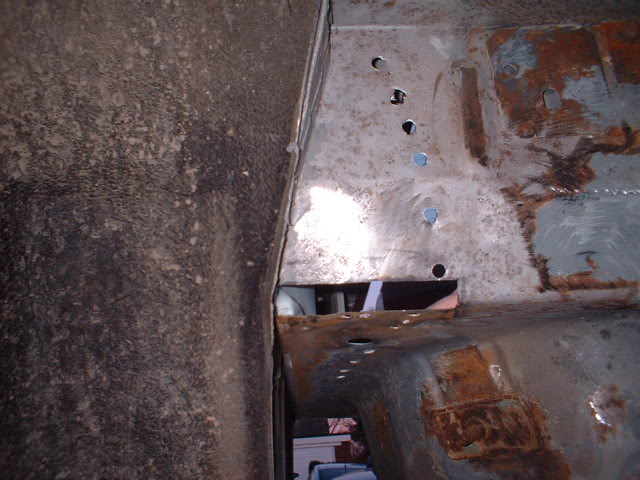
Where to drill though? Difficult to assess where the hole needs to be on the inside of the cargo area. So lets take a guess................here (black spot)
Here we go then
Heres the view .........
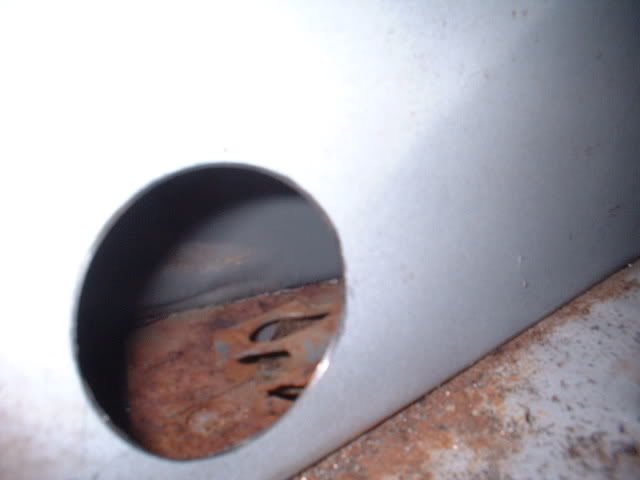
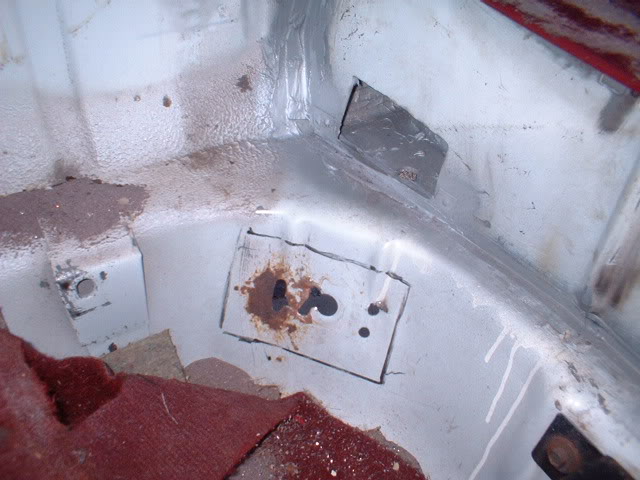
Just can't see what is happening apart from rust!
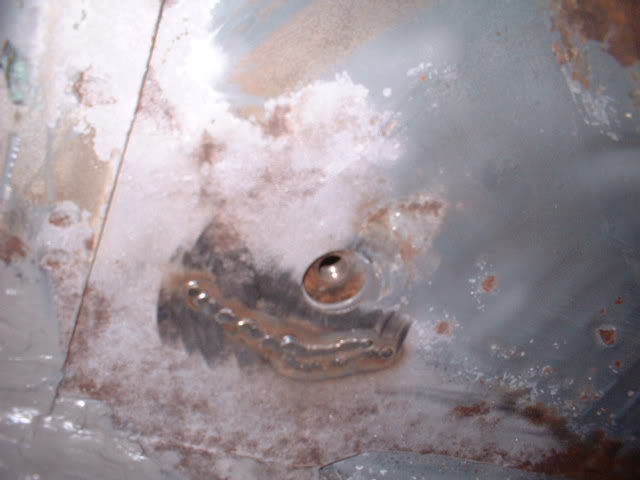
So another hole drilled and here we are
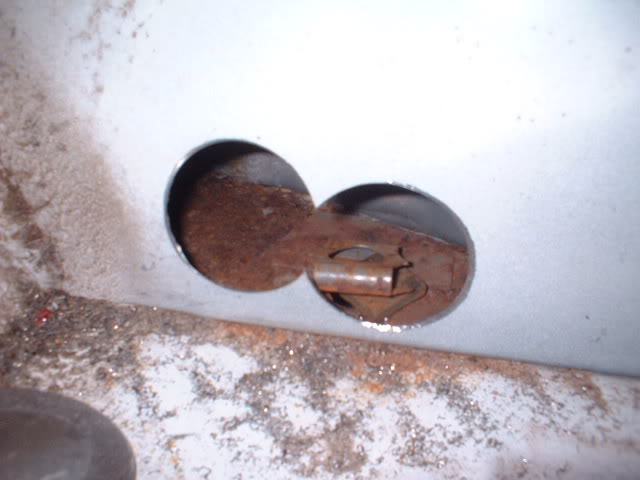
The captive nut cage has broken free on one side and the nut has slipped out under it.
It looks as if I have no option but to remove the panel that I have drilled completely and replace the panel where the captive nut is. And all other panels that need patching around it! Then weld a new inner panel in.
This will put me a few days behind, but needs to be done. And I am assuming the other side will need doing also.
3-5-2010
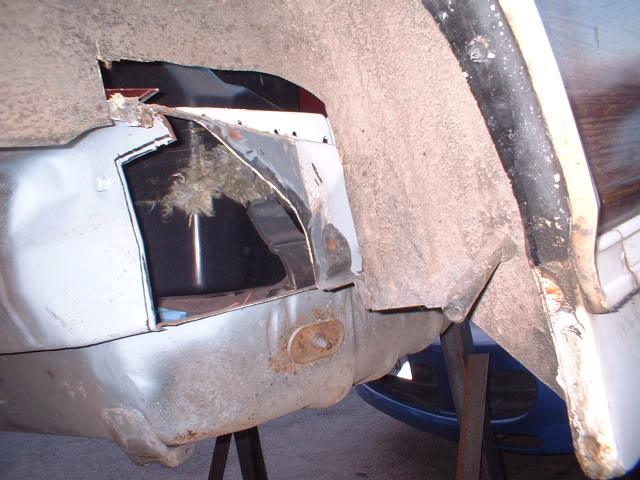
Here's the corner cut out where the rust is
Here's a panel fabricated with a Step (or joddle) in it that you can just see
In place

This is a close up view of the underside of the captive nut for the frame bolt. You can just see cracks all over. This is very weak and contributed to the metal fatigue cracks on the hatch floor that I welded up. So my decision to remove a perfectly good outer panel was well and truly justified.
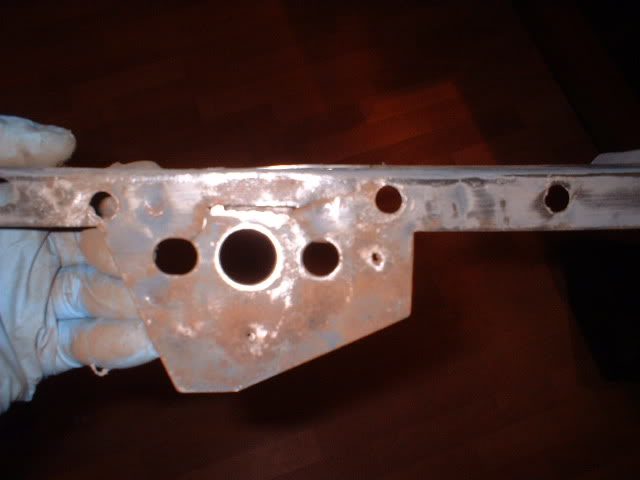
I am going to strengthen up the area to prevent further cracks and weld back the exterior panel. Thats tomorrows job.
3-7-2010
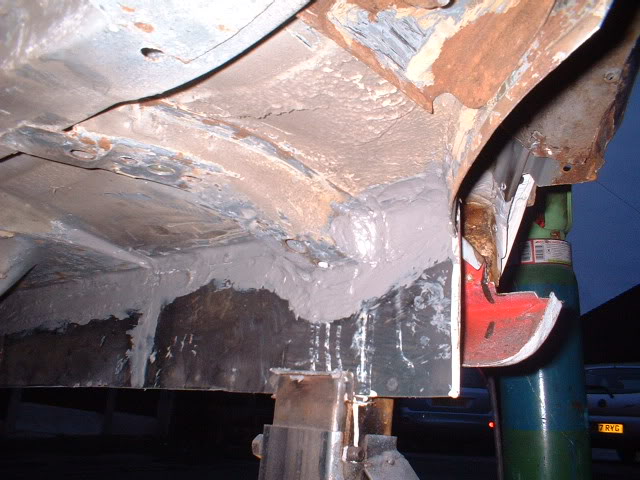
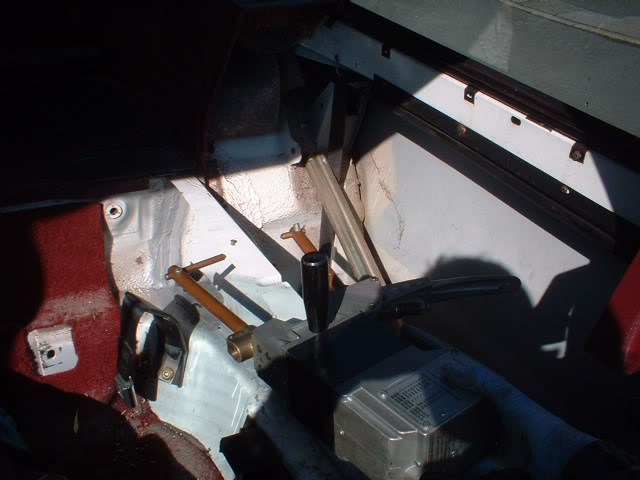
Had a sneak peek at the frame today since it was sunny!
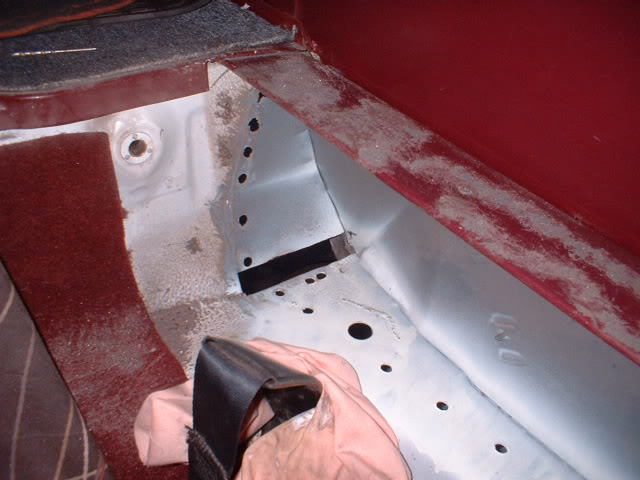
Finished welding in the repairs to the frame mount on the right and closed off the panel with my spot welder
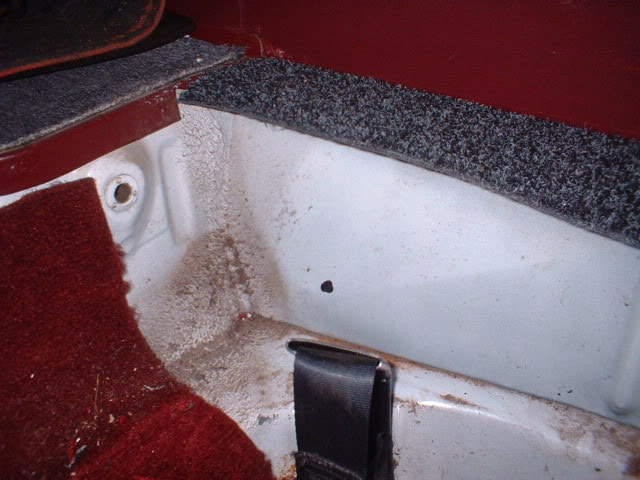
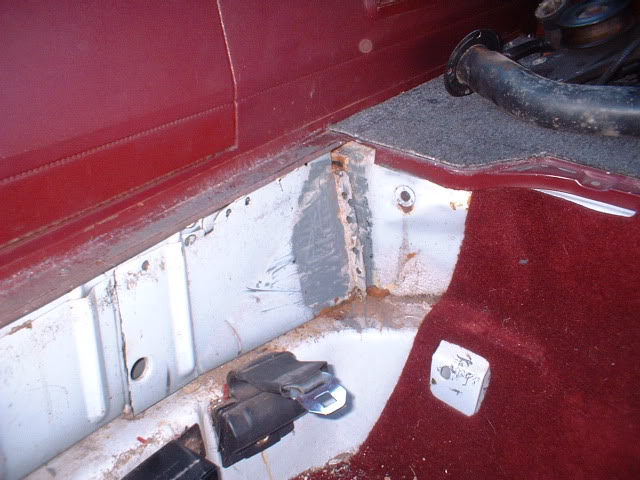
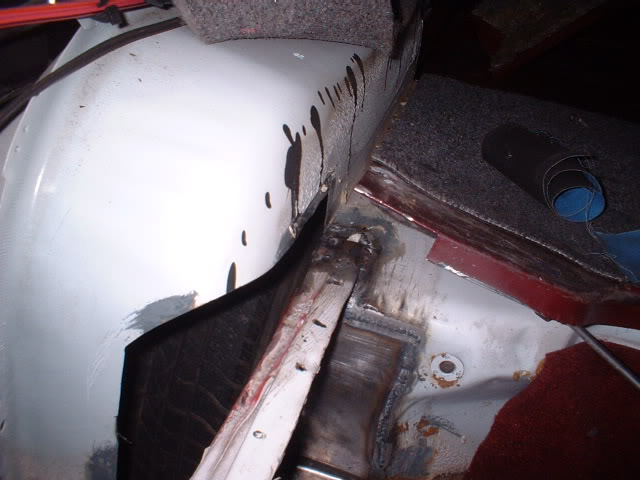
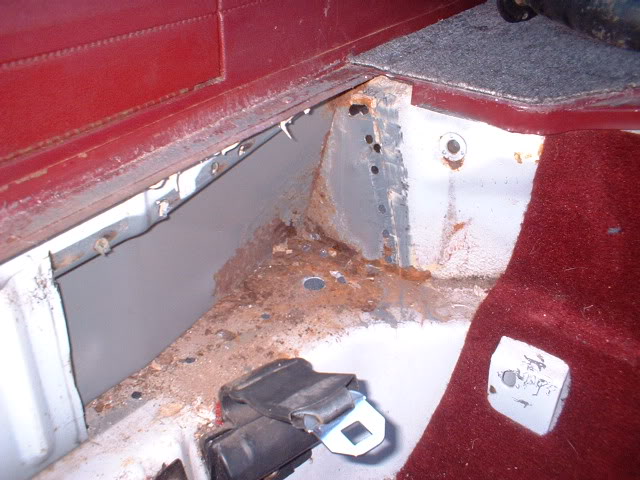
The seat belt reinforcement panel here is rusty

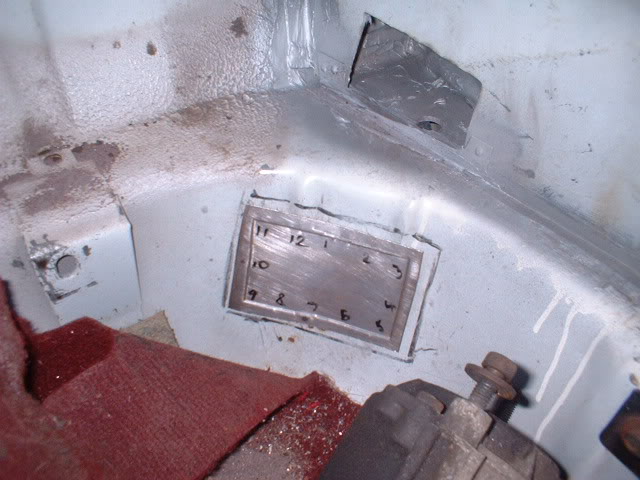
Here it is removed. Too much rust underneath.
Cut out the rust and plate made up to fit with a joddled edge. The numbers are for my good lady wife to push the panel with a pry bar while I weld it from underneath! I tell her the number and she pushes there!
Over to the other side. Which I am expecting to be just as bad.
In fact it was far worse

Heres a view from the other side to show how far the rust has gone
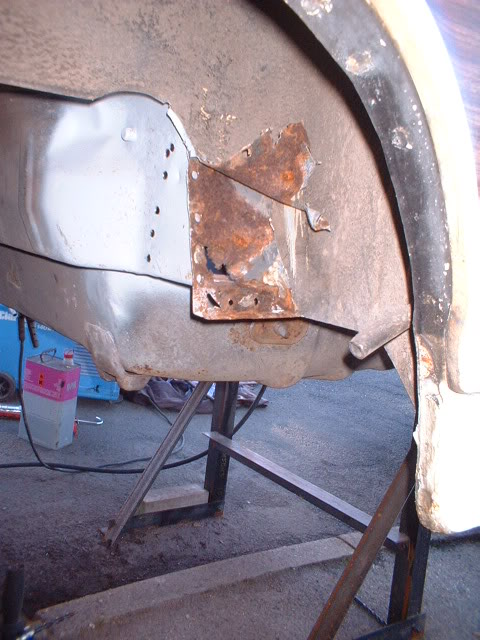
More welding to do then!
3-9-2010
Cutting deeper to try and get to the end of the rust.
Heres 2 photos to show the extent of the rust.
The black lines are where the panels have been cut or is about to be cut
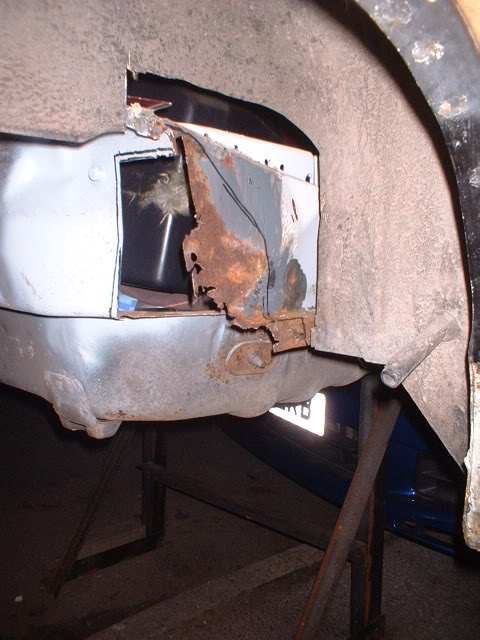
Replacement panels have been made already and hopefully will be tack welded in tomorrow.
3-10-2010
Lets try to get this corner finally welded up so I can paint the underside and get the frame back!
Heres the last cut on the black line shown above
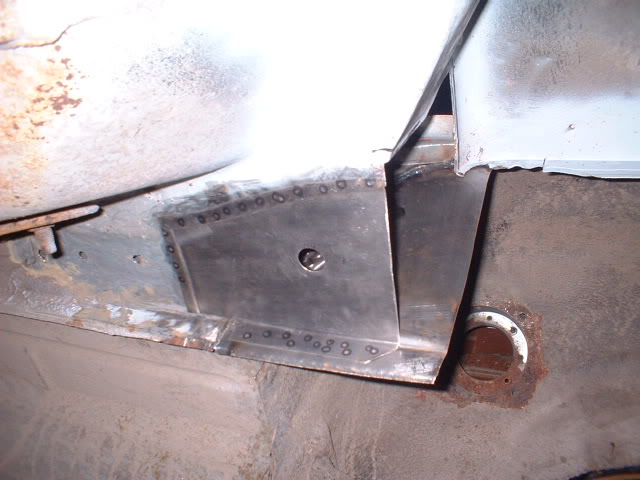
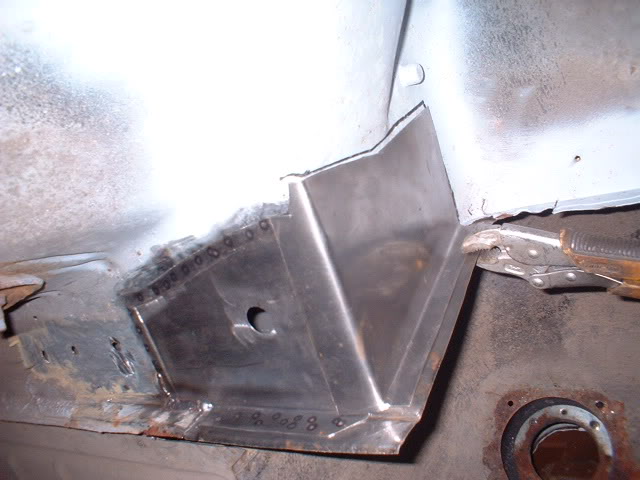
First panel made and tacked in place. Very very pleased with the fit considering it is going to be butt welded
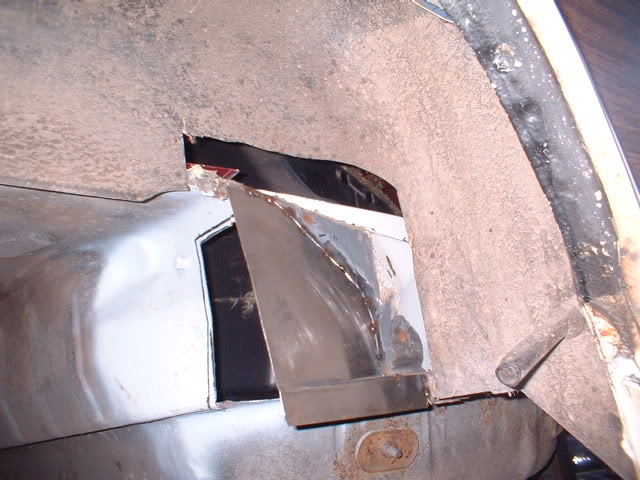
Trial fitting the front section. Yet another good fit! Bit of luck eh?!
Different view
I have designed these panels so I can have maximum use of my spot welder and get zero distortion and weld it FAST.
The frame bolt hole will also be reinforced by the addition of a 1.6mm panel welded on top-just as I did on the other side.
Quite surprised how well these home made panels fit. I must be getting good! How long to get these skills? Started bodywork when I was about 19, and I'm 49 now. Thats 30 years practice. WOW!
I absolutely love doing this type of bodywork!!!
Anybody want theirs doing next?
Does this annoy anybody else as much as me!!
Guess whats coming out next!!
3-11-2010
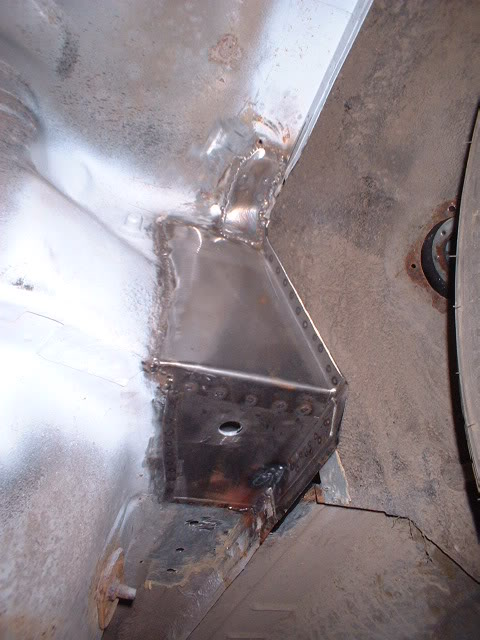
Heres the corner coming together.
The spot welder makes things very easy.
3-13-2010
Thank you Bert.
Welded in all the panels this morning but also had to patch a rusty and thin spot above them in the corner (went through with the media blaster). Quite difficult to cut it all out up there, but my trusty air saw came to the rescue again!
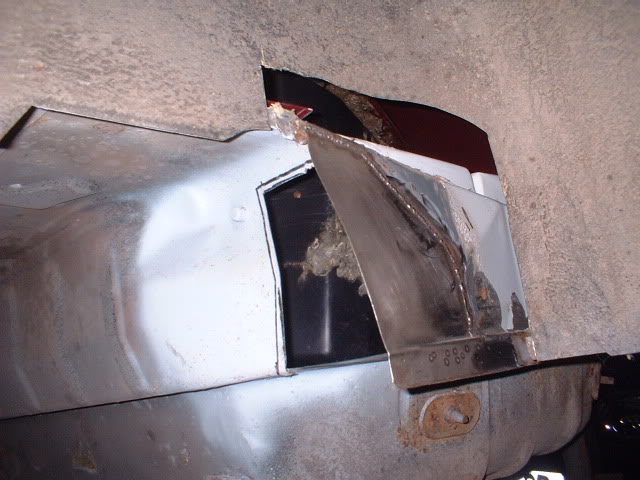
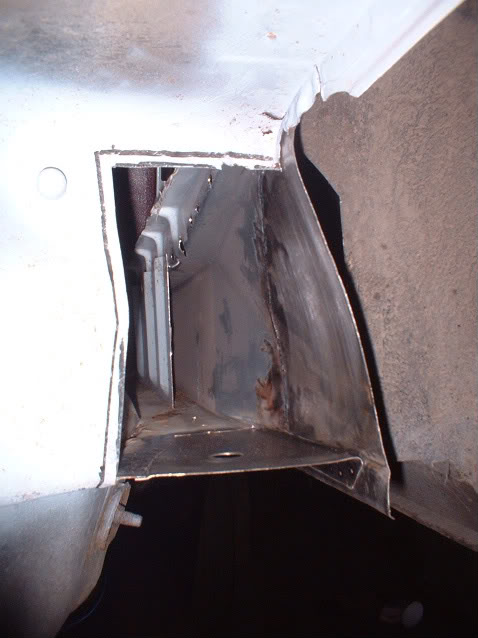
I had to peel back the cargo area panel in the front corner and hold it up with a screwdriver so I could weld it.
Any panels I won't have access to when it is all finished I etch primed and painted red (avoiding any flanges I need to spot weld soon) to prevent corossion inside
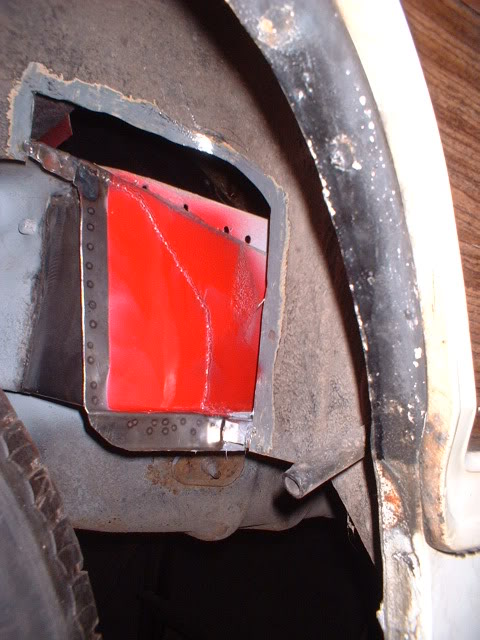
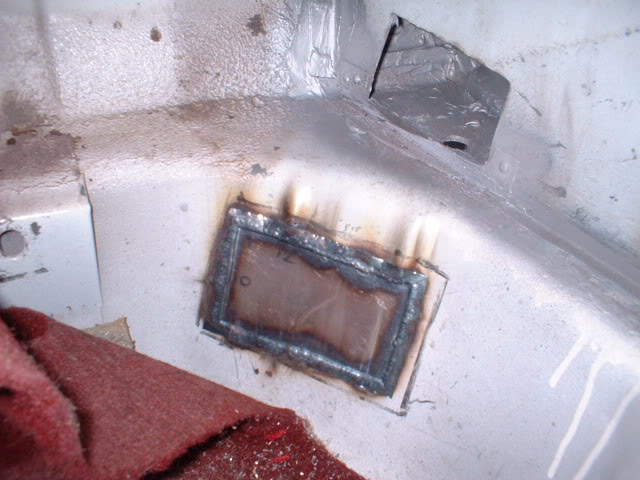
I had to cut a good corner out to get access a few days ago
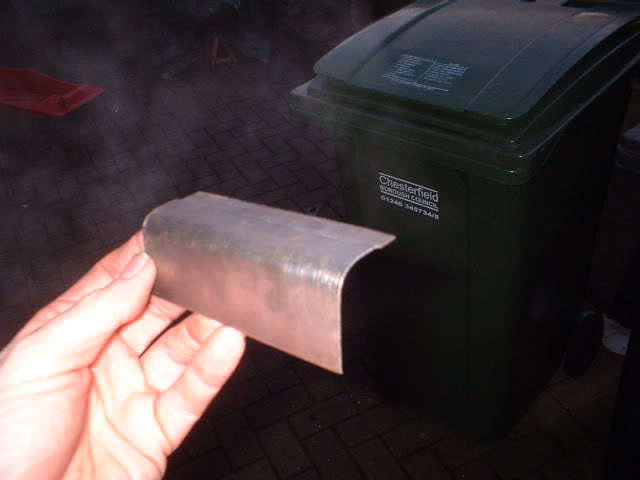
This now needs closing off, so I made up a panel with a step/joddle and an overlap to try these new modern adhesives that some manufacturers use to bond panels on. Supposedly stronger than welding and seal the joints at the same time.
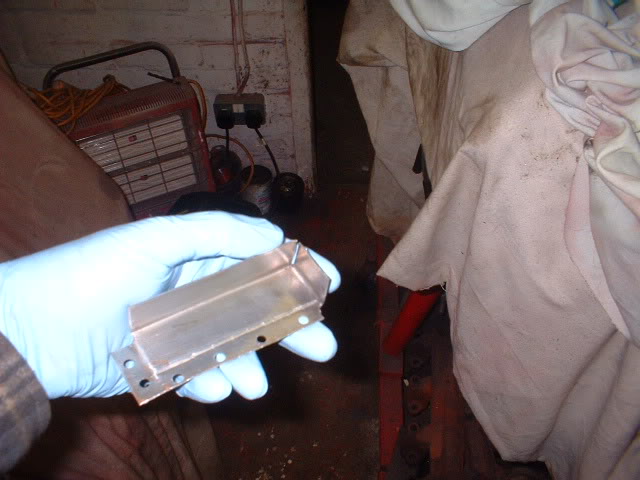
Heres the panel
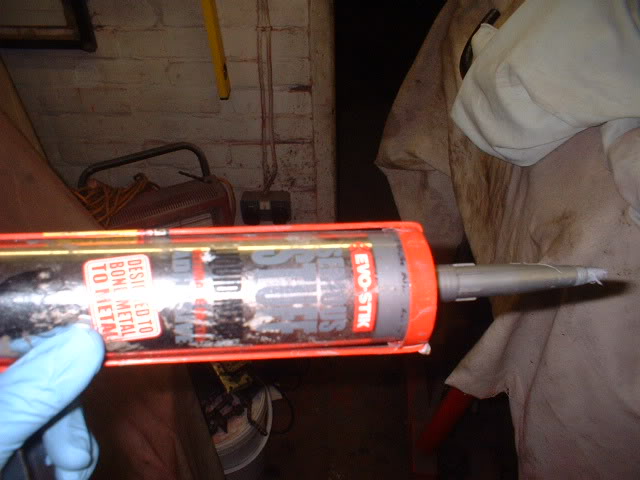
and heres the glue
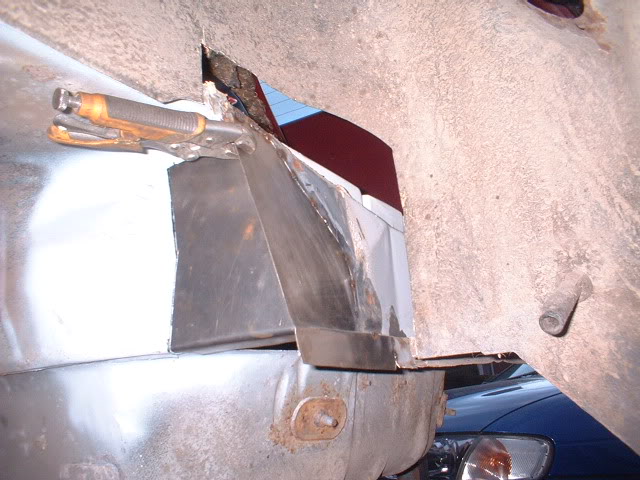
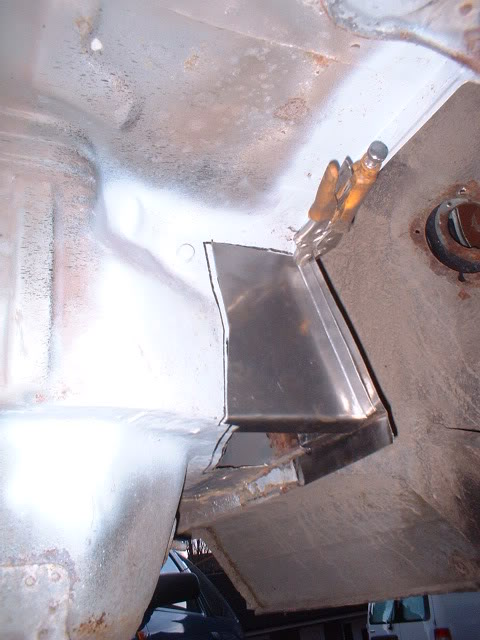
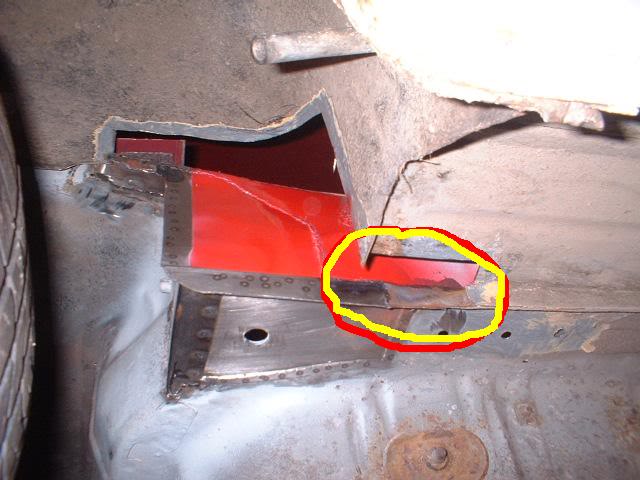
Heres the new corner panel in place
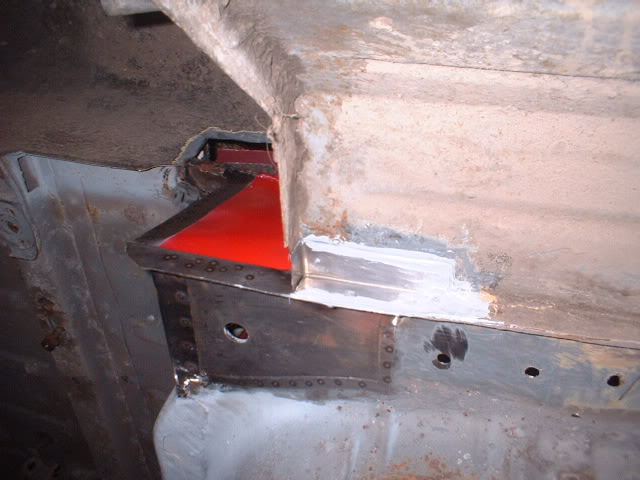

Lets see how strong it is in a few days.
I used the same adhesive to bond a 1.6mm reinforcement panel to the top of the frame mount hole but will still tack it into place tomorrow to prevent shear fractures (twist).
Compere the view now to what it was a few days ago

Bit better!


Love this build, so much work!
Posted by diyauto on 1/21/21 @ 1:46:55 PM