You must be logged in to rate content!
10 minute(s) of a 418 minute read
2-14-2010
Hi Bert.
Dropped the ball completely!
Anyway, more time to make the car more perfect
Anyway, further progress made yesterday and today.
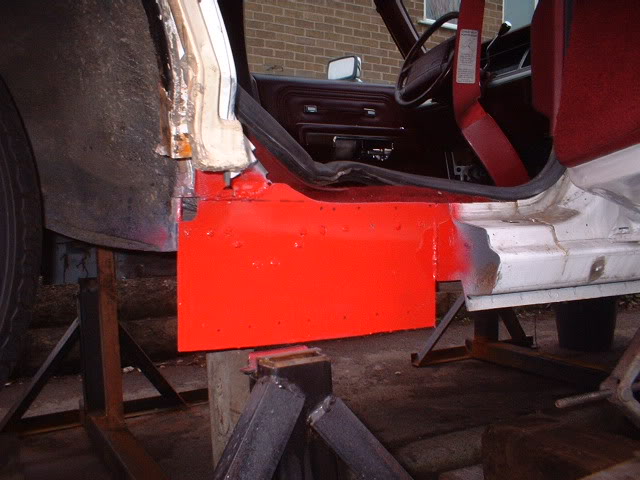
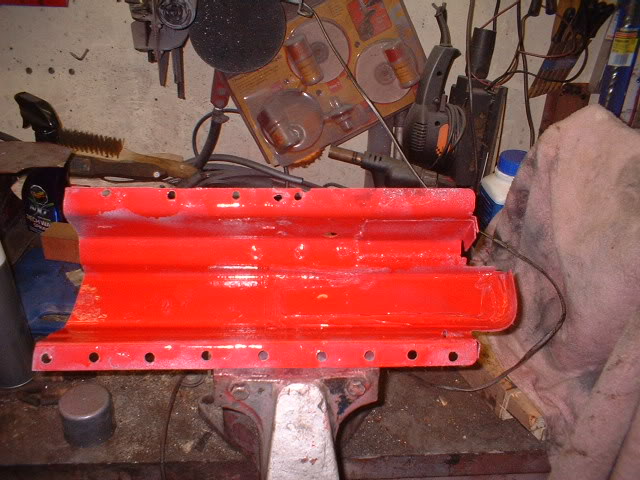
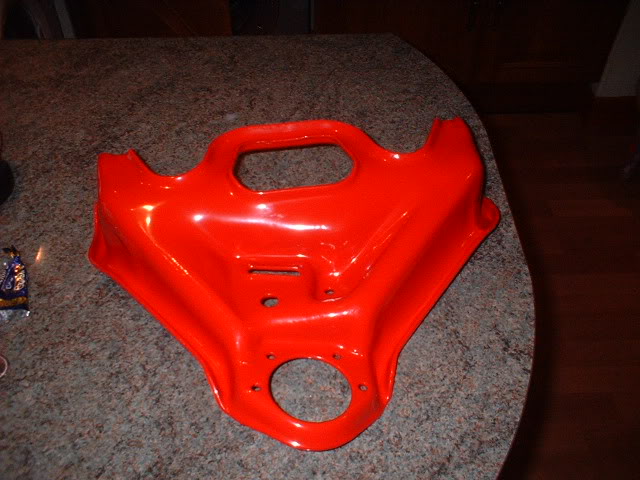
Etch primed and painted the inner sill/rocker red!
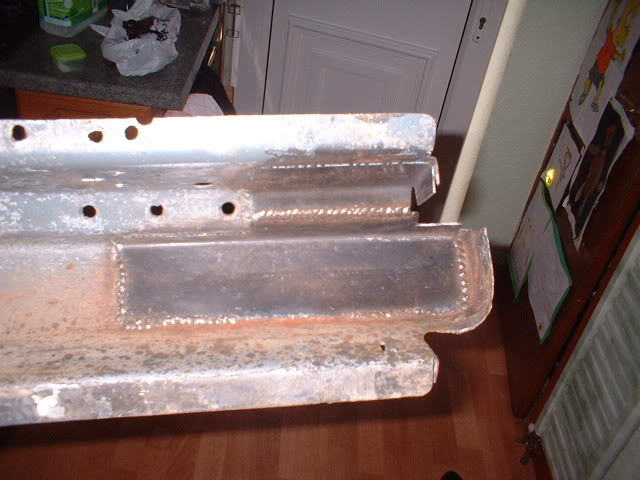
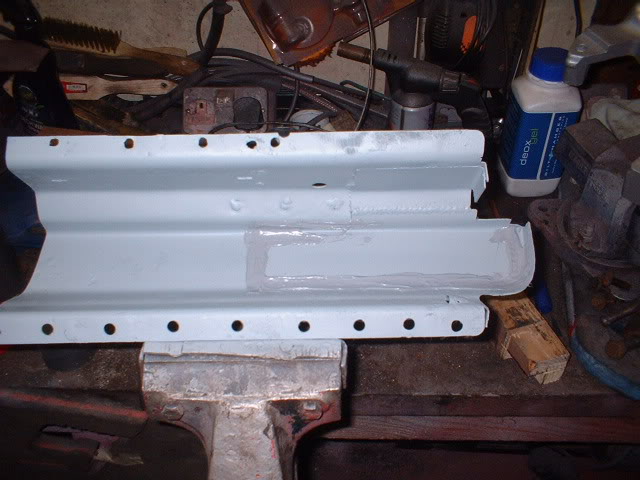
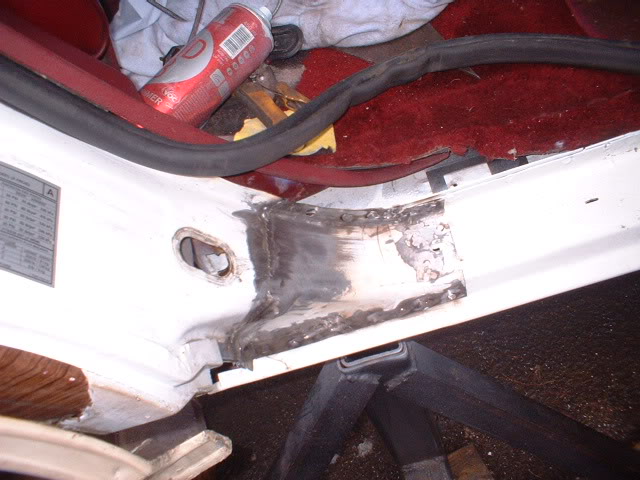
Heres the old inside of the outer sill/rocker
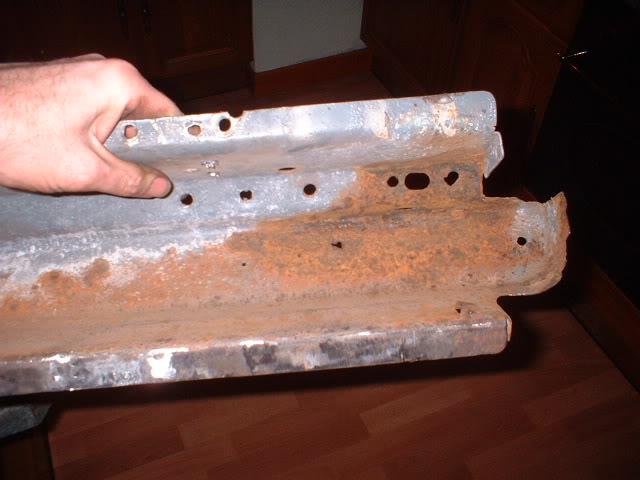
and the partially blasted and rewelded one!! You can see the patches butt welded in.
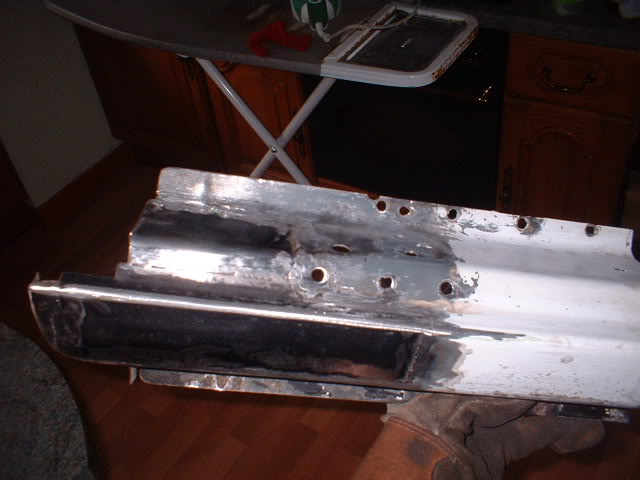
Here it is sealed, etch primed and painted red inside.
Here we are clamped ready for welding
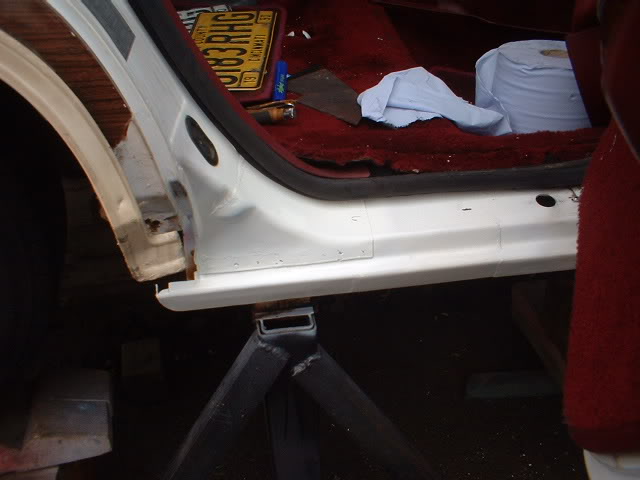
and finally welded in
and painted white temporarily
How about this for progress!
Before
After

The brown stuff inside is dinitrol 3125 rustproofer and to make it get into all the seams I heat it with a hot air gun until it drips out everywhere.
2-18-2010
Nice to see I'm being useful!
Phew. Feel knackered after a few days so called holiday! I actually work harder in my hols than when I'm at work!
Anyway, where did I get to? Oh yes, the c post rust.
Here is the bottom of the C post clamped into place

Welded
Primed ready for a spot of filler and paint
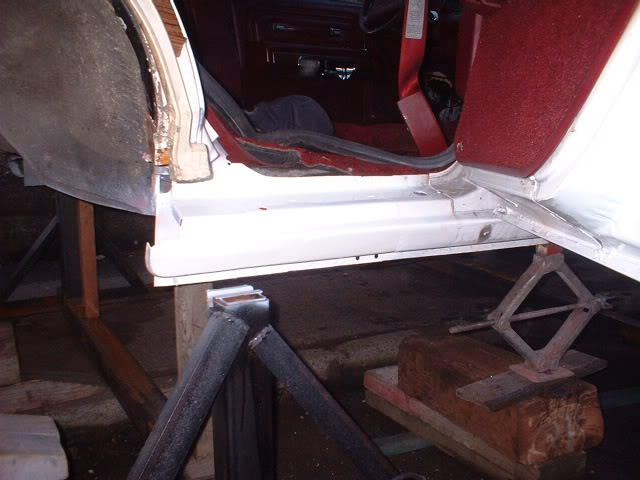
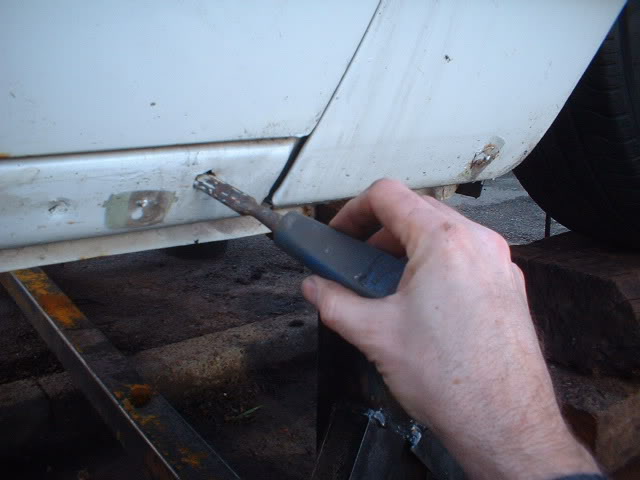
Now onto the final bit of welding (or so I thought) before the frame goes back, which is the inner rocker/sill. I know its rusty inside because I've seen it when looking down, but how bad?
So 1 long cut later and the bottom bit is gone
Looks a bit dodgy at the front, so out with my chisel and oops!
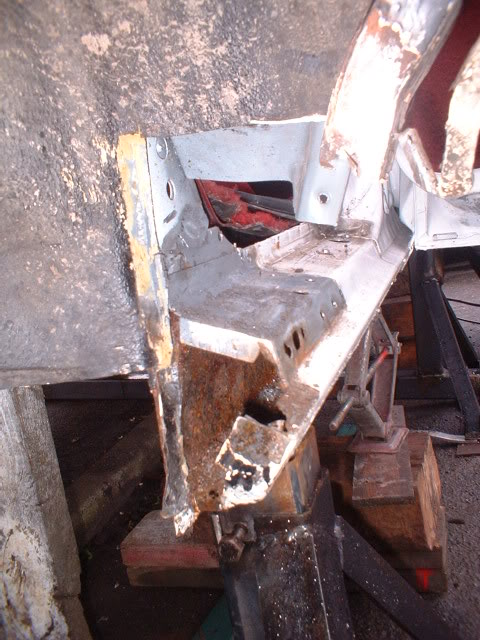
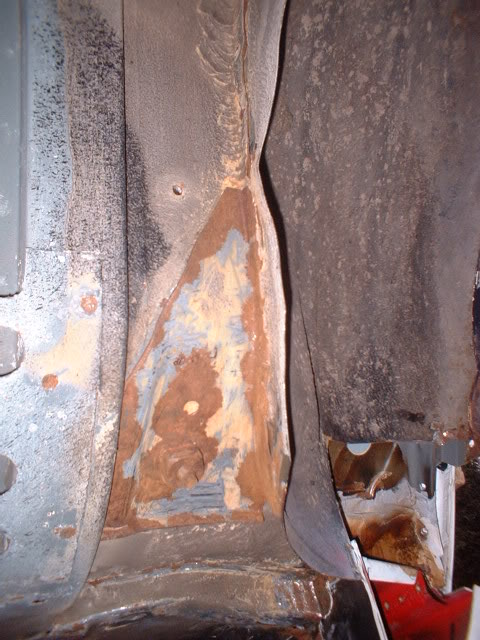
Here is the inner panel cut out a bit more so I can see inside and the true extent of the rot
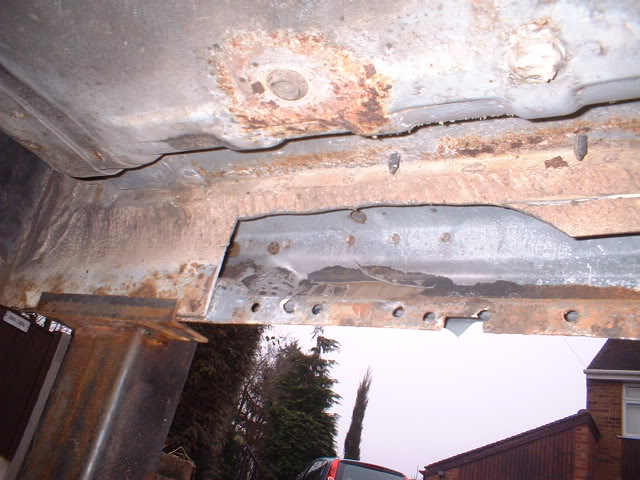
Now I really need to cut right to the front, but I can't because the body is being supported there. Hmmmm? I know, I'll media blast the inside as much as I can and then rustproof it till I can get the frame on then remove the fender and cut off the base and reconstruct.
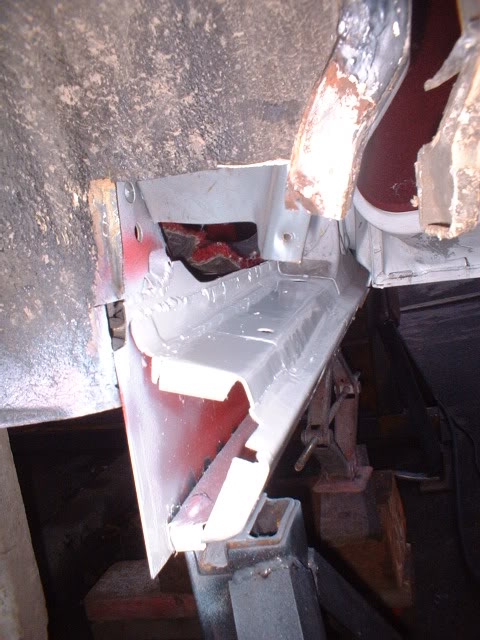
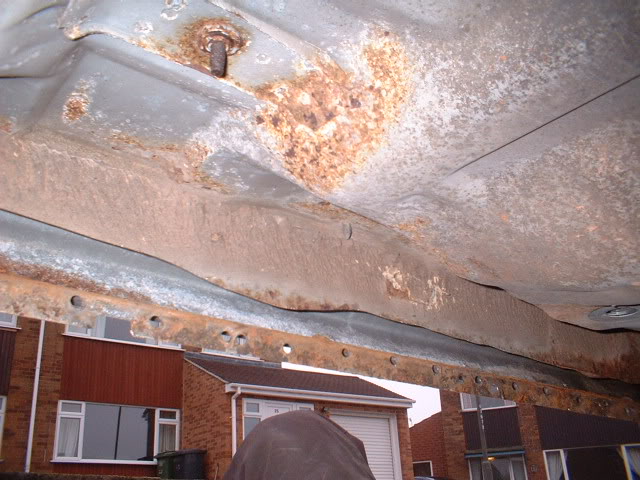
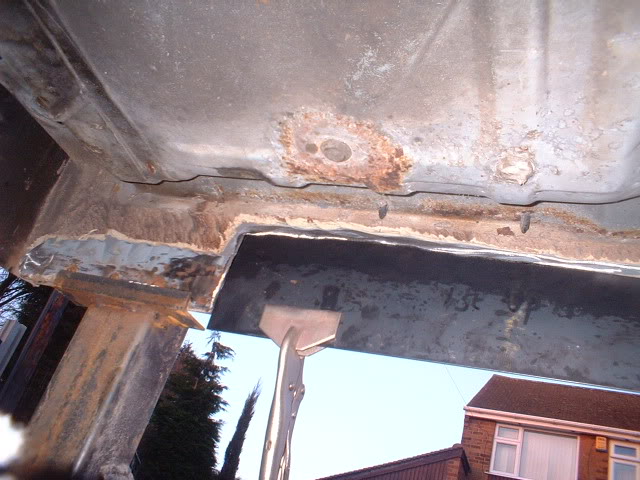
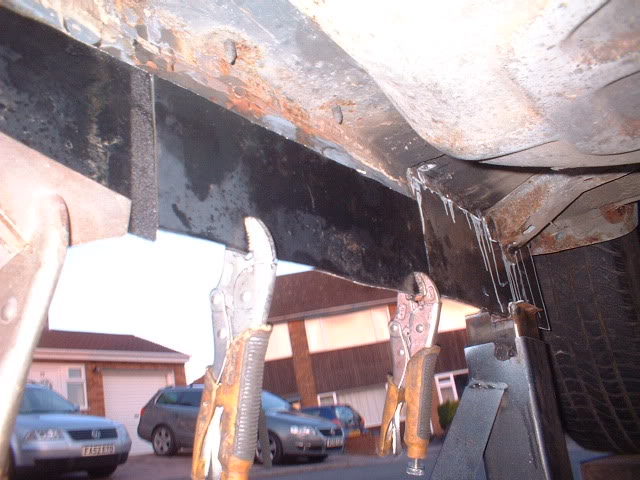
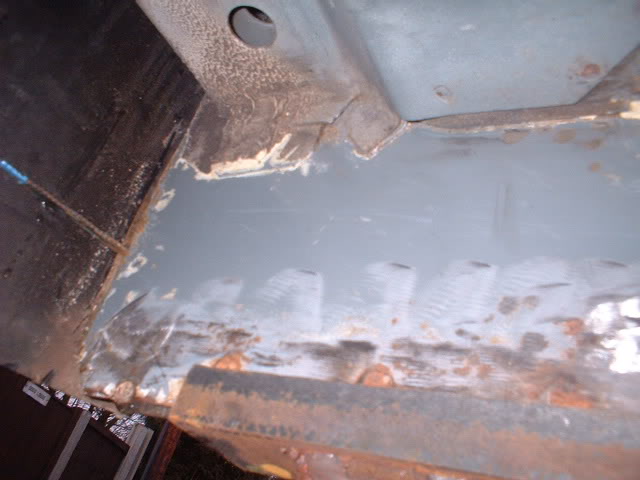
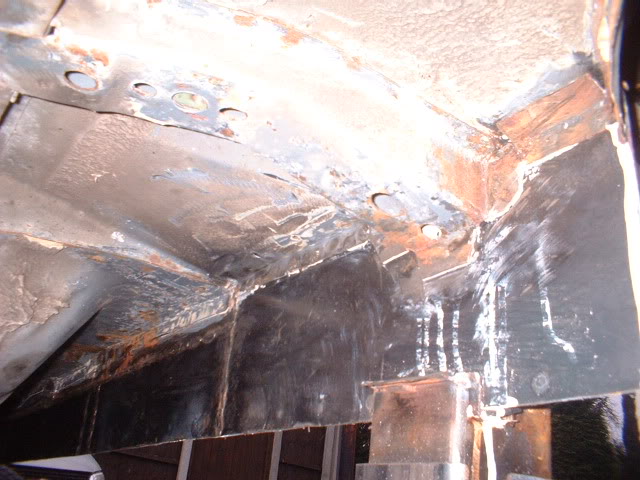
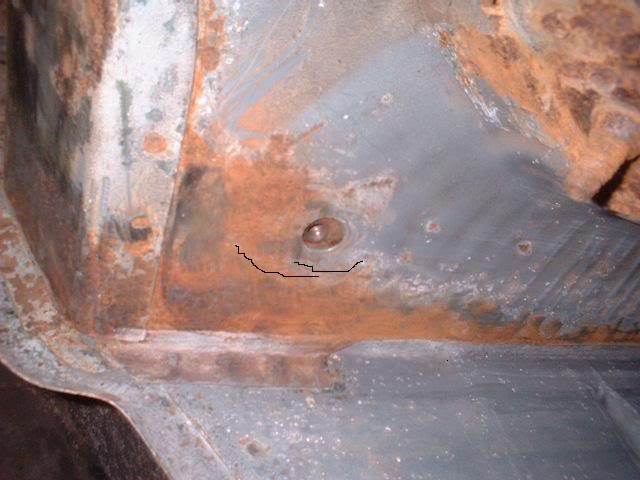
Heres an interesting shot from the inside looking forward towards the front passenger wheelwell
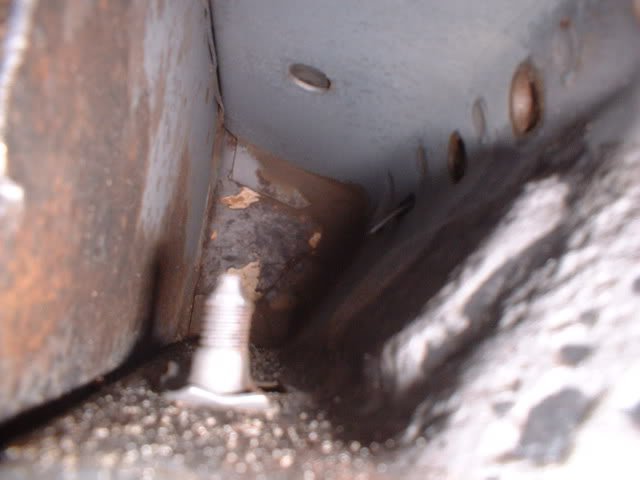
The bolt is the fender bottom one.
Doesn't look too bad now but will still need reconstructing at some point.
While the camera was there, heres a shot the other way inside the rockers towards the rear passenger wheel
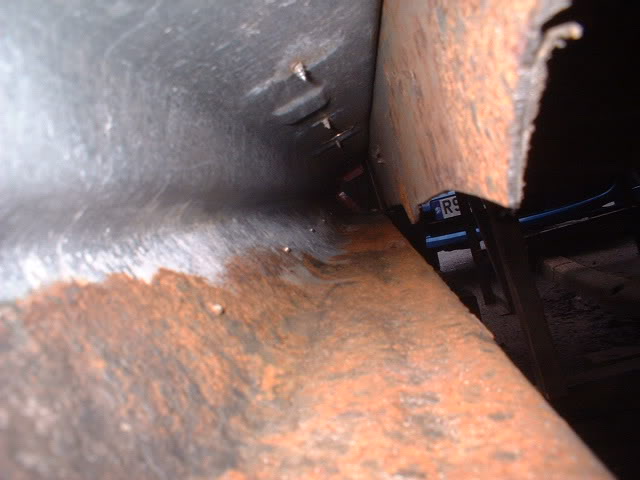
Still some more work to do then!!
2-20-2010
Time to tidy up that inner panel and make a replacement to butt weld in.
Before that its cheer me up time!
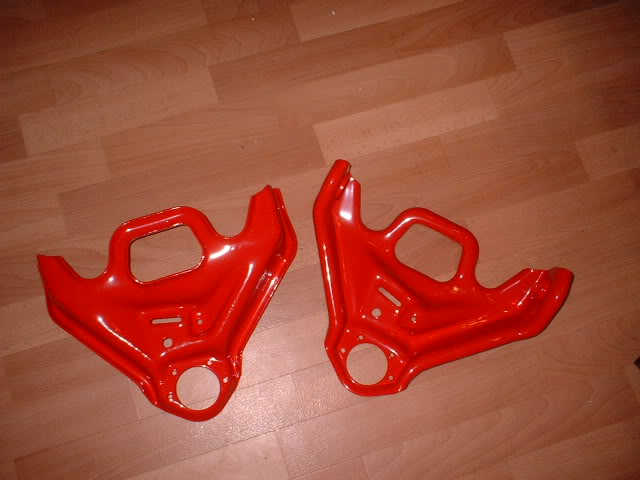
Here are the red powder coated upper A arms for the front suspension. Look sexy!
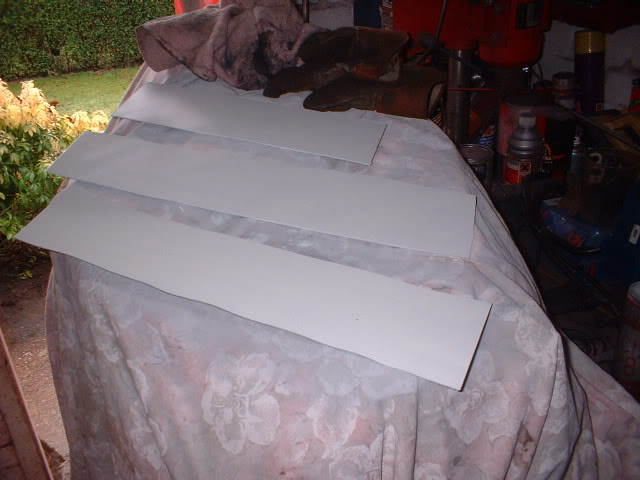
Okay, thats remotivated me, so lets make a new inner rocker (sill) panel. This has got to be accurate since it will be butt welded all the way round
I have had to make it in 3 sections because I didn't have a single sheet long enough! I will weld them together first on the bench and then weld them in fully.
The bottom will then be cut level.
I need to treat the inside of the rockers first.
2-25-2010
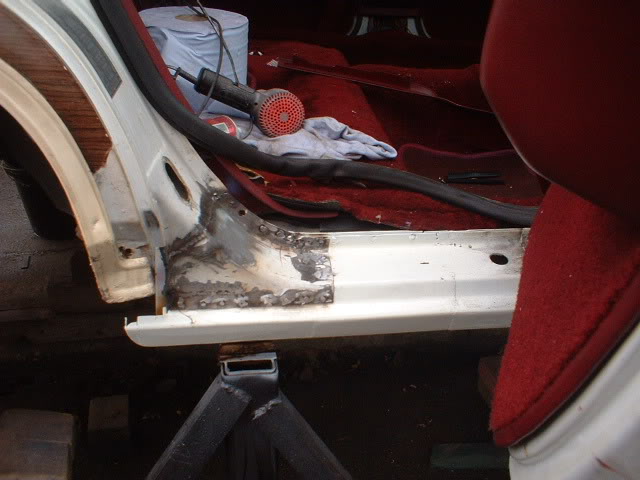
Finally got the inner sills/rockers welded in, but not before I painted the sides that will not be accessible when they are in
Heres a few views of the welded in panels-ready for grinding, sealing and painting
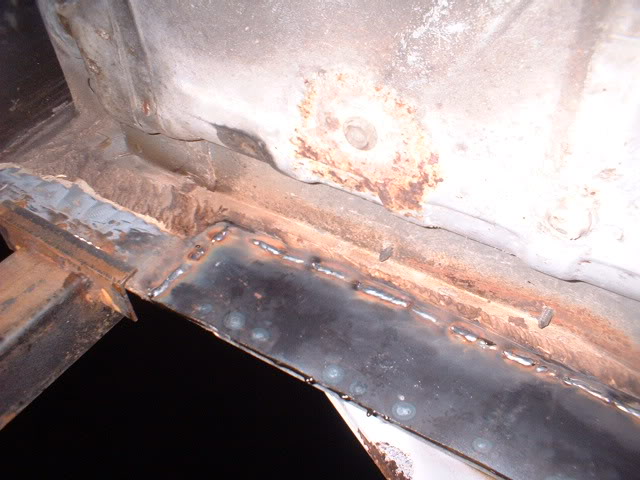
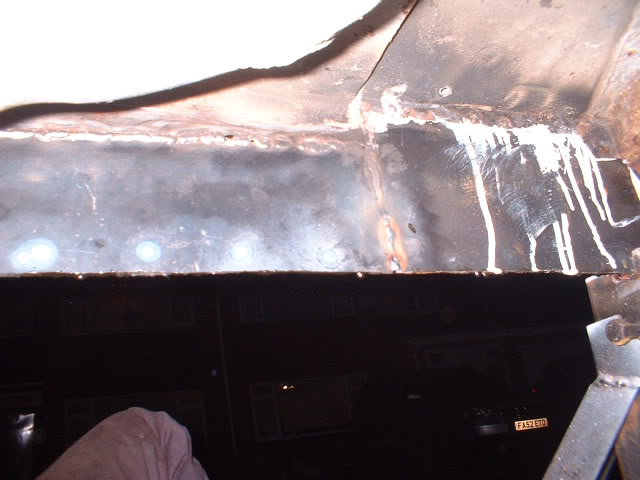
The white streaks are paint trails when attempting to get paint inbetween the joints - successfully!
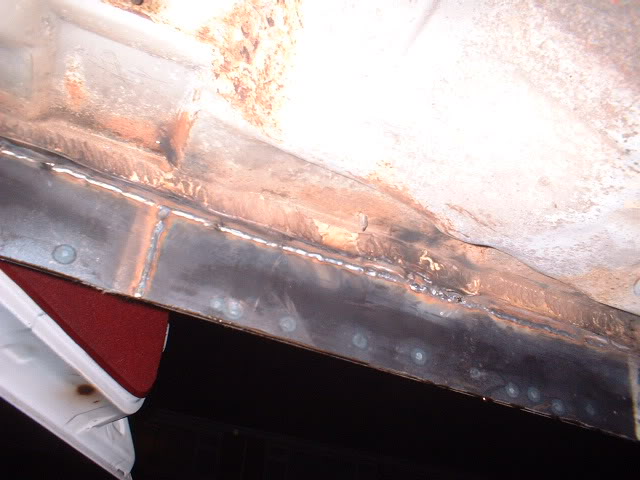
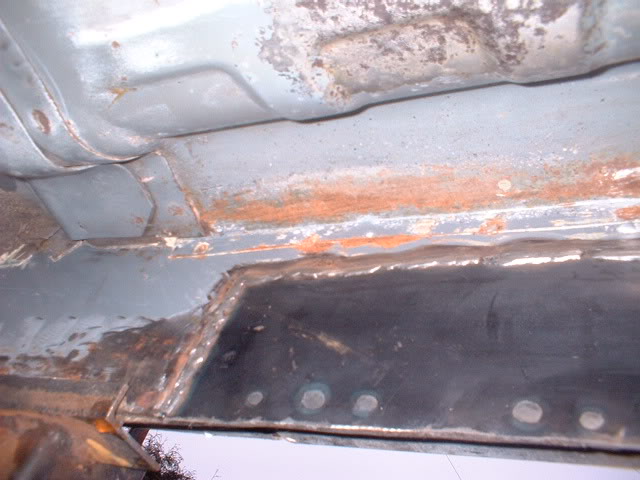
Heres an imortant step. Rustproofer poured into the panels and heated up till it flows out of all the joints and drips onto the floor
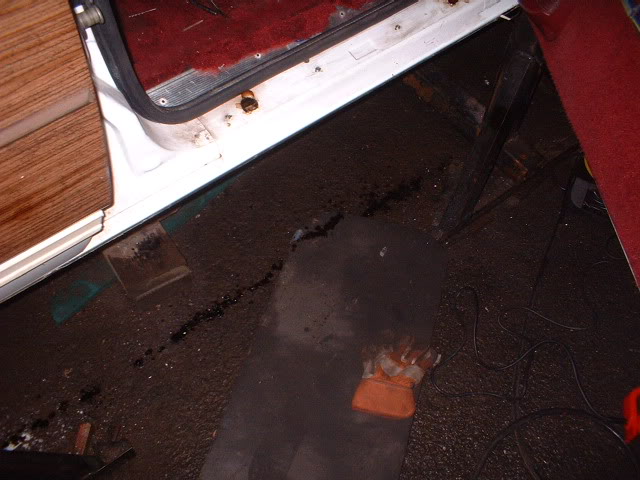
You can see the brown fluid on the bottom of the welded seam
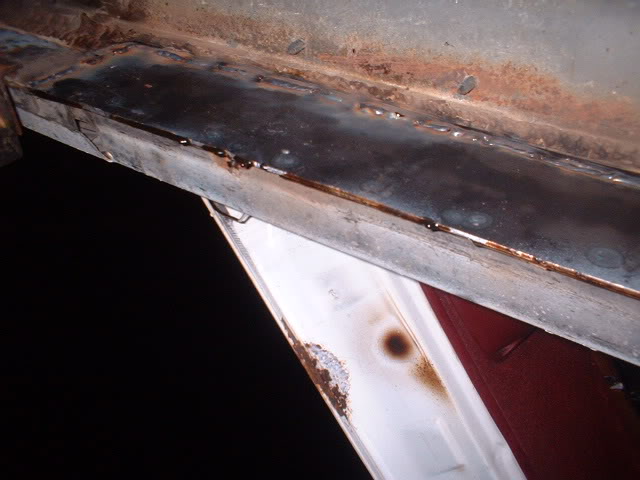
You can also see a nasty rust spot under the passenger door! Thats on my list!
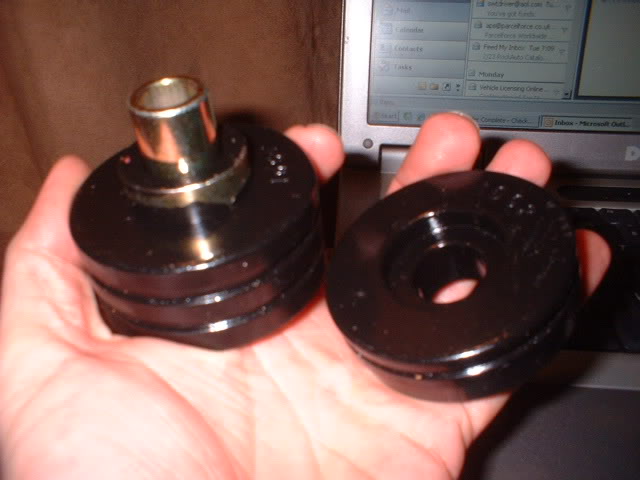
Heres a photo of one of the new poly body to frame mounts that arrived yesterday
2-27-2010
Forecast is not good for the next few days, but I don't care! I need to get the frame back as soon as possible so I can get this car to the bodyshop.
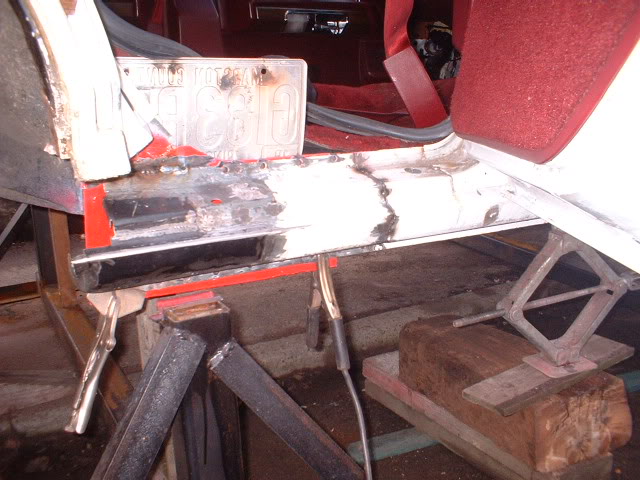
So its finish off a little bit of welding and prep the underside for its new silver paint!
This involved removing all seam sealant to check underneath for rust and wire brushing and surface rust removal-all on the passenger side.
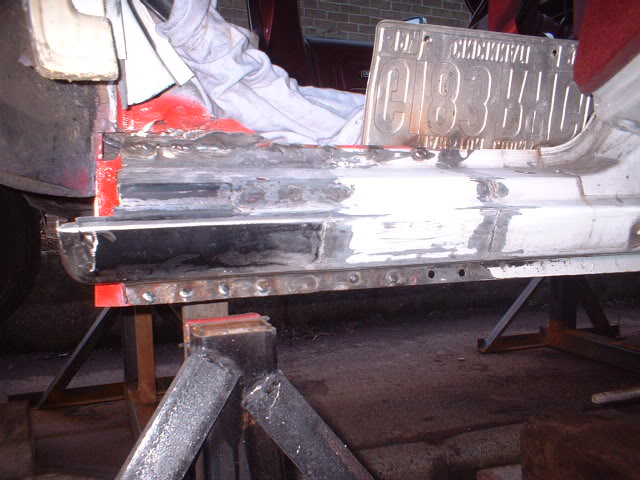
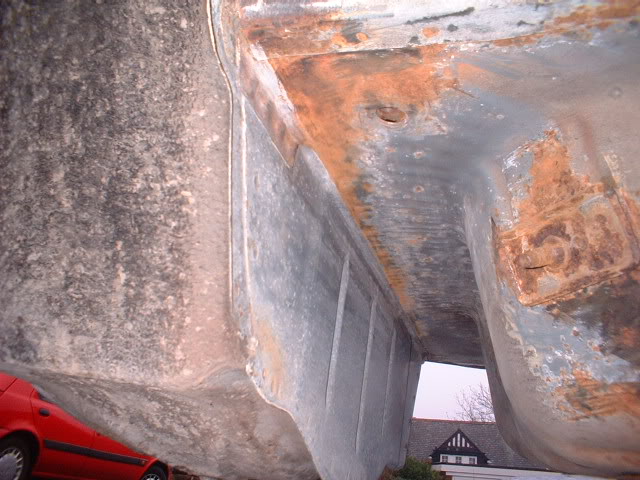
Heres a few photos going along the rockers and towards the back. i feel quite proud of this. The view before it all started was horrendous. The view now is fantastic.
Apart from the brown surface rust, it is now clear and green! Or is it..............
Front
Going further back
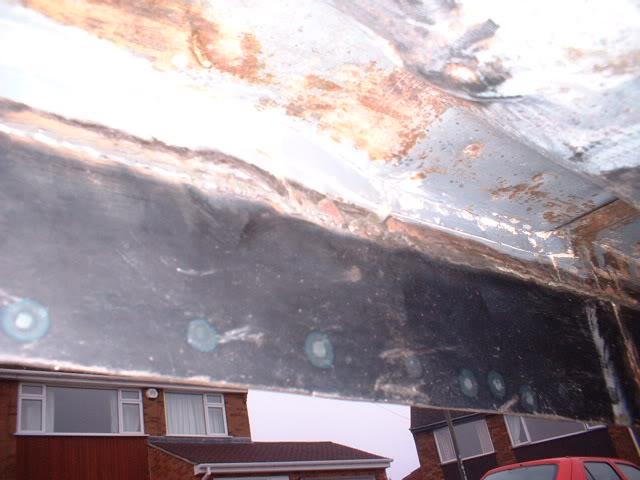
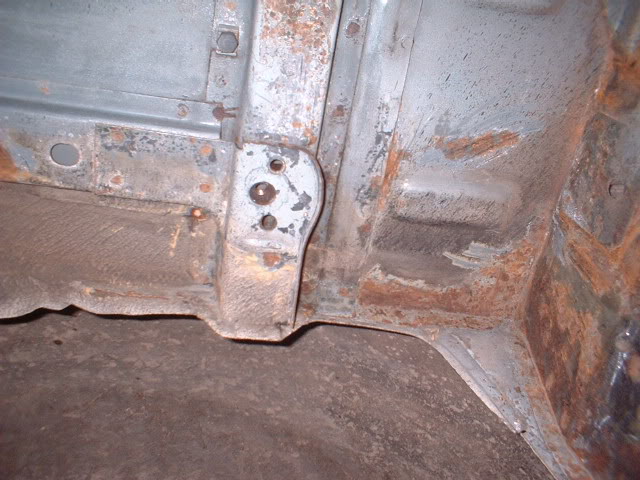
Heres the rear seat belt reinforcing plate that is concealed above the frame when it is in
Only surface rust which will disappear under the media blasting! I will pour rustproofer in behind it before I seal it off.
This is directly above the rear wheelarch
and just a bit further back
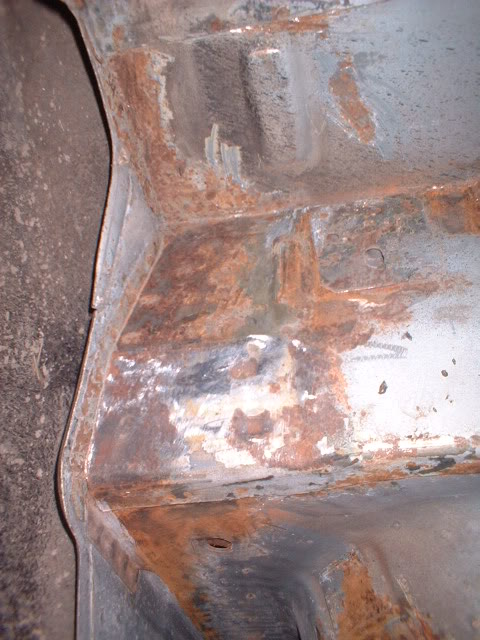
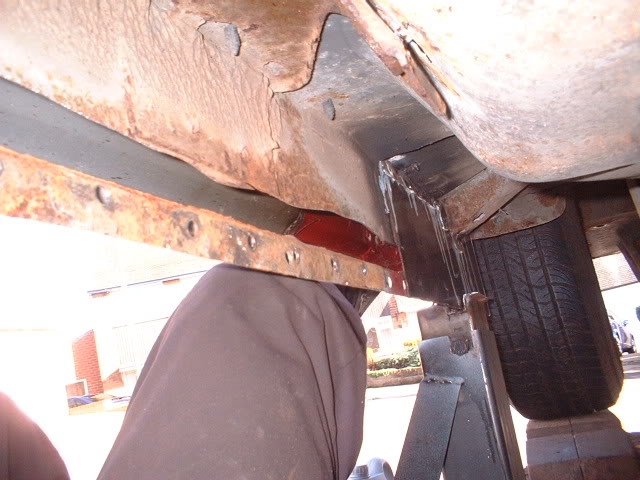
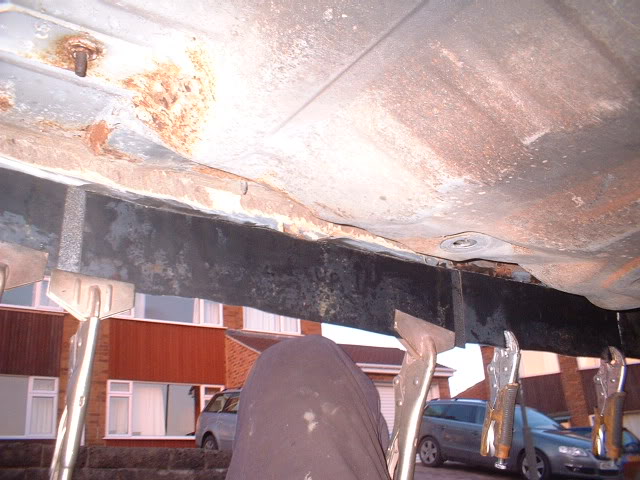
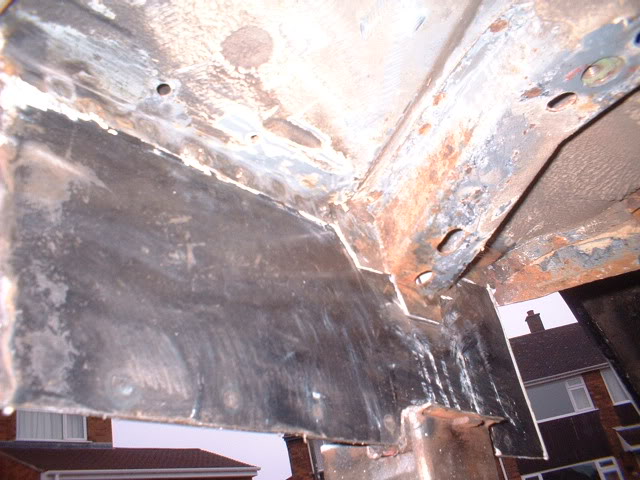
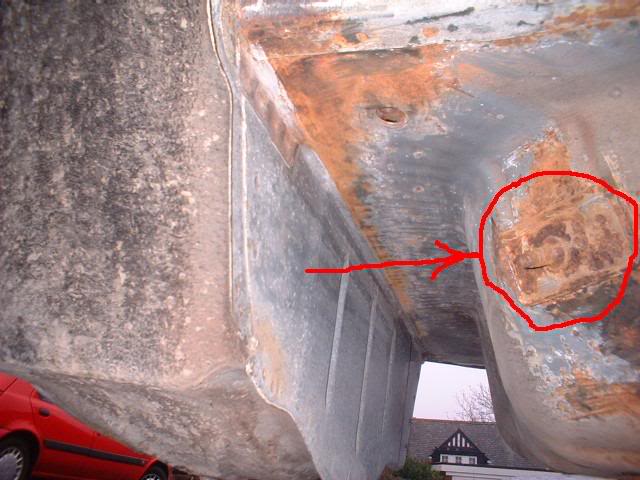
This is where it gets interesting!
Heres the frame mounting point just behind the rear wheels. The black lines are metal fatigue cracks. It is not down to corossion. It is exactly the same on the otherside. Hmm, design flaw?
Heres 1 more views of the back
Still some rust removal to do, but we are almost there.
Thought i would try out this rustremoving gel
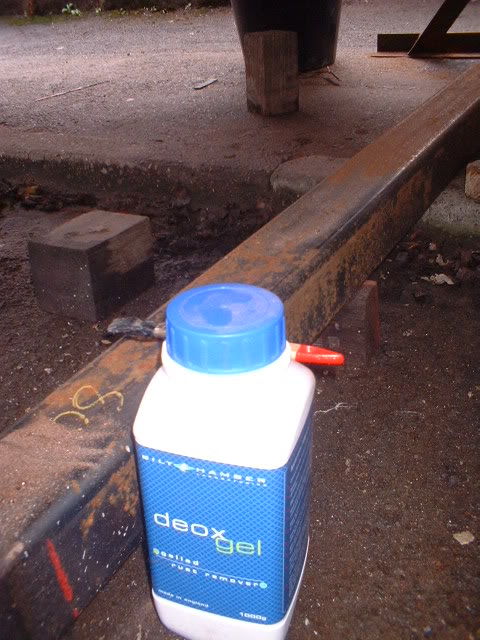
Here it is applied where the middle seatbelt reinforcing plate was (and will be again!)
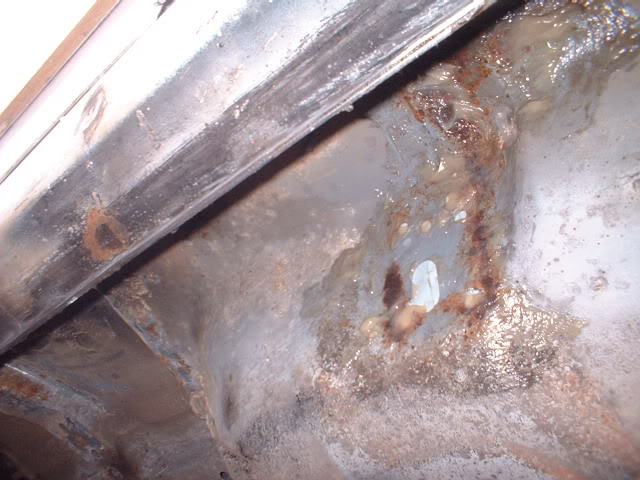
I will post another photo up tomorrow after it has done its work!
Some nice little jobs to do here.....
All the seat belt bolt reinforcing plates and the seat bolts reinforcing plates are rusting and so is the steel underneath. Like this one
Very simple to remove - 4 spot welds drilled, chuck plate in acid bath for a few days, media blast and paint rusty steel on car, weld panel back and repaint everything.
Its all in the details!


Love this build, so much work!
Posted by diyauto on 1/21/21 @ 1:46:55 PM