You must be logged in to rate content!
4 minute(s) of a 418 minute read
12-6-2009
Thank you, you were quite right
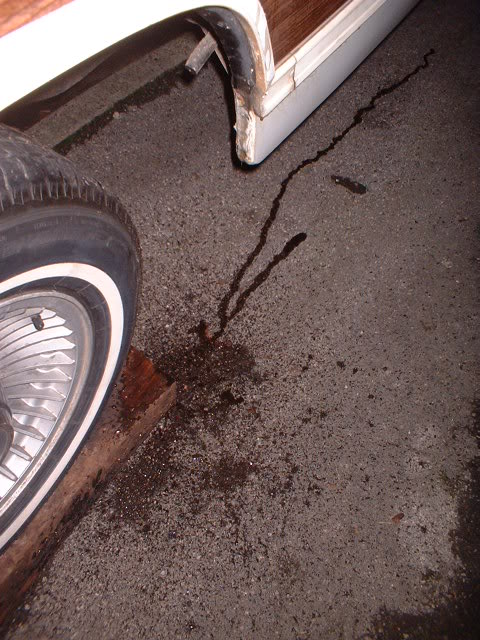
Found the drain tube for the gas filler door and stuffed a screwdriver up it! Did it drain the water out? Err.....no.
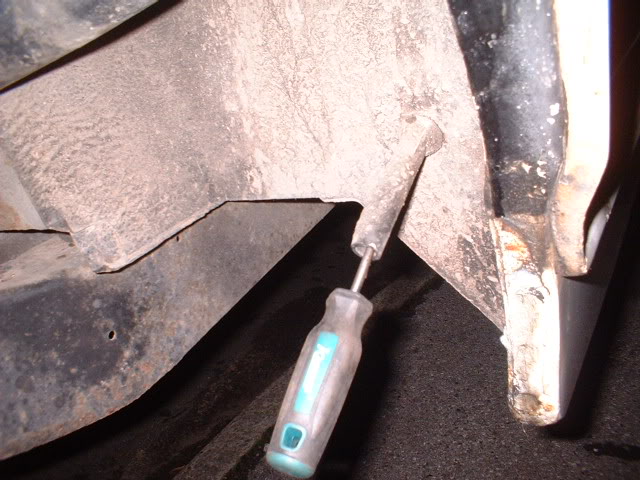
So, stuck the airline up it and blew. Did it work this time? Err......yes it did as all the water shot out and landed on top of me!
Heres proof that it now operates as it should.
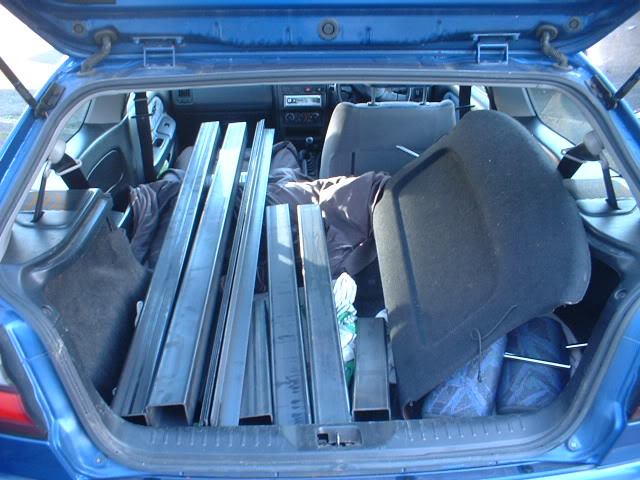
Back to the frame removal.
Popped off to the local steelstockists and bought £100 worth of 8cm box section and 50mm angle iron for the body supports.
I then went inside the car to remove the seats and the passenger carpet was wet. Can't blame the heater core for this, so its up with the carpet and have a look and dry it all out.
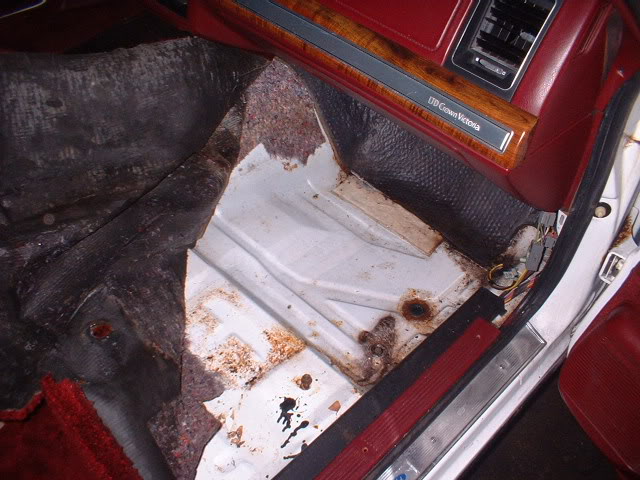
So I went off to check the drain holes at the base of the windshield.
More on that later.
Here's the air compressor for the self levelling rear suspension
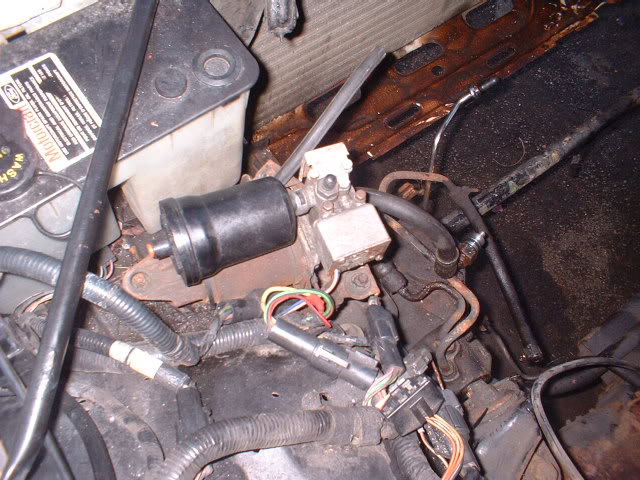
Thats going and be replaced by a more modern equivalent with air springs and a digital control system. I may even incorporate the rear ride height sensor into the new system.
I like the way someone has replaced the tired and split rubber mounts with a tie wrap!
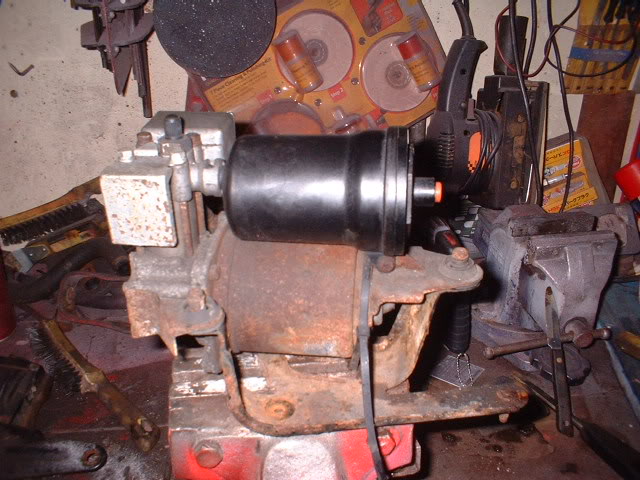
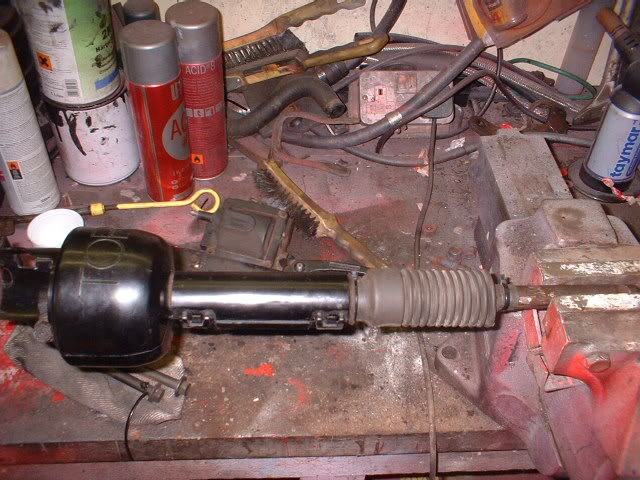
Onto the steering disconnect. Simple, undo the pinch bolt at the firewall and slide the shaft forward and thats it. No its not. Would the intermediate shaft slide? No way. So, undo the pinch bolt at the steering box and unbolt the box itself and remove the shaft, This time it worked.
Then onto the bench to unseize the sliding joint and regrease and clean up.
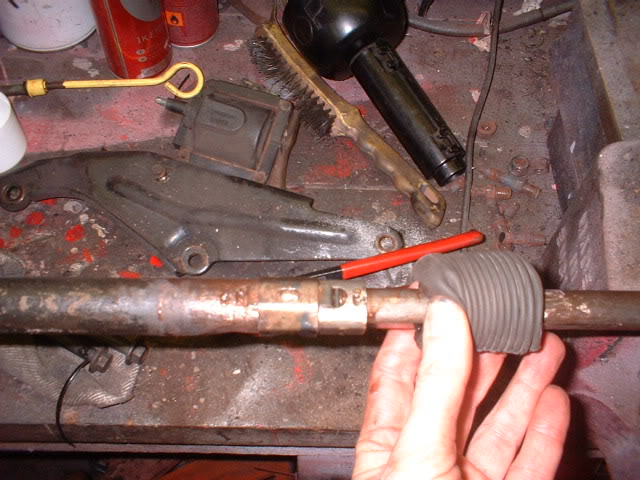
Here it is all freed up, cleaned and gaiter resecured.
12-7-2009
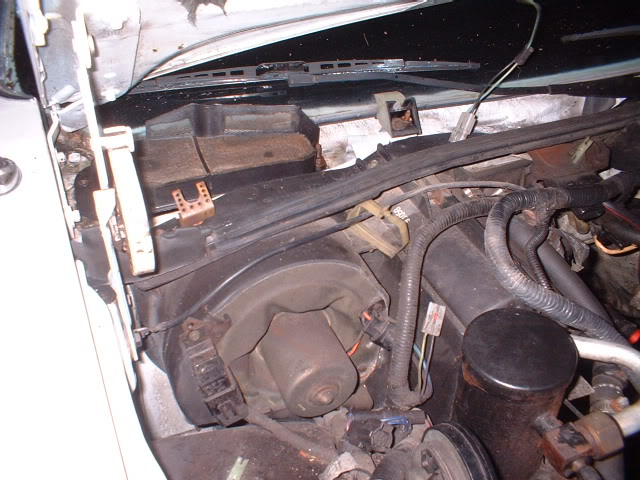
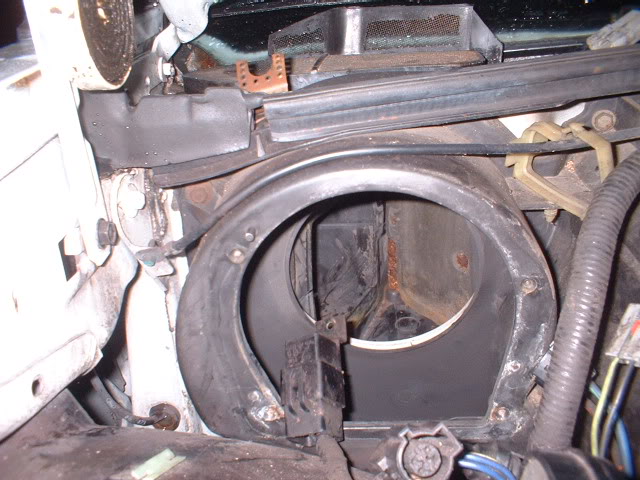
This is the heater fan removed (very tight space). You can see where the water has entered through the plastic grille above and gone into the left hand section that is visible through the hole where the fan used to be. This is where its supposed to go. There is a drain hole in that LH section that was blocked. So the water spills over into the RH side and into the cabin. You can see the rusty heater flap hinge.
This is the rusty stud and nut that I have had to nibble away with a die grinder to get the plastic vent off. I have now sealed the vent down with black RTV sealant so water doesn't enter there at all. I'll see what happens, but it seems to be dry inside now after a lot of rain. I'll replace that stud when the dash comes out for the heater core replacement.
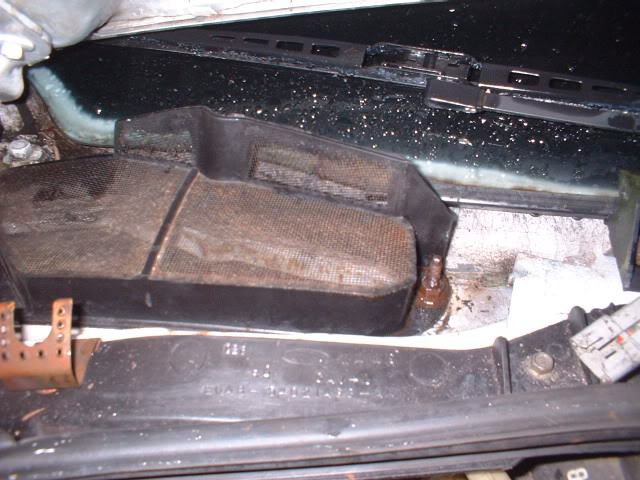
By the way, what is that brown horseshoe shaped bracket for in the front left of the picture? Is it to scrape off the skin off your hands and fingers? 'Cos if it is, it works!!


Love this build, so much work!
Posted by diyauto on 1/21/21 @ 1:46:55 PM