You must be logged in to rate content!
9 minute(s) of a 210 minute read
3-2-2020
Hi Cotty - you beat me by 1 post! I was about to come onto the Youtube thing! Your super looked lovely, I do like the Lotus steels but what crossflow did you have? Was is a 681F or a 711M and what engine mounts did you use?
Whilst the shell was away I had room to start getting some parts out of my various hiding places with the intention. of tidying them up and then fitting them to the Cortina for the last time, one of my hiding places was the shed which was only lightly frowned upon by Mrs. Jim because the spiders congregate at the back of the shed so parts can go there too!
As it turns out the work I did to the fuel tank did not go to plan and the sealant inside the tank hadn't adhered to the the metal, I followed the instructions but I don't know when the chap who supplied the kit with the tanks had purchased it so I believe that it might have been passed it prime - bugger
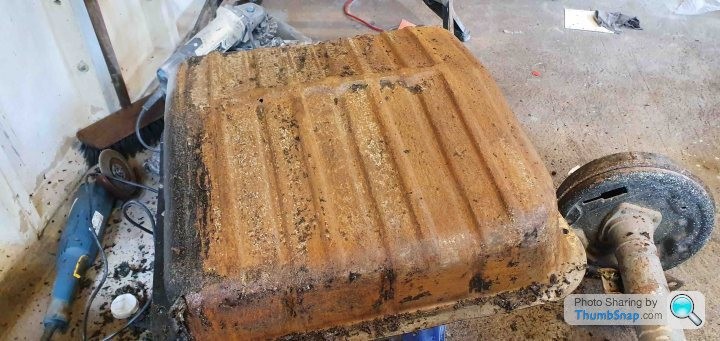
There's no point crying over it and I'll use my original tank albeit after some fabrication work but I'm procrastingating on that job with an intention of actually getting the rest of the car built to the point I actually need a vessel that can hold fuel!
When the Cortina went to the body shop the front frame worked fine but the rear shat the bed basically - it was only designed to go forwards and backwards 9ft and was not trailer friendly so given that I would have to send the Cortina back in what I was lead to believe 6 weeks I'd start with the rear end and then the front.
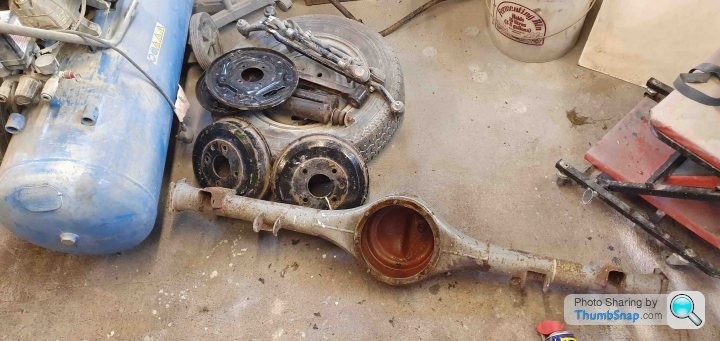
Not long after I bought the Cortina the rear struts were replaced with Spax dampers as the originals had lost their oil and were looking a bit dogeared so these were cleaned and rebushed, back in 2009 when I was trying to get the Cortina road legal for Le Mans I was working at VWR in Milton Keynes building and tuning mk5 Golf GTI's. We used to order bushes from superflex and when making a bulk order I asked if the did bushes for the Mk1 - they did and because we were putting though such a larger order anyway I was given a 10% discount and free postage! I did fit these back in 2009 but the hammerite I used on the arms had fallen off so this was quickly rectified.
Whilst tidying these parts up I had a realisation; How was I going to fit these parts if I didn't have any fasteners???
A bit of research in my genuine ford Mk1 Cortina parts manual gave me the exact fasteners I needed and a few orders later this lot arrived.
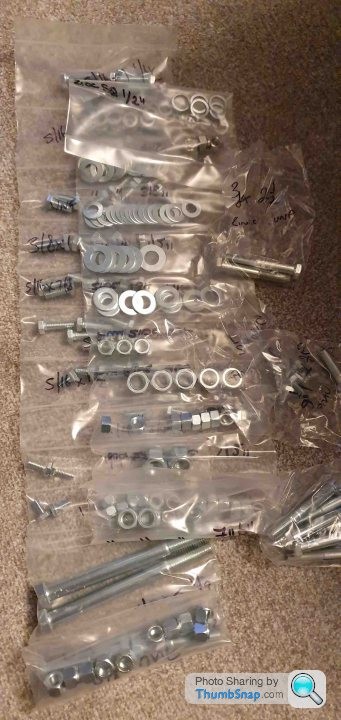
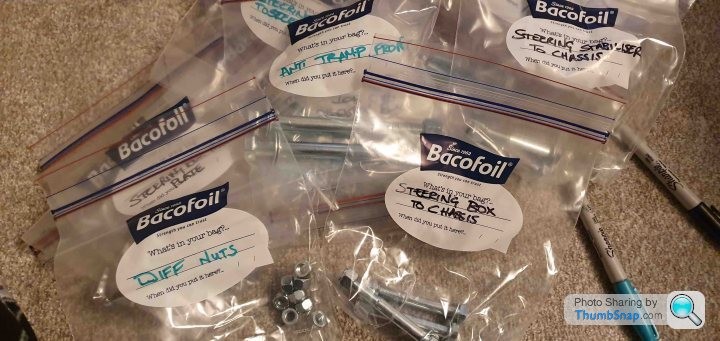
An evening of sorting had the lot kitted out and ready to fit - Mrs. Jim was unaware I had the potential to be this organised!
The time had come for the shell to be dropped off (the door inners were being finished at the body shop)
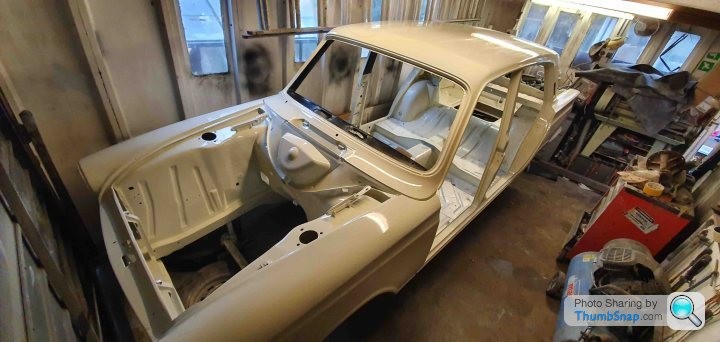
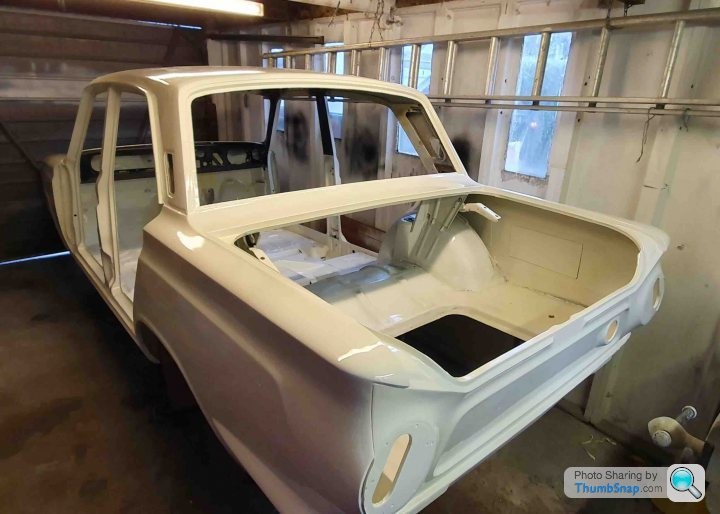
Whilst the temptation to start fitting the axle was unbearable I needed to keep the shell rolling for when the panels were delivered so I could fit them as I didn't want to store them somewhere where they could be damaged.
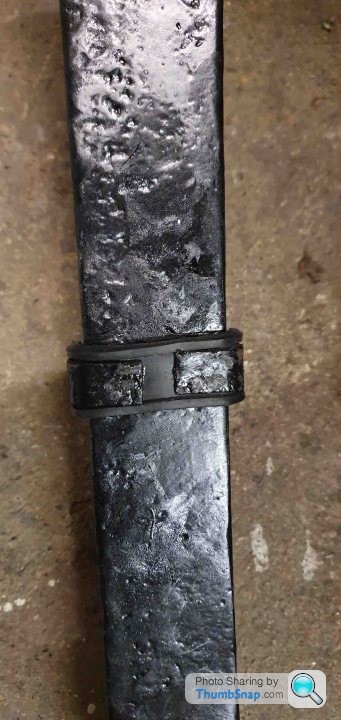
So I made a start on the leaf springs, I had done my research on these and I checked them for cracks and signs of sagging which I'm pleased to say they had neither so I refurbished them myself. Keeping one leaf assembled as a reference I eased the shackles open enough to release the leafs and finish crack inspection and start tidying them.
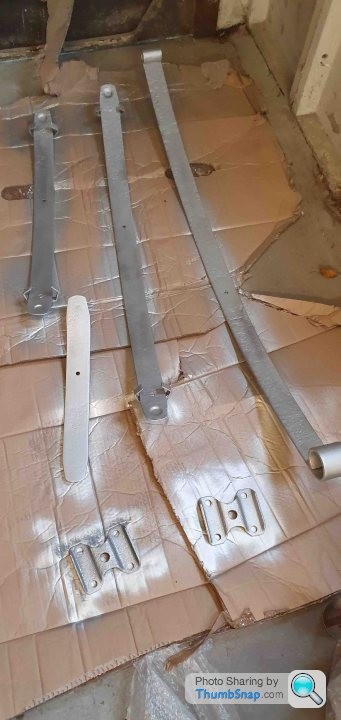
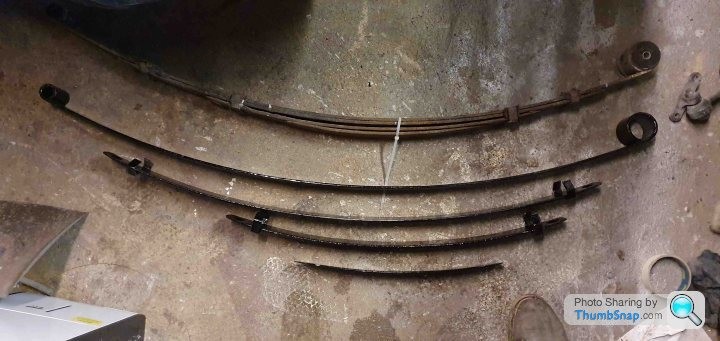
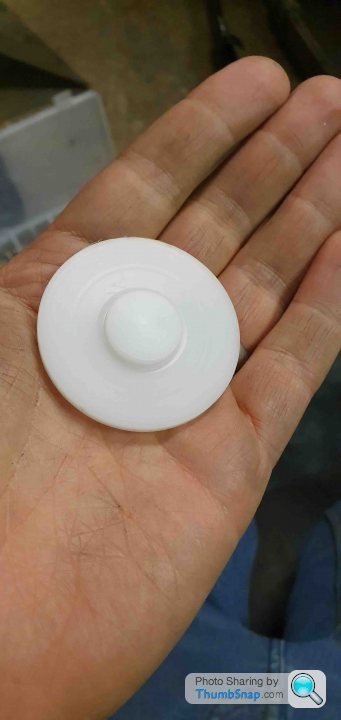
The anti squeal shims had bitten the dust, they were heavily compressed and they pretty much disintegrated in my hand so I have some replacements made out of Nylon 6 which has a shore hardness similar to the Polybushes that had been fitted, the rubber for the shackles is the same as mk1 escorts though.
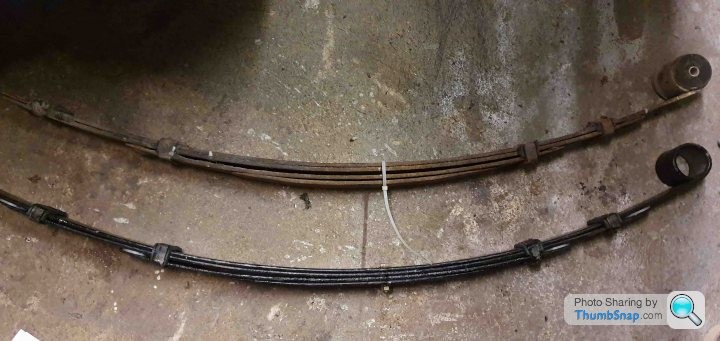
Now it's a case of rinse and repeat for the other leaf.
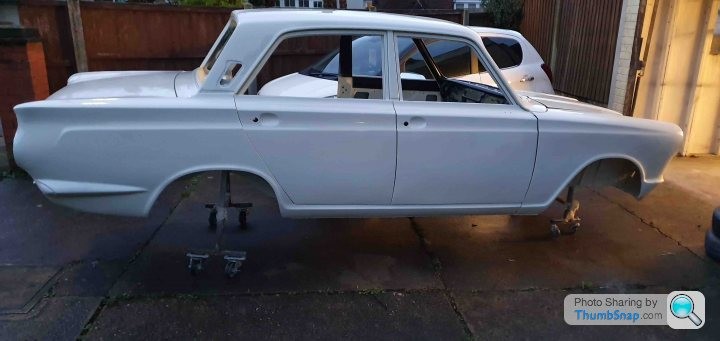
With the panels returned I spun the shell around 180 because the majority of the work I'll be doing is at the front and drivers side and that also meant I could start fitting the rear axle.
It was at this time I had decided to try something new and start recording my exploits for Youtube. I like restorations, cars and videos but I find some videos to be reliant on a plethora of tools and cash thrown at a car is the only way these things get finished. My intentions are to show that these cars can be built using basic tools, and a modest budget at home.
I'll apologise now because I don't have a face for film, I'm still not used to talking on camera and I'm learning as I go!
With that shameless plug out of the way I'll get bak to the axle
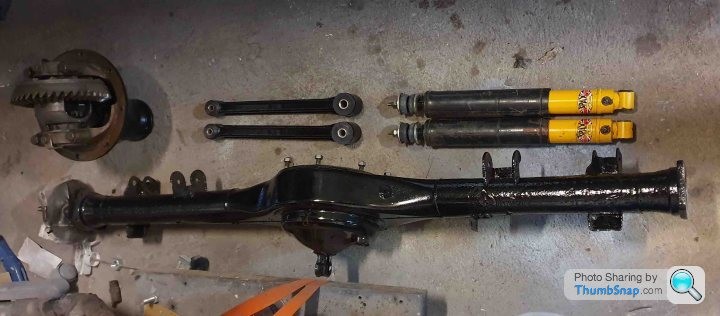
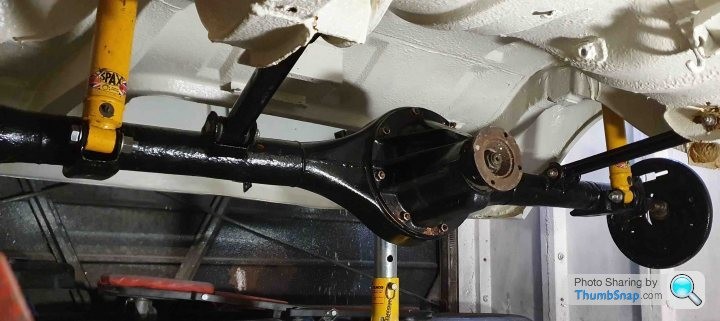
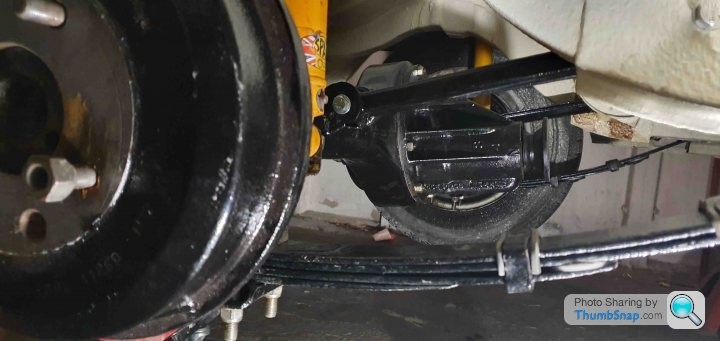
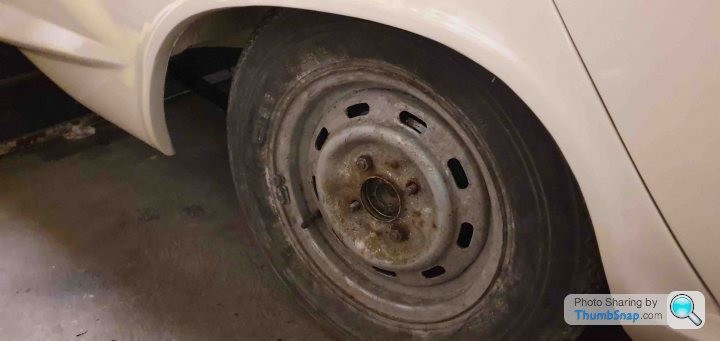
And for then back on it's wheels which aren't staying, these and just to keep the Cortina rolling - I have a set of original Dunlop D1's that'll I'll refurb ready for
Now I had to make the front match the rear! Again going back to 2009 when looking at the original struts I found that the spring cup was rusted and the damper stanchion had been gouged by something so not safe for road use - so I had to get the converted to adjustable coilovers for safety....
So on with the photos!
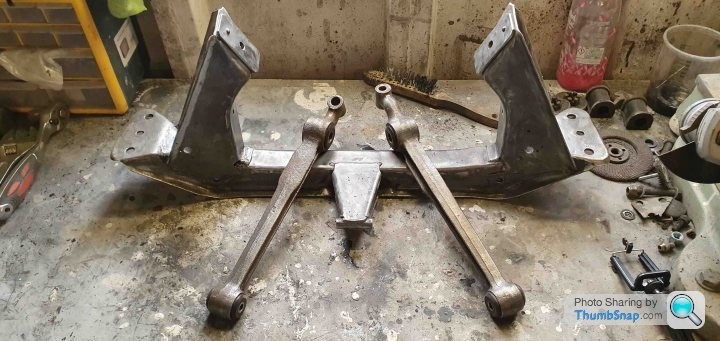
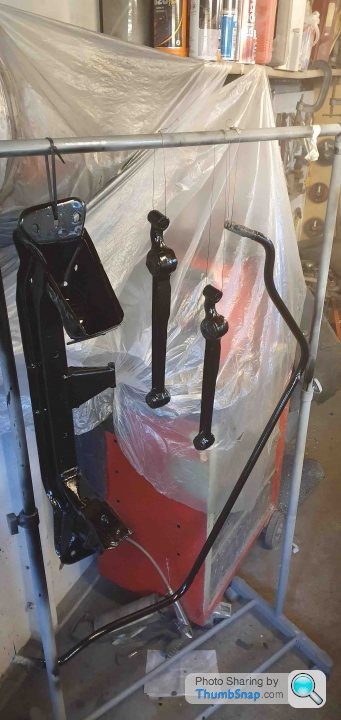
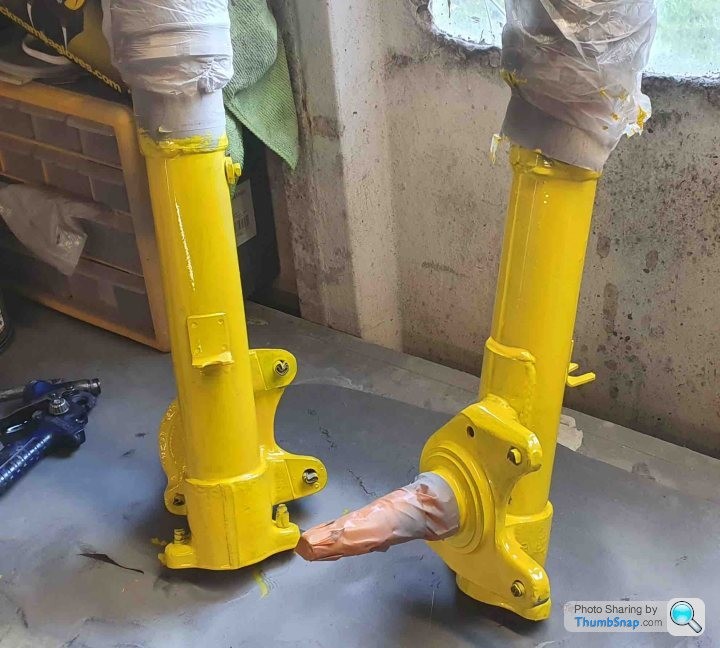
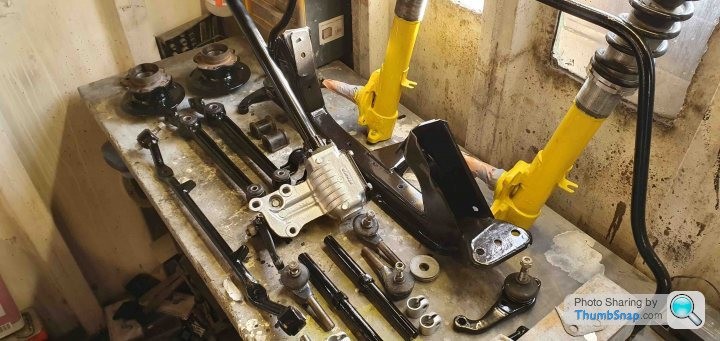
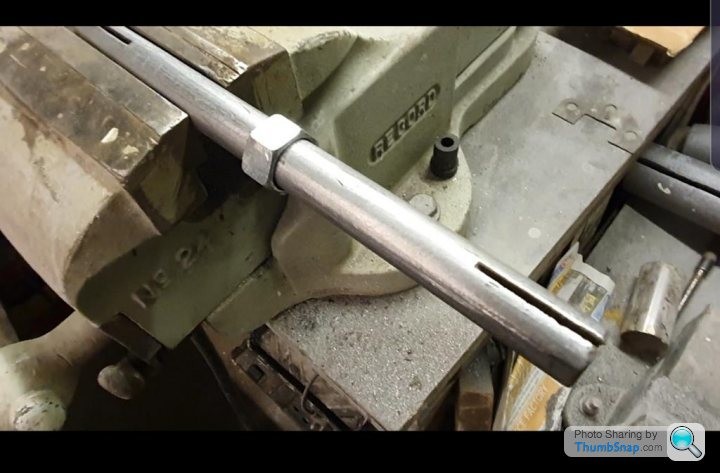
The steering arms are a bugger to adjust because the threads get pinched at the ends and they let road filth in so to make adjusting them easier I bored out an M18 nut and welded it in place - after fitting I'm finding the threads are very tight so I think I'll make some new steering arms using hex bar - I believe they're 9/16" UNF thread so not to difficult to make with 1 LH thread and the other RH.
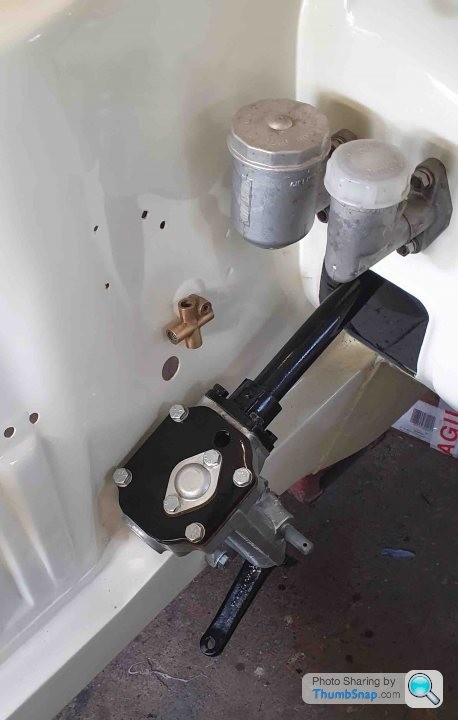
The steering box was inspected and because it was well within ford's tolerance for float I opted to leave it as it was because these are difficult to strip at home and can actually cause more harm than good.
I put the pedal box on because the column mounts to it and it's better to get the pedals in first but I'll come back to that.
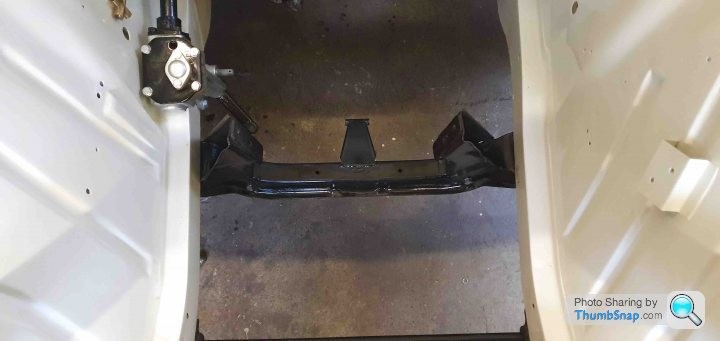
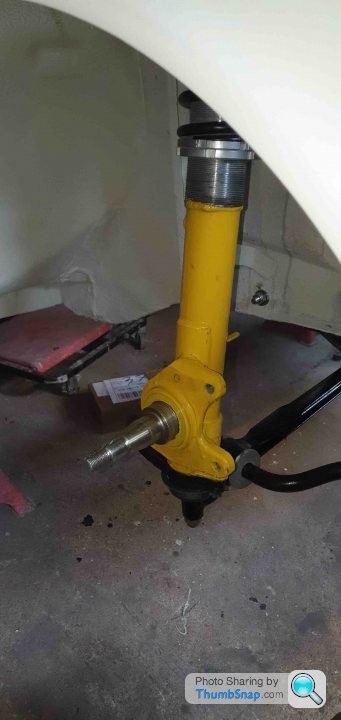
Some eagle eyed of you will notice that I'd put the struts on the wrong way round - the callipers should be at the back not the front!
Comments

Great work mate! Loved the taillights and fins on these cortinas. Remind me of the old type 34 VWs.
Posted by MPower on 10/31/20 @ 3:15:41 AM

Thank you! I had never made that connection before, you're right!
Posted by Jim_builds on 11/16/20 @ 2:29:18 PM

Thank you Steve I appreciate the support, it feels like a lifetime since I did a lot of the work! Hopefully I'll be back on the road early next year so I can finally put some miles on her.
Posted by Jim_builds on 10/26/20 @ 12:08:47 PM

Beautiful Cortina! Looks like a lot of work but you did a bang up job! Glad you saved this one!
Posted by stevegolf on 10/22/20 @ 11:06:39 PM
Thanks for all the photos! Such a cool car!
Posted by Diggymart on 11/12/23 @ 10:55:36 PM