You must be logged in to rate content!
6 minute(s) of a 362 minute read
4-24-2015
Hi all,
You know when you have a job to do and you put it off because you are really hesitant that you might stuff it up completely ?
This was one of those jobs......reinstalling the window locking mechanism.
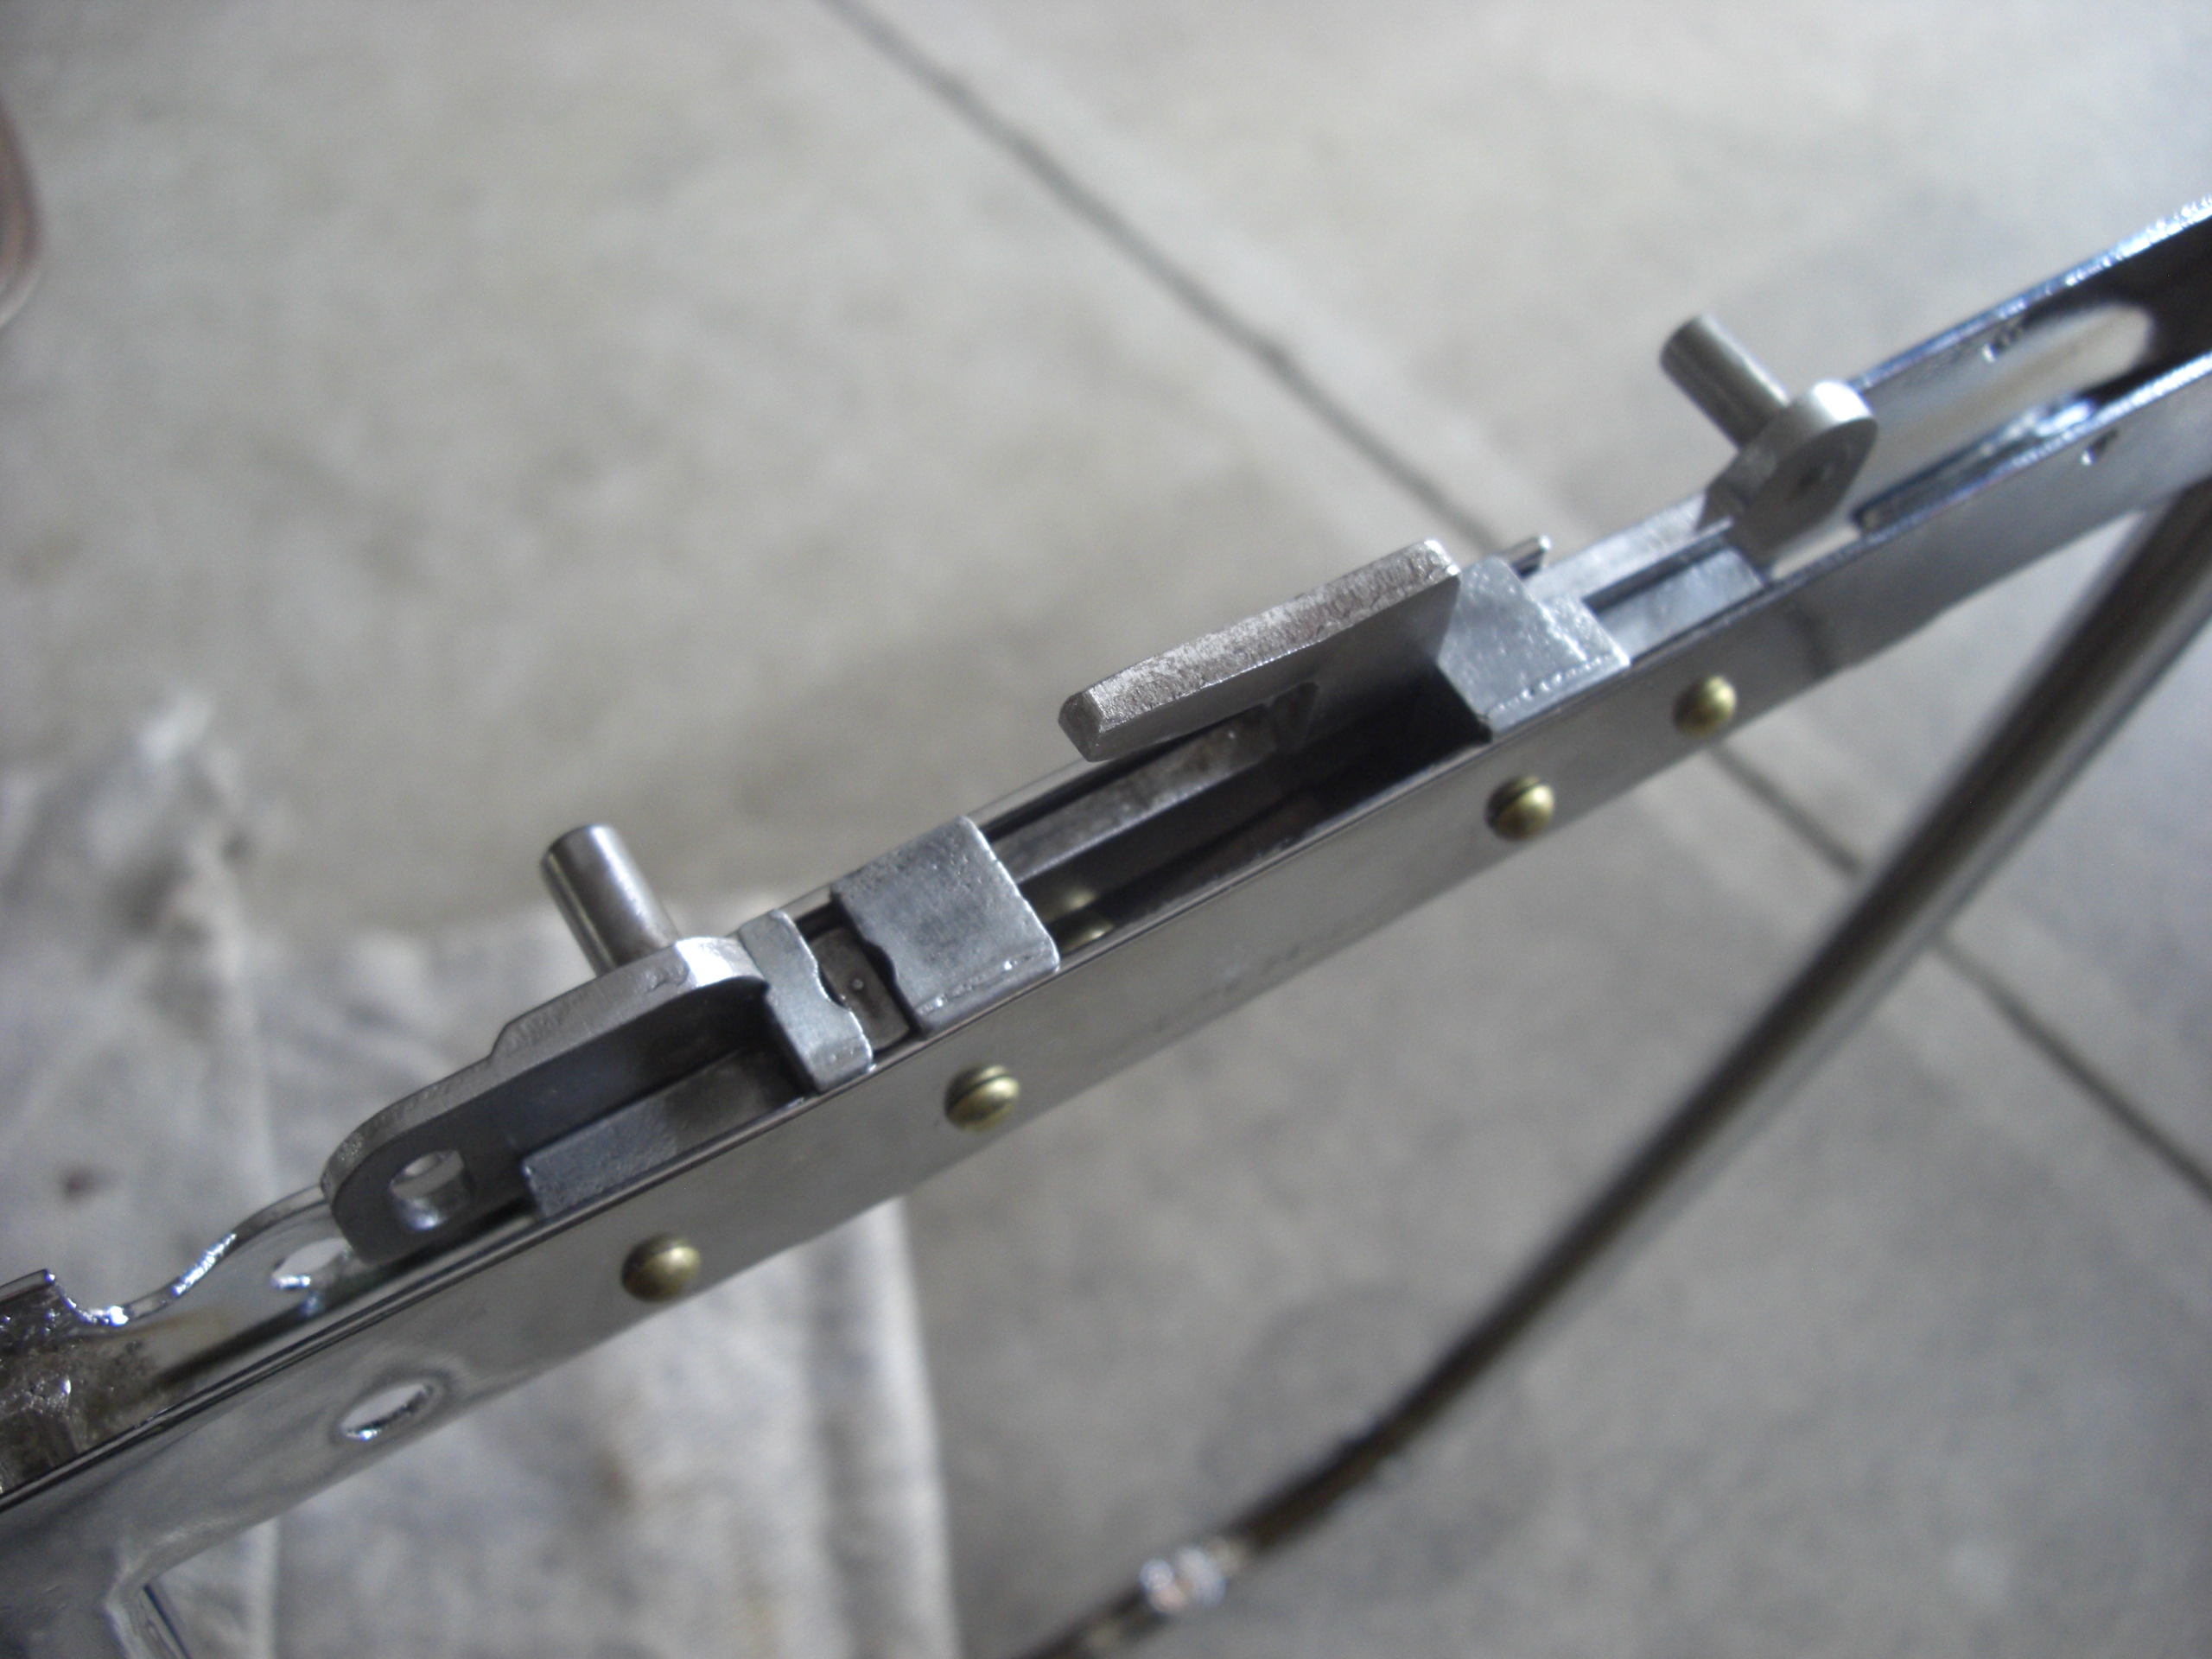
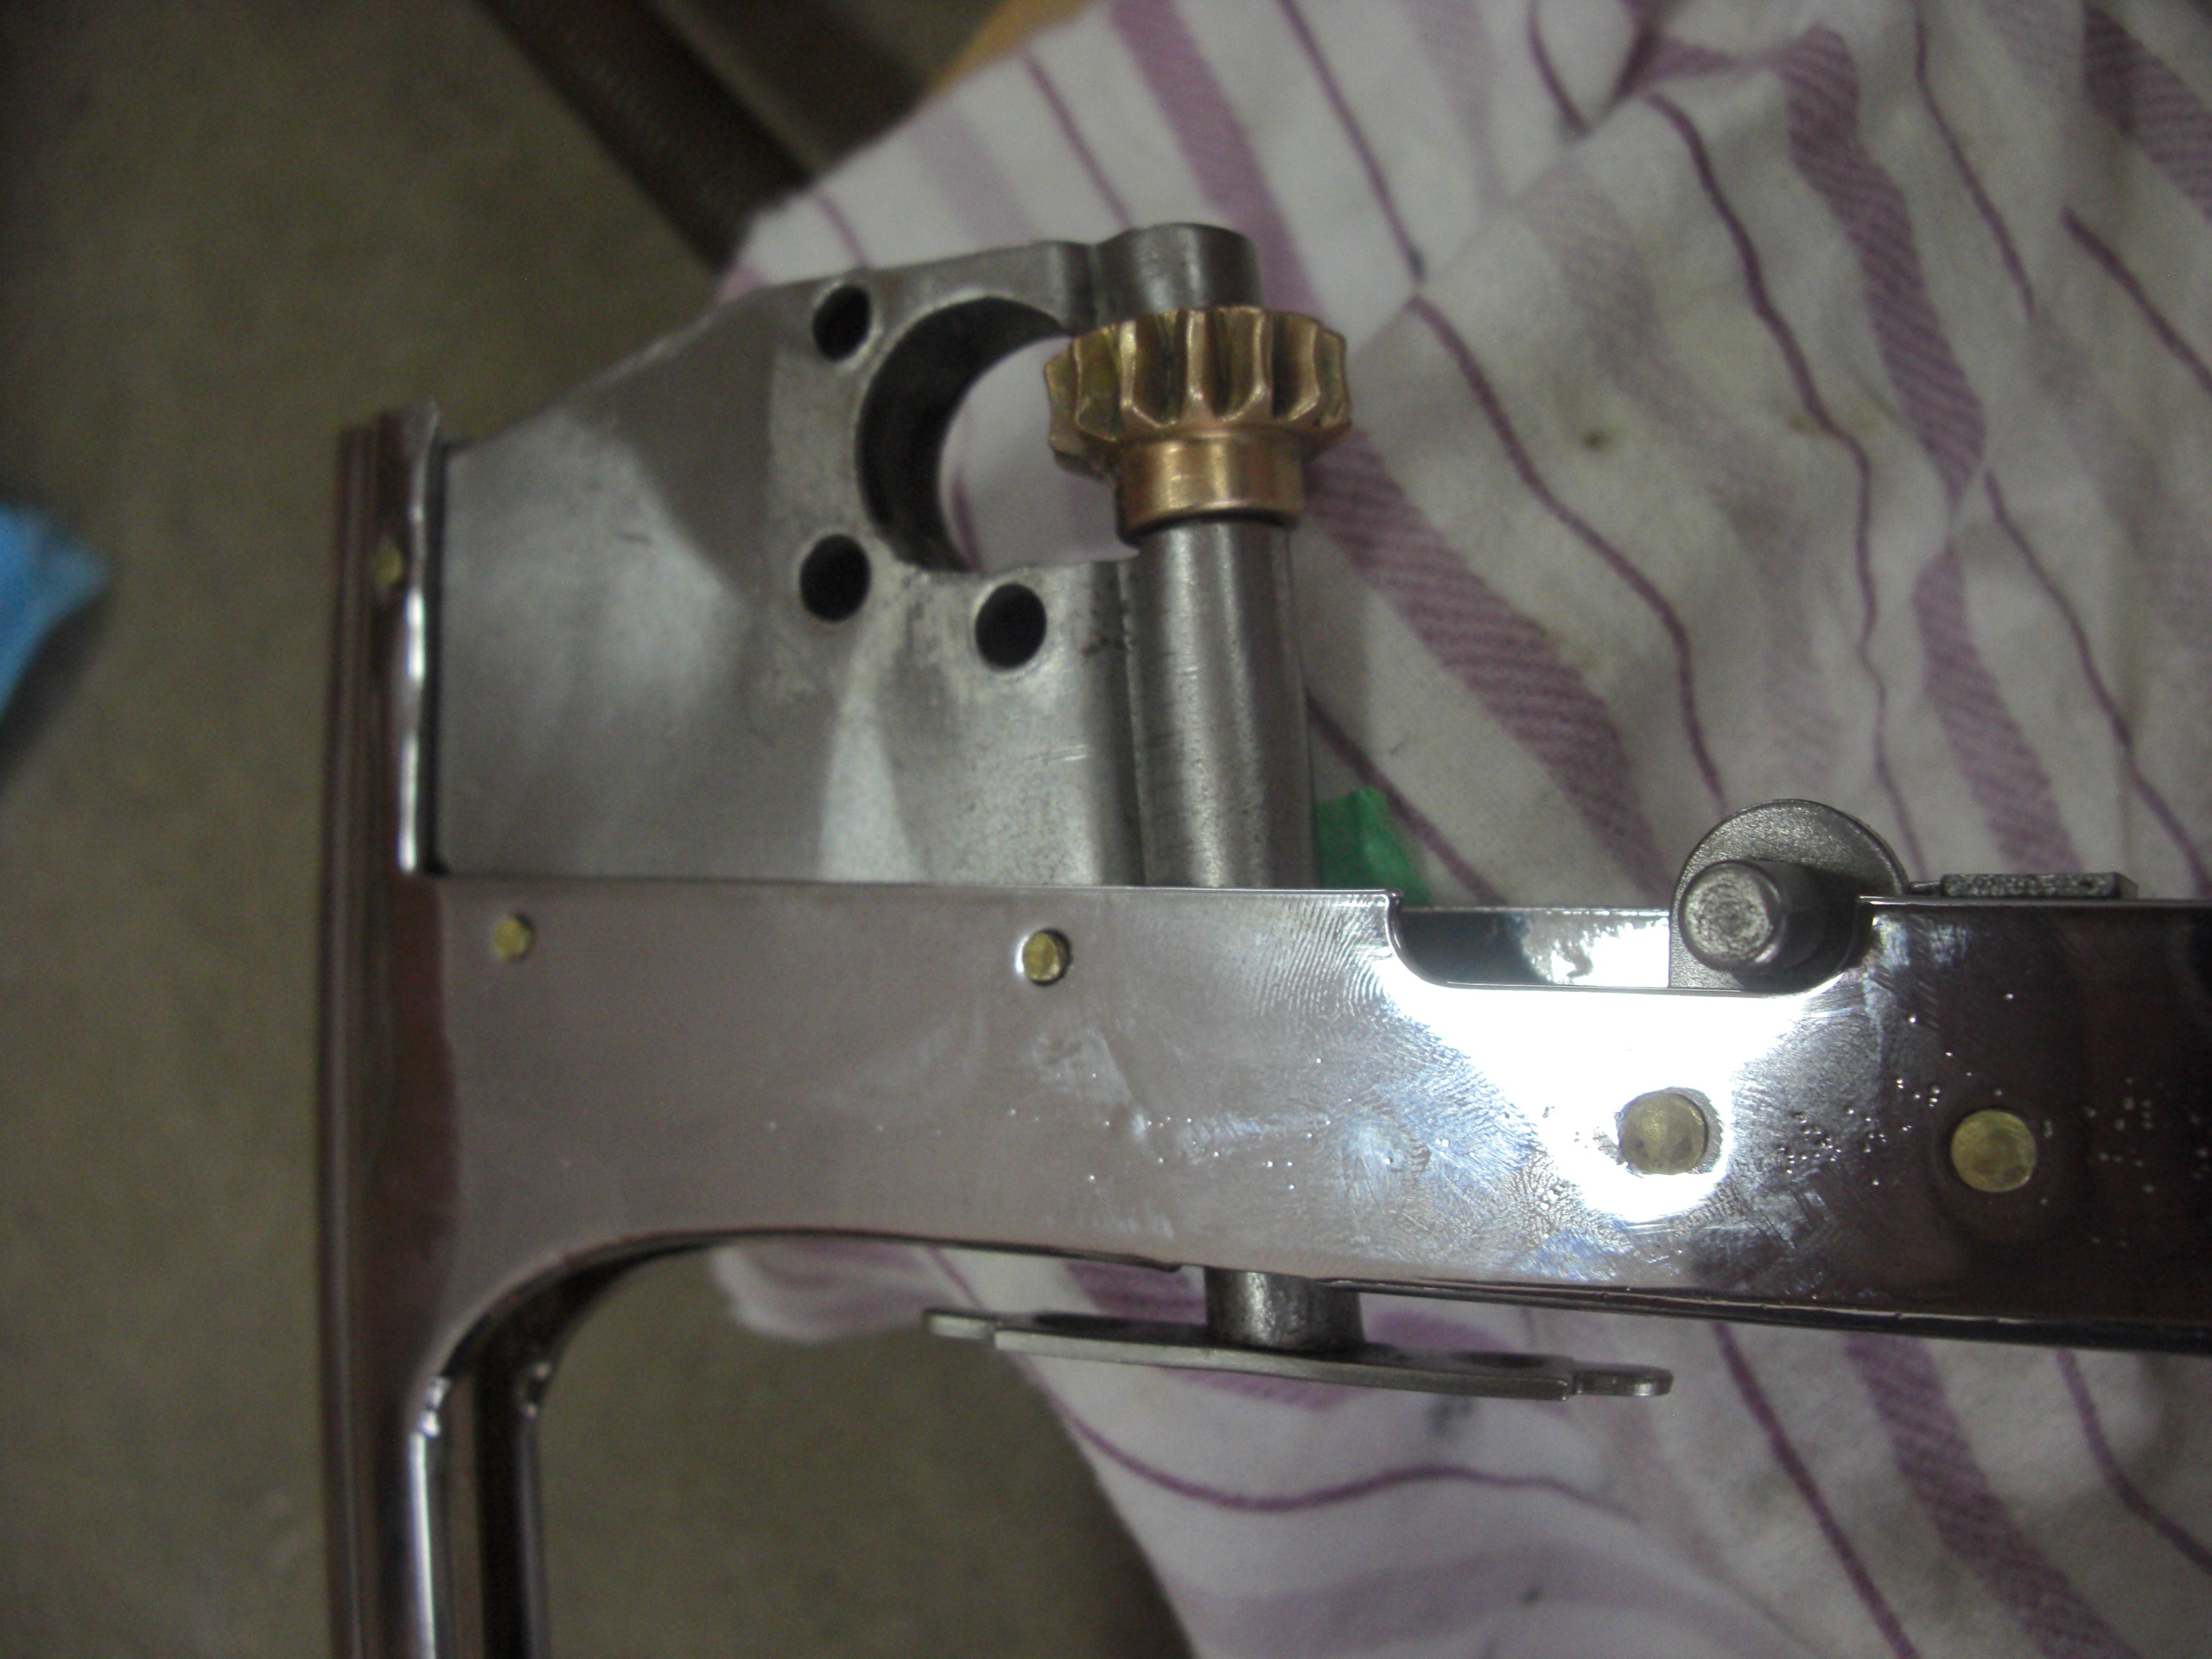
Ok, so I got the frame and my cleaned up locking mechanism and checked with an old frame to make sure everything is around the correct way. Well that fits !
Then I got my brass rivet ( from the Restoration Supply Company ) and put into the hole. I used a piece of thick aluminium and drilled a countersink approx. the size of the head of the rivet to sit it in. And with a cloth over it, turned it over and taped the other side to avoid any scratches. I googled how to "peen" a rivet and after a few short clips I started peening !
Seemed to work well and a few of them needed a bit of finishing. I then installed the vent wind out window gear support bracket in place and realised this should have been done first as it was a real struggle to get it in. Checking back with my photos this was taken out second so should have been installed first. Never mind we eventually got it in and again went through the process with the rivets. Overall the job came off better than I( and my brother ) expected. He was holding the frame which made it a little easier. We also realised that sitting the aluminium that the rivet head sits in on a solid price of steel rather than a wooden block made it for effective as when you peen the rivet it tends to bounce with wood.
I'll repeat this process for the other side a bit later on.
Cheers
Ian


5/7/15
A bit more to report.
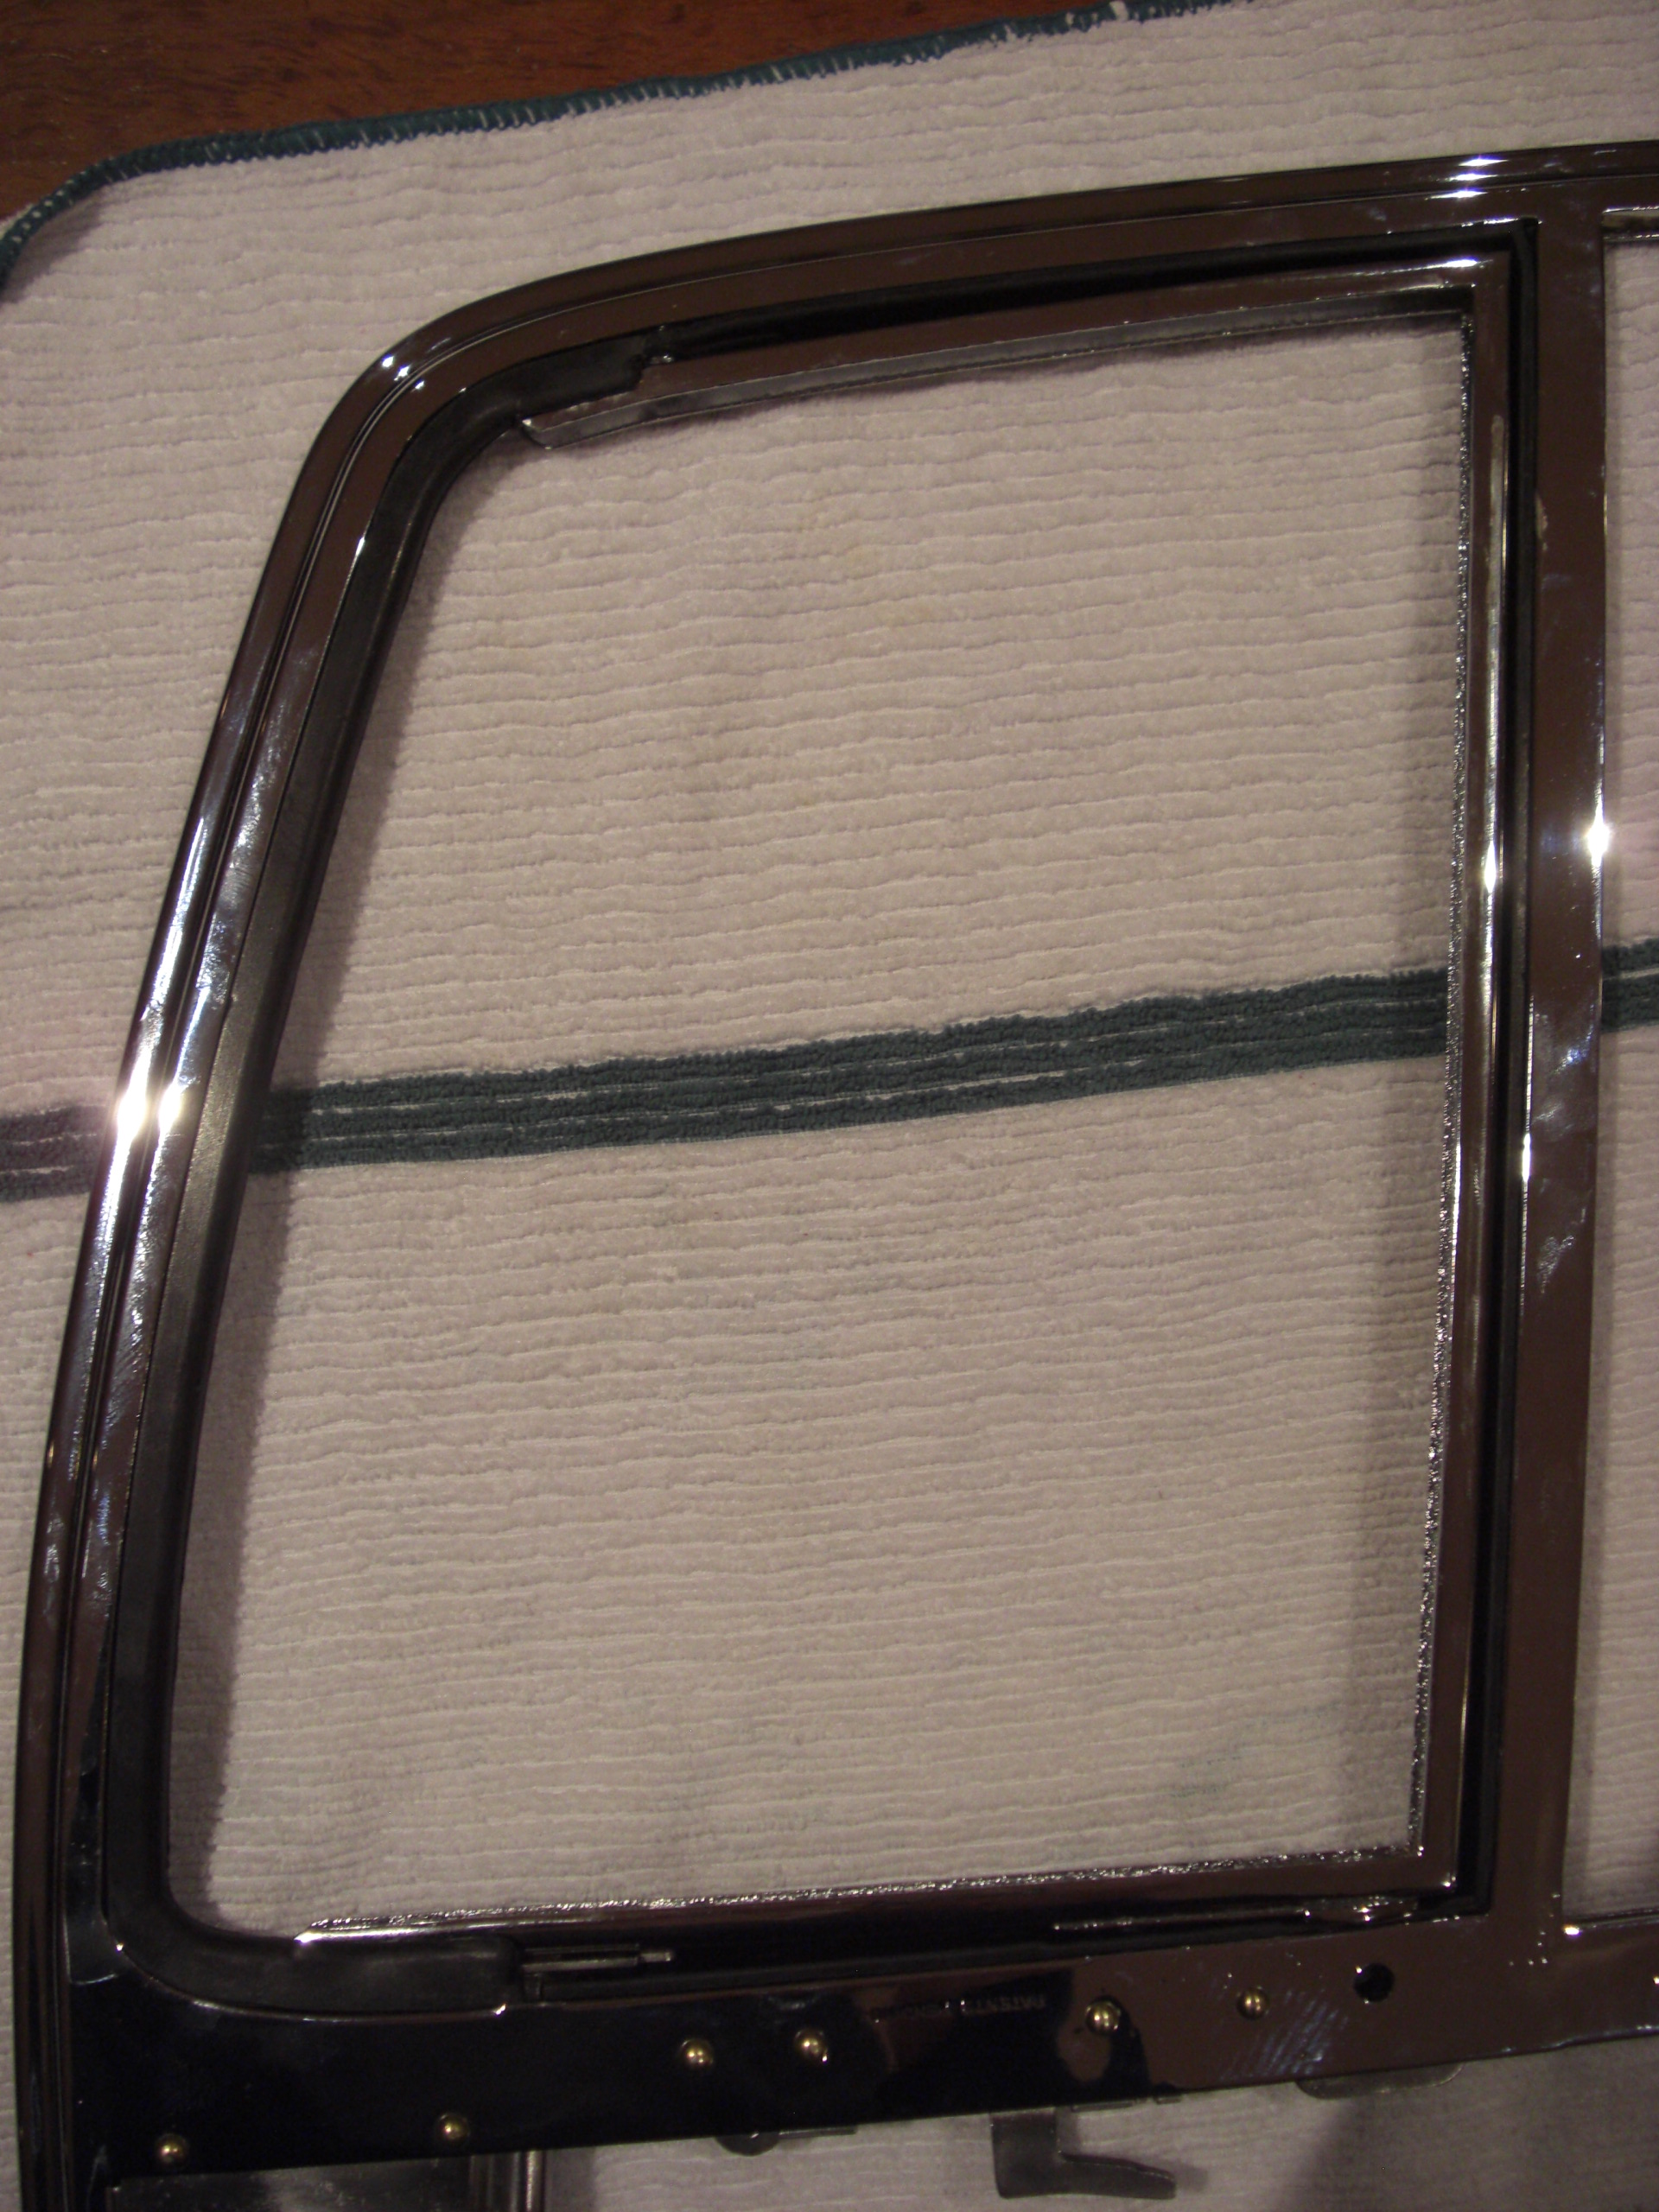
I dragged out a envelope that I received from the States 9 years ago with new vent window seal rubbers in it ( took a while to find I can tell you ! ).
These came with instructions too and after applying a little dishwashing liquid to then and a lot of prodding with a blunt instrument all I can say is WOW what a fit.
These things looked like they had come off the production line in 34. Next step was to check the frames which also fitted like a glove. Final step is to check the glass and frame together in the seal and with a bit of adjustment I applied a few daps of Polyeurathane to hold them in place and let dry.
I also tried to fix one of the window rollers. Should be ok and use some new rubber tubing. Sorry about those pics its a bit blurry.
Cheers
Ian


5/14/15


Still going at it. I'm still getting the dints out of the rear tail light housings. I also had a couple of brackets made up by my daughters boyfriend for the rear indicators. I want to paint the bottom of them and I'll polish the tops to match.
I've inserted the vent window glass in their frames and waiting for the polyeurathane to dry...see how it looks !
Cheers
Ian
5/19/15
Got a phone call today from the electroplater. Picked up the horn grills, sun visor arms and clamps, along with vent window straps and opening arms. Came up really well especially given the time I put into them. I did finish as best as I could the rear tail lights. They are going to fill a hole in one and recover in copper. One he said was perfect ( obviously the less dint I had to start with ) the other he can feel ribs around it. It must be slightly out of round. Anyhow I'll see when they come back.
Cheers
Ian

5/21/15
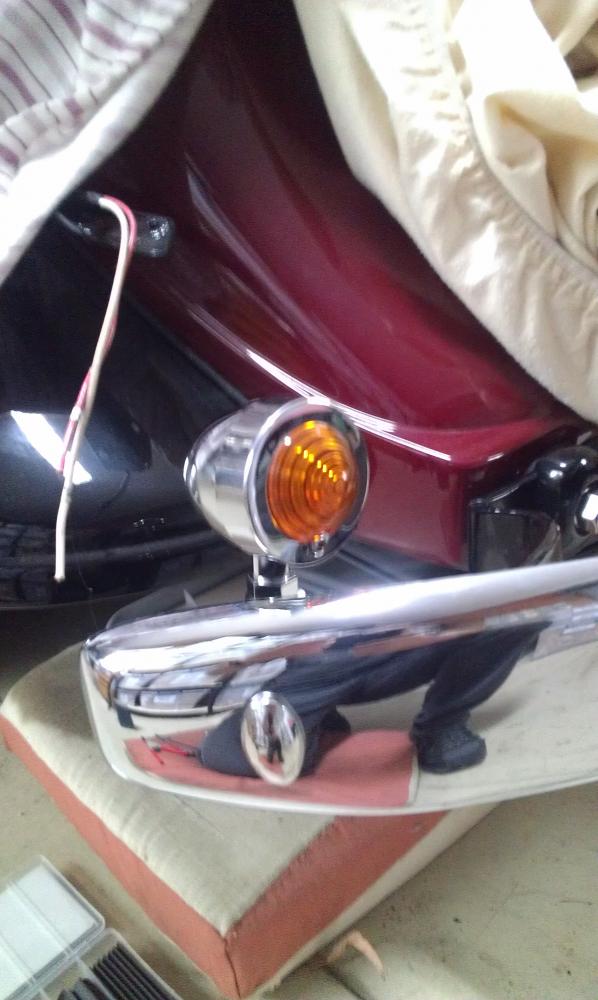
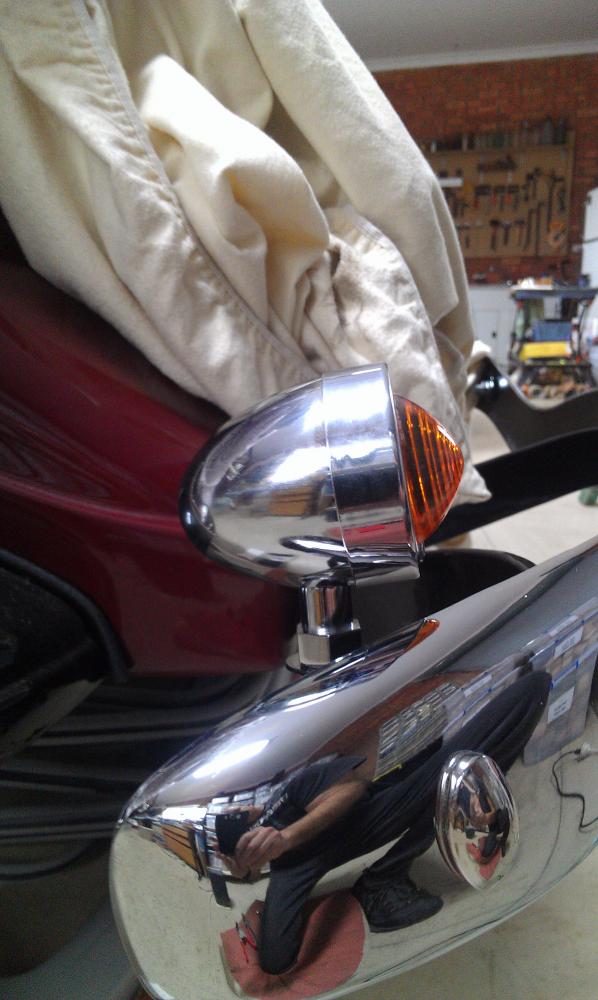
A bit more progress. I installed the rear indicator light brackets, completed the wiring and mounted the indicators.
These were originally for a motorcycle but I think the shape compliments the rear tail lights ( if and when I ever get them finished ).
I did buy there 9 years ago now so I must have been thinking ahead then !
Cheers
Ian


Great build what a beauty! Fun family picture BTW
Posted by Diggymart on 1/31/19 @ 4:17:12 PM