You must be logged in to rate content!
9 minute(s) of a 362 minute read
9-12-2014
Window channel looks good, glad I could help. glad to see your lever etc are pitted too.........and I thought it was just mine !!!. I'm still getting my too front frames back to some reasonable order. Mine were very pitted around the corners. also waiting on the chroming guy to finish my rear bumper, everything else is done so as soon as that arrives I can fit it. My window glass guy came over the other day and he's tweeting the rear window rubber he made for me, and again once done I can fit into the car. I've started with a bailey channel I bought and hopefully I'll get one fitted this weekend among a million other jobs I have to do. I'll post some pics when done.
Allrighty then,
Still plodding along.
I'm tackling the windows in the rear door at the moment. I've had the glass made and I removed the original glass from one of the channels and I couldn't believe the amount of much I got from it.
Cleaned up and painted the channel as well as both window winders and installed both window winders after applying some new grease. Also bent the bailey channel to suit. Its one thing getting the glass in but then to get the Bailey Channel in, in one piece is proving to be a bit of a task. Looks good once its in but still having trouble getting it in when the glass is already in there. Must be a trick to it.
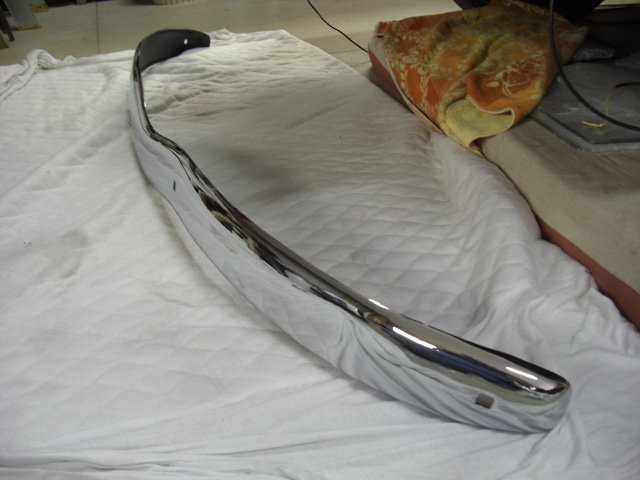
I think my rear bumper will be ready Thursday so going over to pick it up.
Cheers
Ian


10/2/14
Hey all,
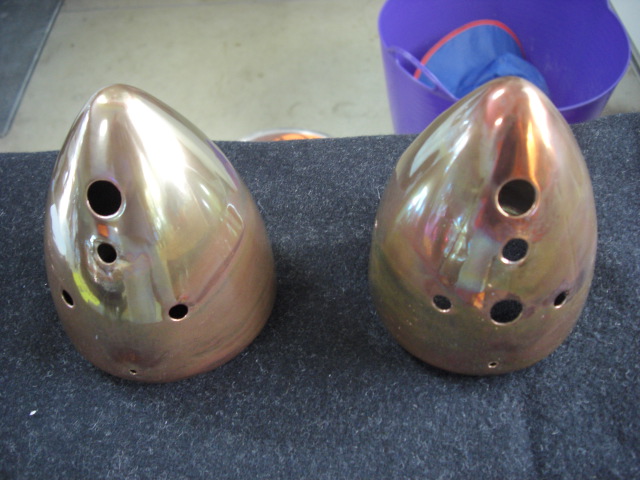
Went and picked up my rear bumper from the platers yesterday. Also my new bumper bar bolts had sitting here a while so buffed them up. Mounted the irons in place then for once everything bolted according to plan ! I also picked up the two rear tail light housings that he double copper dipped so now I can start working on these as well. I also anchored the rear window and using black polyeurathane I put some in the channel and aligned it up. I did cut about 1/4" off each end of the channel so it won't catch on the bailey channel when installed. Overall not a bad days work !
Cheers
Ian


10/11/14
Hey all,
A few more small steps done.
My wife sewed the covers that go over the door lock arms, I guess they were to stop vibration rattles or if they ever touched the glass wouldn't rattle. Also cleaned out the second rear door channel, primed and painted. Its now mounted on the glass with polyeurathane and drying. Did a bit more work on the taillights but still have a long way to go. With the help of my brother we finally got the Bailey Channel in the rear door with the glass in. Now all I have to do if fix it in place then start on the other side.
Cheers
Ian


11/27/14
Finally got the Bailey Channel fitted into place.
The steps I used were as follows incase anyone is interested and tackles this.
First using polyeurathane, glue the window to the channel bar making sure the bar and the window are the right way around.
Once dried and using the glass as a template and with both hands, SLOWLY bend the bailey channel to suit. Once this is done you can then insert this in the door and check for the correct length. Remove and set aside.
Remember to put low adheasive masking tape around the painted surface of the door window opening.
Grease the winding mechanism and attach to the inside of the door.
Then wind the winder up so the arm is protruding above the opening in the door.
Next insert the window and glass assembly into the winder arm that is protruding above the opening in the door and gently proceed to wind the window down inside the door while holding and centering it on the way down.
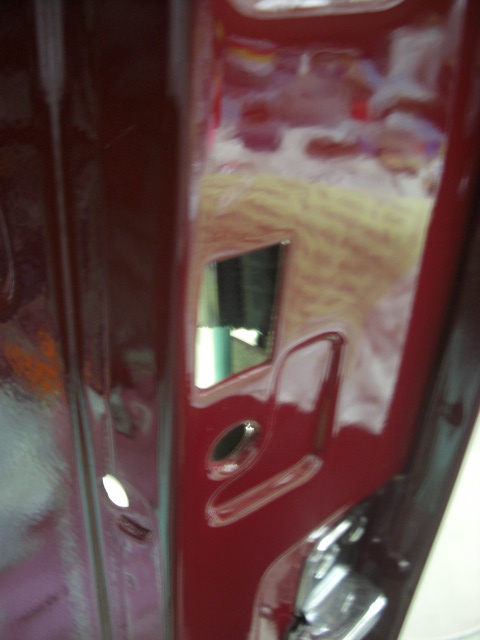
Next insert the Bailey Channel and again gently push evenly down the sides of the glass into the supporting metal channels in the door. Now these will catch at the top of the channels so you will need to tease these into the top of the supporting metal channels. I was able to access this point through the door lock tongue hole in the side of the door. I used a nifty little plastic trim tool from a set I bought on ebay for about $10.
Once the channel has been lowered I again used these tools to gently open up a space between the bailey channel and the door frame so I could put in some dabs of polyeurathane.
Once this is done and pushing the bailey channel so the stainless steel beed aligns up with the door frame I then used 3 quick release clamps to keep one side in place.
This stuff takes approx. a week to reach full strength so you have to wait.
Repeat for the top of the door and then the other side.
After all three have been done and all clamps removed, remove the tape, clean the window and the end result looks pretty good.
It is a long time to wait for each side but I think the end result is worth it.
Also I retapped the holes for the door handle attaching screws as with cleaning, painting etc these were full of muck.
Hope you found this interesting.
Cheers
Ian


Great build what a beauty! Fun family picture BTW
Posted by Diggymart on 1/31/19 @ 4:17:12 PM