You must be logged in to rate content!
8 minute(s) of a 362 minute read
5-8-2014
Hey All,
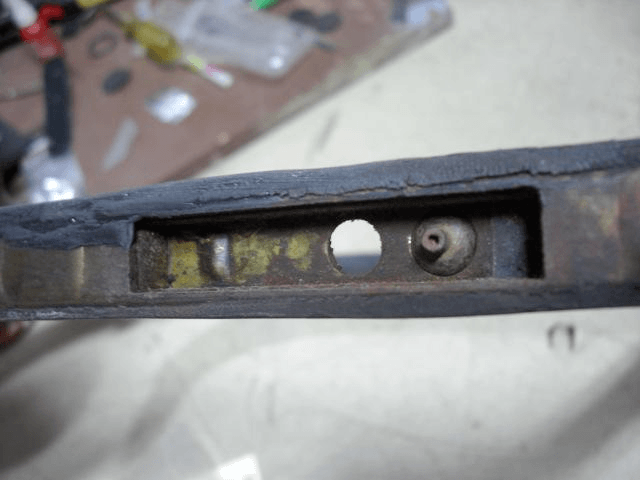
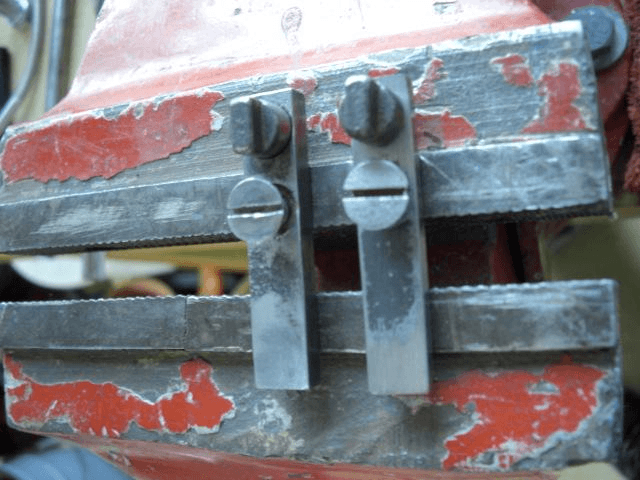
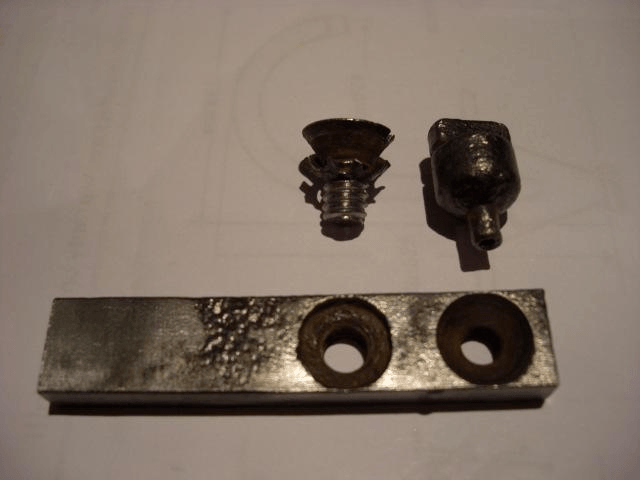
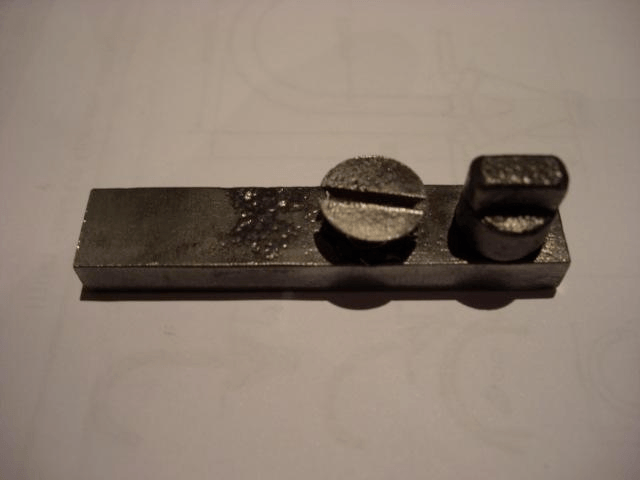
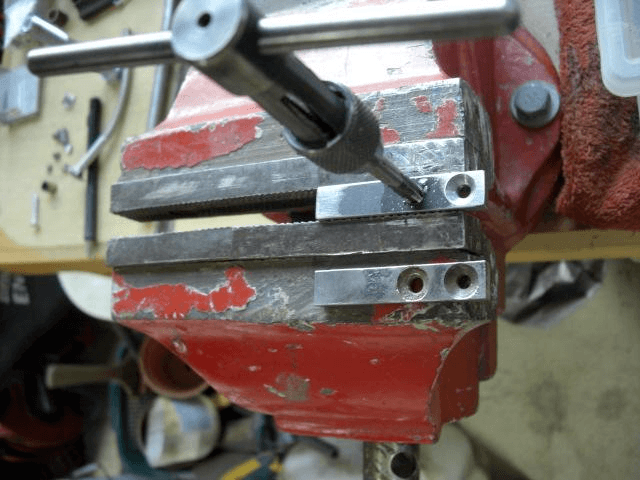
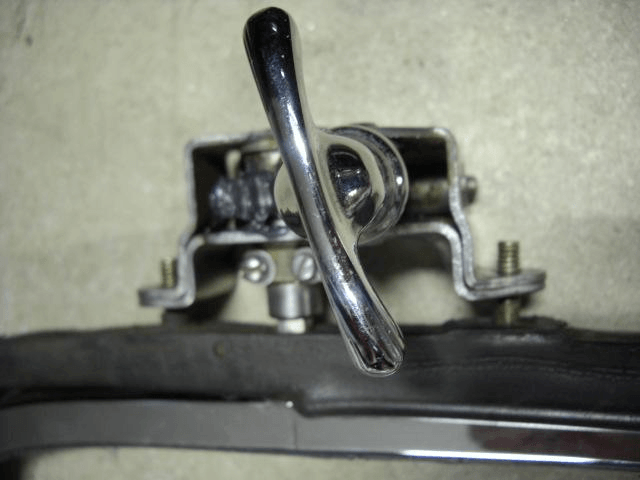
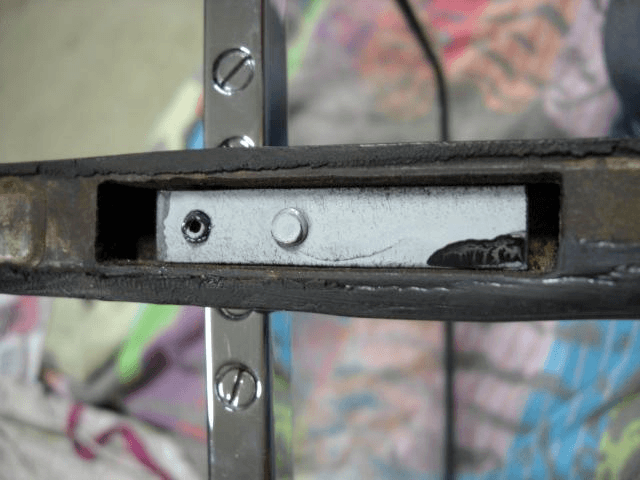
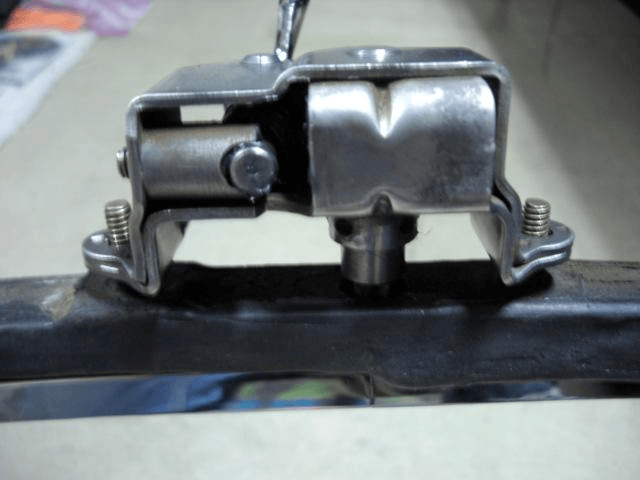
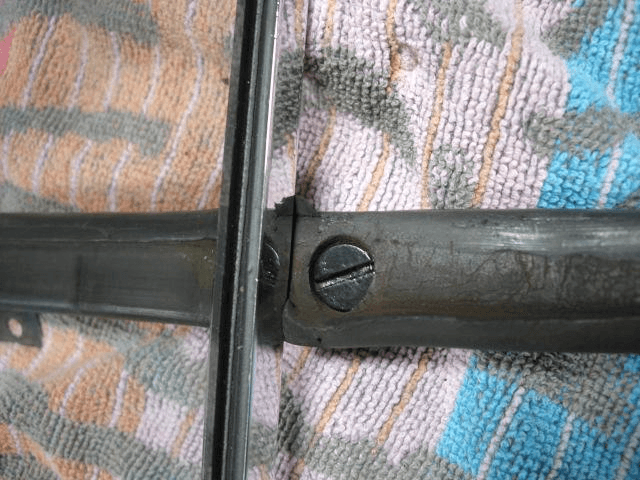
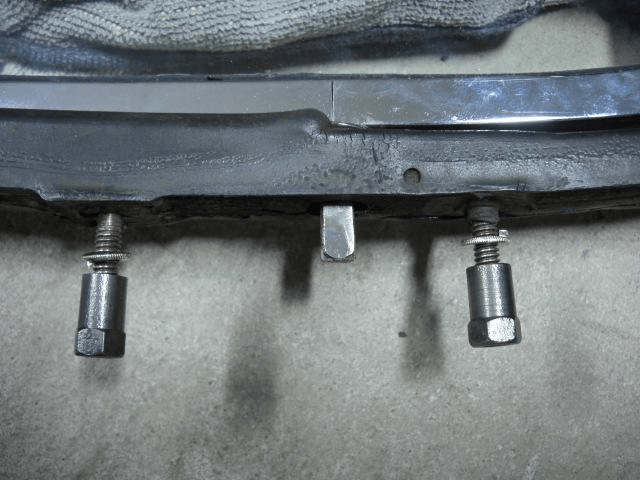
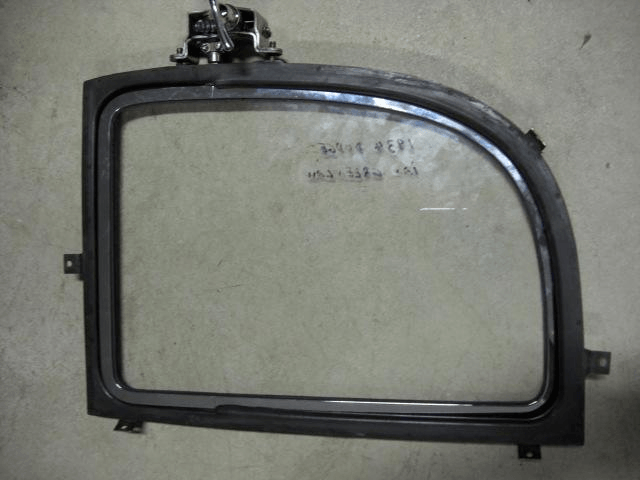
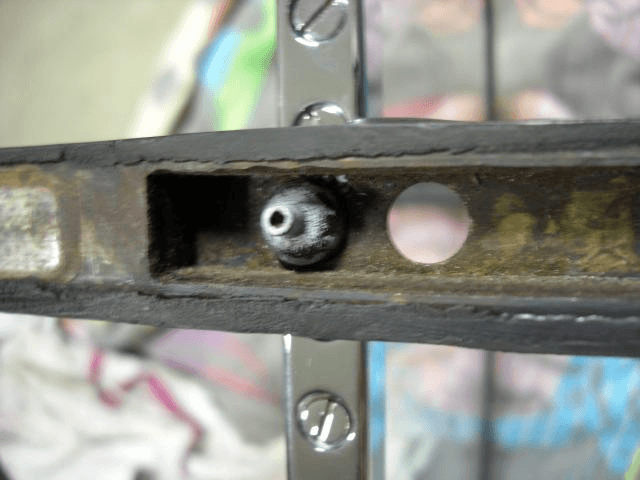
Started work on the operating mechanisem of the rear 1/4 vent wind out windows. Found that I was missing a small steel block that housed the pivot for the bottom of the window. I found one but one was missing. Got a friend of mine to get me small piece of steel and ten I drilled one hole then drilled and tapped the other hole. Found a spare counter sunk metal thread and cut it down to suit so should be ready to see if everything fits together in the car soon.
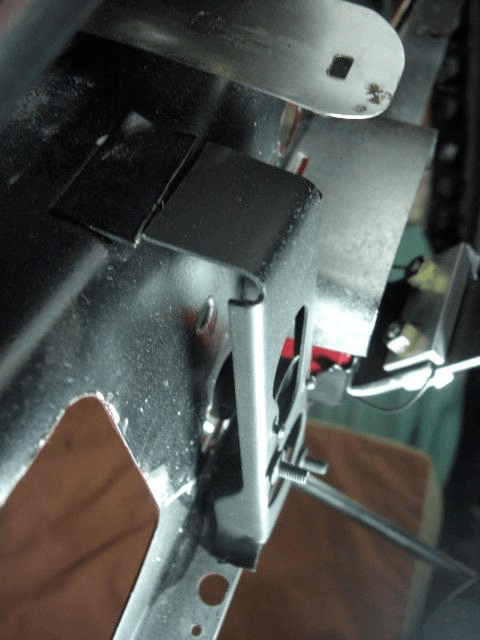
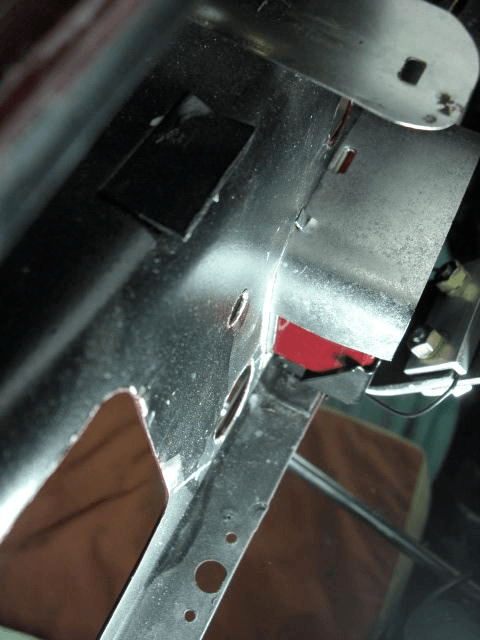
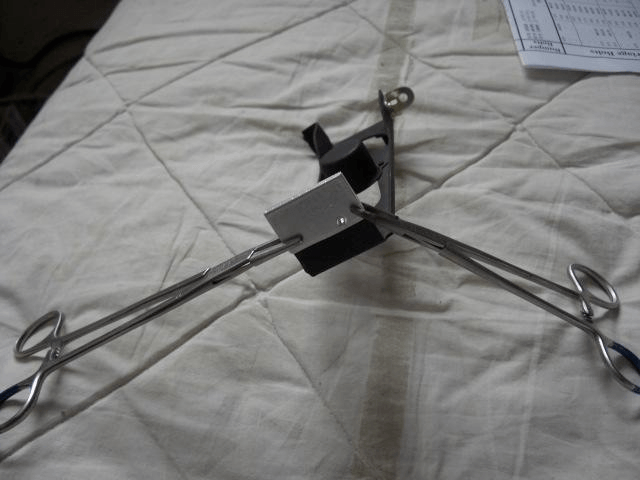
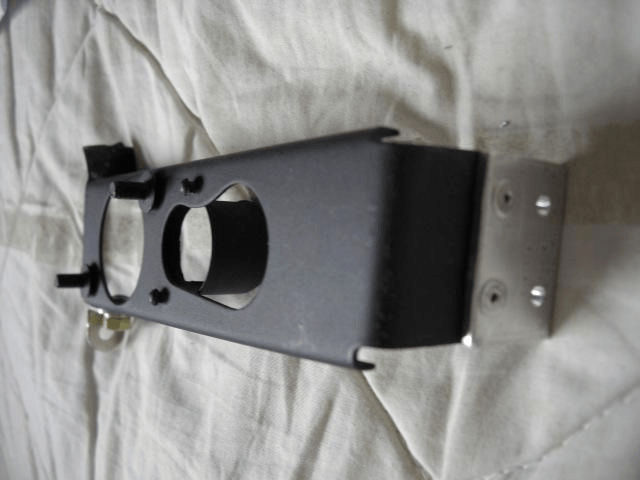
I also was able to just get a rivet in the top of the ignition switch mounting bracket ( only just as the bracket sits close to the top of the inside of the dash ) that was cut out at some stage, so now all I have to do is mount the bottom feet of the bracket and that will be another job done.
Ian
5/17/14
Hi Guys,
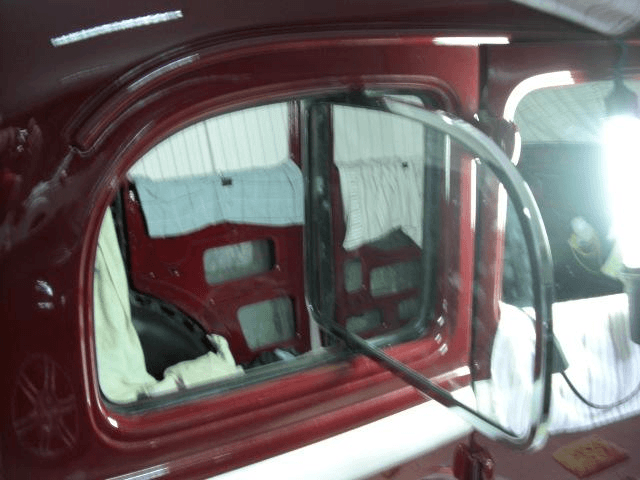
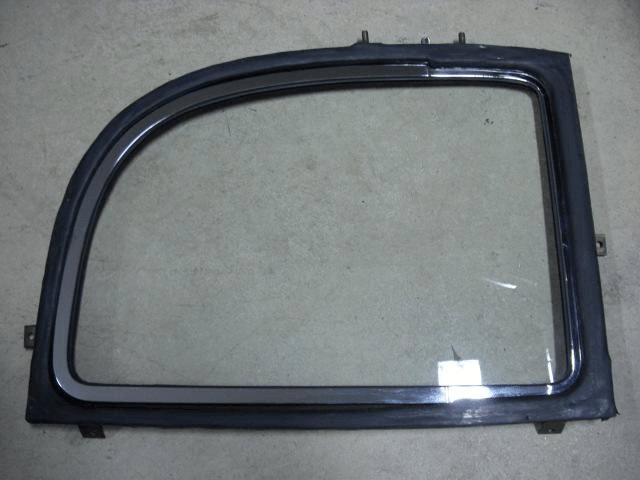
Did a trail fitting of the right side wind out quarter window.
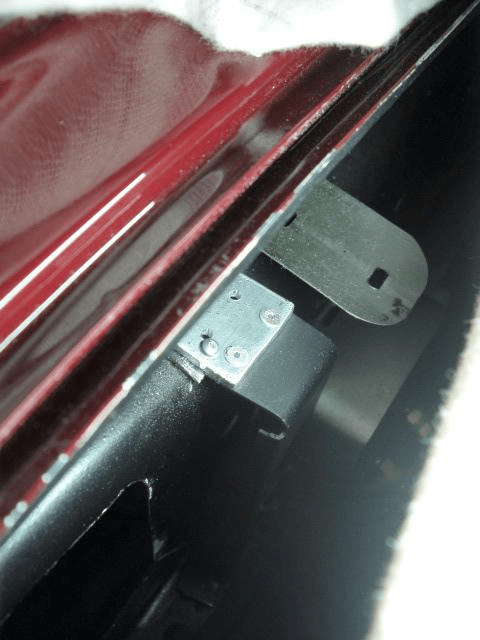
Seems to fit ok so I inserted the pivot while the frame was upside down, then the steel bar that holds the pivot in place turned it over and tightened the retaining screw and the frame is ready to go in. New screws and also some polyeurathane to seal it in and tightened everything up.
I'll wait to it dries before shutting the window and everything was greased properly before assembly.
Cheers
Ian
6/6/14
Hey all,
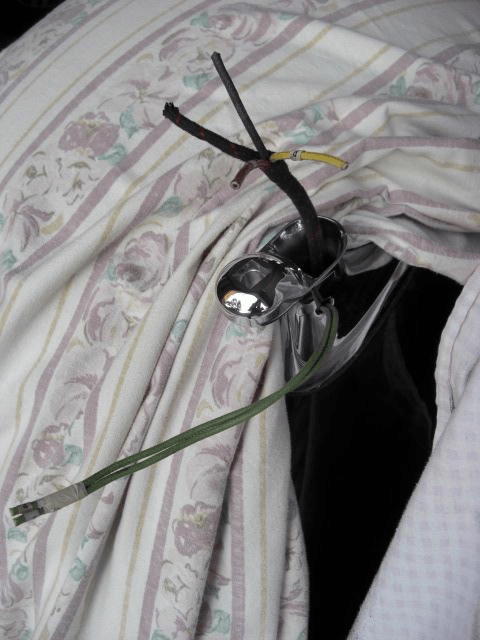
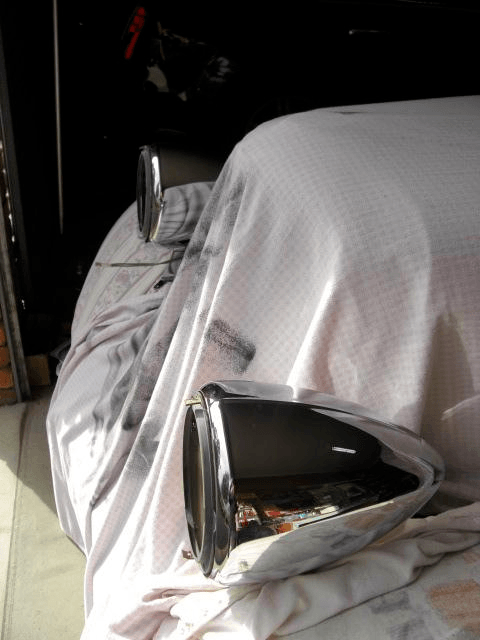
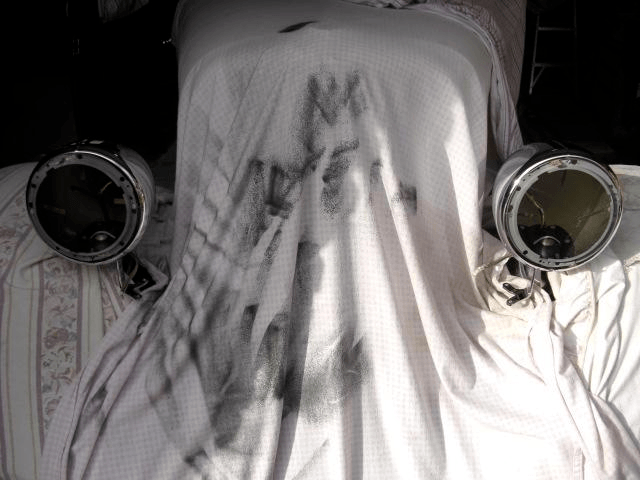
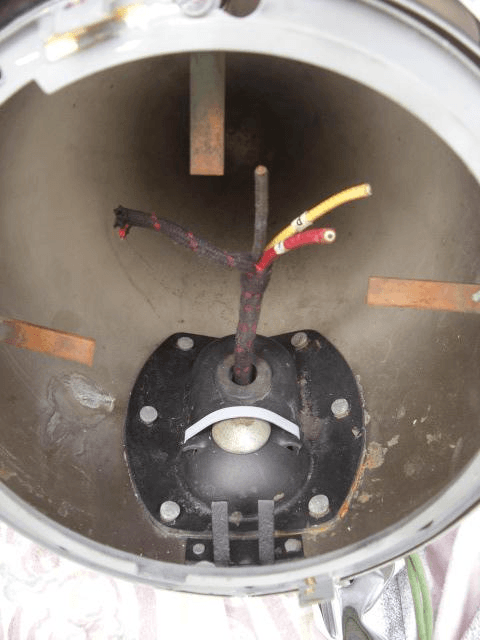
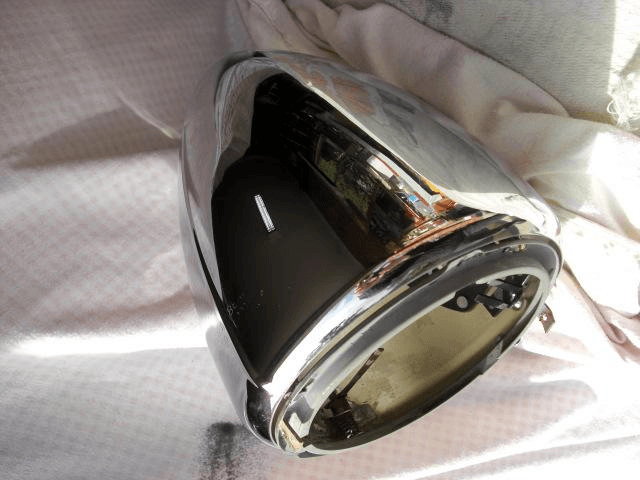
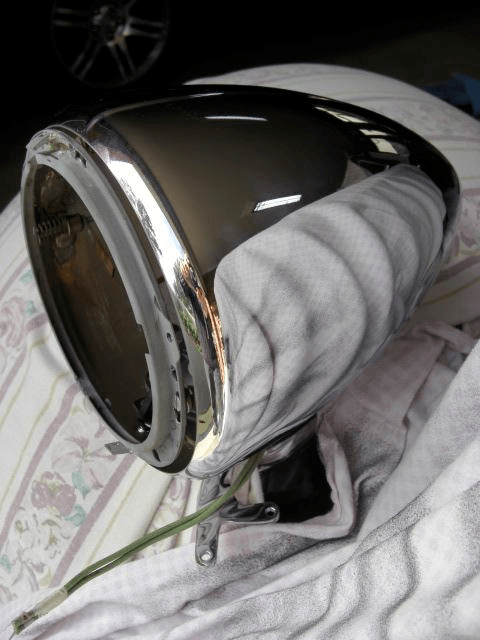
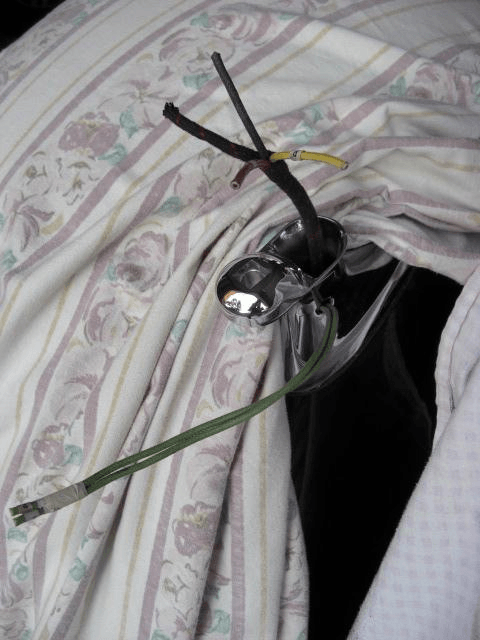
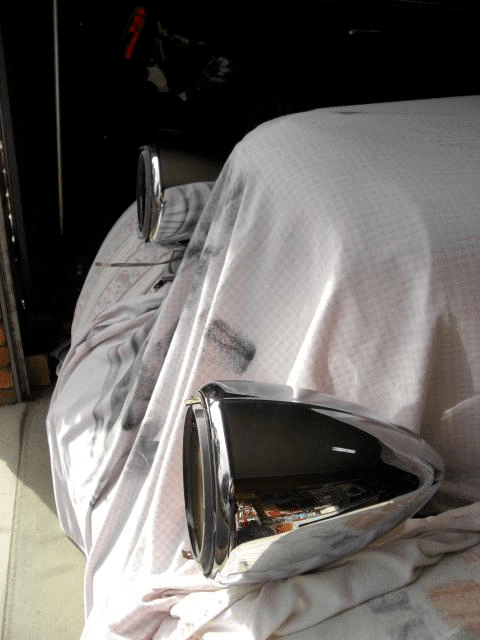
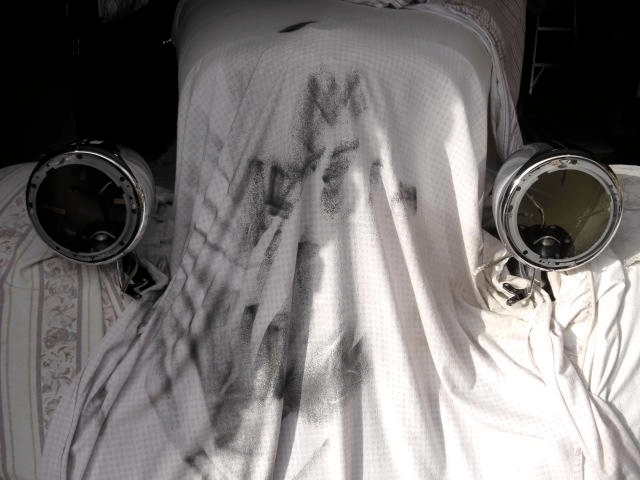
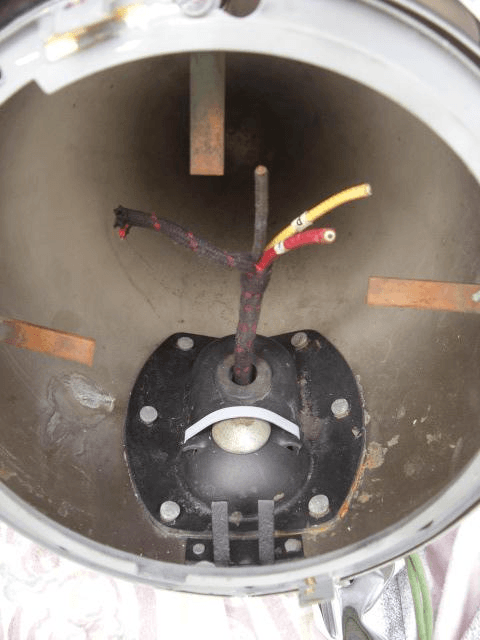
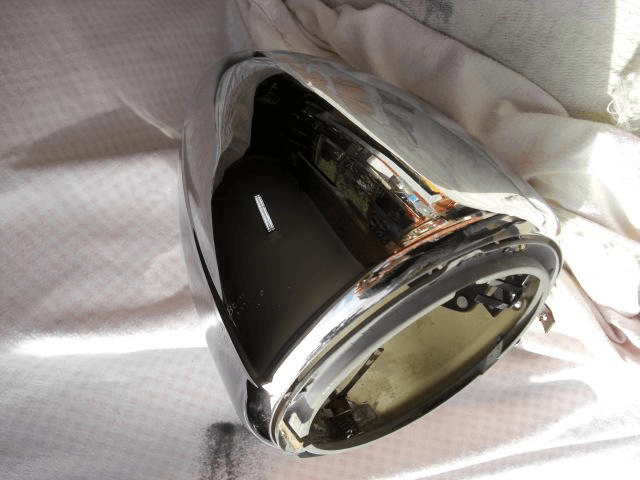
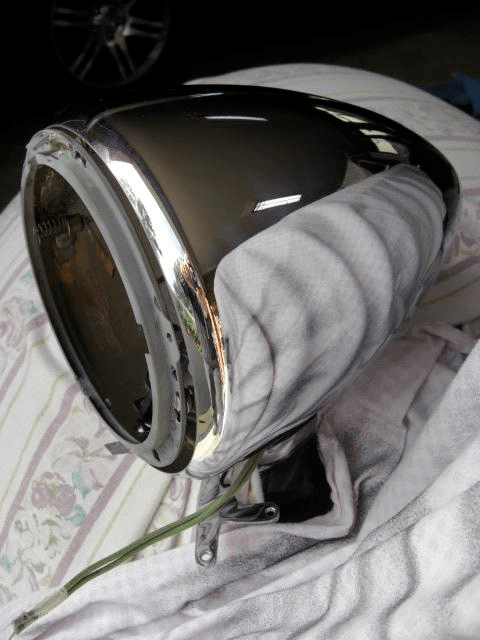
Haven't been slacking off, just doing about 10 different things at once. Started feeding the wires through the headlight stalk as well as the horn wires. I pulled apart my headlight, cleaned up the bolt support brackets, got my repro horn brackets I had made, put a new grommet in and installed both headlight buckets. Happy with the result and even used a few flannelette pillow cases to protect them which fit perfectly.
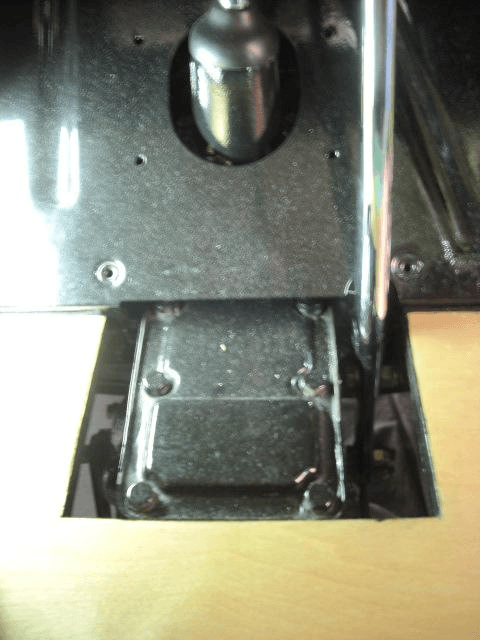
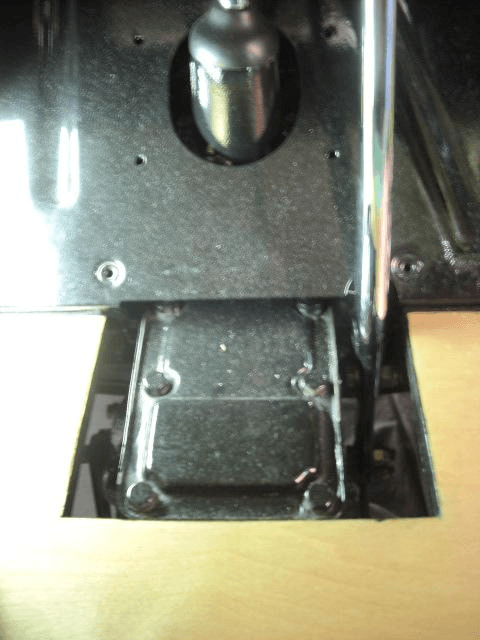
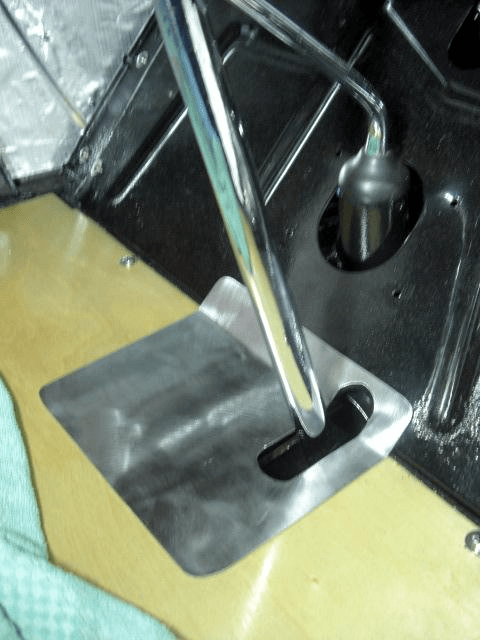
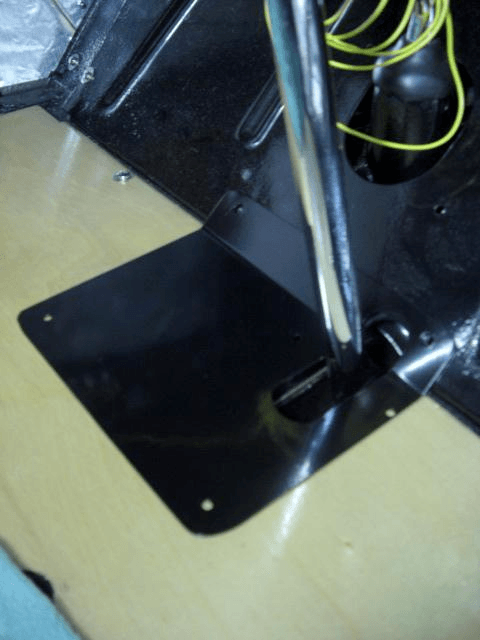
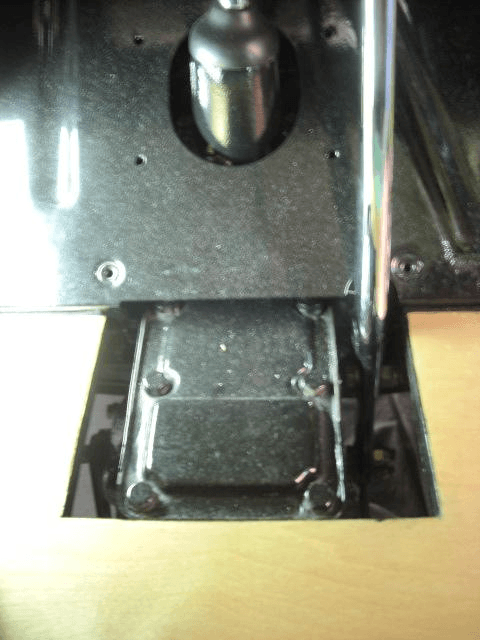
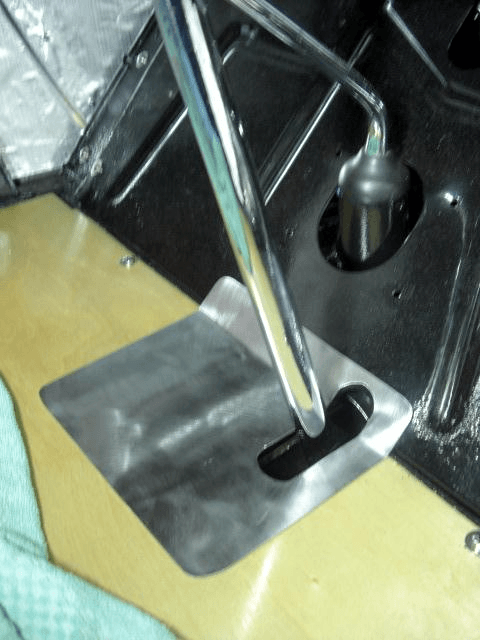
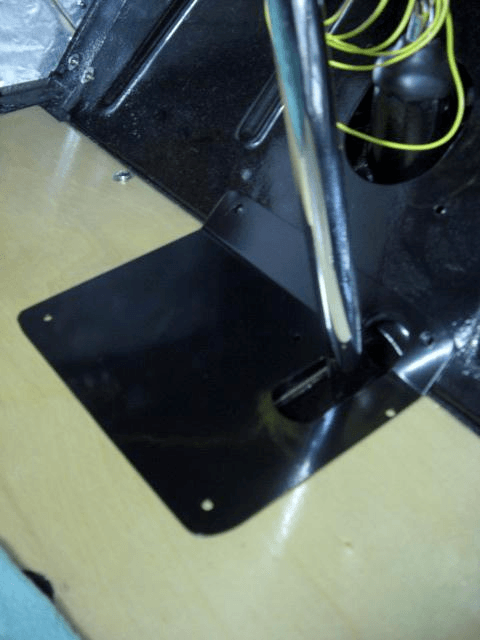
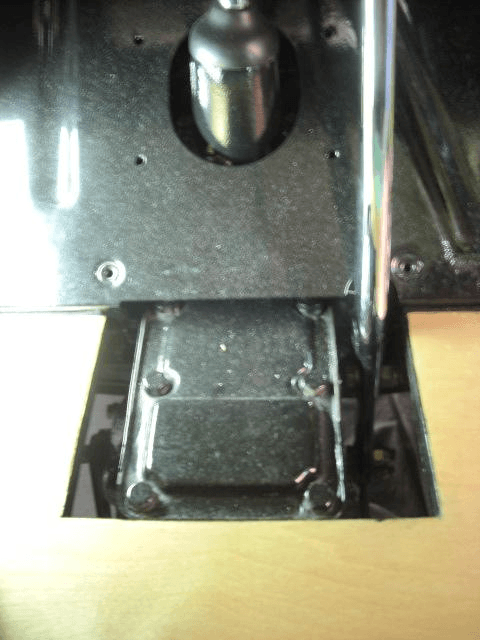
I'm making a new floor plate that goes around the handbrake lever that Steve ( knobless on this forum ) was good enough to sent me a picture. Again mine was non existent so don't know what happened to it.
Cheers
Ian
6/10/14
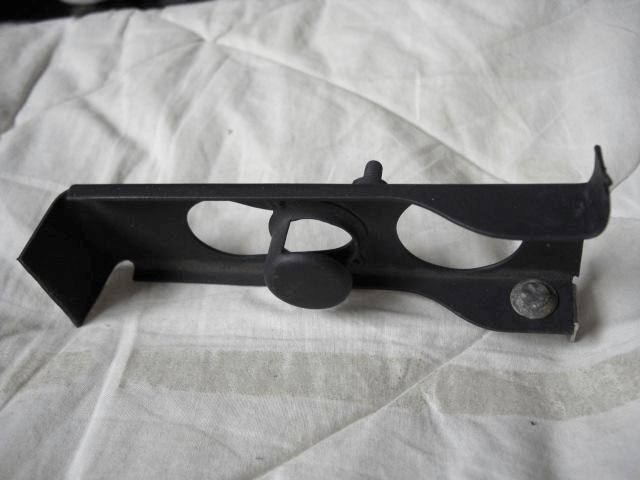
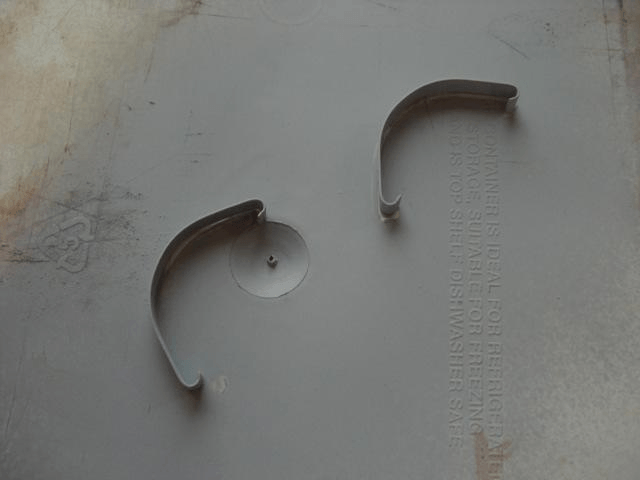
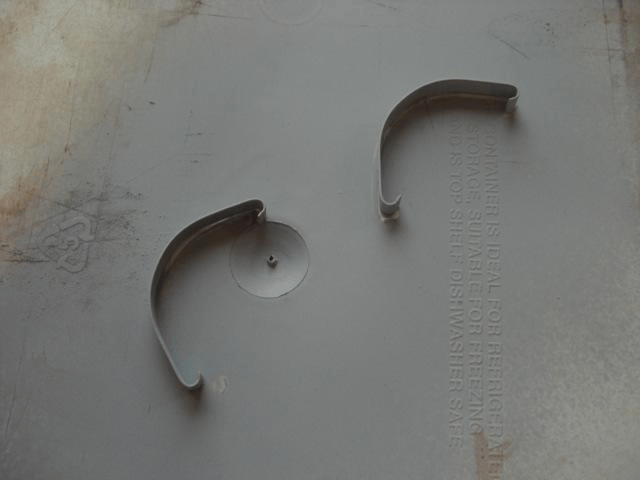
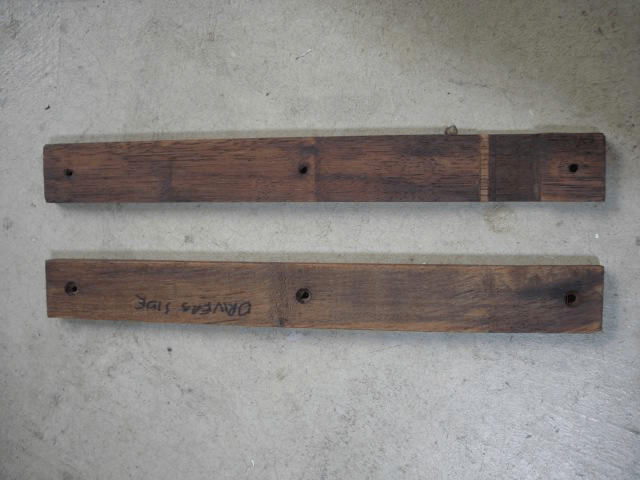
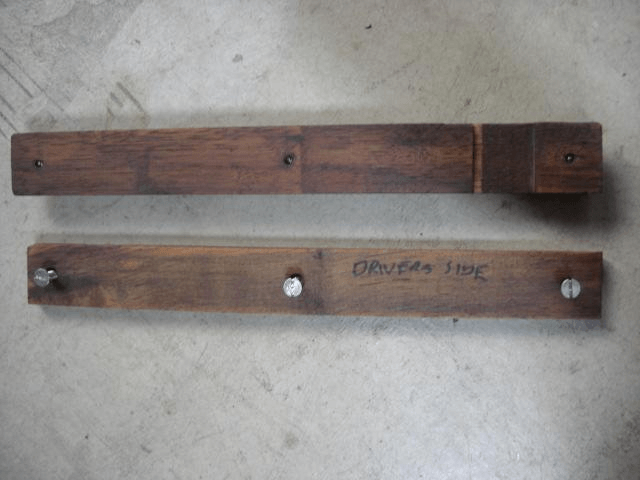
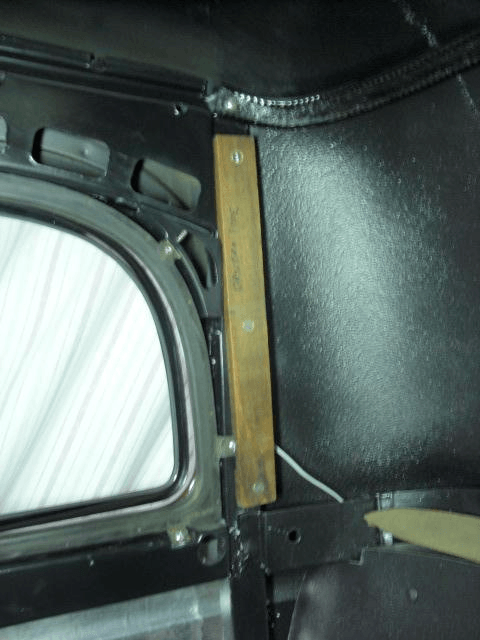
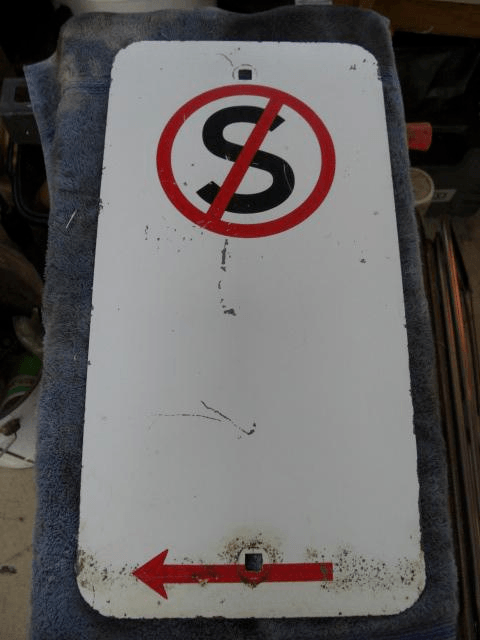
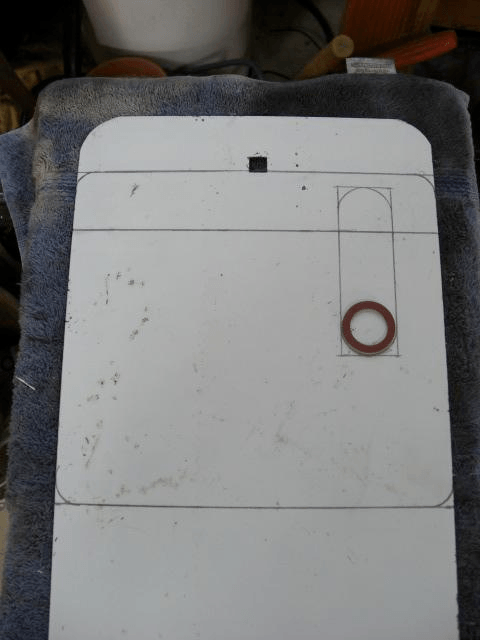
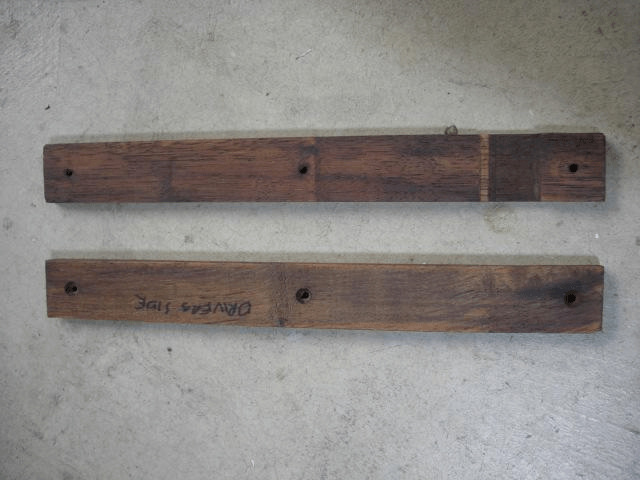
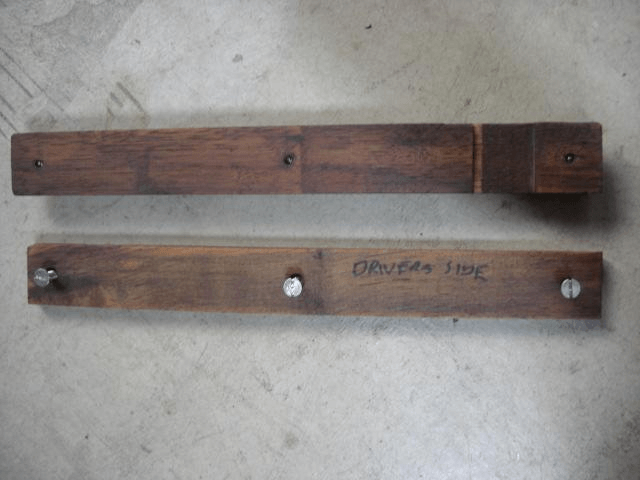
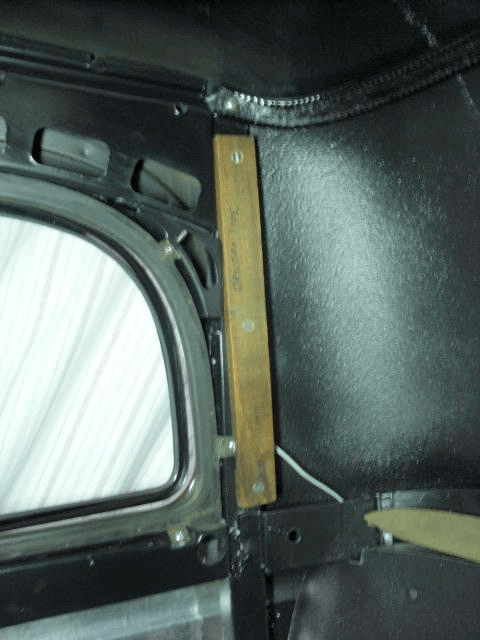
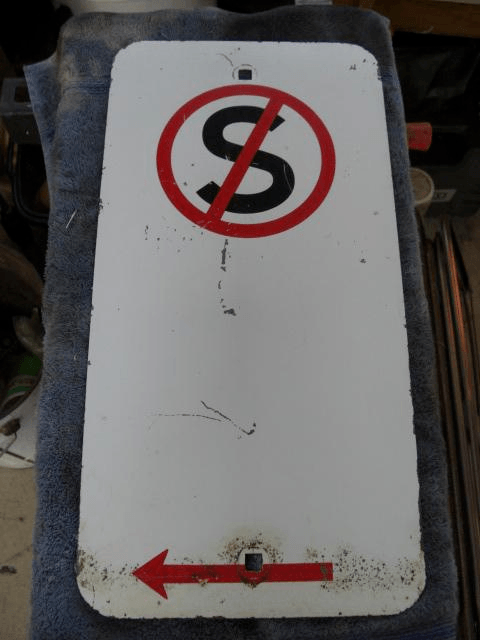
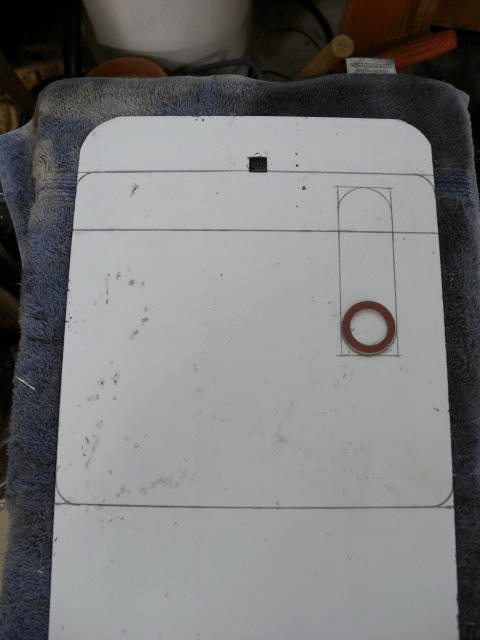
Finished my plate for the floor. What I did was I used this old no standing sign. Marked the pattern I needed based on Steve's photo ( thanks Steve ). To get the arc approximate I traced around a washer drilled the holes and wacked it in the vice and then bent to the correct angle. A coat of etch primer and the Gloss Black it came up looking ok. You'll probably agree best use of a no standing sign !!! Also cleaned up a couple of the trim mounting timbers and was able to put one in as the other window isn't fitted yet.
Cheers
Ian
Great build what a beauty! Fun family picture BTW
Posted by Diggymart on 1/31/19 @ 4:17:12 PM