You must be logged in to rate content!
10 minute(s) of a 362 minute read
2-16-2014
Hi Steve.
Mine is an all steel body imported direct from the States. The other guys in Australia ( most I know of ) have Richards Bodies. What happened was that Dodge exported the chassis to Australia and a company here called T J Richards made the bodies for Dodge. These bodies had a lot of timber in them....ie the door frames, internal timbers etc...That's why I often ask for photos as mine in a lot of aspects is very different. According to the parts book I have is that the horns were an optional extra. now whether not a lot of horn kits were not sent over I'm not sure but a lot of 34's do have a horn mounted to the top of the engine and I assume this was the standard unless a car was ordered with the dual horns.
Cheers
Ian
Now the heat has subsided back to the Dodge !
Time to do the instrument panel. Bought some black neoprene as the cork gasket was a bit ordinary. Put the instrument panel surround on it and using a scalpel I cut out the inner shape. Then I put the glass on top to get the outer shape and cut that leaving the gasket I need. Using some adheasive I put the gasket in the back of the instrument panel surround and pressed into place. I then got the instrument panel face plate and the instrument housing and using pliers crimped it all together. You only see the raised chrome surround so the crimping marks don't show. ( the Heater guage isn't put in as i had just painted the sensor cable black and it was drying ). Turning the assembly over I realised that someone ( no me ! ) only left me with just half an inch of wire sticking out the light globe sockets. I got busy and reconnected the wires and heat shrinked the connections.
Cheers
Ian


The finished instrument panel.
Another small problem I notices was the guage faces. Firstly they are printed in gold the black wording / numbers are applied sort of giving them a gold shadow under the black. The oil guage only had the gold and no black writing on it ! I took it to Dave the Painter who did my car and he gave it to Simple Simon who did the rims of the car. The result is pretty good and you'd find it hard pressed to pick which one unless it was pointed out. Overall happy with the result.
Cheers
Ian

2/20/14
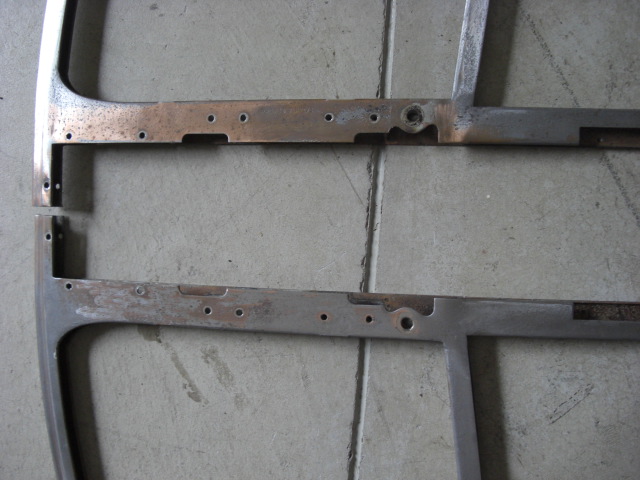
Spent most of the day pulling apart the locking mechanisms from the front window frames. Interesting set up I must say. There seems to be 3 main parts to this. The window locking and release meshanism, the windout mechanism and the slide assist lever. I'll post a seperate thread for anyone who is interested in a few closeups. For the moment i'm just trying to sand them back to a reasonable flat surface then I'll get them coppered and then replated once I'm happy with the finish. Only thing is I'm having trouble with getting the lever off. It was stamped in place with a pin that an oval type shape to it. I might try and get away with leaving it but I'll show my plater first to see what he thinks.
Cheers
Ian


3/1/14
Hey all,
Cleaned up the ashtray supporting bracket and spring. Also buffed up the cowl vent opening handle and when I gently tapped in the supporting pins it cracked across base. This must have been the most gentle tapping I've ever done on anything. Looking back there was a line in the chrome work that the previous owner had done so may have been a flaw in the metal. Any suggestions ?
Cheers
Ian


3/3/14
I guess the part is semi hidden and needs to take a bit of force. I showed the part to a guy up the road who makes a lot of stuff for the motor bike industry. We decided that welding etc would only lead to breaking further up the part.
We talked a while about it and decided to make a steel plate the with the same contours, drill two holes in it and sit it flat against the broken part. Using bolts instead of pins, this should take the force of the ratchet movement. When this is made I'll get it plated and install. One side will be thicker then the other so I'm now thinking of getting two made, one for each side. That should even it up.
I would like to windproof the garage door. Only thing is I have a triple garage, 2 kids at home and a wife that love keeping the garage doors open. There is also a roller door at the rear and external opening doors. I think the cover is a cheaper option...ha
3/8/14
Hey all,
Worked on the ashtray today. Bolted the opening mechanism in place after fabricating a missing bit. Inserted the chrome surround. Fitted the handle and butt out thing inside the ashtray and the wing emblem I had and then fitted to the car. Only a small piece but worth the end result.
Cheers
Ian


3/24/14
Hey everyone,
Been a long few weeks.
Cut down the little screws that hold the horn mechanism in place to the base plate. A friend at work is working on one that isn't working.
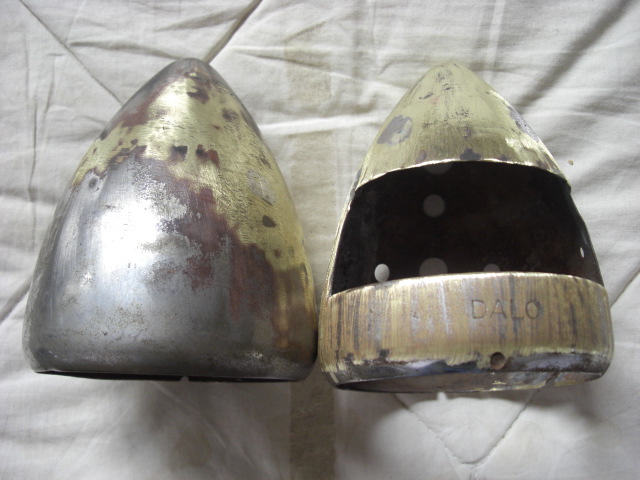
Spend a few hours tapping the rear brake light housings back into some sort of recognisable shape.
Started on the front floor pans. One timber that I'm coating in that black goo I used previously and the other was powdercoated years ago and still looks great.
Finished stripping down the two front window frames ( not a highly enjoyable job ) and ended up with a tub full of parts ( and lots of photos along the way !!! )
Then an important milestone. I got the bonnets back on the car.
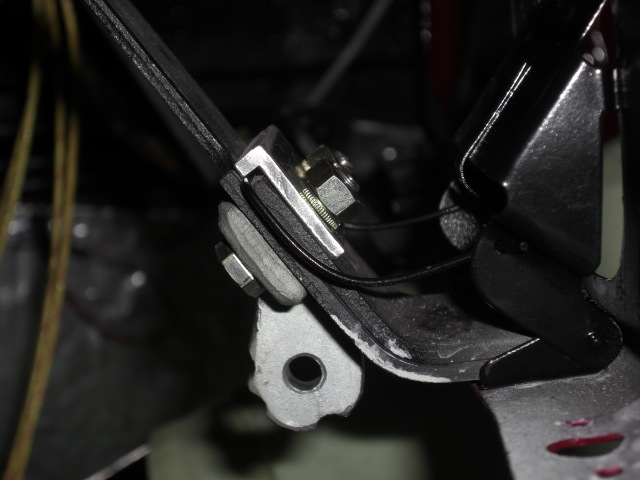
First the hinge I put a bit of LMM grease in it as this is like a thick paste and wont melt in hot sun and also wont compress down.
As the bonnet hinge was new it needed a bit of padding just in case.
Stood them up first then slid the hinge down both sides at once.
Lay the bonnet down then I got my brother to help me lift into place after I placed the lower parts of the hold down clamps on first.
Once in place we were able to lift each side while still supporting it and put the screws back.
Clearances looked really good after only minor adjustment with the radiator support bars.
Really happy with the result.
Cheers
Ian


Great build what a beauty! Fun family picture BTW
Posted by Diggymart on 1/31/19 @ 4:17:12 PM