You must be logged in to rate content!
8 minute(s) of a 362 minute read
10-27-2013
Hi all,
Went to the Motorclassica and took some shots for you. Hope you enjoy
Cheers
Ian
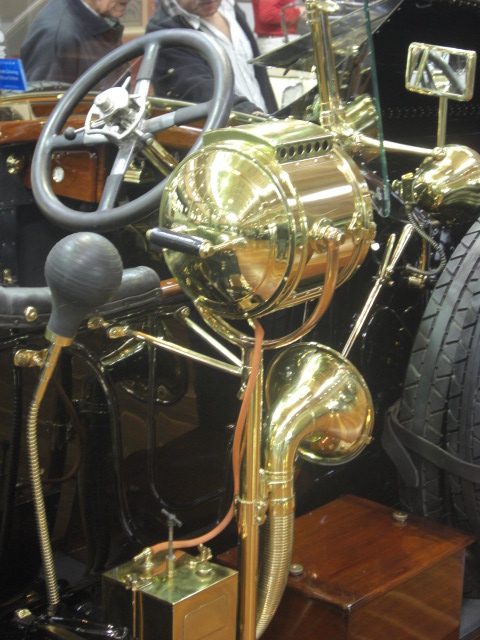
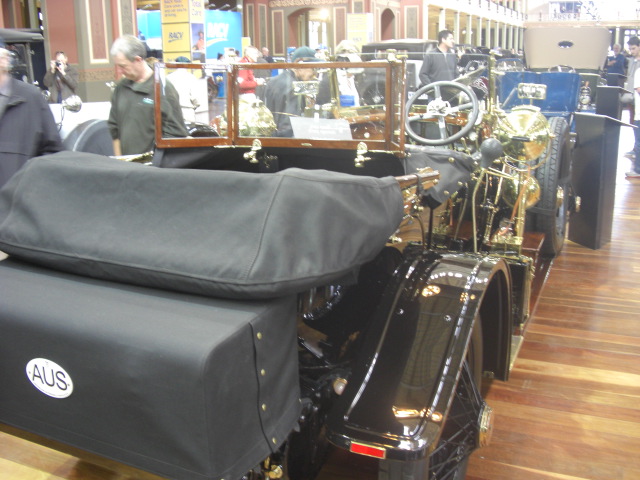


A few more pics.....


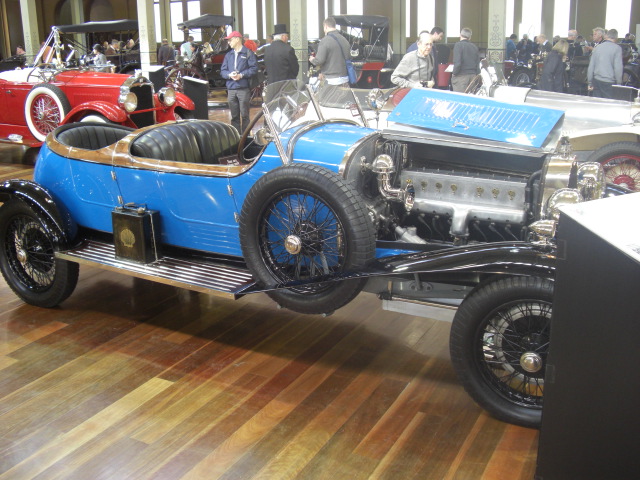
More.........

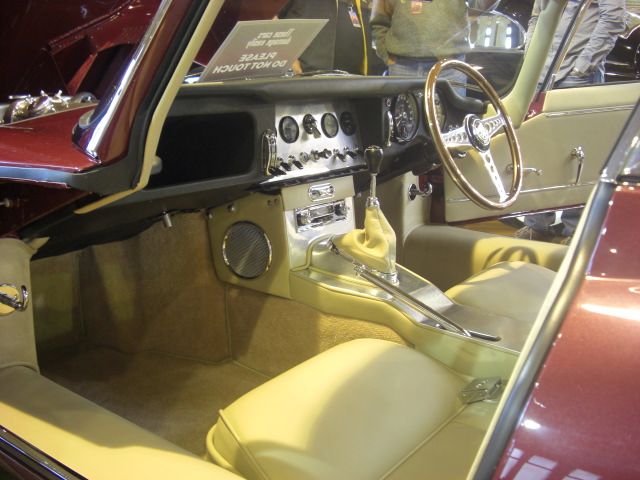


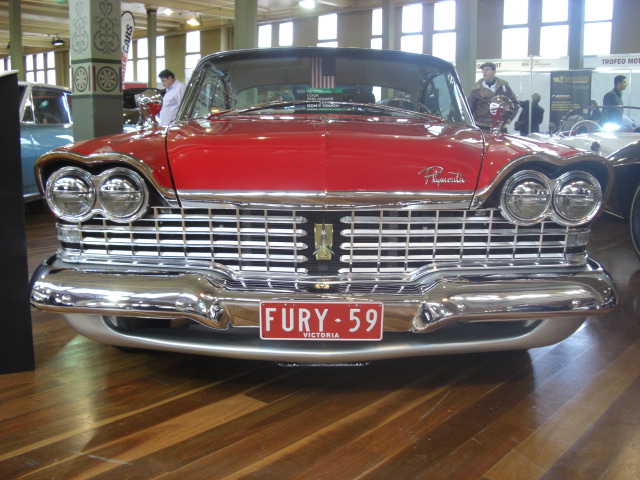


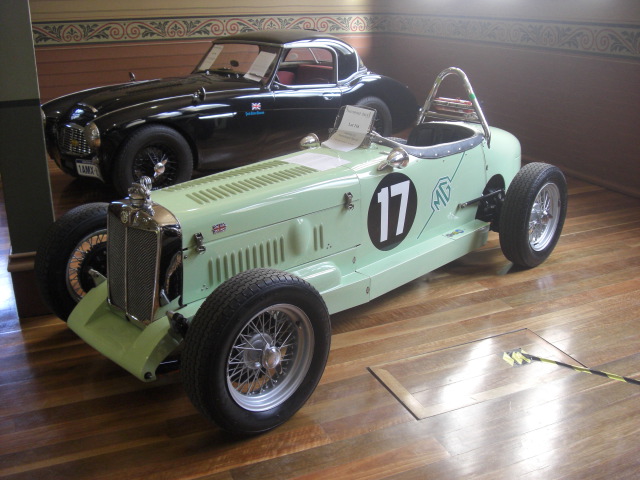
Almost there.....


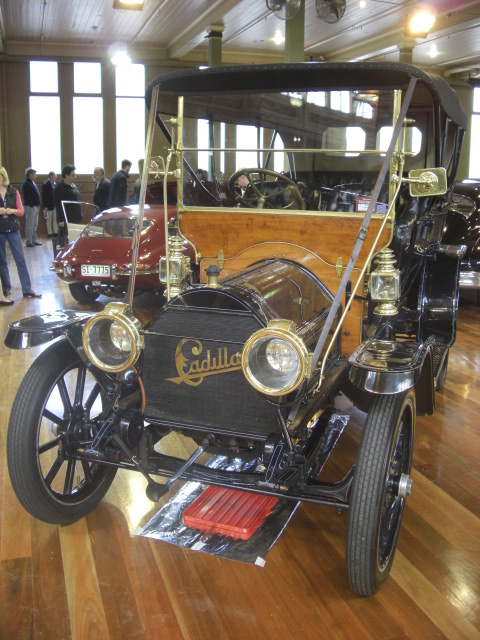


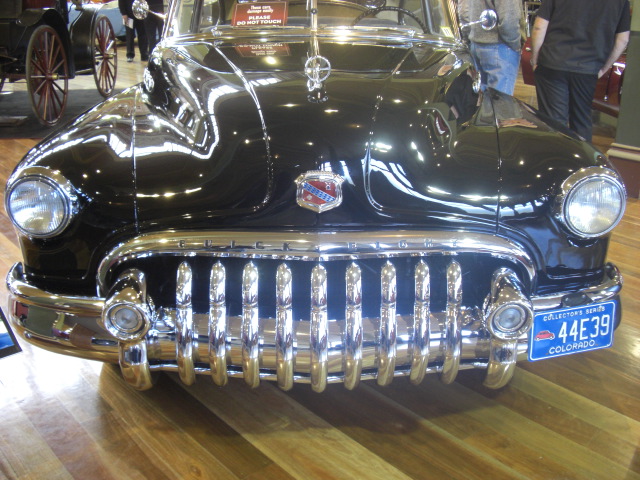
Last lot !!!...hope you enjoyed the shots, boy some of those cars are amazing.


11/2/13
Finished off the wiring at the rear of the car and installed one of the rear tail light stalks and got the wires through. Started sorting out the glass I had made. Polished and cleaned the trims for the bonnet louvers and still sanding back the front door window frames. A lot of pitting in these !
Cheers
Ian


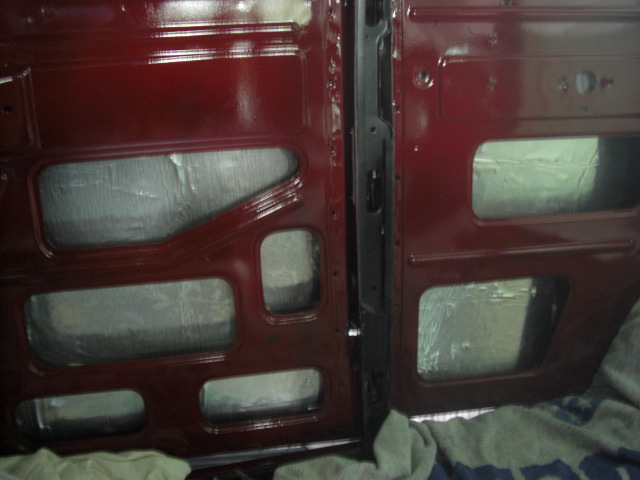
11/8/13
Hey all,
Just finished putting the sound deadening material in. Got it in all thew doors and a few front and rear areas as well. Actually the doors were the easiest. Certainly makes it look neat. Only problem is now when I work inside the car I get a sun tan at the same time !! ha
Cheers
Ian


11/19/13
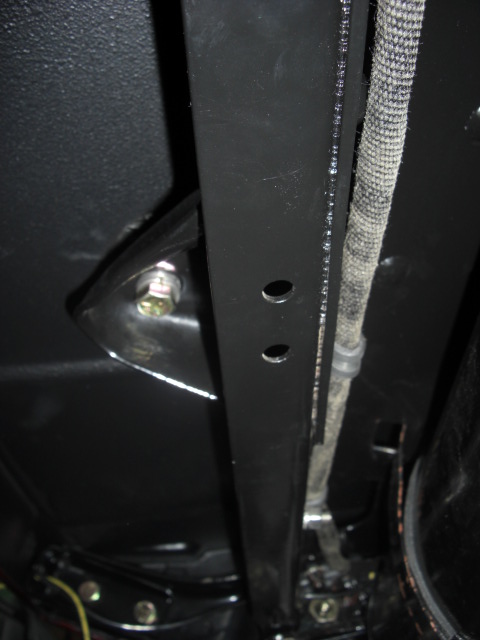
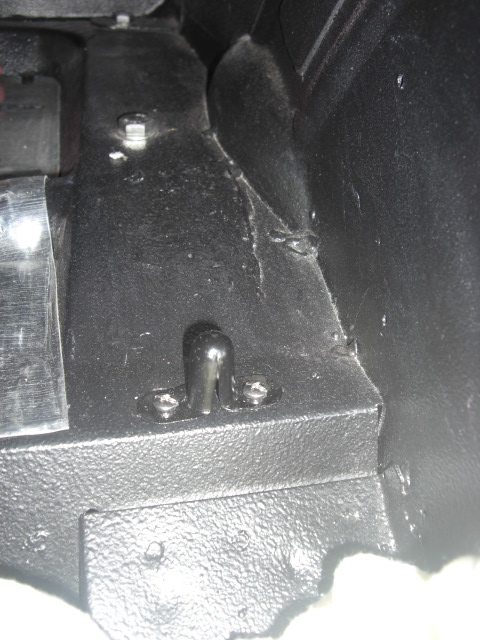
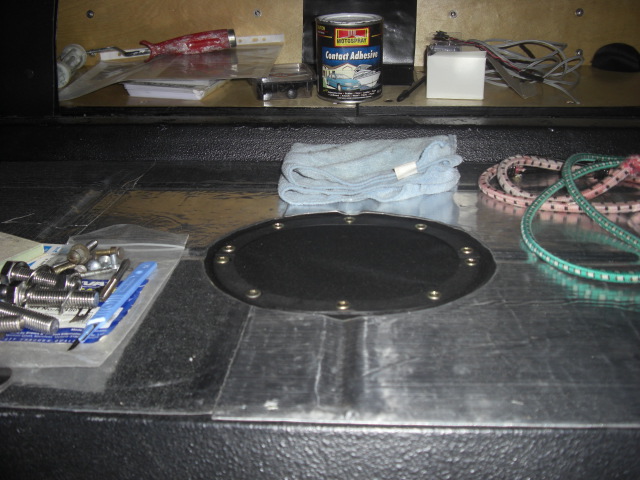
After messages etc with Steve ( knobless ) I bought the door lock springs from the USA and fitted after applying heat so the tabs wouldn't break. Only 3 broke out of 8 so I had them welded up. I also fitted the rubbers, clips etc on the door stays, fitted the cover for the hole where the diff may hit the floor pan and the rear seat lugs. I tried to install the other tail light stalk but 2 bolts threads just kept turning. I decided to try something different. I remember seeing this in the bolt shop I go to where they put Rapidfix in the hole ( built up in layers ) and then tapped it. I've filled the hole so now I have to drill & tap the hole. Fingers crossed on that one !
Cheers
Ian


Great build what a beauty! Fun family picture BTW
Posted by Diggymart on 1/31/19 @ 4:17:12 PM