You must be logged in to rate content!
11 minute(s) of a 362 minute read
9-19-2013
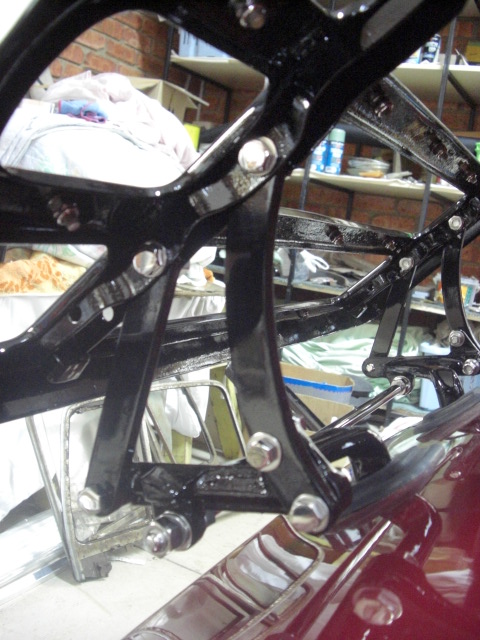
Finally I mounted the luggage rack. I did have one issue. One of the threaded holes when I went to put the special bolt in didn't have a thread ! To get around this I bought a slightly longer bolt, made up a few slightly small curved shims and tapped them in on top of the thread, put a washer so it wont come out and this stopped any movement. I'm going to get a few small rubber "U" pieces and glue them in place so two of the support arms won't rattle. Apart from that and using the original emblem I think it came up looking pretty nice. Now I'm working on the bonnet lacing. I've finished one side around the radiator so three more to go.
Cheers
Ian


9/23/13
Hey all,
Went to the the local rubber extrusion shop and bought a small strip of the "U" profile. Cut two small pieces and glued it to the stoppers on the luggage rack. This should prevent any vibration rattles. Nearly finished the radiator surround bonnet lacing. The last attaching bolt can't be put in as somewhere along the line the radiator surround was damaged and there is a piece missing that just happens to be where the hole is. I suspect it rusted out and fell off. I made a plate out of thick aluminium so hopefully when I tichten everything up it will fit.
Cheers
Ian


9/28/13
Finally finished the bonnet lacing. Tricky getting it around the radiator shell but got there eventually. it's a wonder you guys in the US didn't hear a few choice words !
cheers
Ian


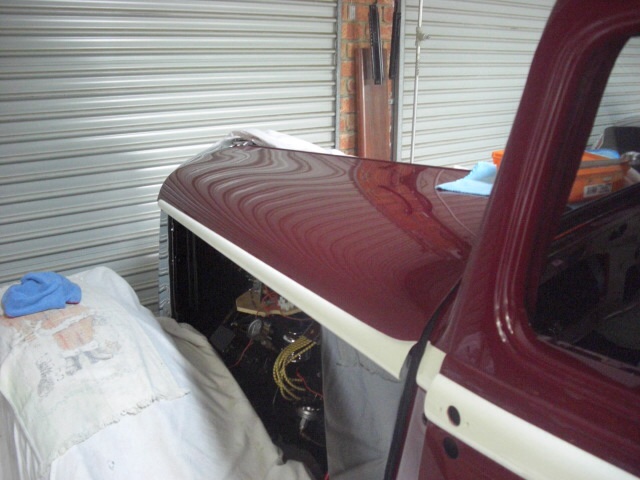
Got the left side of the bonnet down from the shelf and just wanted to check the alignment was ok. Had to adjust the top support rods a bit but after that one side aligned up pretty well. At least now I know it fits ok. Not sure about the lower section yet but will cross that bridge a bit later. Just a question for you, my bonnet sides have four louvres on the sides. There are highlighted by a stainless steel trim. do you know how these trims are attached ? also the drain tube from the cowl vent that is inside the car, where abouts does it run to from elbow under the dash ?
Cheers
Ian


10/8/13
I checked all 4 of mine and don't have a spring in either. Looking at what you have it looks as though the long part goes into the gap on the right and the short hook bit is the bit you have to "spring" into the left side so it sticks out the hole on the left. I guess it maintained the angle of the opening handle but not sure.
You have presented me with another problem. When I checked only one of my catch assemblies has a spring at the top of them. The others are missing or just didn't have them. What do yours look like ? ? I've attached a few photos.
Cheers
Ian


10/11/13
Went and saw Graeme who is the guy that do my body work and asked him about the springs.
In the first photo you posted you put the first part of the "s" of the spring in the square hole to the left. you then tension thr spring and put the straight part in the opposite hole.. the spring sits flat so when the door handle is pulled it basically ratchets itself between the door locked position then moving the handle again ratchets it to the door opening position.
Hope that makes sense.
While I was there he had a car just brought in which was pulled out from someone's garage. it's called a Wanderer. there is suppose to be only 14 left in the world. this car and three others ( including Audi ) went on to become the Audi brand. it's sort of a cross between a Ford, Chev and a Volkswagon. just thought I'd post it when I see something interesting.
Received my window frames back from the platers who had them stripped for me. now the long task of hand sanding back to a platable finish. also working on the wiring so not a lot to show for my efforts.
Cheers
Ian
10/17/13
Been doing a lot of fiddly things.
Finally worked out the wiring was on the wrong side. I couldn't get the wire off the fuel tank sender so I cut it and rethread the wiring and soldered and heat shrinked the join. Only then did I work out that due to the thickness of the wire ( and the thickness of me !! ) it wouldn't fit through a few sections of the chassis so for the third time, I cut the wire to the sender and started at the front of the car where I should have done in the first place. I just need to sort how the wires run for the dip switch. I think it clamps to the top of the gearbox crossmember but not 100% sure. I'm still sanding back the front window frames after the plater stripped them. This could take a while as they are badly pitted. Good news is the window glass will be ready this week and the plater has finished my door handles and are ready to pick up. I also thought i'd do something easy and attached the spare wheel support bracket on each side of the car.
Cheers
Ian


Hi Jason,
your right, they are a lot of work. This being my first restoration and sometimes not realising what i got myself into gets a bit daunting. But it's interesting the people and knowledge you gain along the way. I've met some really nice genuine people and I've referred work to them. I've seen some amazing cars and watched as people bring things back that I would have thought were destined to the scrap yard. If I was able to I'd like to restore a 1929/1930 Cadillac or a Cord but I don't think the bank balance would take the strain.
I do like your other thread on the Ram. You seem to have a natural talent and take pride in what you do.
Im still a fair way off finishing mine. All the electrics, controls, windows, upholstery etc, wiper motors....all things that take a lot if time and you don't seem to be getting anywhere. I'd love to have it finished next year being the 100th Dodge anniversary. We'll see how we go. I'd rather do it properly than rush it at the end and have it look as though its been rushed.
Ian
10/20/13
Stiill chugging along...
Finished running the wiring and aligns up better with everything now. Again had to rejoin the fuel tank sender wire.
Made up a fabric seal and positioned the left hand drive cover block off plate in place.
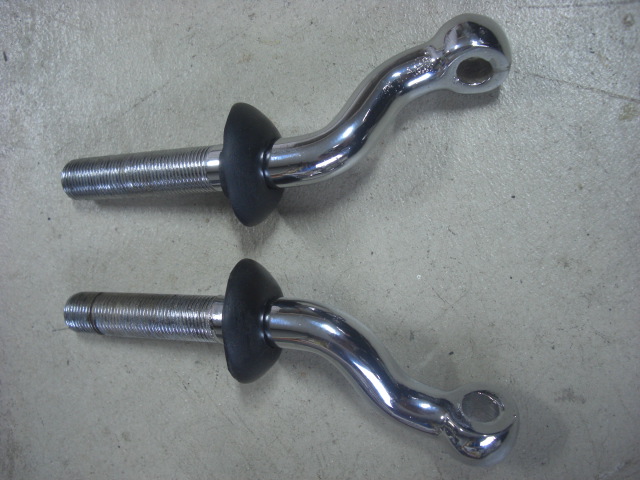
Installed the two bonnet restraining buffers in place.
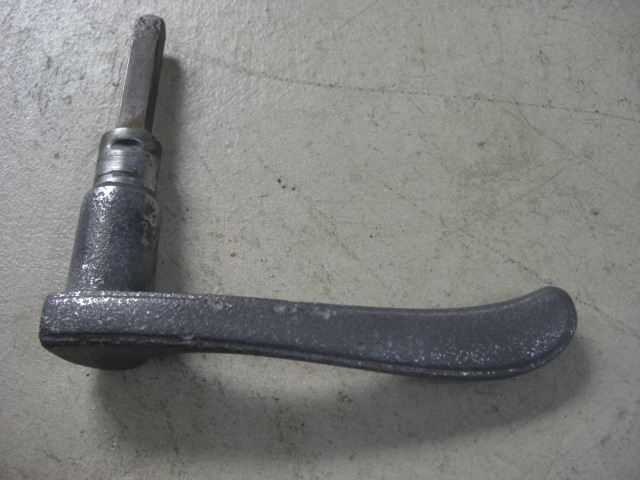
Went to the chrome platers and got back my 6 door handles and I can pick the best ones and have two spares. Considering what I started with they came up pretty good. Also got back the 1/4 vent window frames.
Cleaned up the spring locking parts for the door handles too. I only have to figure out how to put them back now !
So while I was doing some of this it was hailing outside while less than an hour away Sydney is copping massive bushfires. Strange country.....but I hope they are all ok up there.
Cheers
Ian


Great build what a beauty! Fun family picture BTW
Posted by Diggymart on 1/31/19 @ 4:17:12 PM