You must be logged in to rate content!
8 minute(s) of a 362 minute read
2-7-2013
Heres a bit of ingenuity.
I couldn't get the fender welt to sit properly between the end of the valance panel and the back side of the front fender and I couldn't get my hands up in the gap so I used a couple of surgical artery clamps to grab the small bit of fender welt sticking out between the two panels and was able to pull the fender welt down and holt it while I did up the bolts.
Who said restorers don't come up with strange solutions !
Cheers
Ian

2/13/13
A milestone reached today. My brother came over and helped me lift the radiator / cowl assembly into position between the two front guards. It actually sat pretty well considering.
I have to get the front mounting bolts in place and connect the radiator hoses back up, but its nice to have it actually looking like a car now.
Cheers
Ian


2/21/13
Unbolted the front of the fron fender, and the rear which attaches to the valanve panel and running board. Was just able to manouver it enough to get the pesky support bracket to the front of the mounting bracket instead of behind it. Back was aching after a while so I thought I'd reconnect the radiator hose at the bottom and tightened it up. Then I had a brilliant idea that I'd fill the tank up again. After about 7 litres I heard this splashing and my feet were getting wet. What now......next time I'll remember to put the top hose on too ! idiot.
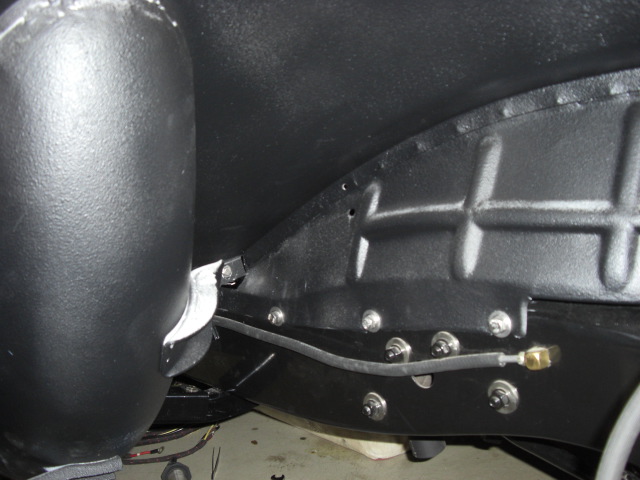
Anyhow, I've attached a few pics of what I was talking about before. You can see the curved parts of the front fender sitting next to the chassis. I know thats where it bolts to but the curved ends have got me a bit perplexed.
Cheers
Ian


2/23/13
Hey guys,
Not much to report.
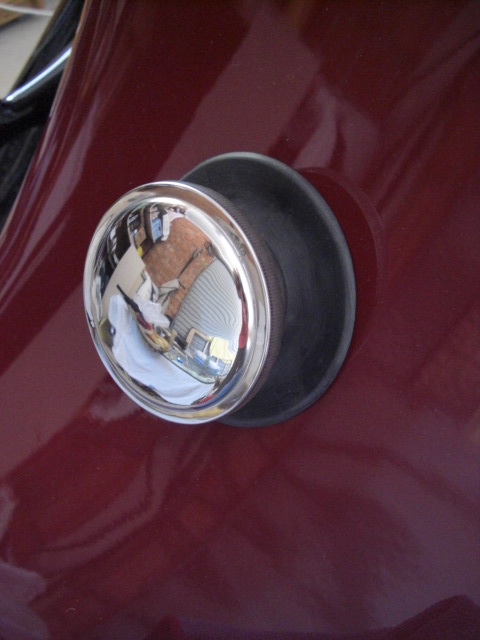
I have removed the bulk of nuts etc on the right side in an attempt to adjust the front fender so the holes for the headlight stalk align up but having a few issues. So every now and then I stop and do something else. This time I fitted the petrol tank filler tube after sealing with some aviation stuff, fitted the new rubber ring and put the new petrol cap on that arrived in the mail on Friday.
Cheers
Ian

3/28/13
Been a bit busy of late. Popped over to Hong Kong to visit my brother and did a few large jobs around the house now back to the Dodge.
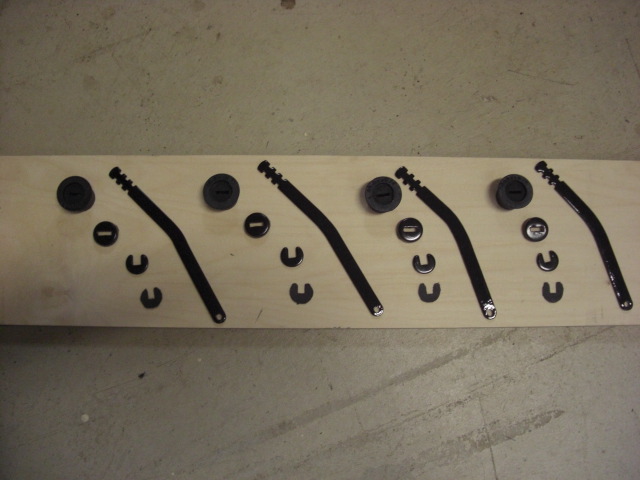
Cleaned up all the door stays internal parts and my painter painted the arms. Bought new rubber stoppers and cut out the little gaskets from left over fender welt.
The only thing I'm not too keen about is installing the rivit that the arm pivots on. Swinging something heavy near my paint work isn't an enjoyable thought but I'll work something out.
Picking up some parts from the platers soon and my painter is coming over to help me align the front fenders ( I need six hands for this job ).
Cheers
Ian

4/2/13
Hey guys,
Got the headlight supports bolted in place and spent the rest of the day tightening the bolts on the right side of the car up. Half way through them and then the other side.
Polished the rivets for the door supports and ordered replacement escoutchen ( cant be bothered looking that up ) plates for the internal door handles. NC Industries makes replacement ones.
Cheers
Ian


4/6/13
Hey everyone.
Good day today.
Started off I picked up my roof from the upholsterer and it looks fantastic. I'll fit it a bit later when I get a second pair of hands.
Spent the rest of the day under the car aligning the panels on the right side and getting the fender welt set properly. Even got the bolts that suppurt the front guard to the chassis and in the wheel well all done too !
Yep...pretty happy with myself today.
Cheers
Ian


4/24/13
Completed aligning and tightening all panels and bolts on the left side of the car.
Started sorting through the packets of bits and pieces that have been sitting there for a number of years.
Found the glover box catch so I installed that and also found and polished the rear passenger ashtrays....came up ok I think.
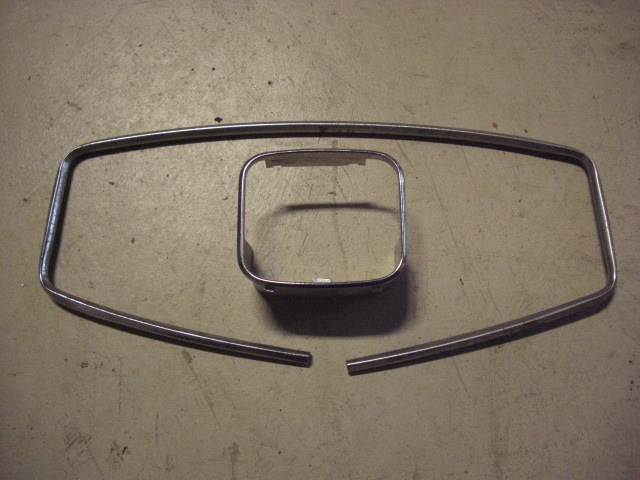
I cleaned up a rod for the luggage rack as well as dovetails for the doors, striker plates, grommet housings, luggage rack bolts and trims for the ashtray and glove box. I'll check these over before I send to the plater. I've also ordered a lot of small machine threads and screws ( slotted of course ) from the Restoration Supply Company which are often difficult to find in Australia so I drew up a list and ordered a lot in one hit.
Over the weekend I hope to get the accelerator linkage in place as well as the roof. I'll take lots of photos and try to explain what I've done to install it.
I also spoke to the painter and his frind who does the pin striping on the wheels ( he calls him simple simon ! ) is nearly finished. Looking forward to see the job he has done.
Cheers
Ian


Great build what a beauty! Fun family picture BTW
Posted by Diggymart on 1/31/19 @ 4:17:12 PM