You must be logged in to rate content!
5 minute(s) of a 668 minute read
9-29-2014
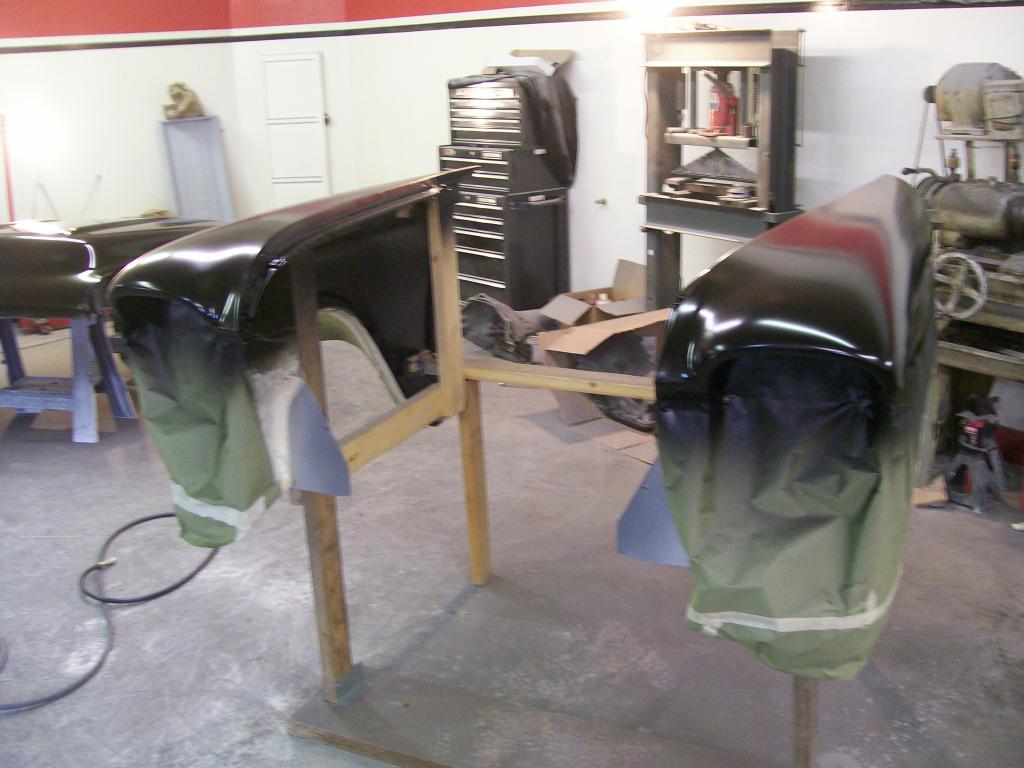
With the silver and red taped off it's time for the black.
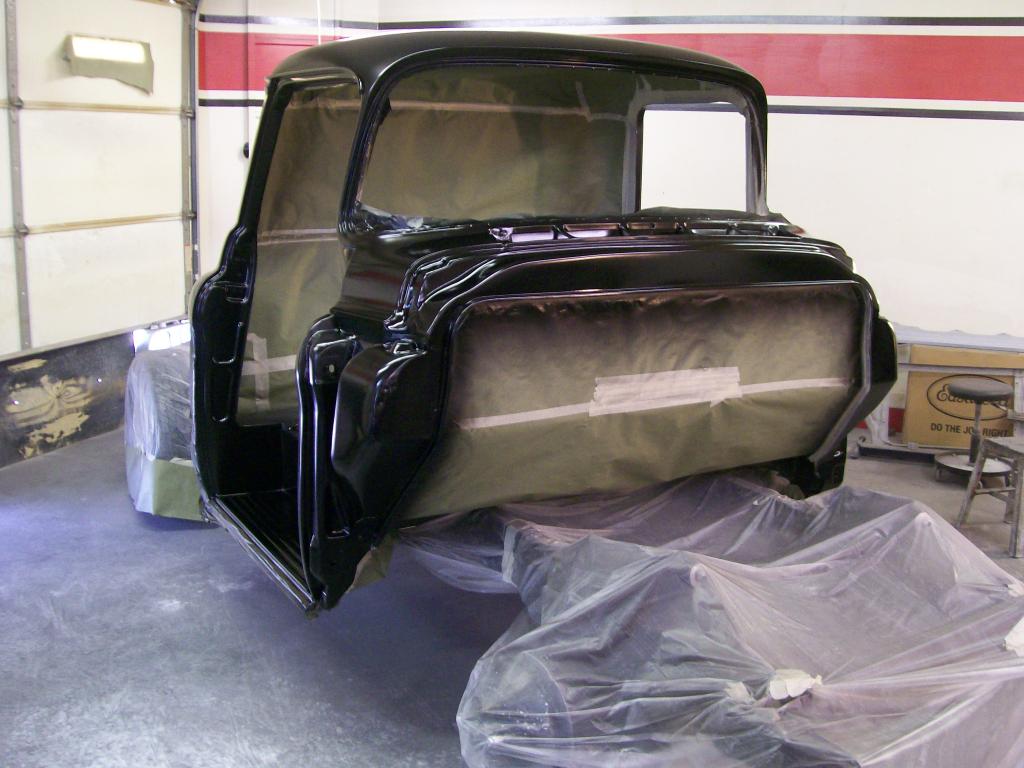
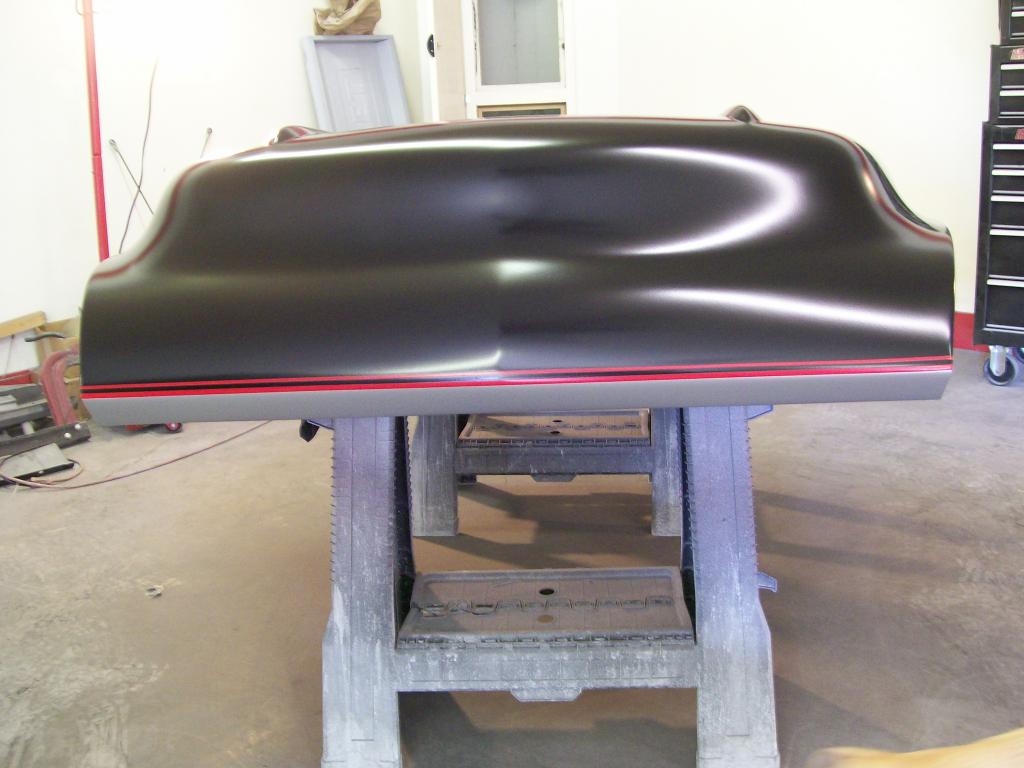
Once the black dried I started removing the tape. First was the 1/8" pinstripe.
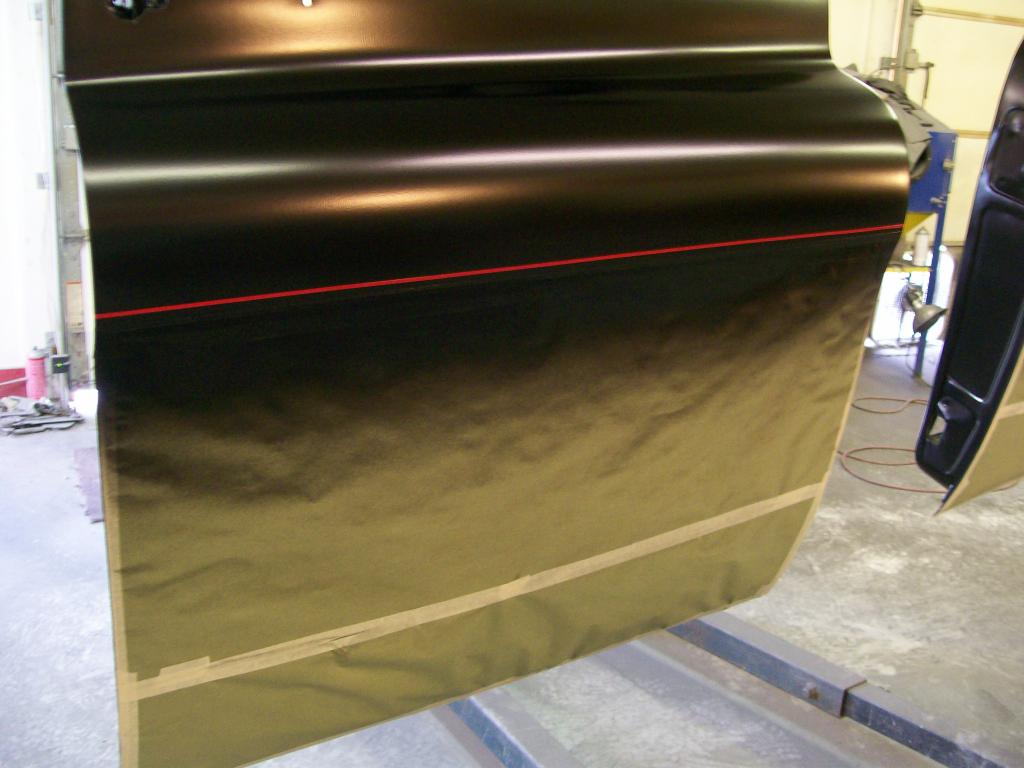
Then on to the tape and paper on the 1/4" pinstripe and the silver.
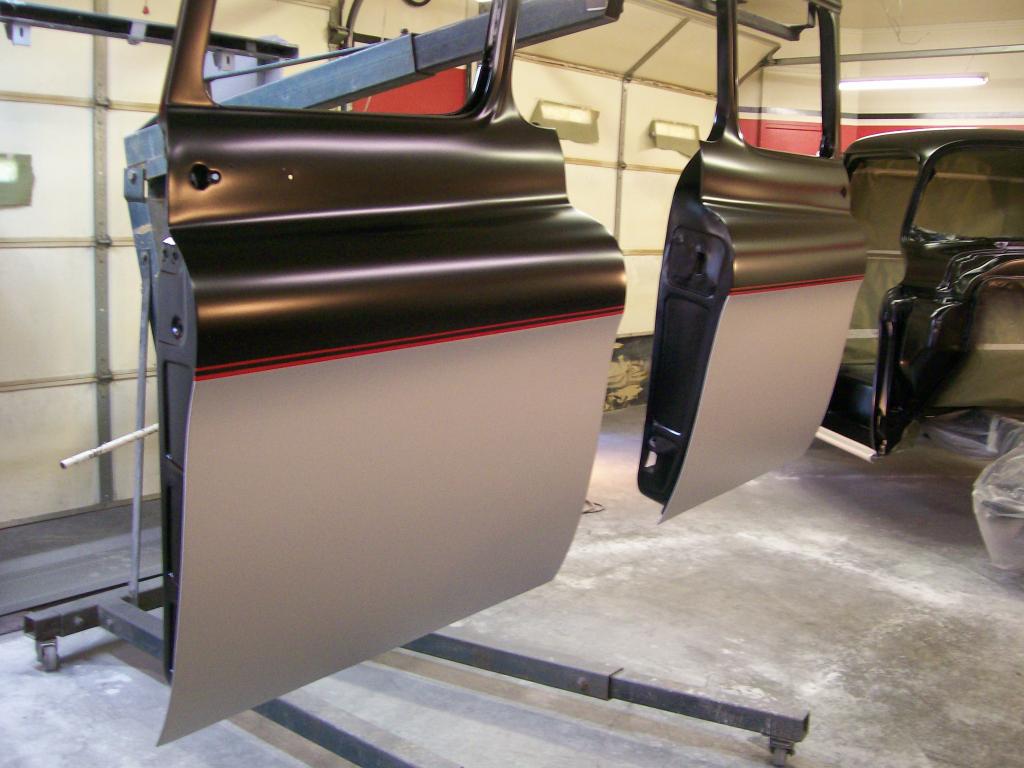
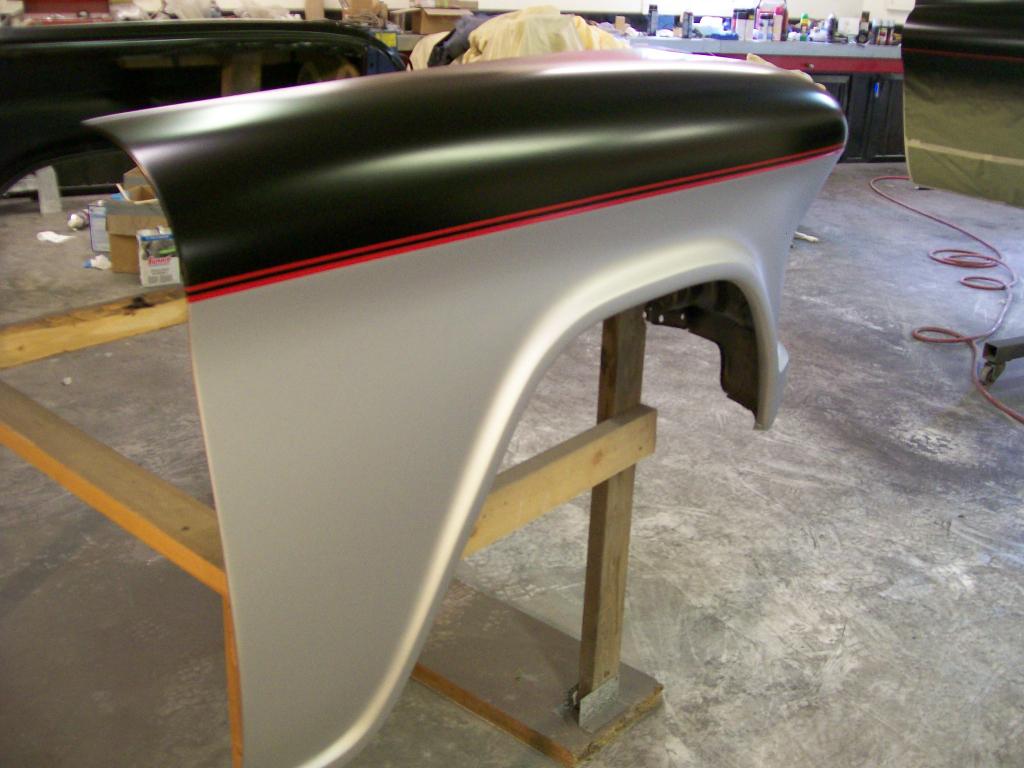
Now we see how the colors are gonna like together.
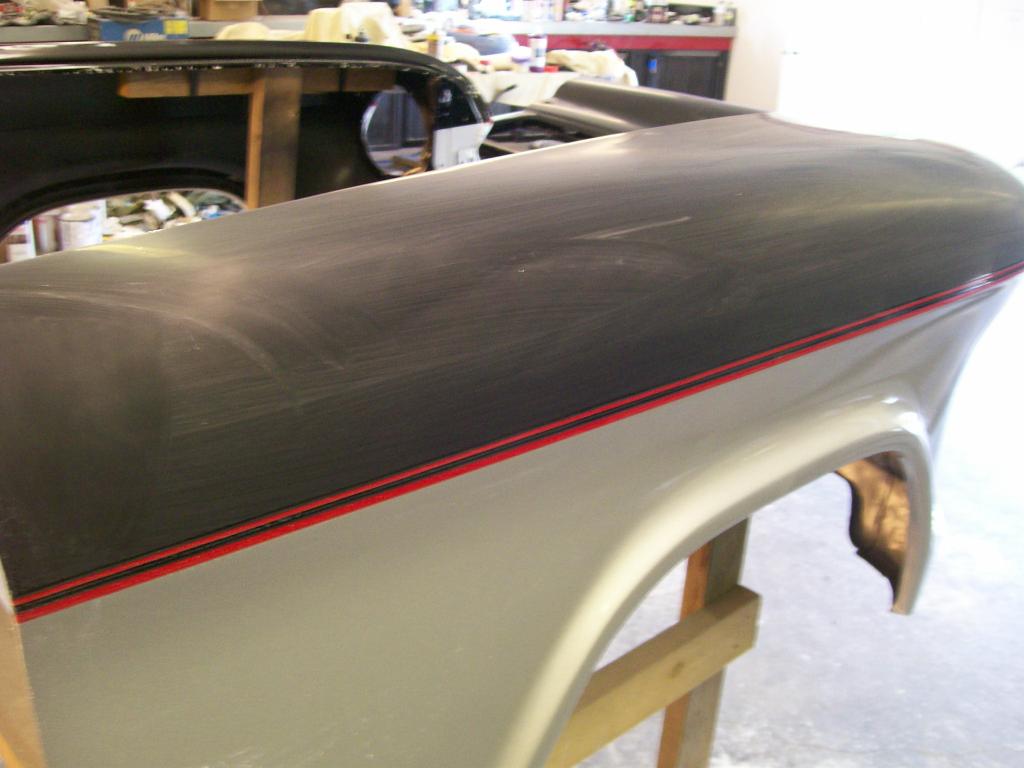
Front fender looking good.
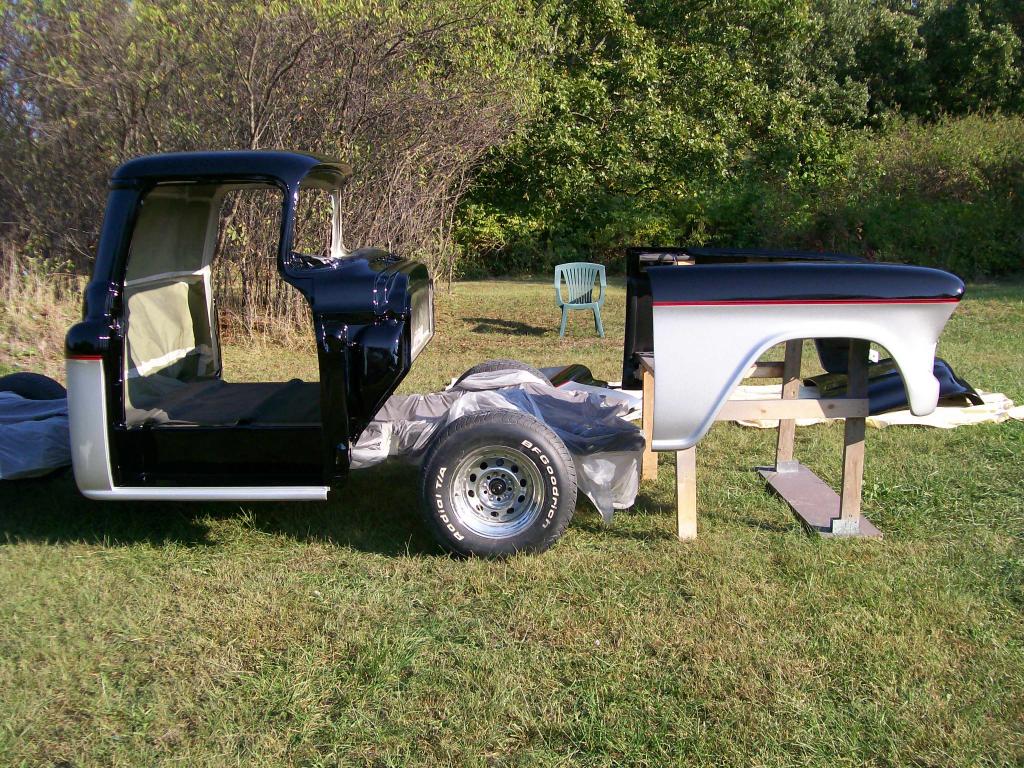
Then came the clear coat. I allowed the paint to cure about 20 hours then this morning I put everything outside to bake in the sun light.
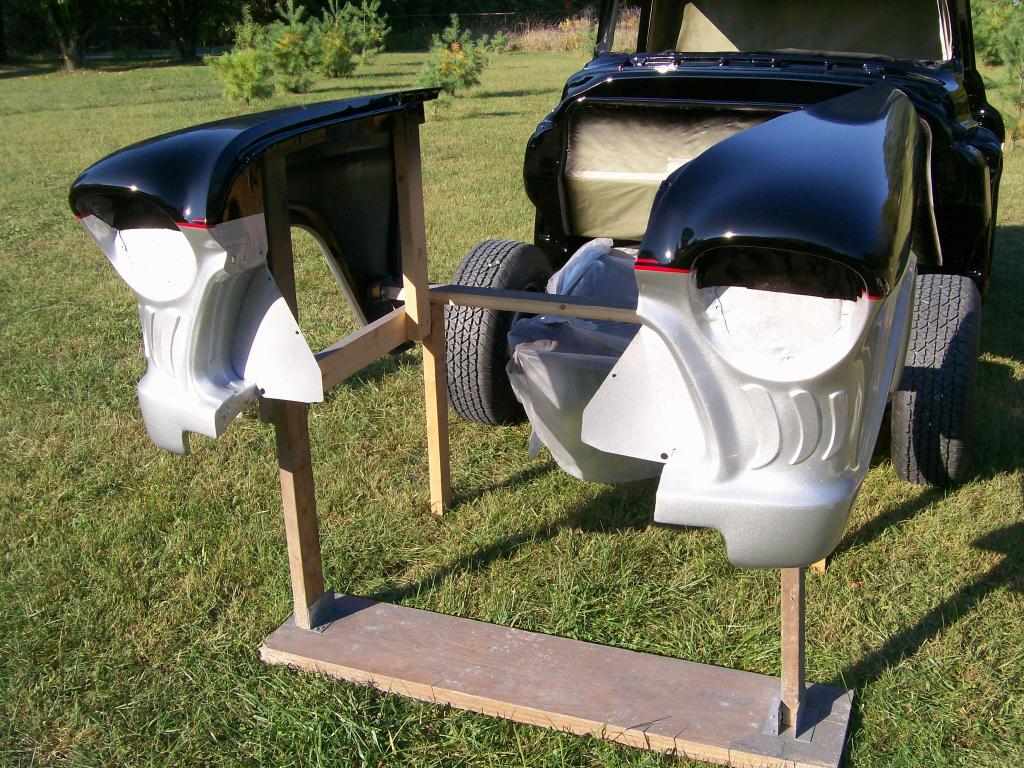
Baking in the sun all day pretty well cured the paint/clear, so tonight I started the wet sanding with 1500 and 2000 grit paper getting ready for the buffing phase.
This is a huge hurdle to get over, although I have more paint to do, like the bed and such, this will allow me to get so much done over the winter.
The headlight pinstripe situation has been on my mind for a long time, maybe about a year actually.
My original idea was to use only the 1/4" stripe and it would go down the side following the main body line then go up and over the head light.
This meant the black would be on the top of the fender, then the red stripe, then the silver would be fully around the front edge of the headlightopening.
Having this silver going up and around the headlights I felt the front look of the truck would lose it's dark look above the headlights which would take away some of it's aggressive look.
Now I have the 1/4" stripe following the body line then going into the half way point of the headlight, then coming back out of the headlight continuing across the hood to the other side. This keeps the silver only going as high as halfway up the headlight.
The line I cut was decorative and didn't split the silver and black. So the 1/8" line stops before it goes over the headlight, then starts again on the other side of the headlight.
One feature of the design of these old Chevy's is the forward angled cab and front fenders, it reminds me of a Bulldog attitude. It's probably a good thing it took me an extra year to get to this point of the build, it gave me time to get a better picture in my head of how I wanted the paint to be when done.
Hope this answers, I will have more pics as the buffing moves forward, they'll have more angles of the stripes.
10-1-2014
I've been sanding and sanding and sanding then buffing and buffing.
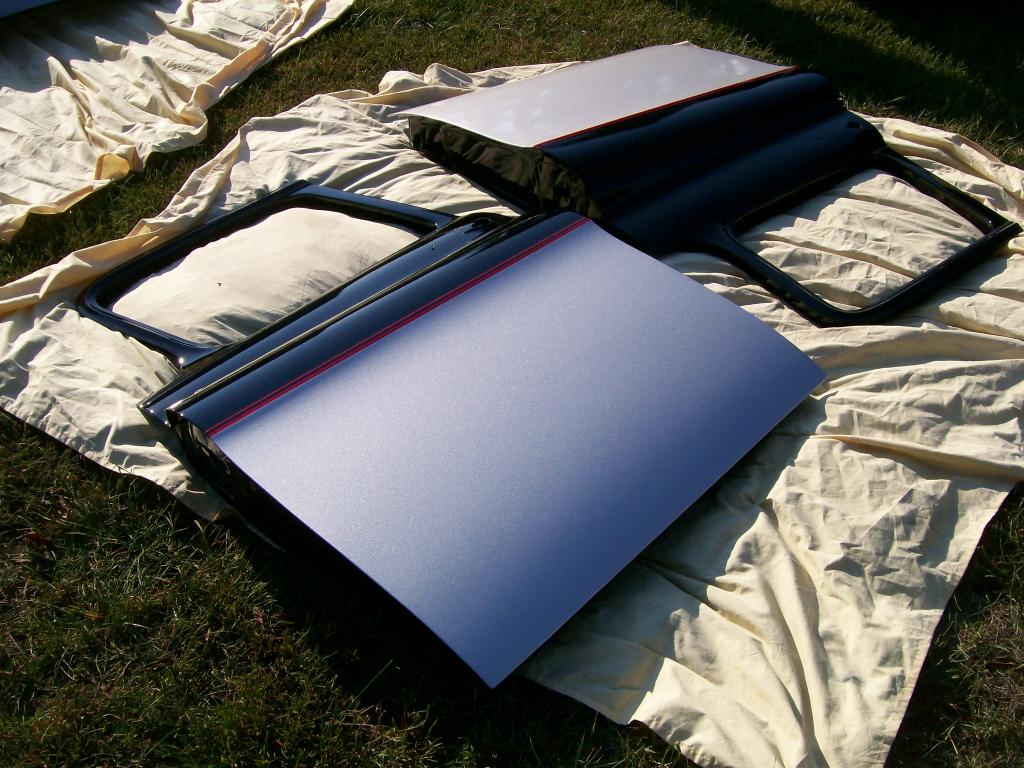
I did a couple of pictures of the doors and fenders.
Here is one of a door, I started with 1500 to remove the orange peel then switched to 2000 grit to minimize the sand scratches so I would have less buffing.
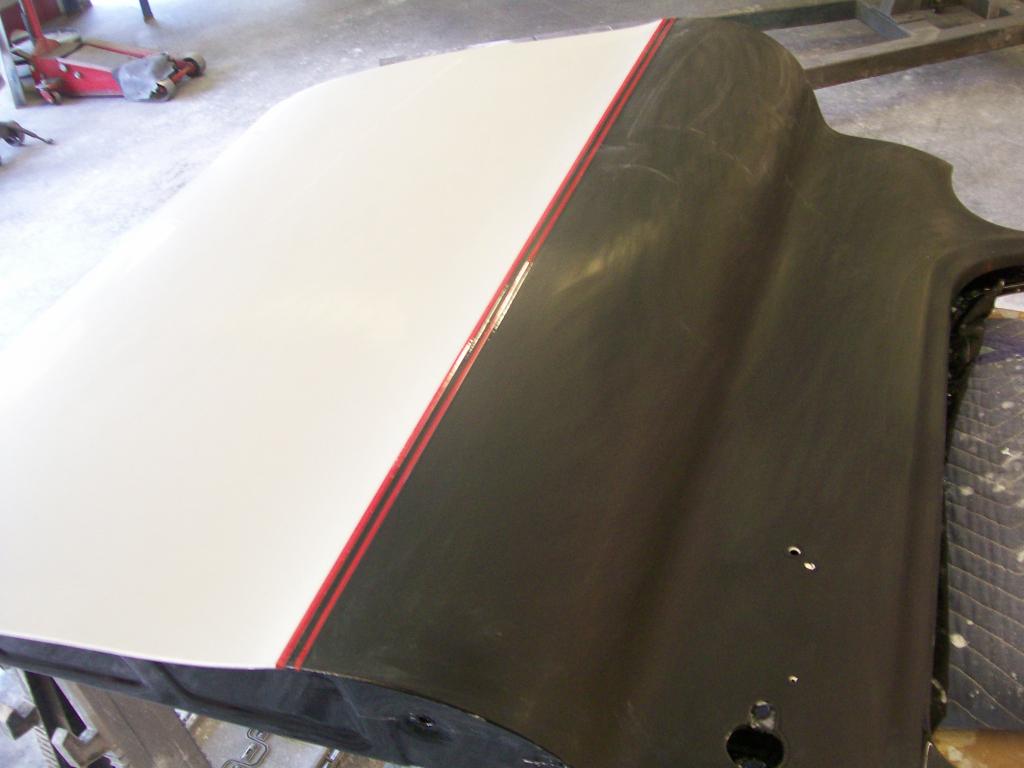
I start with a fast cutting compound then I clean the surface with Meguires fine compound/cleaner by hand. The fast cut compound always leaves a film, this film doesn't let the fine compound do it's job, I found the mehuires stuff removes the film left over by the fast cut compund.
After the buffing.... (Honey, does this door make me look fat?)lol
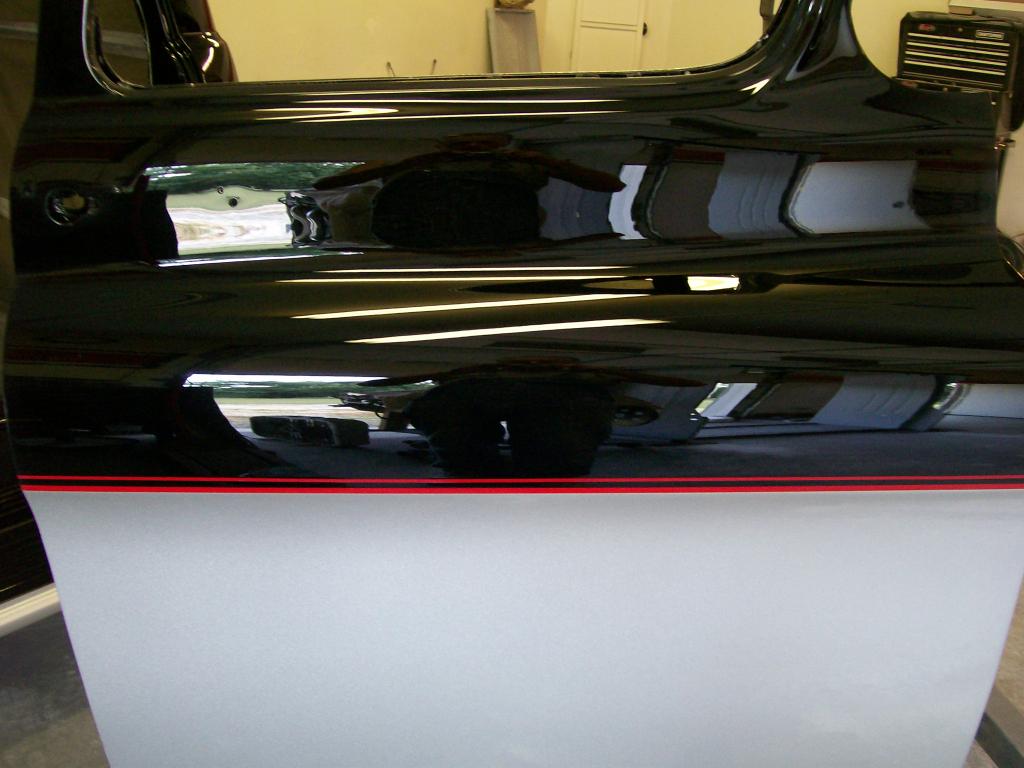
I polished the silver and black but the black is the only one that reflects for picture taking.
I have one fender sanded and buffed, and one finished buffed.
One fender just about ready for buffing.
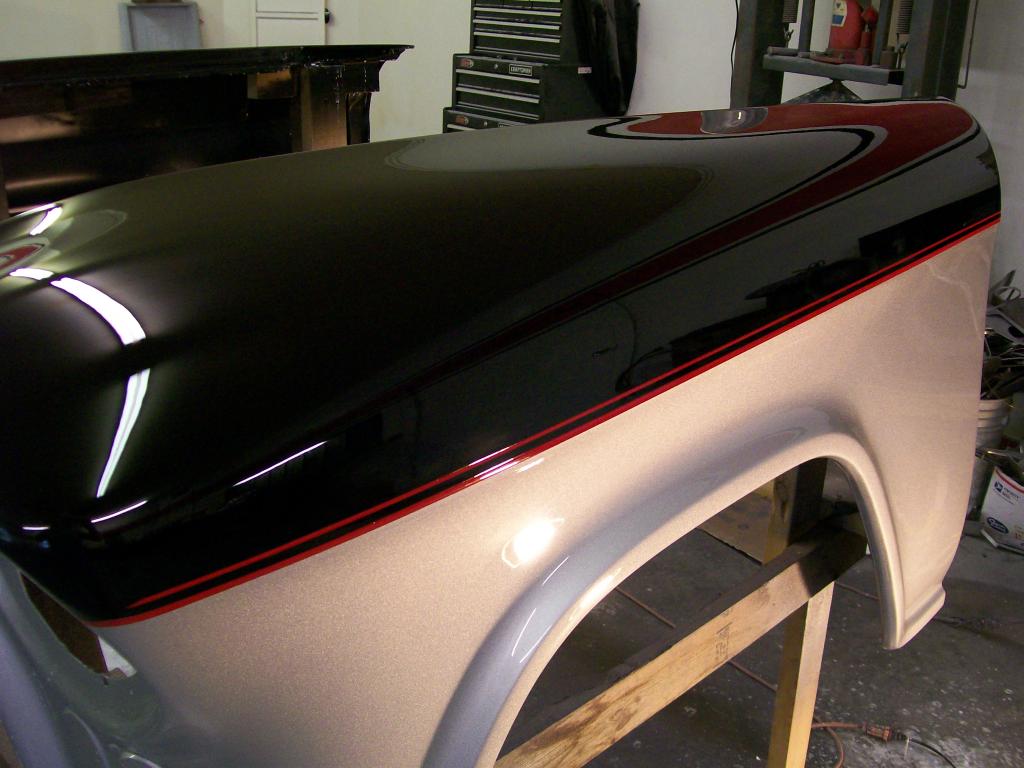
The doors and fenders are done, I'm working on the hood tomorrow, then the cab. As usual I have a reason for the order. The more flat area to sand takes longer, especially as the clear is curing. The cab has more rounded edges which will sand easier although the clear has cured.
I am being patient and taking my time although I really was to assemble all the pieces to get an overall look at it.
