You must be logged in to rate content!
13 minute(s) of a 668 minute read
7-30-2014
Hi Jeff88, as for the nuts, simple to drill and install. In my situation the force is going to be a direct pull against the nut as opposed to a force that will be a twist or rotational pull. If the force is going to be a twist I would concern the nut rotating in place. In my situation with this hood brace, I think it should be a long lasting fix.
As for a welder, I can imagine watching this thread has had you thinking about welding for some time now.
I've been through a couple of welders, if I was to need a new Mig welder I'd be looking at what LA-Sahara bought, very nice welder with very nice features.
I think the saying "you get what you pay for" stands true for welders. I've been using Miller and as we know, I can be abusive with the tack-tack welding, plus I do sheet metal up to 3/8" and 1/2". A welder than can have such a range and still be precise down to the really thin stuff is impressive.
On the other hand I had issues with my Tig welder, no fault of the Miller welder, just that the last shop I was in had electrical issues and shortened the life of the welder. I only needed the Tig for aluminum, stainless and thin steel projects. I won't be using it abusively as I do the Mig.
With that in mind I got a 200 amp Eastwood Tig, half the price of a new Miller. The Eastwood is working great...... but, I treat it very kindly/gently. The clamps, switches, the dials, the regulators, basically everything about it is second grade to the Miller welders, but the welding is working fine.
Eastwood and others offer Migs as well, but just as everything else in life, the product will do the job, it's basically the usage and life expectancy that will play a part.
I figure LA-Sahara will never buy another Mig welder, unless he becomes a habitual welder as I am once in while.

Then we have parts availability in ten years for the welder that just needs a wire feed roller for instance, recently I needed tips and odds and ends for my Mig and plasma cutter, much to my surprise I found the parts an Amazon.com, will the parts be available in ten years for my Eastwood, only time will tell.
I'm excited to hear you guys are stepping into the welding world. It is one skill that can certainly open many new doors of opportunity and expand the things you can do for yourself.
Truck progress is moving forward but boring. You don't realize how many small parts a vehicle has til you clean, blast, prime and paint every individual piece. I do figure it will all pay off in the next couple of months.
8-1-2014
Jeff, my first welder was an Arc welder, after a couple of years I got good with it. I bought a Buzz Box, it wasn't the cheapest and it lasted for years and years.
My next welder was an inexpensive 110 volt Mig, it worked well but had a small range of capability. I bought the inexpensive one because I knew no one who had a Mig so I feared it wouldn't suit my needs, boy was I wrong.
Soon after I bought the 110 volt I was searching for a larger unit, I bought a larger one, then sold the smaller one.
I guess what I'm saying is, the Mig will suit your needs, search, study and buy a quality welder. The Miller that I've been using during this build thread is 14 years old and still working fine with very little maintenance.
Jim
8-8-2014
With the camouflage paint I almost couldn't see the Jeep in the picture.
Ok, sounds like the work "commitment" might be coming into play here.
I see you mentioned time, experience, knowledge or true desire. I'm gonna use those 4 ideas and rearrange them.
Desire, the want to have or do something. Don't let the lack of experience, knowledge or time get in the way of trying to fulfill a desire.
The experience will only happen by doing what you desire, your knowledge will grow because you gained experience trying to fulfill your desire and you will find the time because you will desire to gain the experience and knowledge to fulfill your desire.
With this said, we still need money and a work shop ect, these can be obtained, it is the patience and endurance that we have to build within us.
It is the progress and accomplishments that build our patience and endurance that sustain us during the trivial and difficult times of a project.
Ok, I know that got deep, just know that every time you walk up to vehicle and say " wow, that's awesome" someone else had the desire, experience, knowledge or time to get that vehicle to that awesome state.
OR........ they paid someone who had the desire for the money, had the experience, the knowledge and time to build it.
I'm on the build it side, I can afford the parts, but I can't afford the labor, I shall keep building.
Jeff88, certainly, if you start a build, mention here, you have been a great supporter of this thread and I'd more that happy to give your thread a boost.
Jim
8-11-2014
Things are slow going right now. Dealing with high temps and high humidity I am only priming and painting odds and ends.
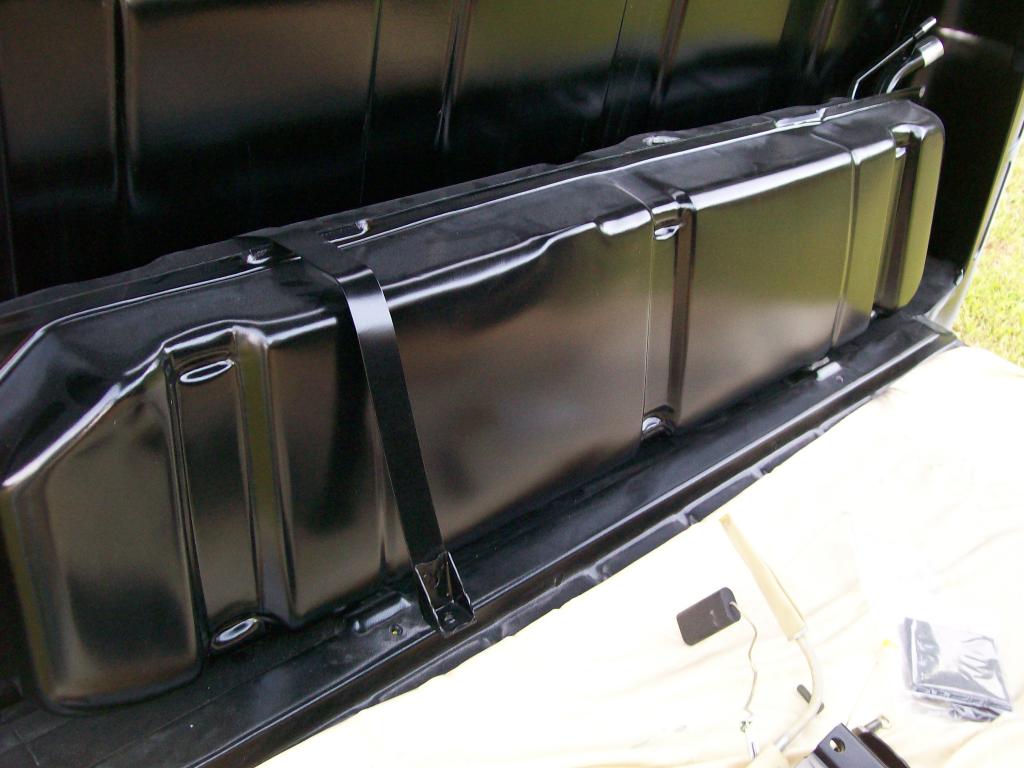
I did get the gas tank scuffed, primed and painted. I'm leaving the tank in the cab as original. Yeah, I hear all the talk about safety, yet, the other option seems to be a tank that hangs well below the frame rails in the rear of the truck. Safer? I wonder, plus I don't like the looks of a big square metal tank hanging down back there.
I did however get a brand new tank, then got a quart of gas tank sealant for a secondary seal in all the welds of the new tank. Wow, the sealant will knock you off your feet just by the odor. Now the tank has a nice white coating on the inside.
Clean and ready for primer and paint.
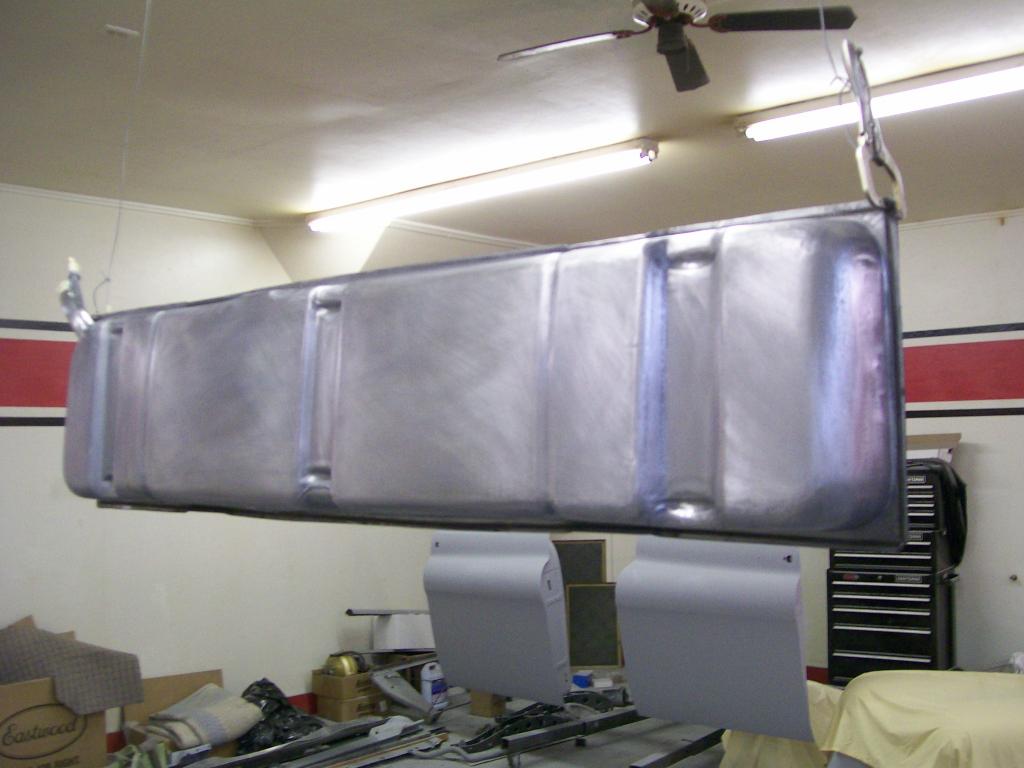
I forgot to take a picture in the shop but here it is sitting in place in the truck.
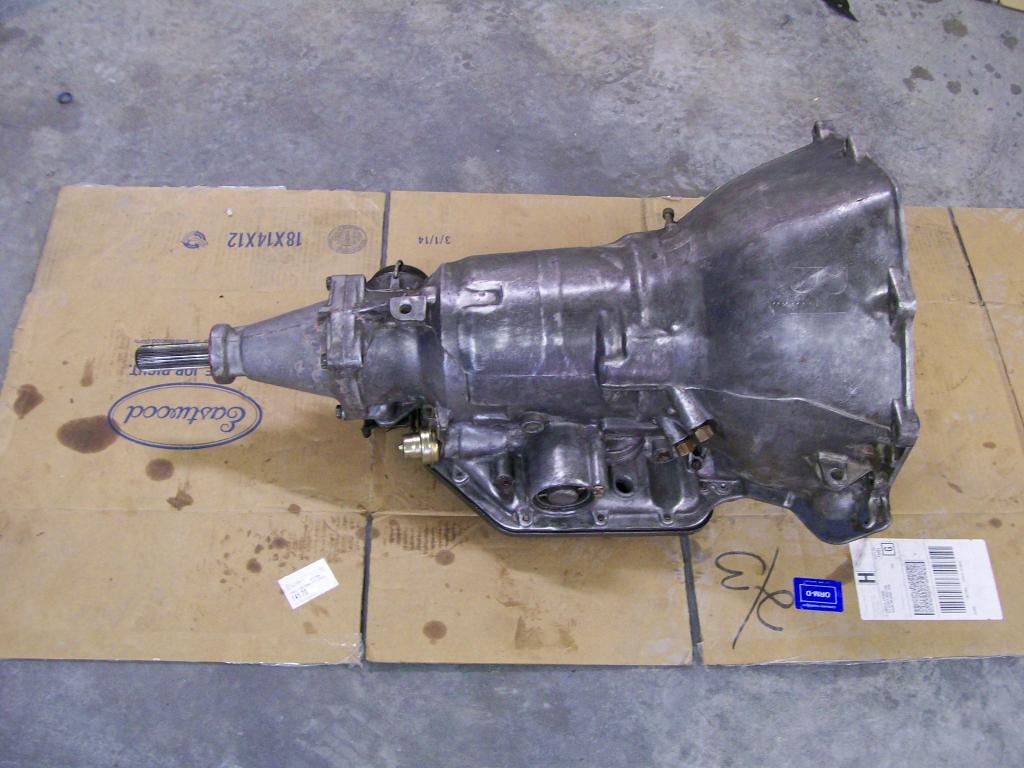
Moving away from the paint work I do have some mechanical items to work on. Back when I ordered the overdrive I had to get an adapter which was longer to accommodate the "X" pipe in the exhaust, fortunately I found a longer tail shaft for the transmission on e-bay, time to switch over the transmission.
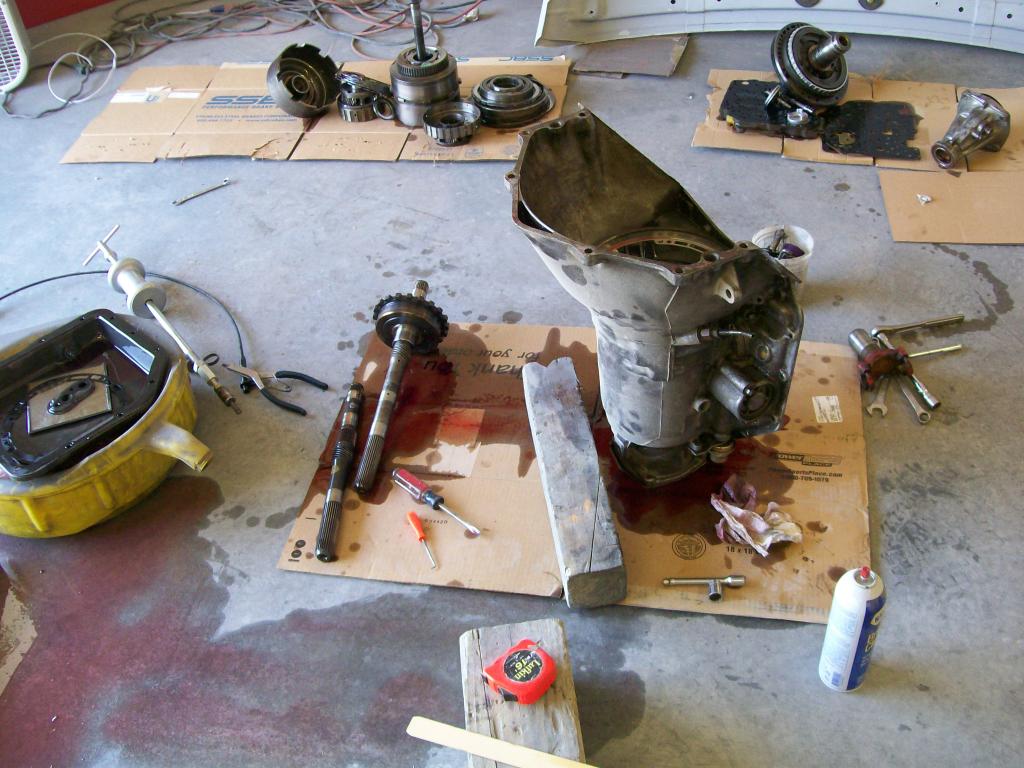
About 5 hours later I have the 3" longer tail shaft in and I replaced all the inner and outer seals. Normally the tail shaft only sticks out beyond the rear seal about a half inch. The tail shaft housing will not be used as the Gear Vendors adapter will replace it later.
I'm working on wiper linkage, steering column, brake pedal, gas pedal, master cylinder booster, ect, ect, ect, ect,..... you get the idea.

Point is, not everybody has the patience to keep at it..... you got to keep diggin' nobody else is gonna do it for you and nothing changes from the time you leave the shop til you get back in there the next time.
8-18-2014
Quick update...... I've been slowly taking care of odds and ends. I really wanted to do all this work after paint but my days off along with high temps and humidity has held up paint work on the outside of the truck.
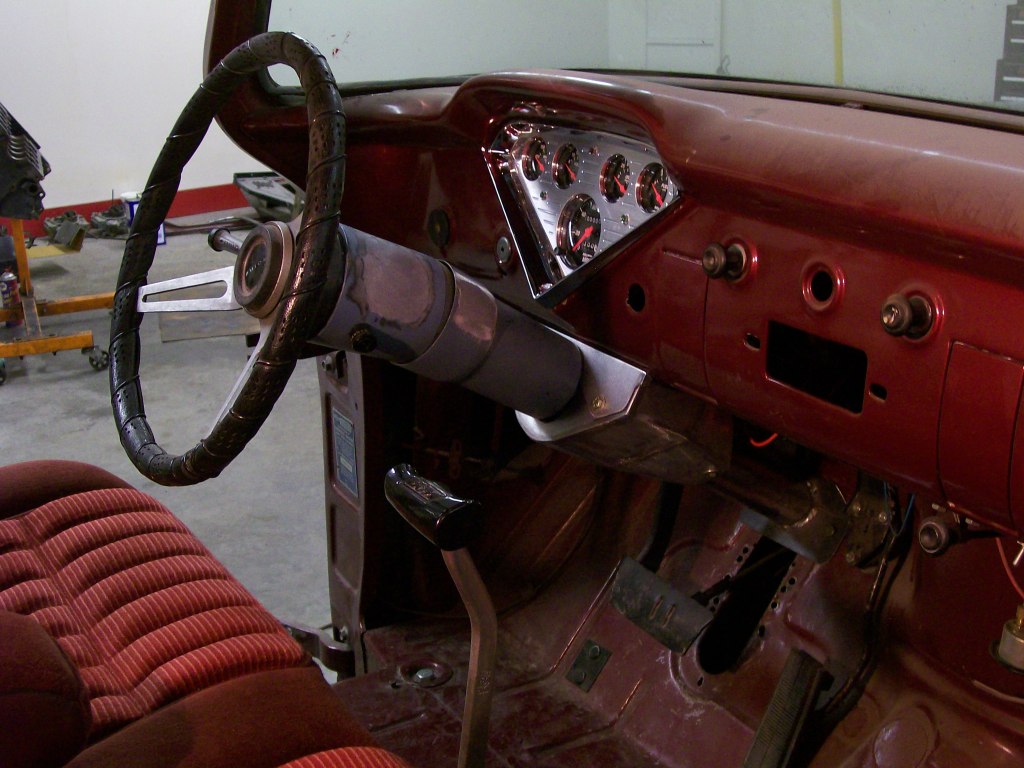
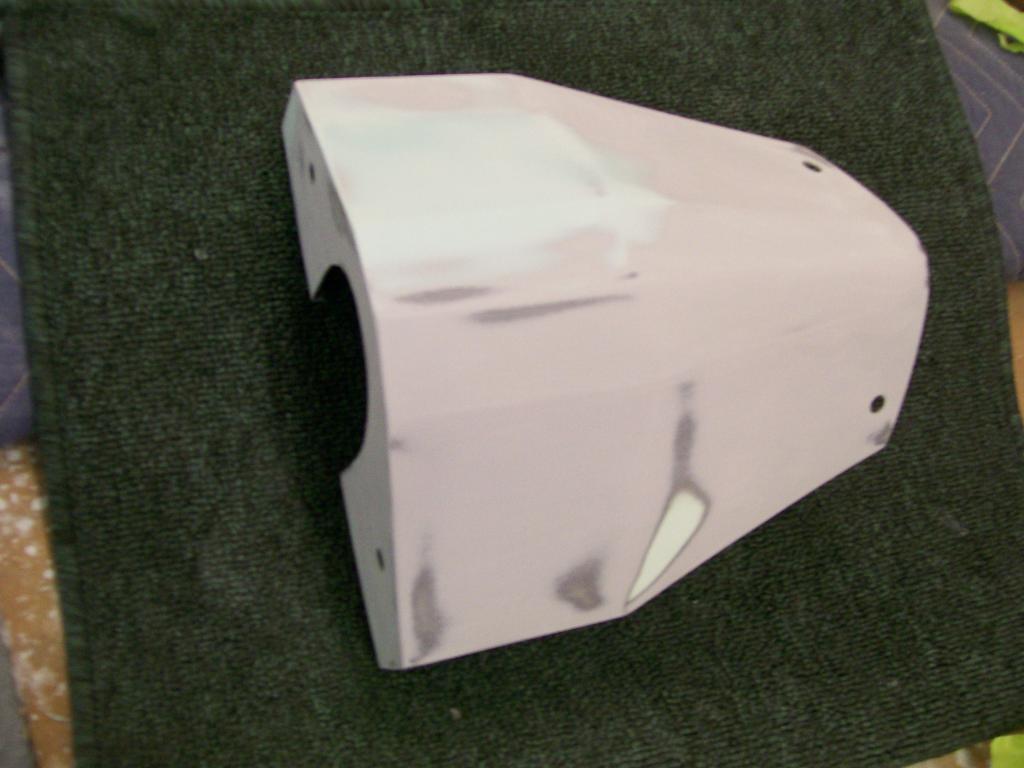
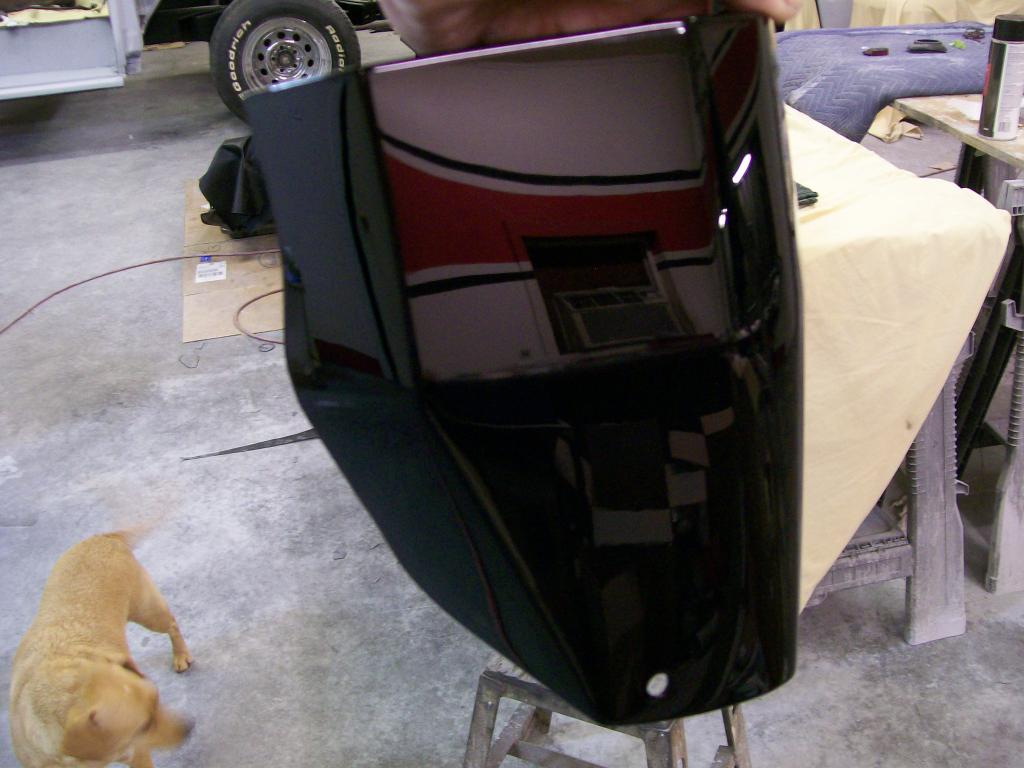
A couple of years ago, hahahaha, I made a cover for the steering column wiring and mounting clamp. I finally finished getting the steering column and the cover ready to install.
I have pictures, here we go.
I knew I had to make something so I started with this.
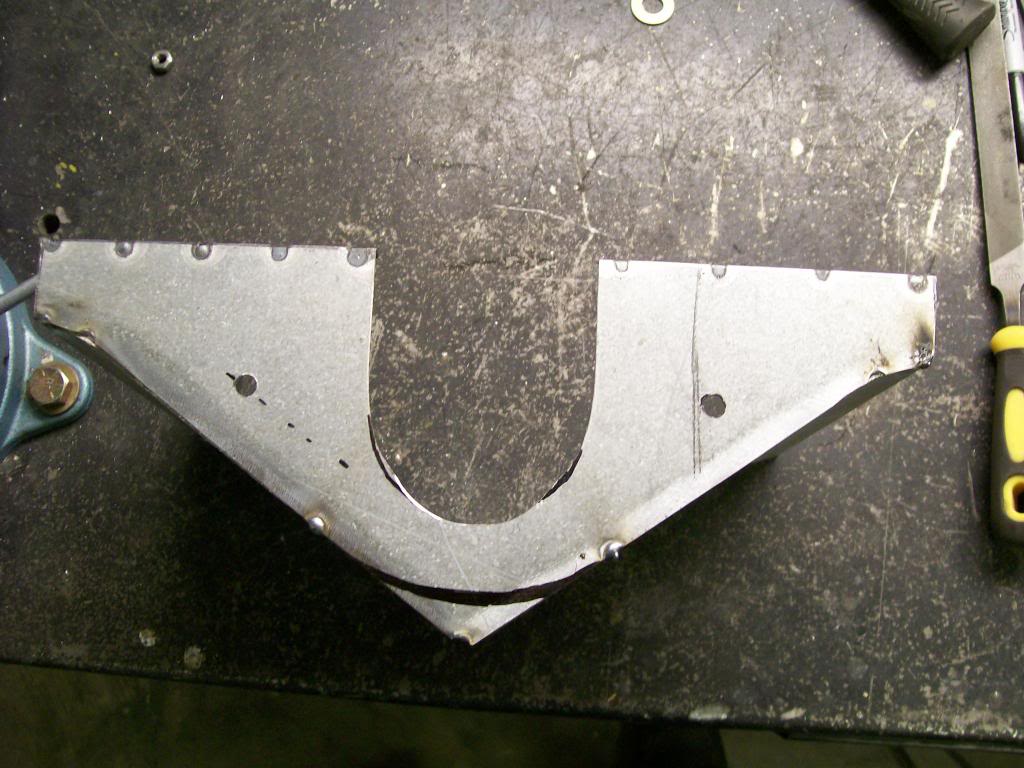
It was large, but it helped me form a visual.
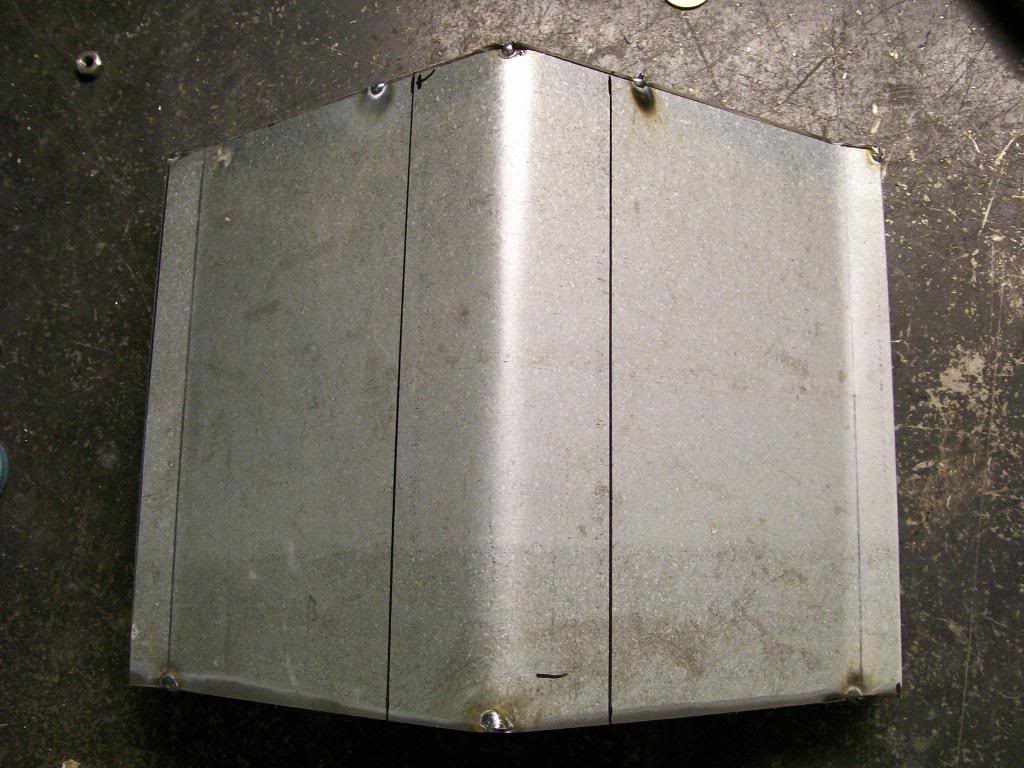
Still a little crude but I have it shaping up. I also needed a top cover that will go over the top of the column.
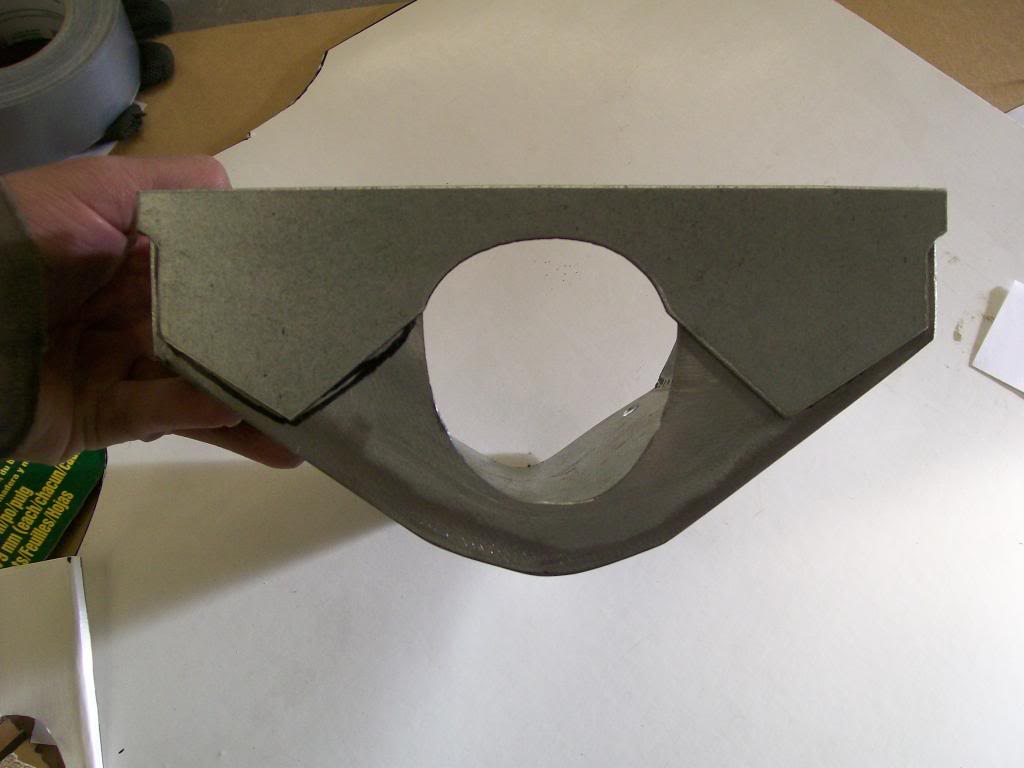
Happy with the final design I sandblasted, smoothed it with glazing putty then primer and block sanding, now ready for paint.
Couple coats of black, then clear, then cut and buff.
Starting to come together..... there's those ugly wires and the main clamp under the steering column.
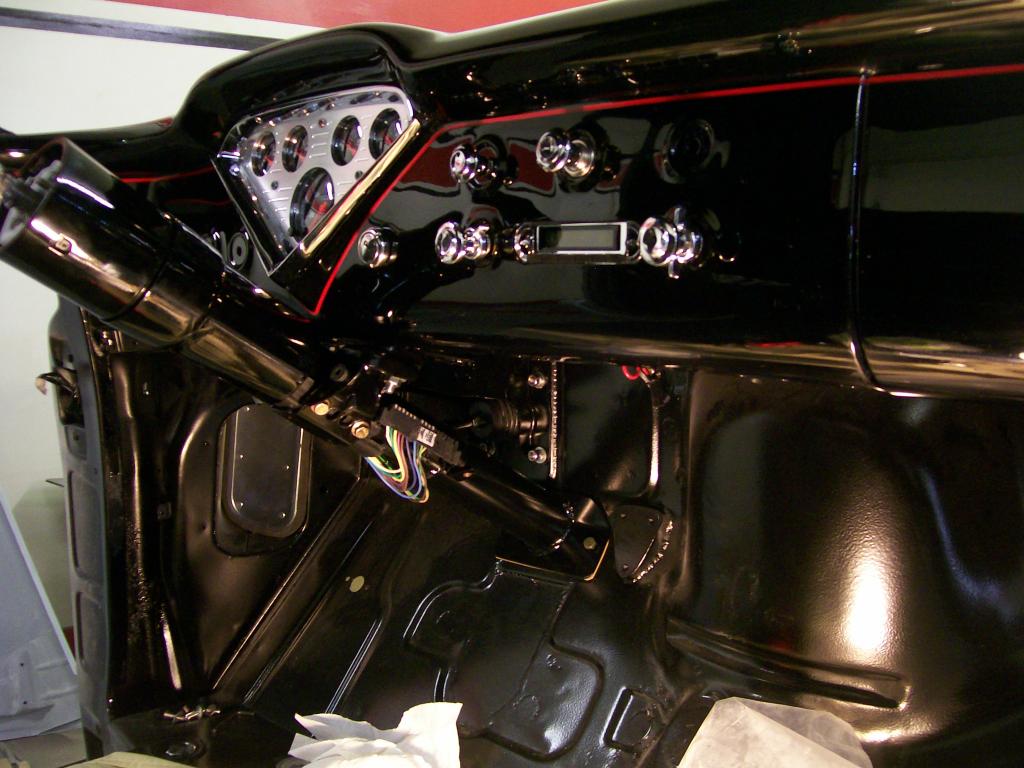
No more wires and no more clamp.
9-7-2014
Still working on this '57 Chevy truck... seems the weather is getting close to my preferred temp and humidity, now if I can get some days off to use the good painting weather.

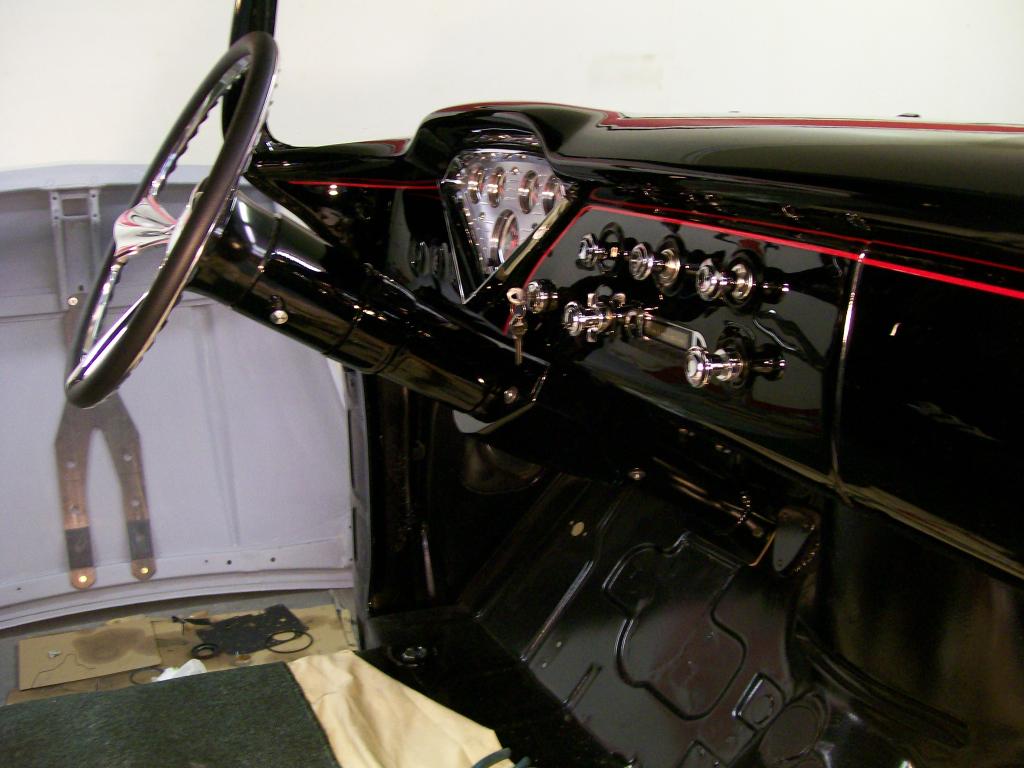
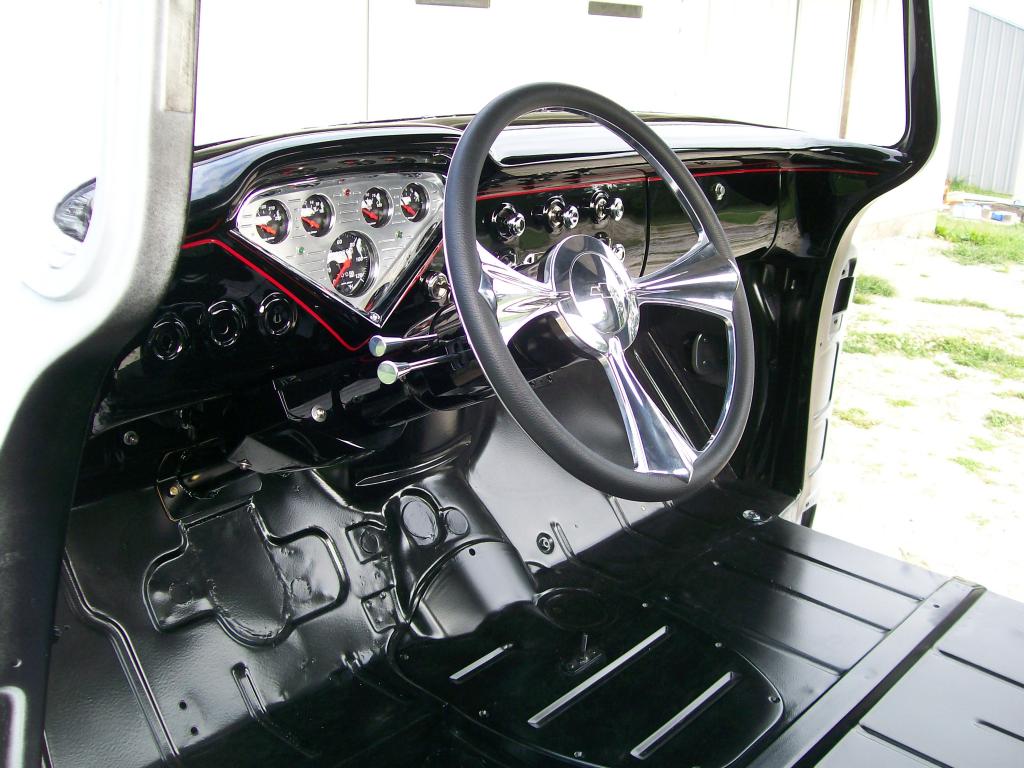
I did however do a test fit of all the switches and most of the interiorparts. I'm totally excited to get this thing done and enjoy all this work.
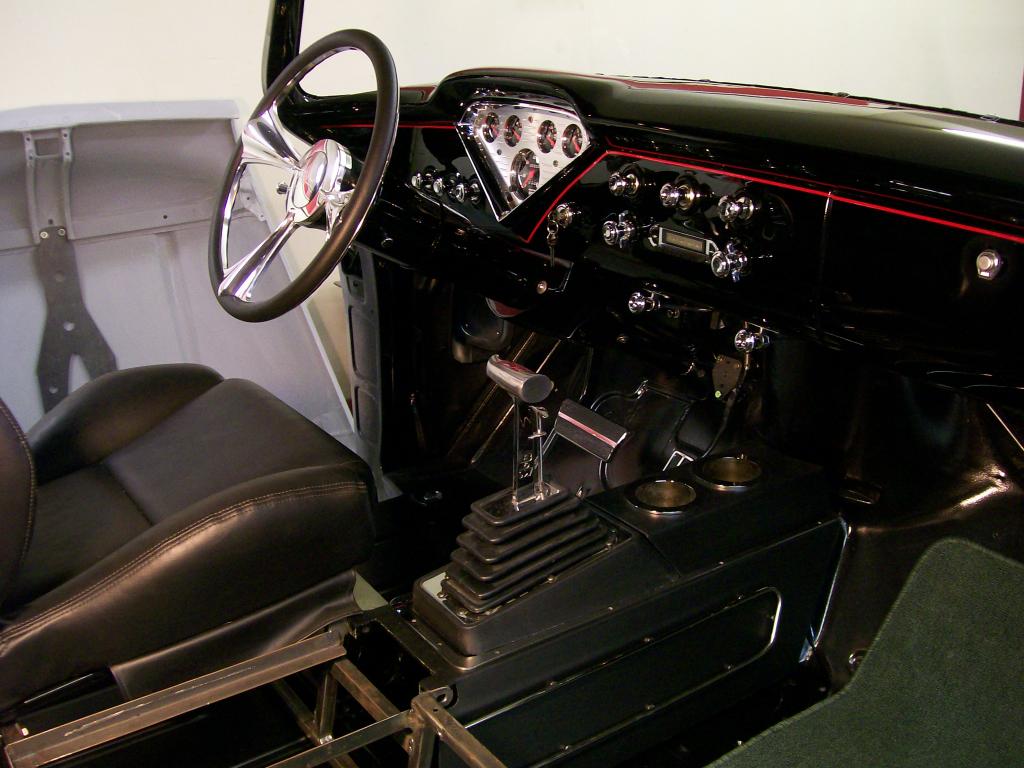
One other project at the moment is getting the brake lines run. One accessory I am going to have is a "line lock" or "roll control". Basically the idea of locking the front brakes only and doing a burn out.
Along with the line lock I need to install an adjustable proportioning valve. This will allow me to adjust how much braking goes to the rear brakes so they will not lock up too soon under normal braking procedure.
I want to run the two together so the brake light switch will be operational when I am using the line lock, so the brake light switch mounted on the proportioning has to be after the line lock.
I also want all this mounted very close to the master cylinder for spaceand cosmetic reasons.
I started looking at mounting everything on the firewall but didn't like it, so I decided on a mounting plate under the master cylinder.
I started with a plate, a plate that I sized up by bending a brake line between the line lock and the proportioning valve. I could mount the plate to the two mounting bolts of the master cylinder.
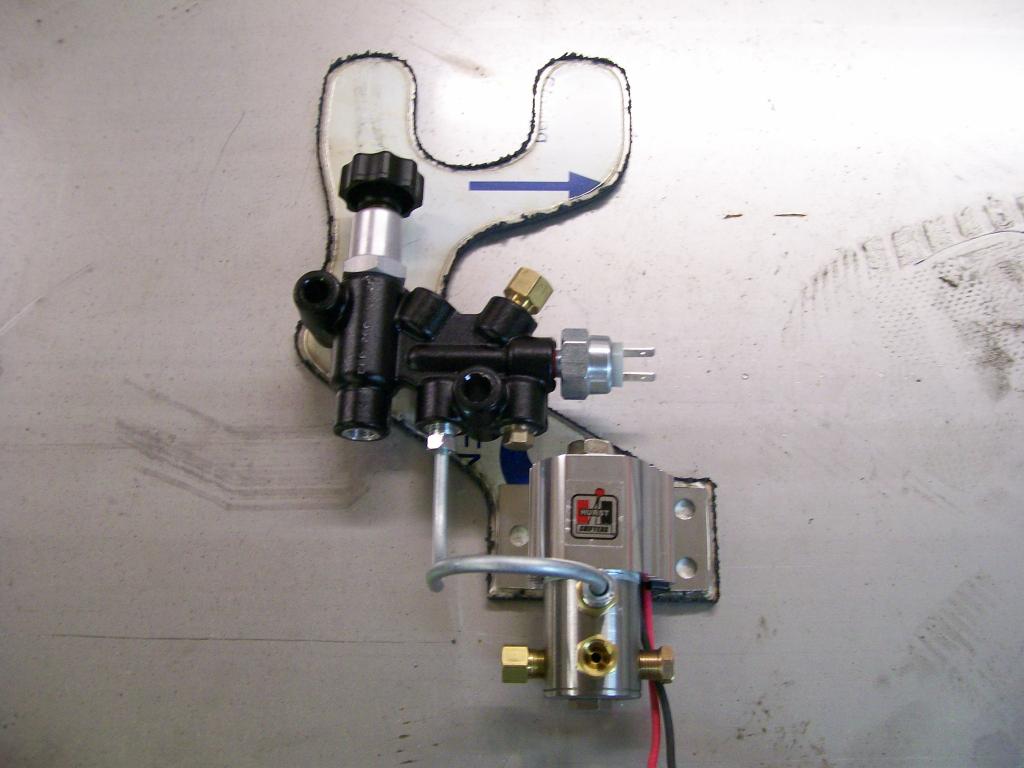
It's a start, but truth is, I didn't use the plate pictured, neither did I use the bend brake line. If I may say......dahhhh, I,m plumbing the valves the wrong direction to be able to use the brake light switch.
With the plate, I decided to raise everything up closer to the master cylinder, so back to the drawing board and redesign and cut another one.
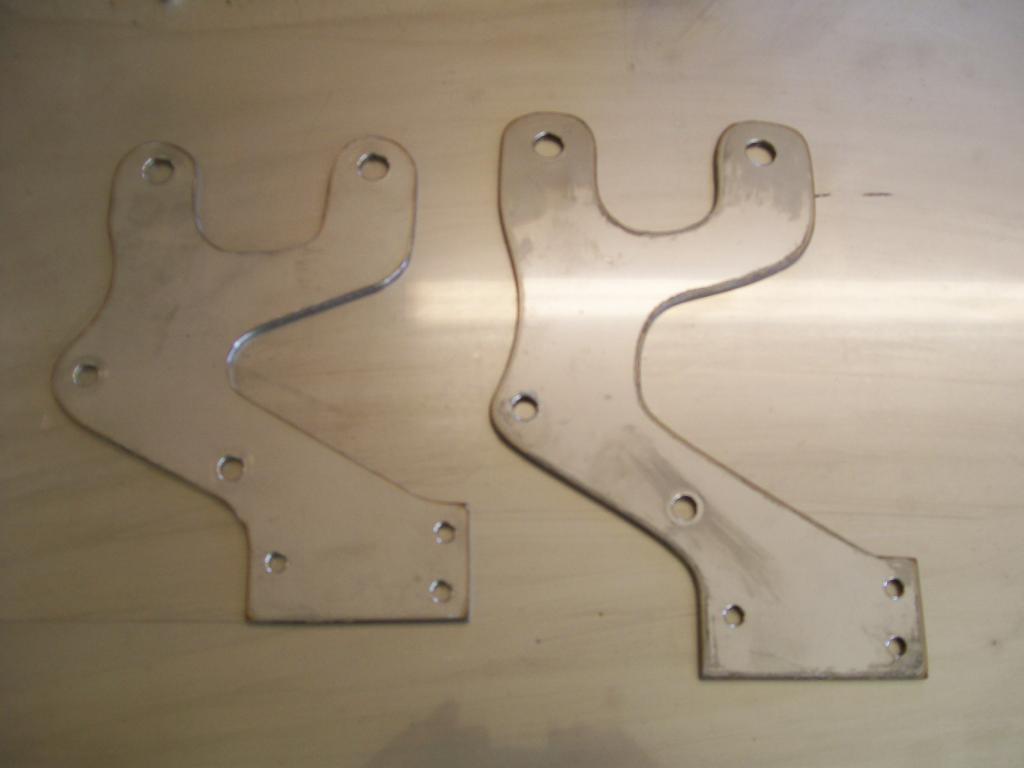
Once I was finally happy with the plate and valve placement I bent and shaped the lines.
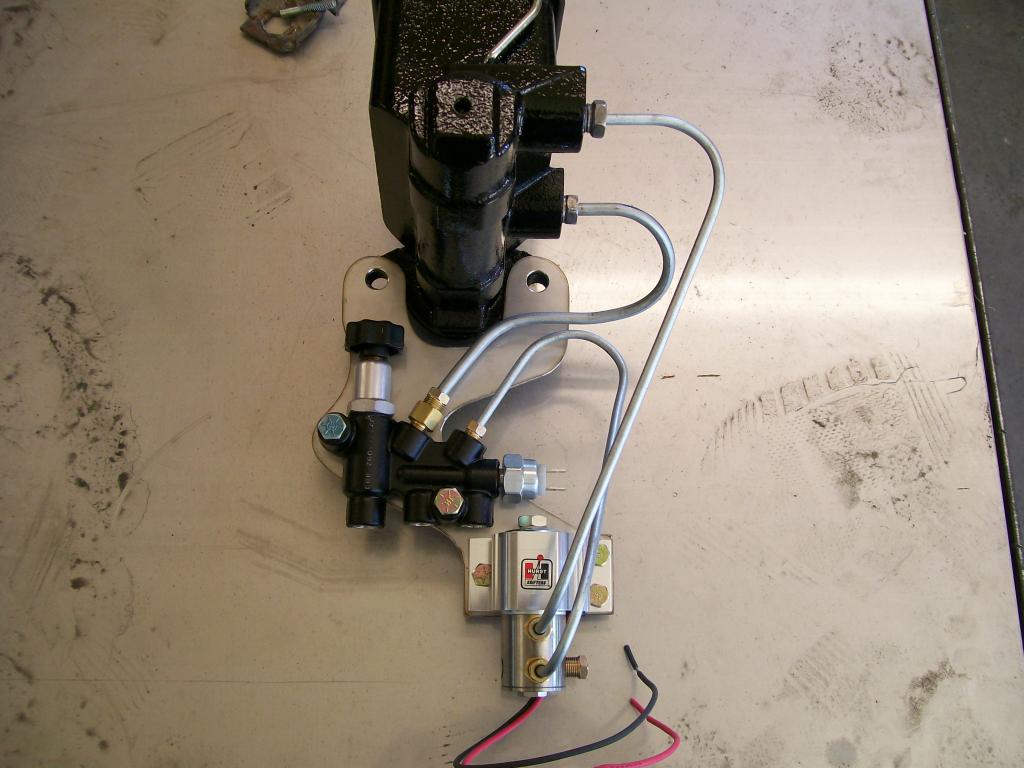
I still have to polish the stainless plate but I'm very pleased with the outcome.
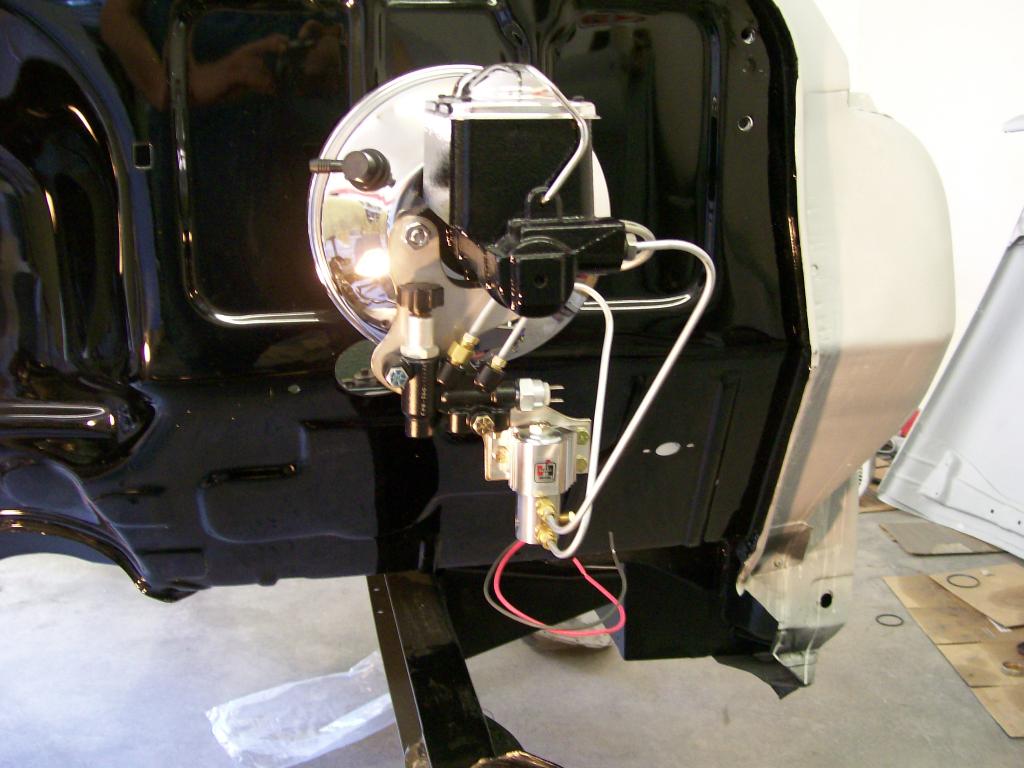
Once I get the rear axle lines bent and the fronts ready I'll hook up to the 3 lower outlets coming out of the bottom of the black proportioning valve.
I've had this on my mind for months, it always seems I can not picture a conclusion in my mind but if I just start building I can usually work my way to a good result.
