You must be logged in to rate content!
13 minute(s) of a 668 minute read
5-27-2014
Thanks guys, sometimes we have the answers to simple issues such as these washers to clean up an otherwise dull area, I just had to have a spark of imagination to get them made.
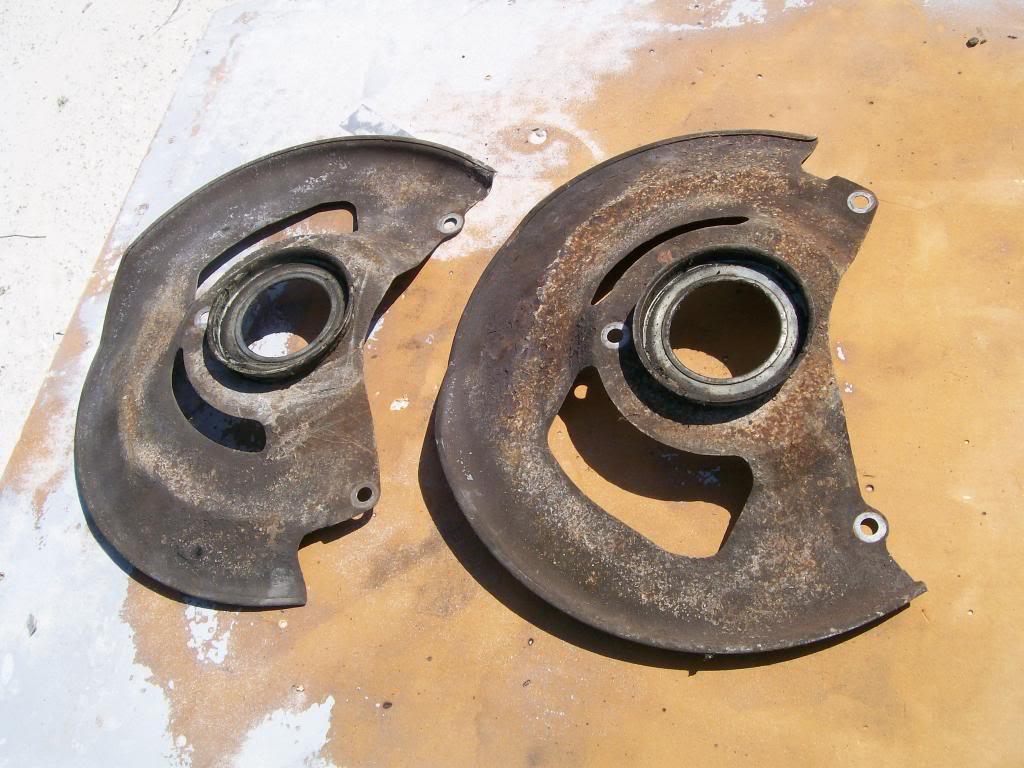
Nothing major in these next set of pics. I had a one disc brake dust shield that was abused and needed to be replaced. I found a set on e-bay, little bit rusty but nothing the sand blaster couldn't handle.
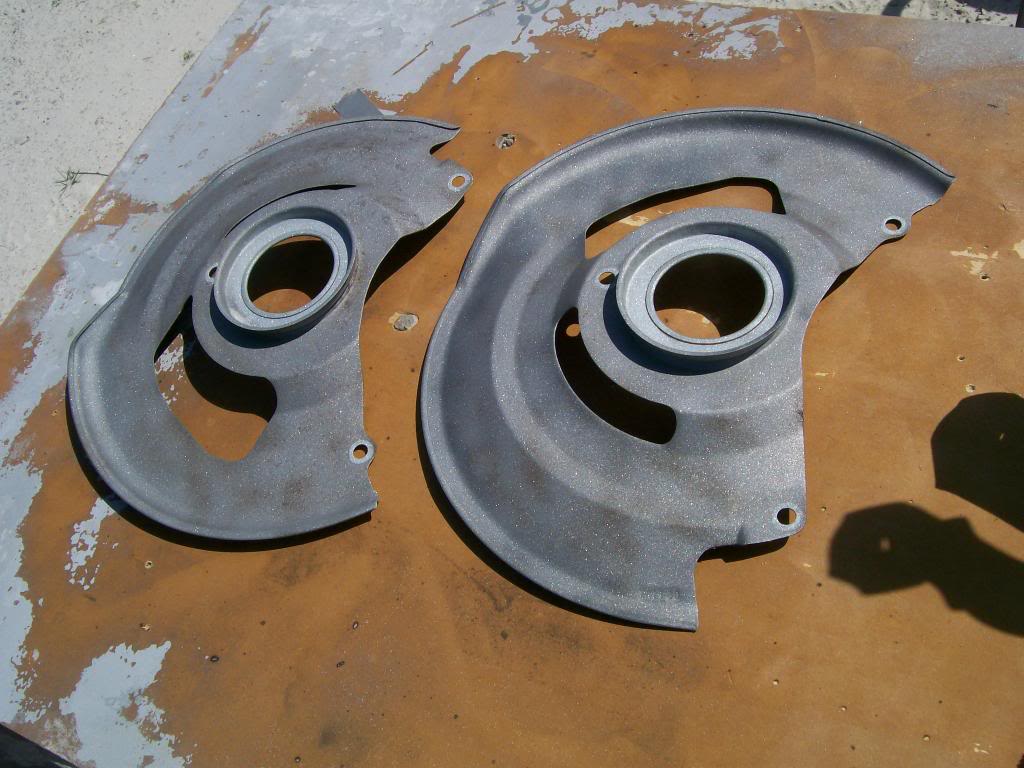
I know I mention the sand blaster often, but here is a real time saver process. After the blasting I hung them up, sprayed them with a pre-cleaner, then went right to epoxy primer.
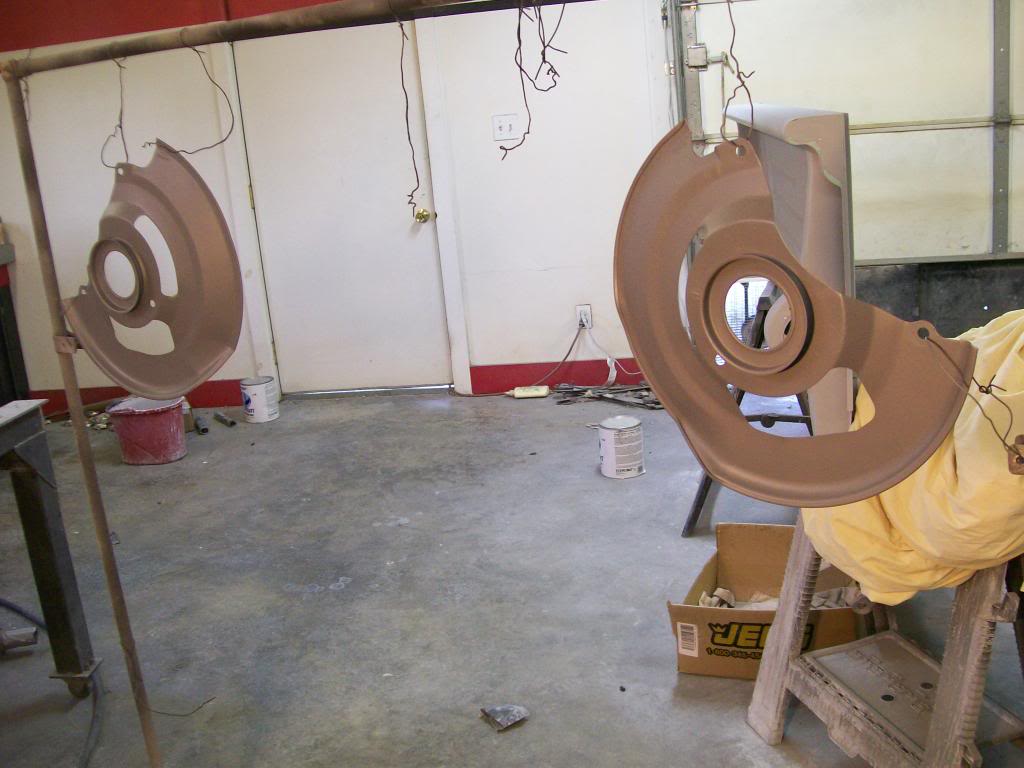
I let them dry overnight then sprayed the silver that will be part of the two tone black and silver paint on the truck.
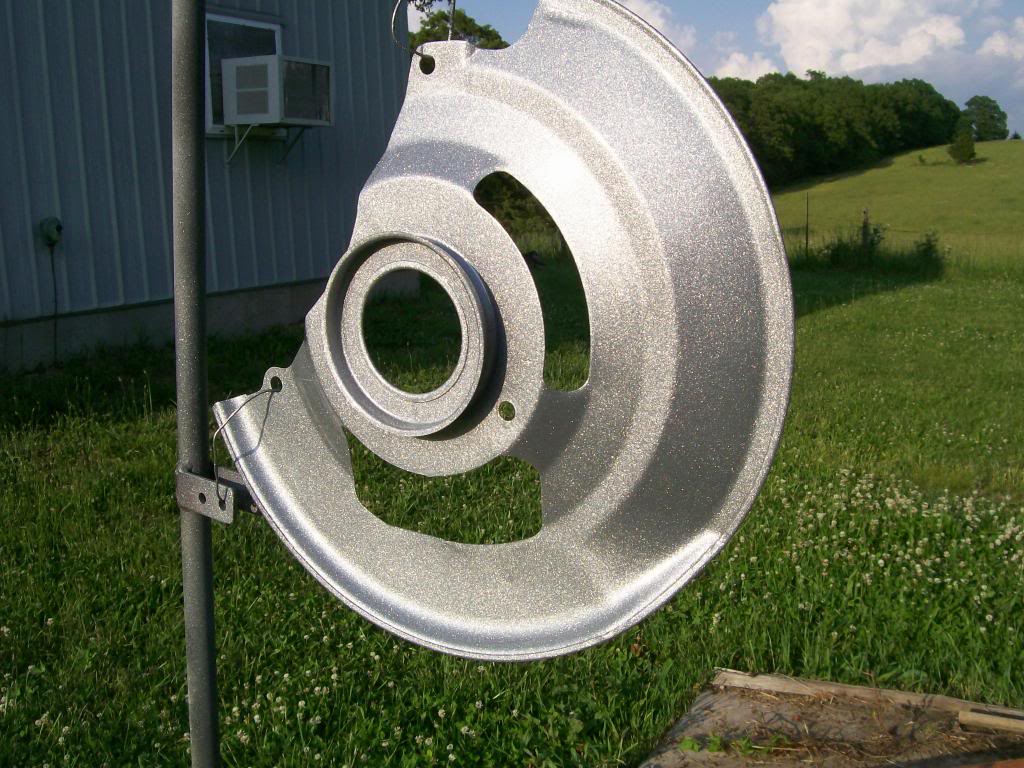
Using the same silver on these shields as I plan on using on the truck gives me a chance to see how the color will be other than just looking at a paintchip.
5-30-2014
When The comes I ever get this Chevy done and I get back to the Willys bed and cab work, I will also be using these.
I got mine from LMC truck parts, they were number 38-3025. I went went with the stainless steel ones....of course.
Check around, with mine I have to pull both latches at the same time to open them, no biggy, just inconvenient at times.
I believe I saw some that you can pull the spring loaded handle and rotate it slightly and the latch will stay in the open tailgate position. Check either Classic parts or Mar-K products.
What's the big difference...... they are spring loaded, if I don't fully pull back the handle and I open the tailgate, if the latch starts to move itself to the closed tailgate position, it could scratch the paint if it makes contact while opening and closing the tailgate.
In my case I plan on putting a thin piece of stainless where the latch could rub while opening it, just for safety sake.
I'll give you a WOW just WOW also. Absolutely great to hear from you.
Unbelievable as to where this internet/build thread has traveled and reached so many different people in as many different places.
I had to see exactly were you are and surprisingly enough I have been in Africa way back in 1979 in the Kenya area. Different cultures with apparently one thing in common, Jeep products.
Great that you also picked up on the depth of the "knowledge" and understanding of parts. If there is one thing I have tried to drive home is the learning how stuff works and why.
It's been a while since I've gone back to the beginning and started at page 1 and read all the pages. I have however, skimmed like every 4 or 6 pages just to get an overview of what has happened over time. Even for me, I get reading and realize the amount of input from everybody that has gone into building this build thread.
I wouldn't change a thing and I know it'll keep opening minds to anybody who clicks onto a thread topic about a 1950 Willys truck re-build.
Let's see, I'm looking at a page of build thread topics and I see this Willys truck topic. I click it and see 100 pages, (what the heck), about a week later I get through it all.
LOL, I'm just putting myself in the place of an unsuspecting lurker.


Thanks so much for checking in 04wjoilburner, great to hear from you. Jim
6-10-2014
Hey everybody,
Just checking in. Still working on the body work on the Chevy.
I usually like to reply with pictures but all I've been doing is going over all the panels of the truck looking for any small indentations or waves that I may regret not taking care of now.
It always seems on the last day or the final sanding just before paint spraying there are those small spots that along the way you say "I'll get to that" but never do.
So I've been trying to locate and smooth as many of these small items as I can before paint day.
Hopefully in the next couple of weeks I'll see some areas with red, silver and black on some of the truck.
After working continuously for the last couple of years on this truck I'm so looking forward to getting color on this truck.
Thanks for checking in, Jim
6-16-2014
Ahhh, so I see you do have some patience,
Oh, yes, your quote of "good enough" hits home with this project. I'm sure I mentioned it before but that was spoken way too much as my Dad was helping me at the beginning of this rebuild. It was that "good enough" attitude that caused this truck to sit for the better part of 20 years.
I'm far from being a perfectionist, but I don't want to get to end of this build and say " I wish I would have".

Nothing exciting picture wise, but it is part of the process.
Over a year ago I applied 2 coats of Epoxy primer to the bottom side of the rear fenders. Now that I'm done with the top side of the body work and have sprayed the last coat of high build primer I can finally paint the underside of the fenders.
I gave it a good scuffing.
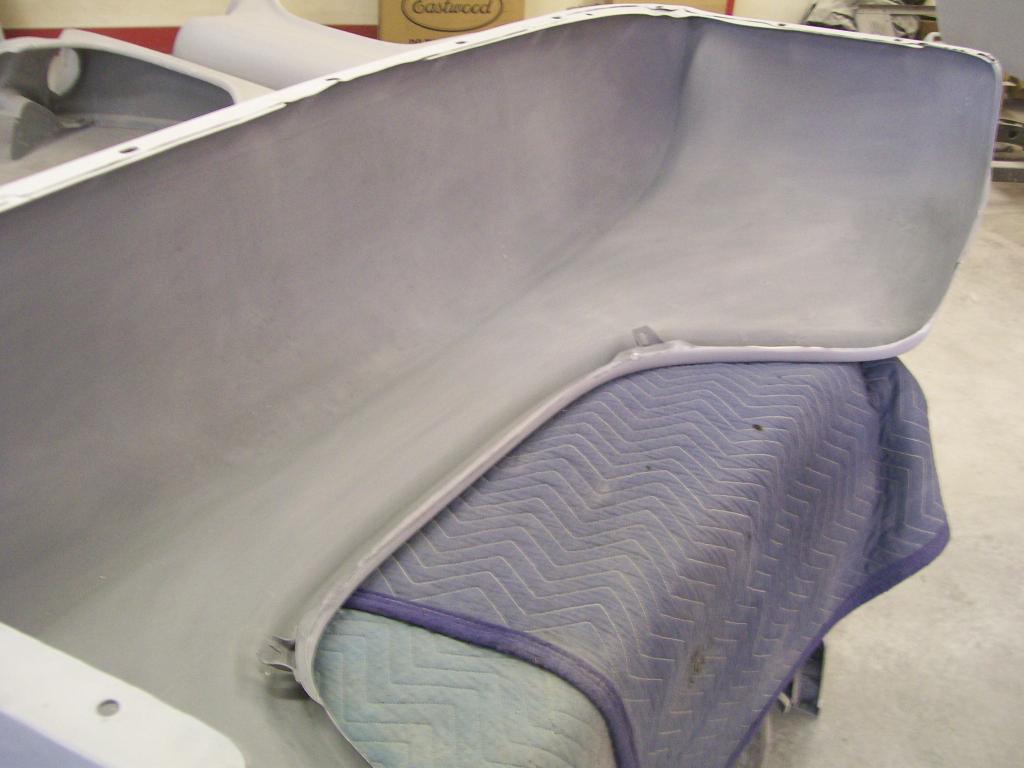
This is the first project that I've used Epoxy primer, great stuff. After I scuffed the old stuff I applied 1 thinned down coat of the Epoxy primer to provide good adhesion and to cover any bare metal spot that may have poked through while sanding.
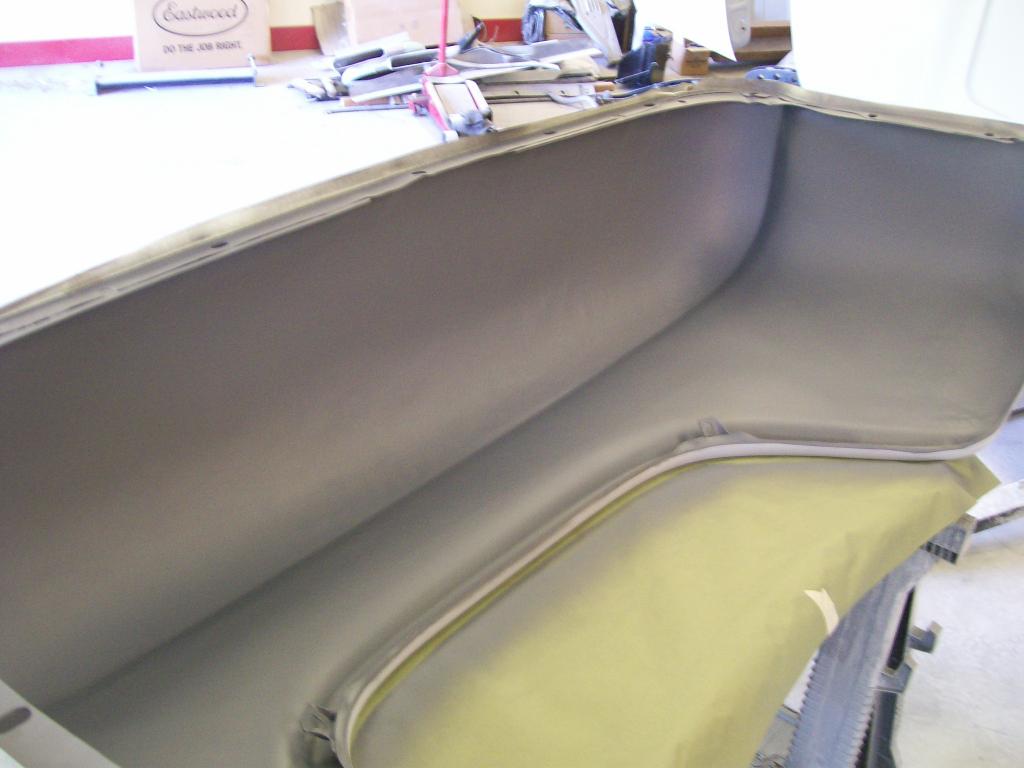
I forgot to take an inside picture... oops.
The directions give a respray window of up to 5 days otherwise you have to scuff again. I like to wait 6 to 12 hours, I figure by then the solvents have evaporated and won't be trapped under the paint coat.
About 9 hours later I sprayed 2 coats of the satin black paint. With the epoxy primer and paint, I shouldn't have to deal with the underside of these fenders other than an occasional pressure washing.
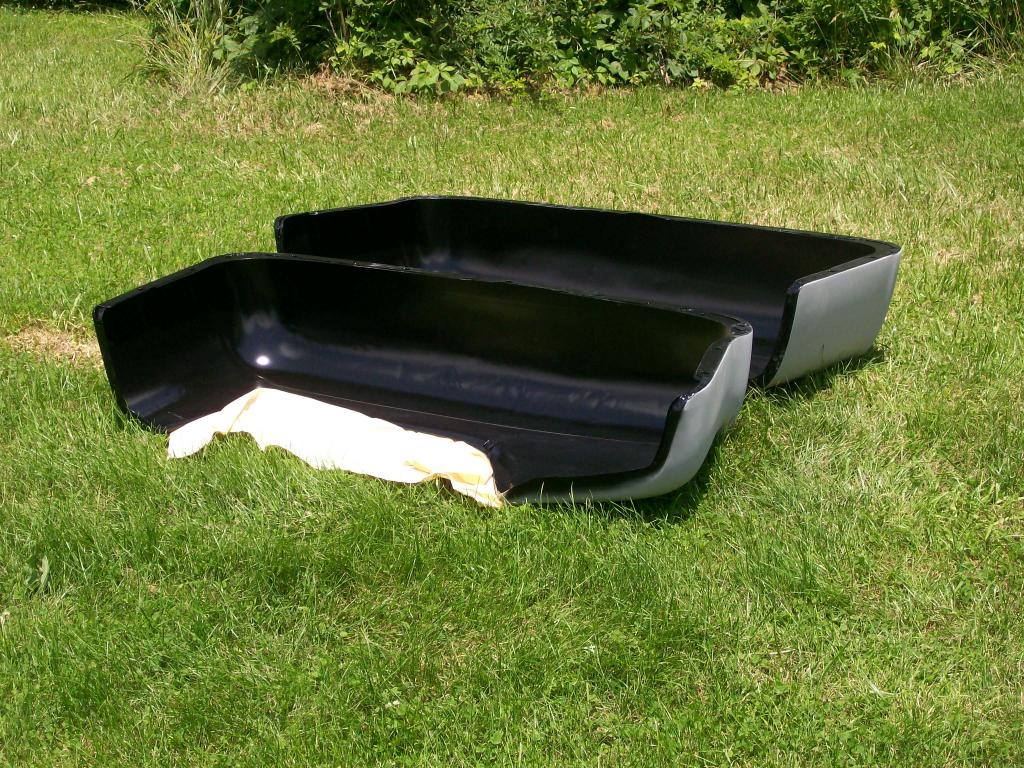
The paint finish really shows the amount of work I had to do to get these fenders straight and smooth. All the dents and dings shows this truck was a true farm truck at one time.
Ok, back to sanding.........

6-19-2014
Hi Gojeep, "with the right attitude", that's not as easy to do as it is to say.
I've had a couple of weeks off and what a drag, I really,really want to begin official painting but I have to take care of all the undersides of everything. It can be very discouraging when the heart wants to move forward but the project says you have many odds and ends to take care of first.
This is one of those times where you can't focus on the time, just walk out there, go through the motions, and keep moving forward.
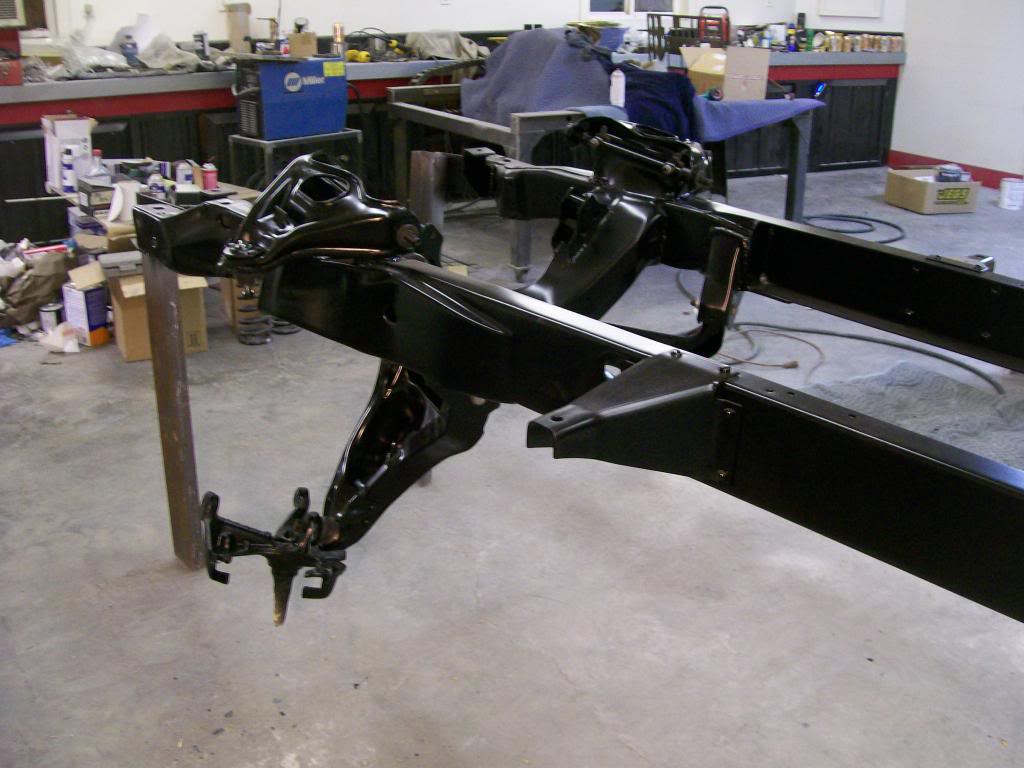
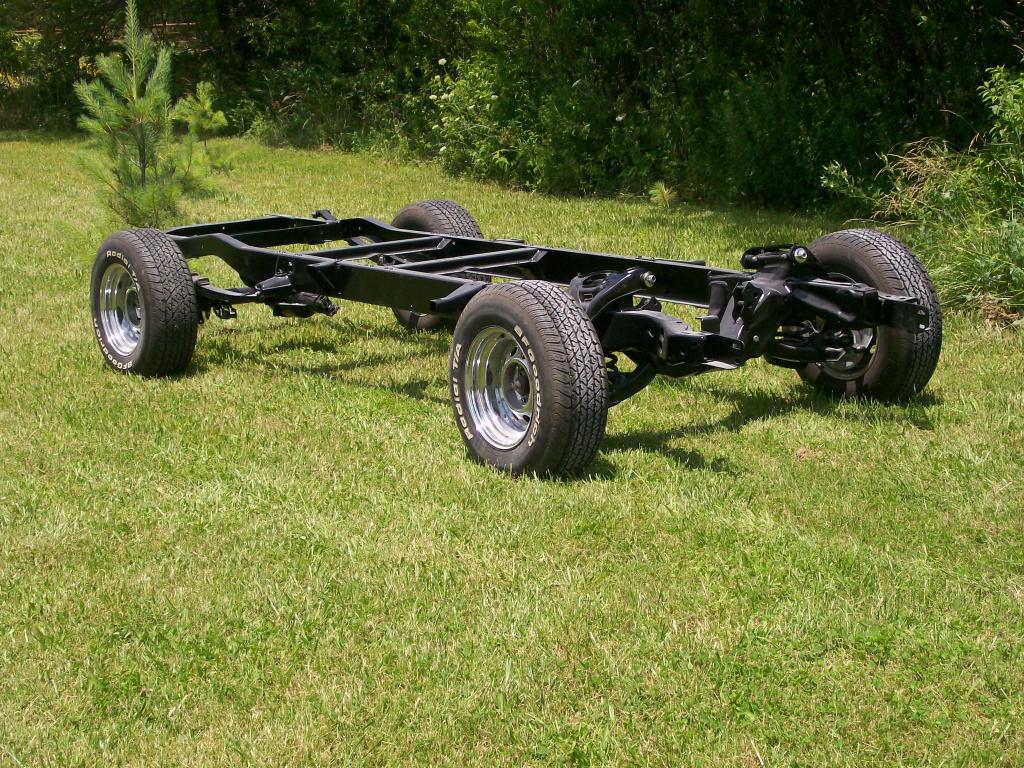
This is also a good time to focus on what ever accomplishments I have gotten through, such as a rolling chassis again.
Going from a rusty, cutting torch gouged rear axle to a nice clean rear axle and now it's back in place.
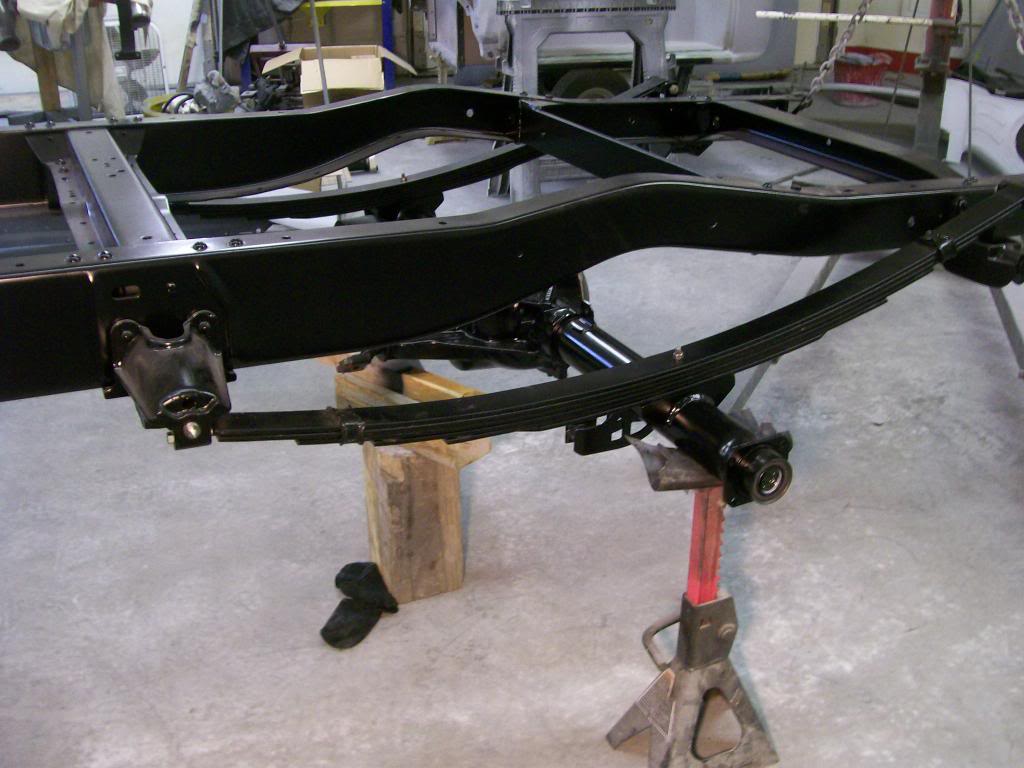
Front suspension coming back together.
A little dusty already but at least I can roll it outside while I'm still priming and painting in the shop.
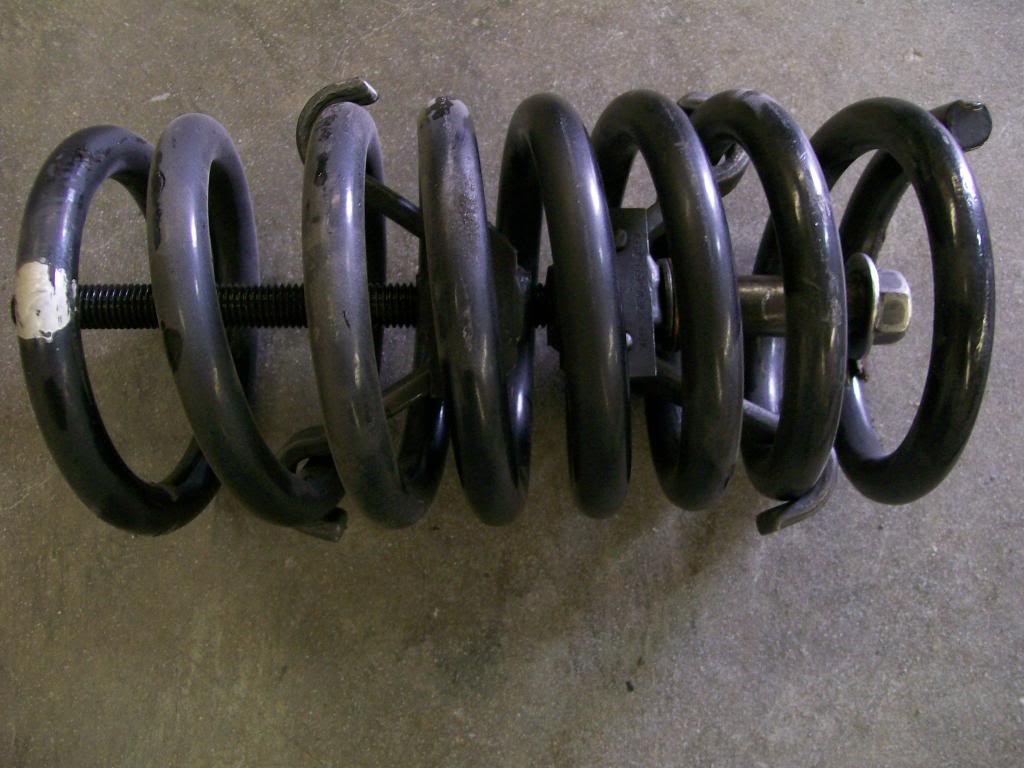
This next picture looks like I'm showing a coil spring compressor, it has a much deeper meaning. as I was trying to get the ride height figured out I had to remove and install the springs a couple of times. There were times were everything went back together easy, there were times I had to fight to get the compressor released and back out. I didn't want to fight this after paint since I could scratch the paint.
On the final dissasembly before paint I took a picture of the compressor in place on the spring, during the reassembly I used the picture to get the compressor back in the same place on the spring. It worked great, no fighting, no scratches.
Next up is the shims for the upper control arms. Although the bushings and ball joints are all new, I still want to at least get things close to the same when reassembled, once again, it takes less time to tape and mark than trying to guess later during reassembly, all shims are marked and back in place.
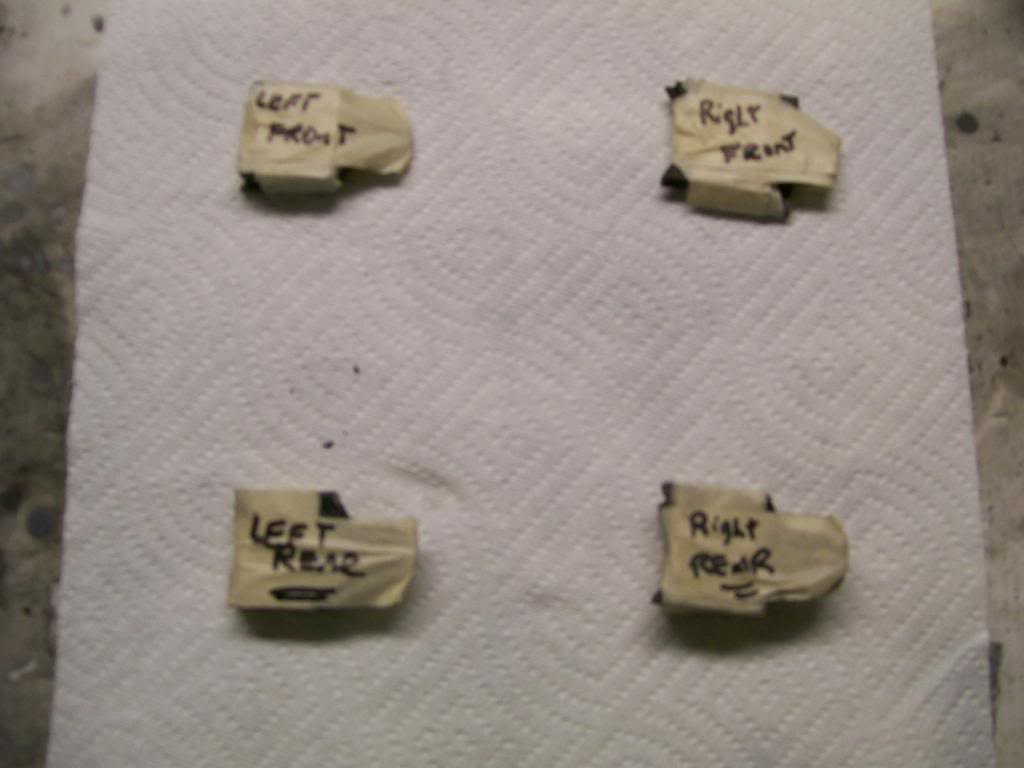
It will need an alignment when done, but at least I'm in the ball park now.
In conclusion, these projects can and will wear you down when it's only you working on a project this big. If you had another person, progress would be more encouraging. At this time I call it "zombie through", a process of going through the motions of progress while keeping your mind on other things, happy things, things of what you've accomplished so far. Things of how fun this truck will be when done. Perhaps of knowing this is where many would walk away from the project, but I will stay and fight til done.
6-22-2014
Still taking care of the odds and ends before the outside paint gets done...
I'm now onto the front fenders. They need a good coat of paint before assembly also. First is a good scuffing then a coat of epoxy primer.
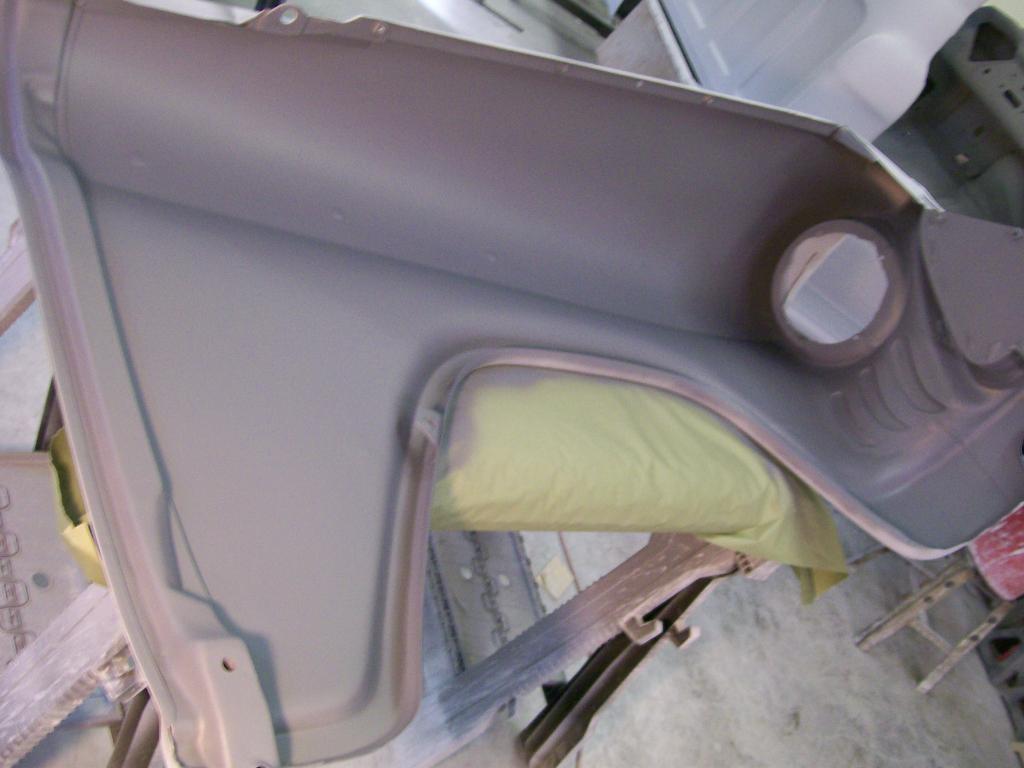
I haven't worried too much about dents on the undersides of the fenders. It's not a show truck and it will be driven, plus with the undersides being in a shadow, they won't show.
There is however one place on both fenders I do want to look nice, the backsides of the gills I made. On most sheet metal work the backside wouldn't show the change, but with the gills the change is visible. My goal is to clean up the welds so it almost looks like the gills were pressed into the fenders by the factory. By looking into the wheel well you can see the gills, I'm just curious if people will raise an eyebrow in curiosity as to how they got there.

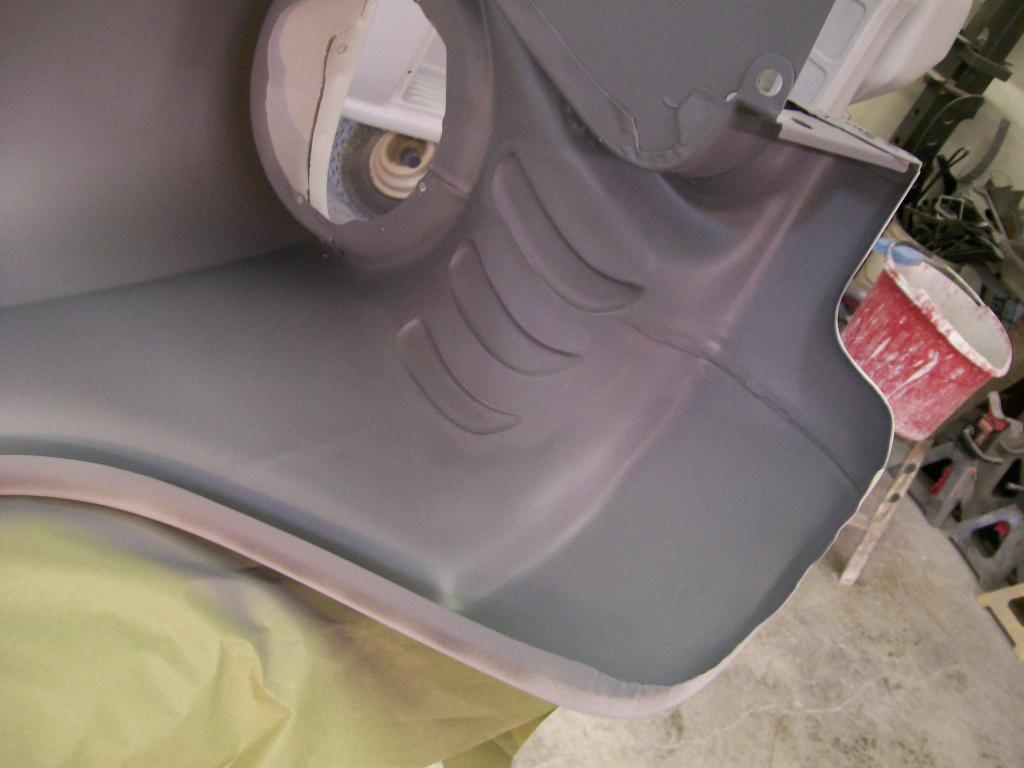
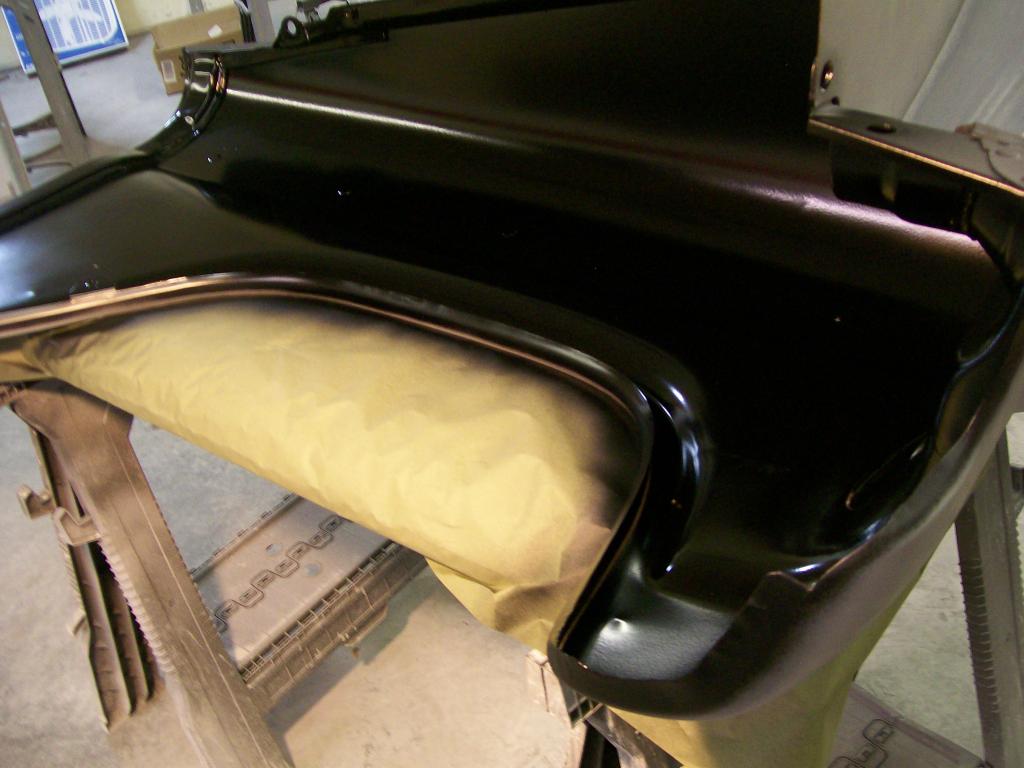
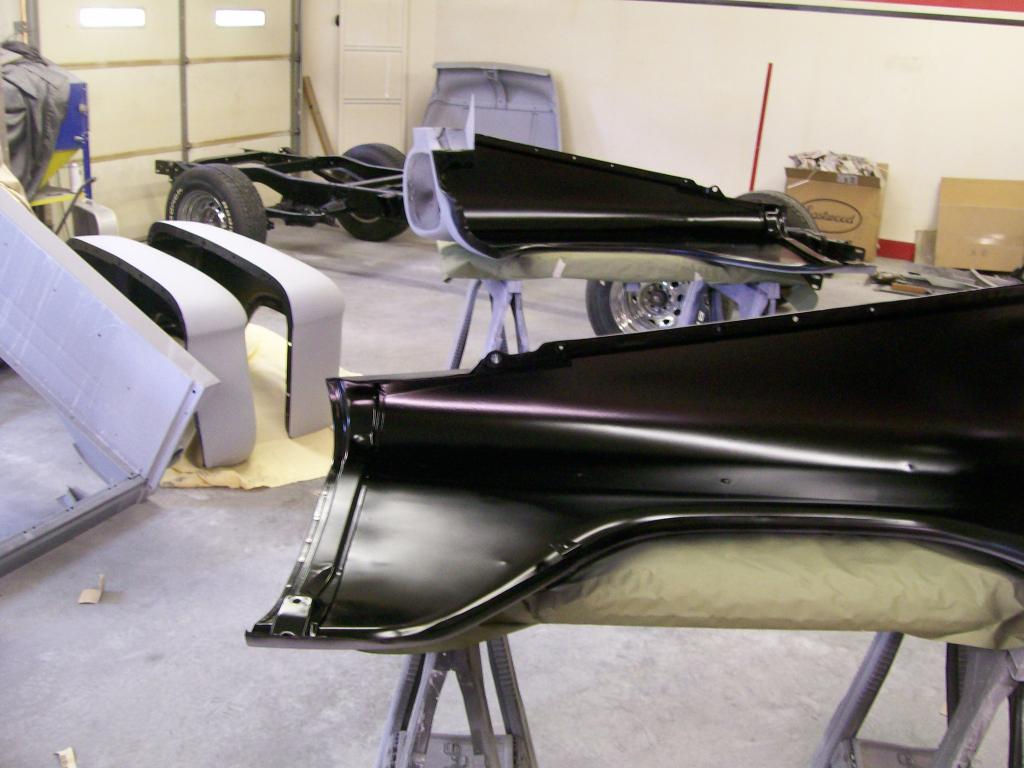
Semi gloss black looking good.
Off the topic...... but I moved here to Missouri 8 years ago. I knew, and looked forward to living more of a country life. Of course the animal activity is more abundant which I do enjoy. I don't hunt but I do enjoy the passing wild life.
I had cows, dogs, cats, horses, turkeys, deer, armadillo, huge turtles, small turtles, snakes, huge bull frogs, ect, all within my main yard around my house and shop.
I woke up the other day and heard a sound I've heard in the distance, but now it's on my wood pile. I now have a picture of the bird that makes the sound.
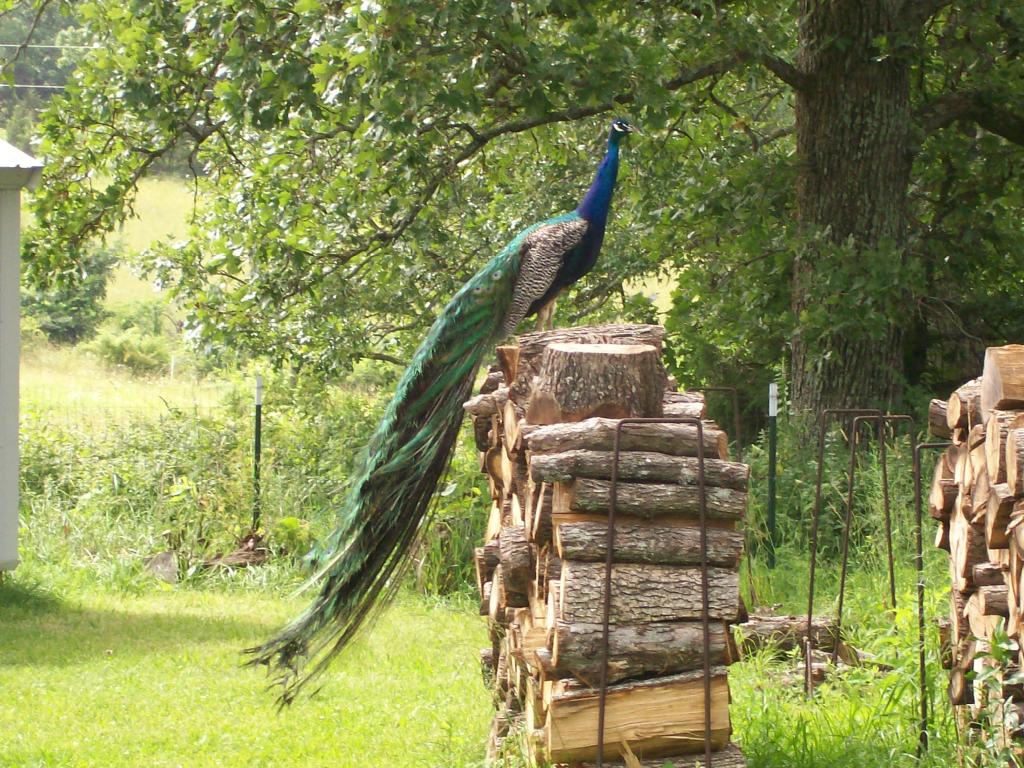
It stayed for most of the day then went back home, beautiful bird, I'm glad I got a picture of it.
