You must be logged in to rate content!
2 minute(s) of a 636 minute read
5-28-2020
ok, updated the mold models, put in a chamfered corner so i KNOW which way they go, as well as 3 alignment pins.
also put in a step ring on the pins internally to hold the metal inset in the middle where i need it orange rings you can see in the image. going to try using a clearance around the pins, over sized the holes .005, do not want too large as the material will seep in and make it hard to get apart.
hoping this will work for making a few sets. looking to do what i can based on the rubber i am going to order, once it it opened it has a SHORT life.
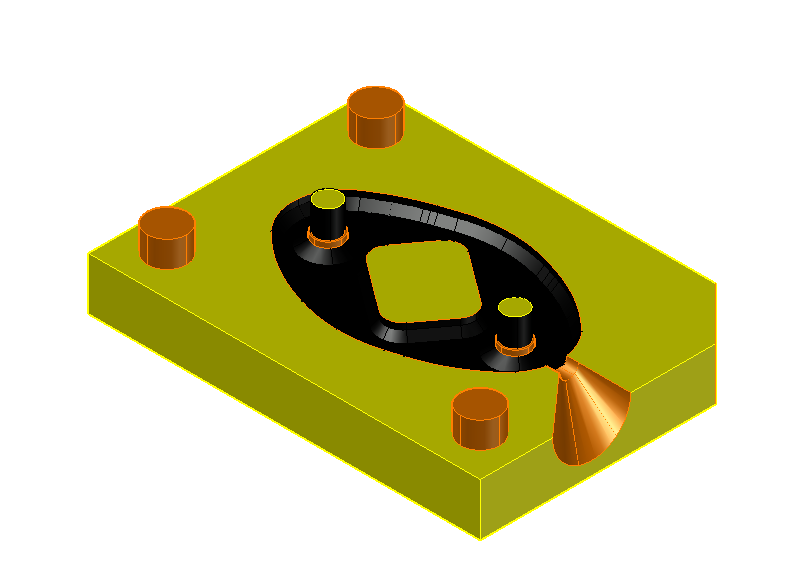
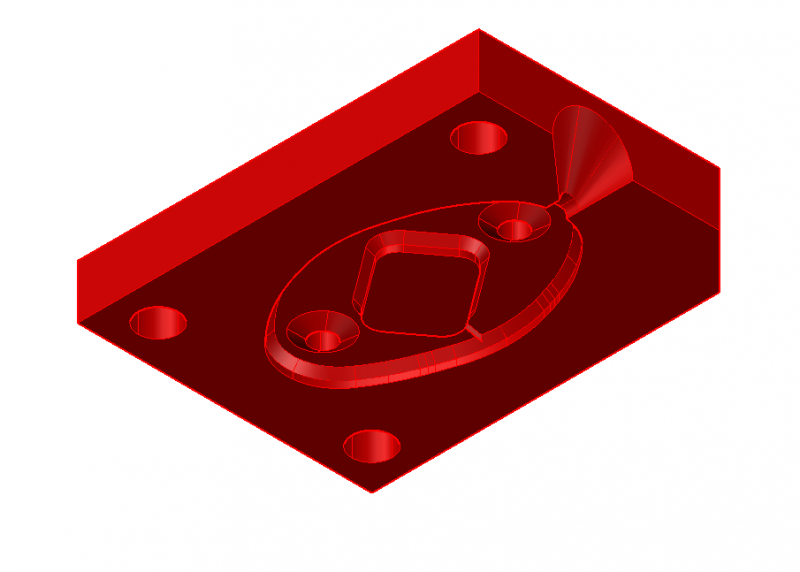
Well 3d Printed the first test molds, came out pretty nice. did some fitment tests and some alignment testing.
need to tweak a few things and try again. want to make sure the molds are ready to rock before i start ordering rubber and pouring.
also did a fitment /location test on the metal inset i printed earlier as well.
these were printed with a think layer height of 0.3mm and an infill of 25% along with a wall/shell thickness of 0.8mm will go heavier and thinner layers on final mold prints !!
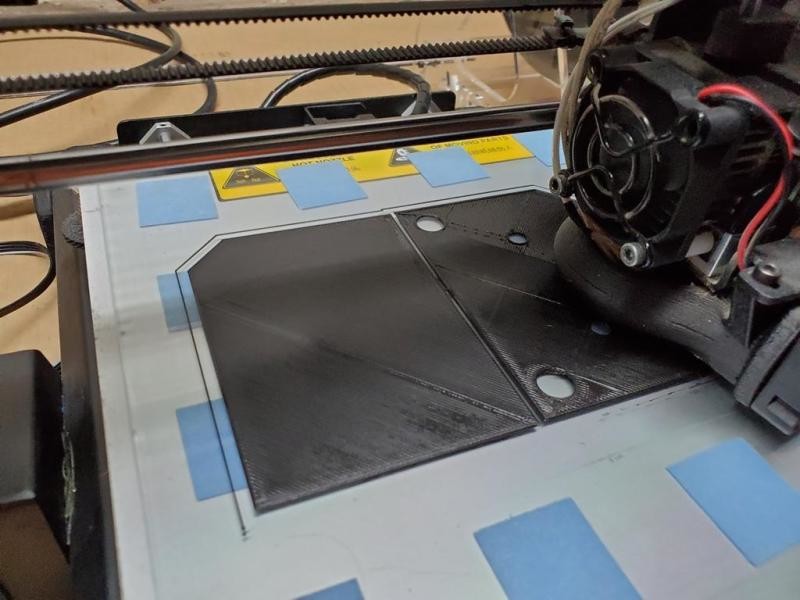
Layer 1 done, Layer 2 going down on the right side
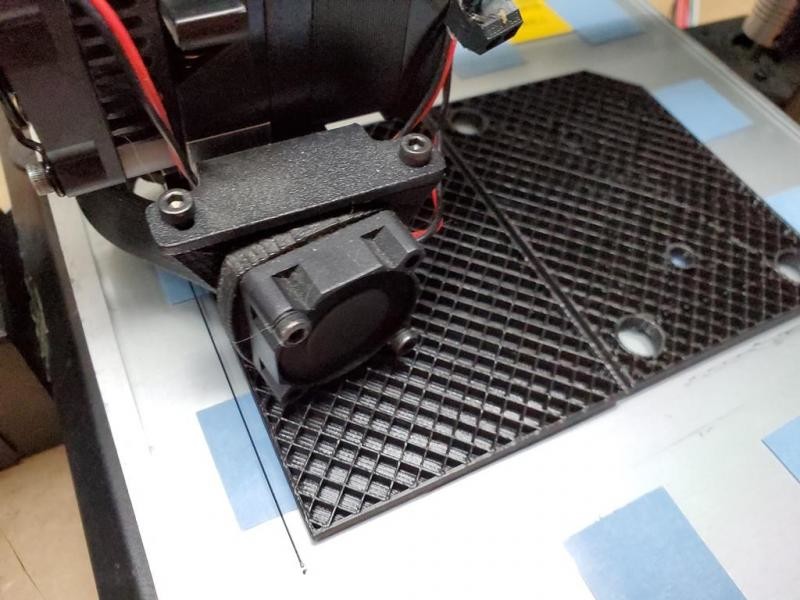
bottom layers complete, now doing an infill, only doing a 25% infill for test parts. no need to waste material and time.
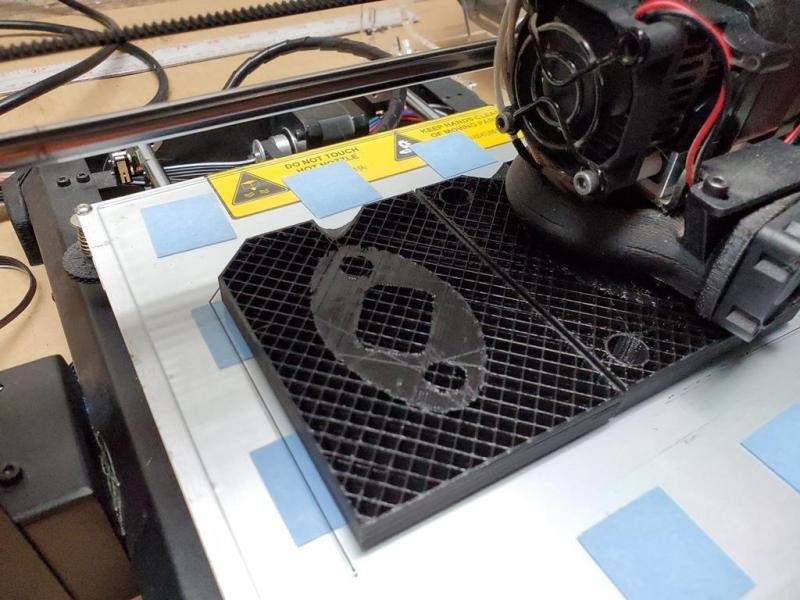
layer one of the bottom of rubber section being laid down
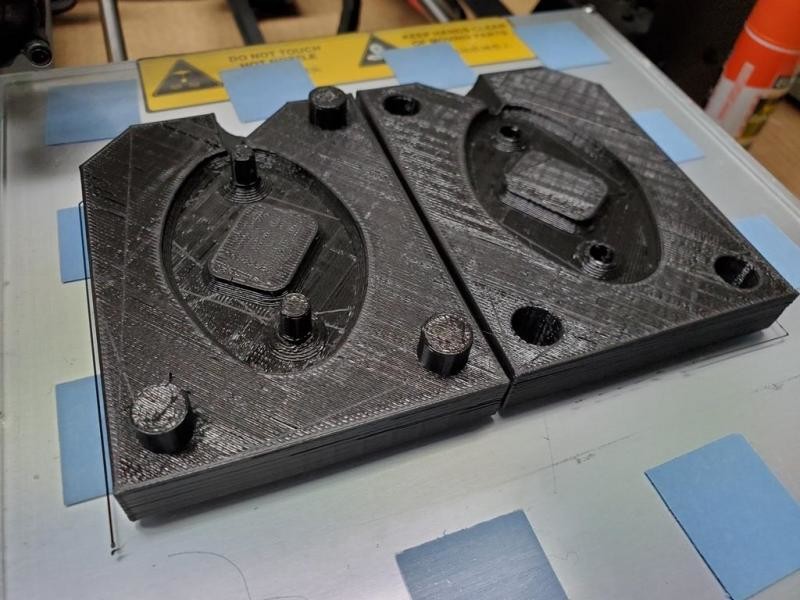
finished 3d printing, came out pretty good !!
Great car !
Posted by Diggymart on 9/7/19 @ 3:48:57 PM