You must be logged in to rate content!
10 minute(s) of a 206 minute read
5-27-2009
The shocks aren't hard to install at all. You shouldn't be apprehensive. The socket thing worked better than I thought it would. I just hated the idea of "stealing" my own wheels...
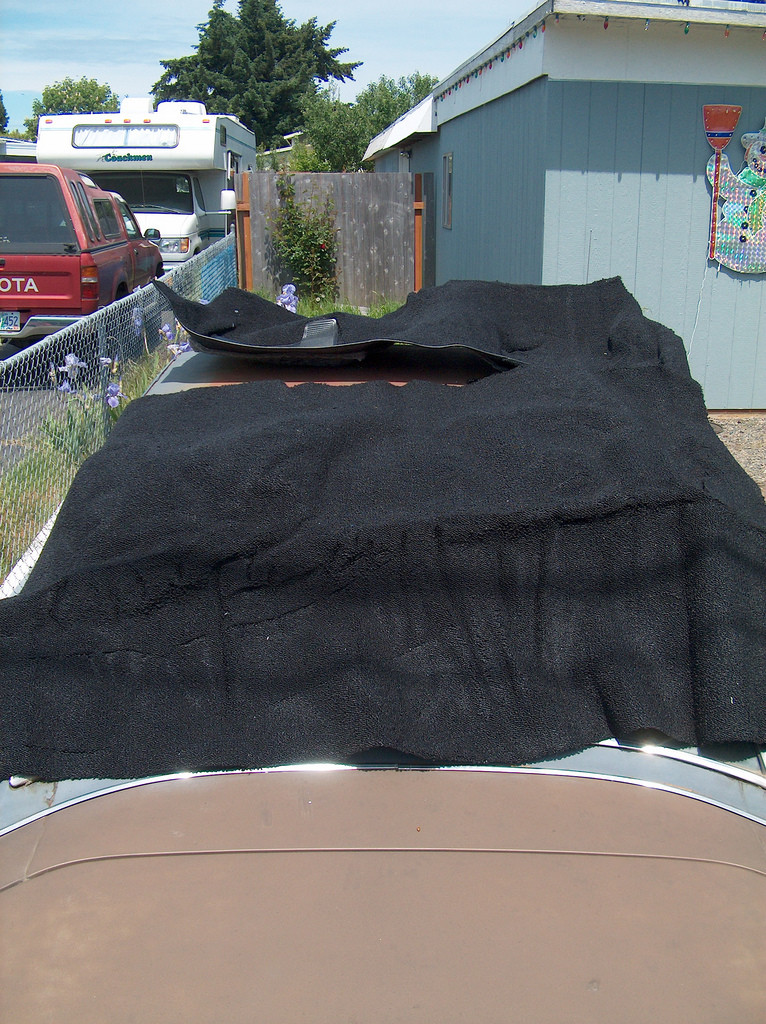
This first thing I did today was lay out my carpet kit in the sun so it would be easier to install.
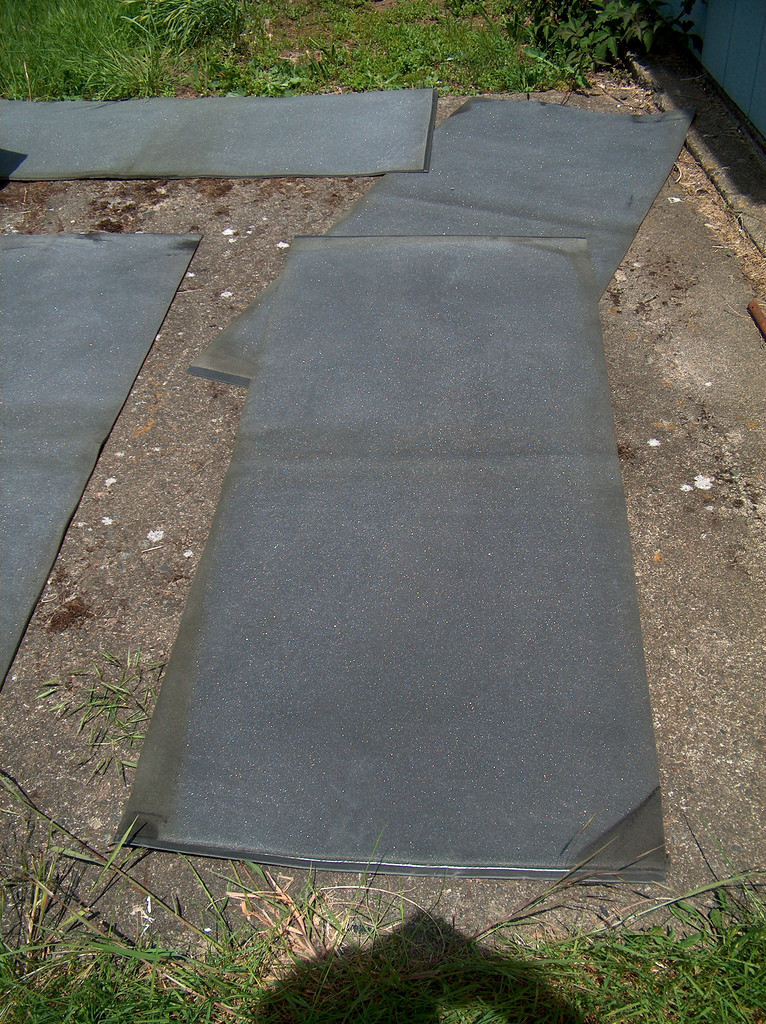
Also, I laid out my luxury liner. This goes on top of the damplifier, under the carpet.
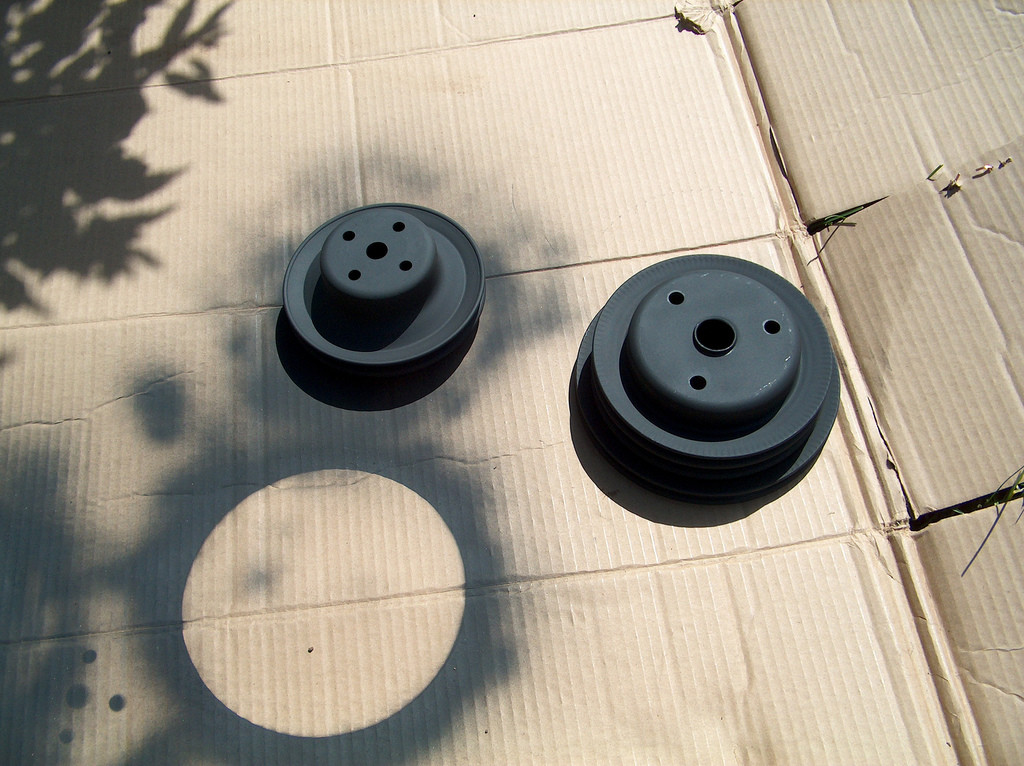
After that I cleaned up and repainted my stock pulleys. I'm going to try running these and see if it helps get rid of my belt squeak. Looking at the engine when its running, it looks like my current crank pulley is out of round.
Next, I took down my head liner. Its pretty straight forward. You unscrew the pillars, pull them out. Then unscrew the front and back pieces. Next, you pull down the side panels. One of my side panels had a bent piece and gave me a bit of trouble.
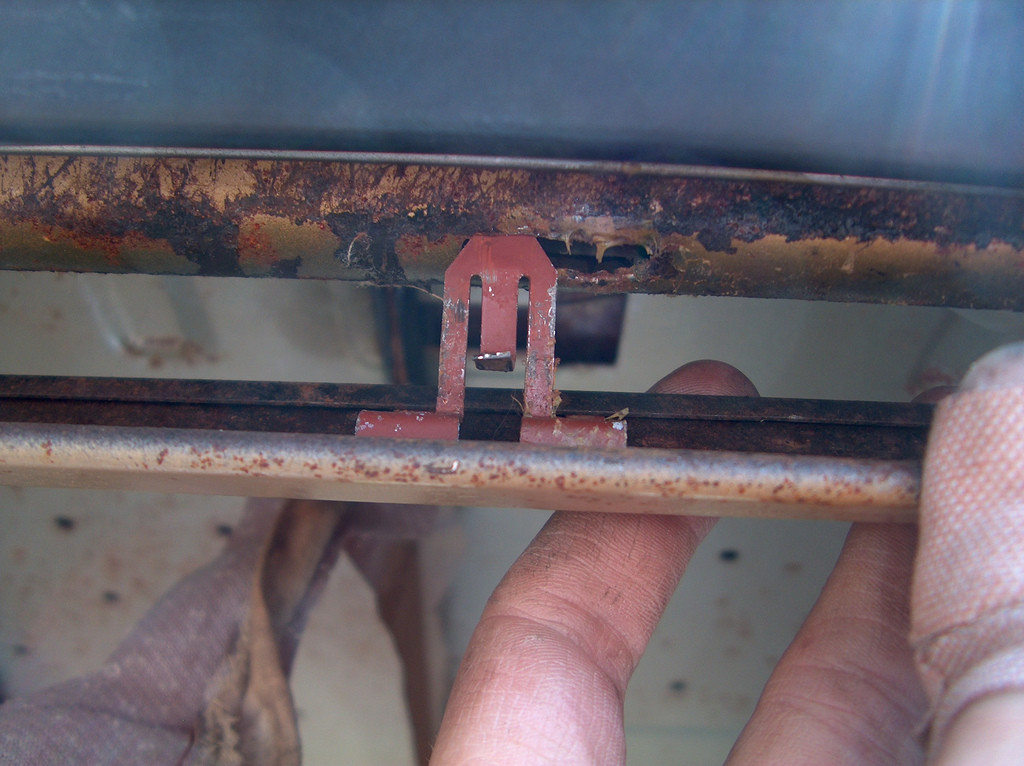
*Note, that this procedure is different on the later second generation Camaros.
Here's a pic of the glue and surface rust I had to deal with.
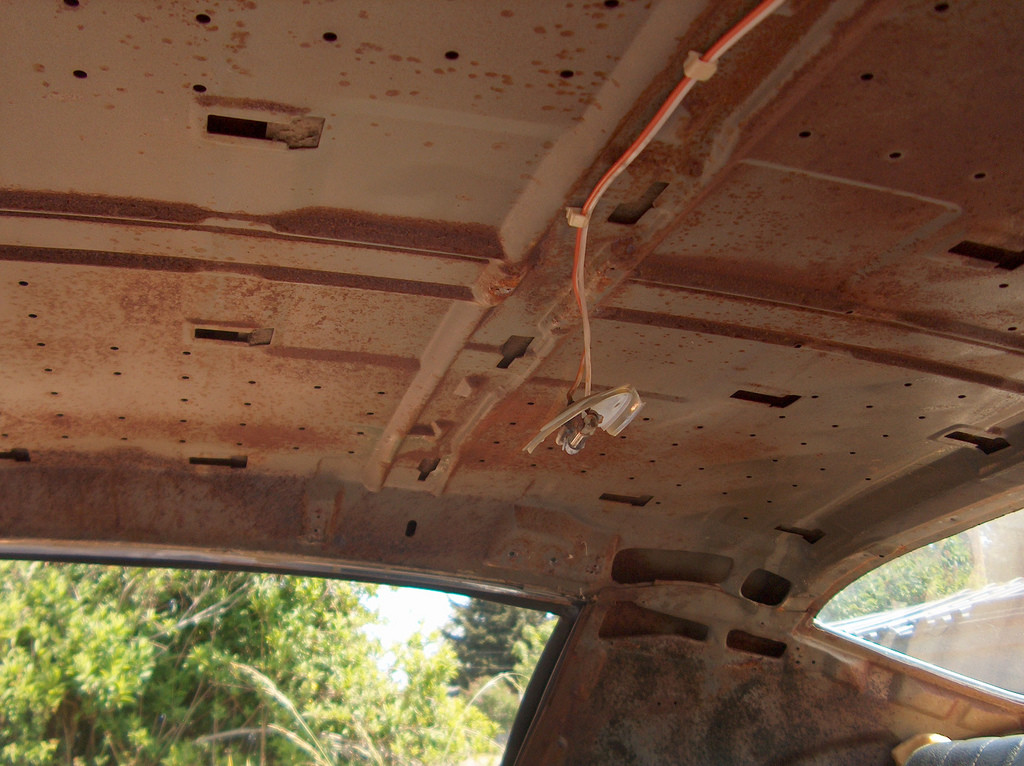
The rust that was behind the panel looked worse than the rust that I could reach. I'm not even sure what I'm supposed to do about it. I'll have to deal with it when I paint the car I guess...
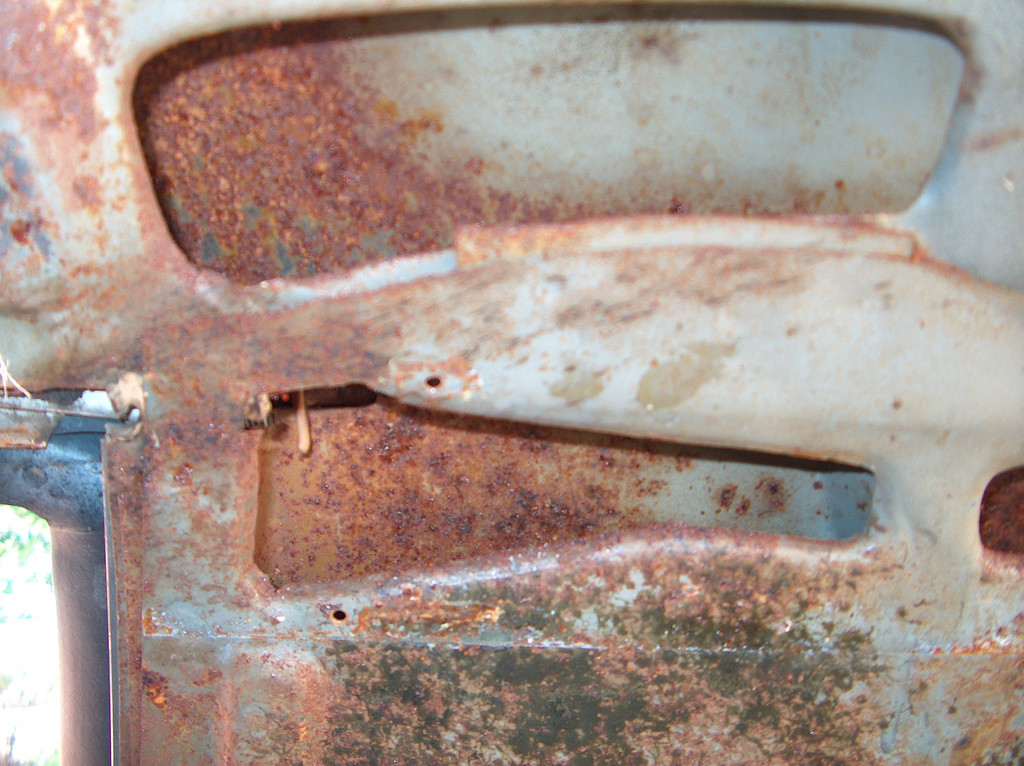
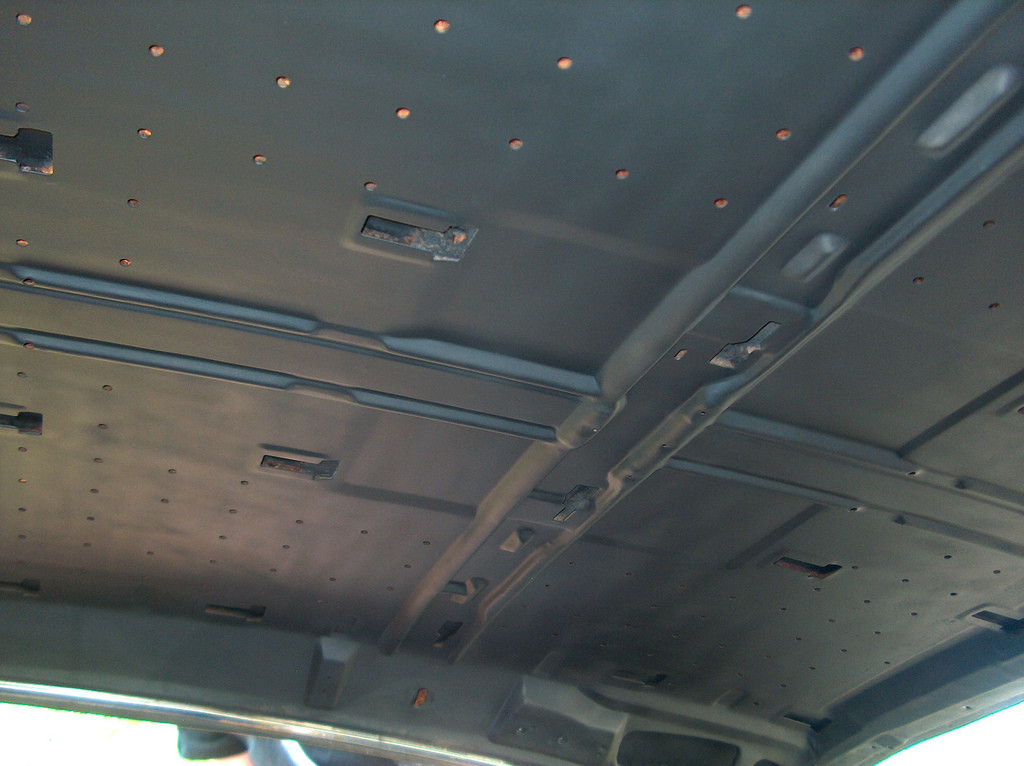
Here's a pic after I was done painting it. I'm really surprised how much you can see through the holes. In person you can't see at all. Another weird thing... there appears to be a strange piece of cardboard or felt or something in between the two panels. Anyone know why that would be there? Sound deadening?
I was running out of time. So, I laid down the luxury liner, and carpet just to get an idea of how much trimming I have to do. The luxury liner needs to be put in with glue, and have the seams taped together. The carpet needs major trimming up front near the firewall. I guess I know what my next goal is.
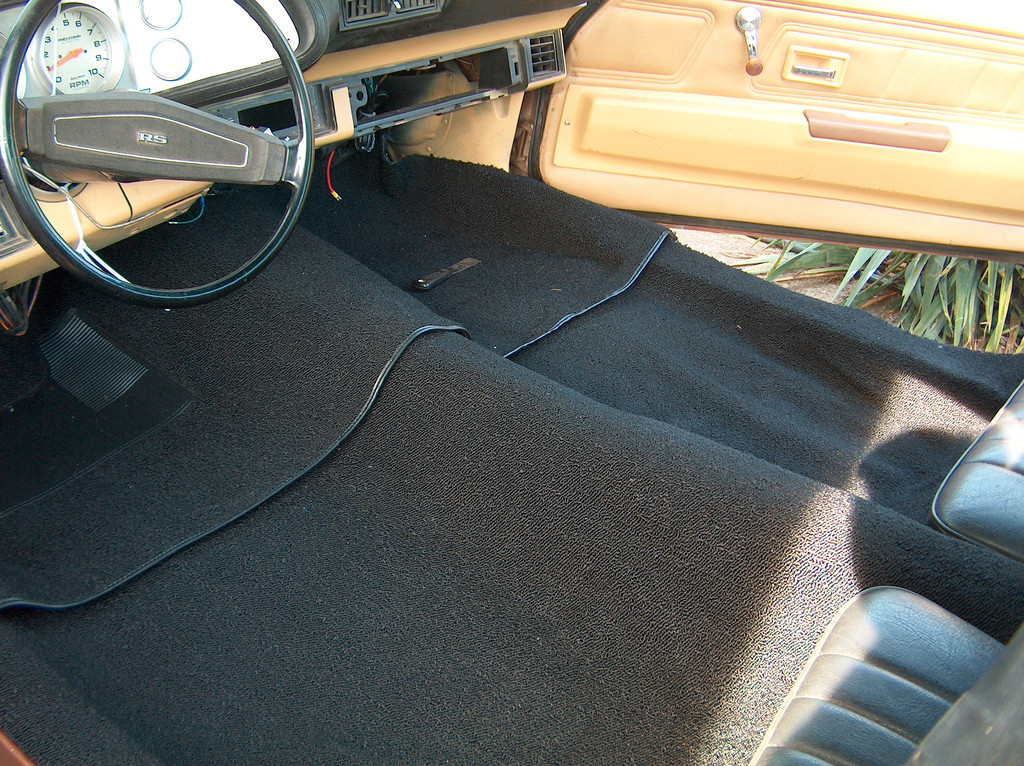
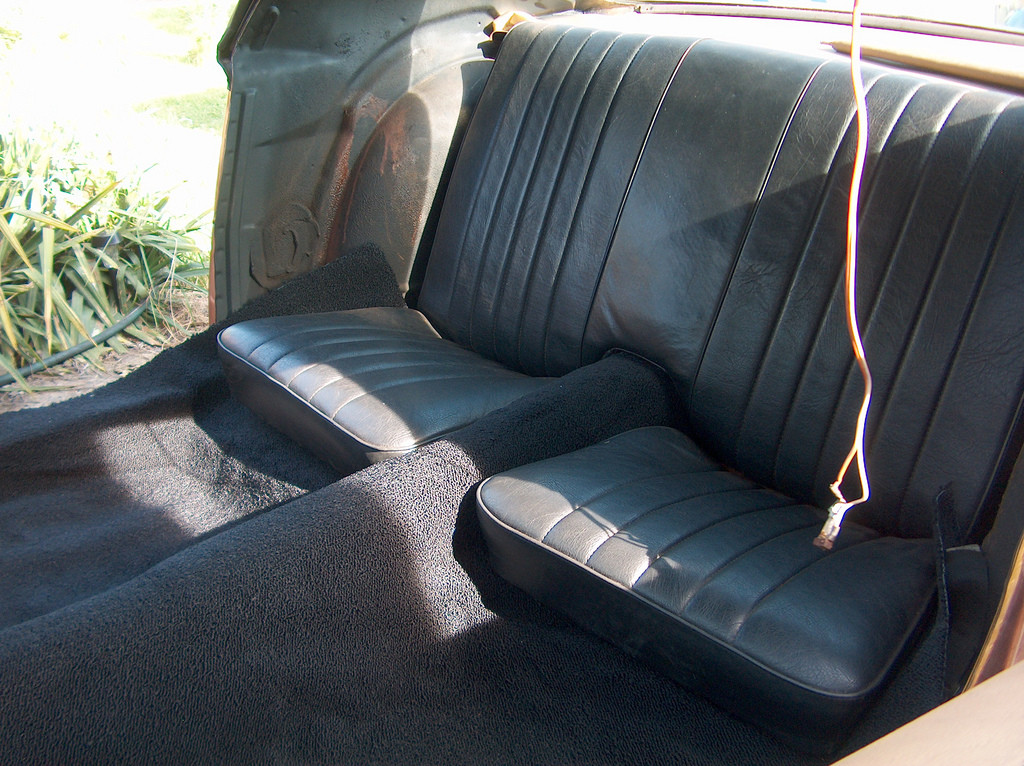
It looks so much better just having laid the carpet in there. Even if it is only temporary. Now I need to order more damplifer, and a headliner kit.
6-1-2009
I guess that's what it is. What else could it be besides sound deadener?
Today I decided to deal with my squeaking belt. I noticed that when running, the crank pulley seemed to be a little off center. So I cleaned up the stock ones and repainted them.
The first thing I had to do was modify the power steering bracket. One side of this bracket mounts to the rear of the power steering pump. The other side bolts up with the motor mount. I couldn't bolt this down because I am missing the stock bolt. Its a funky bolt that has a spacer built in to it. Also, the flange is a bit to wide. It hits the number one cylinder header tube. So I ground it down a little bit so it would clear.
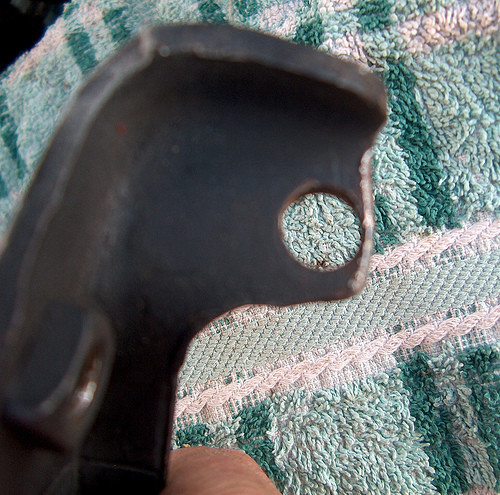
So I went to my local hardware store and spent 1.08 on one bolt, one stainless steel nut, and three regular nuts. As you can see, I just threaded the bolt all the way into the head and jam nutted the bracket in place. Works for me!
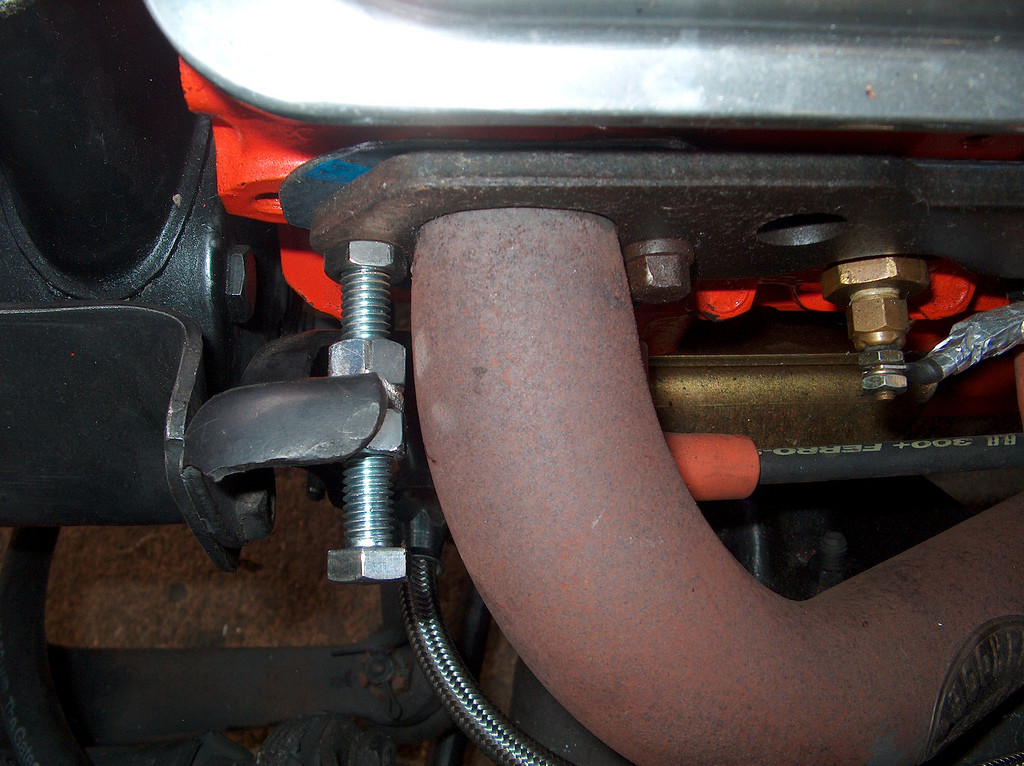
Next I installed the pulleys and reattached the flex fan. I had to run to NAPA and get a different belt. These stock pulleys are different than my aftermarket ones. The crank pulley has three spots on it, and the water pump pulley had two. I don't really understand why they both have different sizes on them. I guess Chevy wanted things spinning at different ratios. ??
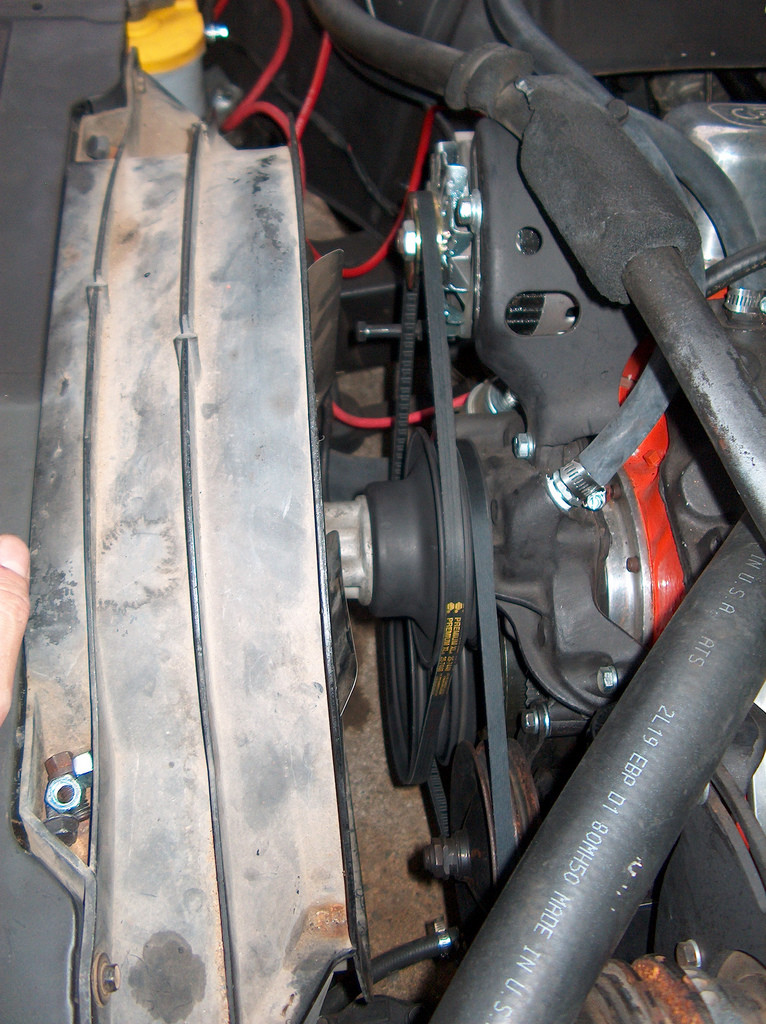
After I tightened everything up, I started her up. Guess what? No squeaking!
I still have a few things I want to modify though. My CS130 alternator is actually up side down. I mounted it that way because I have to modify the stock support mount. It works for now but, if left this way, in the long run the alternator will bearings will go out due to it not being mounted squarely.
6-21-2009
I worked on my carburetor a bit today. I've been having troubles with it idling.
http://www.nastyz28.com/forum/showthread.php?t=155825
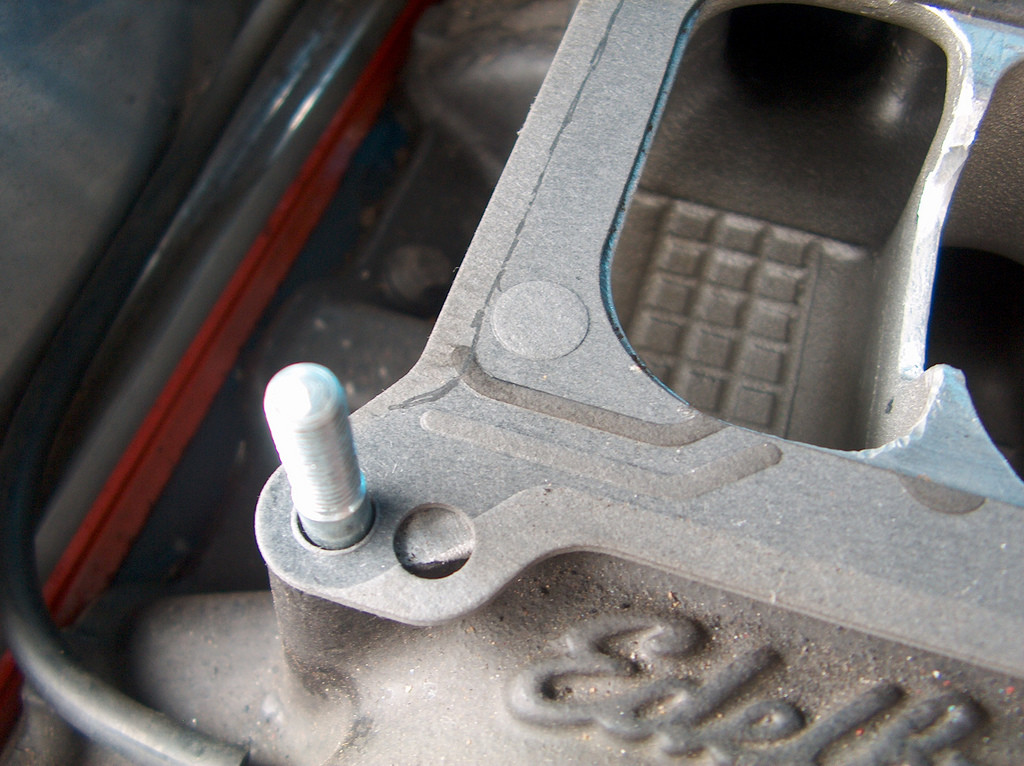
I found one of my problems. My Edelbrock Performer RPM manifold isn't wide enough. My vacuum lines are exposed. Apparently this is a known problem.
I sketched a line where the flange ends. It clearly doesn't seal off my vacuum ports!
Next I set myself up to tear into the carb.
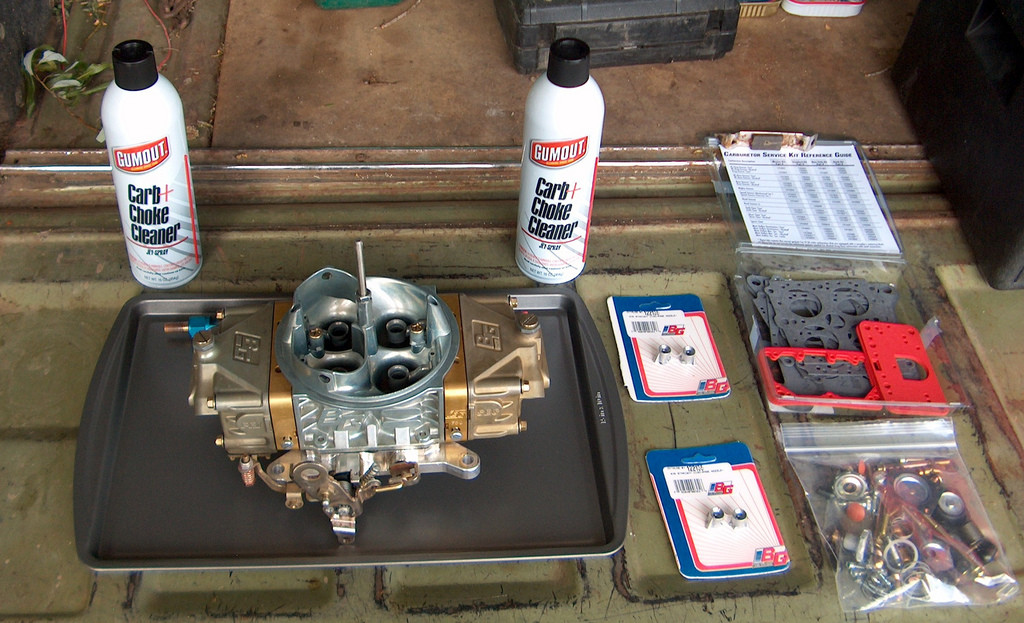
... but that didn't happen.
Instead I decided to take idle mixture screws out and blow carb cleaner through them. If carb cleaner came out the other side, I would know that the idle wasn't gummed up. Carb cleaner came out of the vents, so I plugged them off with my finger and carb cleaner came out of the idle ports.(I think that's what they're called). I did this to all four and they all checked out.
I did replace my squirters though. I just didn't want to tear into the carb unless I had to.
I went to all my local parts houses and found this gasket. It looks like it would be soft, but it is quite hard. I also found an adapter made by edelbrock that I could use, but i would be sandwiching a gasket, then the edelbrock plate, then another gasket, then the carb. I thought this thick black gasket would work better.
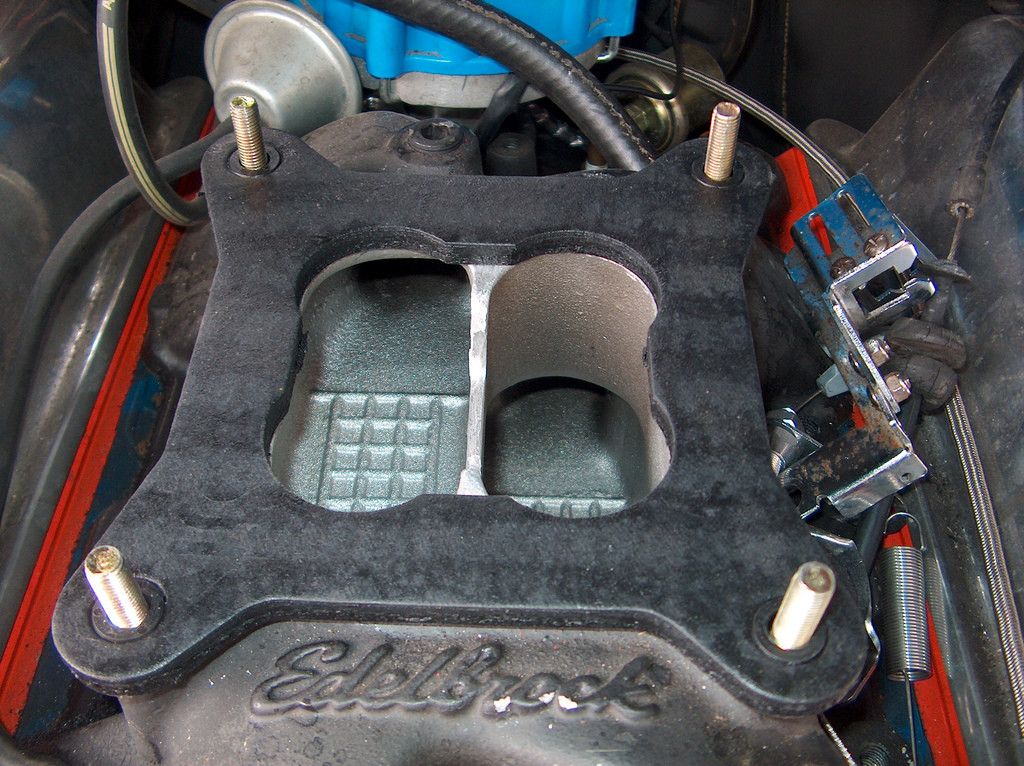
This gasket is supposed to insulate the carb from the intake manifold. I don't know how much truth there is to that, but what the hell, it solves my vacuum leak problem.
I also capped off all my vacuum ports.
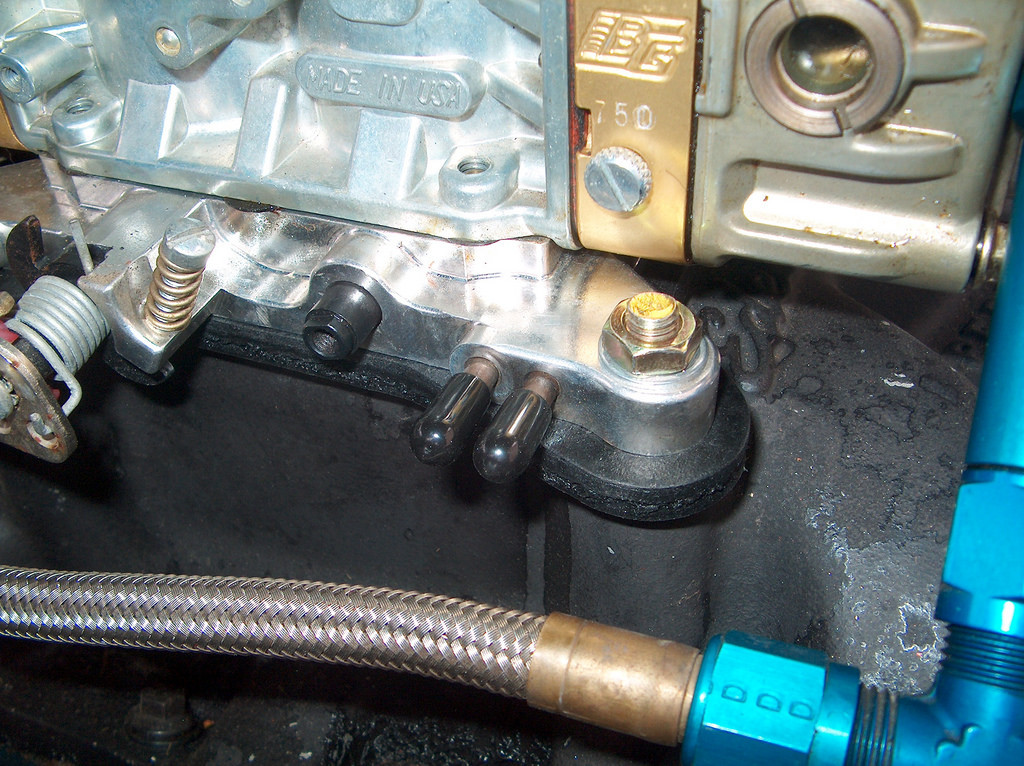
I set everything where it was supposed to be. The butterflies are down to about .030". I hooked everything up and started the engine. The car fired right up and was running noticeably better! Then I ran out of time.
I'm going to be out of town for the next couple of days. When I get back I will fiddle with the carb some more. I plan on making sure the base timing is correct, and seeing what it takes to make it idle.
6-27-2009
Yesterday I messed around with the carburetor tuning again. I think I'm reasonably happy with the way I have it setup. One thing that I noticed though, is that there seems to be an oil leak somewhere in the front of the engine. I haven't really tracked it down yet, but if I had to guess I think the timing chain cover is leaking...
You can imagine how excited I am to tear down the engine and fix that leak.
Yesterday evening I installed my Luxury Liner. This is a vinyl backed foam that you install over the sound deadener (Damplifer). Normally I don't go this extreme with the sound deadening, but this time around I think I'm going to install an unusual stereo system. Plus, I would like Cindy to be as quiet as possible.
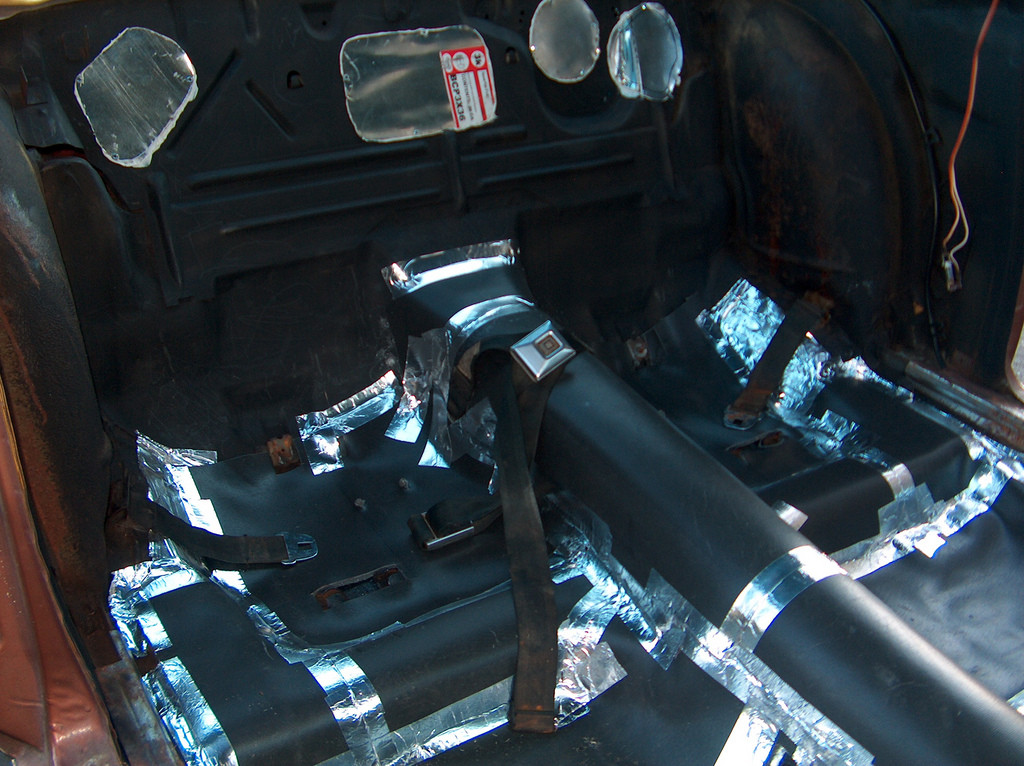
The Luxury Liner comes in sheets. I got a good deal on some damaged sheets. I wasn't sure the best way to approach installing this stuff, so I just dove in. I spray glued the liner down, and taped up the seams with aluminum tape.
Here is is all said and done.
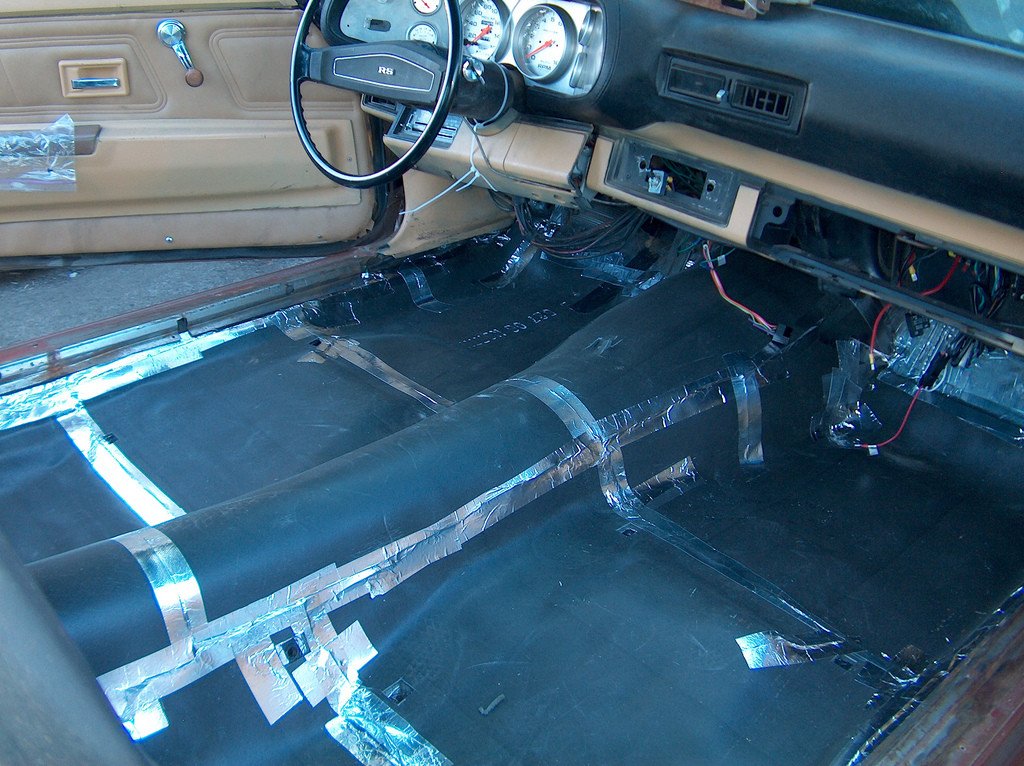
I plan on adding more Damplifer up the rear there, and some Spectrum Sludge to the wheel wells.
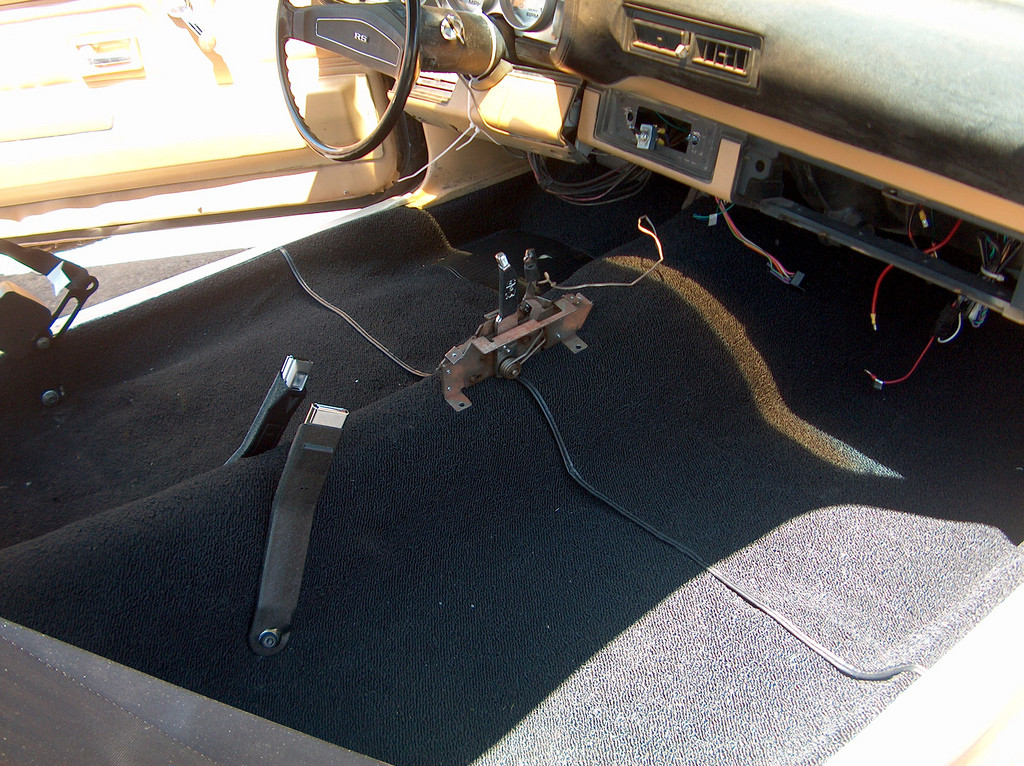
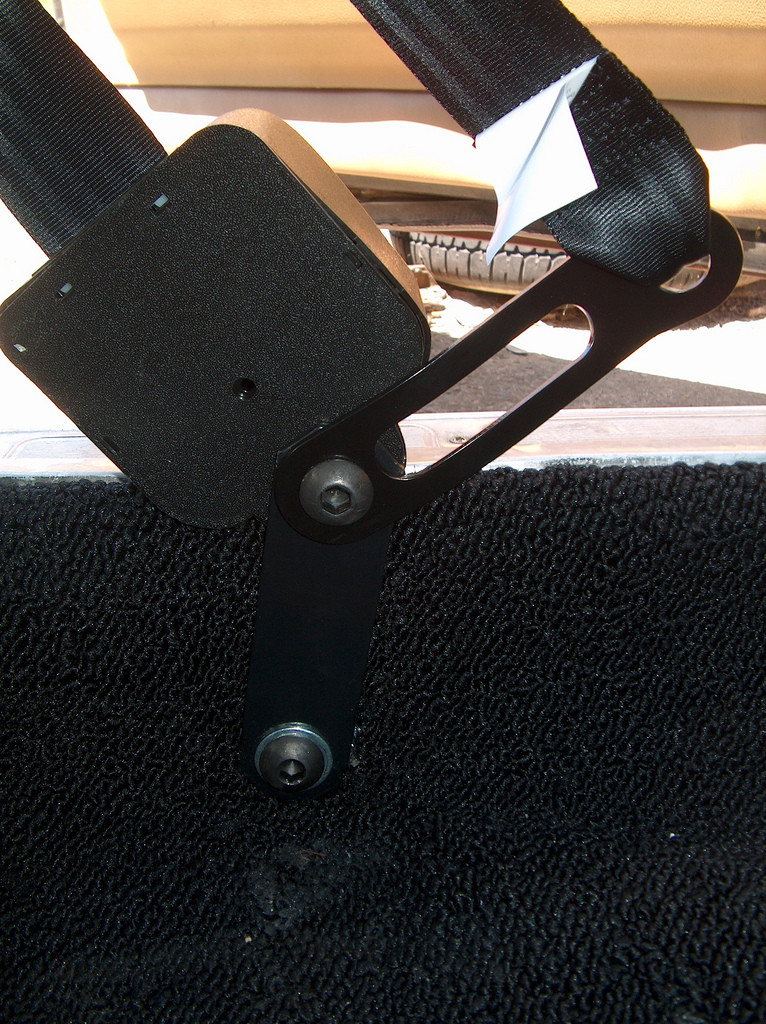
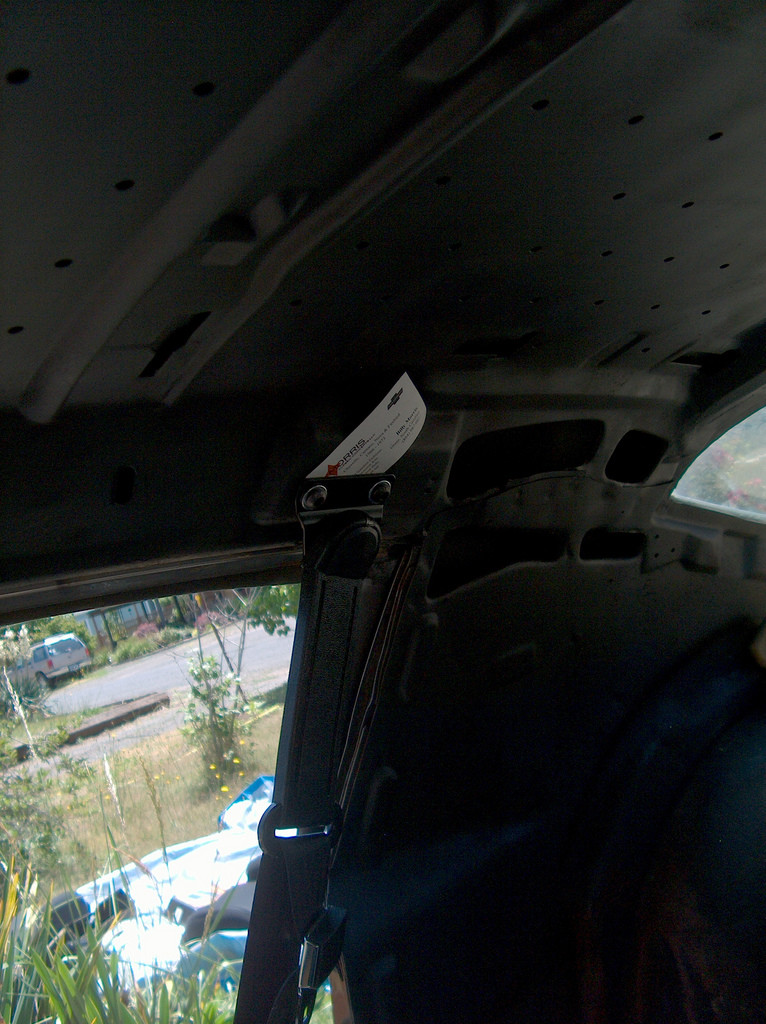
This morning I installed the carpet. Installation was pretty straight forward. I had to trim the edges a bit to get it to fit right. I also installed my seat belts from Morris Classic Concepts.
I can't believe how expensive these are. But, that's the price you pay for safety and an easy installation.
Carpet trimmed and door sills installed. You can see the original color Cindy was there on the right.
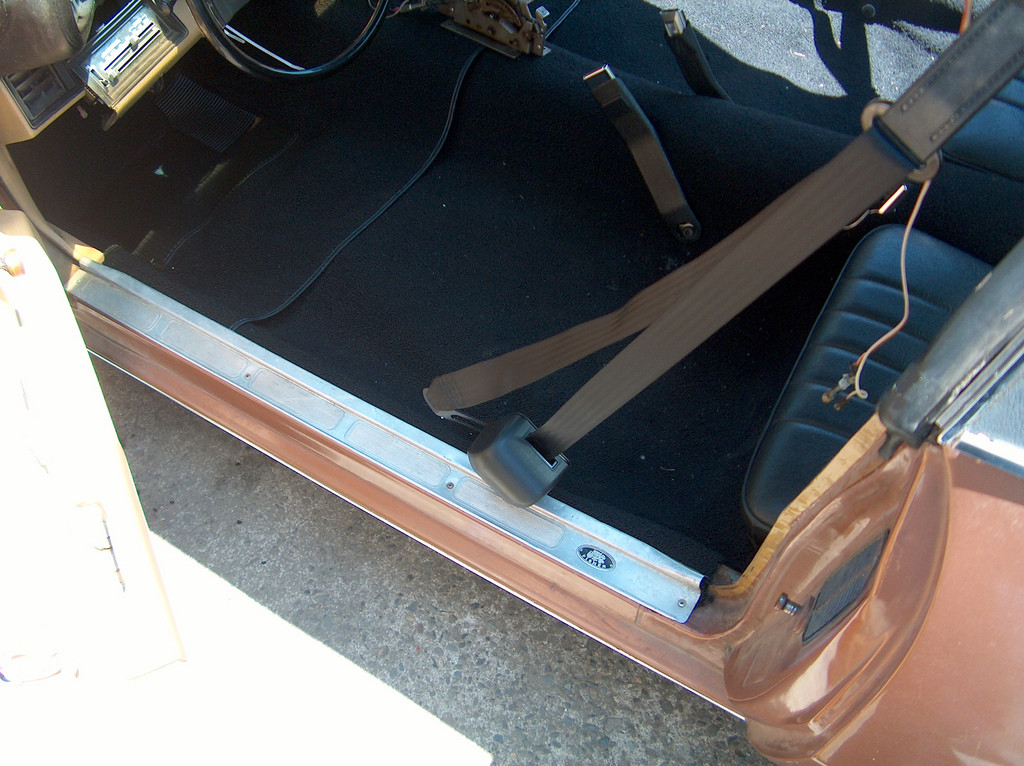
Here is how the seat belts are installed at the floor.
Here is how they anchor to the roof. Pretty slick!
Love the old camaros
Posted by Diggymart on 4/27/20 @ 2:39:52 PM