You must be logged in to rate content!
8 minute(s) of a 206 minute read
11-24-2008
Today I rewired the dash. First I cut the existing wires out of the factory harness. I used a wiring diagram found here.
http://www.nastyz28.com/index.php?page=camarowiring
I labeled everything, then separated out the wires that I don't need.
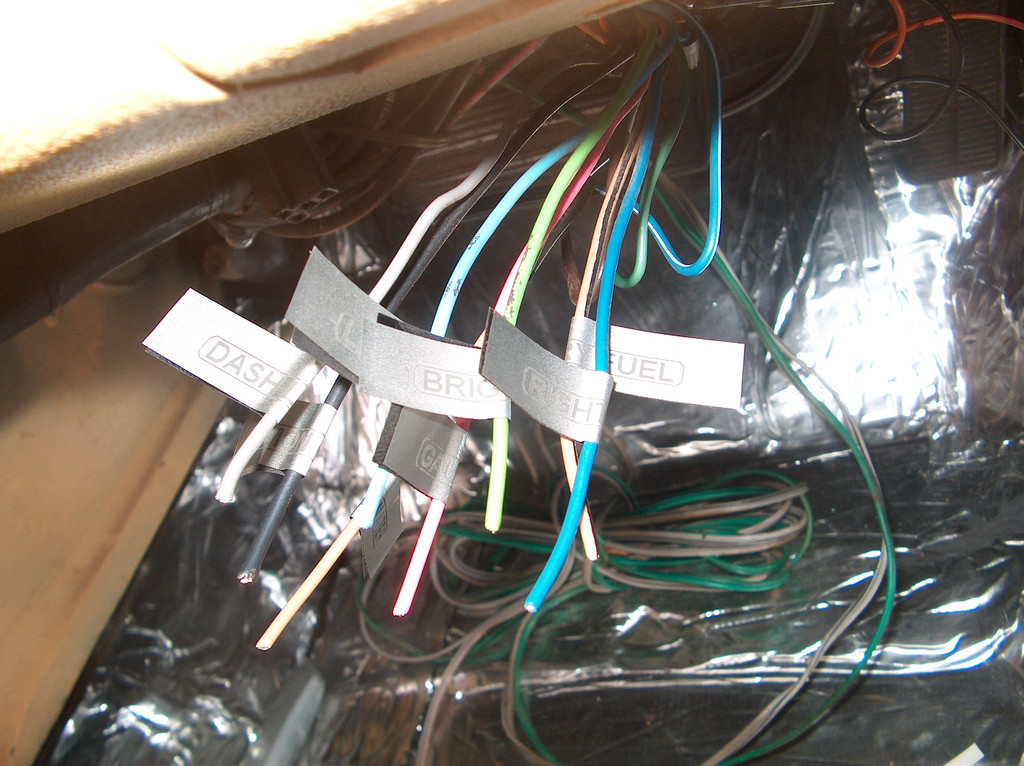
Then I installed "Bullet" style connectors on the factory wires, and my homemade harness wires.
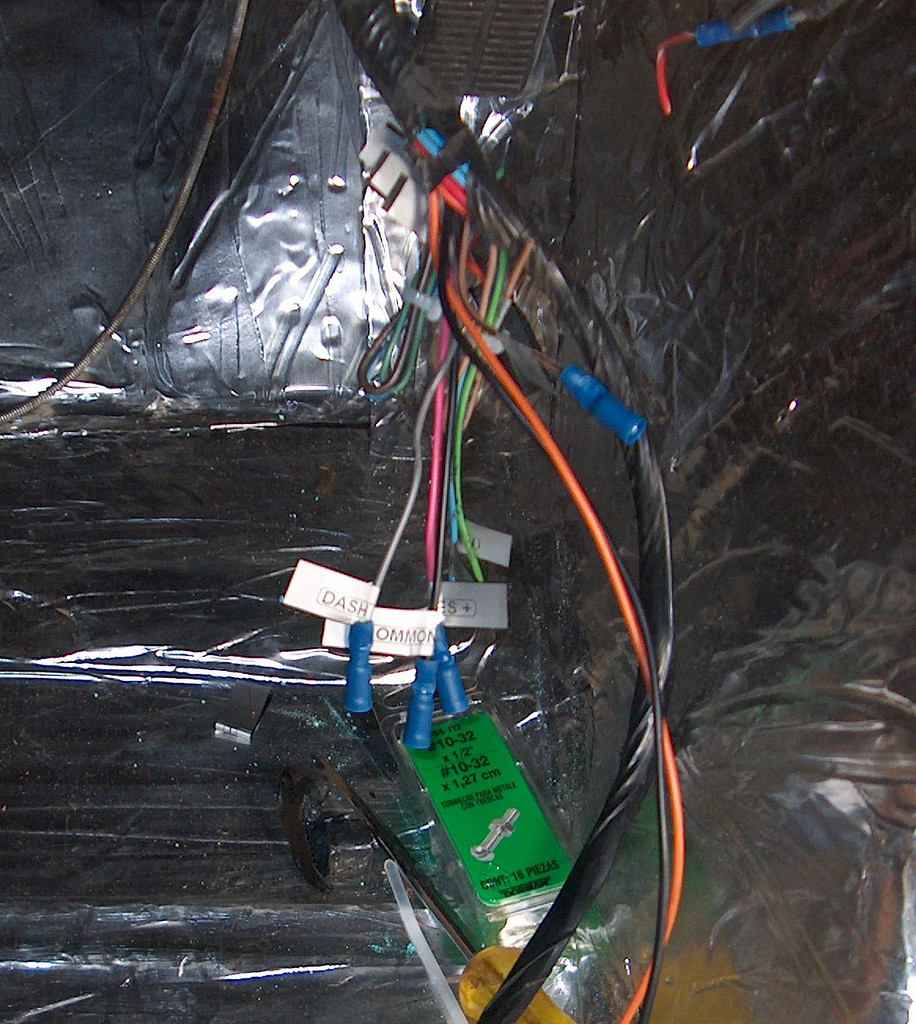
After that, I connected the wires. I had to remove the two bolts holding up the steering column, so I could get the homemade dash piece into place. It took a bit, but I managed to get it in there!
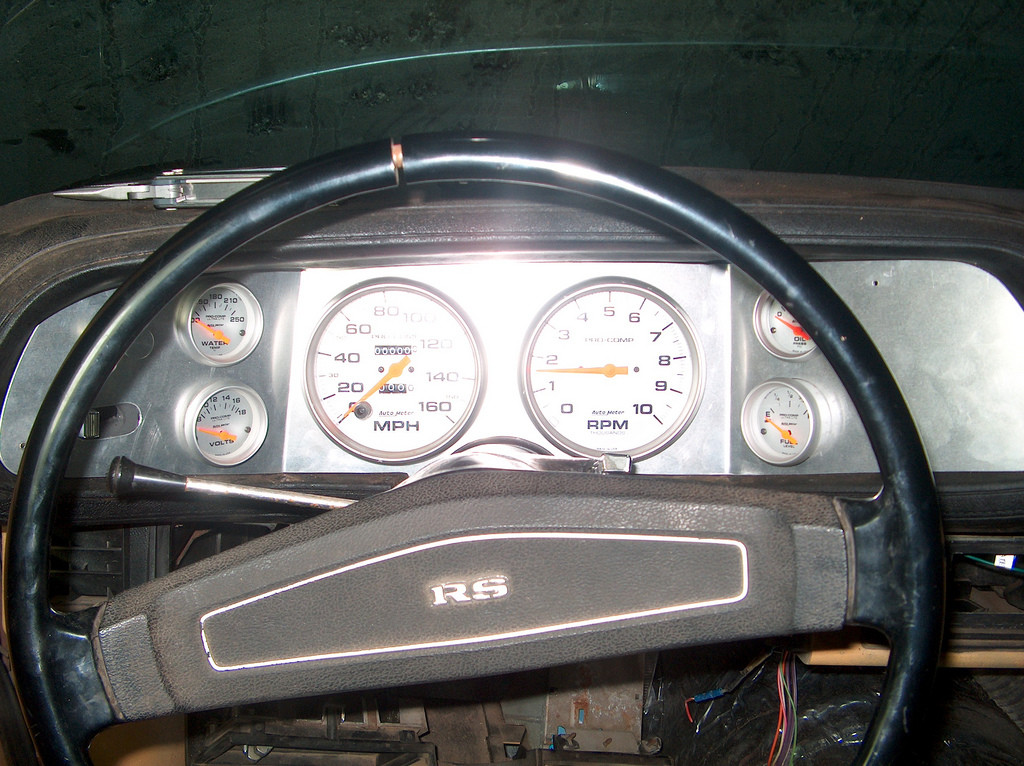
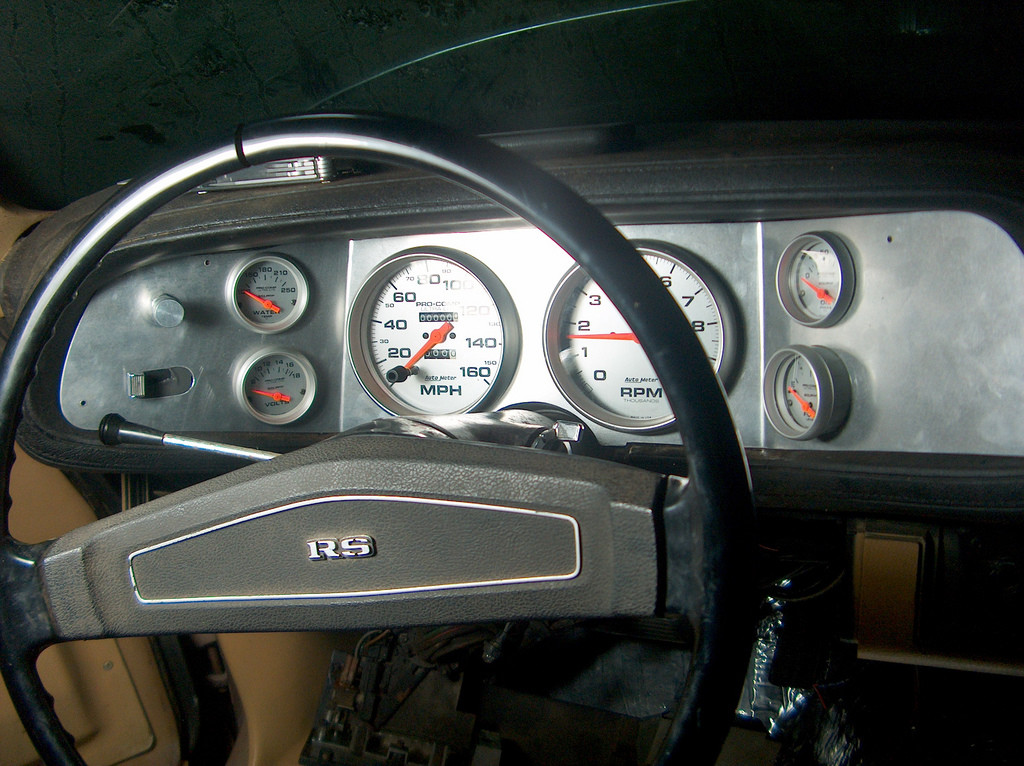
I plan on using a glue gun to hold the gauges in. I wanted to keep them loose for now, just in case I need to rewire something. I still have tons of room over on the right side in case, I want to add a button style start, factory cigarette lighter, or nitrous oxide switch...whatever...
11-30-2008
Today I worked on Cindy's wiring some more. I decided to install my Crane HI-6 behind the glove box. I looked all over, and I know this isn't exactly ideal, but it should work for now. Also I added an additional fuse panel. Instead of running a switched 12V wire to the panel and split that up. I decided to install a relay setup to the panel, and integrate the HI-6 as well.
So first off, here's where I mounted the stuff. I have even less room back here because this car has air conditioning.
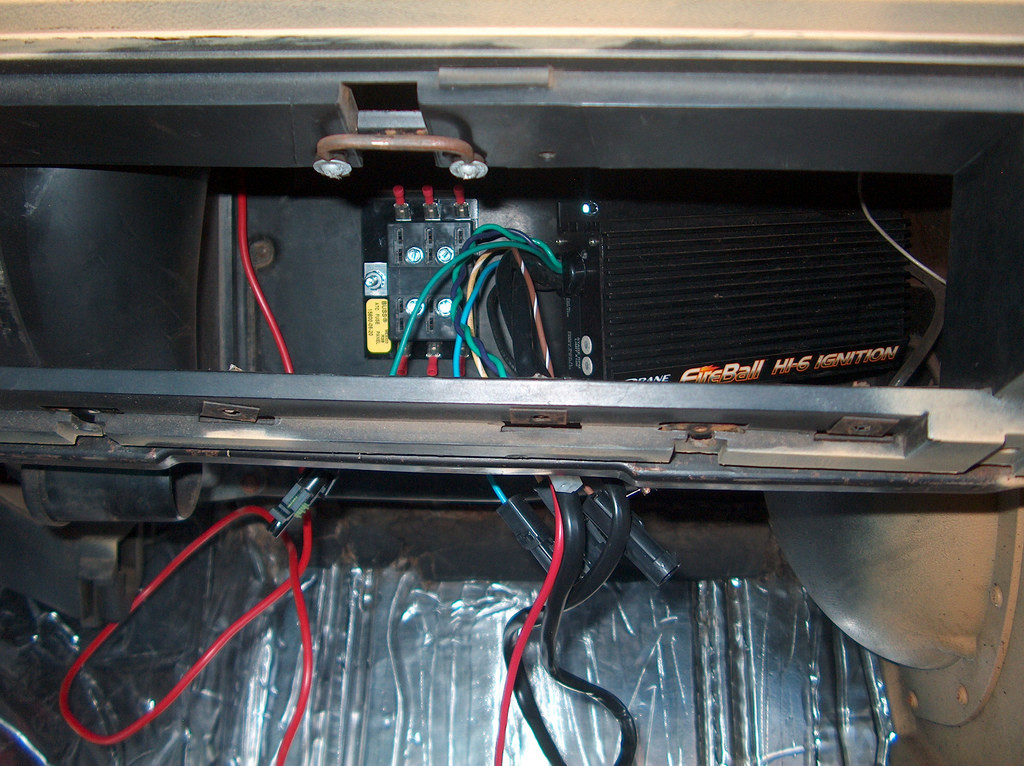
Here is everything with with all of the relay's wires ran.
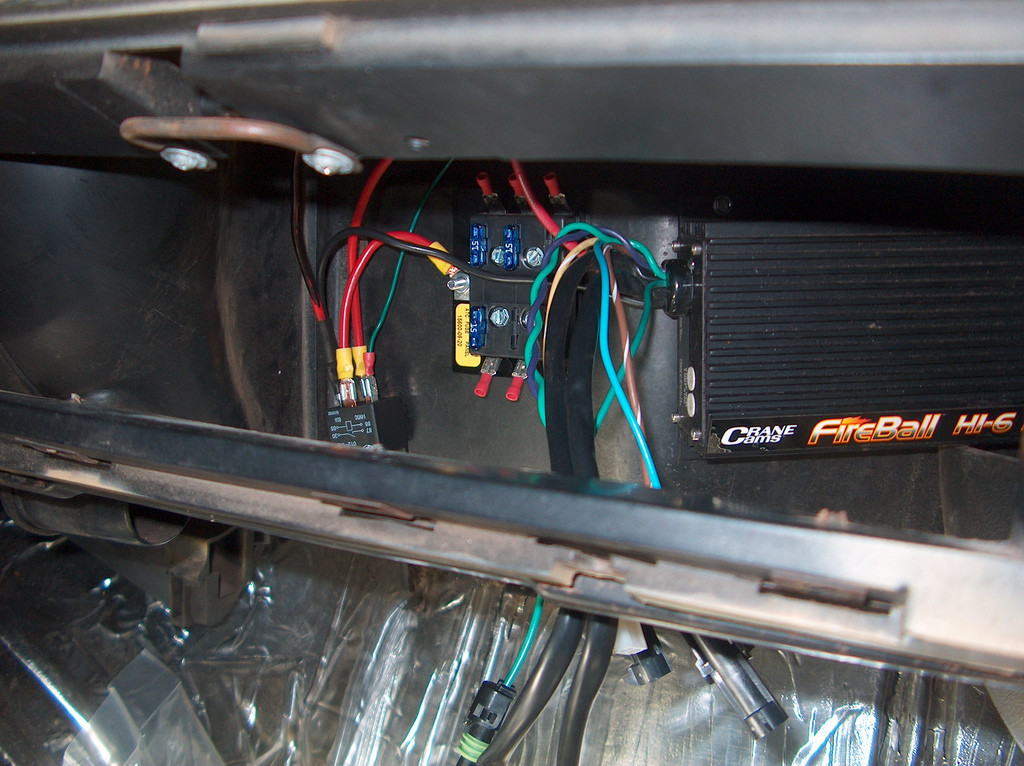
You can see the two ground wires on the left. I didn't have any black 10 gauge wire, so my son decided it would be a good idea to use a sharpie to color the red wire black, so we didn't get confused.
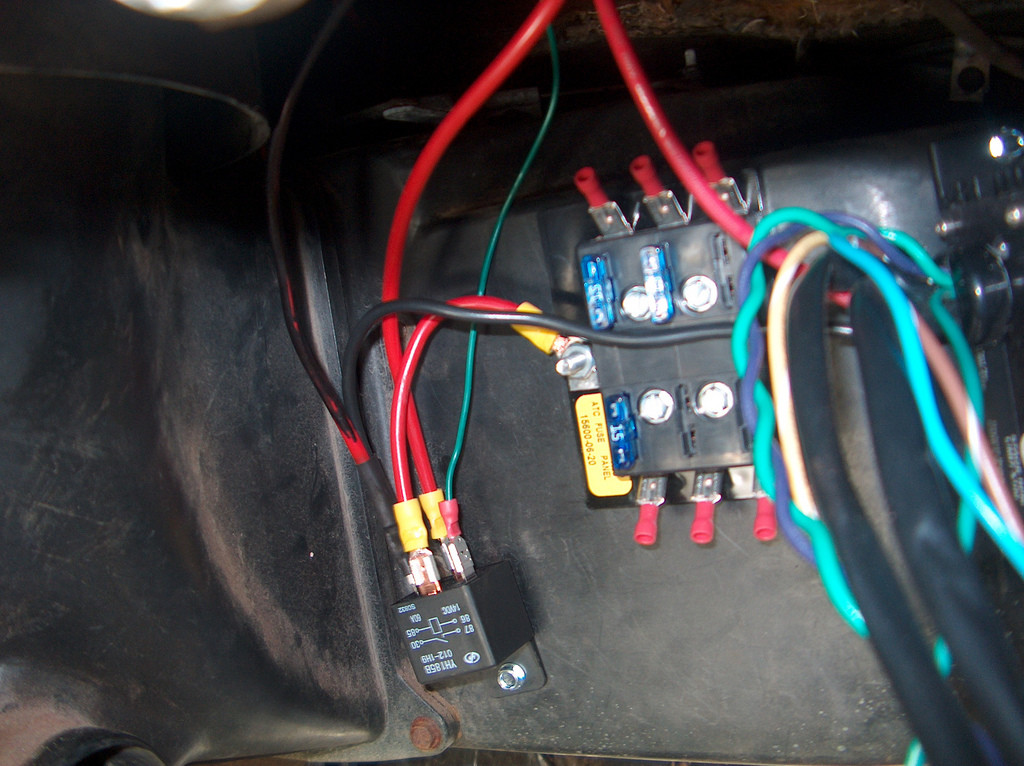
Now it have an extra 6 fused power leads. The top right one is already hooked up to the HI-6's 12V ignition lead. On the firewall, there is a 12V hub that comes directly from the battery. I have considered pulling the 12V wire off of the horn relay, the one from the stock fuse panel, and wiring it to my new hub on the fire wall.
With all of the modifications I have done to this car, its going to be a freekin miracle if any part of it even works right.
That's exactly what I thought when I saw it. You can also get a similar distribution block from Jegs, although its similar in price to the MAD one.
I did notice a different style one on the firewall of a 1991ish Chevy Silverado. You might check that out. It's much larger than this one though.
Not much to visually report today though. I did spend some time with Cindy, but most of it was fighting wiring. I didn't realize how long it actually took to string wires through two little holes on the firewall.
Finally finished the relay and HI-6 install. I also used one of the fused outputs for my voltmeter. I had planned on using the cigarette lighter, but this is more convenient at the moment.
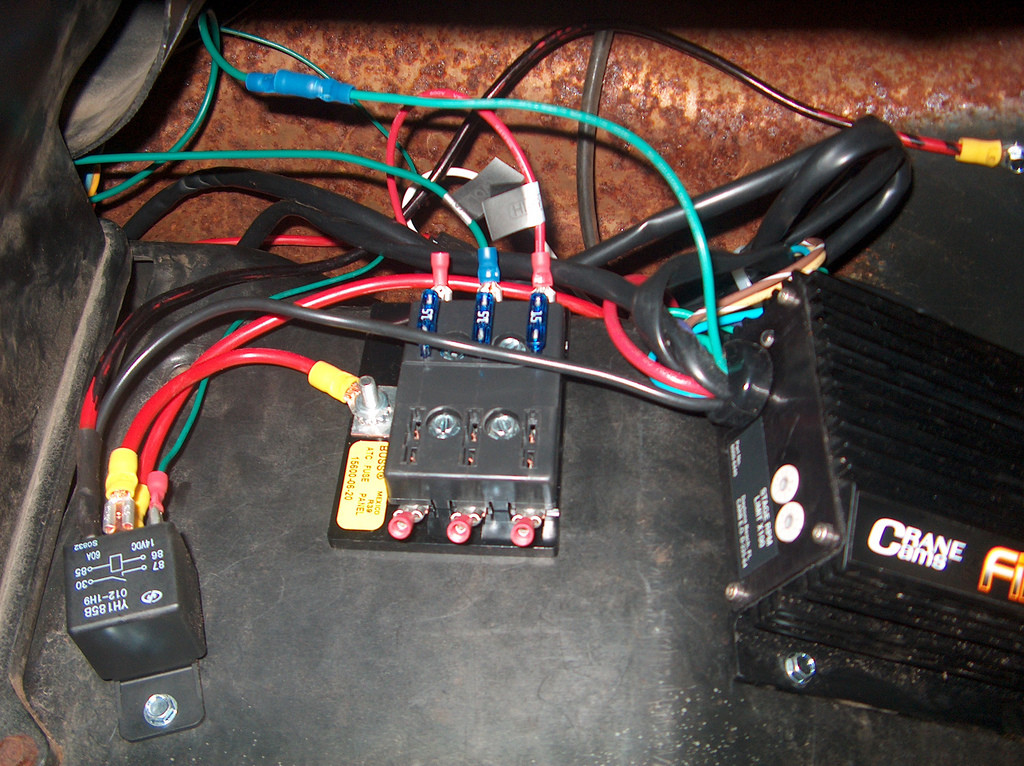
Here you can see the distribution block on the firewall near the A/C box. It feeds directly from the battery, and then goes on to feed the relay and the HI-6. I also put on my headers today. I found that even after I put my solid bushings in, my passenger side header hits the floor. So I jacked Cindy up at the frame, and lowered her down on a jack stand, thus denting the floor. Now I have a dented floor, and plenty of header clearance!
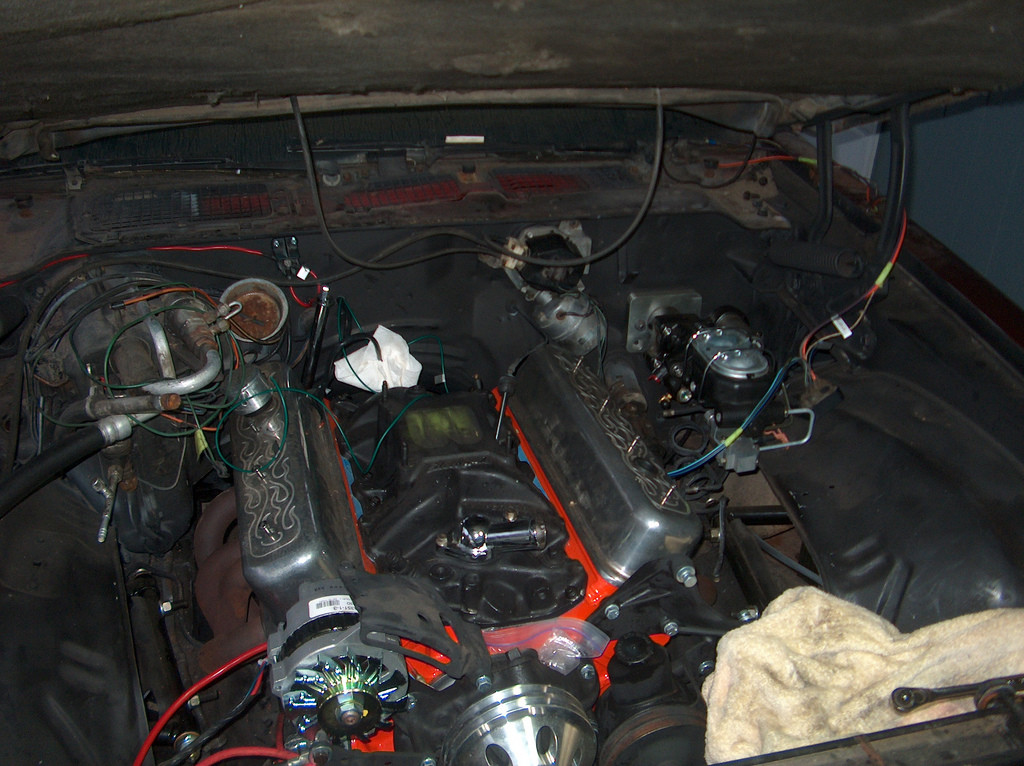
I'm getting closer and closer everyday. My goal for now is just to get the car started! I just found out that my camera can take crappy videos, so I will be sure to post a crappy vid for you all...
1-23-2009
I have a few small updates. I haven't been able to work on Cindy since its been so cold outside, and she is in a car port. I had one sunny day and decided to get a few things out of the way.
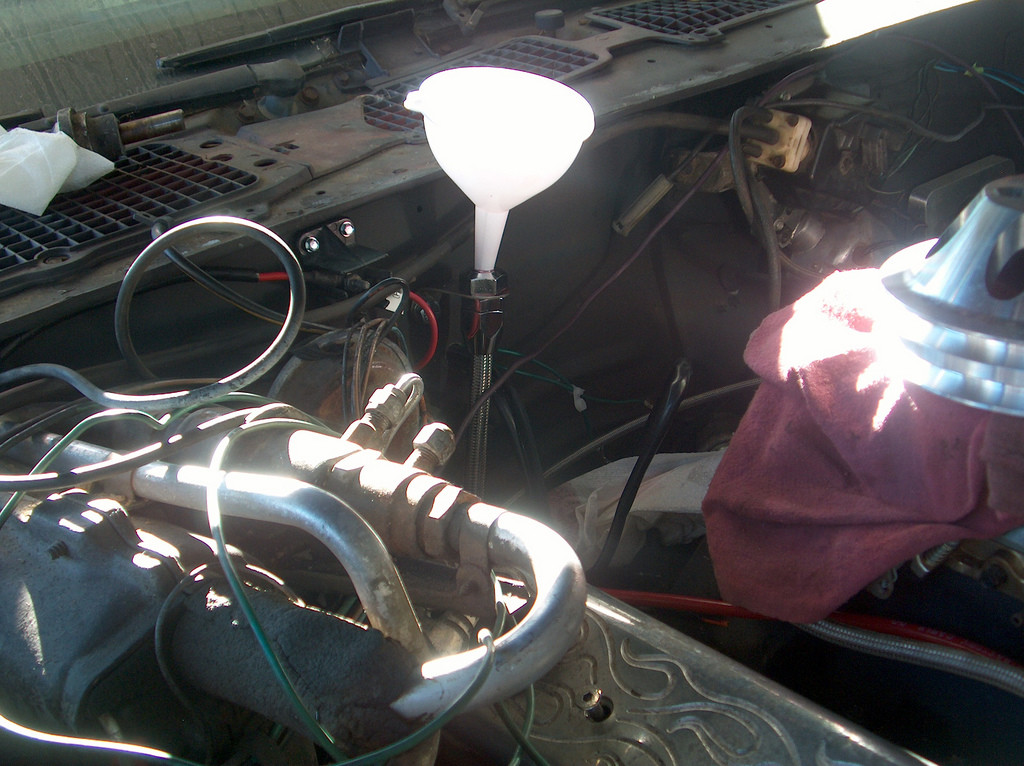
First off, I bought a new transmission dipstick tube, throttle cable, and kickdown. I installed the transmission dipstick tube, and kick down. After that I filled it with about 7 quarts of transmission fluid. I will check the level again when I get it running.
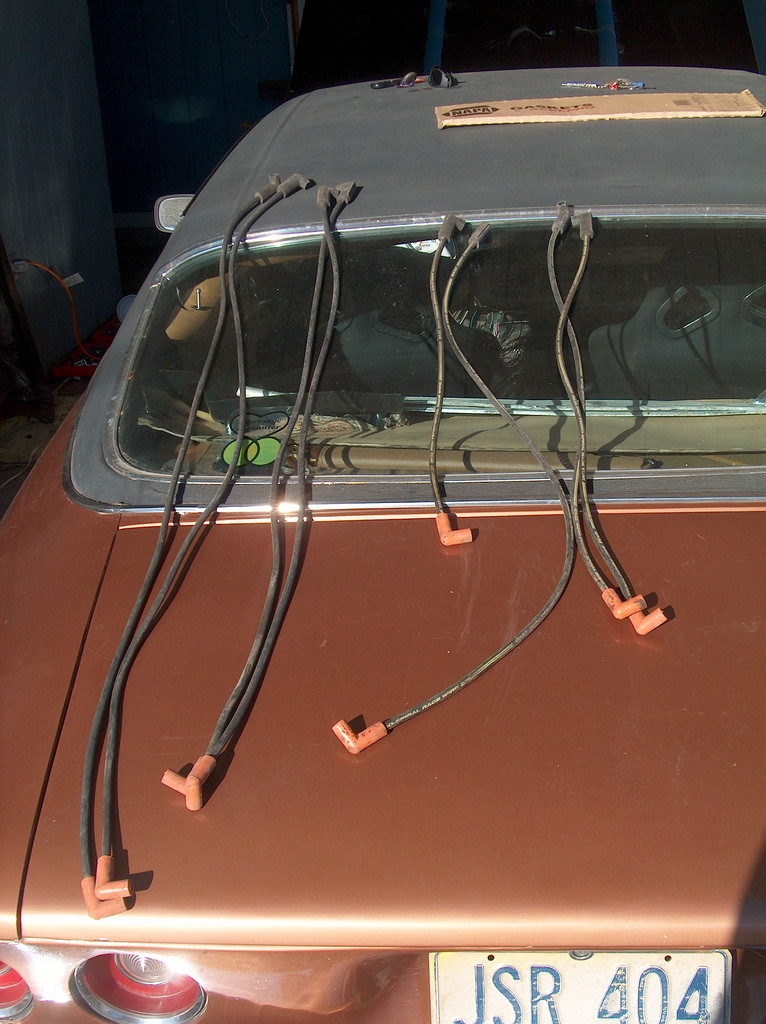
I laid out all the spark plug wires so I could pair them up. Then I installed them.
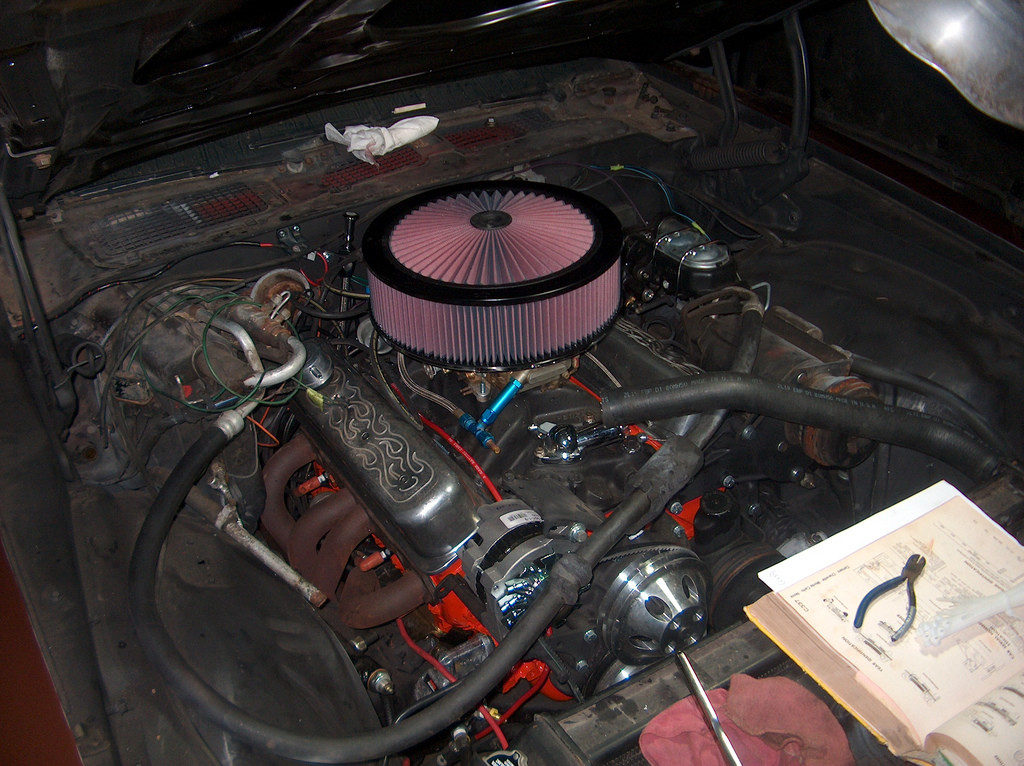
Here is where we sit now. Tomorrow I will finish all the little things. I should be able to crank the engine over tomorrow. I still haven't installed the exhaust, so hopefully the neighbors aren't home.
1-27-2009
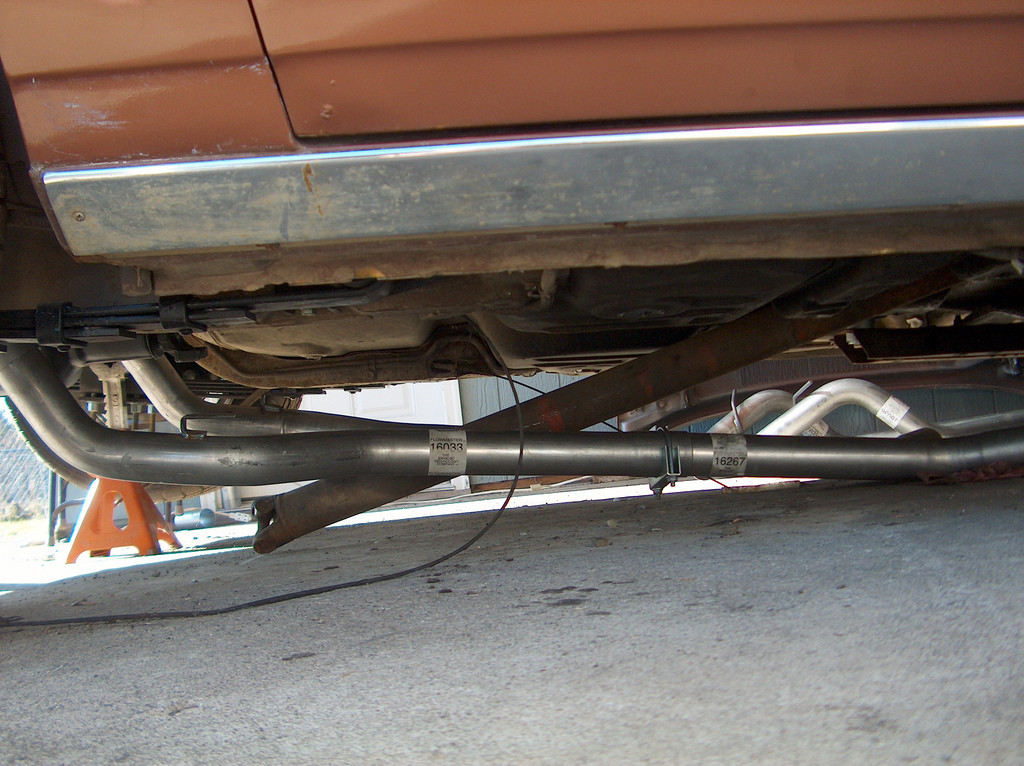
Today I installed my Flowmaster Exhaust kit. The first thing I did was jack Cindy up and place stands under the rear axle. Then, I put the muffler roughly where it belongs. After that I connected the next two pieces, and tightened down the clamps. But, not so tight that I couldn't move the pieces around if I needed to.
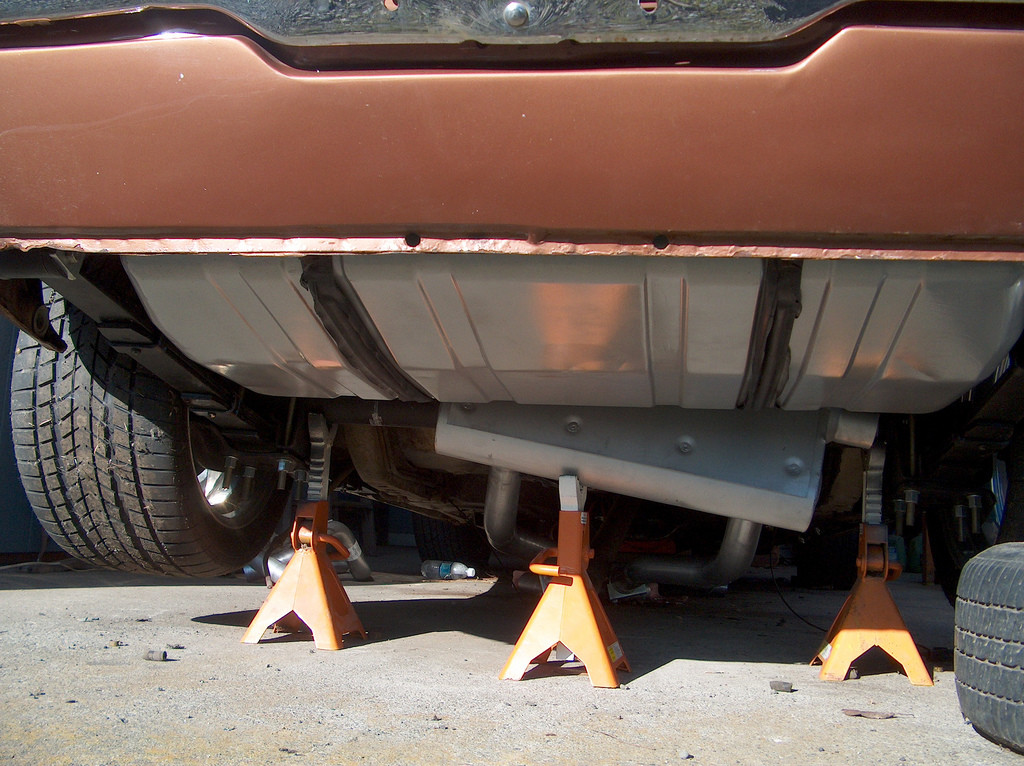
After that I connected the "H" piece. I had to cut about 4 inches out of the "H" piece to that It would be back far enough to connect to my headers.
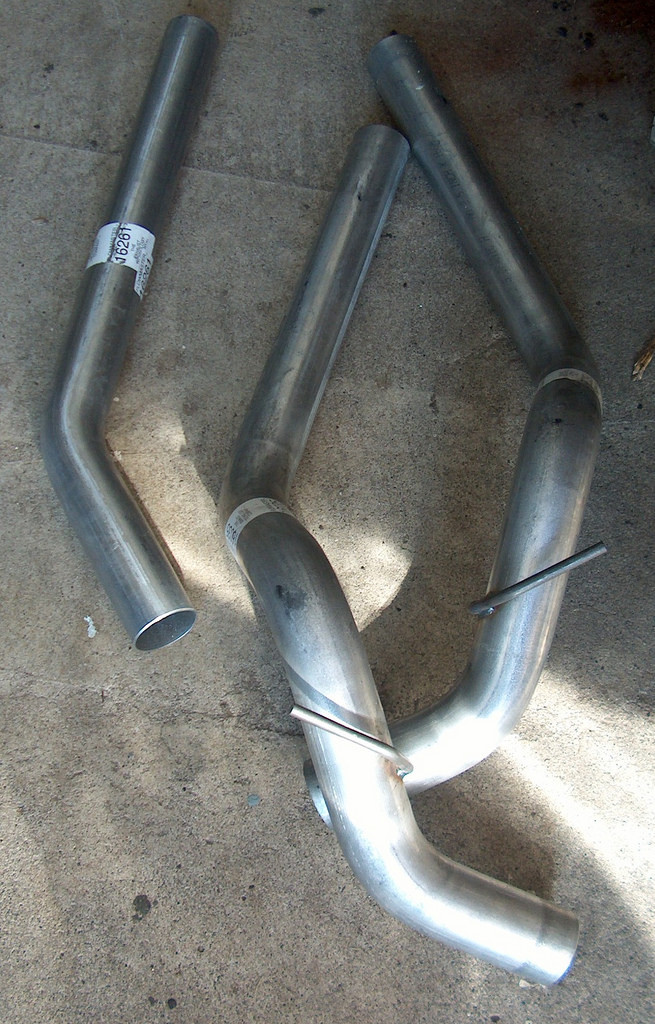
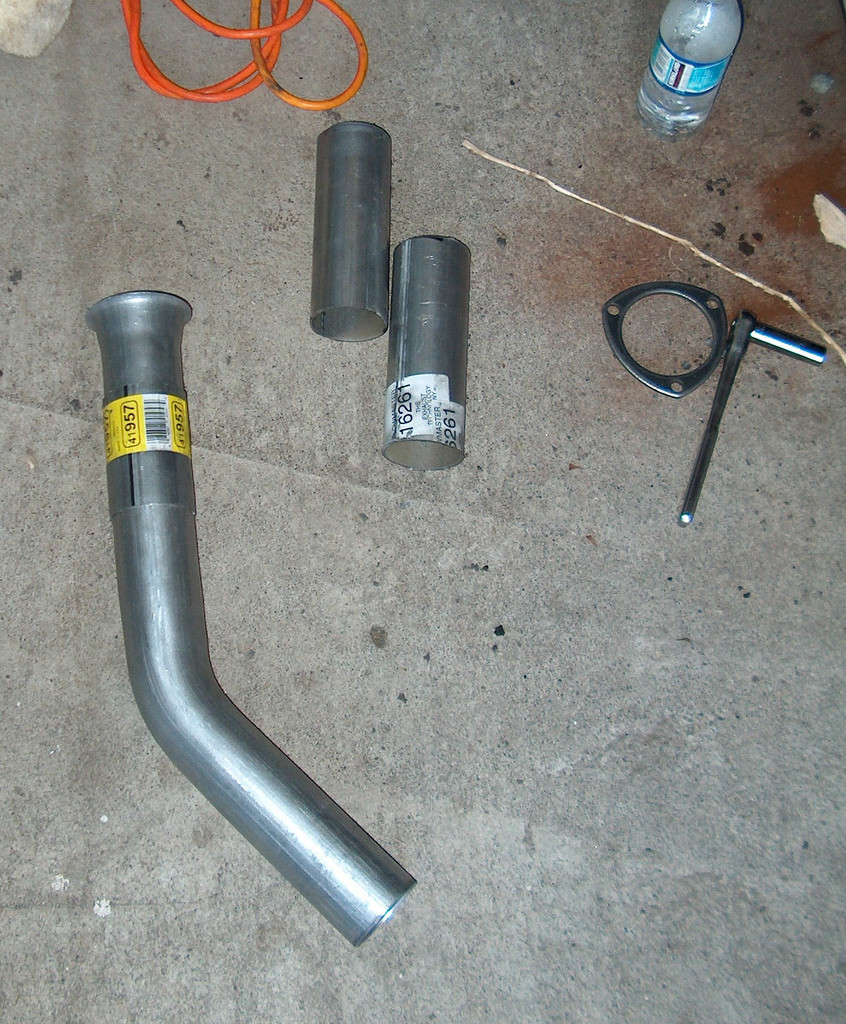
From left to right.
This piece connects to the headers. This is a pic before I cut it down.
This piece connects to the passenger's side output of the muffler.
This piece connects to the driver's side output of the muffler.
Both the center, and right pieces are upside down.
Here is the driver's side all done. I ended up cutting twice because the first time I cut it the same length as it would have been with the collector on. That way I was sure it would fit. After it fit, I made the second cut, and mocked up the connector.
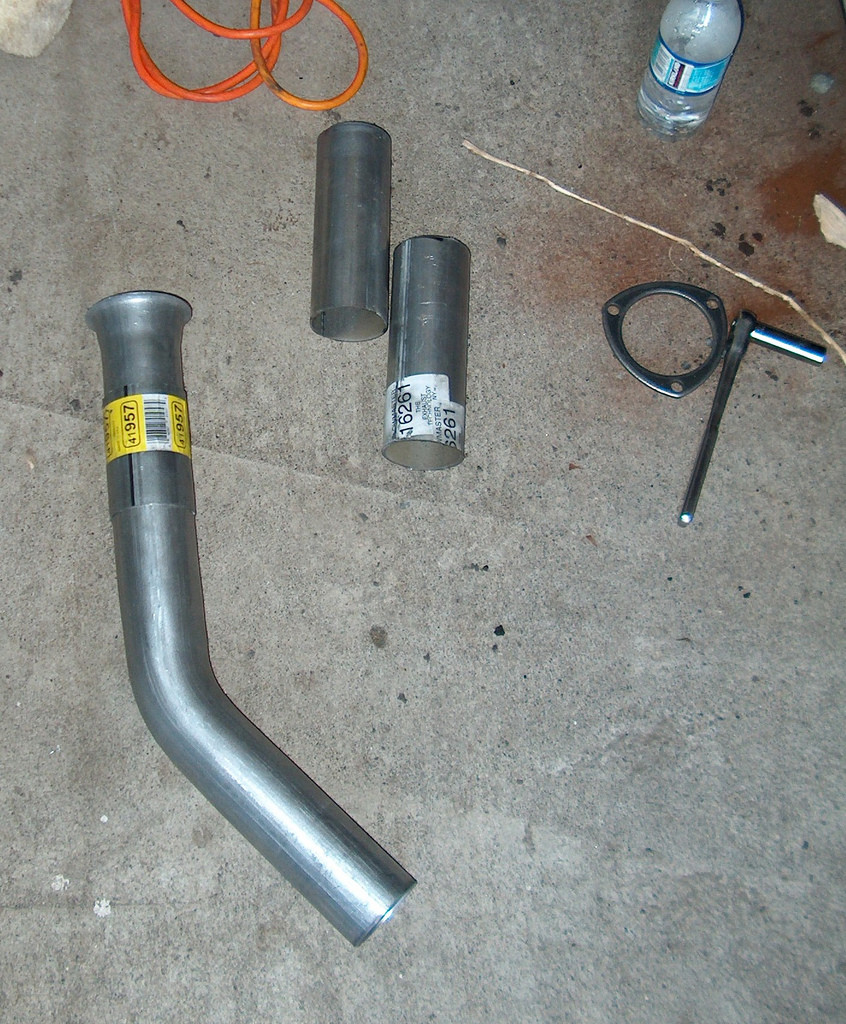
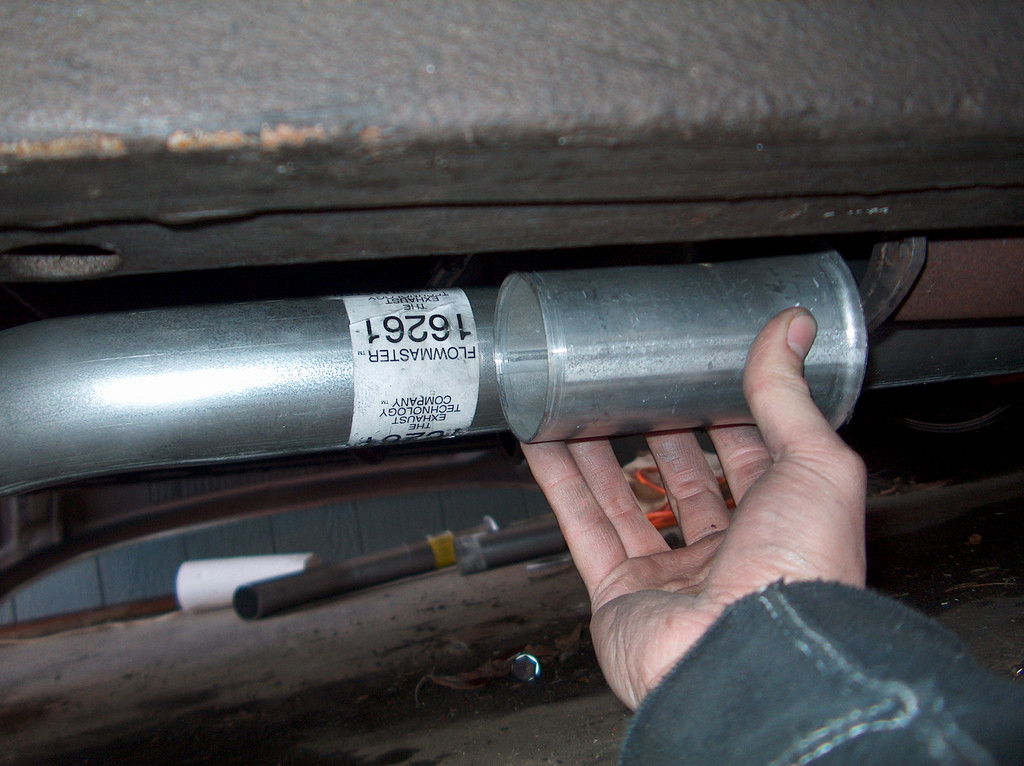
This is basically how I made the cuts. I put the piece into the "H" piece, and moved it over to the side of the header. Then I held up the collector piece, and marked it on the other piece. After that, I took it apart, cut it, and put it back together.
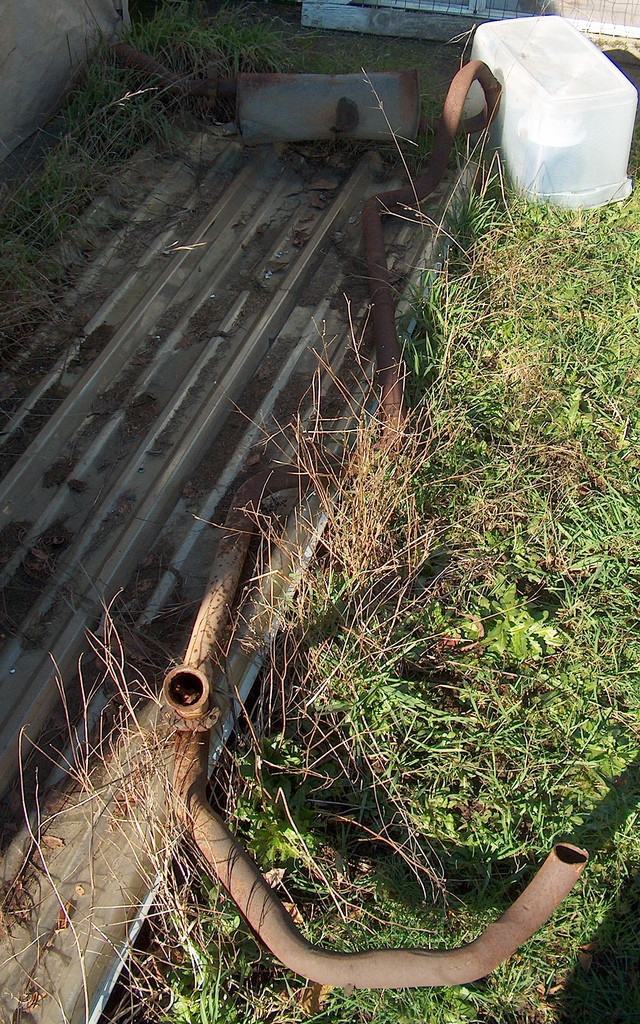
Finally, here is a pic of the old exhaust. I think this will be a bit of an upgrade.
I know there are other exhaust solutions for a second generation Camaro. I bought this one because I caught it when it was on sale, and got it half price. Also, I wanted a transverse style exhaust system because my 1980 Camaro had two turbo mufflers with turn downs, and I would always scrape them on speed bumps and stuff. I know this isn't the freest flowing exhaust system out there.
I ended up quitting a bit early so I still have to install the last two sections and tighten down all the clamps, but overall I am pretty happy with how easy it was to install this system. I have had bad luck in the past, but this really was pretty straight forward.
Love the old camaros
Posted by Diggymart on 4/27/20 @ 2:39:52 PM