You must be logged in to rate content!
11 minute(s) of a 206 minute read
10-21-2008
I started today by figuring out all my brackets. Do you have any idea how tough it is to figure out brackets when you actually don't take them off? I just had a pile of brackets...
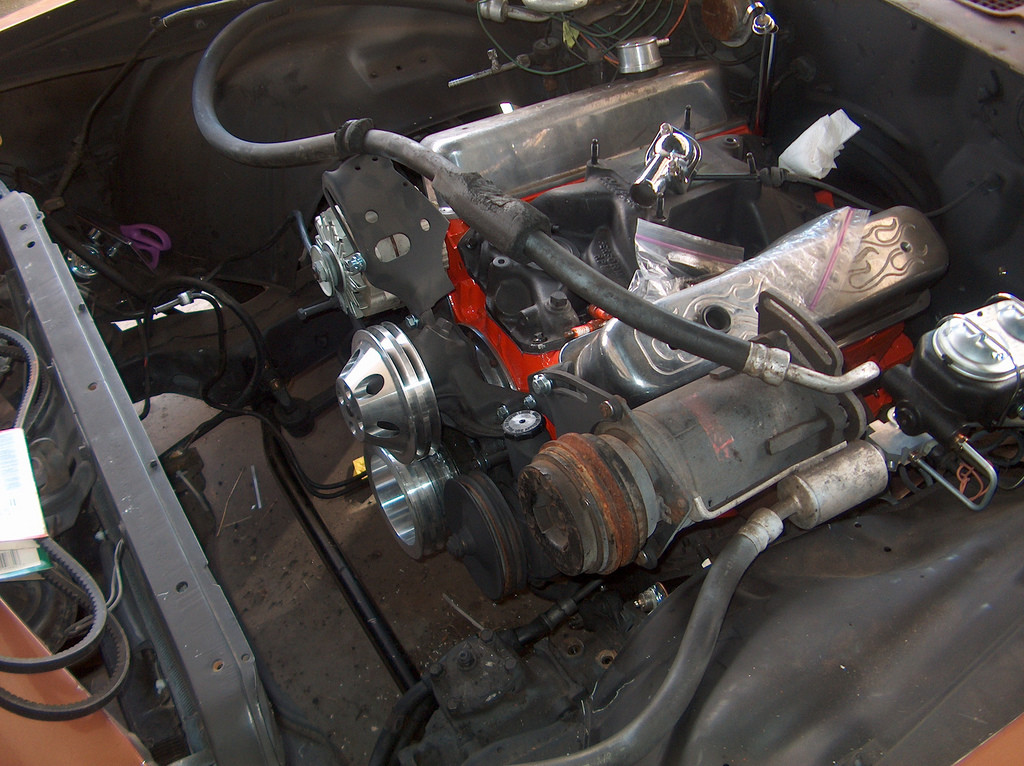
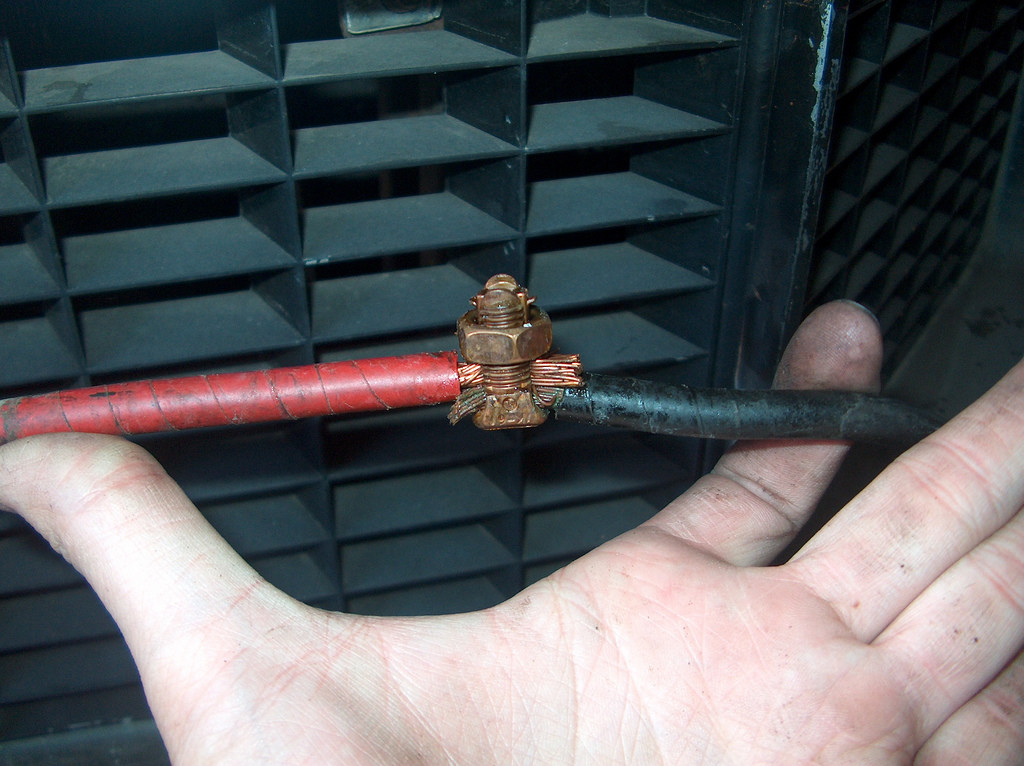
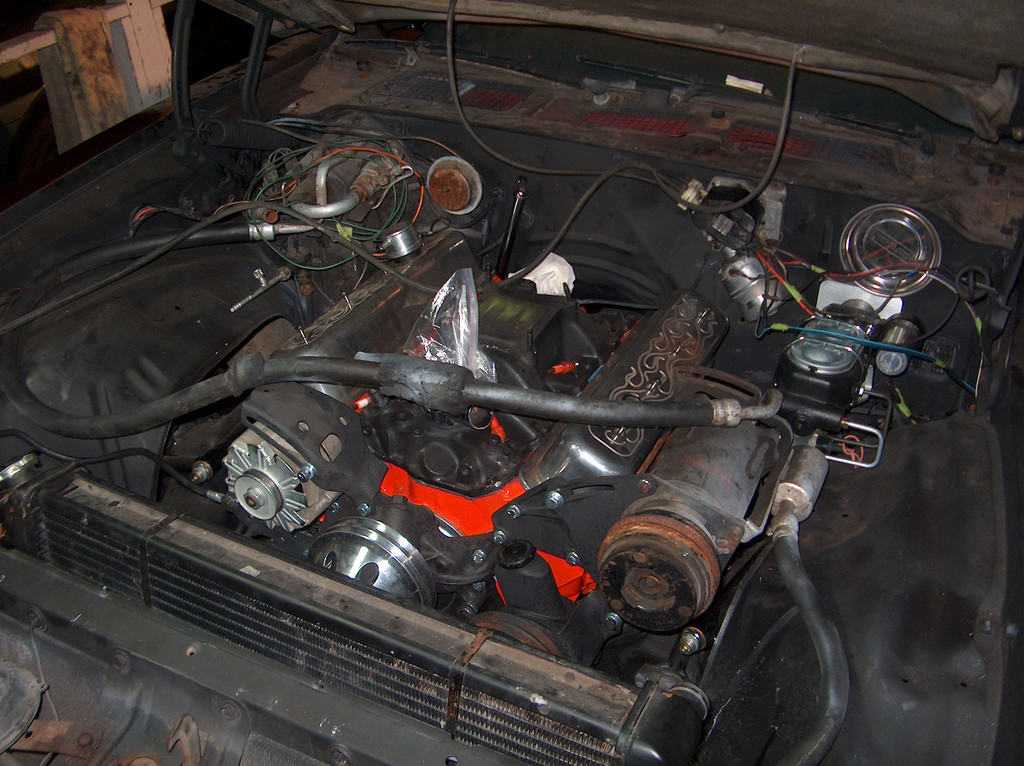
I started dealing with the wiring, and found something kind of unusual. I have never seen a connector like this. Interesting...
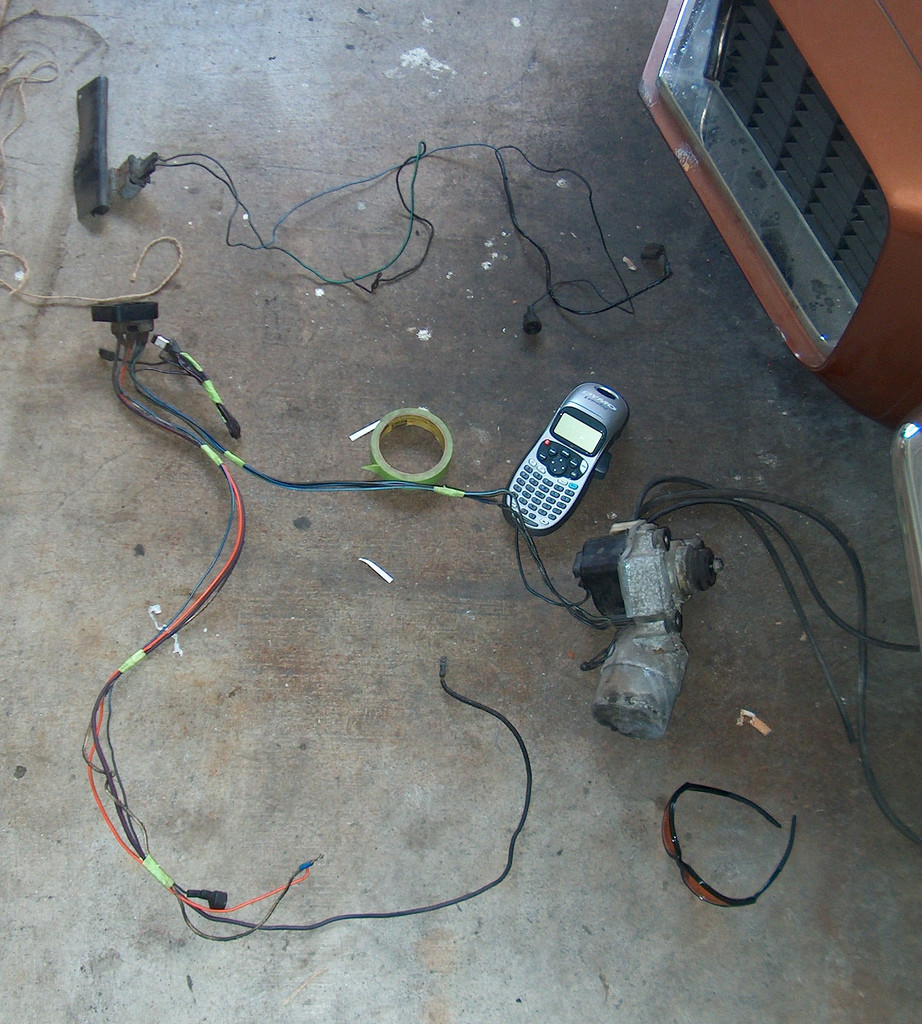
Next, I separated out the wiring. I don't need that wiring on the top, for now. I will figure out A/C later. I temporarily taped up the wiring on the bottom so its easier to manage for now. After that, I cleaned up the wiper motor.
I replaced the transmission filter. I bought a TCI transmission, and they recommended changing it after 500 miles of use. I never did that, so I decided it would be a good idea to do so now.
First, take the pan off.
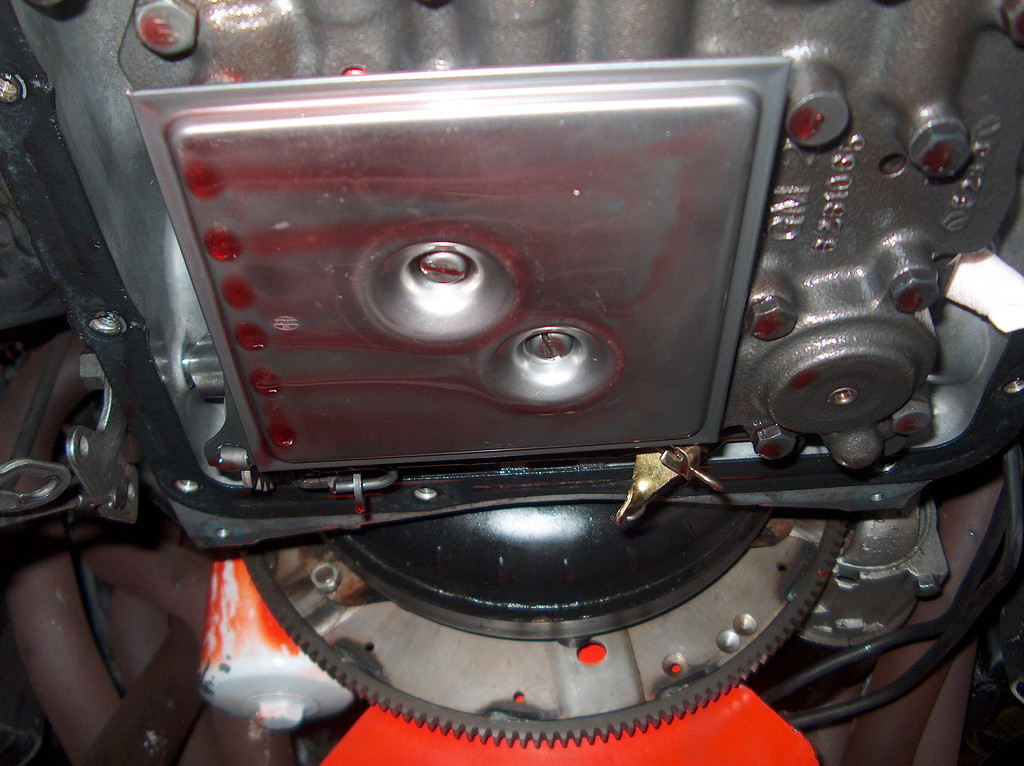
There was allot of metal shavings. It was also nice of TCI to put a magnet in the pan.
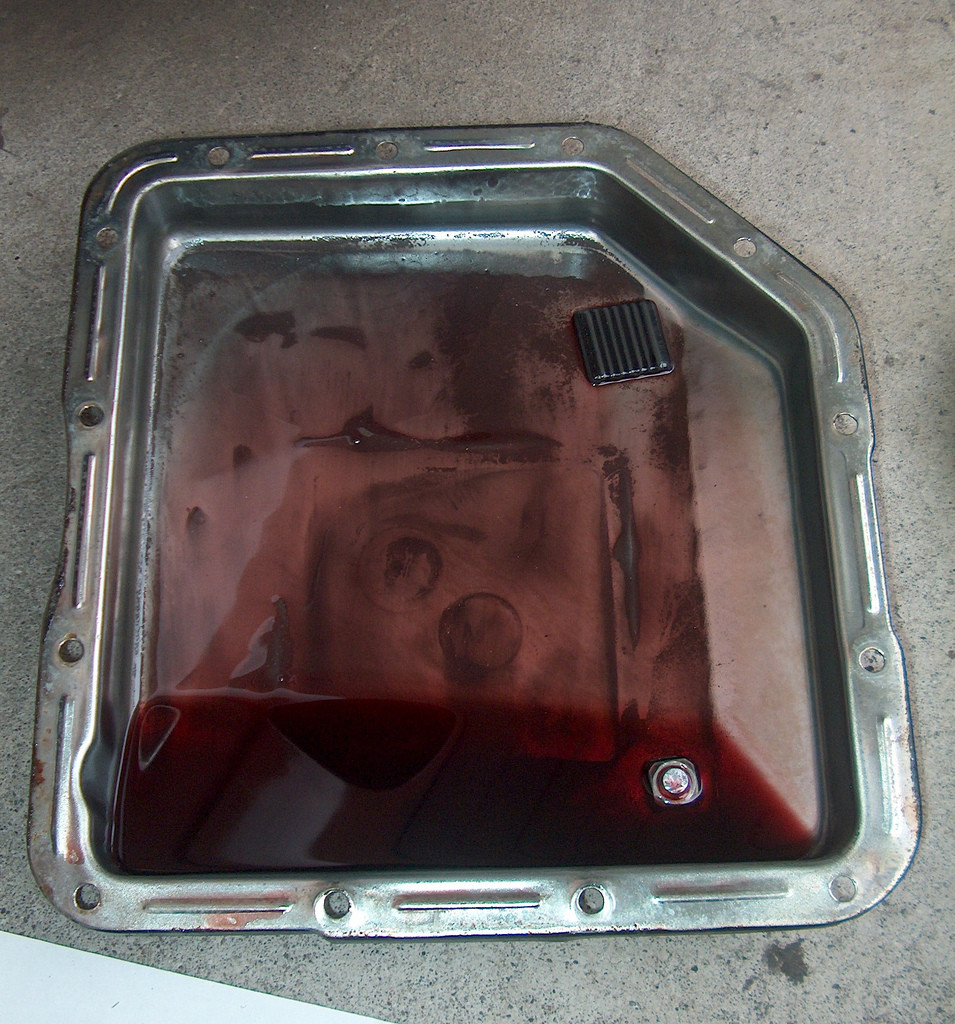
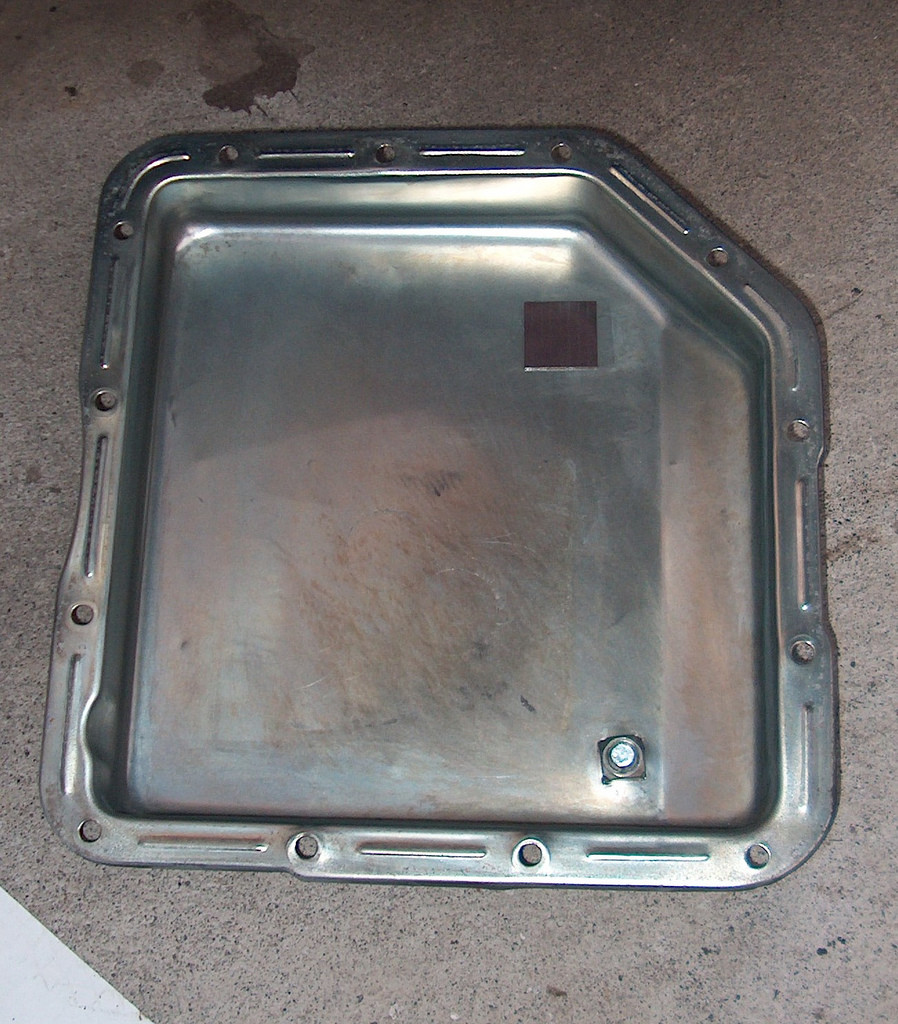
I cleaned out the pan with brake cleaner and paper towels.
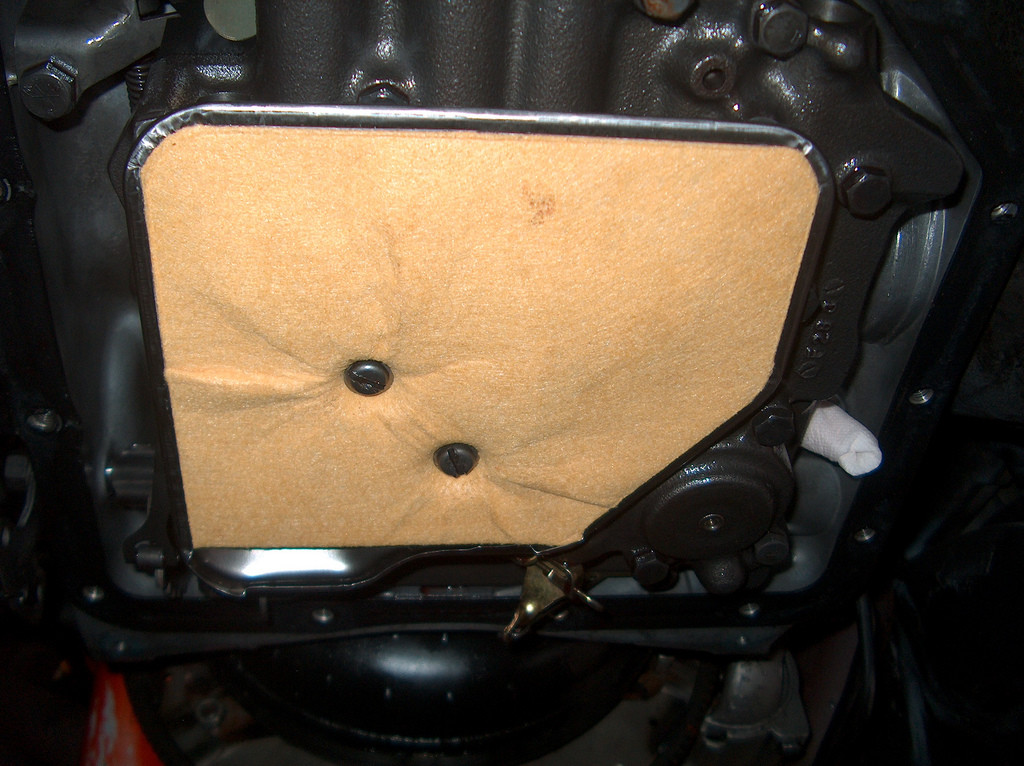
Next, I took the old filter off, and installed the new filter. Its easy. It comes off with those two screws. I helps when you reinstall, to rub the paper gasket with ATF, so it stays in place better.
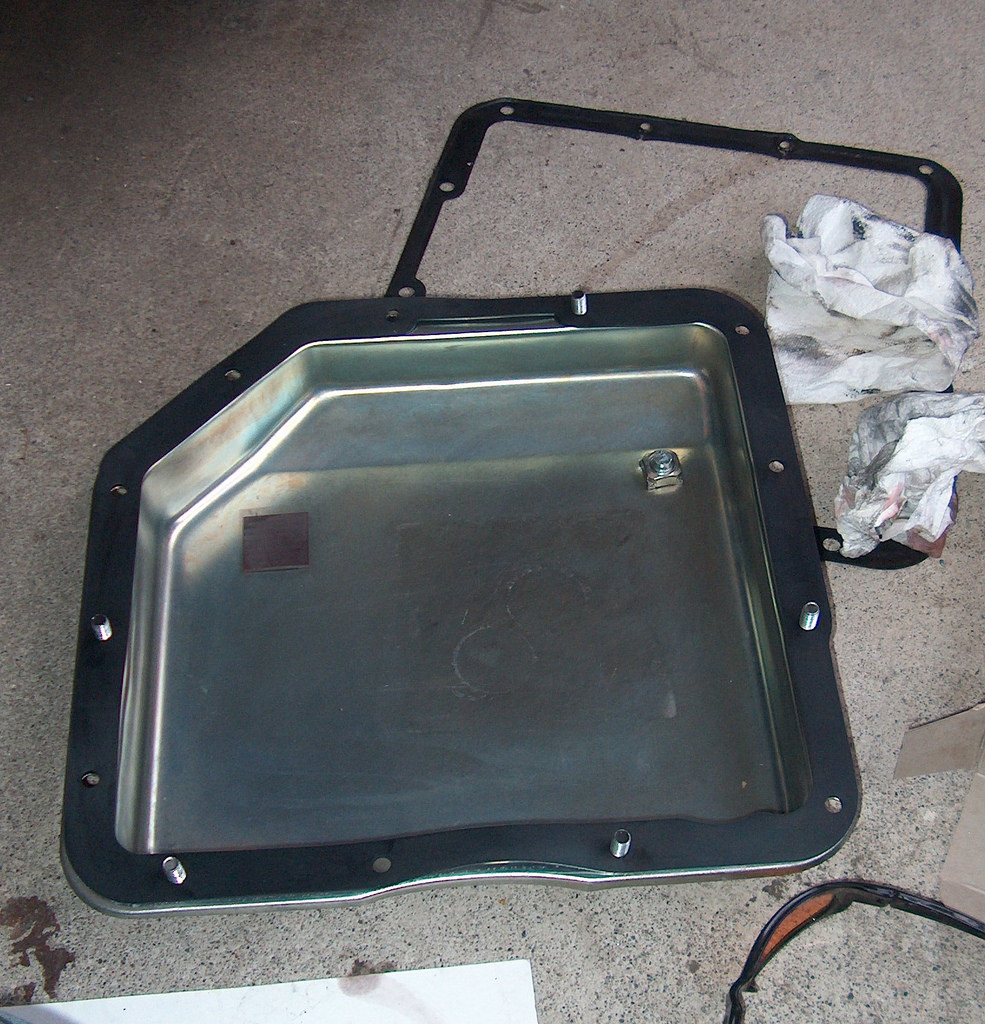
Then, I moved on to the cleaned pan. I laid down the new gasket. With this style of gasket, you don't need to use any silicone, or anything. Just make sure the two surfaces are as clean as possible.
Then, reinstall the pan, and you're done! Torque down the bolts to 10-12ftlbs, and call it good. Easy!
When I finished with the transmission pan. I moved on to install the dipstick. Then it was getting dark, so I put the cleaned wiper motor back in, cleaned up, and called it a day.
11-15-2008
Yeah, so about 20 days ago I started replacing the body bushings with solid ones. I did this for two reasons. The first is because it needs to be done before you can put in subframe connectors. Secondly, its common to have a slight issue with the passenger header not clearing, and its said that replacing the body bushings could remedy this. In my case, it did just that!
Here is a thread with some installation tips:
http://www.nastyz28.com/forum/showthread.php?t=17406
I bought my solid bushings from Pro Touring F-Body.
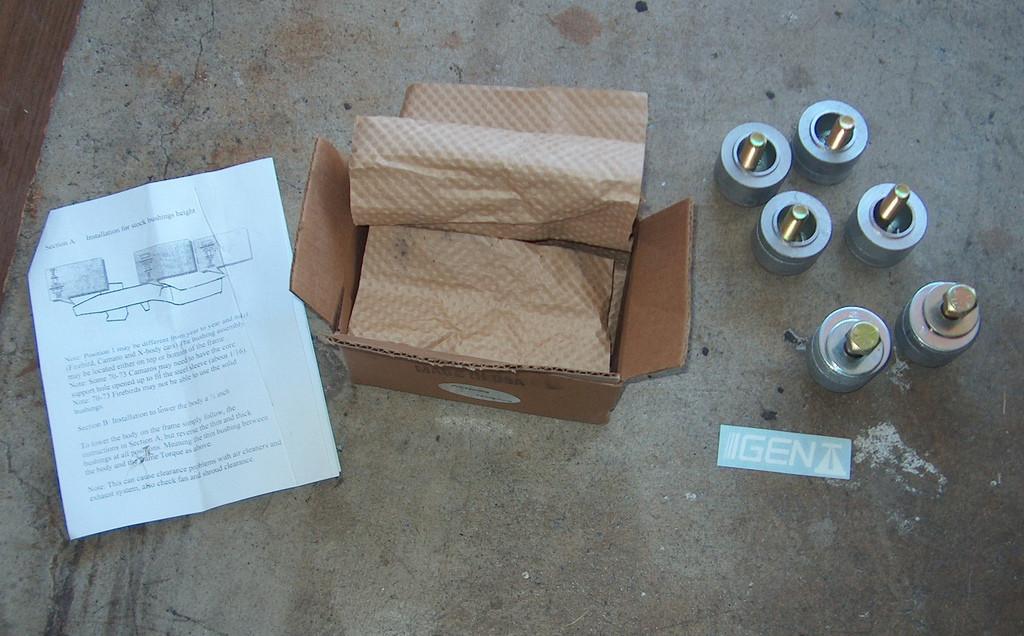
First I sprayed PB Blaster on all of the body bushing bolts for several weeks before I replaced them. After that I loosened up all four of the body bolts and removed the two front body bolts. To do that you have to take these support pieces off as well.
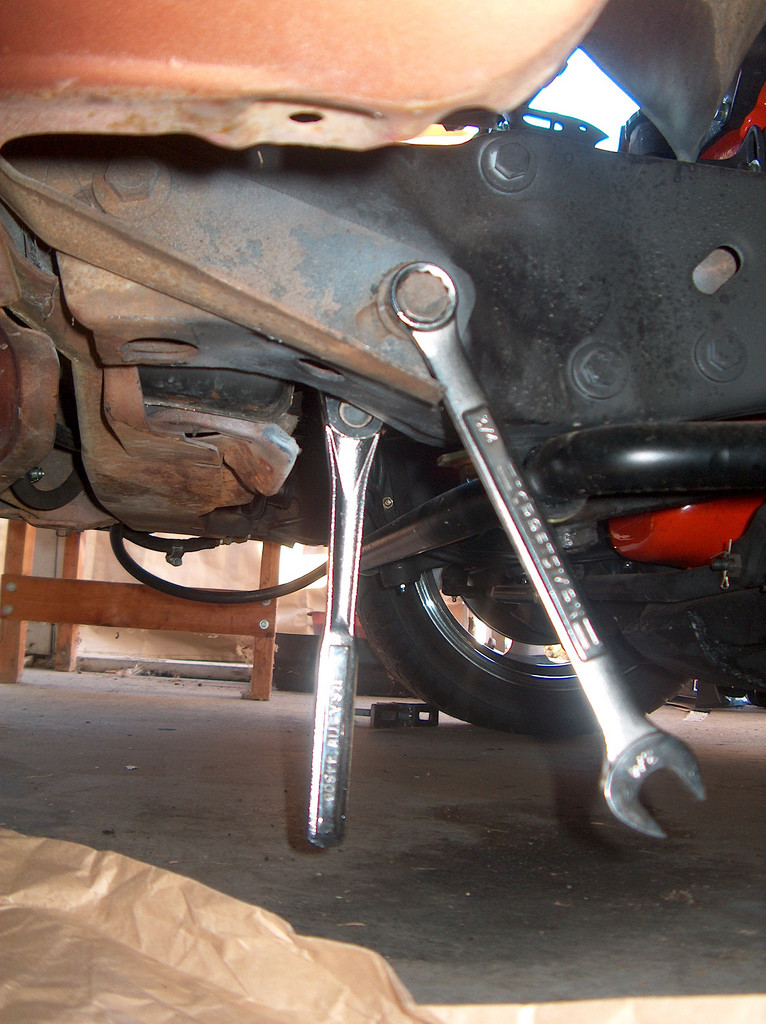
Then I placed the jack in the spot that Twisted Metal recommended. I used a two by four like he did. I jacked Cindy up and removed the front two bushings.
I placed the bolts from the front in the alignment holes in the next set of bushings.
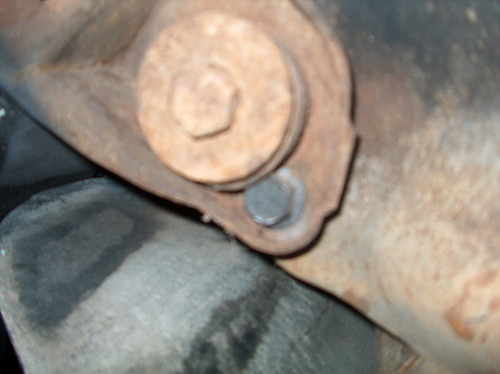
There are three different ways to install the body bushings. I choose to install them as if they were stock replacements. It is also possible to lower the body 1/2 an inch, or install them in a wedge pattern.
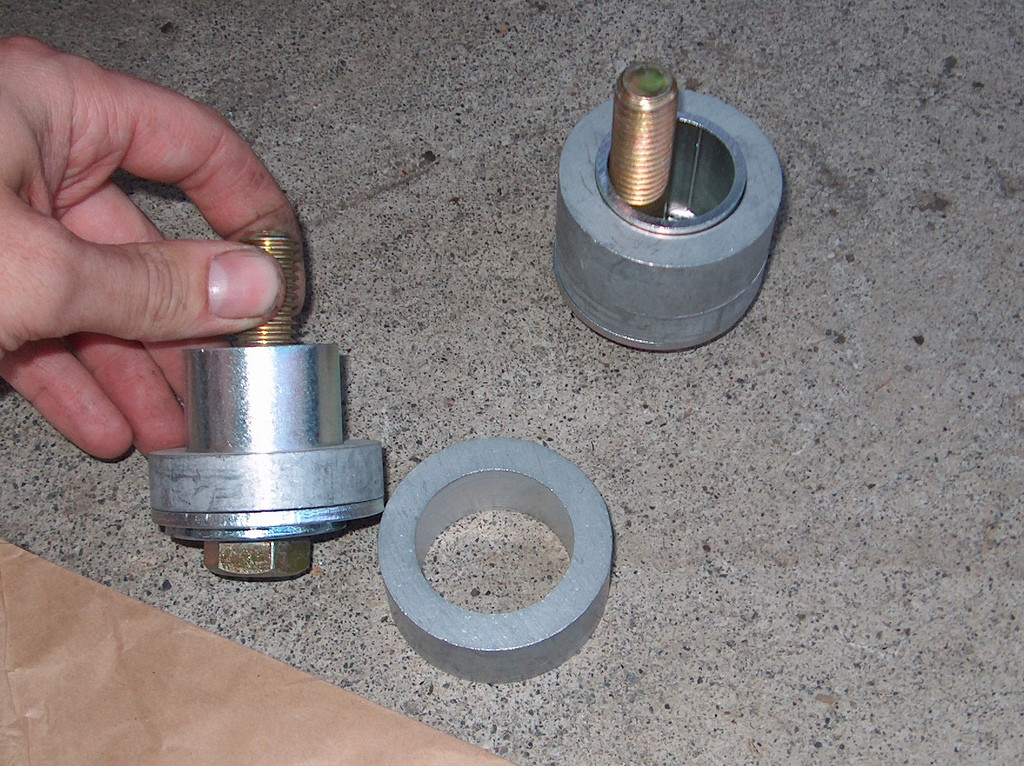
The larger part of the bushing goes on top of the frame for the rear two bushings. Its just the opposite for the front. The picture above is how they should look for the rear two bushings.
Next, I removed the rear bushing bolts and replaced them with the new bushing. After that I loosely installed the new hardware.
On 70-73 Camaro's you have to open up the holes in the front about a 1/16 of an inch.

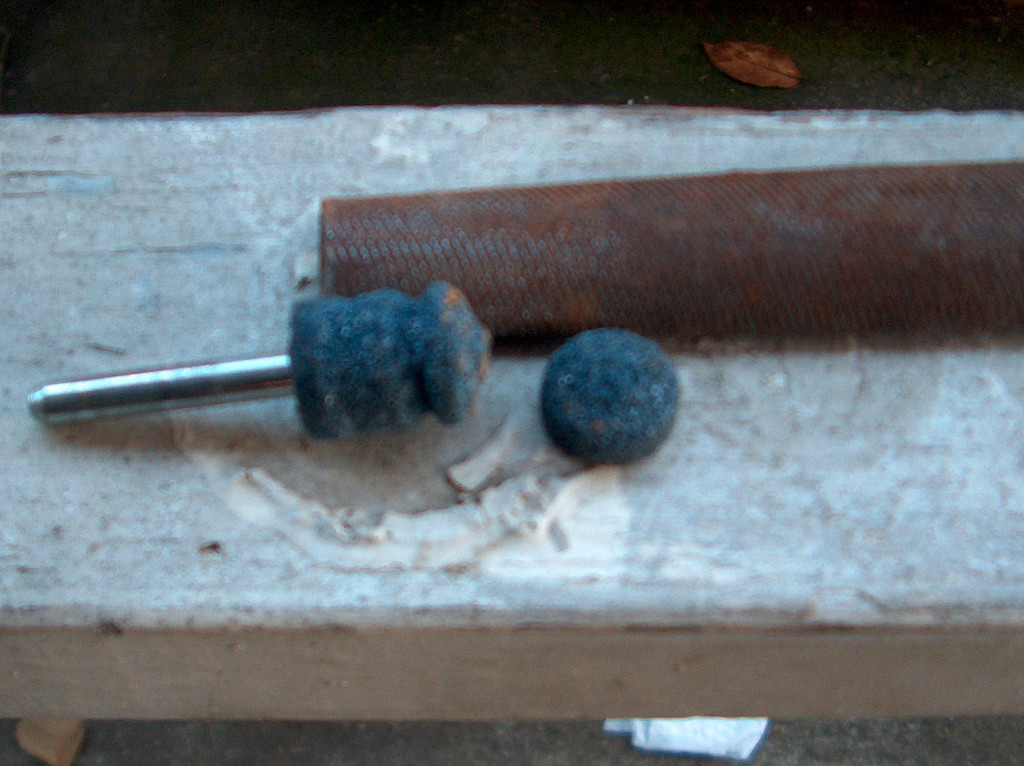
For the most part I used a file and removed the metal by hand. After I got tired of doing that, I ran down to my local hardware store and purchased a few different drill attachments.
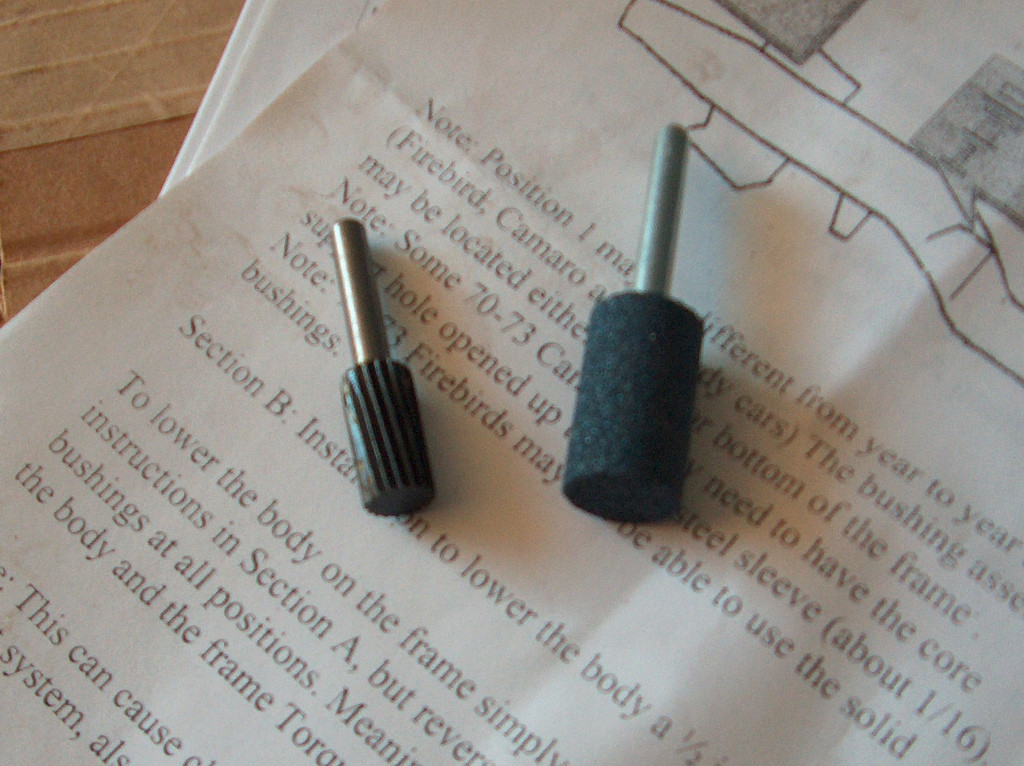
In the end, hand filing seemed to work the best.
Success!
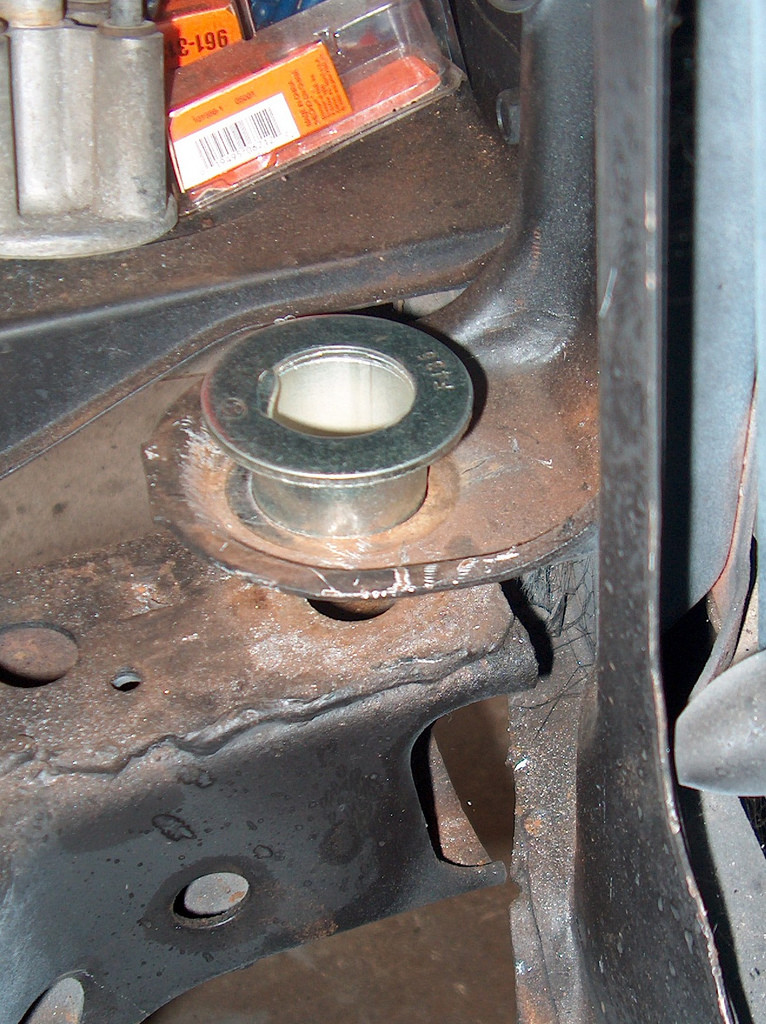
All assembled.
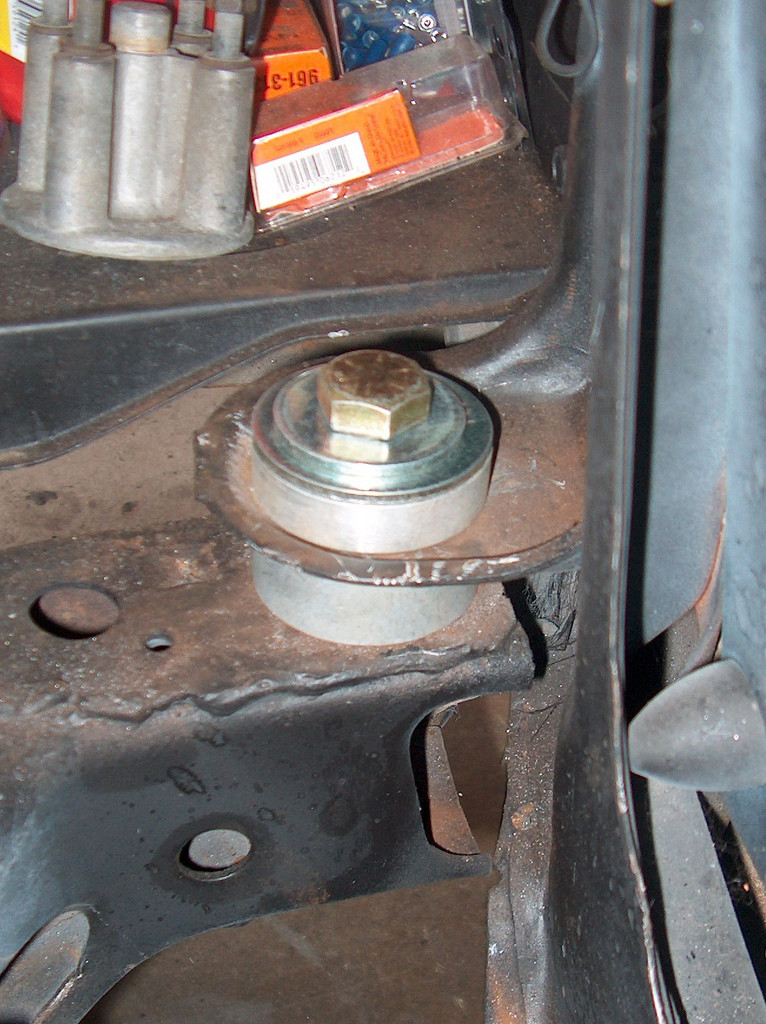
After that, repeat for the other hole and install the replacement hardware.
Here's what that stone ended up looking like after I was done.
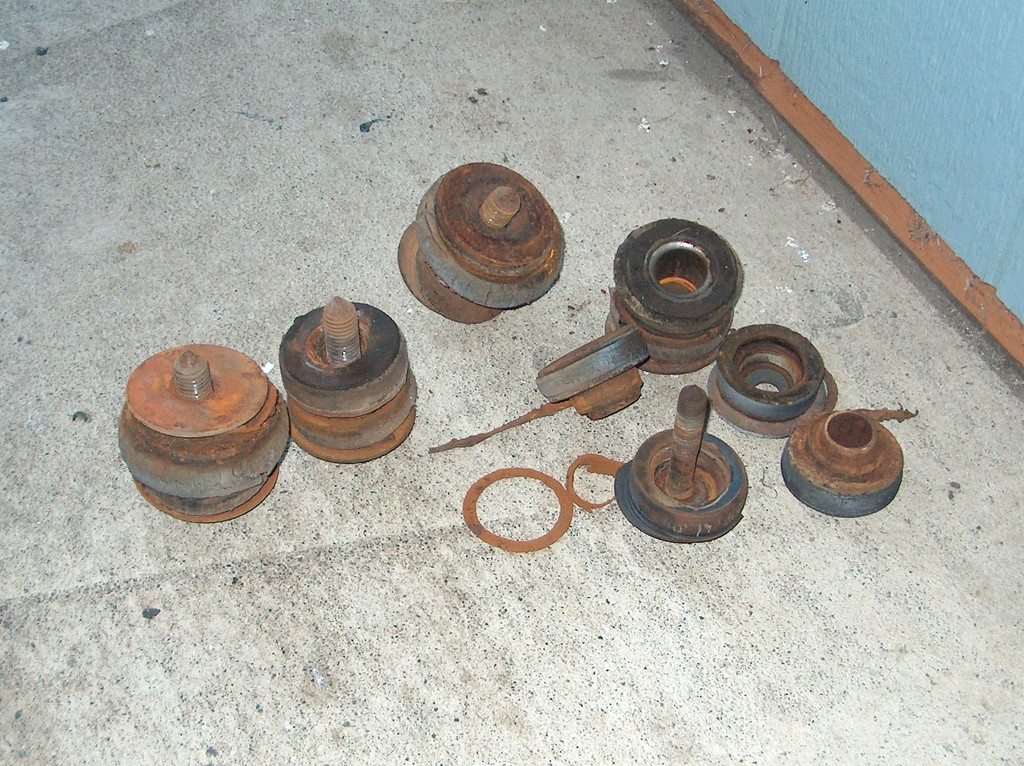
Here's what my old hardware and bushings looked like. Pretty amazing shape for a 38 year old car!
I torqued the front two down to 40 ftlbs, and the other four down to 100ftlbs.
11-22-2008
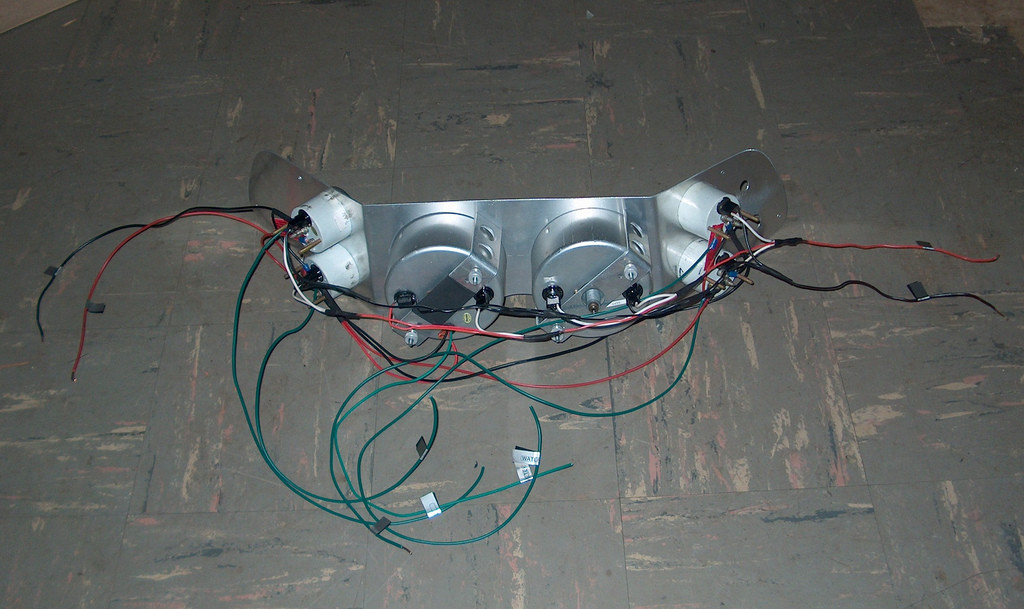
I started wiring the dash today.
The lights come off the right side.
The power and ground for the gauges come off the left side.
The green wires are for my sending units.
Everything individually labeled.
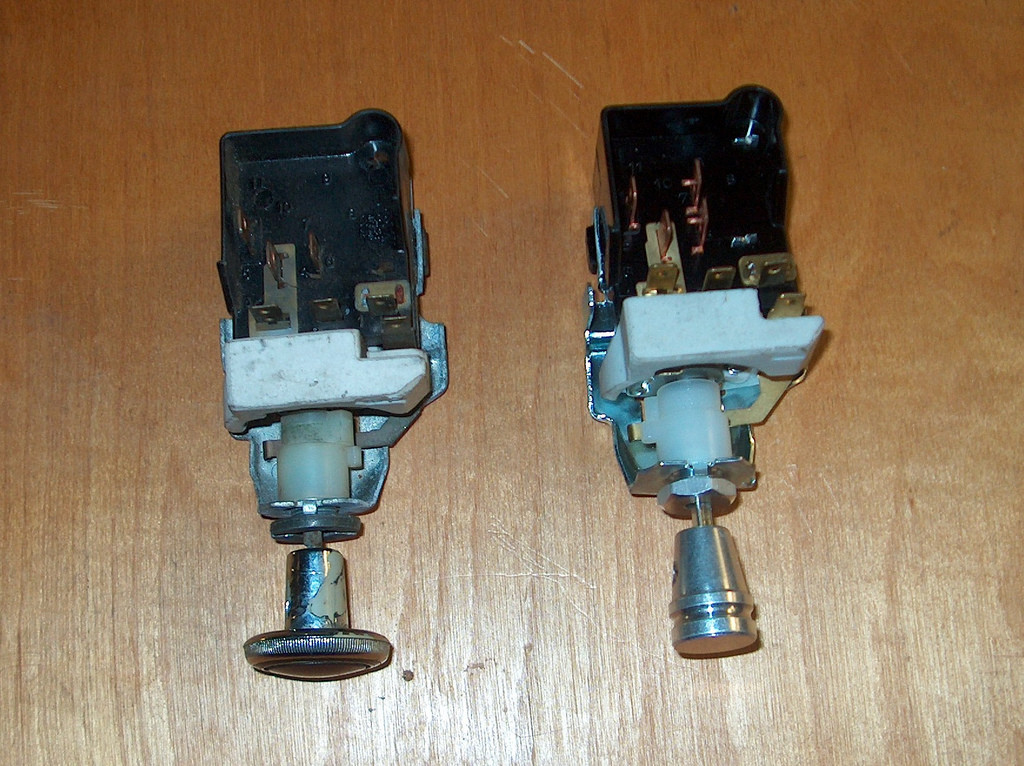
Here's something kind of interesting. I bought a replacement headlight switch, and my new one has an extra pin on it. I haven't done a search yet. Does anyone know what the extra pin is for?
I didn't want to screw into my fabbed up dash. So, I tried siliconing my windshield wiper switch in. Time will tell if it will hold or not. If the silicone brakes loose, I'll try JB Weld.
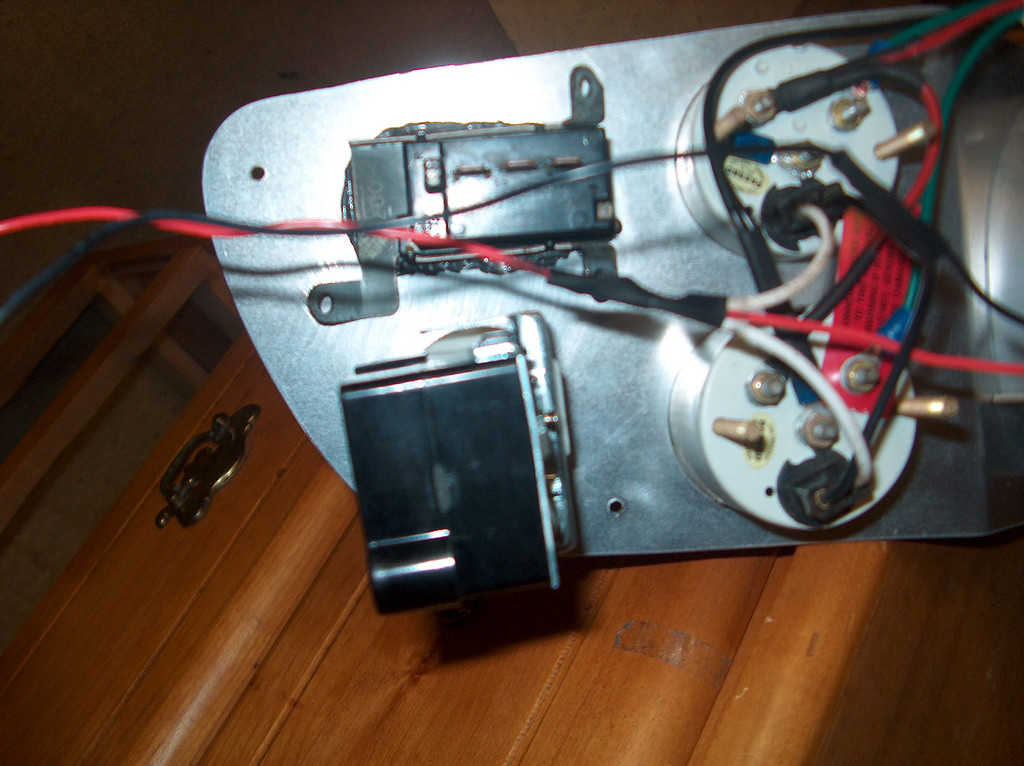
All done!
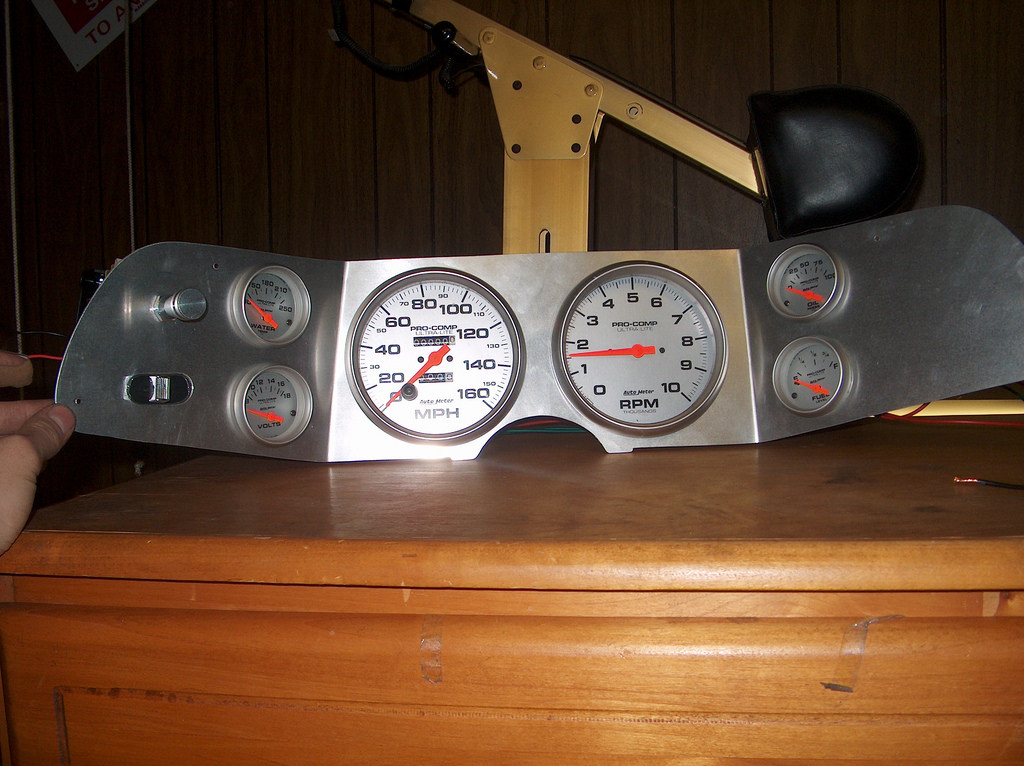
I still have to mount the gauges themselves down. I also have to tear apart and label my stock wiring and hook it up to my aftermarket wiring.
I also went through my engine wiring and removed some wires that I no longer needed and bought a CS130 alternator.
As far as the alternator goes, here is the info you need to upgrade to a CS130.
Ask for:
105 amp alternator for a 1989 Pontiac Safari Wagon 5.0L
Autozone part number: Duralast DL1351-1-3
That will get you an alternator that is better by design than a 10SI or a 12SI and puts out 105amps at a lower RPM.
You have to ask for that alternator, off of that Pontiac, specifically. Otherwise you will need to change the pulley over from a serpentine style to a "V" style. I'll cover how to properly wire it up later on.
That's a good idea. I was also considering using a glue gun. The silicone that I used stuck the switch on there good! The only problem is that the switch slid a little bit and now its off center.
I took care of some of the rewiring today. First off, here is a pic of the C130 alternator and the connectors I scored at my local wrecking yard. Since the clip for this alternator is vastly different from the stock one, I went looking for a suitable replacement. I found one in a early 90's Chevy Lumina. You can see there are two different plugs there, one only has two wires. Make sure you steal a plug that has at least the "S" and "L" wires in it.
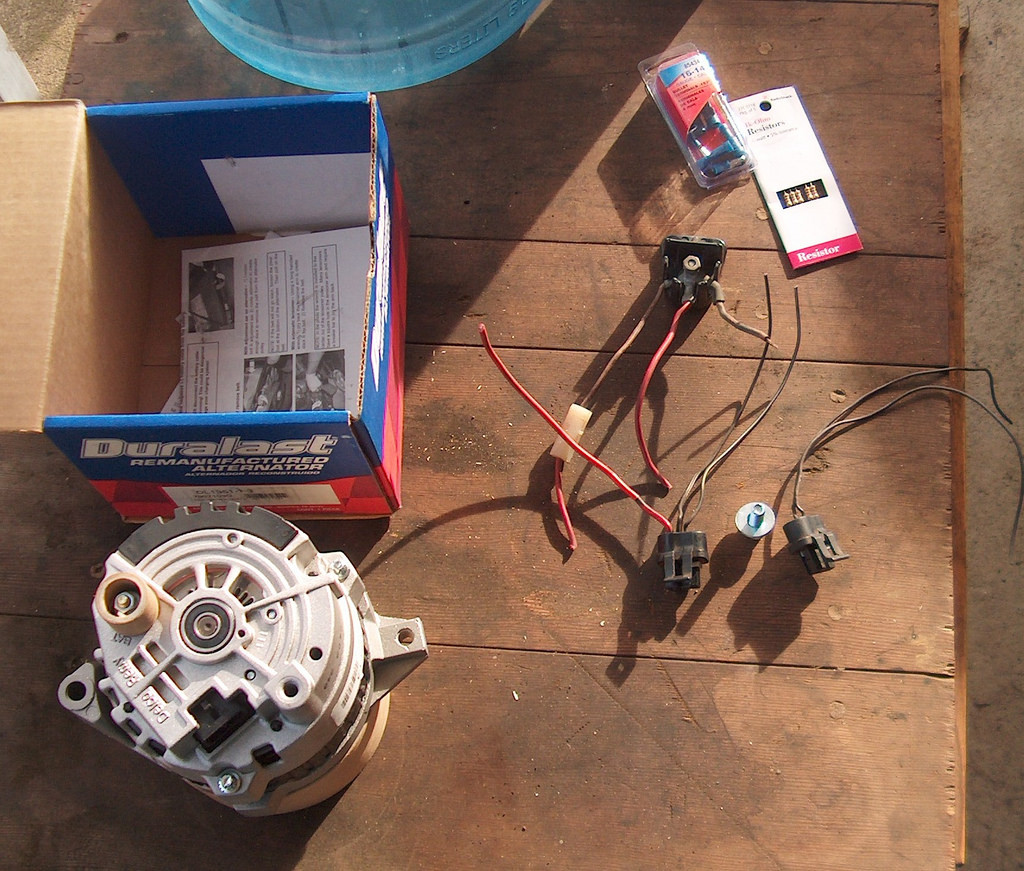
Here is a pic of the plugs. Hard to tell but one only has two wires in it, and one has three. I also found the plug on an 89 Silverado, but it only had one wire in it. Also, you can see the distribution block I took out of a late 80's Camaro. Sweet!
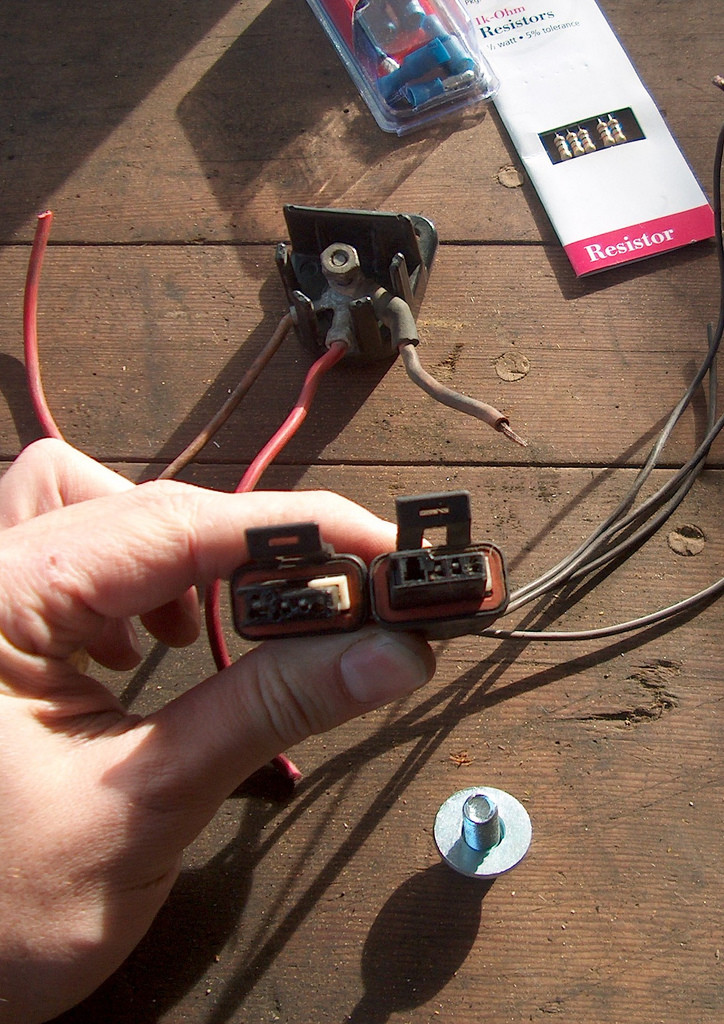
Rewiring for a CS130
Okay, so I have researched a lot on how to do this, and I am no expert by any means, but here is what I did.
First of all my Camaro is externally regulated, and the new alternator is internally regulated. So the first thing that needs to be done is to rewire/remove the regulator. You do this by removing the stock clip off of the regulator, clipping the wires, and wiring the blue and brown wires together. That's it!
Next, you remove the white wire from the factory Camaro harness, we wont be using that any longer, and cut the blue wire. Here's a slightly tricky part. The alternator needs to see resistance to energize. In a stock setup, that resistance would be the factory "dummy" light. I do not have any dummy lights, so I needed to add some resistance.
There is an adapter that you can buy for 20.00. There are two versions, a resistance, and a non-resistance version. Basically it consists of two connectors and a resistor. One end of the connector is CS130 and the other end is 10/12SI. There is no freekin' way I'm paying that kind of cash for a 2 cent resister and a couple of plugs. So I made my own.
The actual resistor in the AC Delco adapter I mentioned earlier is identified as this:
GRN-BRN-BRN-RED
511 OHM 2% TOLERANCE RESISTOR
My local Radio Shack does not carry that exact resistor, so I improvised. I used a 1000 OHM, 5% tolerance 1/2 watt resistor. I wired two of them in parallel so that will come out to a 500 OHM, 1 watt resistor. Close enough and over kill, just the way I like it.
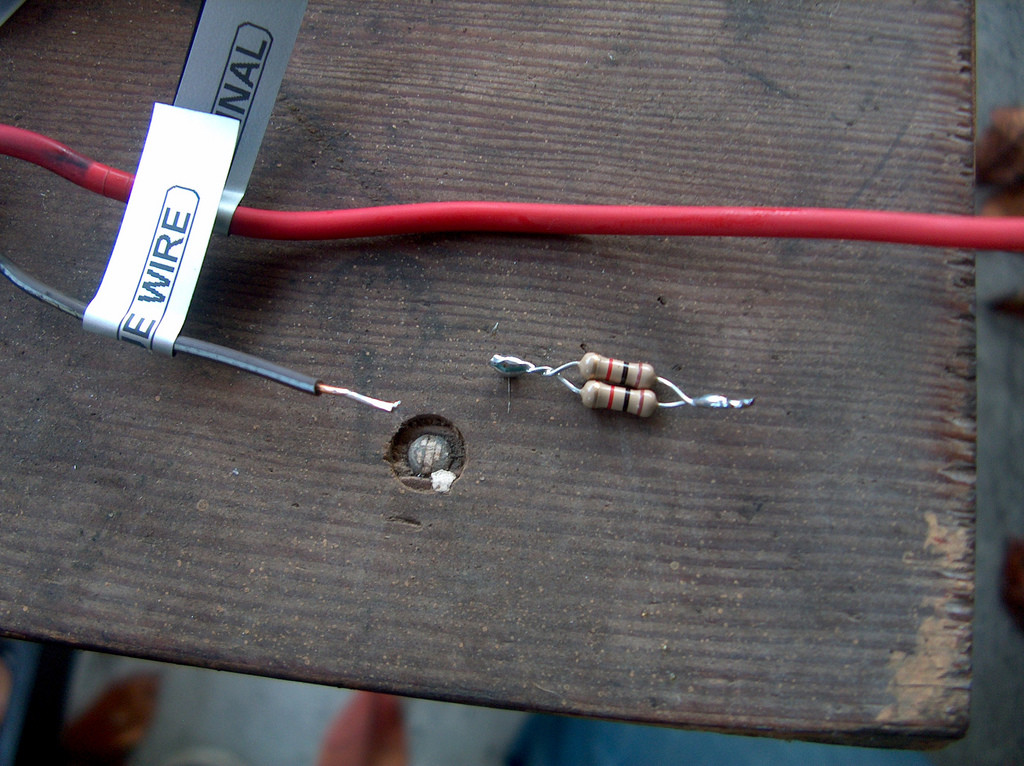
Okay, so in this swap we only use the "L" and "S" wires. The "S" wire(heavy gauge red wire), gets connected to the "BATT" terminal on the CS130 alternator. The "L" wire (small brown with white stripe) gets the resistors and is connected to the blue wire in the factory harness.
So next I soldered the resistors to the blue wire and "L" wire, and heat shrinked some tubing around them. I replaced the end on my factory red wire. Here is roughly what it should look like.
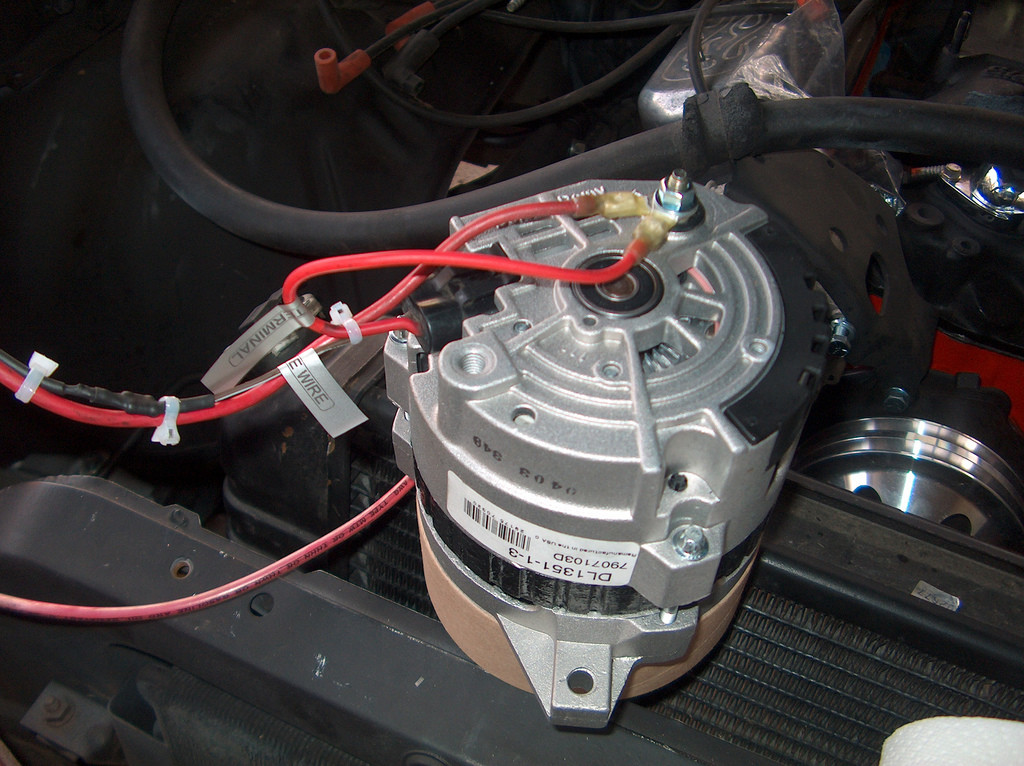
All said and done, I spent 5.00 on two adapters, and the distribution block. Radio Shack set me back 1.00 for 5 resistors. You could get away with making your own adapter for 2 bucks!
One other thing. Since the alternator is putting out over twice what the factory alternator was putting out, its suggested that you upgrade the wiring to at least 8 gauge for the charge wire. My local NAPA didn't have any 8 gauge so I bought some 6 gauge wire. My plan is to wire it to the front side post on my Optima battery.
Love the old camaros
Posted by Diggymart on 4/27/20 @ 2:39:52 PM