You must be logged in to rate content!
9 minute(s) of a 206 minute read
8-18-2008
I was supposed to work overtime today, but got sent home. So, that gave me a bit of unscheduled time to work with Cindy.
The plan was to paint the engine and transmission.
Here is how the transmission looked when we started.
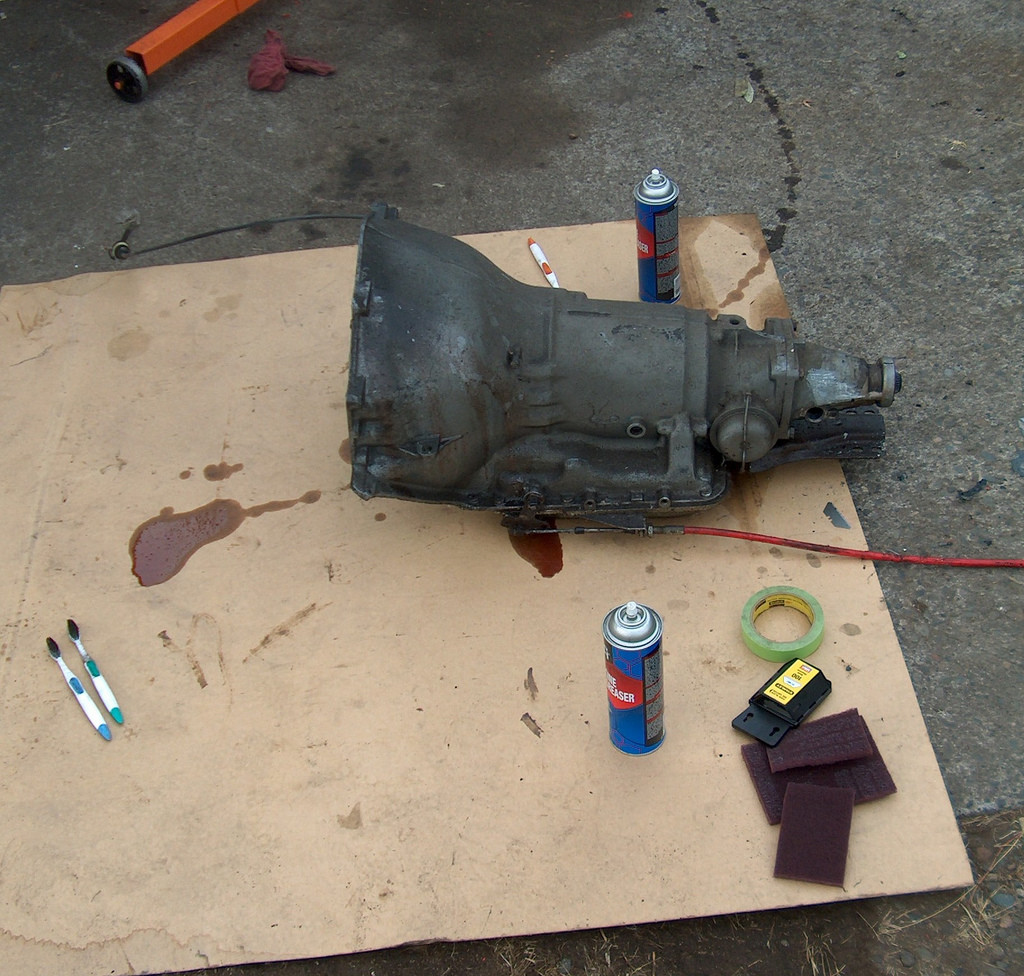
All cleaned up! That gray paint that TCI put on there came off pretty easily with soap and water.
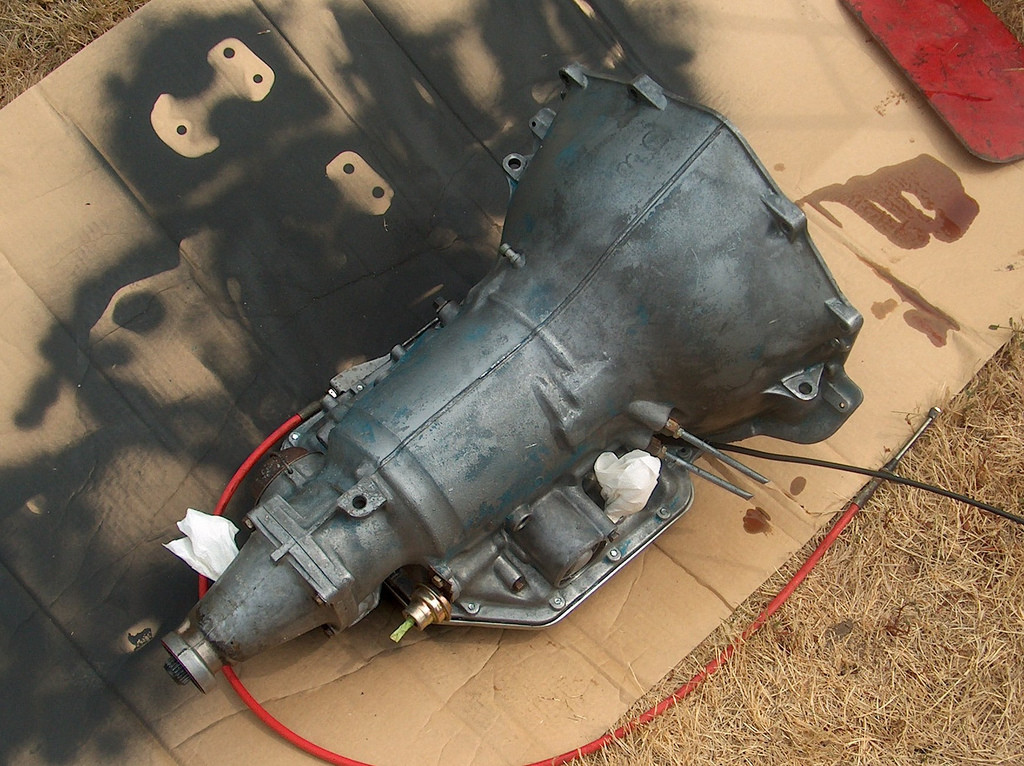
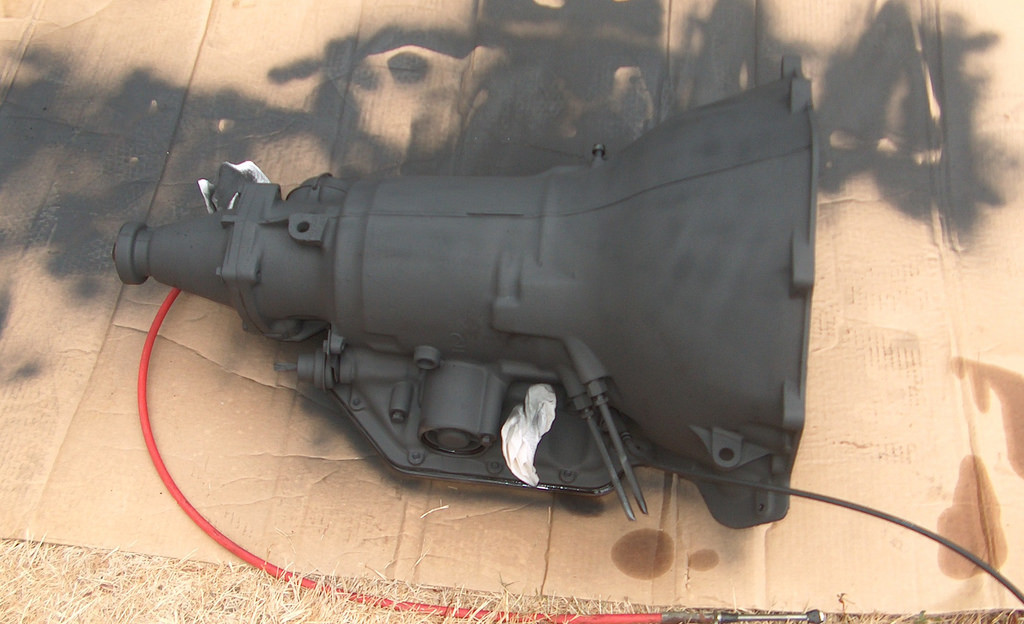
Guess what...Flat Black!
Moved on to the engine. I had started to mask it off previously, but decided that I would replace the oil pan gasket before repainting. The previous gasket was leaking near the rear of the engine.
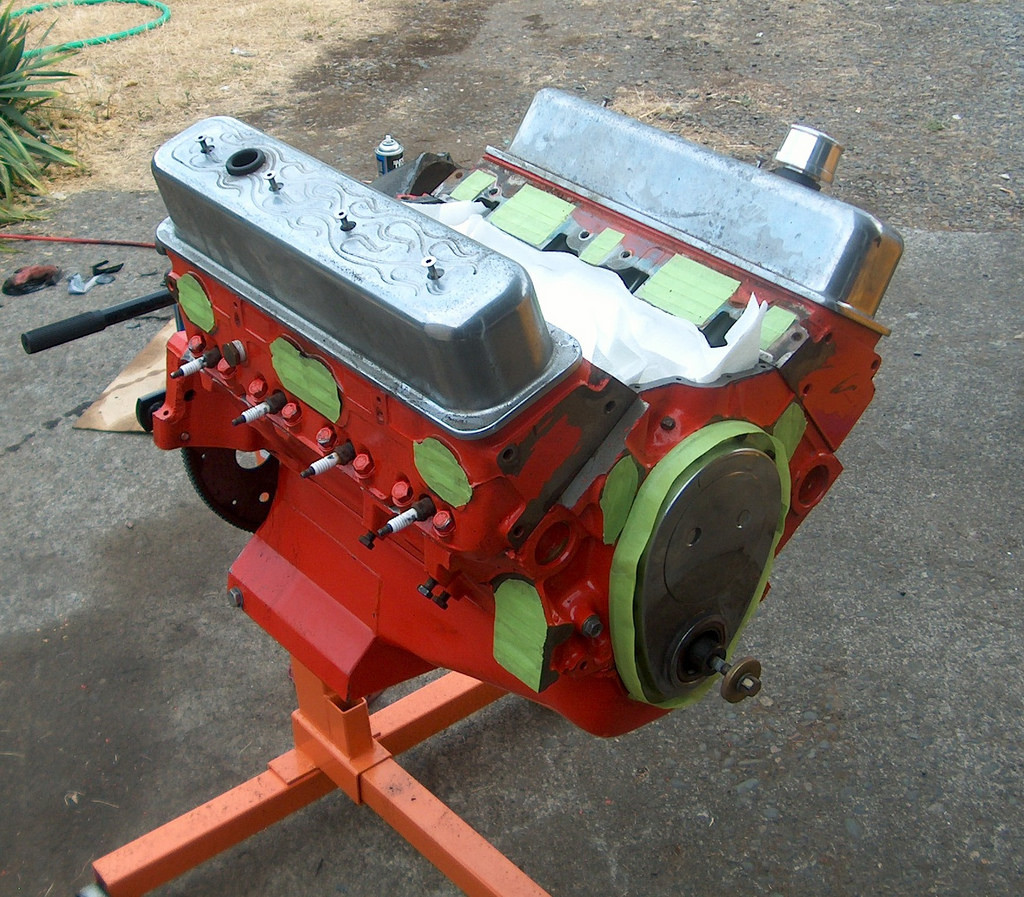
Looking good under here.
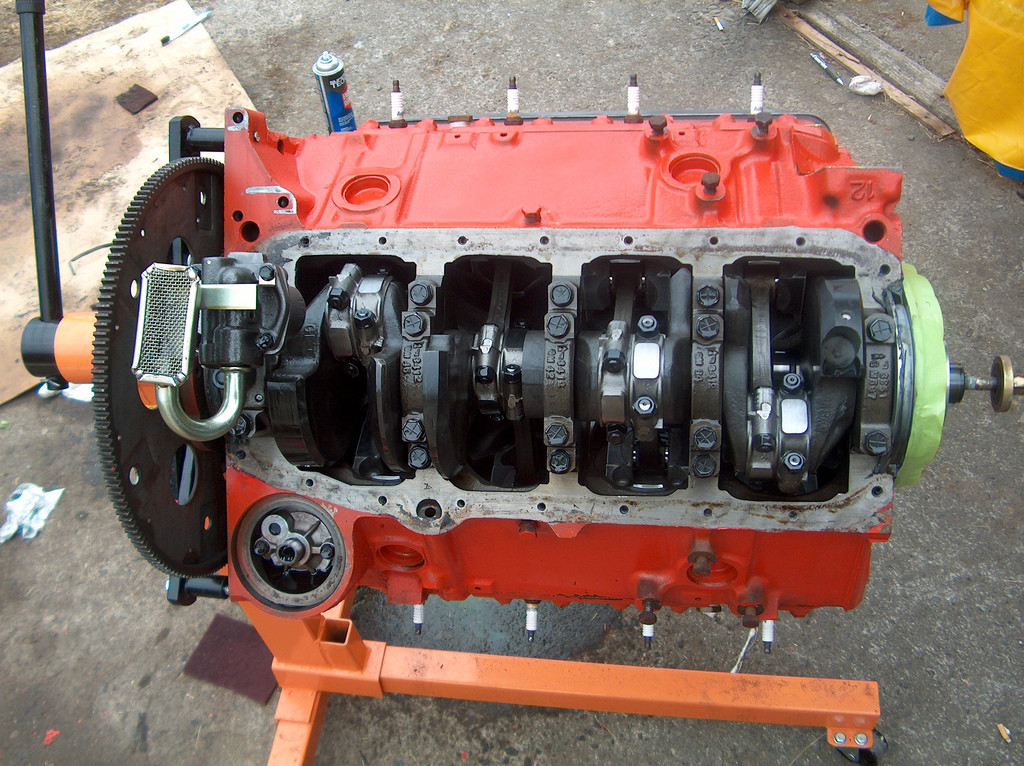
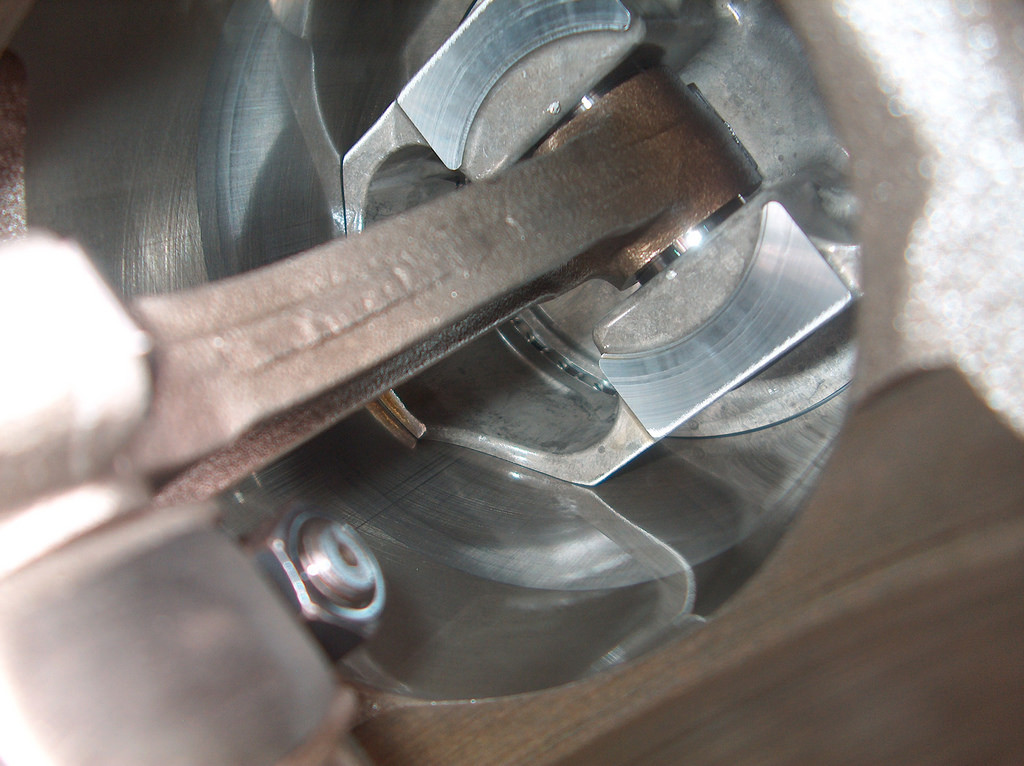
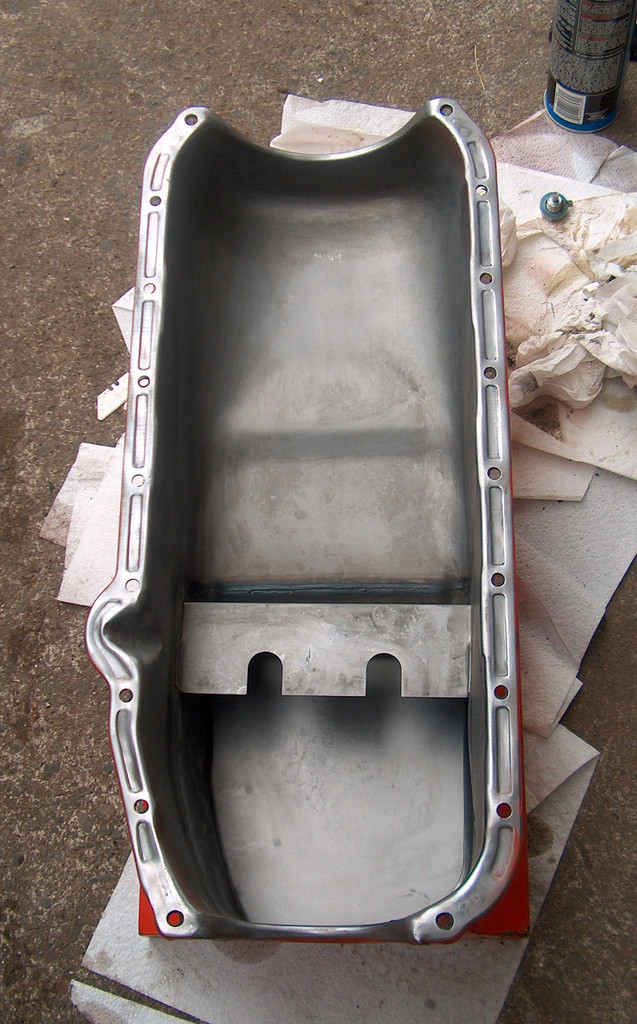
Cleaned up the oil pan.
Now, I have never used an oil pan gasket like this one. I thought I would give it a try. Kind of weird, all one piece that uses no silicone, except a dab near where the timing chain cover is, and in the same spot on the rear.
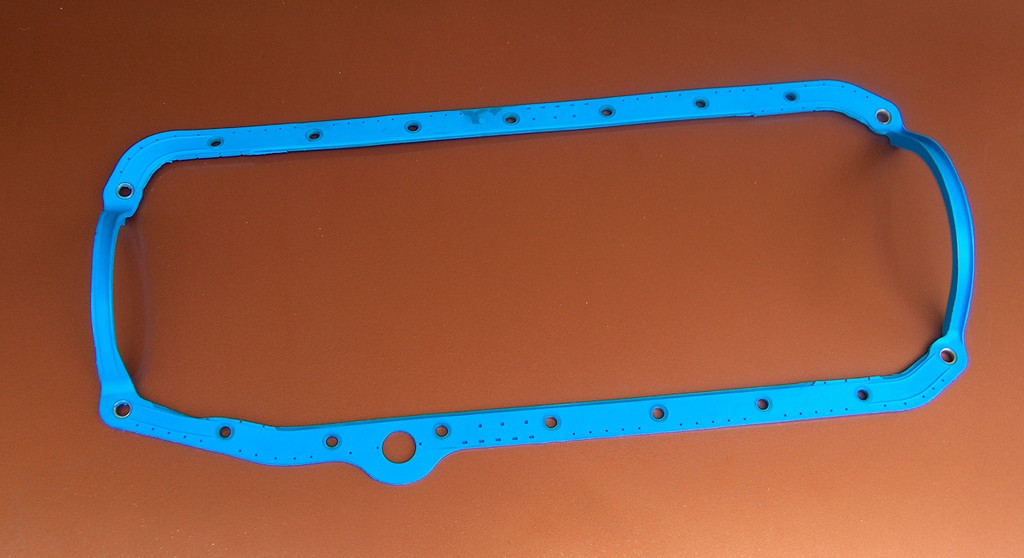
Silicone in the corners, and gasket laid into place.
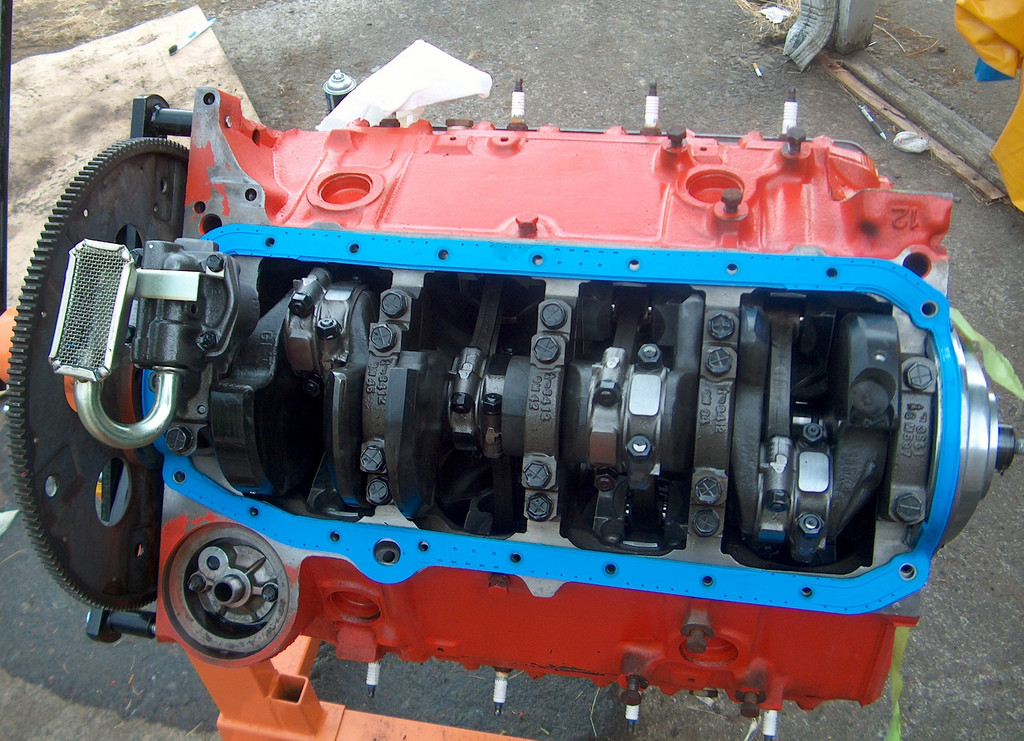
All done. Hopefully it wont leak this time.
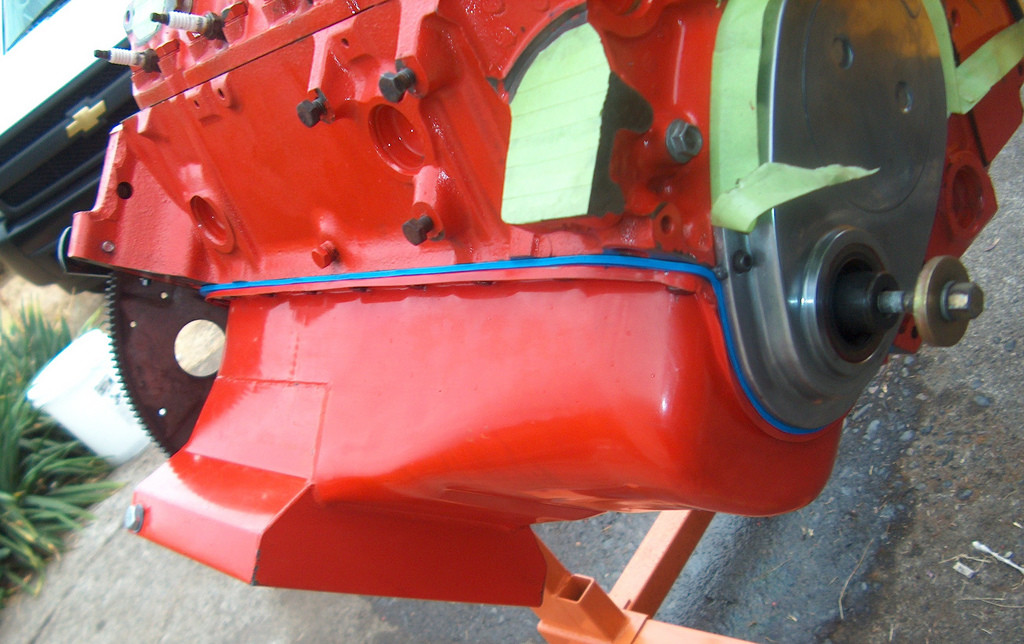
Maybe next time I will actually lay some paint down on this motor. After that its on to installation of the engine/transmission.
8-19-2008
Thanks guys! That really makes me feel a bit better. I hope it solves my leak as well.
I had a couple of hours today so I decided to finish up the engine. We degreased it, and washed it down. Then dried it off with paper towels, and let it air dry for a bit.
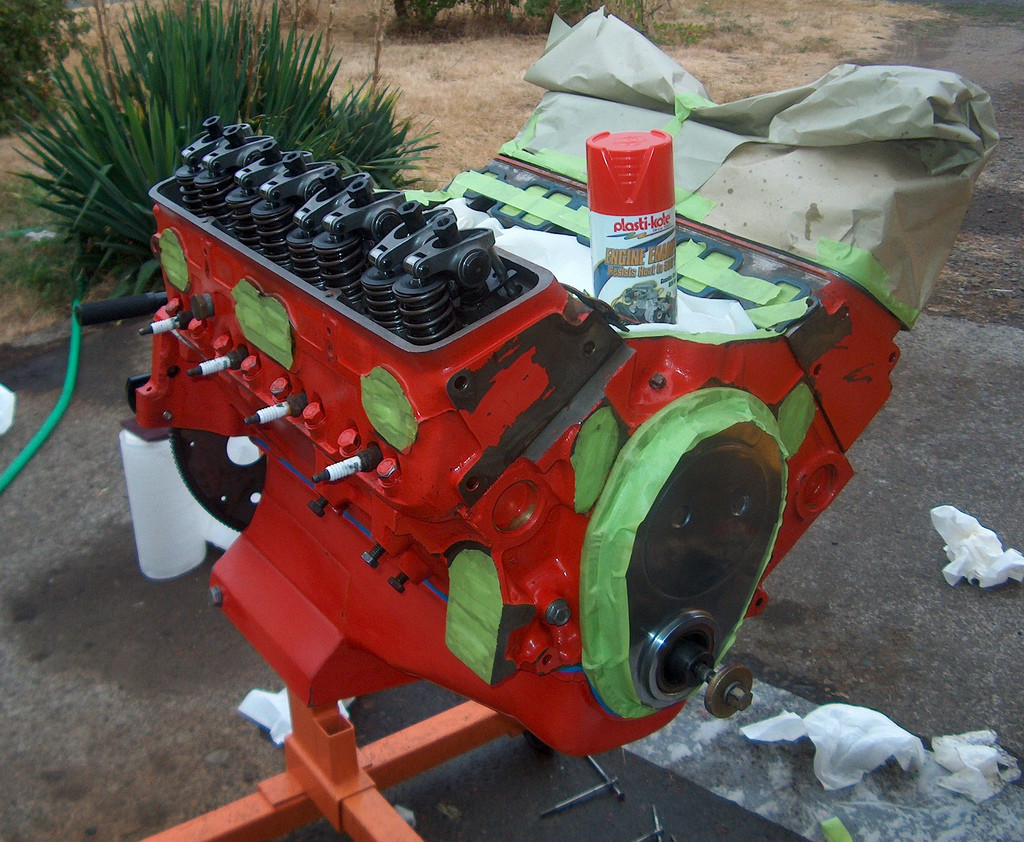
Well, im disappointed to say the least. Just as I finished painting, I started cleaning up the paper towels and tools. Guess what. It started RAINING! AAAAHHHH. GEEZ, I don't think im ever going to get this motor painted. Oh well, worst case scenario, I have to strip it down again, and buy another can of paint.
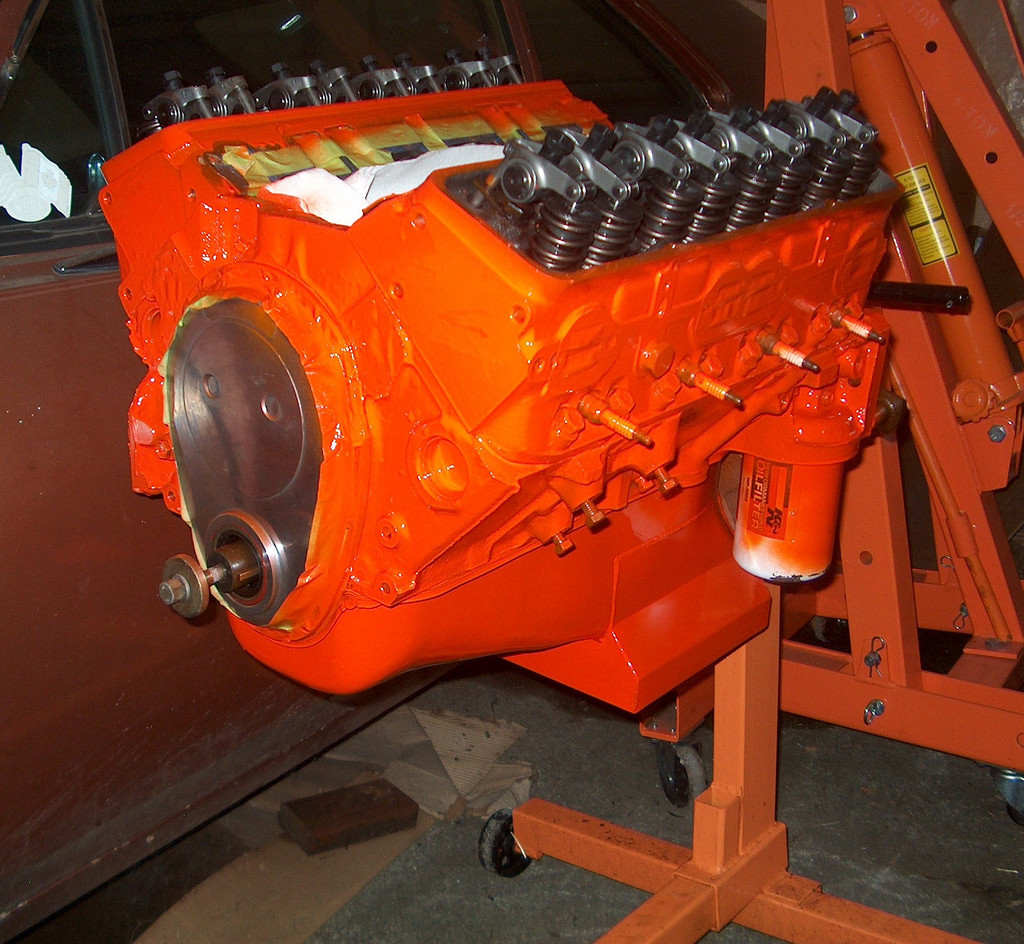
Custom. LOL
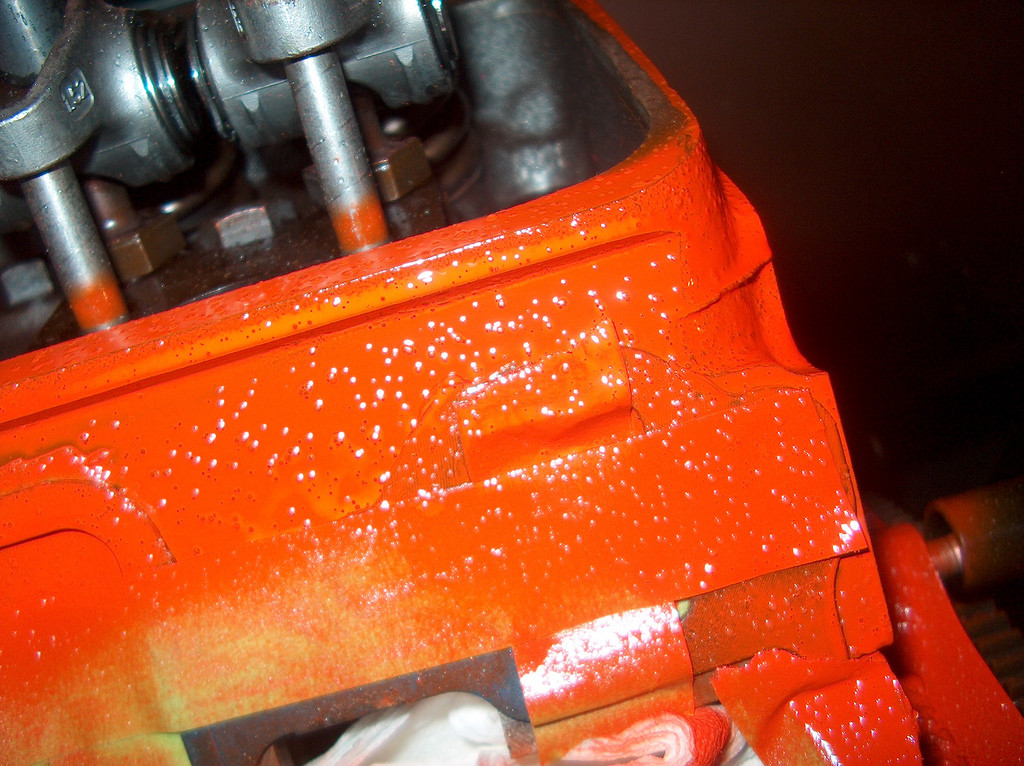
I guess I will have to see how it looks tomorrow. Also, today I took apart the dash, and removed the stock gauges.
8-20-2008
Ya know what? I'm tired of messing with it!
It's not just good, its just good enough...
I didn't get as much time with Cindy as I would have liked, so I didn't get as much done as I would have liked.
I know this sounds weird, but I decided to wash my headers. I considered painting them, but have read so many bad stories about paint burning off, I just decided to leave them be.
Degreased, and washed with a scotch brite pad.
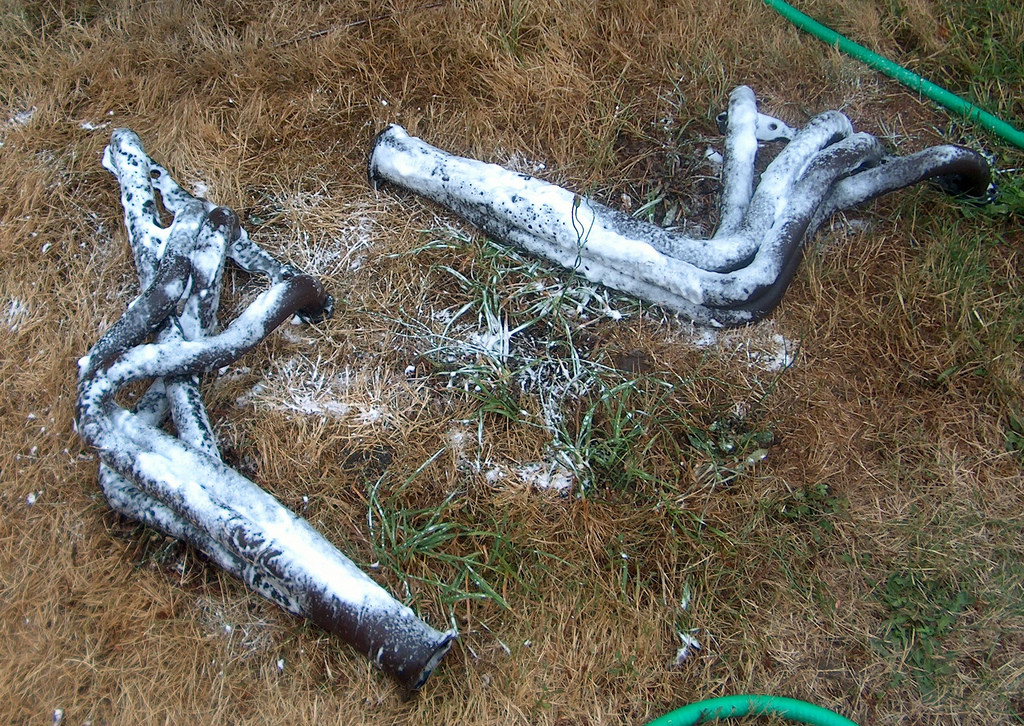
Lookin a bit better.
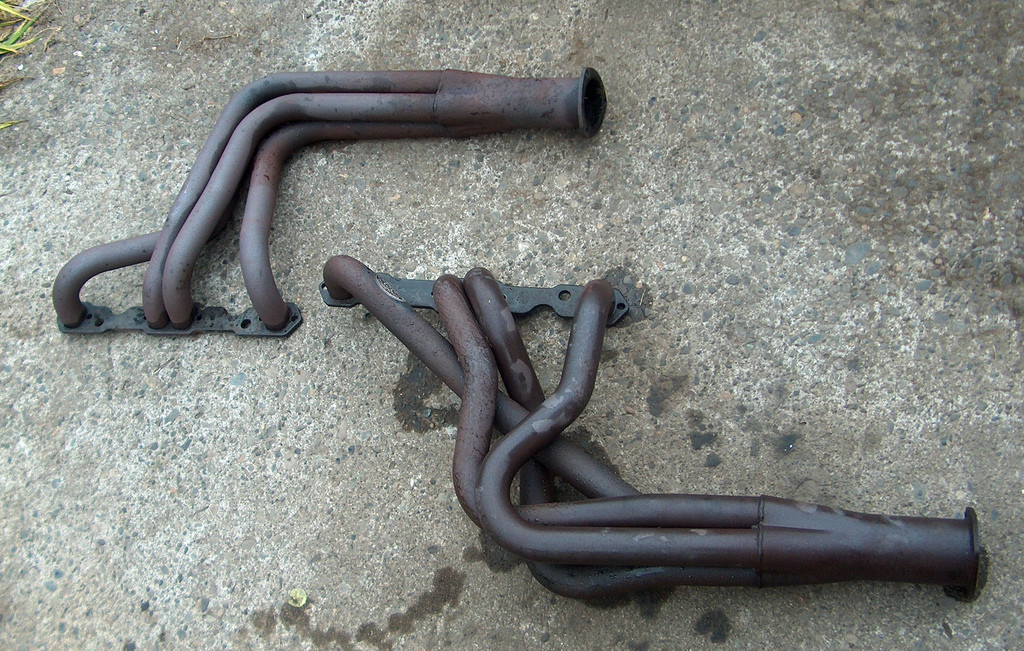
WOOT!
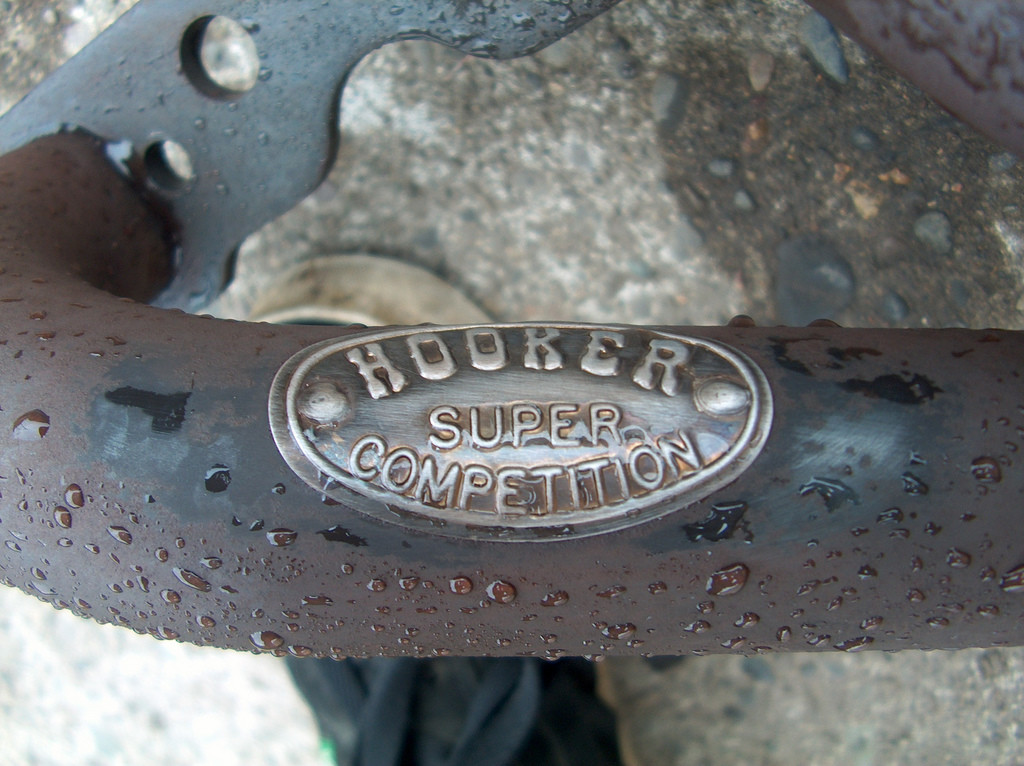
I installed the intake manifold. I have always been told that the front and rear gaskets are prone to leaking, and never to use them. Use silicone instead. So, that's what I did. You have to make sure that the two metal surfaces are completely free of dirt and oil. Even oil from your skin! I did the usual scrape down with a razor blade, and used a scotch brite pad, and then carb cleaner to make sure the surface is completely clean.
Likewise for the intake gaskets.
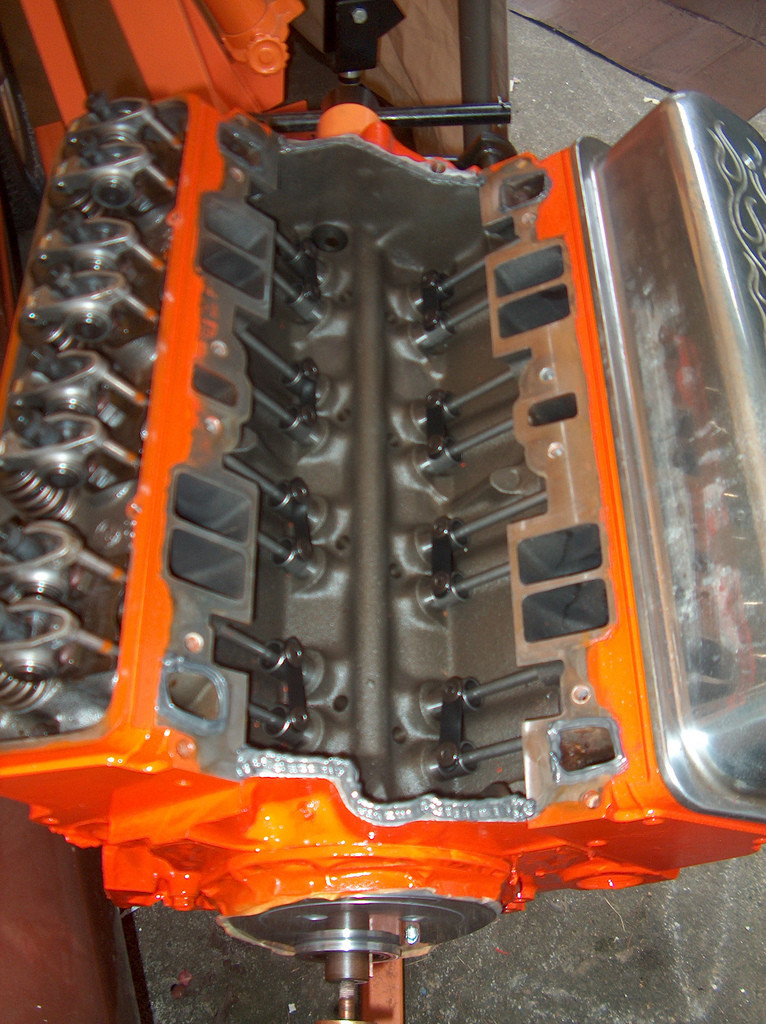
I put a bit of silicone around the water jackets, simply to hold them in place. On this particular intake manifold, it does not use the rear water passages.
I bought my intake used and it came with a very nice set of arp intake bolts. I installed them and torqued them down to 30ftlbs.
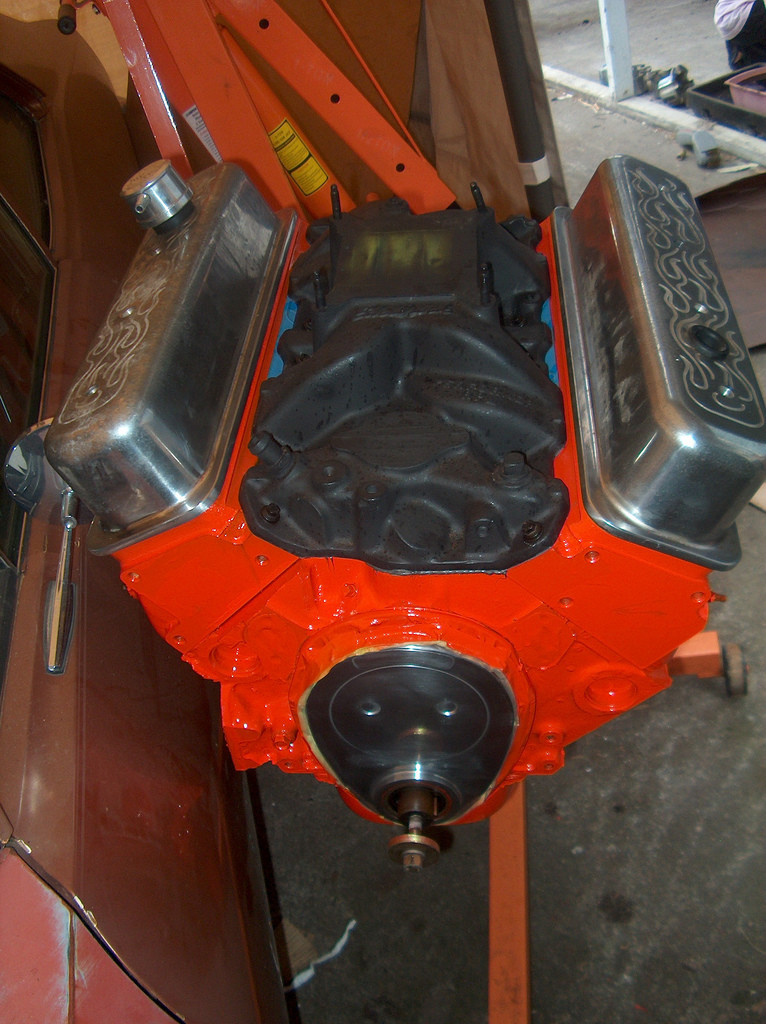
After that, I ran out of time, so I cleaned up and went home. I need to pick up a set of torque converter bolts(I misplaced mine), and my motor mount bolts that I have are for clamshell type motor mounts, and consequently, are too long.
Also, today I scraped off allot of grime in the transmission tunnel. I took a photo of my progress, but it came out all blurry. Not that it really matters, most of you guys know what the transmission tunnel looks like! LOL
8-25-2008
I got off graveyard and went home and grabbed a couple of hours of sleep. I decided to spend some time with the boy, and Cindy.
The first thing I did was install the torque converter. You have to make absolutely sure that you get it seated all the way in! I have had friends in the past thing they got it all the way in, only to end up burning up the pump in the transmission. The input shaft is notched. Just do your best to line up the splines, and the notches.
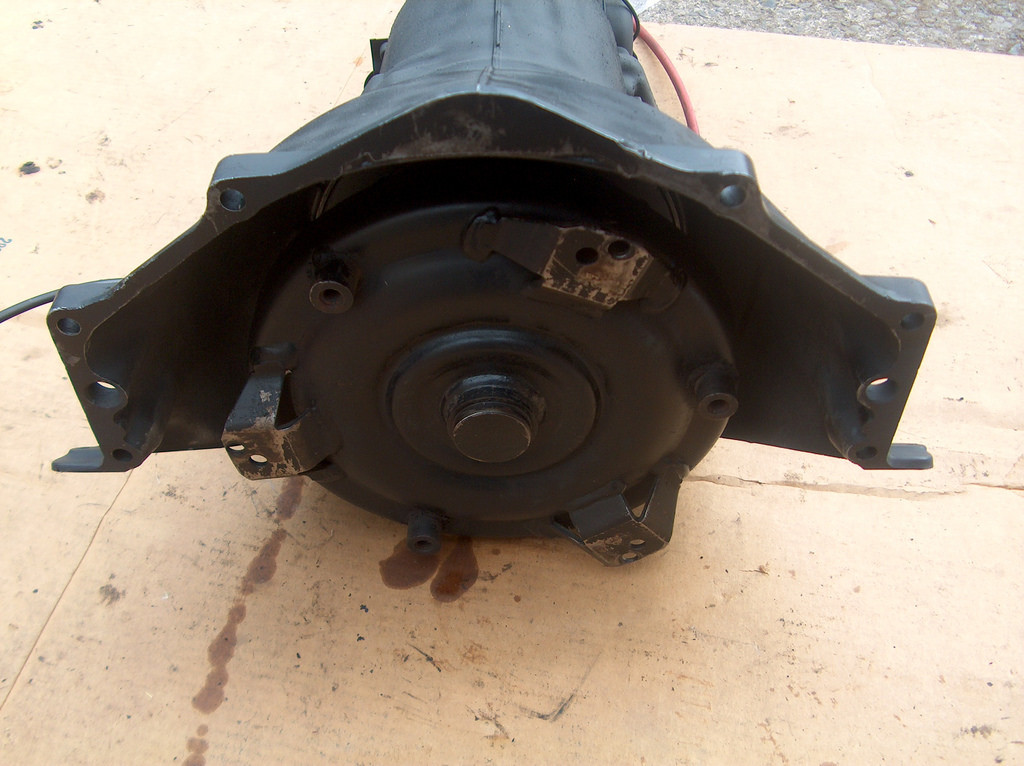
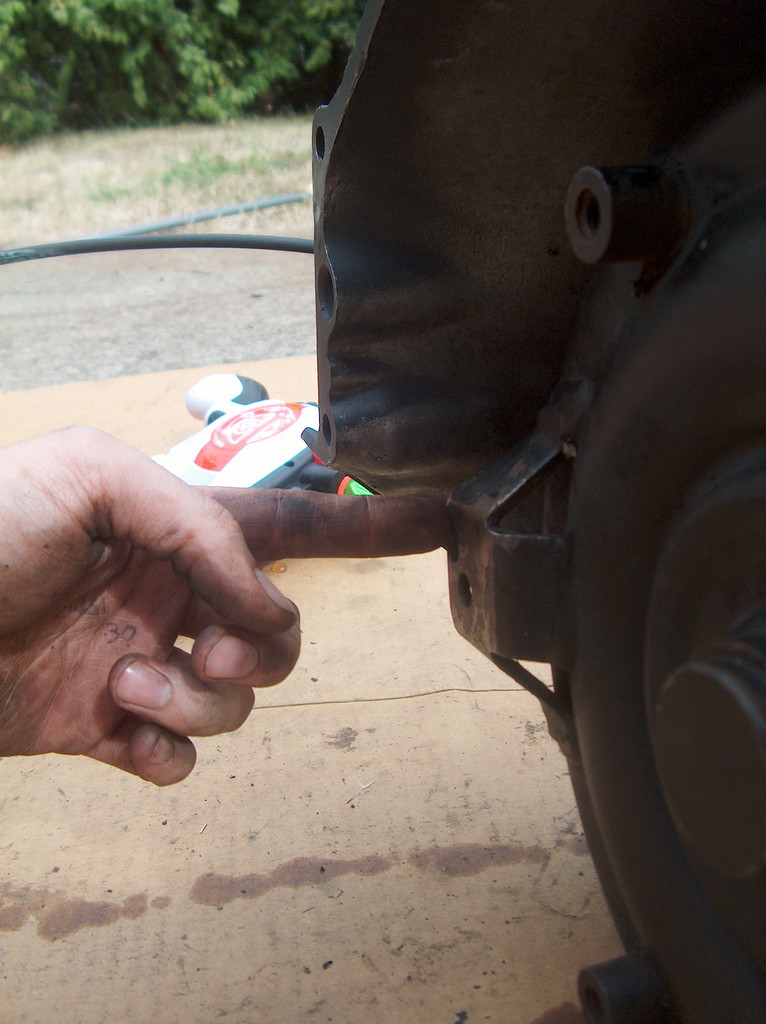
If its seated properly, the torque converter will sit a couple of inches into the bell housing, like so.
After that my boy took the engine off of its stand. Here is a pic of him operating the cherry picker.
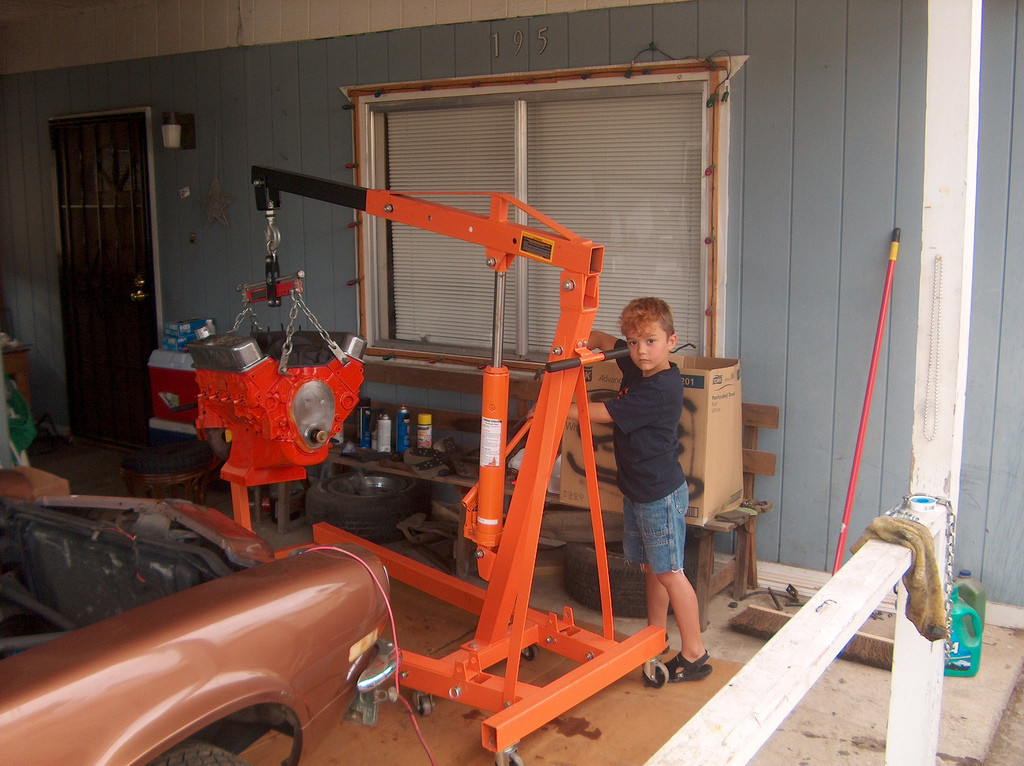
So we lowered the cherry picker almost all the way down. Then we put a roll of paper towels under the transmission. It worked out pretty well, they lined right up! Chevy says to torque to 25ftlbs.
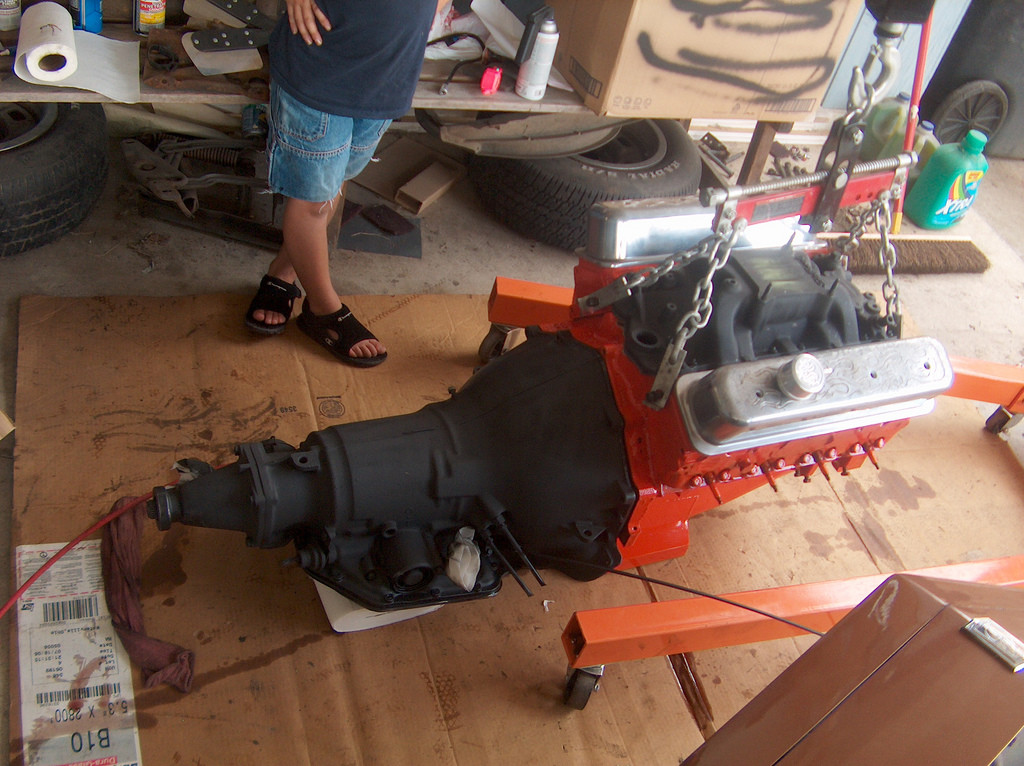
Next, since I had the engine and transmission up in the air, we decided to put the torque converter bolts in. These are kind of special bolts. Any parts shop will carry them, they go for about 8 bucks. Don't forget to use a drop of locktite. Chevy says to torque down to 270 inchlbs. I don't have that tool, so I snugged them up tight.
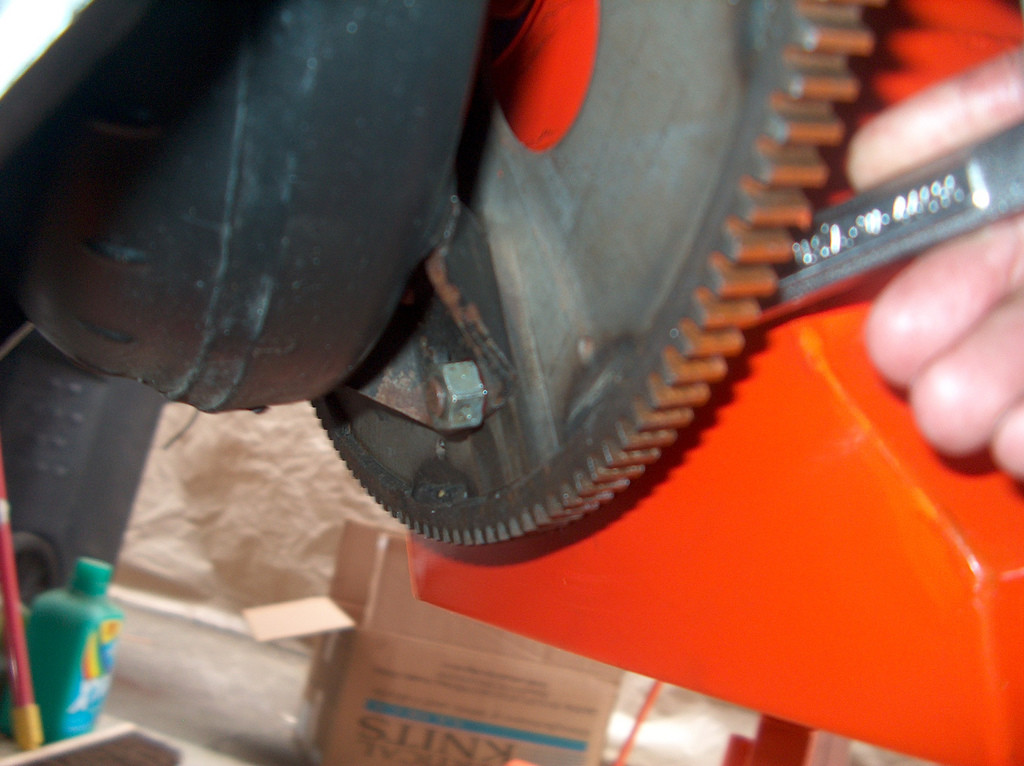
After that, we took all the spark plugs out, and rolled the engine over by hand. That way we could get to all three torque converter bolts.
After that I bolted up the starter, and engine mounts. Then started the leveling process, and put the engine in.
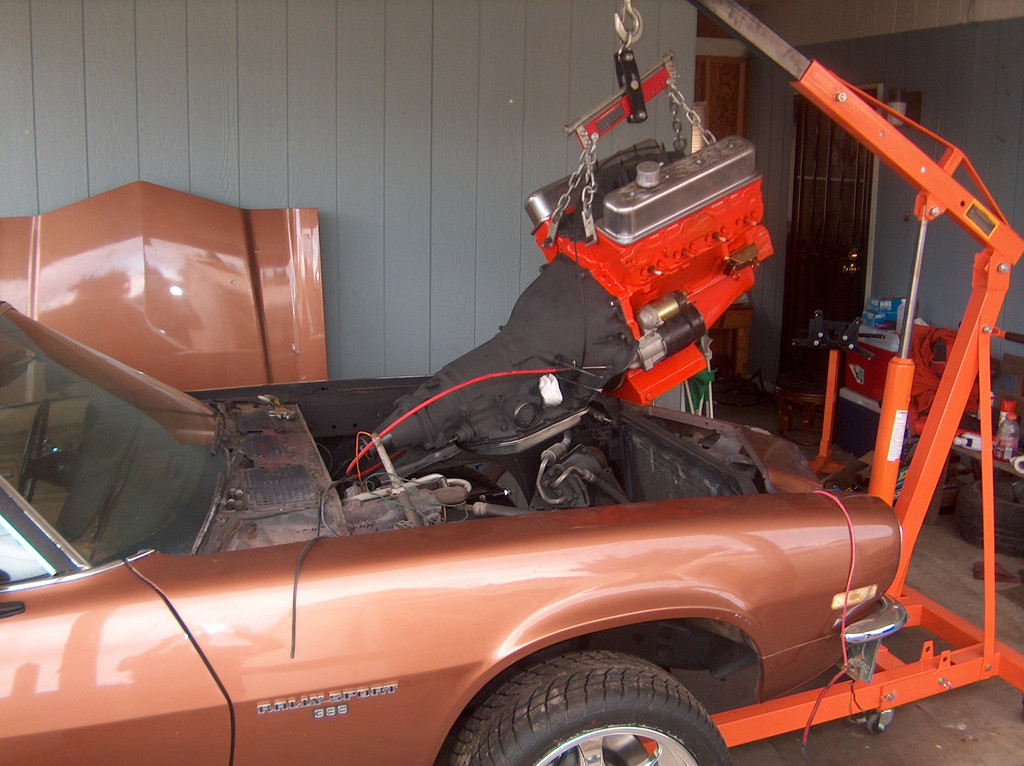
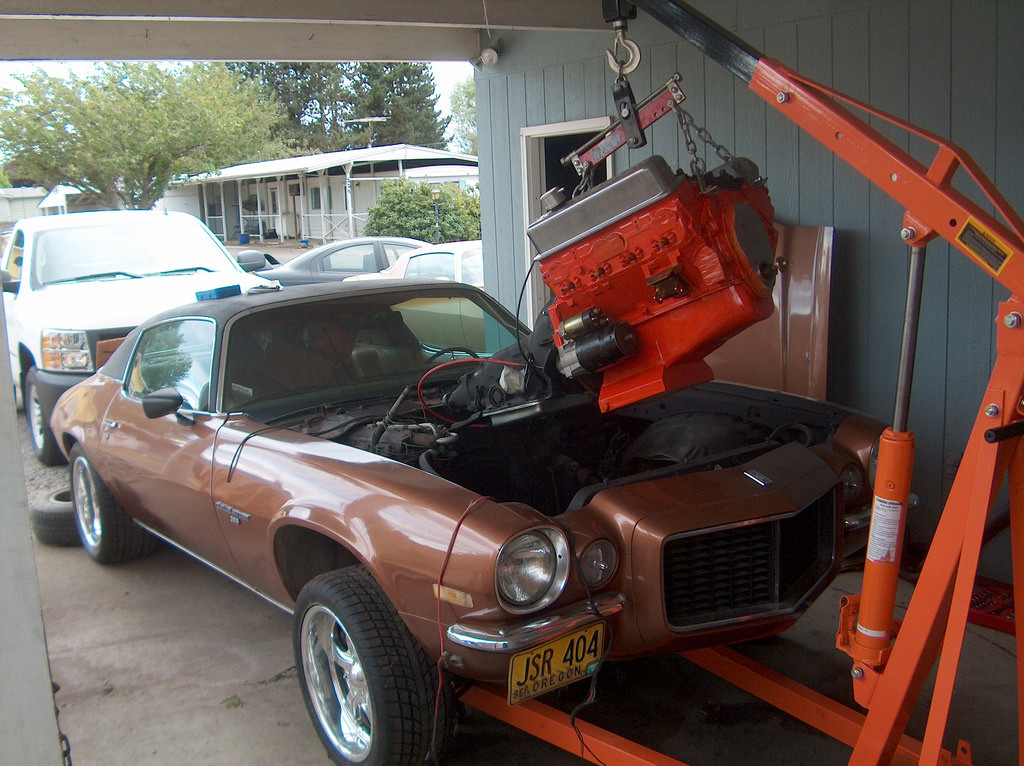
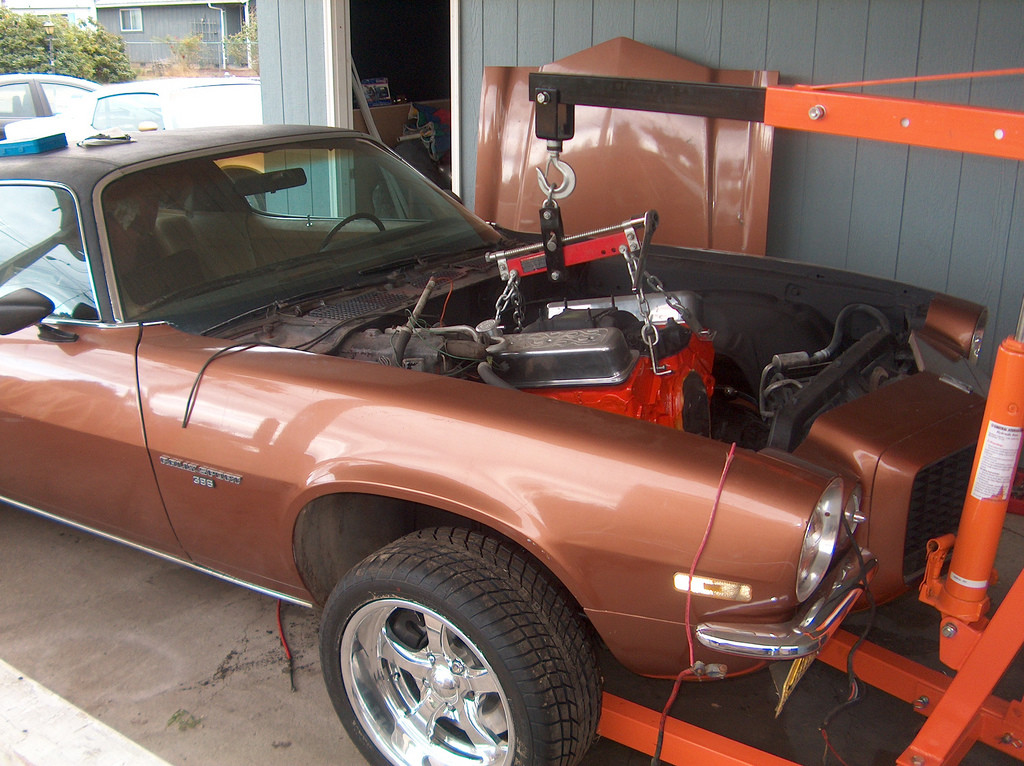
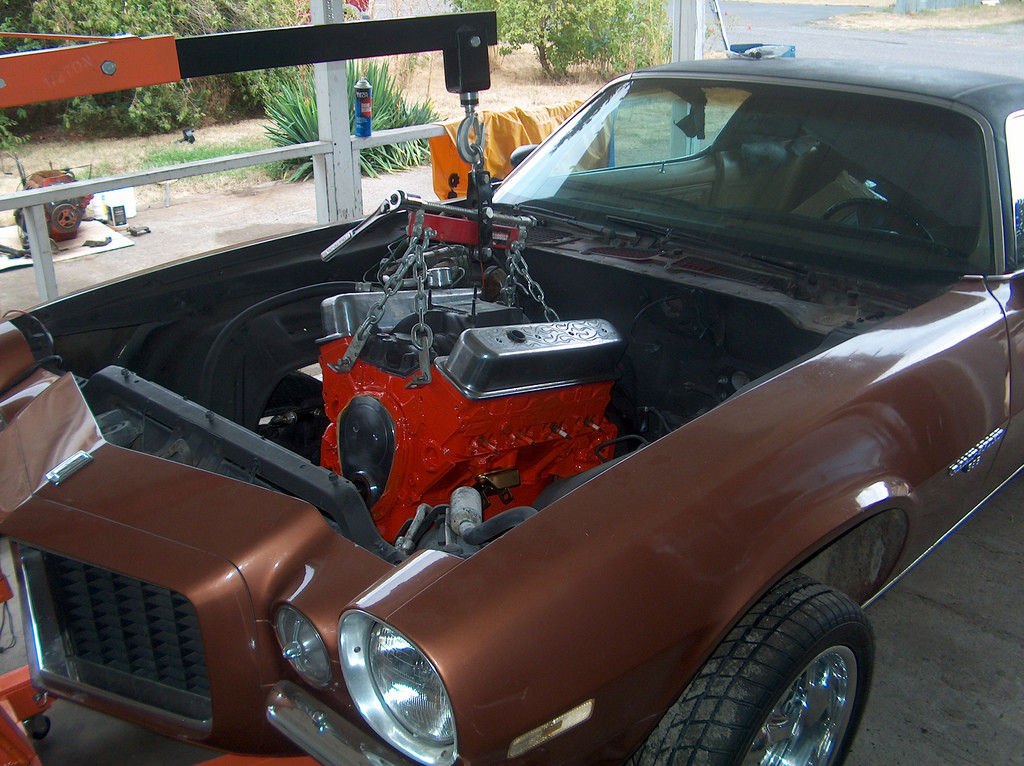
With a bit of wiggling, we got the engine and transimssion to line up correctly. I was just about to put the bolts in and it dawned on me that I should probably put the headers in at this point. So engine back out!
Then the interesting part of the day began. First, I had to remove the starter. Since Ethan can't quite reach to help me, and I don't really want him under the car, I kind of had to do this completely by myself. So the balancing act of setting headers in place, moving the engine down, wiggling around finally paid off. It just wasn't all that fun! lol
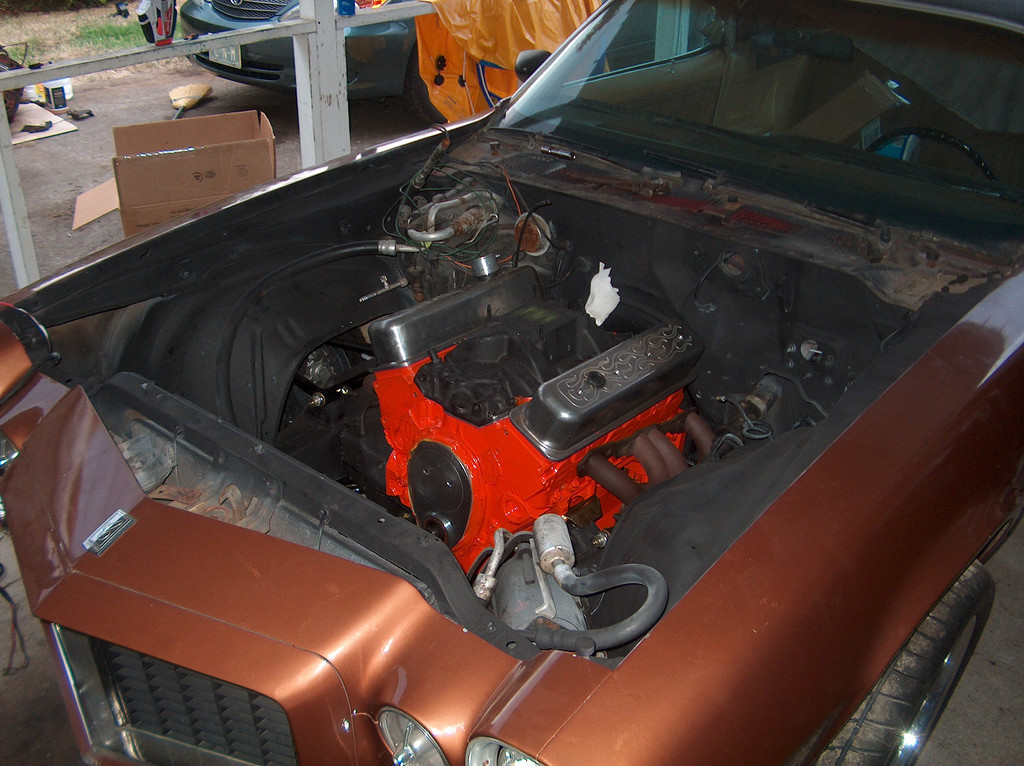
I haven't completed the engine install. Obviously the radiator, water pump, balancer, pulleys, ect aren't installed yet. But, I was hoping that it would settle a bit lower. Maybe the springs will lower a tiny bit with some drive time.
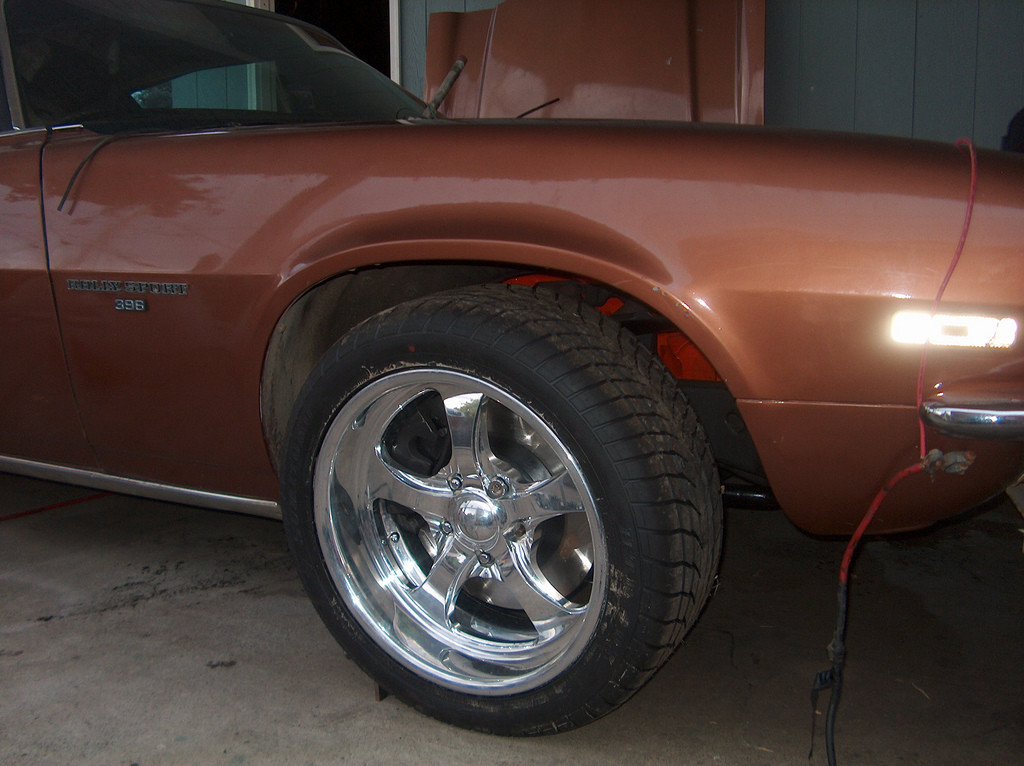
I would like to be about 1/2 inch lower, but will deal with that way down the road. I prefer handling over looks anyway.
Love the old camaros
Posted by Diggymart on 4/27/20 @ 2:39:52 PM