You must be logged in to rate content!
15 minute(s) of a 620 minute read
12-29-2011
I just wanted to go back a couple posts. I know this is a Jeep based forum, but we are also into fabrication.
A couple posts back I mentioned someone's effort to weld a door post stiker and the surrounding metal. I mentioned what a mess it turned into. Sometimes words don't give the picture very well so I thought I bring up the picture of the mess.
I'm not trying to pick on the effort made to fix the problem. I didn't figure there'd be an aluminum washer hidden in there either. It wasn't til I took things apart that I noticed the aluminum and understood where the welding problem started.
Oh, this is BAD.
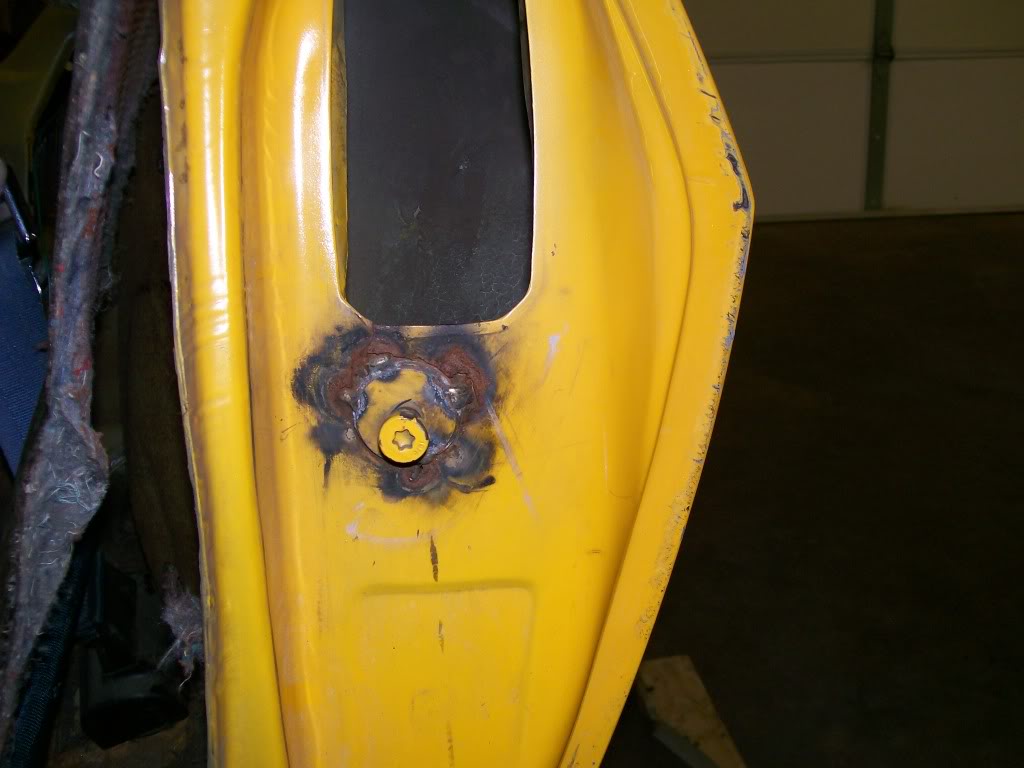
Here you can see that I really didn't have to cut to remove, it pretty well fell apart with a little twist.
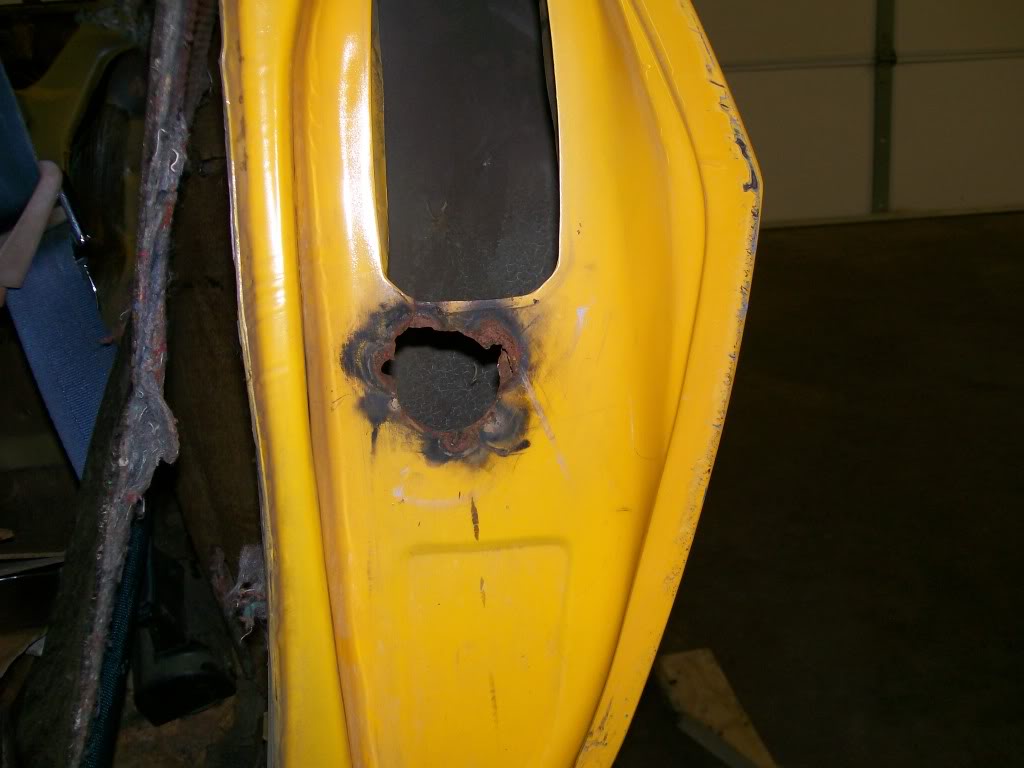
The only thing I could do was cut away til I got to good material then make a patch that fit well. The tricky part was figuring exactly where the hole for the stricker was gonna be. In this pic I still have to trim for the vent cover to fit.
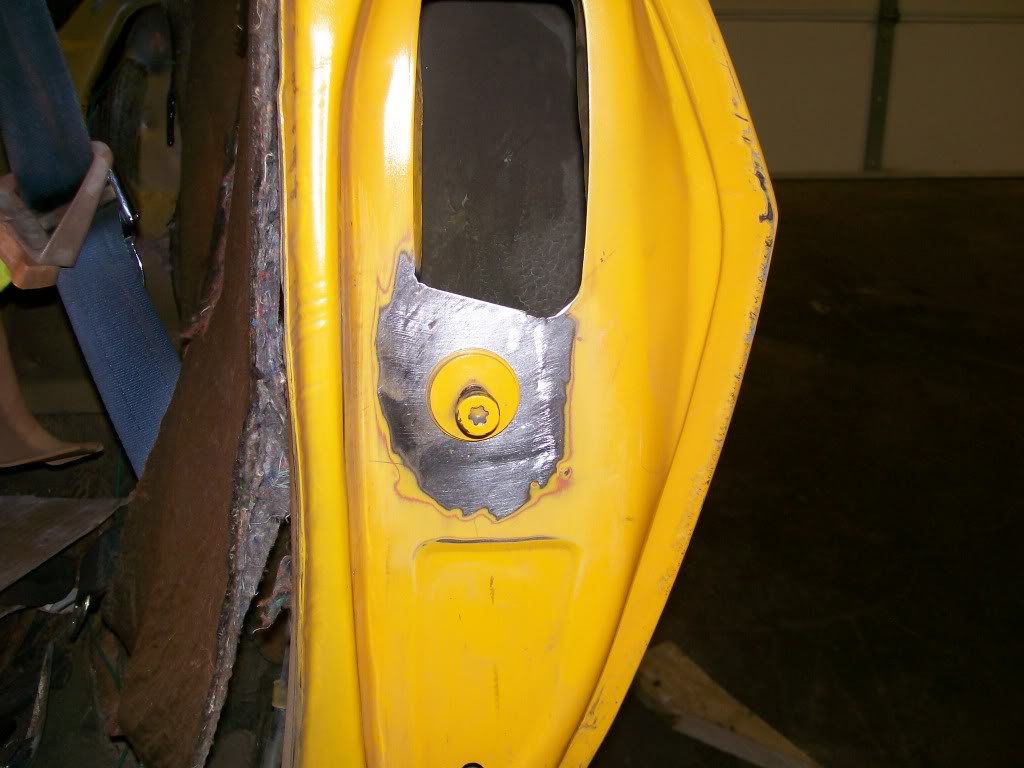
Posting two times in one night, with pictures with dial-up. hahahaha.
Back to the truck.....
Not that there's much too exciting going on here. I suppose the point is... restoration is not all about excitment during the build, there are long enduring times that you just have to inch your way through. snoring.
Let's get the inch spacer attached to the fan shroud. Then I can put the new splash shield in place. Start by tack welding to get the fit I'm looking for.
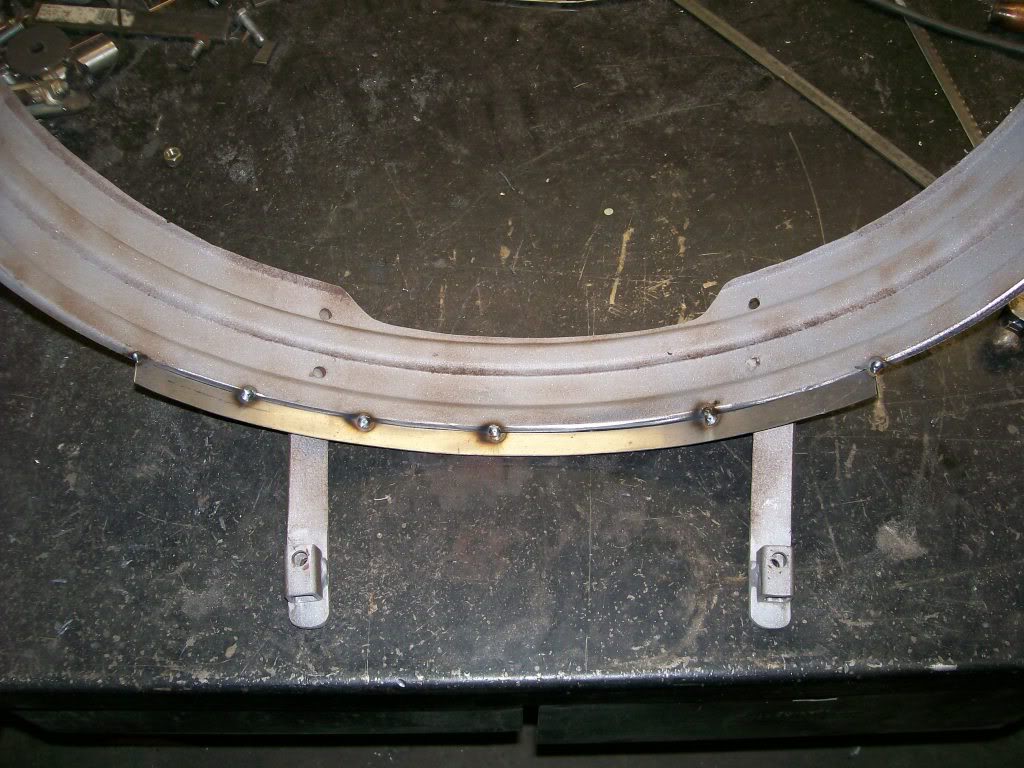
Once it's tacked in place now I can full weld it in place.
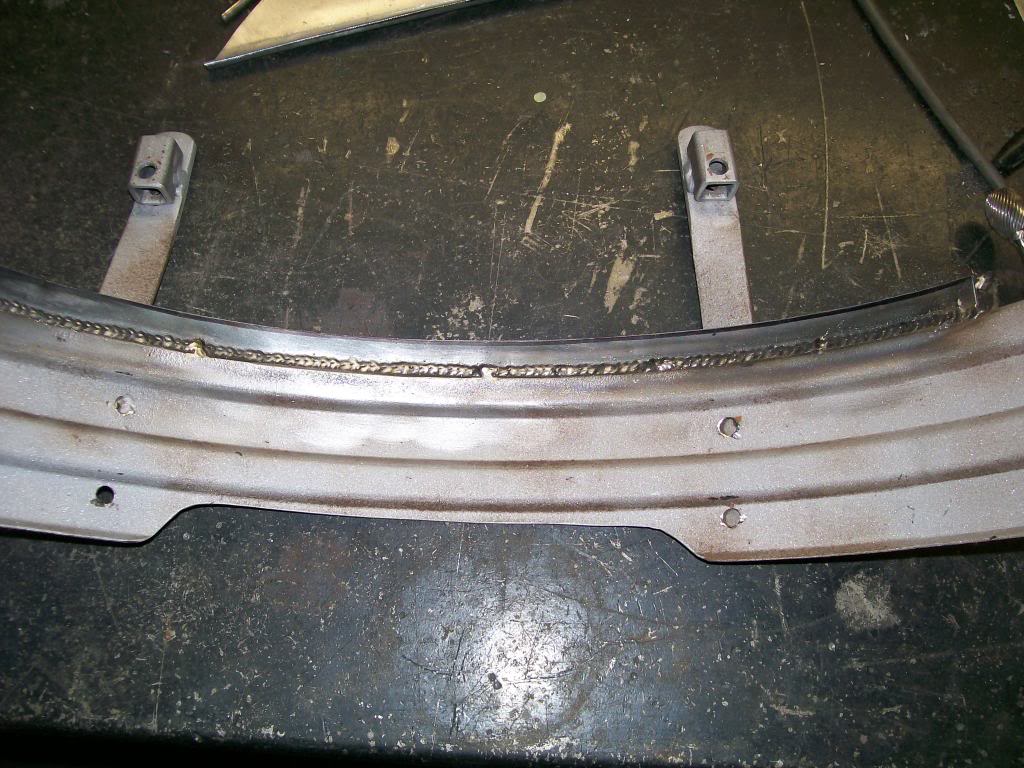
Now I can weld the splash shield in place.
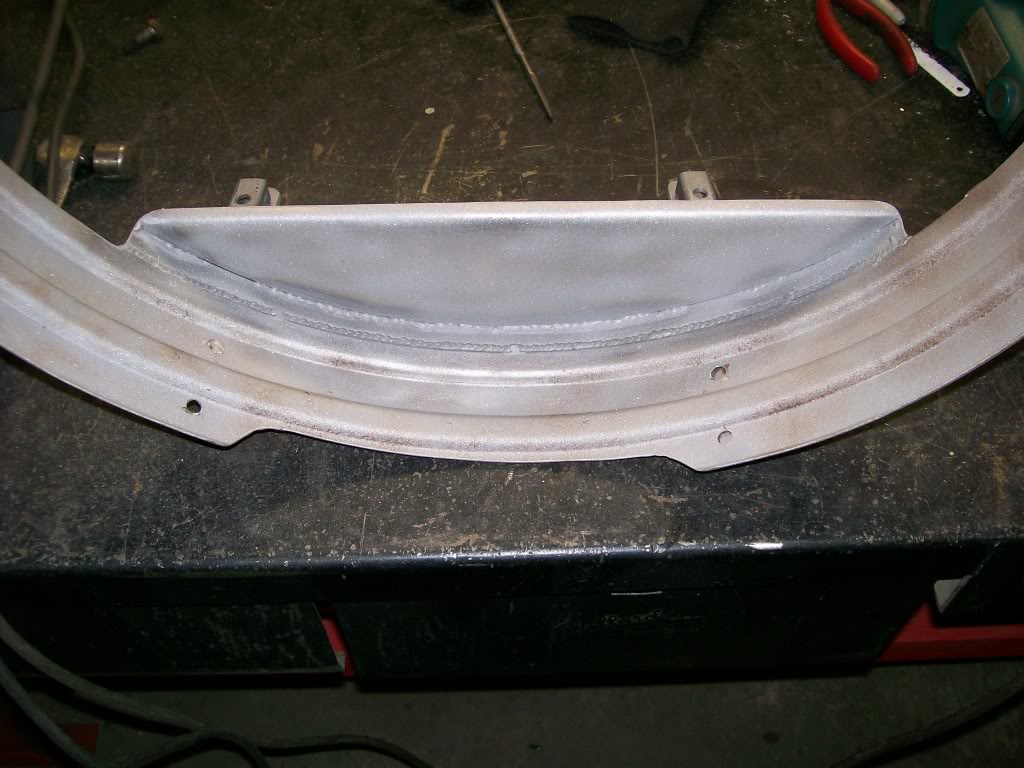
1-1-2012
Last couple pics of the fan shroud situation. Just another small project, yet, if anyone decides to create a vehicle out of what other wise is a pile of car parts at a junk yard. you better be prepared to have many small fitment issues.
I've picked on my past work a few times during this re-build. In reality, most of what i've picked on has been cosmetic touches, meaning, not cleaning up welds, square edges on brackets, ect.
On the other hand, I did do well on creating a truck that has lasted a long time and has been quite dependable.
Other than cosmetics, I'm real happy with the driving endurance of the truck. I used this truck for 21 years, then I moved 450 miles. This truck drove the 450 miles in about 9 hours without a problem what so ever. Was I nervous......oh yeah.

My point.... Sure, it's easy to build something that has a short lifespan. Here's where the tricky part is. It takes a different attitude to build for long life. This is where fatique, vibrations, wear and tear sets in.
I'm talking about a small spot of a fan shroud that is too close to the radiator, for a short time, no problem, for a long time, big problem.
Perhaps there is a brake line or a wire that is rubbing on a part of the frame. Short time, no problem, long time, big problem.
Just a thought for those who are building a project.
It's a little cold for any real painting right now so I finished the fan shroud and just sprayed it with a spray can.
I myself have a heated shop, but I have no desire to run the paint fumes through the heater, so I'll wait til spring to do anymore painting with the paint gun.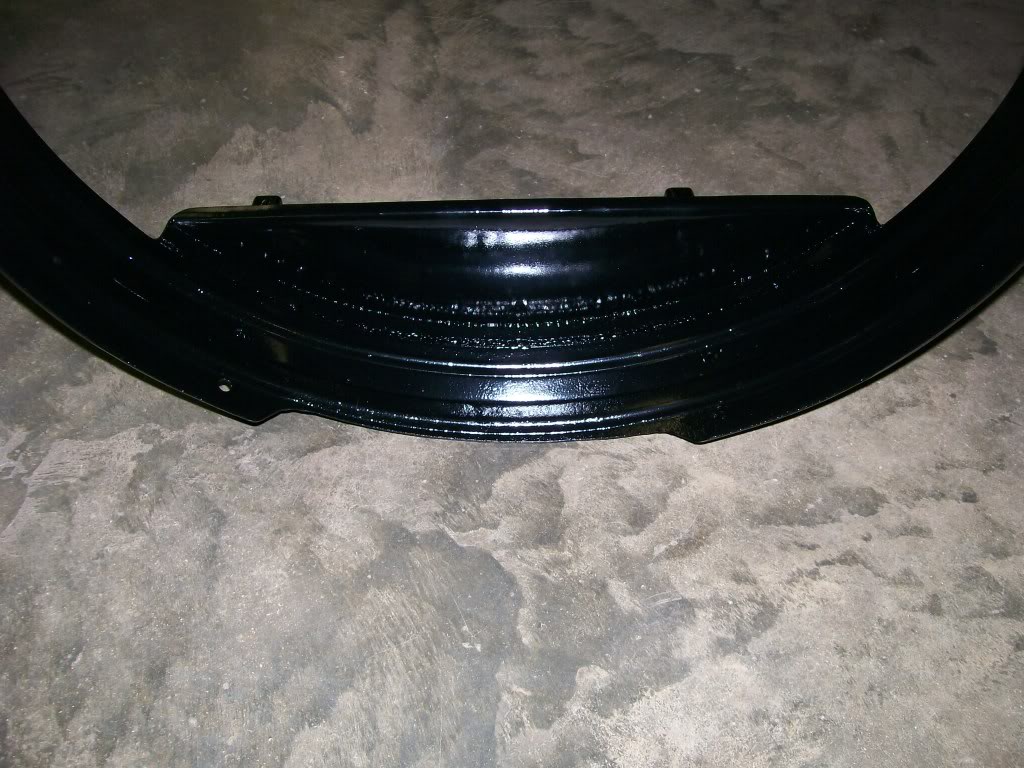
On the new splash shield I could have just left the top of it flat. But the piece will be much stronger with a rolled or bend edge.
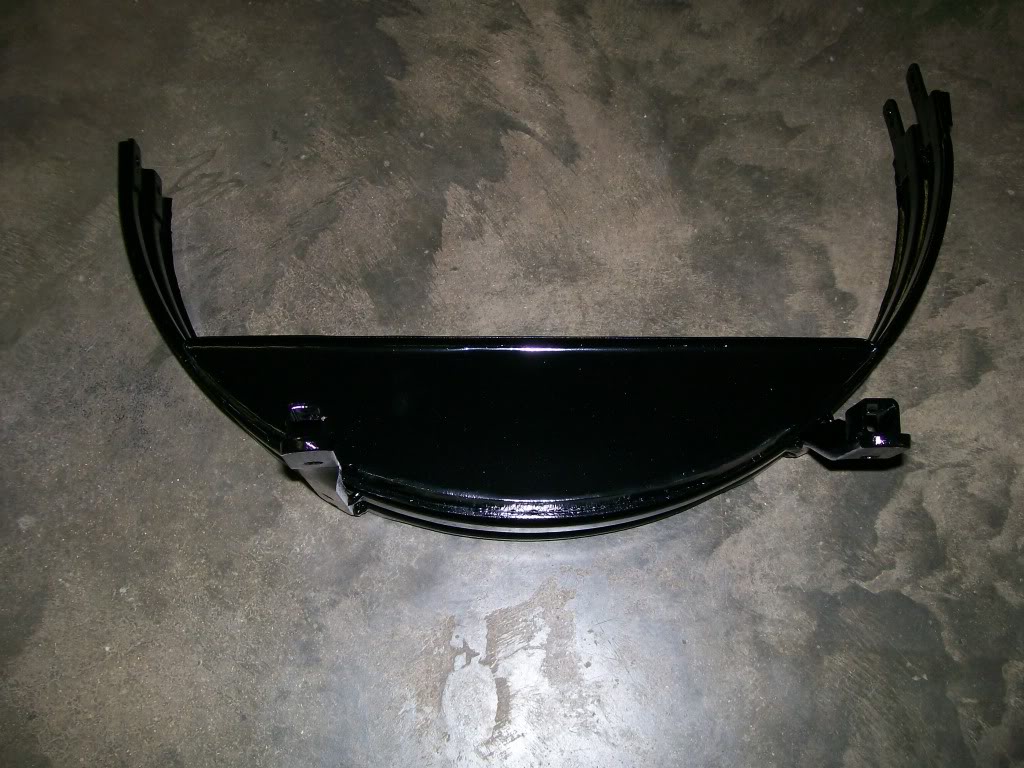
1-2-2012
Now looking at the top of the grill and radiator. Once again, I really don't want to get into the engine bay, but there is one more item I'd like to take care of. Being impatient in my youth, I never put the struts/braces that go from the firewall to the front grill.
Problem being, a good place to attach to the grill was removed before I got the truck. In this picture you can see the "V" design of the grill. Someone cut the whole section that spanned the area that filled this "V". Originally there would be a hood latch and the mounts for the braces. Since I've had the truck I've used the spring latches like on a Jeep on each side of the hood to hold it down.
In this pic I've got the braces bolted to the top of the radiator support. Tricky part here is the rusty plate on top is a thin piece of shaped metal that reaches over the top of the radiator to hold the radiator down. This, just as the rear bumper was a compressable item and I had to create a way to mount it without a chance of it compressing and becoming loose. The same problem here, if I drill and bolt though this top plate it'll compress and distort.
Below this thin plate is a 1/4"thick plate that I'd like to bolt to. Once again, the thinner plate on top is in the way.
I don't want to hack into the top plate, it needs to retain it's strength. I've decided to drill two 3/4" holes through the top plate, then build some risers to bolt to the 1/4" plate then come up high enough to weld the bracing bars to. Here's kinda the end result without paint.
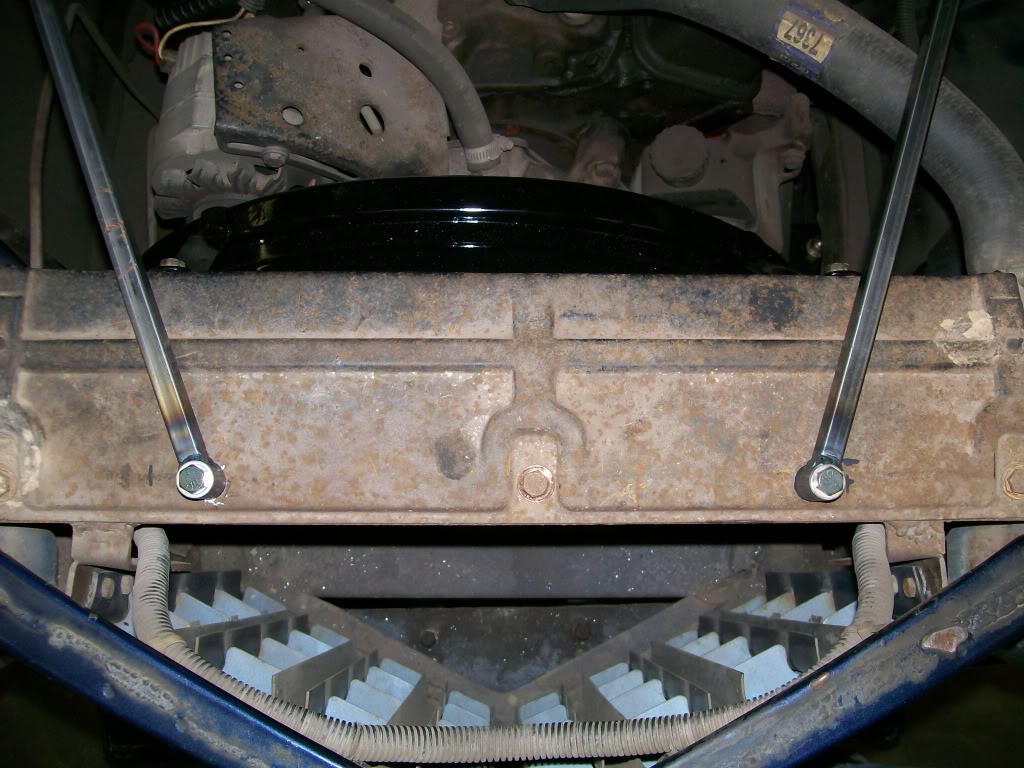
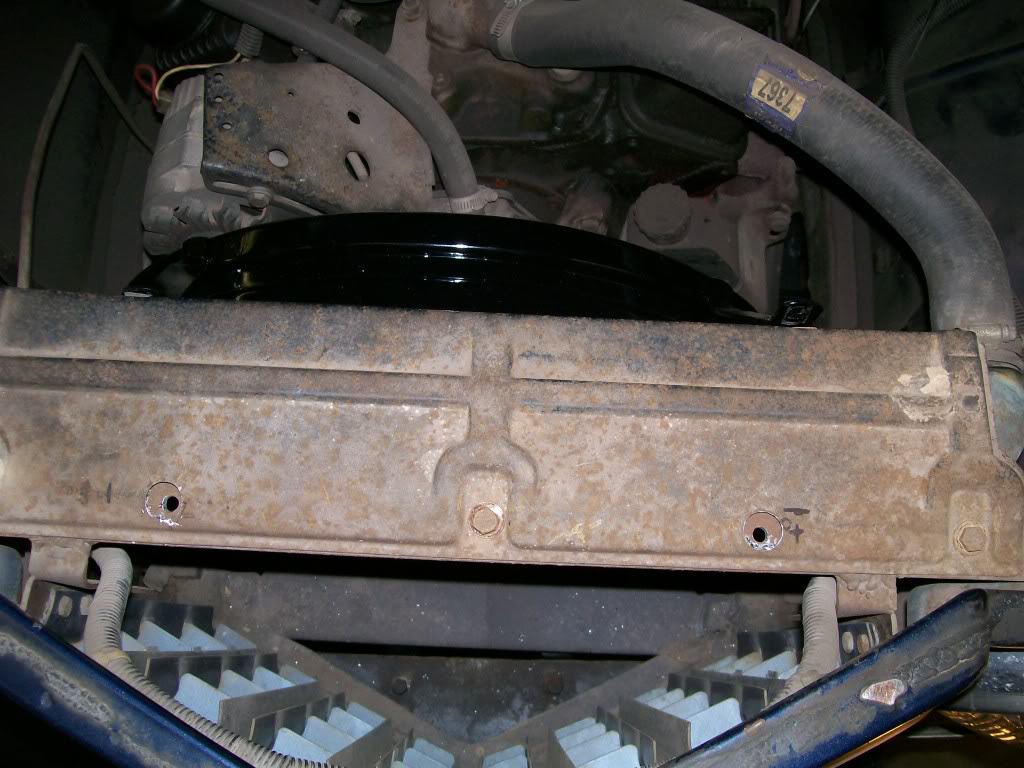
Measure 3 times and drill. I marked the top plate, took it off, then drilled it to 3/4", then put the top plate back in place. I want a near perfect fit, so I used the holes in the top plate and used it as a fixture so I can now use the same 3/4" drill bit to center mark the 1/4" plate below. Then with these center marks, I drilled 5/16 holes in the 1/4 plate. I should be in near perfect alignment now.
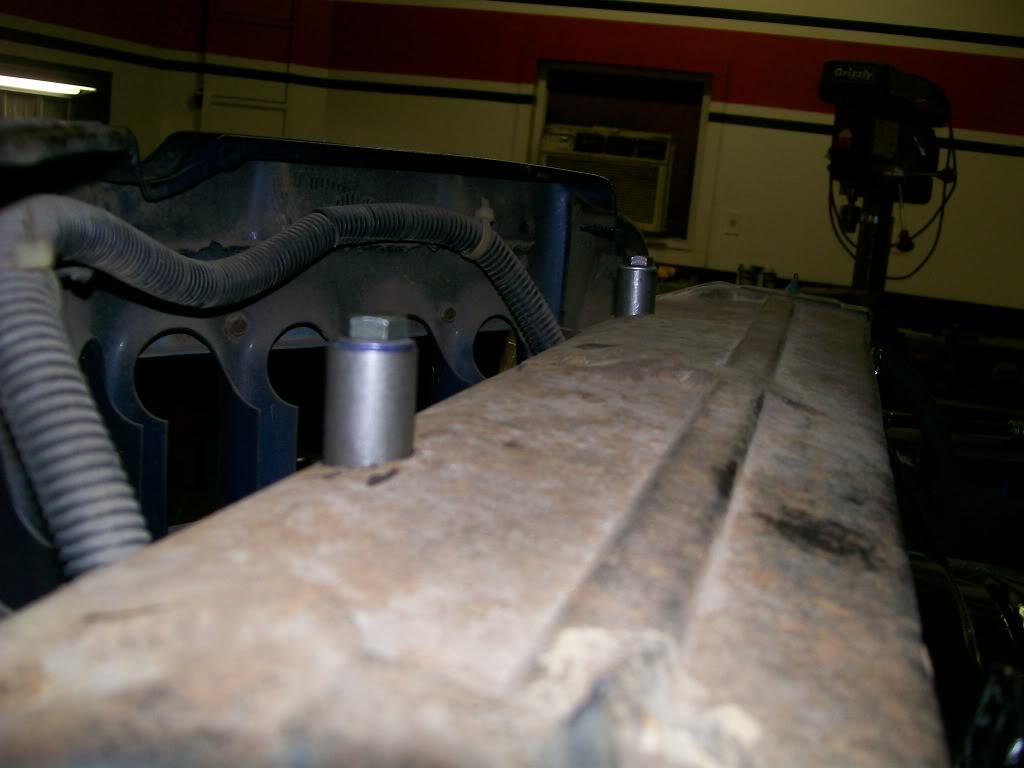
I'm using 3/4" round bar for my risers. This picture should give a good idea of how the top plate and the risers are gonna work together. With this height I have enough material of the riser to weld the bars that will go back to the firewall.
1-3-2012
Here's a view from the top showing the risers coming out the top of the top radiator support plate.
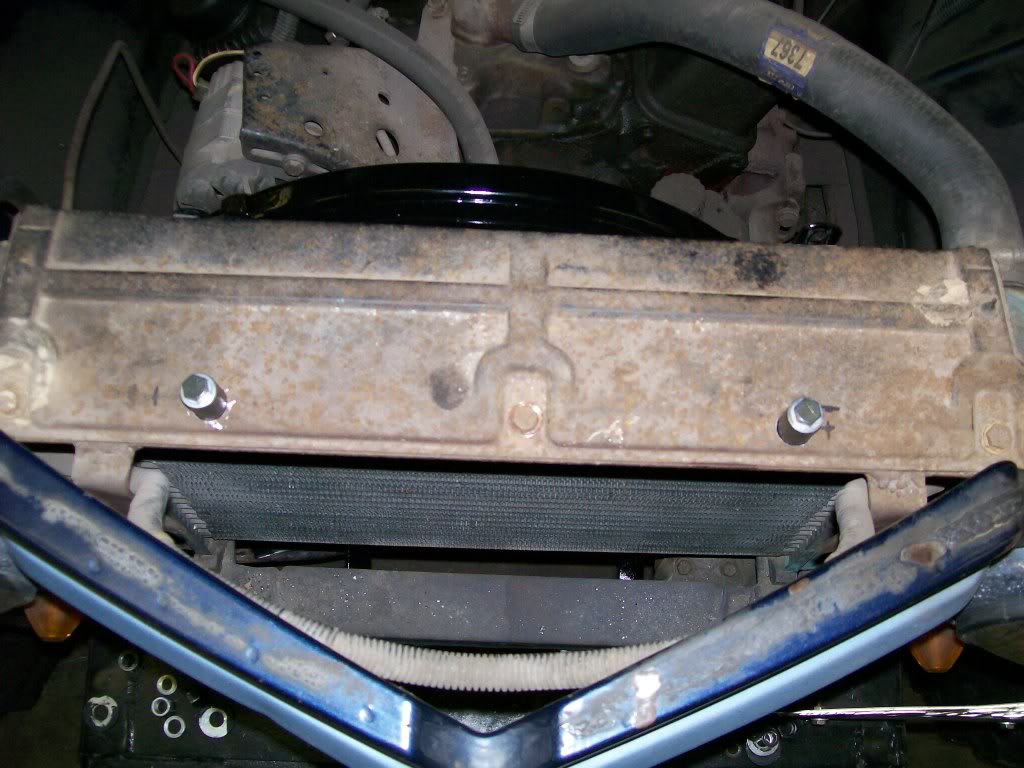
The next tool to intruduce is a 14" chop saw, I've had this one since, well, about the time I put the truck together. It is also a major time saver, you can adjust the holding support for different angles for cutting. You can cut flat, round, square, and angle with it.
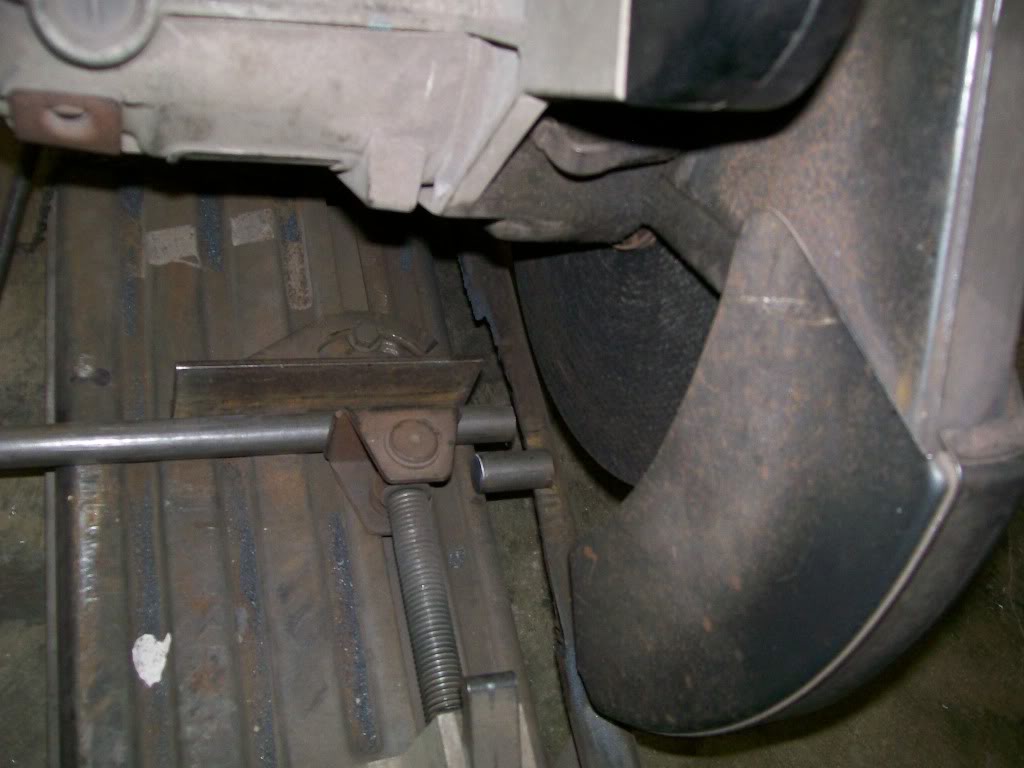
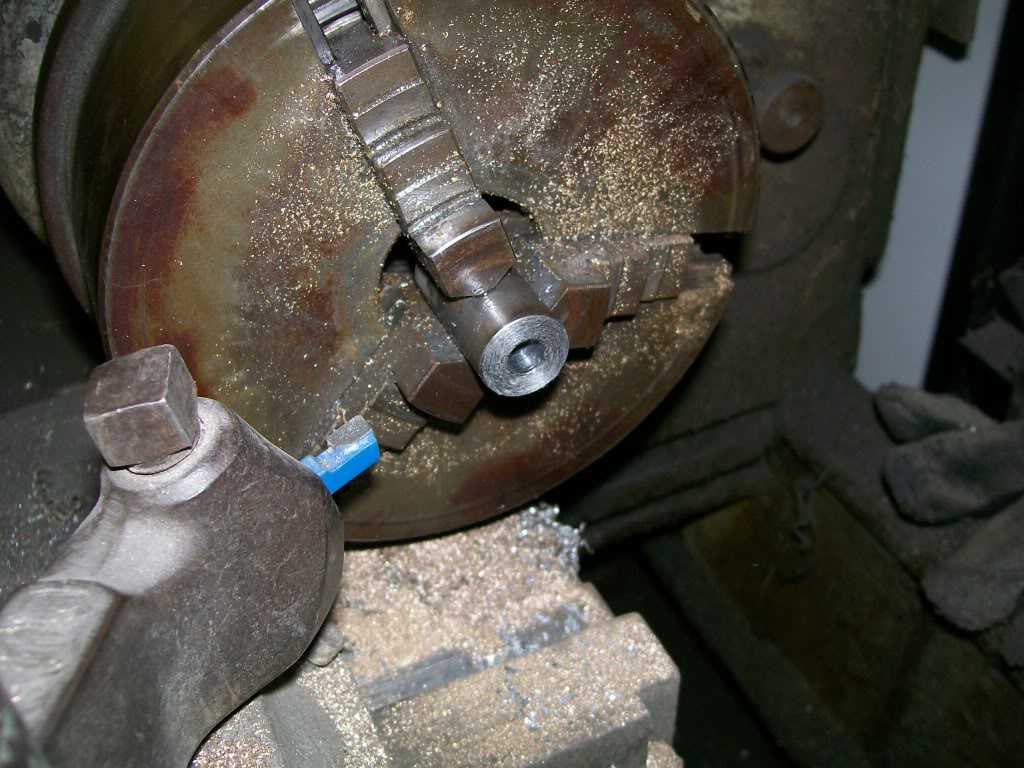
Once the piece is cut close to the proper length I put it in the lathe and first drilled a 5/16" hole through the center. Once the center hole is drilled then bring in the cutting bit and now I can clean up one end, then mark the other end at where I want the overall length to be, then cut back to the mark. Done, I have the length and the now I can use a 5/16" bolt to mount it to the radiator support.
1-4-2012
As for the rest of you, thanks for checking in, once again, your enthusiam helps keep me going.
Dial-up, I think we say it's done pretty good. I think we're up to around 250 pictures. Ha, I don't want to think of the time I've waited for the up-loads. It's been worth it.
Ahh, and there's that "inspiration word"

Test drive, ohhhh yeah, the posting is about a week behind progress. I took my first test drive on the first day of the year. I took it to work today, funpart was showing off the gas cap cover.
 The parking lot is open where I work, as I finished my route I pulled the postal vehicle back into the parking lot, I noticed a white car pulling in behind me. I looked back to see the white car stopped in front of my Willys and took pictures, how cool.
Alrighty, back to the build. Now welding the brace arm to the riser. I'm still practicing with the Tig welder. The Tig is the absolute perfect welder for this. First, the riser is gonna take way more heat to penetrate for a strong weld. With the Tig I can apply heat directly to the thicker riser til I start a puddle of liquid metal, once I have this I can drift to the thinner metal of the brace arm and begin the weld and add welding rod. Second, I don't want to grind the weld afterwards, so with the Tig weld, if done right, the weld will look ok as is without grinding later.
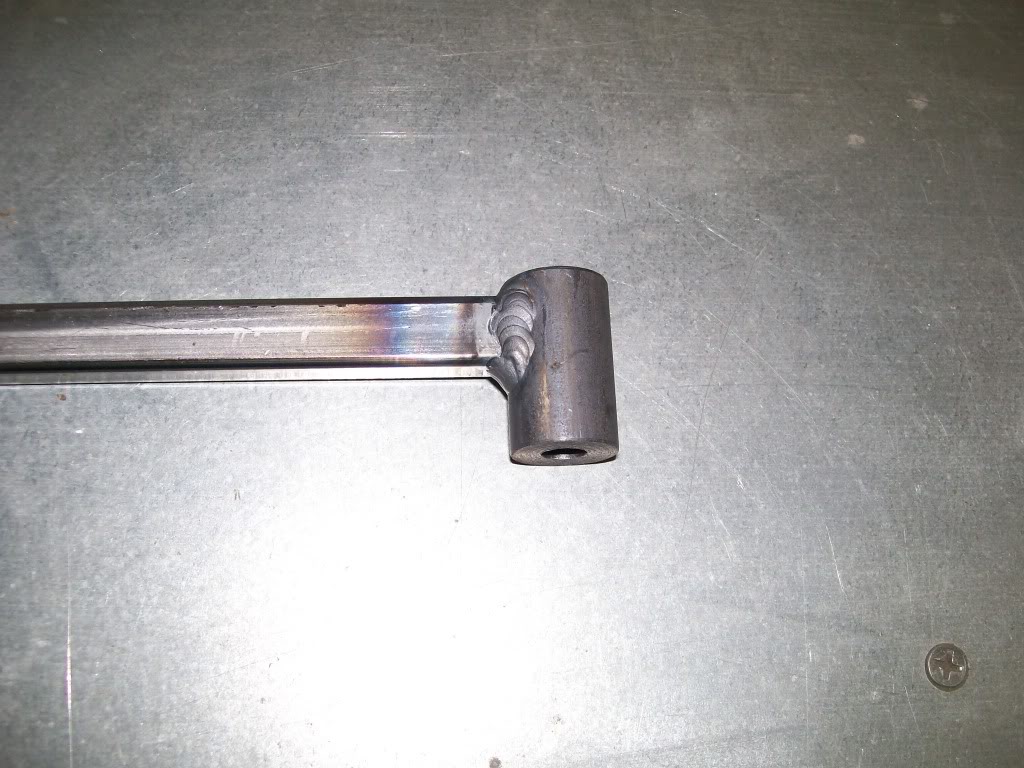
Something to think about here.... Let's say you wanted a cleaner look when finished. When drilling the riser, don't drill all the way through as I did with the 5/16" drill, the same size of the bolt. Drill with a smaller bit, a bit that is the right size to tap and thread the hole to a 5/16". Stop when you get about a inch deep, just not all the way through. This way, you won't have a bolt head sticking out the top, just a clean round riser where the securing bolt attaches from the bottom. Actually, with the lathe, you could cut a design into the top of the riser for personalization.
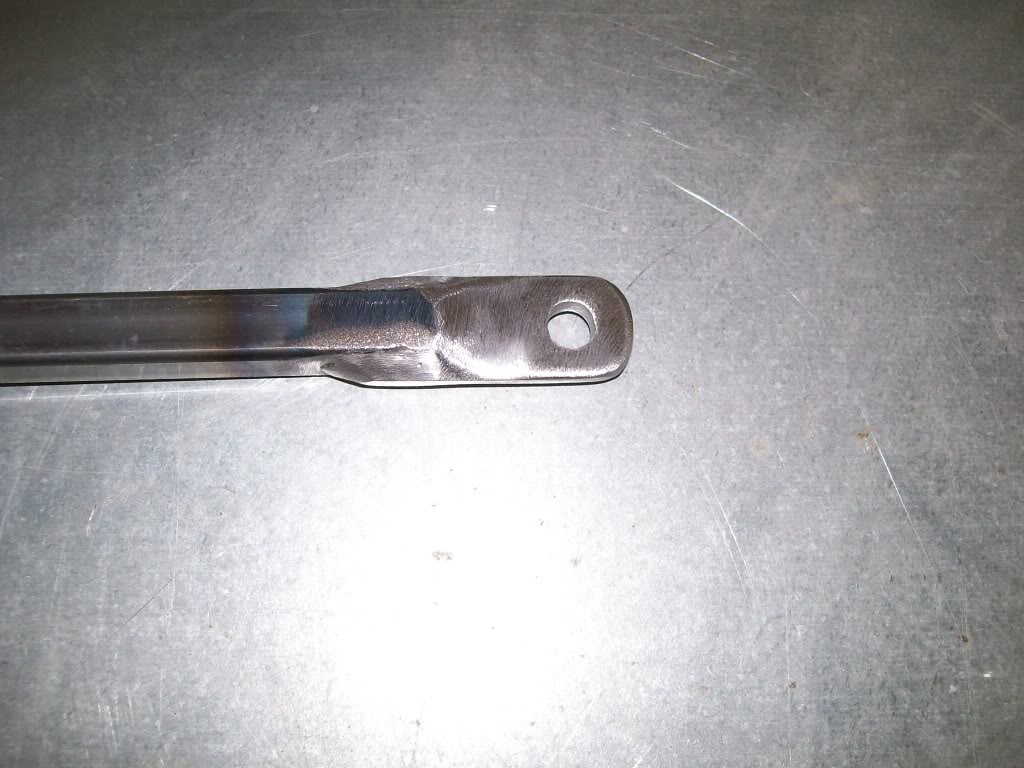
Now for the other end. I just need a simple bolt hole to attach to a flange on the firewall. There's many different ways of attaching a flat to the bracing rod. I choose to grind a groove, slide a flat in there and weld.
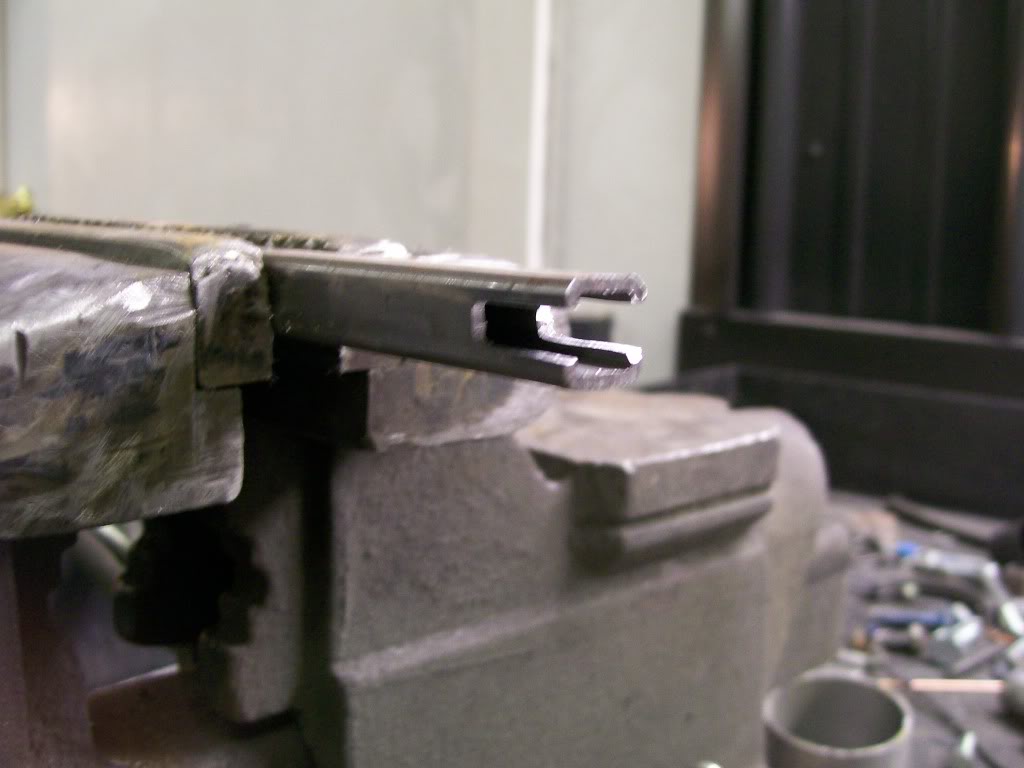
After welding and grinding.....
1-5-2012
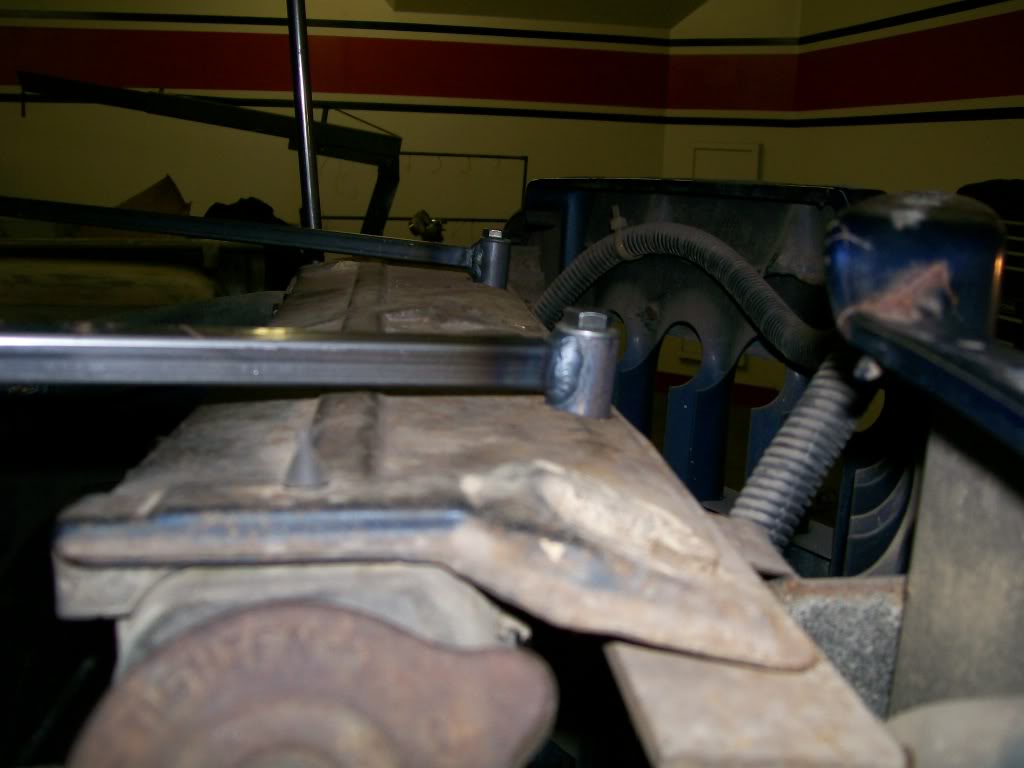
Now for the end of the grill braces. They really worked well, the front grill absolutly stays put with no moving. Looking closely at the left of the picture below, you can see how many years of not being securely braced has created a fracture in the top of the grill. This is evidence of what I mentioned earlier, if this truck hadn't been used for the long time that it has, this insecure grill wouldn't be an issue, but if your gonna keep something for a long time, wehave to rethink things as we assemble.
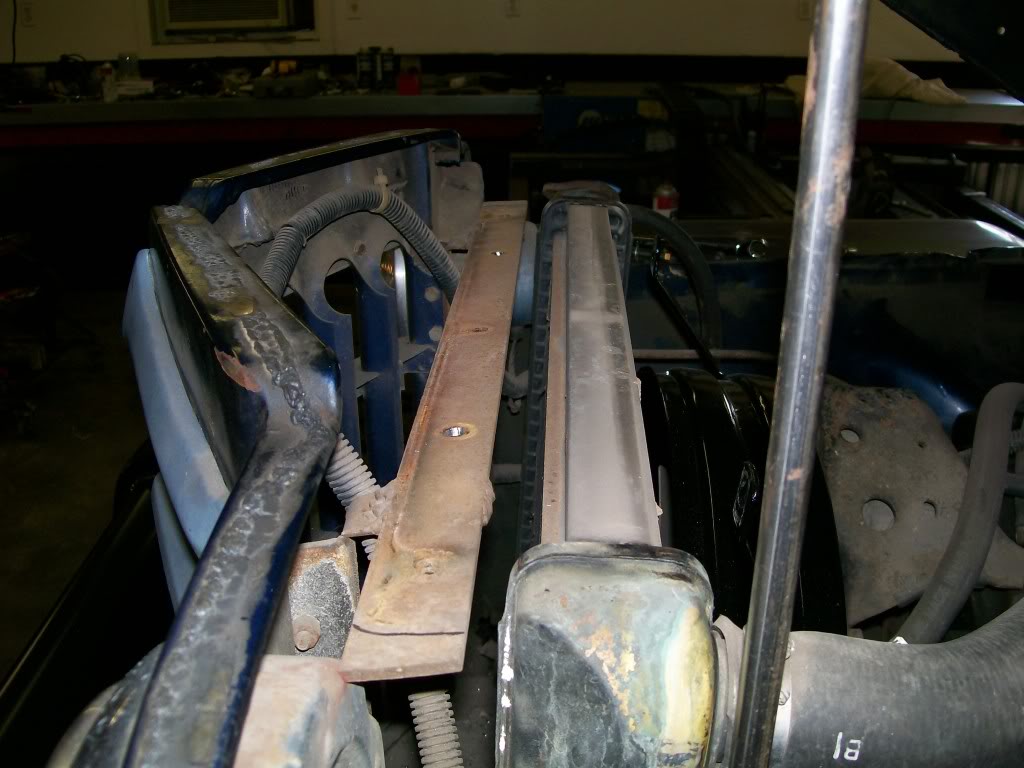
Now for the hidden radiator support that we've been bolting the grill supports to. I am proud of the location/fit. It is very sensative as to it's height and location. The top plate that reaches from this support to over the top of the radiator has to be specially located, this support is exactly where I want it.
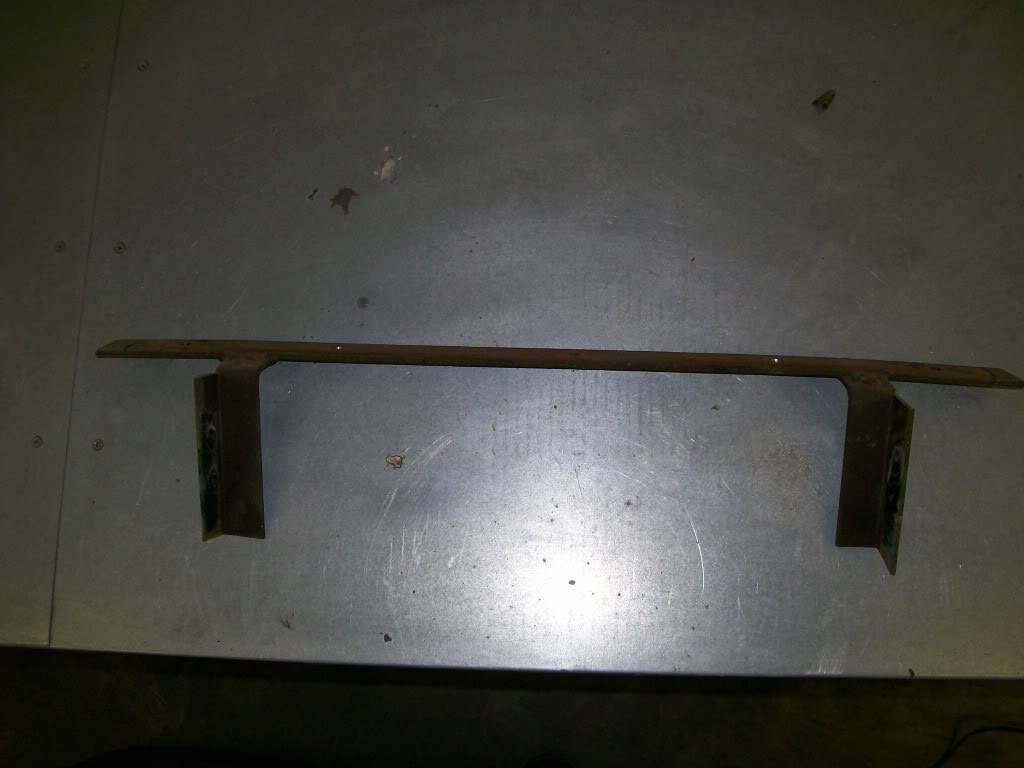
What I don't like is the lack of gussets fitted where you can see a piece of angle iron cut and bent into a 90 degree angle. Plus the over all length of the 1/4 plate is a little too long, cosmetically spaeaking. Plus, I was just learning how to use an arc welder back then, so I'm gonna redue some of the old welds.
And here is it removed, it just doesn't meet my standards as for cosmetics and finalization, but instead of trashing it and starting all over, and since it is a very good fit, I'll gusset, weld and grind.
1-6-2012
I suppose this is where we split the idea of funtion and form. This radiator support piece has been just fine and served it's purpose well, I guess we can this the funtion.
Visually speaking, it's lacking. As I mentioned before, I like to build and gusset in a trangular shape. My plan is to clean up the sharp edges and add a gusset at the 90 degree bends. Once done, I'll have the form taken care of.
Here's the beginning showing the rough edges.
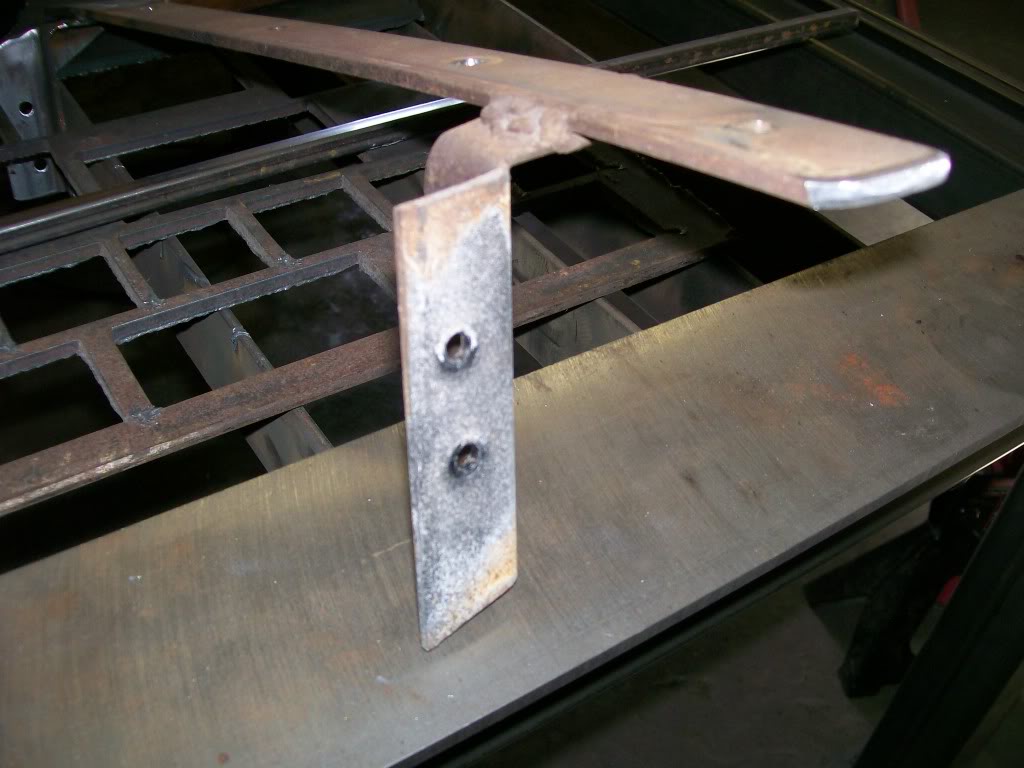
After a couple hours of welding and grinding it's much stronger and everything flows together better.
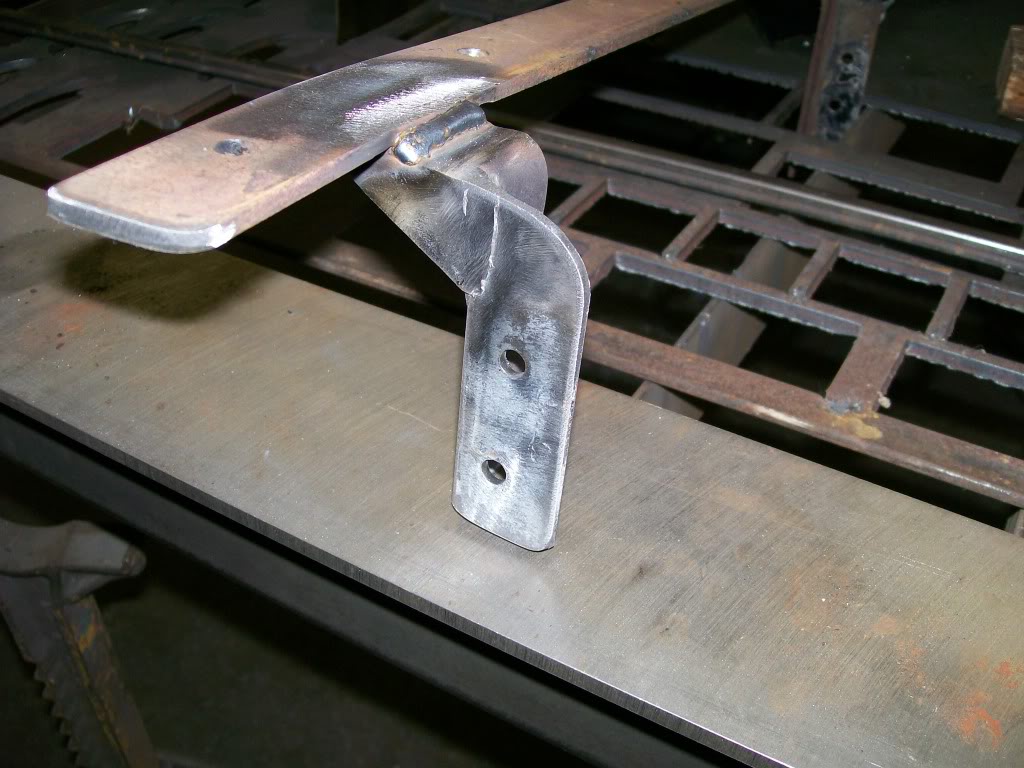
After some sandblasting and spray can of black paint, now I've got something more presentable. Hmmmm. if I keep this up, I'm gonna restore the whole truck.

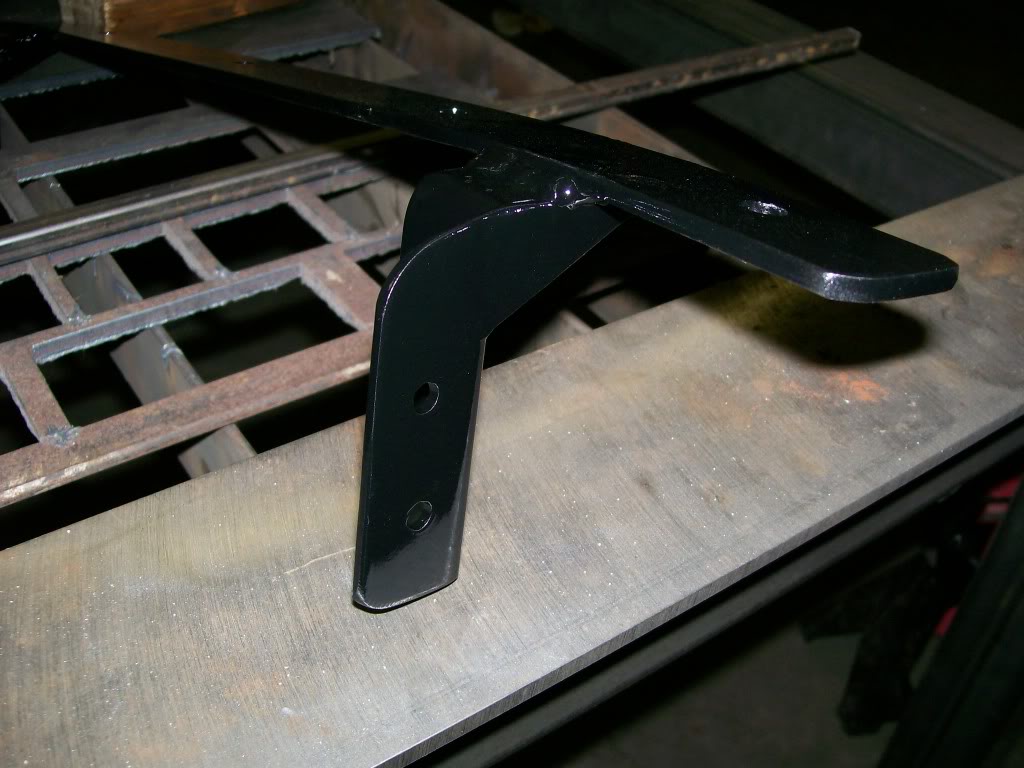

Ultimate classic truck right there
Posted by CCmyVW on 12/26/20 @ 4:17:42 PM