You must be logged in to rate content!
10 minute(s) of a 620 minute read
12-7-2011
Alright you guys, you're drooling on my keyboard again.....that's great!!!
Let's get this spring perch assembled tonight.
So for I've got the height, the width and a brace to help keep it from wanting to roll or twist.
Time to finish the front a rear ends. I want to keep the shape of the side plates the best I can. They drop down about a 1/4" then have a sweeping roll downwards. I cut a piece of flat steel the width and the length needed. Then I did the same thing I did with the top plates for the rear springs. Marked a line and with the 3" air grinder, I cut a line not quite all the way through, then bent it back to follow contour of the side plates. Then mounted it in the vise and with a hammer and dull chisel, bent the roundness into the rest of it.
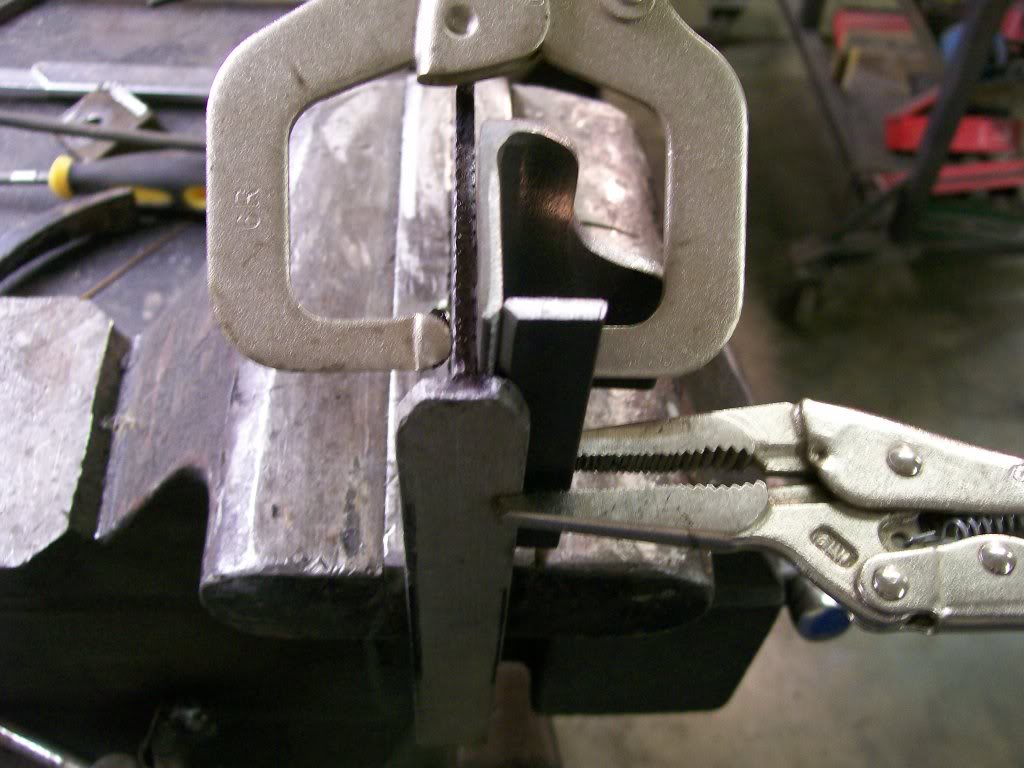
I made the width just right so all I had to do was put it in place and squeeze the side plates with the vise to hold the front plate in place.
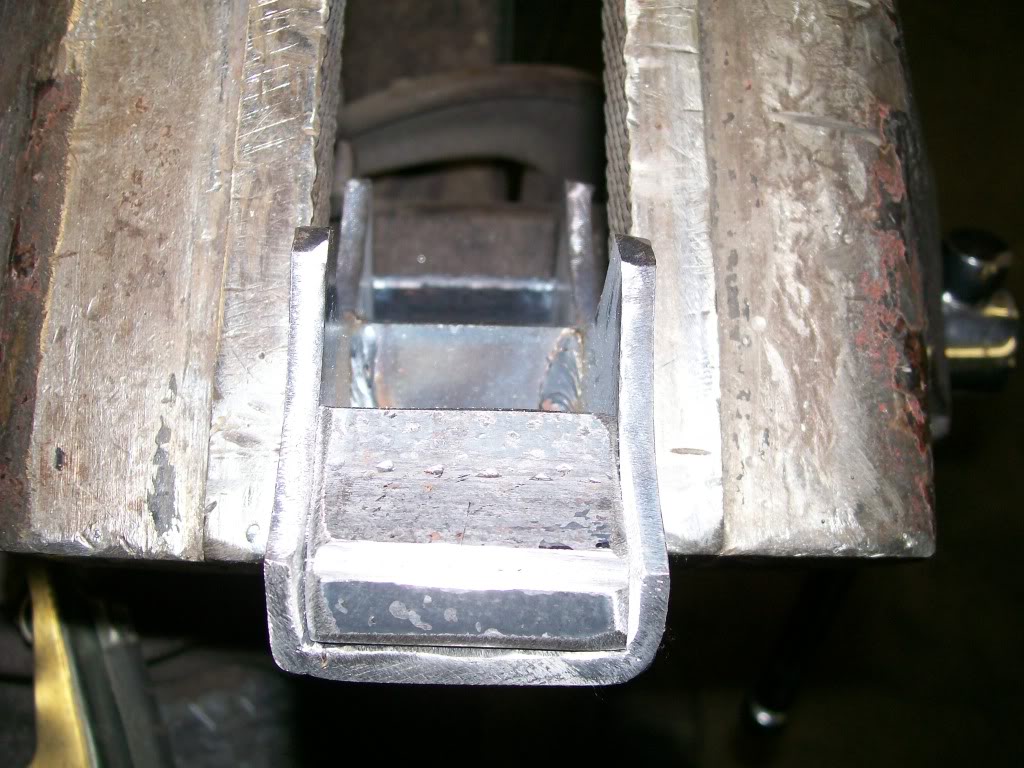
I ground away alot of material where the pieces come together. I created a "V" between the pieces so I had a good weld depth when done. I had the choice of the Mig/Wire feed, or the Tig welder. When it comes to smallwelds like this. Plus the fact that the material is thick and will require high heat to penetrate for good adhesion. I choose the Tig, I can heat and melt before adding filler rod. One of my objectives here is to fill, fill, fill. I can always grind and shape the material when done. Hmmmmm, grinding, flap discs, 4 1/2" grinder, it's gonna be a good day.
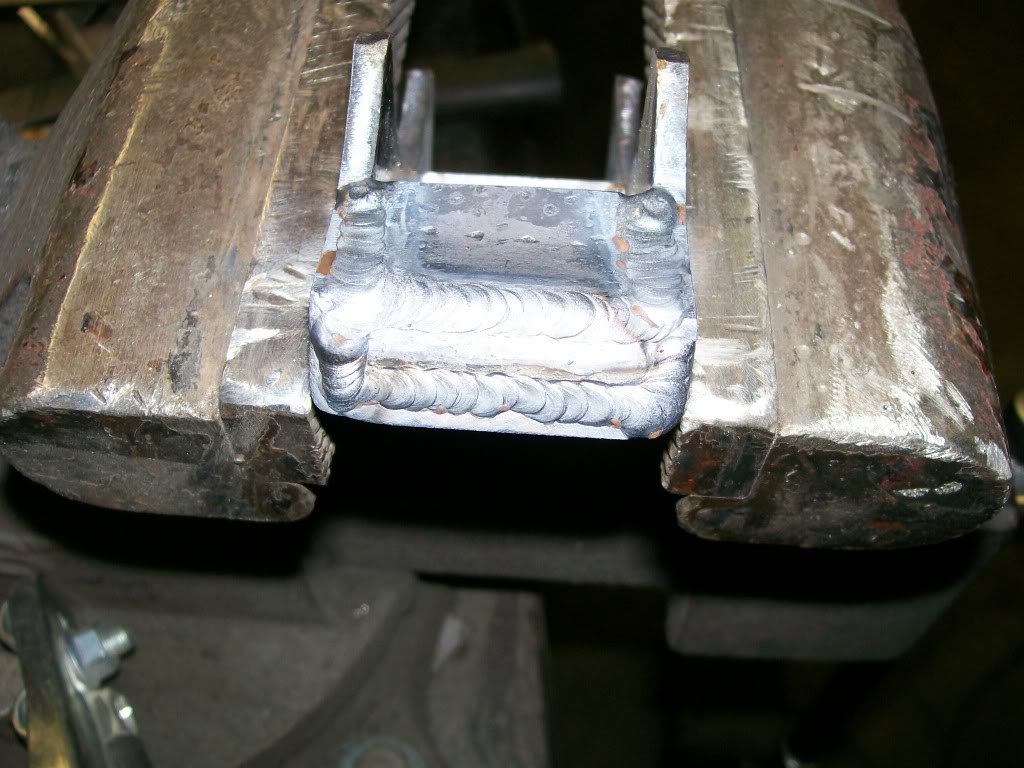
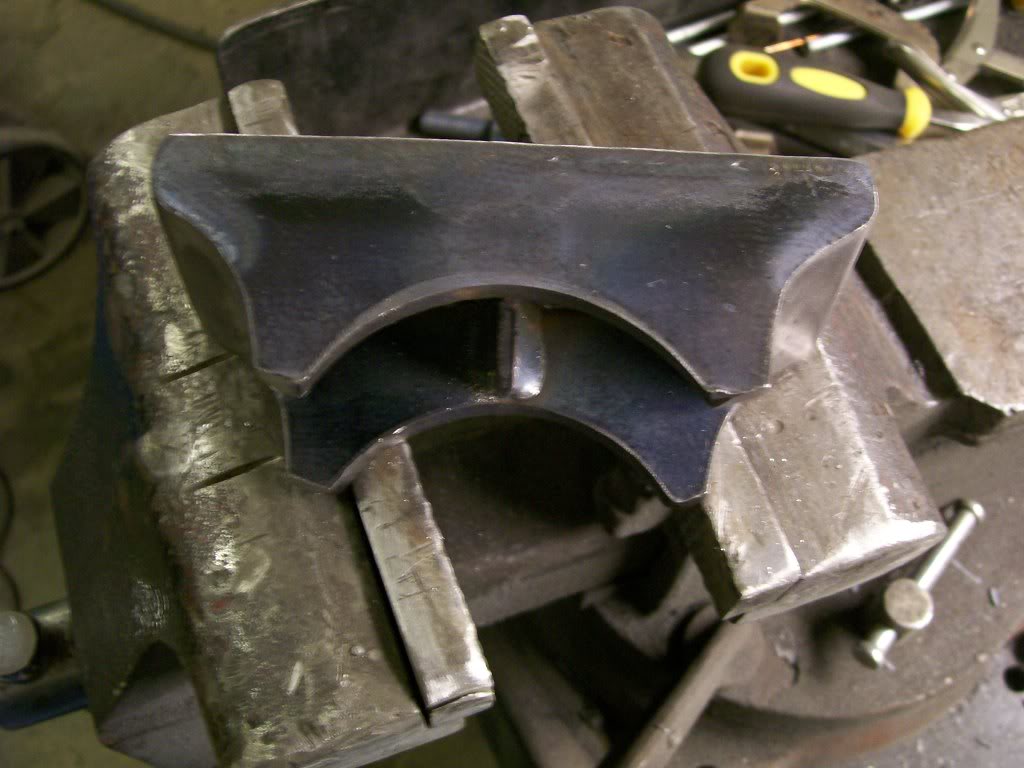
Yup, there's no beauty in the above welding, but I did fill, fill, fill, now I can shape the perch how I want to. Here's the beauty, a work of art, I think I"ll save this one and use it as a paper weight.
 It can hold down these papers I keep pointing at.

12-8-2011
I've stopped by a couple times to check out your build. I haven't for the last week or so, so I'm not sure of your progress or your plans with your truck.
Mine on the other hand is a mixed patch of parts I gathered many years ago. Even my rims have different bolts patterns from the front to the rear.
I do believe however that the originals were 5 lugs on a 5 1/2" circle, you have to check, but I think jeeps used that for many years.
Lockout gears, do you mean the outer hubs where you can manually engage the front wheels for 4 wheel drive? I'm thinking "locking hubs", but you may be refering to something all together different. I don't want to misslead you, so I'll hold off on an answer.
Since most of my truck is changed in one way or another, I don't have alot to offer in a stock truck conversation. I do however know the guys over at Oldwillysforum.com gets deeper into stock/original drivetrain information. They may have better info. in the original equipment stuff for ya.
Hope this helps....
12-9-2011
In the last pictures of the new leaf springs I had put one more leaf into the pack to get the height I was looking for.
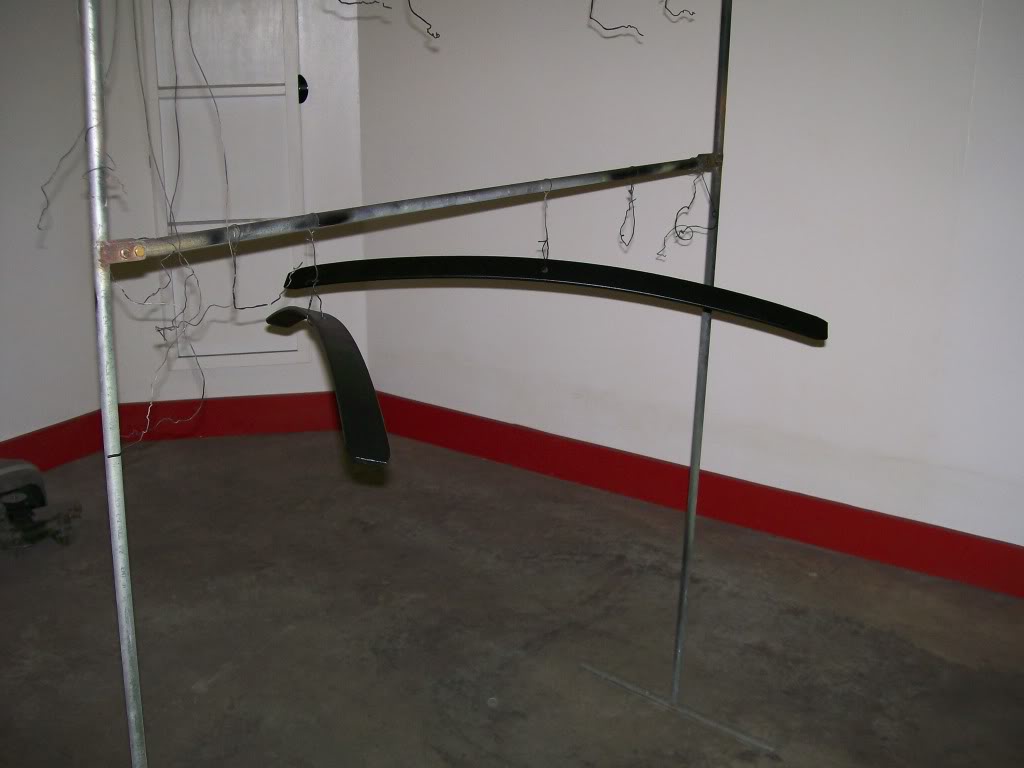
At that time I was more concerned about ride height that the rusty appearance of the added leaf. Now that the perches are set, and I'm happy with the ride height, it's time to sandblast and paint the added leaf.
Before I can sandblast and paint the leaf, I have to disassemble the pack. I was able to lightly hammer the leaf into the pack with out much disassembly, not so with trying to get it back out. I had to bend back the metal straps and I got the leaf back out.
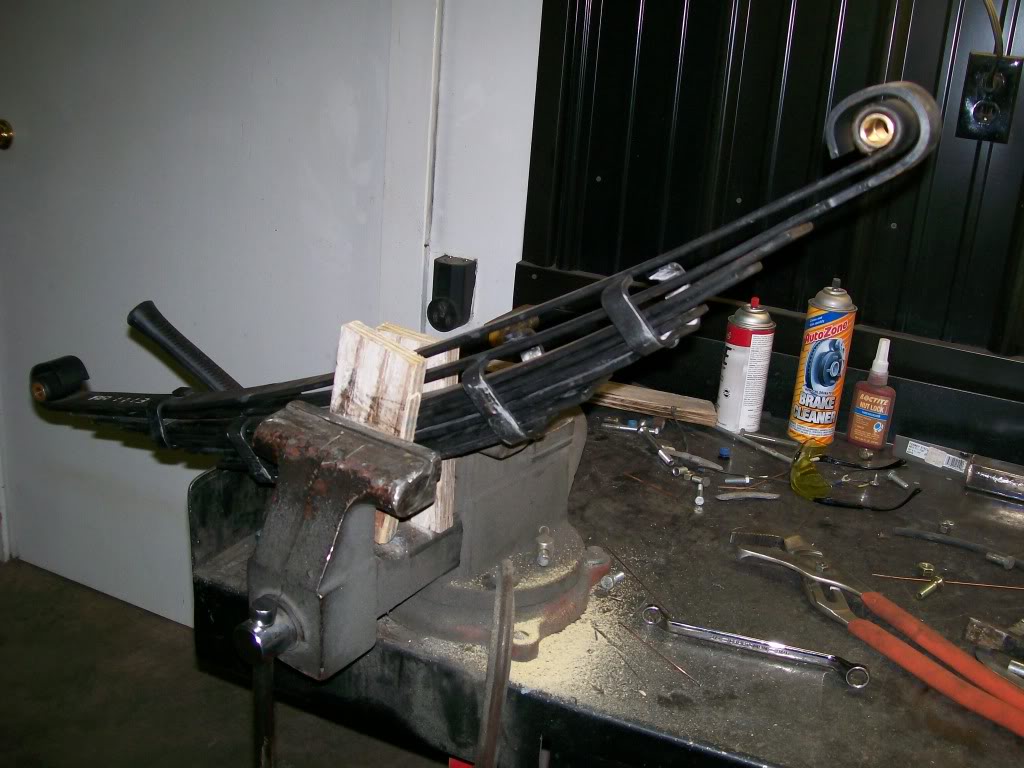
After sandblasting, I hung them on the rack. I used the bed liner spray, I really like this stuff. It lays smooth and has a nice satin black finish. I had to lightly hammer the leaf back into the pack, it held very well with the hammering.
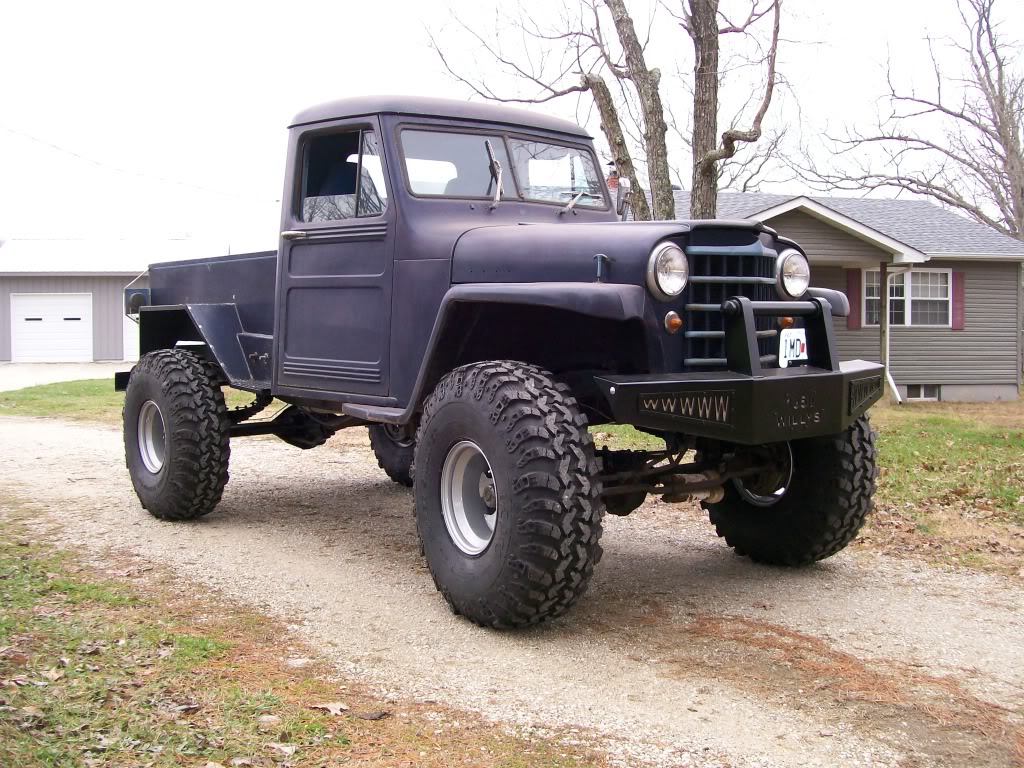
The ride height looked good in the work shop, but you have to take it outside to really tell. I'm very happy with the stance. Of course I kneeled down to take the picture, it makes th truck look bigger. I spend some time looking at stock Willys trucks, amazing what they look like raised and wth larger tires.
12-11-2011
I'm glad you like....
I don't want to be missinterpeted. The stock Willys truck is a good looking truck, yet, it's awesome the transfiguration and the attitude change it goes through when lifted.
When remaking the spring perches I had to slightly relocate them. In doing so I had to cut off the mounting bracket that held the steering stabilizers to the axle. Looking closely at the last picture of the truck out side, you can see the stabilizers not attached to the axle.
The perch relocation situation will be covered in the next conversation.
The stabilizer bracket that will be welded to the axle isn't anything special, but I'll cover it anyway. It does require a bit of fabrication.
I started with a piece of angle iron. Now I'm not big on angle iron, but when used as a starting base for something else....I'm good with that.
Why I'm not big on angle iron? I don't know why, I still use it, it just looks like a quick fix.
Not to get off subject, but it's my thread.
 I like to build and fabricate in a triangular fashion. How can I explain.....hmmmmm.
Ok, lets take a piece of square tubing, now weld the bottom of this square to a solid base. Now apply pressure to the side and top of the square. The weak point, or shall I say, points of this square will be the four corners. There is no gusseting strength, the corners will give, and the square will collapse.
Now let's create a triangle. Weld the bottom to a solid base, now apply pressure to the side and top of this triange. Now the actual side plates become a gusset and transfers the pressure directly to the base. The corners are no longer taking all the force as did the square.
Back to the stabilizer bracket. I drew on a piece of angle iron how I wanted to cut so the stabilizer can mount to it without interference. Oops, I cut into the mount too deep.
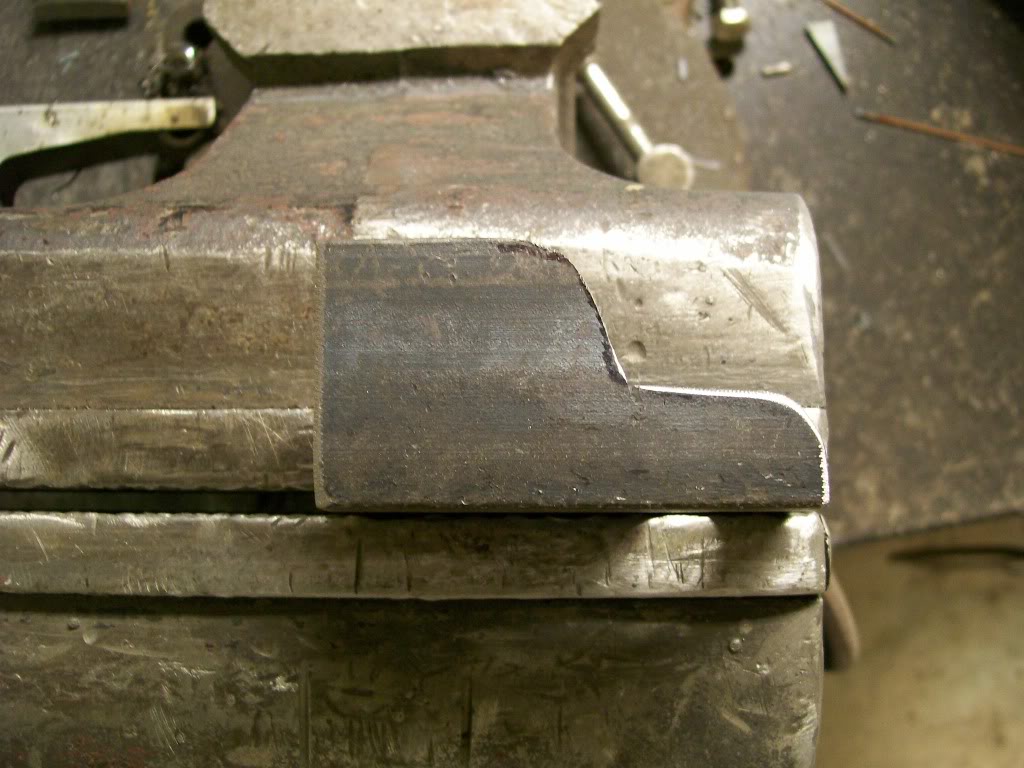
Remember, I have liquid metal. (Mig welder)
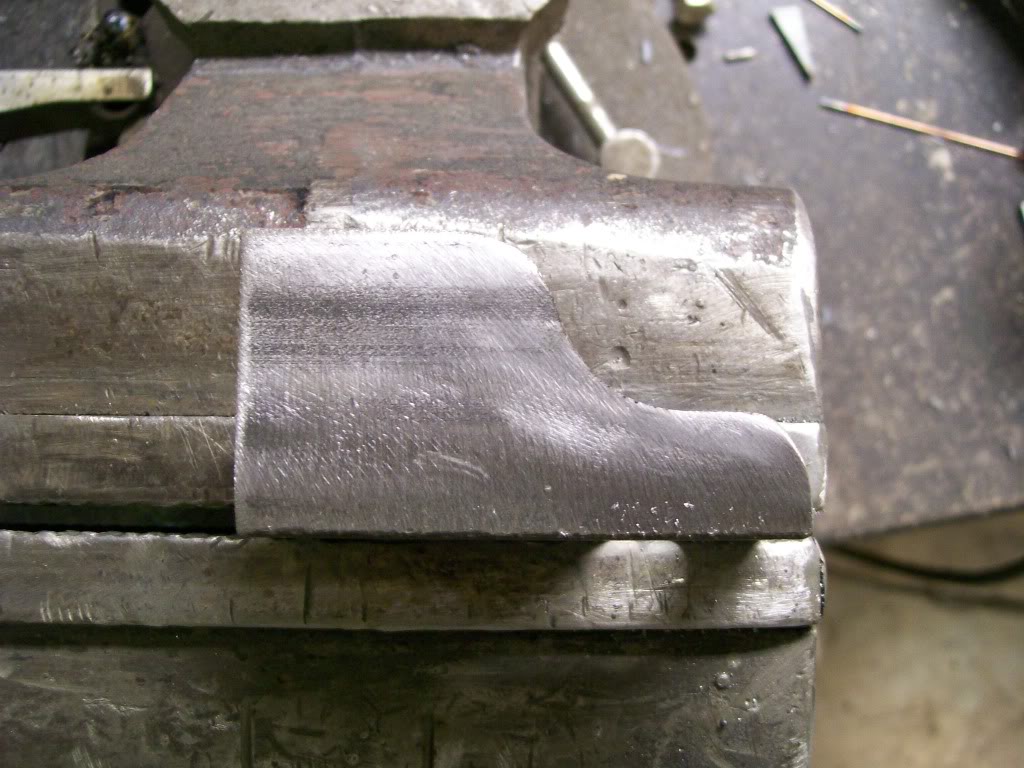
The angle iron has the two sides, I want three. I'm gonna add the third side. I piece of 1/8" x 1/2" will do. Grind away the edges and mount both pieces into a angle support. Once welded and the grinding is done, you'll never know it wasn't one piece to begin with.
Good questions mike, sleep, not as much as I should. That's me yawning/
Your thoughts are valid though. I also said to myself a few weeks ago, "this truck has gone through alot of changes and updates, really 6 months isn't too bad a time frame". Since most of the work was hand fabrication, yes, I'm pleased with the progress, and that I tried not to cut corners is a plus.
Another thing...... The term inspiration has been used to describe the work I've done. I also will use the same word to describe what I've gotten on this end. At any time, when someone posts that I've opened a thought, or a new way of doing something, or someone has been encouraged by this thread, I feel the enthusiasm on this end and want to keep moving forward. We definetly have a two way street going here.
I have to admit, I've never checked the milage. But it's not because of the truck, I've got 2 other vehicles I drive and I've never checked them either. Probably because I don't want to know the truth.
I'm very lucky to live 4 miles from work, I fill my main daily driver about once a month, very lucky.
Thanks for checking in, good to hear from you again.
Comments

Great before & after!
Posted by Diggymart on 1/11/20 @ 4:10:28 PM

Gotta love the Willys! Good job...great build!
Posted by Diggymart on 12/10/18 @ 8:34:21 PM

Ultimate classic truck right there
Posted by CCmyVW on 12/26/20 @ 4:17:42 PM