You must be logged in to rate content!
14 minute(s) of a 620 minute read
11-10-2011
I've gotten used to the yellow shocks now.
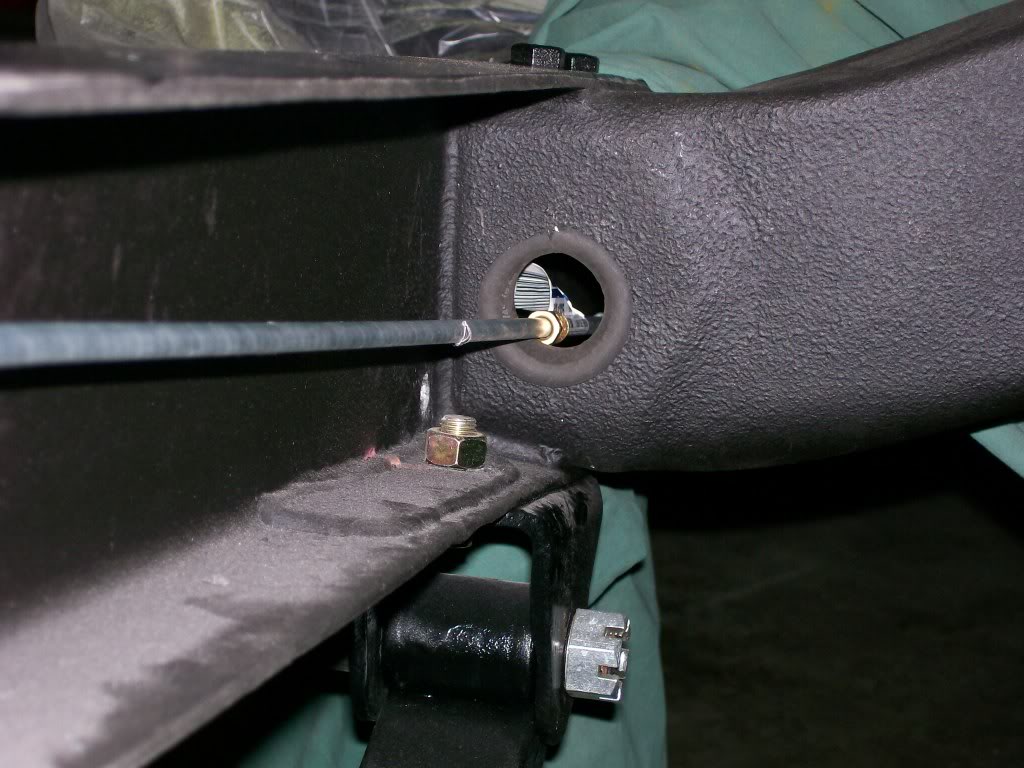
For those who have followed this build, you'll remember I made some pretty bid holes in the cross frame for the fuel line, brake line and wiring. One problem with running tubing and wiring along the frame is the rubbing that the vibration of driving is gonna due to these items.
This first picture is what I was talking about when I made the holes. Perhaps there are grommets made for this size but I didn't want to look for them. Just a piece of 1/4 inch gas line cut length wise works great.
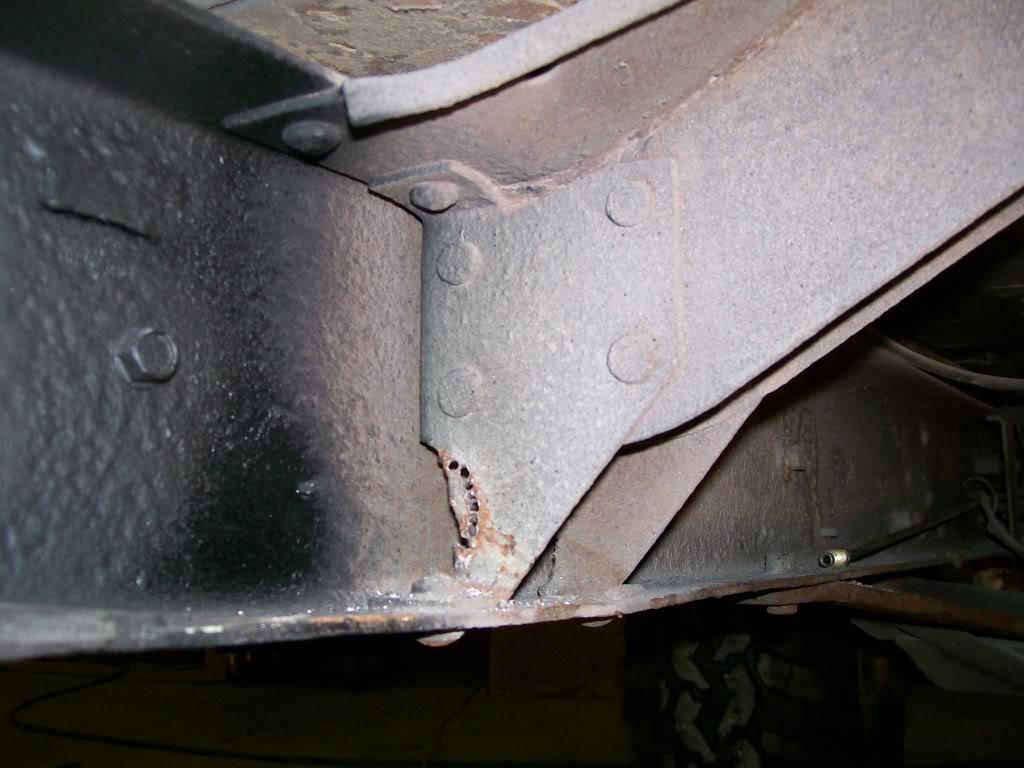
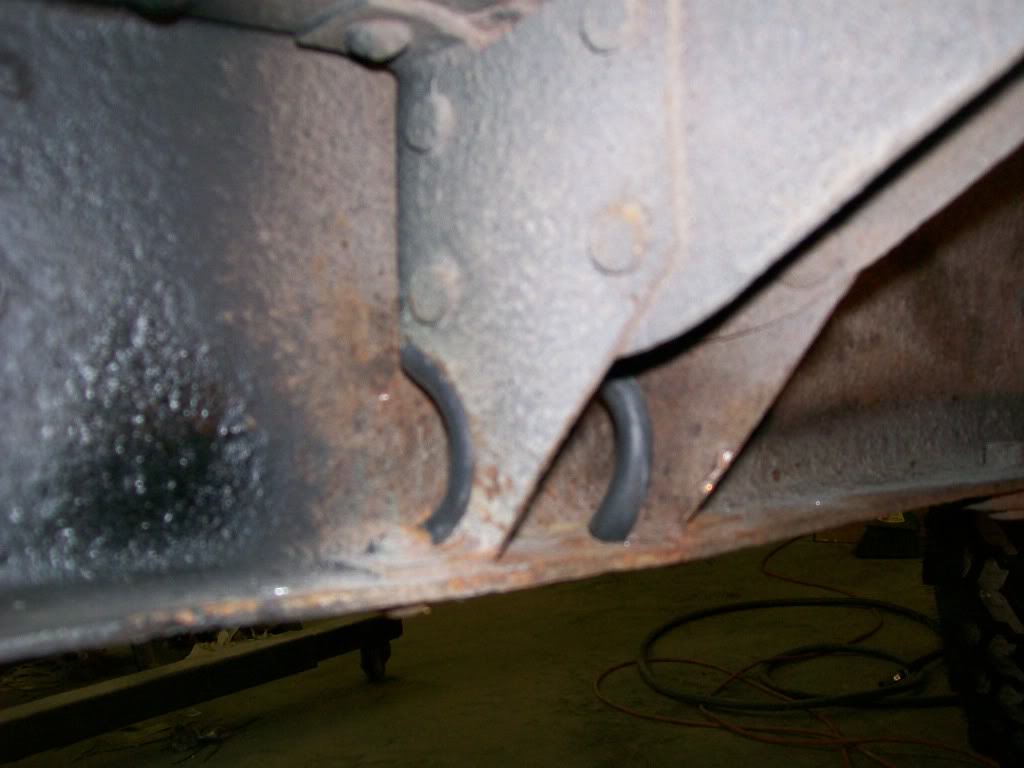
In these next picture I had the same issue, years ago I used a cutting torch for the space to run the lines and wiring. The jagged edges are trouble over time. By using the 1/8 drill bit I am able to create the cut I'm looking for, then break away the weak piece. Then use the round rotary brrr to smooth the edges. Now a piece of vacuum hose cut length wise and we have a save, non-jagged edge to work with. Note.... I'm not happy about removing the material from the cross brace here, but I'll deal with that later.
11-11-2011
While we're doing brake lines and fuel lines a necessary tool will be the double flaring tool.
Double flare, hmmm, difference between that and a single flare? Yes, we'll cover that tonight.
We'll start with the cut brake line clamped into the holding fixture. Clean the end of the line of internal brrrrs with a tapered cleaner. Many line cutter have these attached on the the cutter. The leftover brrrs will mess with the accuracy of the flare.
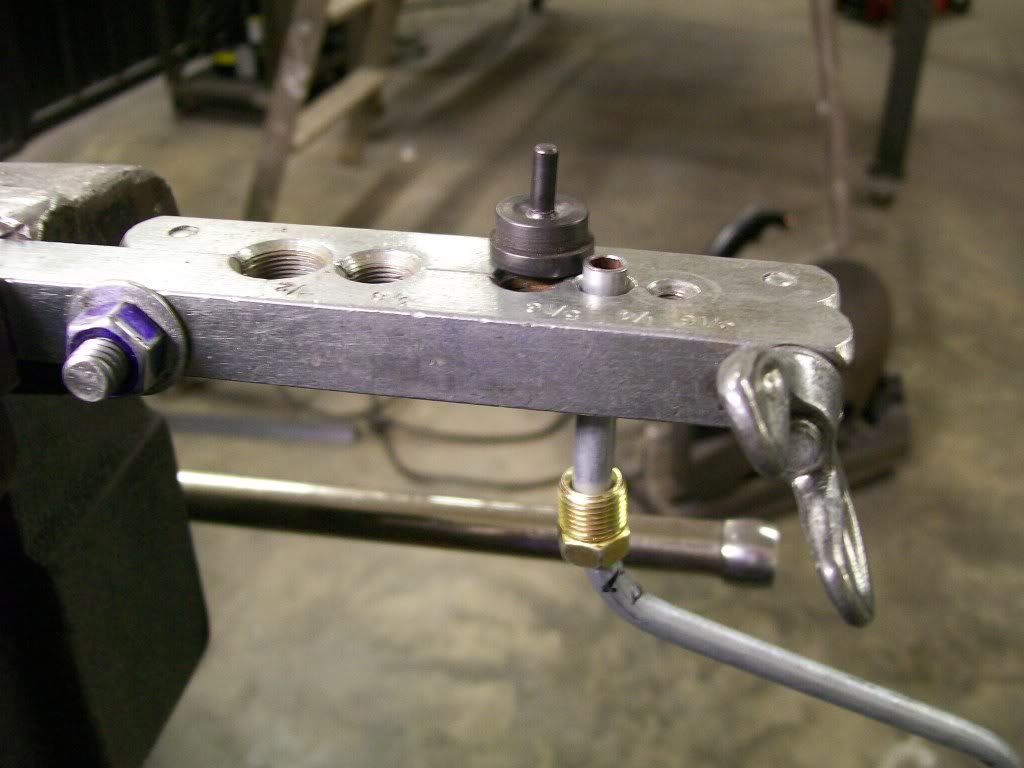
Here is one of the brake lines that followed across the rear axle. The bends have been made and now it's time to cut and flare it to length.
NOTE... It is nearly impossible to create a flare as accurate as the factory flares that come on the line when new. So, always use the factory flares in the hard to get to areas, such as the wheel cylinders in this case. There is very little space between the leaf springs and the wheel cylinders. If I have to struggle with a flare that doesn't want to seat and seal right away I don't want it to be in a difficult area. I am flaring the end that is out in the open.
In a double flare I will put this black adapter into the end of the line. Then I'll put over it a clamp that will force this adapter onto the line. This will cause the line material to start to roll inward.
In a single flare this adapter would not be used, I'd use the clamp with a tapered head and flare the line outward right away. There would then be just a single wall of material creating the flare.
This adpater will create a double wall flare when done.
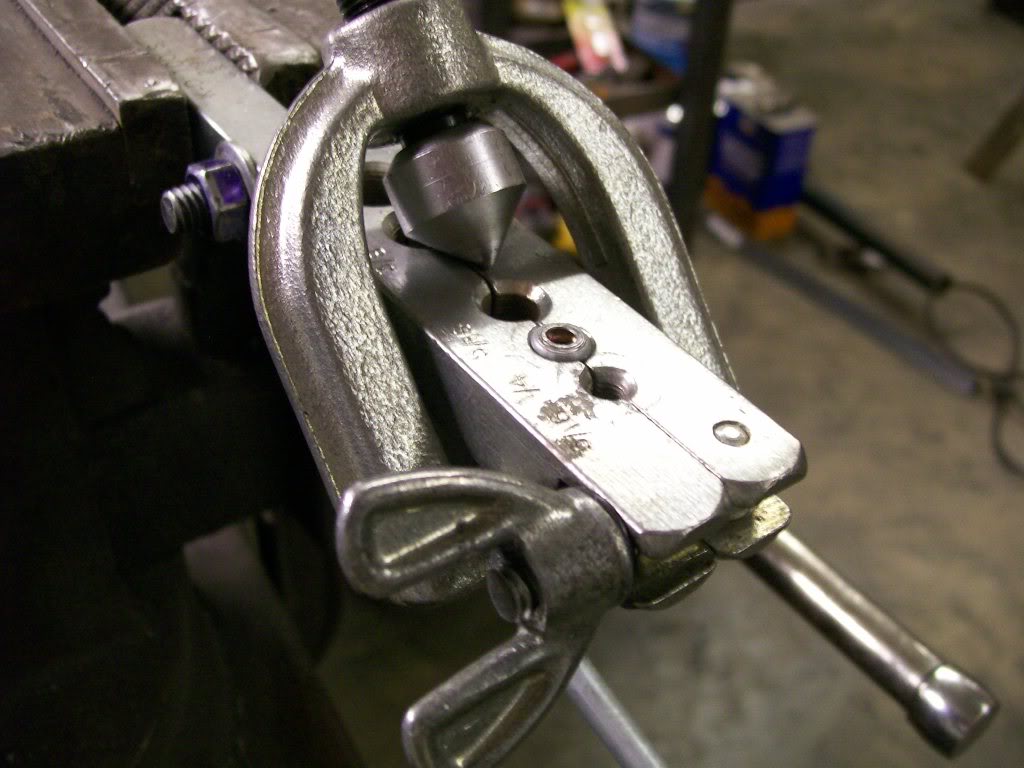
In this second picture I've used this clamp to force the adapter to make a inward roll of the material. Now imagine I use this clamp with it's tapered face and press into the line. With the rolled inward material, it'll be pressed down to meet the outward roll of the rest of the line. As in this next picture.
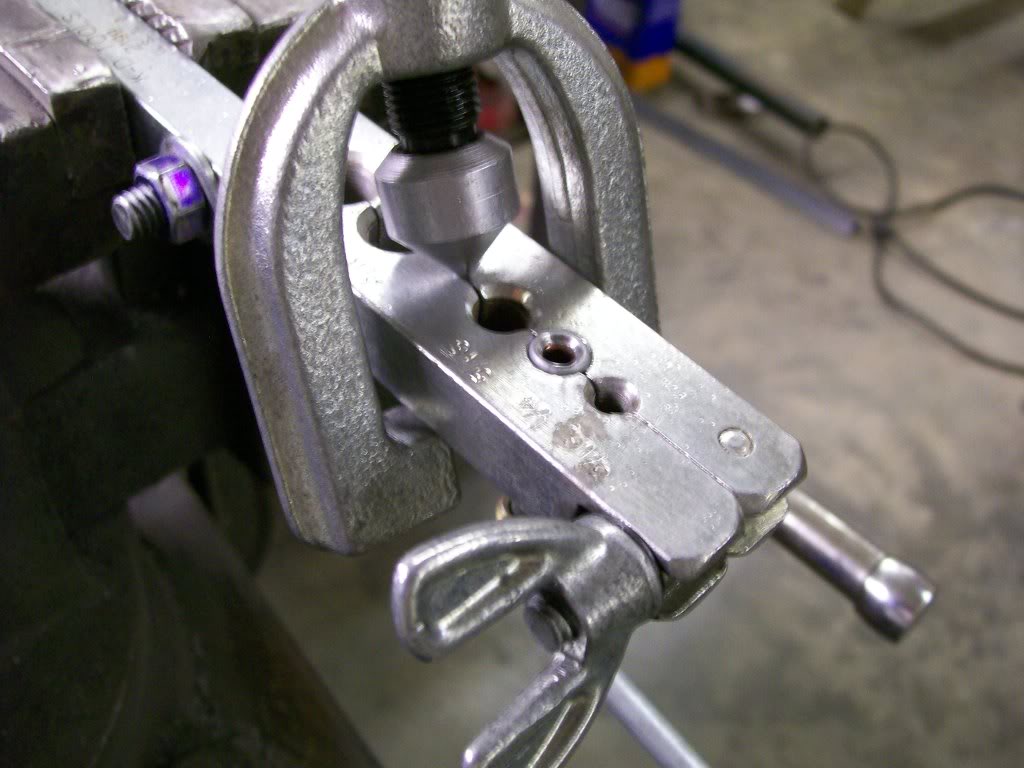
Now there's a nice looking flare.

Remember to have the nut in place before flaring, otherwise you have to cut the flare and start over again.
Also, when you make your final bends leave enough material length so the nut and the amount of line needed to fit it the clamping fixture is there.
11-13-2011
calcium chloride spray, they really don't like ice up there. The unions would be nice to get away from occacionally also.
There was one thing I noticed also towards the spring of last year. I noticed a slight odor of gas, ususally around the gas tank area. Once I removed the tank I noticed where the metal line is soldered/attached to the mounting plate when it goes into the gas tank, it was loose.
The original attchment had come loose after the 40 years. This tank is from a 1972 Monte Carlo. It would be a simple fix, just change the sending unit. But it's not gonna be that easy.
Back in 1985 I installed Stewart warner gauges in the truck, the Stewart warner gauge does not work with the GM sending unit in tank. Back then I bought the Stewart warner sening unit, grrrrr, it's mounting is different that the GM tank. Now I had to cut the GM sending unit off it's mounting fixture, and cut the sending unit off the Stewart warner bracket and reattach the Stewart warner to the GM mounting bracket.
Now, I have to cut the GM sending unit off the new mounting bracketry, then remove the Stewart warner one off the GM bracket I attached 26 years ago.
Why all the work?..... All sending units are not created equal. As the gas raises and lowers in the tank, the float raises and lowers with it. When the float raises and lowers there is an electrical devise on the other end of the float. I believe it's called a reostat(?). Let's compare this to a radio that has the old style turn knob for the volume. When you turn the knob, there are two electrical contacts, as you turn the knob you are changing the resistance which inturn allows more or less current to flow to change the volume.
Same with the sending unit, as it raises and lowers, there are two electrcal contacts which alter the resistance flowing through it. The guage is actually a meter that shows the amount of current flowing through the sending unit. They just attach an empty and full instead of a meter guage. The meter would acually be called an ohm meter, the fuel guage is like an ohm meter.
My issue is the GM vs Sterwart warner work off a totally different resistance range. They are all callibrated to work with each other. I'll make the swith, and I"ll be good to go.
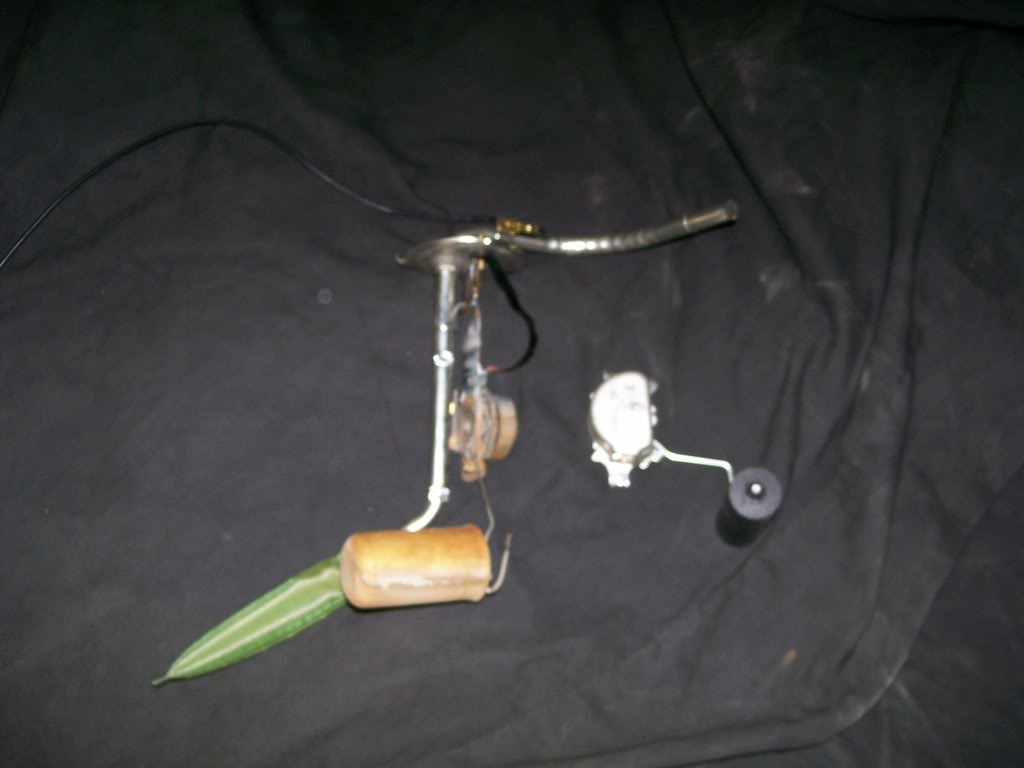
Here is the switch, old electrical sending unit welded on the the new bracketry, and the new sending unit removed, and no good to me.
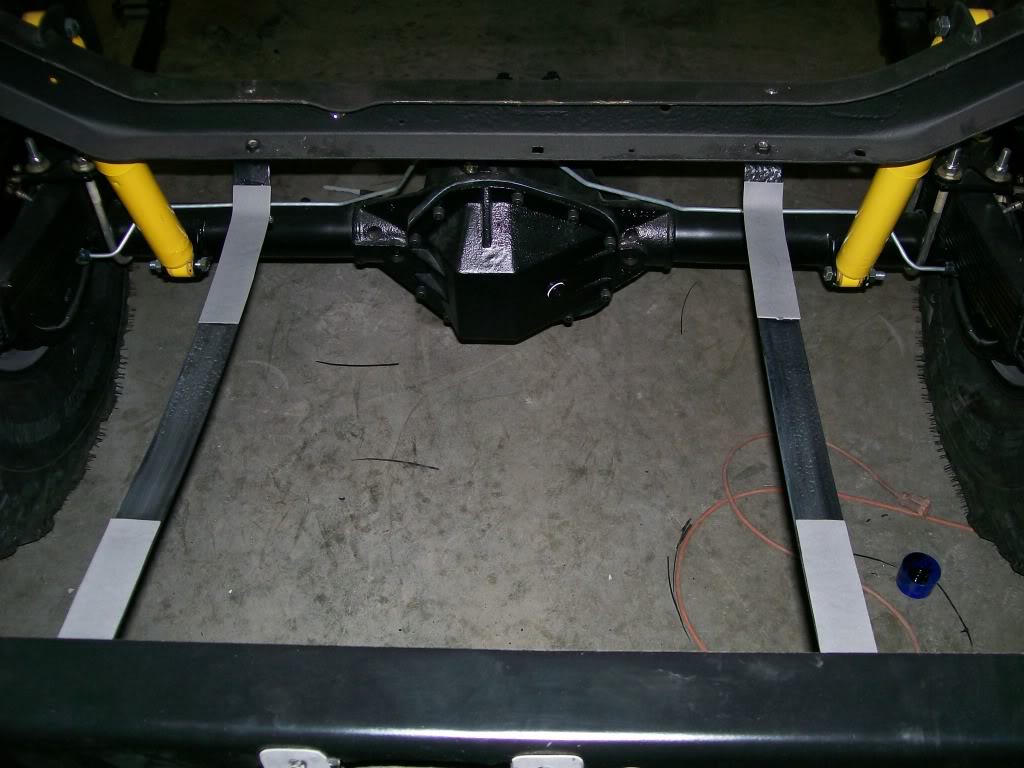
Since we're on gas tank stuff, one other thing I see people do is attach a metal tank with metal straps. As for me I like to see a cushion between the two to eliminate what vibration over time can do. They sell insulation kits, but I wasn't sure of the exact width of what they sell. So I just get a heavy duty gasket material and use a emblem adhesive to hold it in place.
J-Quad, if you aint full of ideas....and good ones at that too.
How about we flash back for a monent. I think this was taken in early june.
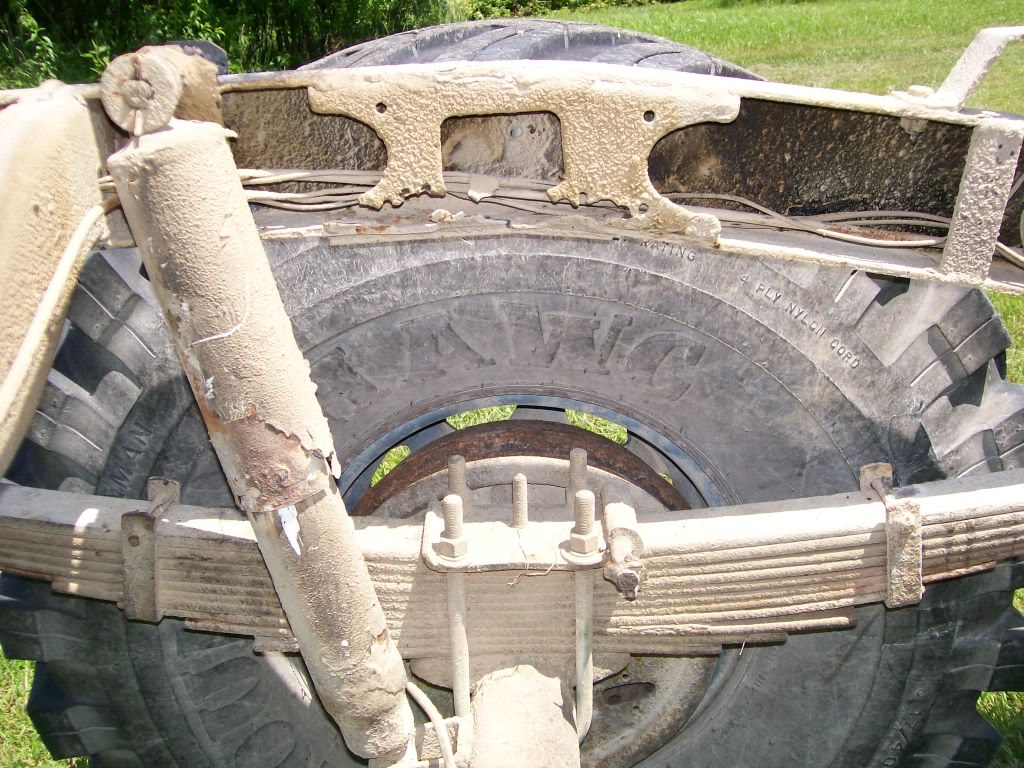
I backed the truck out the other day to drive to another building where the bed was removed. Before I put the bed on I thought I remembered taking a before picture which is above. Now the after pic.
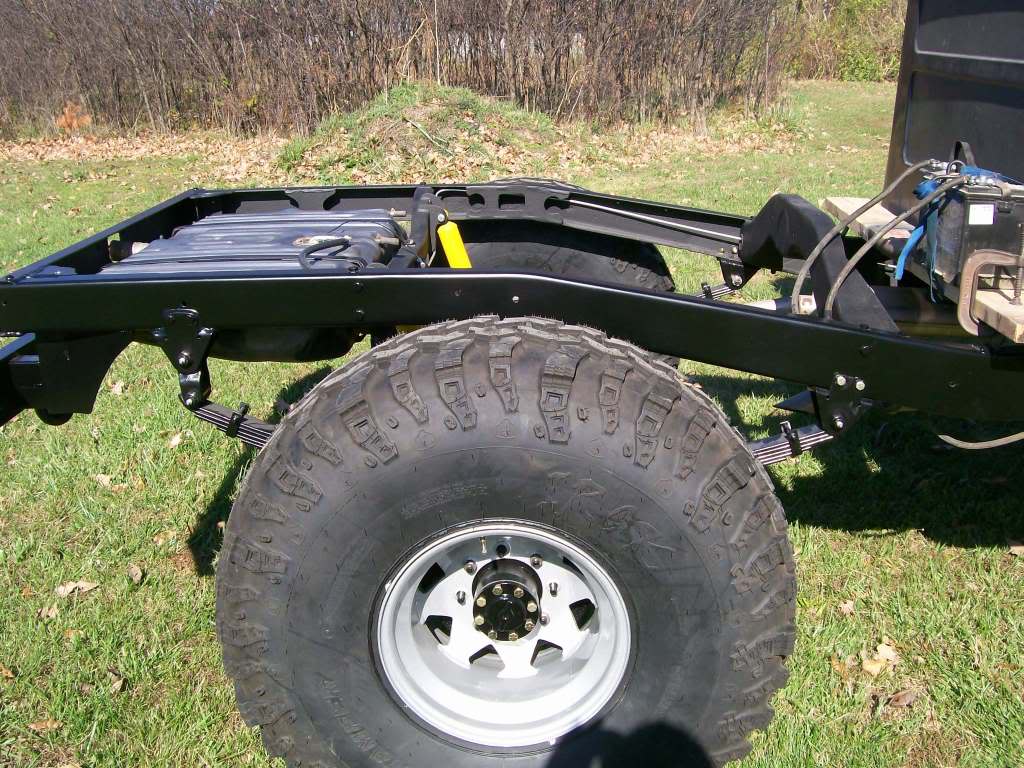
Ok, no suspence. Mind you, the body and bed are in need of attention also. But for now at least I have a foundation to build upon. We can see how it is all fitting together now.
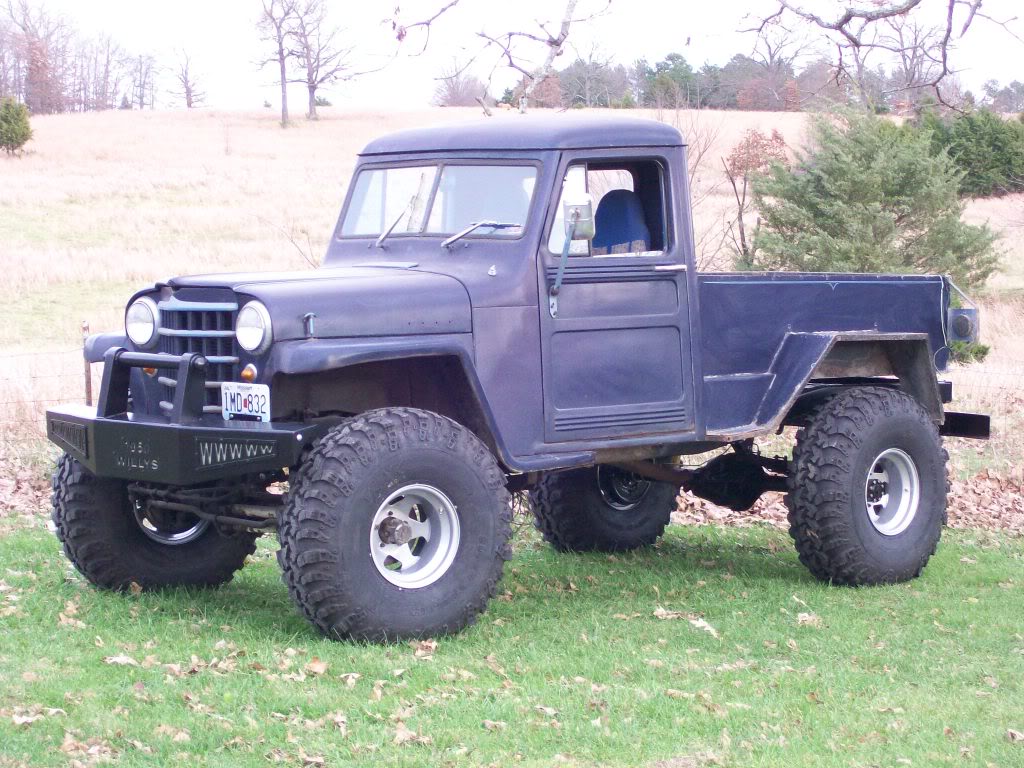
I have no idea if all technical talk and pictures lately has taught anybody anything. But I will warn you all..... you can look at this truck, admire this truck, drool over this truck, but remember, it's just sitting still. Anybody can build a truck for just sitting around. But if it doesn't go, or if you doubt it's ability to go confidently, there is absolutly no fun in driving the truck. Your knowledge is gonna be the only way to make it road worthy, or better yet, off road worthy. Like I said, the schooling maybe boring, but without it, your truck would be boring.
11-16-2011
03GreenGiant, the biggest decision on your uncles Willys will be how concerned about keeping it stock/original. Check into the site called oldwillysforum. They cover alot of Willys truck builds. I think there are more links from there to find parts, old and new.
One place I've used for suspension and body parts is KaiserWillys.com. They have a growing inventory.
Cowboyup94, There are a couple different brake line styles, you are correct.
Are you questioning the outside cleaning of the tank, if so, it was pretty dusty and dirty, so for cleaning I just used some brake cleaner with scotch brite pads. It'll be dirty again in a month or so.

I'll try to get some before and after pics soon.
Otherwise, I still have to change the front leaf springs, should be doing that within the next week. It's just nice having it back together again.
11-20-2011
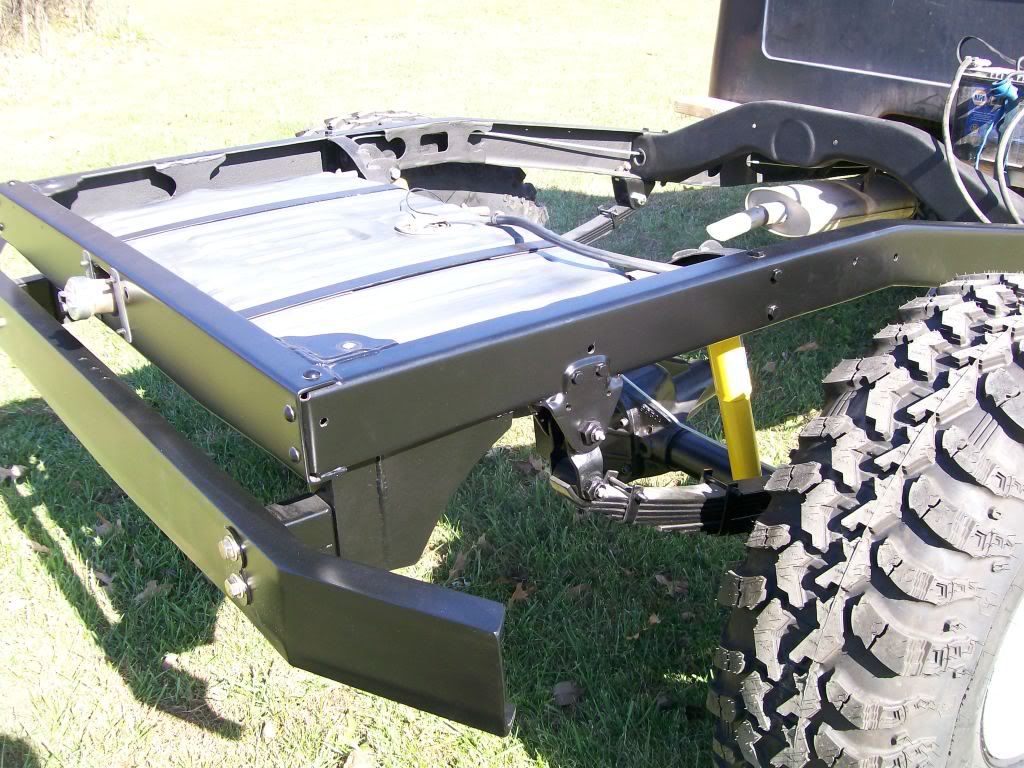
In real time, like over the last couple days, I've gone the next step in securing the life of the painted rear frame. I took 150 grit sandpaper and scuffed the beautiful stain black finish.
With the brake lines, the fuel lines, and putting the bed back on the truck, I noticed a huge difference in the abuse that the inside frame where I sprayed a couple coats of undercoating versus the outside frame where is was just paint, could take without chipping. Hmmmmm.
My temptation to spray the outside of the frame with the undercoating was there, but I was concerened about it's ability to withstand long term UV rays from the sun.
Earlier in this build I was questioned if I was gonna use and bed liner coating. My first impression was that I wasn't gonna do the bed, dahhh. I'm sure the question was perhaps pertaining to using it on the frame.
As I was in the NAPA store the other day I saw some on the shelf, I thought, hmmm, a spray, I thought I'd have to roll it on. I bought the spray can, scuffed a hidden area, and applied it. Surprisingly, the black finish is almost exact to the black paint. I spent a couple hours scuffing the rest of the outer frame and sprayed the frame with it. It's the douplicolor brand, I'm sure it's not the best stuff, but it has added alot of resistance to chipping I've noticed already, so I'm quite pleased with it.
I found a before and after shot to upload, so let's take a look.
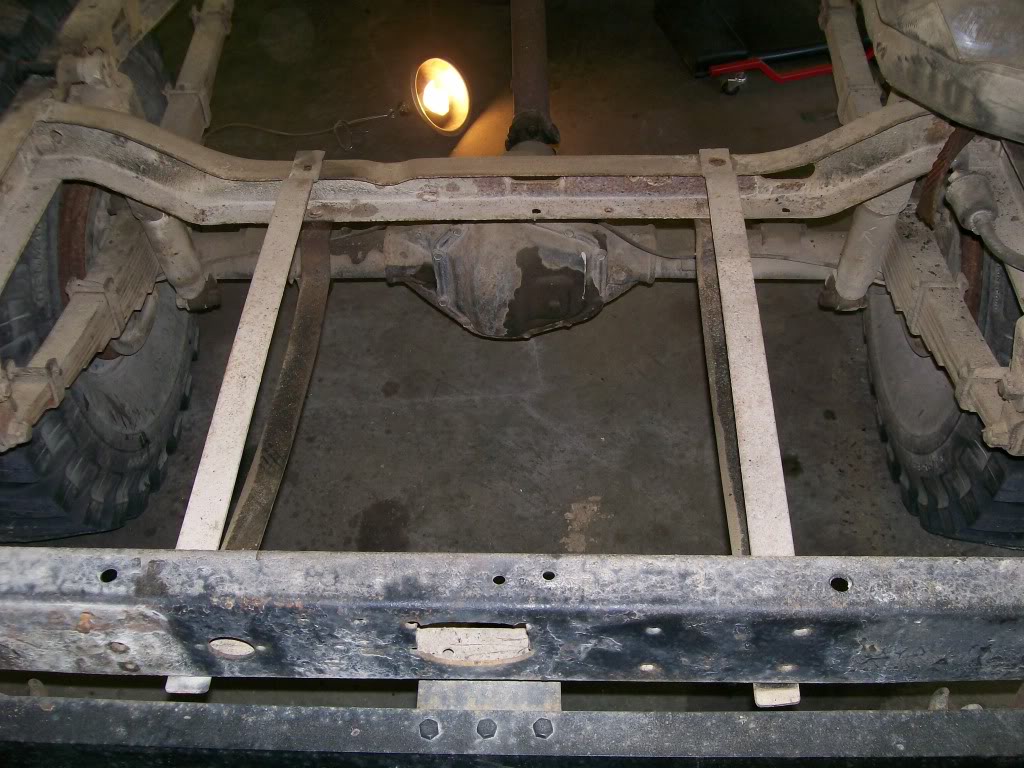
They're not exact shots, but you get the idea.
11-24-2011
Ok 94yjstocklook, I've got some pics uploaded.

Jim1611, I've never used the bedliner spray before. I'm suprised how nicely it layed flat. I notice where the paint would be too brittle and chip, where the bed liner coating will accually flex before it chips.
It takes two people to remove the bed and when I decided to spray the outer frame with the bed liner I had to improvise. I was able to use the engine hoist to get it high enough to place wood blocks to get the bed up off the frame.
Here I got a of coats of bed liner on the frame.
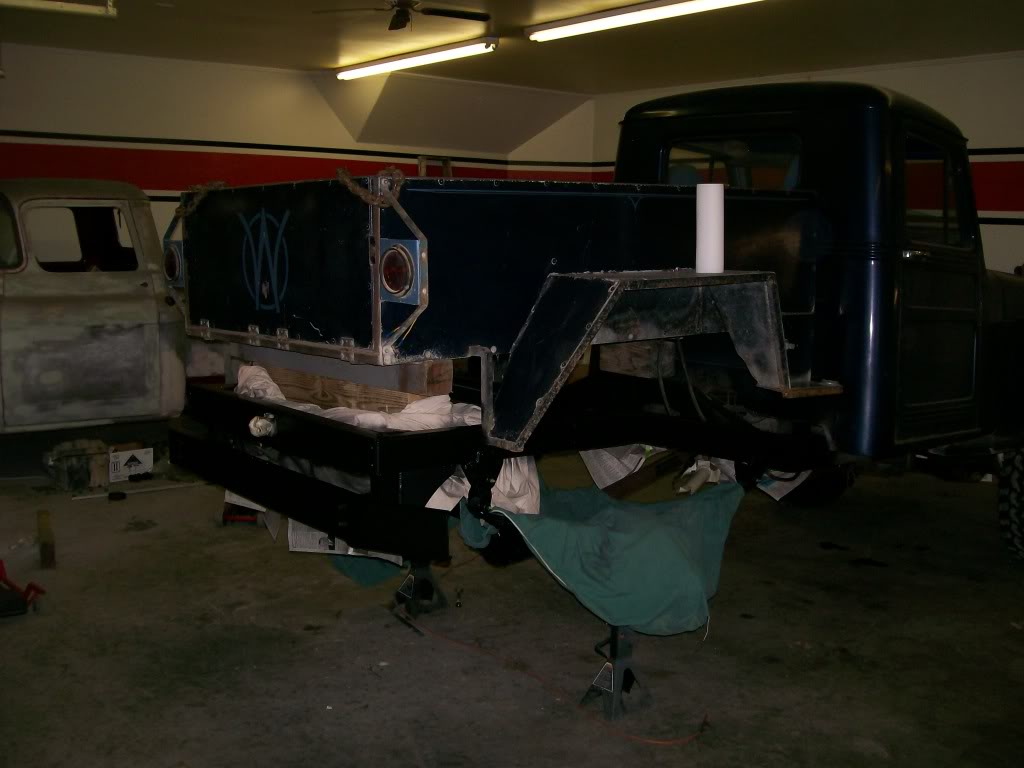
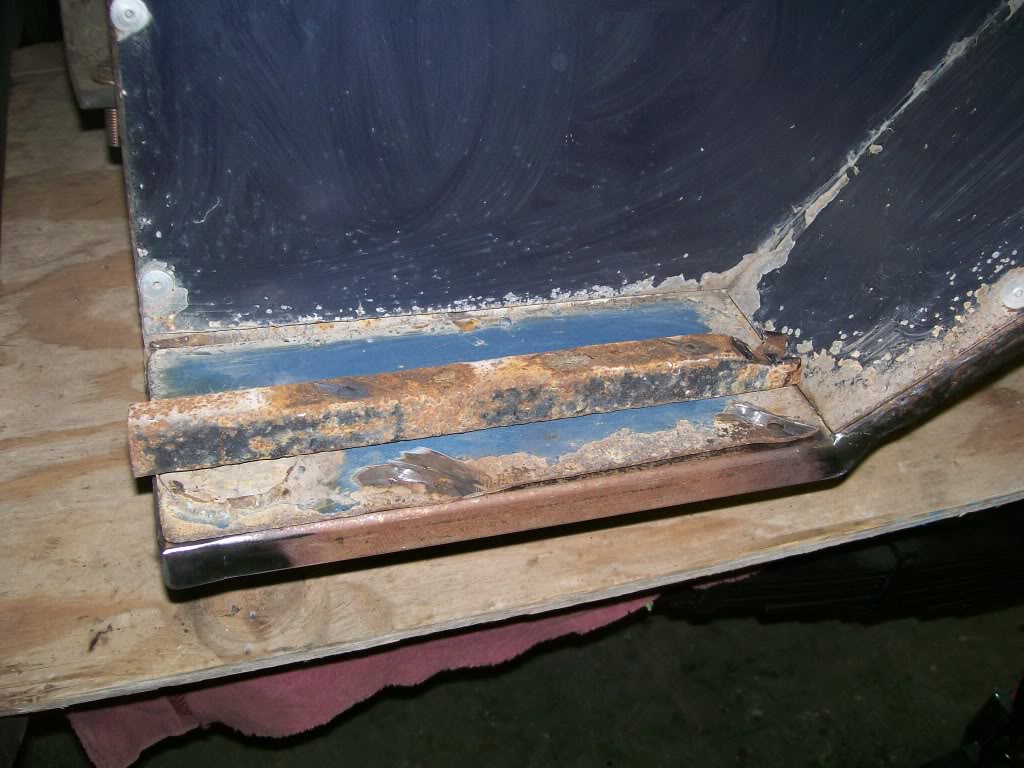
I haven't focused much on the home made bed. To tell you truth, I forgot about it's issues that the bed has til I but it back on the truck. As I've mentioned during this rebuild, it's been fun to see where my abilities have grown over the many years. I wasn't too concerned with closing all the openings of some of the square tubing that made the frame work for the bed frame. I'm paying the price now. Water, mud, salt and dust and dirt ect. has been slung off the tires and got trapped into the open tubes and rusted from the inside out.
This pic it one tube I changed. The new tube is welded in place. I placed the old one in the picture to show the rust out.
I don't want to do more than make the bed presentable right now. I'd like to build a new one someday.

Ultimate classic truck right there
Posted by CCmyVW on 12/26/20 @ 4:17:42 PM