You must be logged in to rate content!
10 minute(s) of a 620 minute read
10-24-2011
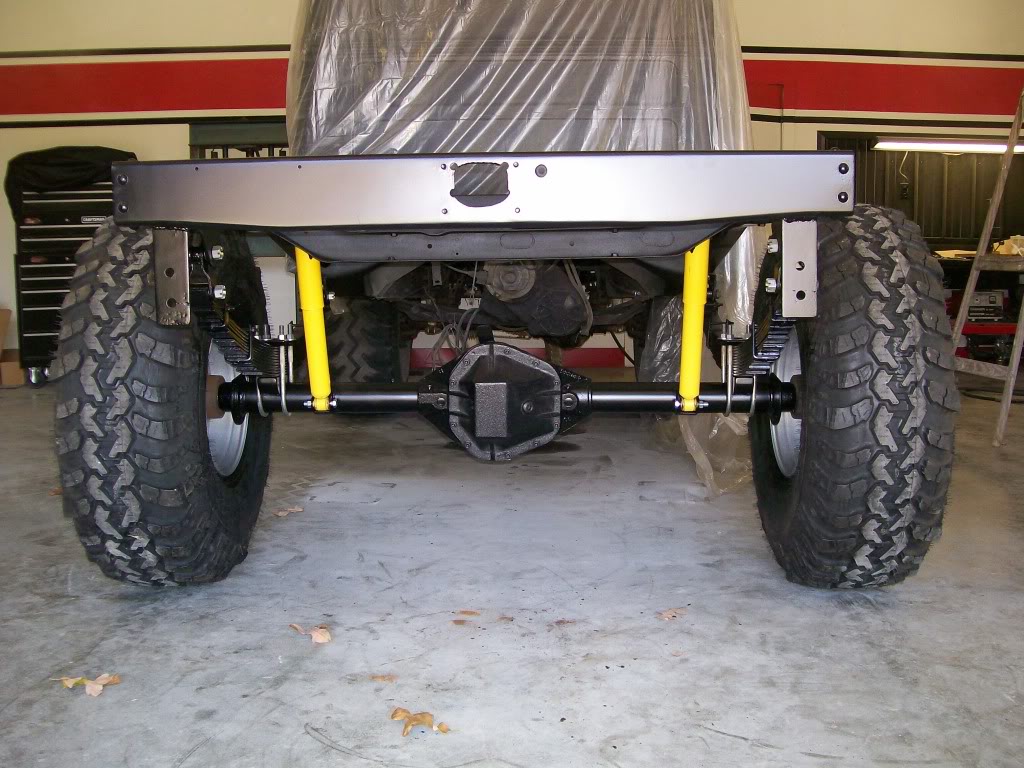
Over the time of this rebuild the rear axle housing has made it's apearances. Tonight it's back again.
A while back I showed a pic where the rust had it's way with the axle tubes, I declared that the pits would ruin the paint work, they were unacceptable.
Short there after was a picture where I was filling the pits in the tubes with body filler. This procedure may have seemed a little extreme to some, but for a couple hours of work the tubes look like brand new.
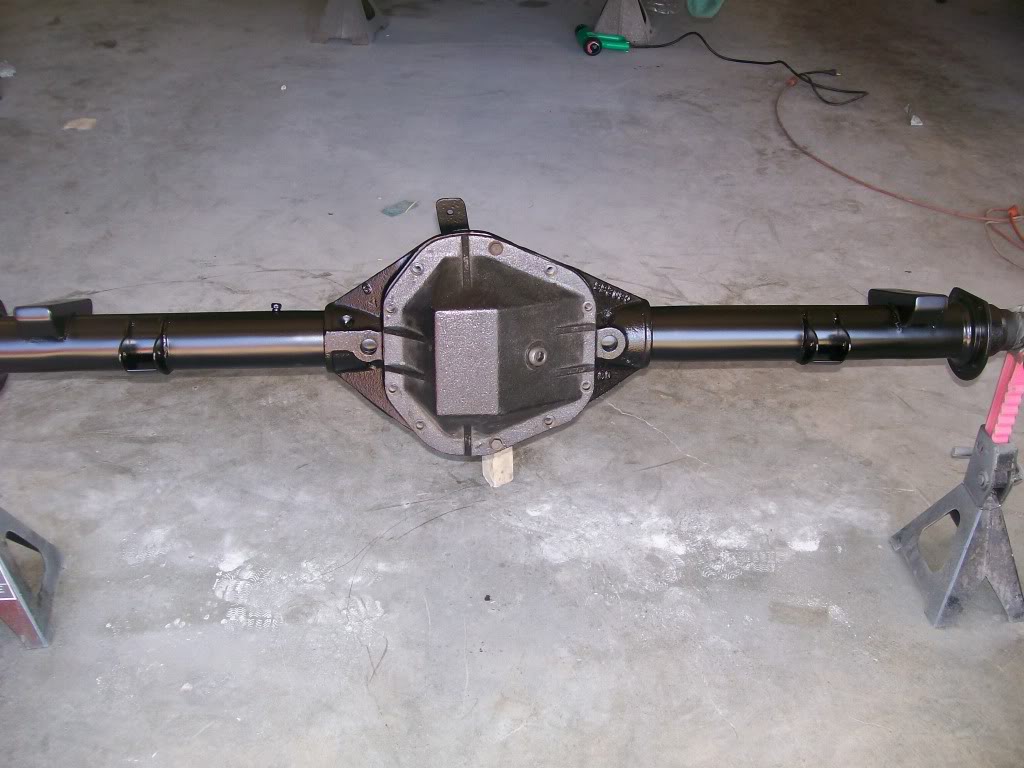
I also mentioned that the rear axle is exposed when everything is all back together, so I felt a different cover would add the the tuff look of the truck. I looked around and settled with a cast iron cover by Body Armor. This thing is a beast, heavy and strong. I think it is good addition to this project.
These pics should show how the axles turned out after paint and how the rear cover changes the attitude of the axle.
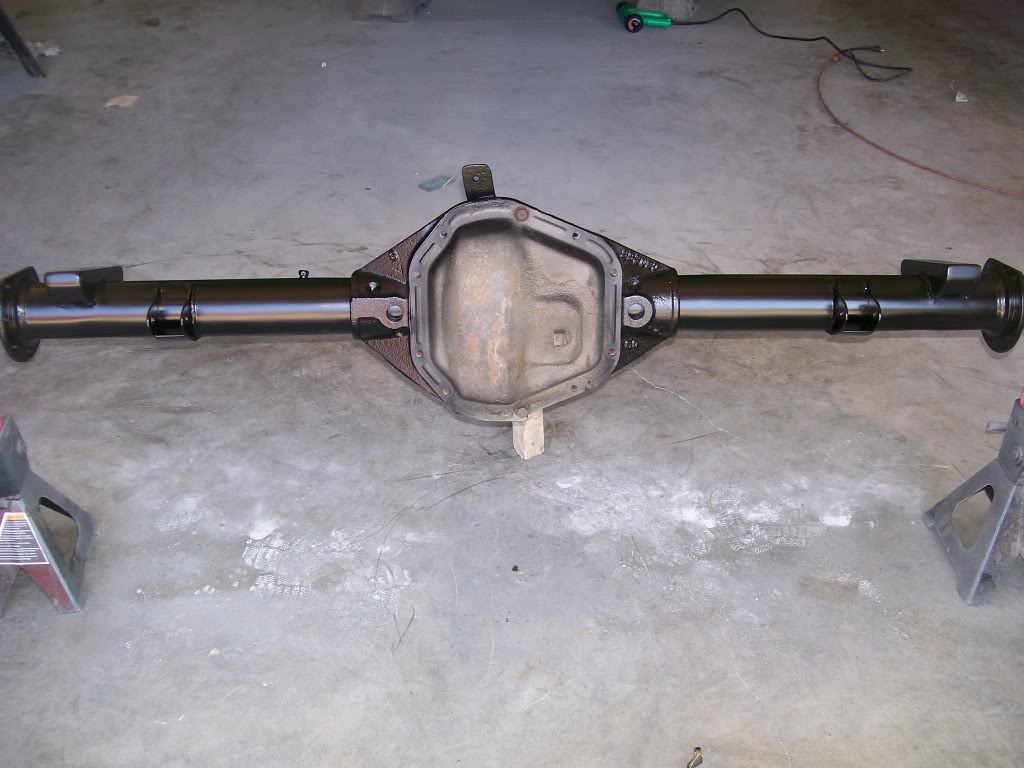
The cover came with the paint finish that is on it right now. I'm probably gonna give it a quick sanding and spray it with the black that I've been using. Dang those tubes look sweet............
10-25-2011
Shall we talk about brakes for a moment. With disc brakes being the way to go in the high performance, aftermarket and even from the factory, we can't forget about drum brakes. They are still very much in use.
At first glance they can make one stumble with the springs and levers ect. If your gonna do your first drum brake job I recommend getting a digital camera, take some pictures, and load the pics on the computer. This way you have the perfect resource on how it all goes back together later.
Fortunatly most of the drum brake work you'll do is on a newer vehicle that rust and time has'nt eaten into the backing plates. I however do have the rust and time issue. So...... here we go again.
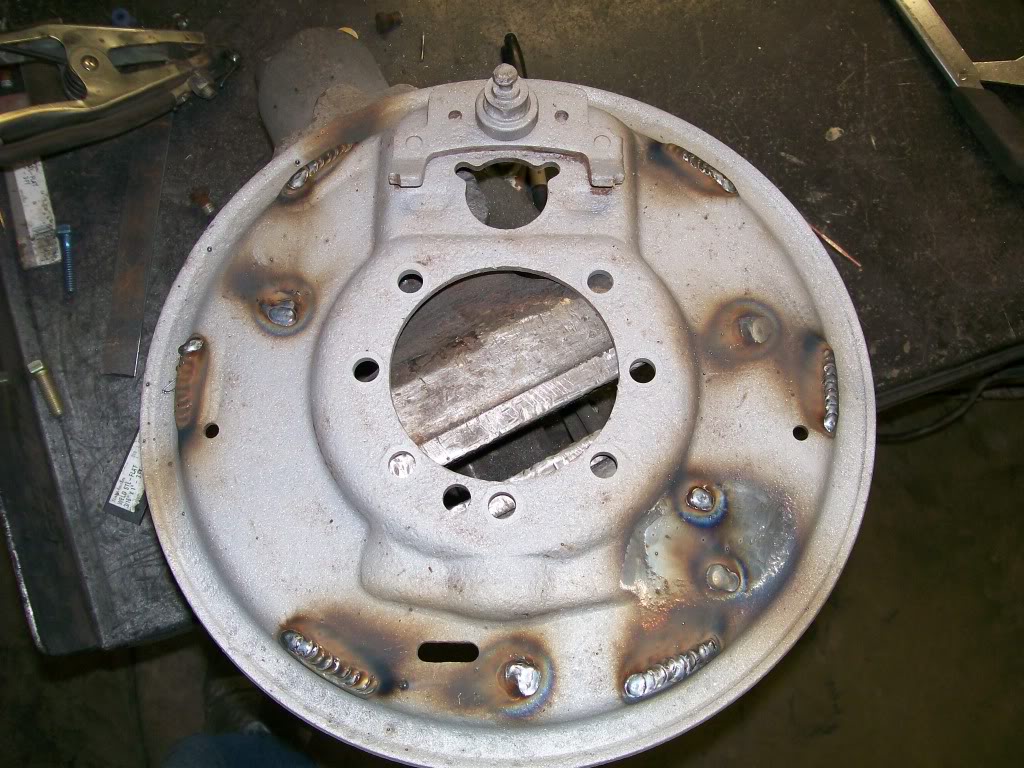
Years ago when I put this all together the plan was to run this truck in the local mud holes. Back then I drilled three holes that I could run water into the brakes to flush out the mud that seeped into the brakes. Now I am welding shut the holes, this accounts for three of the welds in this next picture.
There was a opening where a parking brake cable went through this backing plate along with 2 threaded holes to hold the cable in place, this accounts for three other welds.
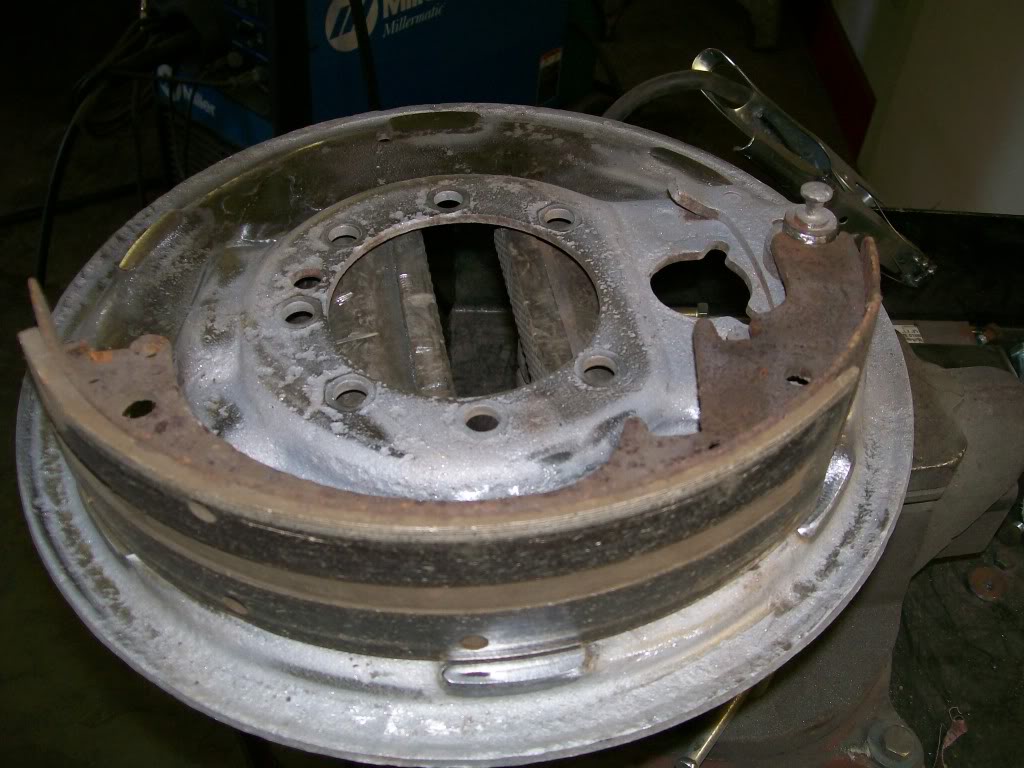
Now for the often over looked spots on the backing plates. Along the outer parimeter there are 6 flat spots that the brake shoes actually rest up against. Three rest spots for the front shoe and three for the rear shoe. There is a constant spring pressure holding these shoes tightly to the backing plate. Now along with the rusting issue and the spring pressure we also have the back and forth movement when we apply the brakes. With all this force and movement the metal frame work of the shoe grinds it's way into the rest spots of the backing plate. This grinding eats away and leaves grooves in the backing plate and the shoes no longer have smooth surface to rest and move back and forth on.
These grooves will cause the shoes to always want to return back to the same spot, even after the shoes wear, they still want to settle in the old grooves. These grooves also fight the natural movement of the brake shoes when applying the brakes.
This first pic is the many welds required to fill and patch the backing plate.
This next picture is after the grinding. I placed the old shoe on the plate to show the three spots where the brake shoes rest.
Every once in a while there are steps along the process that are very up lifting.
I'll get back to the brake work again, but this picture has to be posted.
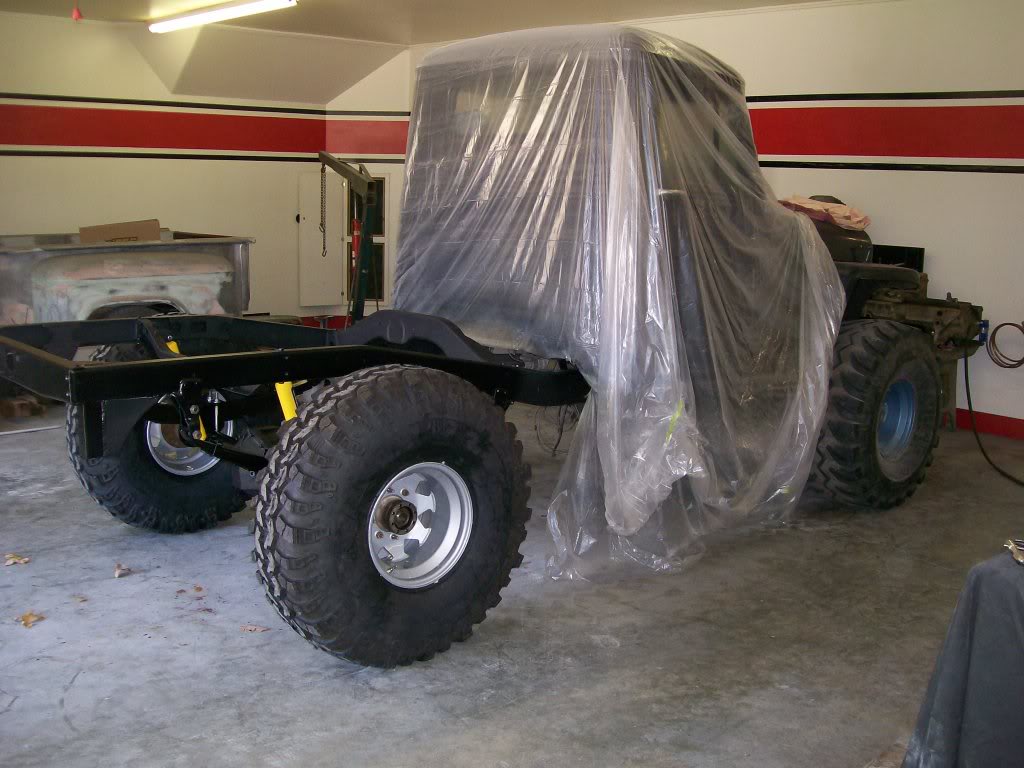
After the rim hassle, the rear axle work, the rust and scale on everything. The old springs, the shock mounts that I didn't like. This is where the project is heading now.


10-26-2011
Ok, let's get caught up here.
Tubes, I said tubes, the tubes are sweet.
As for disc brakes, yes they are superior in most situations. I could probably find an aftermarket conversion kit. But for the most part, this truck has always been a work horse more than a running horse. Only once in a while it sees much extreem hill climbing or high speed stopping to require more than I have now.
I do have to chuckle now that I reflect on it's past. When I say extreem usage, when I compare it to a stock truck, it does do extreem work at times. I take for granted where I've gone in this truck knowing a stock one would be hung up and high centered. I think I'll go out and give it a petting on it's hood when I get back to the shop.
As for the tires, 40's, yes, well 39.5''. Strange thing is, the Ground Hawgs advertised 40", the Super Swampers advertised 39.5". I knew I was gonna loose a couple inches on width, that is ok with me, I go into the woods alot and I could use a couple inches of clearance. But the Super Swampers turned out to be about 1 1/2 " taller than the 40 " Ground Hawgs, hmmmm go figure. Anyway, I like the slightly larger diameter, and the narrower tire, all is good.
This thread will continue to the front section. Only after I use it through the winter, it has winter time chores to do.
And thanks for the compliments also.
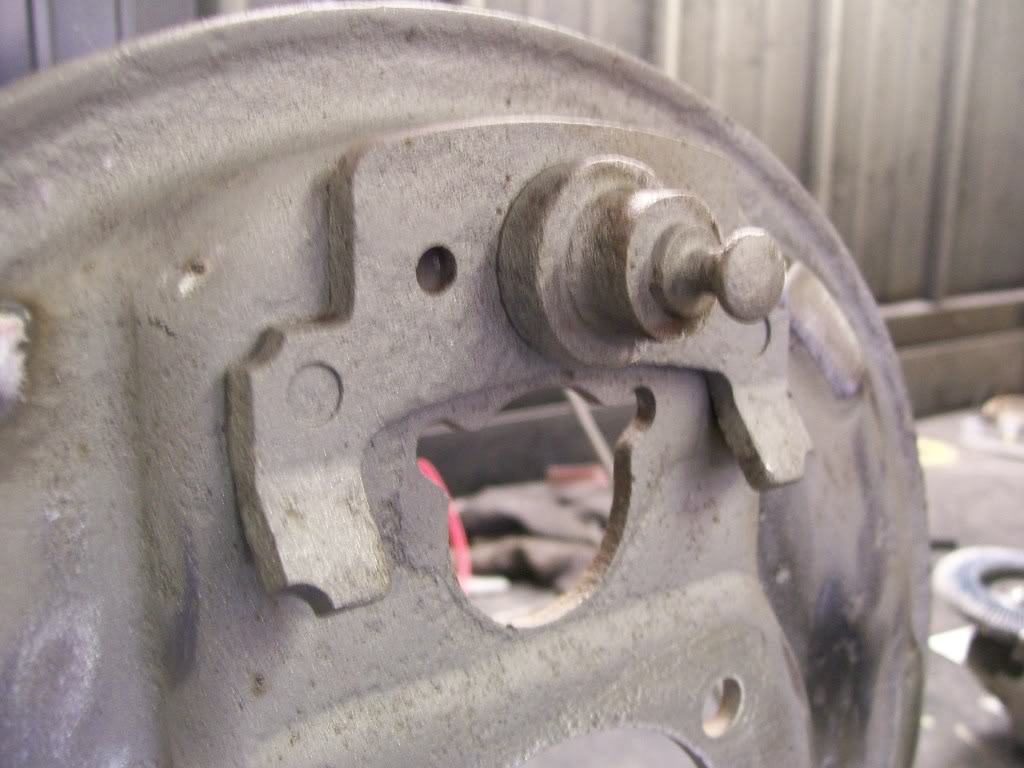
Back to the backing plates for the brakes. Last time I covered the need to weld and fill the 6 wear points where the shoes rest up against the plate. There is one other area that very rarely needs work, but mine did. Hmmmmm imagine that.
In the last set of pictures you can see how the shoe meets this pin.
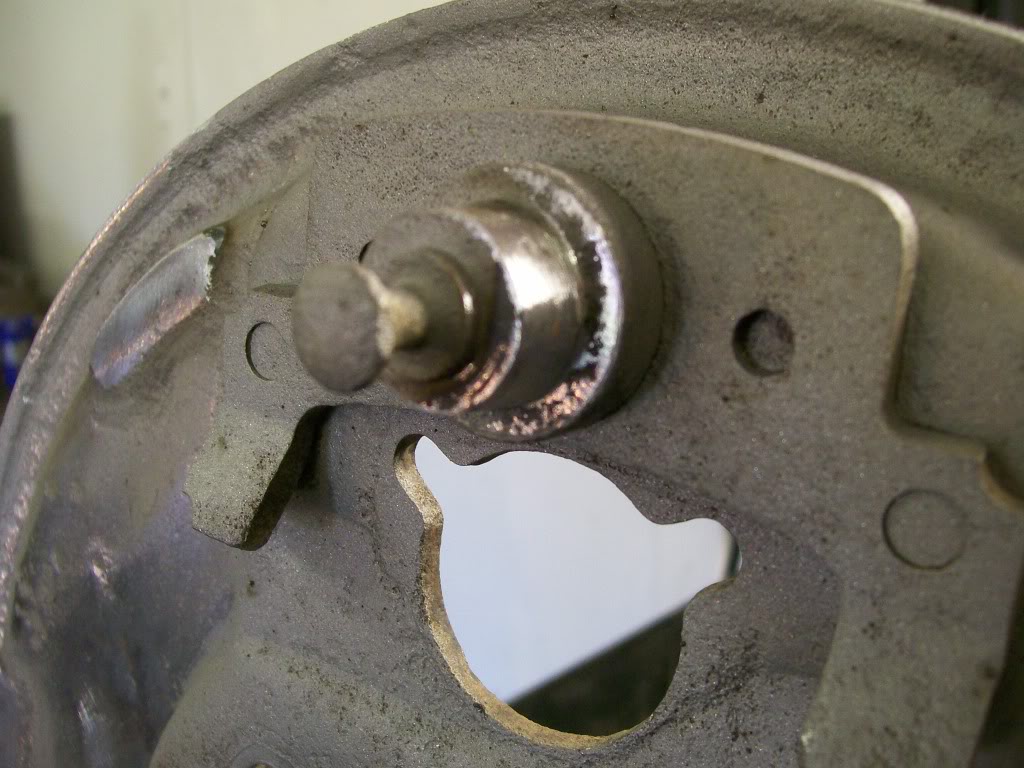
There is a pin at the top where the shoes stop when the brakes are released. The return springs always pull the shoes back to this resting spot. Over the years once again rust, and vibration has caused this pin to be eaten away over time. Now the shoes, when returned to their resting spot actually come closer together. This doesn't seem like a big deal, but it is. If the top of the shoes come closer together, that means the shoes are also pushing the wheel cylinder pistons deeper into the cylinder, which means it takes more fluid to get the shoes out to make contact with the brake drum. Yes, there is an adjuster at the bottom of the shoes, but this doesn't make up the difference at the top of the shoes.
You've seen me use the words "liquid Metal", when using the mig, here I go again. I want to fill the worn away areas, but being very careful not to distort the original sizing of the pin. Of couse I got out the 4 1/2" grinder and had to do some hand filing also.
And the other side when finished.
And for desert, another look at the beast.
10-27-2011
I'm still working on priming and painting all the small odds and ends, sometimes in seems to go on and on. I do know it's the patience at this time where I want to just start bolting everything together, but I have to STOP!, I know I have to maintain the details to the end.
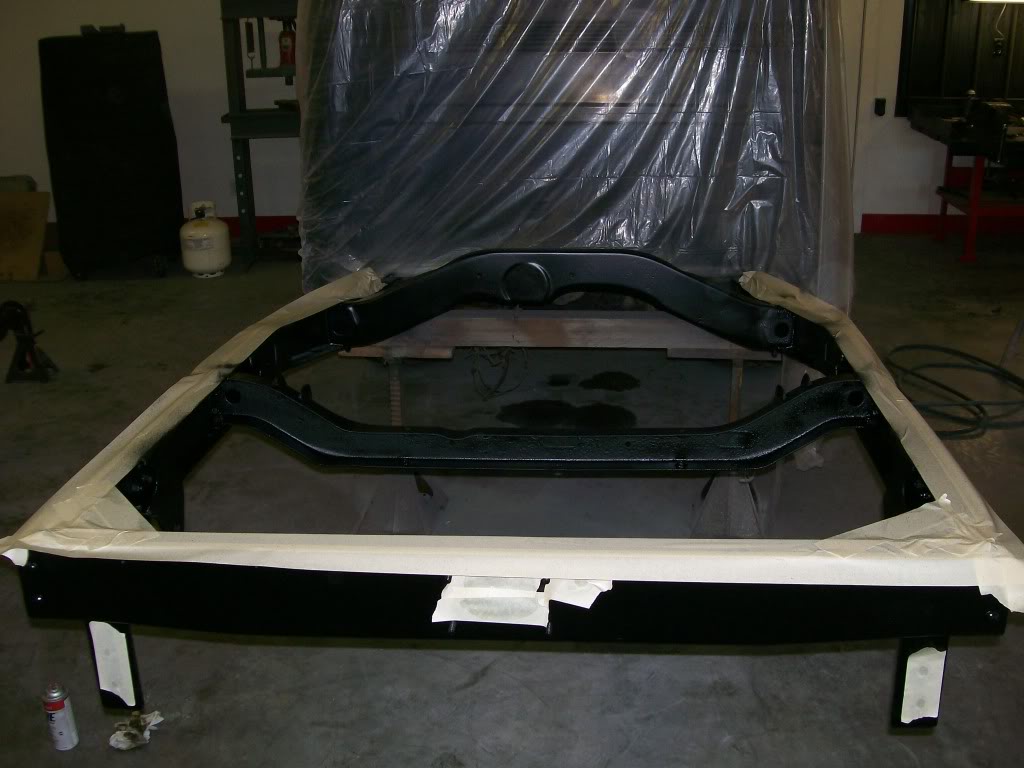
The paint has had a couple weeks to dry so I taped off the areas I want to keep painted and smooth and sprayed undercoated the inner frame areas to keep the rain, salt and crud from rusting the frame again.
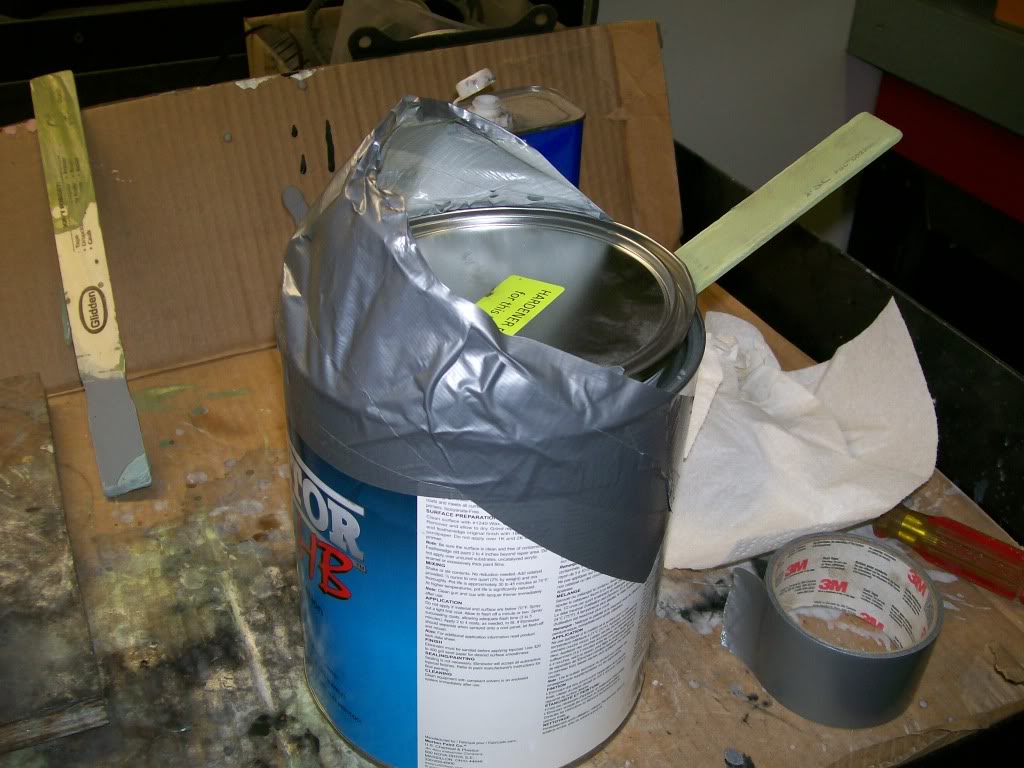
If there is one thing I hate doing, it's trying to pour from a full gallon into a quart size container. In my case I'm trying to pour into a plastic measuring container which is worse yet since in has no weight to stay in place when I pour into it. So I started this trick many years ago. Grab the roll of duct tape and create a funnel thingy.
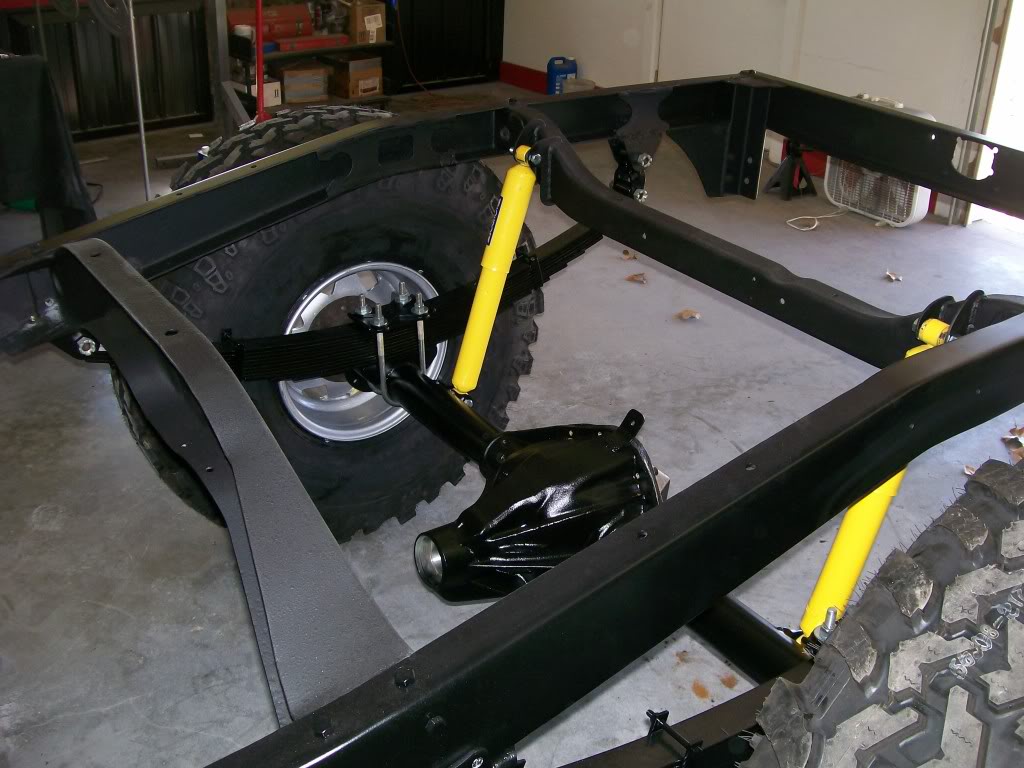

Ultimate classic truck right there
Posted by CCmyVW on 12/26/20 @ 4:17:42 PM