You must be logged in to rate content!
13 minute(s) of a 620 minute read
10-5-2011
Yeah, the truck has to be happy, I know the owner is.

 I've purposly kept from looking under the truck for years. Now I'm looking forward to sliding under it once in while and remembering the work I put into it.
hallsofstone, you know the reason I mentioned it, been there done that.
 It really requires a plan of attack when painting. One thing I didn't mention is to know which way the air is going to flow through the shop if using any kind of exhaust fan. Try to start closest to where the air comes across the vehicle first. This way it will lessen the amout of overspray getting on panels you already painted.
herbiehind, it's the kind of shop you don't mind spending some time in. Thanks.
The rest of the truck will get body work and paint. The cab will come off the frame too. But all this will be sometime next year. Right now it's just a matter of saving what I have before the frame gets twisted out of shape.
RCB, thanks for checking in.
Couple pics of the wheels off this truck. I had the rear tires removed from the rims while the priming is going on. Planning on perhaps a charcoal metallic finish. So the rims are gonna be painted silver.
The timing is perfect to display the need for a commonly over looked step in painting. The etching primer of which I just used on the frame.
I had the front and rear rims made special for this truck. Once done they sprayed a nice coating of primer on them, probably for shipping reasons, but they sure looked good with the primer.
Well I knew better, I knew even back then that I should sandblast and etch prime, but the primer looked sooooo good.
So I simply scuffed the surface and sprayed on the light blue. It didn't take long I noticed a bit of lifting of the paint. A loosening from the surface actually.
I did a quick sandblasting on sunday, just enough to remove the paint but not clean down to the metal. You can see without a primer that bites into the metal the rust can grow and spread under the paint as what happened here.
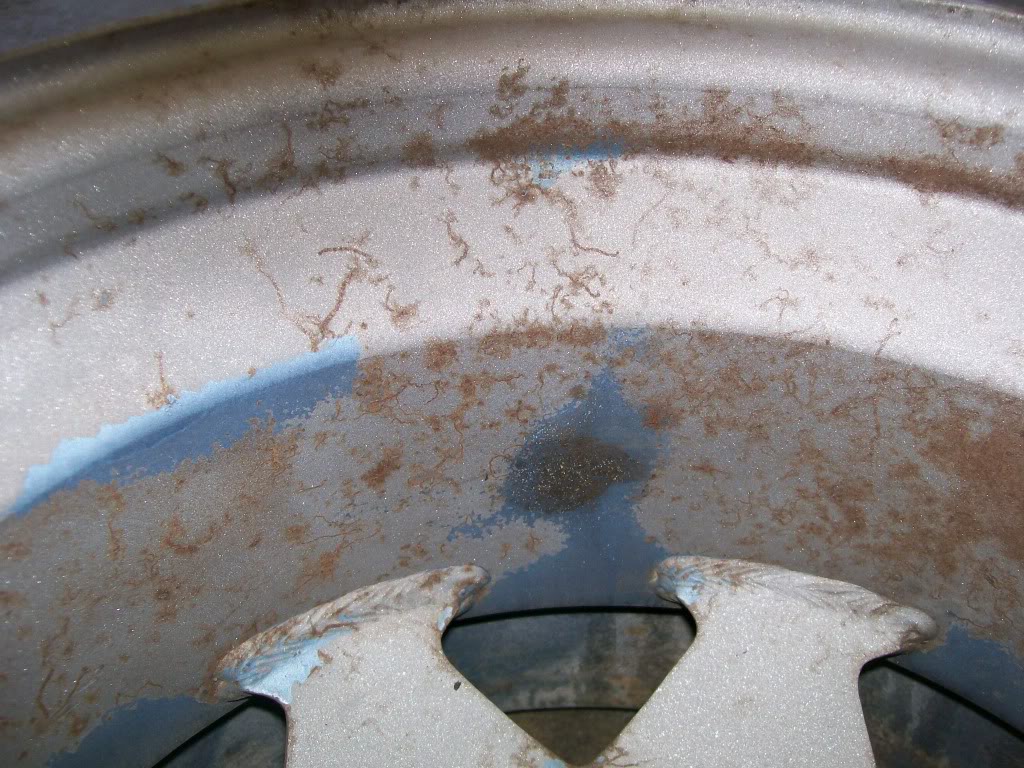
Then here is where I love the sandblaster. It's like starting all over again with brand new rims. And a look at what was....
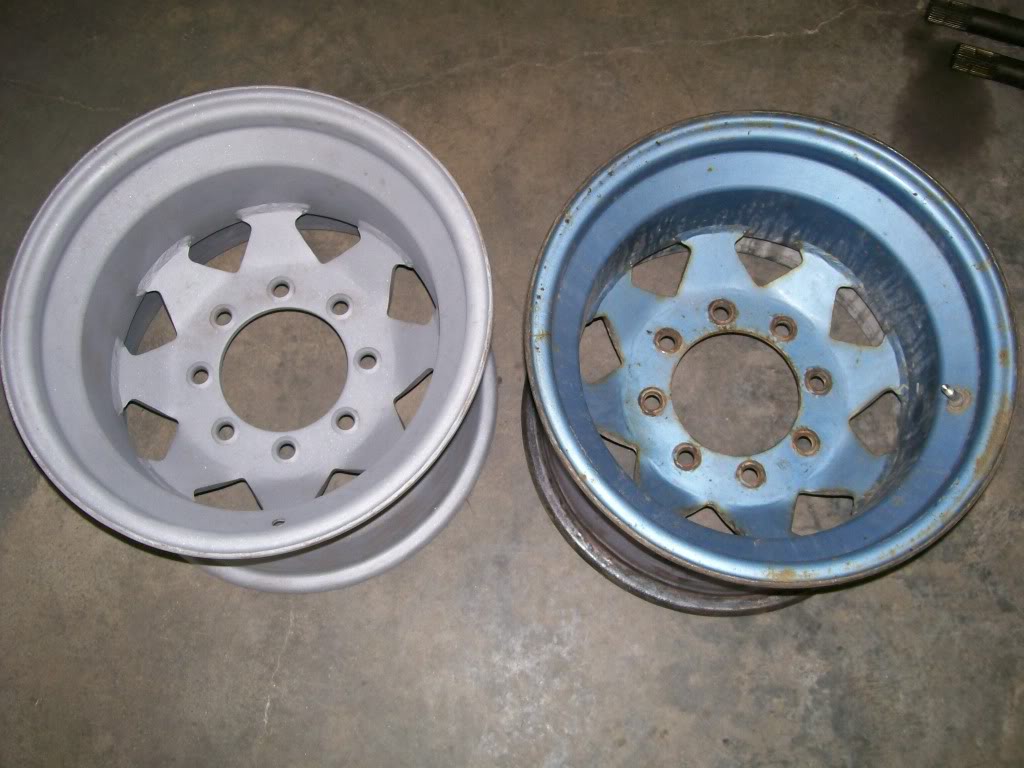
10-6-2011
Yes, you can still use an etching primer, at least with ones I've used.
Caution to always read the directions on labels.
Good for you to cover all the priming bases. Before you can spray paintyou do need to spray a primer surfacer before painting. This is a good thing anyway because in most cases you will want to block sand to fill any low spots.
Most the etching primers I use, and have used, mentions usage on bare metal and bare aluminum. When it comes to applying over painted surface it reads that when applying on a painted area "sand the finish to a feather edge".
Fether edge is merely sanding the existing paint around the repair back away from the repair in a fashion that the paint is sanded so that you cannot feel an edge where the bare metal meets the paint. Usually this procedure, where the bare metal is, to where you stop the feather edge is about an inch of sanding back away from the metal.
The etching quality in the primer is not like the acid bite in battery acid or if you've ever seen what DOT 3 brake fuid will do to paint, It's just enough to latch onto the metal. Now, remember, we use aluminum paint guns, so clean the gun immediatly when done.
Ok, there is another common product for bare metals. This product is epoxy primers. I've read a few product write ups, but I'd like to see and hear from someone who has used it. I'd be curious of it's sandability, does it work on repair work, and what's it's dry time.
I do have a fiberglass car to work on in the future, I believe at that time I will have no choice but to use epoxy on it. I do look forward to giving it a try at that time.
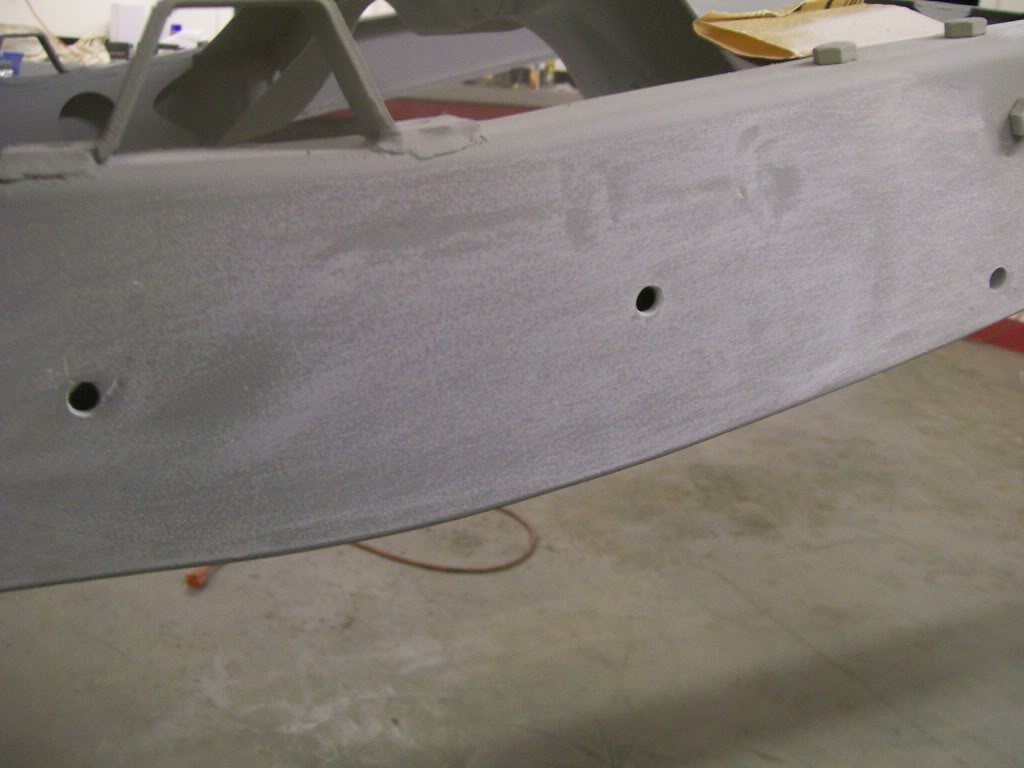
Got a couple pics tonight. Two sections of the frame. The first is a picture of the pits from age. Although I sprayed extra primer in some of the areas I knew would need extra fill to smooth the pits. There's just too many to smooth them with out 2 or three more coats of primer, then block sanding.
Our next choice is the use of a glazing/spot putty. This is my choice, I can save time and money by simply spreading a layer over the needed areas, sand, then reprime. If you go looking for a glazing/ spot putty you'll find two main kinds. One, just squeeze it out of the tube and apply. The other, squeeze it out of a tube, mix a hardner, then apply to the project.
Do not, I repeat, do not use the first one. Only use the second one, the one that requires a hardner. The first one dries by air, not good, once the outer layer dries, the middle of the fill takes forever to dry. Then when it does dry, it will shrink over time and show the repair area later.
These areas are real noticable since I've run sandpaper over the area.
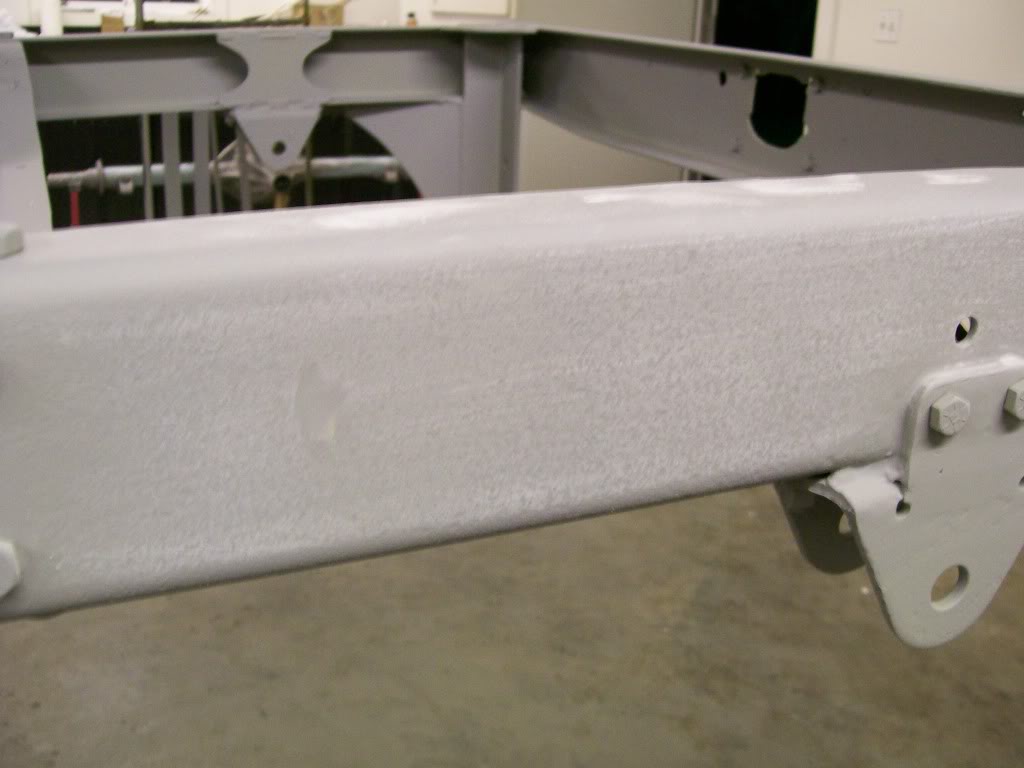
Not only do we have mother nature eating in, and we have to smooth those areas, all the welds and grindings will need attention also. Here is one of the large plates I welded in. Know this, while doing the welding and grinding, always try to go slightly lower than the actual suface. It's easier to fill a small low spot than to have to go back now and start grinding and removing metal.
10-10-2011
Been a few days, let's get back to business.
Right now on the build I'm at a pivotal point. This is where decisions have to be made about cosmetics. The structural decisions have been made and I acted on my decisions. The decisions of fish plates, gussets on shock mounts, the type of shock mounts, where I'd remove and replace framesections vs filling and grinding frame sections, ect.
The last couple pics showed pits and low spots. Know this... only because I'm a little picky is the reason I would do some block sanding to find the pits and low spots. Other wise I'd have gone right to the painting stage.
It's a frame, I know, but when done I'm still gonna crawl under neath and reflect on the finished work. There is a term I really try to stay away from,
"Oh it's good enough", this usually means you "settled" instead of "accomplished".
Once you use the term "oh it's good enough", by the end of the project you usually end up saying " I wish I would have". Meaning, I wish I'd have taken the time to detail a certain area.
Here's a learning I got about 25 years ago. I bought a drag car frame. It was to be an open body altered. The guy who sold it to me gave up on it, so I got a good deal. The guy who sold it to me followed the project as I built it. We had to different mindsets. Mine was to build into the car, the means to go as fast as possible, no excuses. His was to build a car that had speed errors into it. One for example, use smaller, harder compound slicks, this way he could blame the tires and the lack of traction, for his lack of speed. I learned alot from this experience. Point is, we have decisions, I realize money, tools, experience pays a big part, but when we do have choices, don't purposely build in excuses.
I'm back to the rear axle. It too is gonna be painted but I see way too much pitting from age in the axle tubes. If you all have followed old vehicle rebuilds, you've seen where the items being painted are badly pitted. They may be sandblasted and clean, but the paint followed the curvature of the pits. With all paint work, the finish is often determinted on how light reflects back to you. With painting over pits, sometime the eye can't determinte if the reflection is a pit, (concave) or a piece of rust scale, (convex).
My truck sits high and has an exposed rear axle, these pits are not allowable. So for cosmetic reasons I'm gonna smooth the pits with body filler. Little bit of extra work but when done, I won't purposely look away from the finished product and say "I wish I would have".
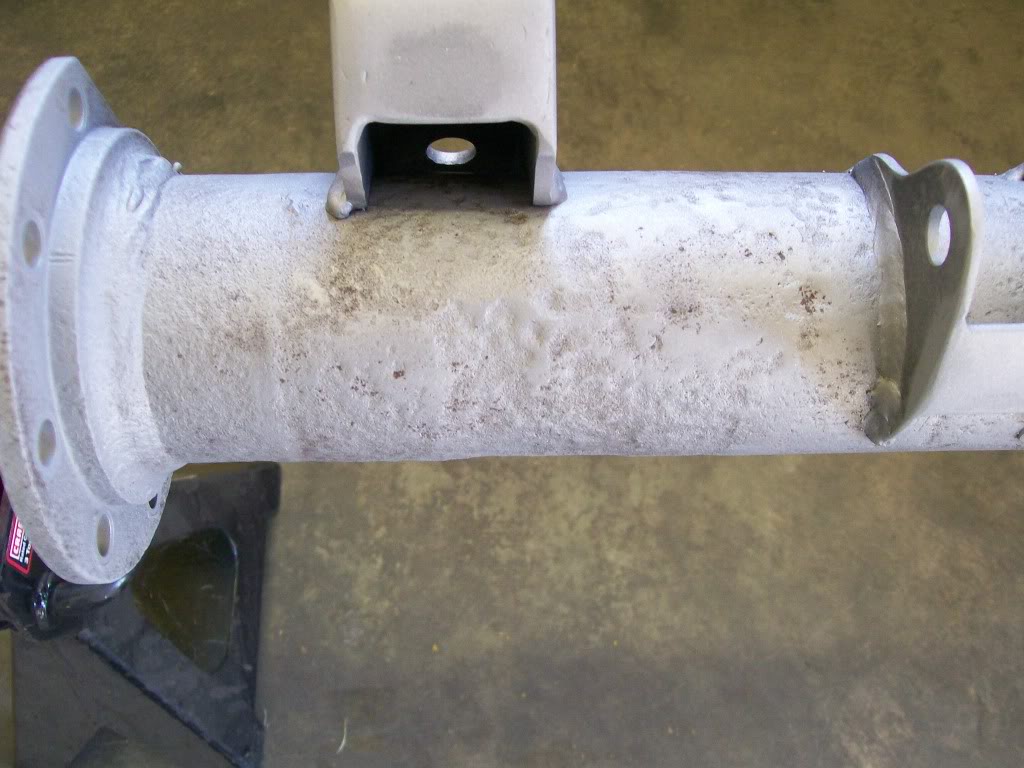
And here is the progress of the filling.
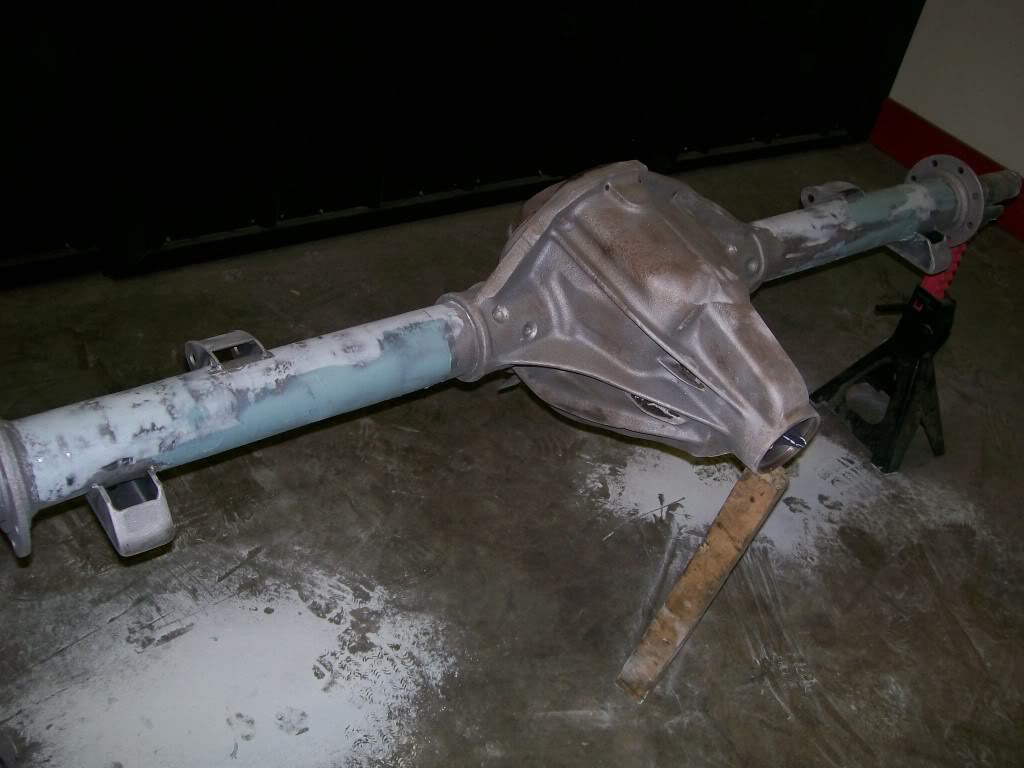
From the axle, back to the frame.
You may notice I've filled pits two different ways. One), I primed, then filled. Two), I filled, then I'm gonna prime.
Time was the deciding factor here. I've been working 6 days a week and the sun is going down sooner. I knew I'd need a 4 hour working window to apply the etching primer and the primer filler. I used last sunday as my window of opportunity to prime. Then the week nights to fill with the spot putty. Knowing I'd have this sunday and monday off I'd have another widow of opportunity to paint the frame.
If I filled the pits with body filler, I'd be priming this weekend and still need a window to paint. Also the weather man said this weekend would be perfect for paint, he was right. Once again, plan ahead when possible.
As for the axle and accessories, painting time isn't as critical, so my options are greater for night time painting.
Lets's see how the progress has moved forward. There was an area in the frame I didn't post much at all. It's a section on the drivers side, just above the rear axle. The frame had a rubber bump stop bolted to the frame. Perfect spot for rust to gather and destroy, which it did.
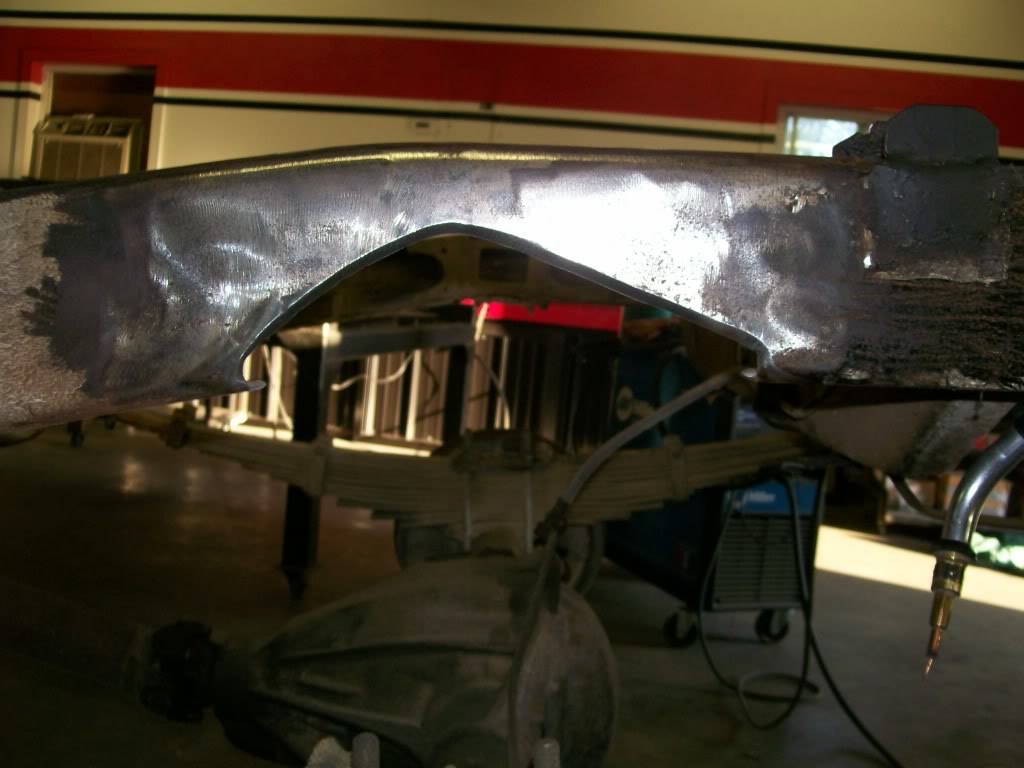
I talked and showed the frame imperfections after the first coat of primer. The pits and low spots had to go. Here's the application of the spot putty. There is one benefit of the spot putty vs body filler. The spot putty is made of a much finer filler base, this allows you to sand down to a very fine feather edge, when done sanding it's edge flows smoothly into the base it is applied on. Regular body filler often leaves a bit of an edge. Nothing a little primer and block sanding doesn't take care of though.
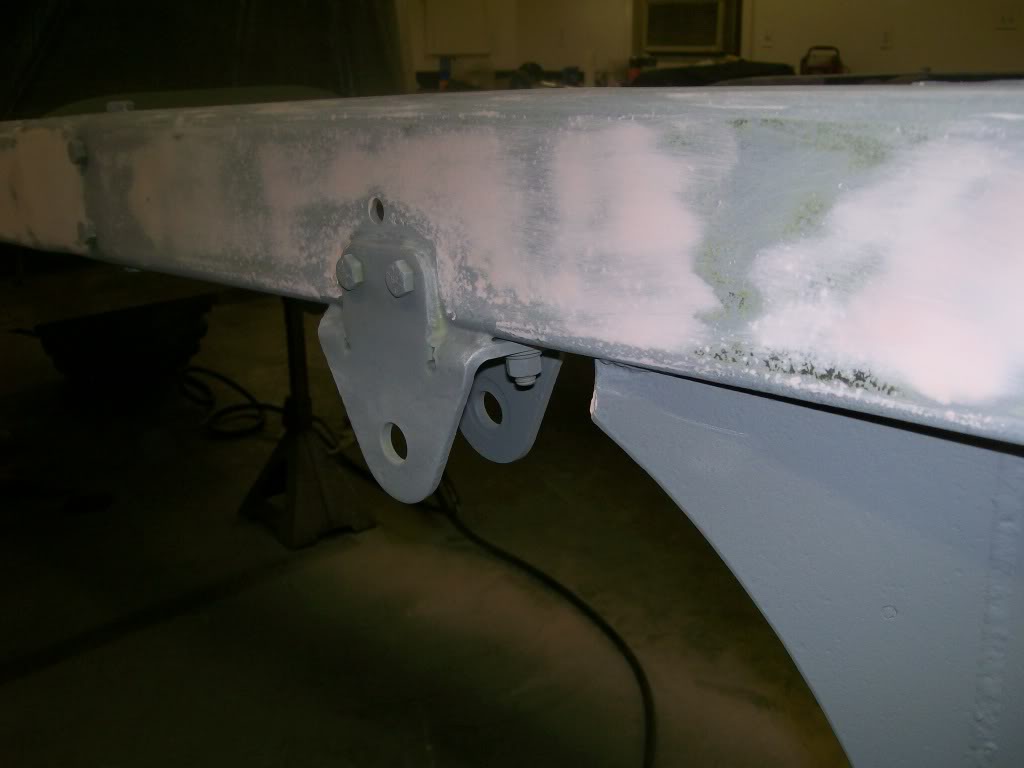
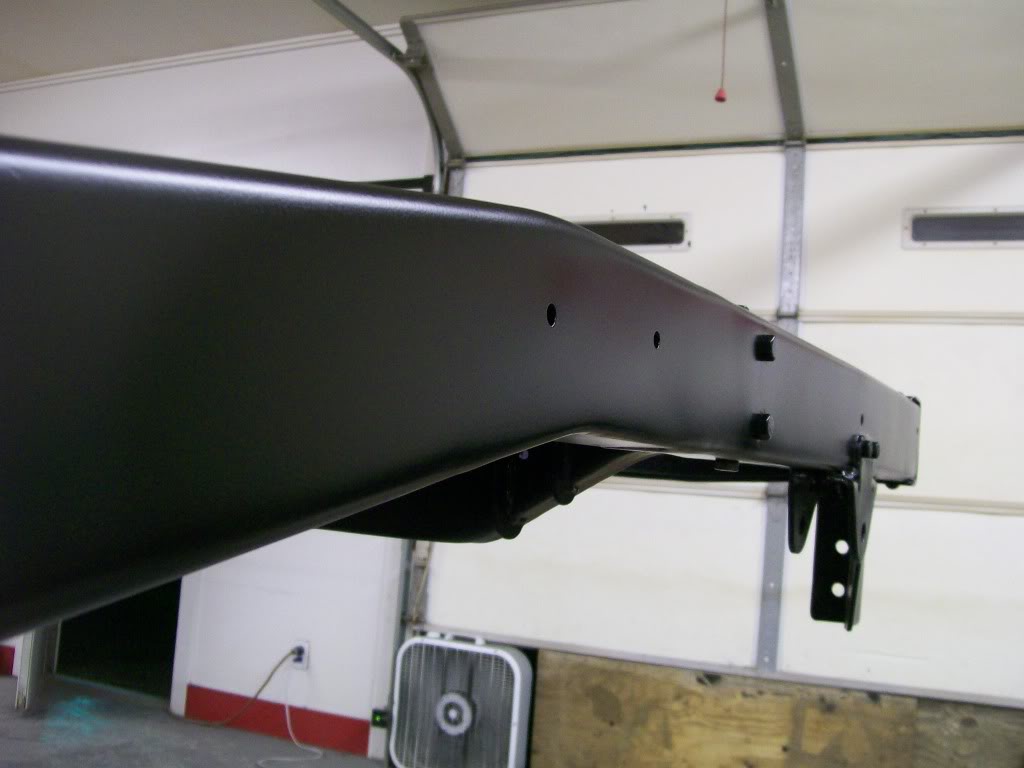
This is today. Sixty one year old frame, welding and patching, grinding and filling. Now, smoooooth. I just kept walking around it today after it dried for a couple hours. During those couple hours I stopped in the house and turned on the computer. I went back about 3 months and looked over the couple hundred pictures I've taken, ouch
 , I sure am glad I'm not there anymore. The camera doesn't do the frame justice, it looks like it stacked the pixels in the picture.
Comments

Great before & after!
Posted by Diggymart on 1/11/20 @ 4:10:28 PM

Gotta love the Willys! Good job...great build!
Posted by Diggymart on 12/10/18 @ 8:34:21 PM

Ultimate classic truck right there
Posted by CCmyVW on 12/26/20 @ 4:17:42 PM