You must be logged in to rate content!
13 minute(s) of a 620 minute read
9-29-2011
Phase 2 of fulfilling requests pertaining to recommendations of fabrication. My, such big words.
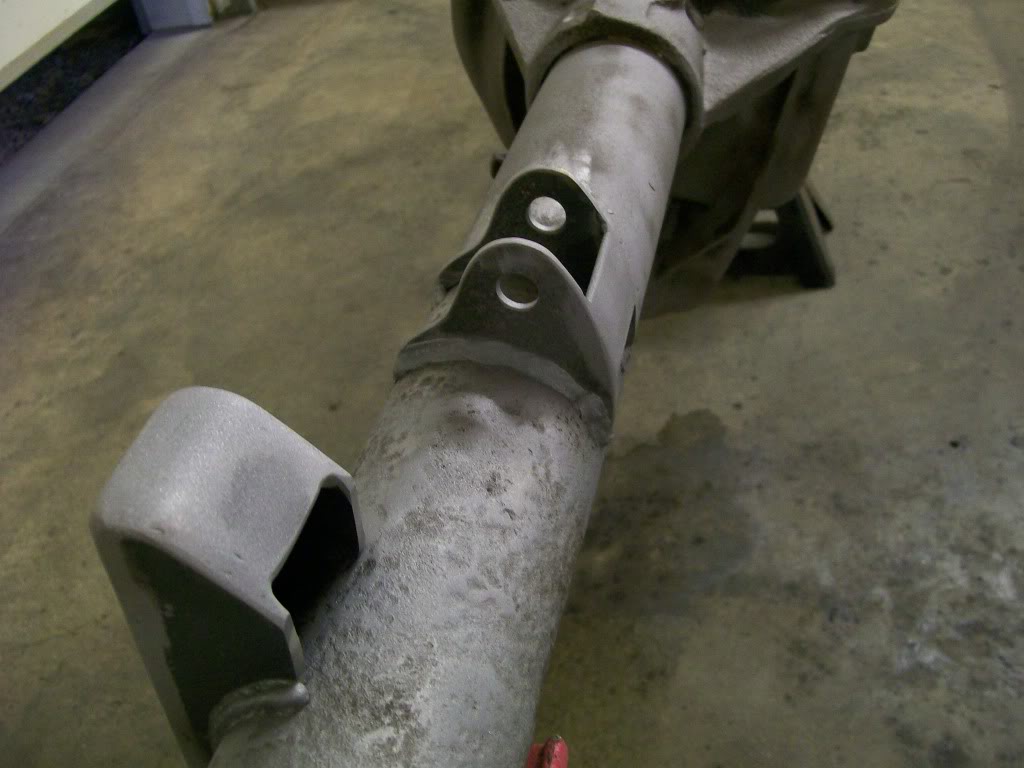
I've taken care of the fishplate additions, now a simple picture of adding a small bracing across the shock mounts on the axle.
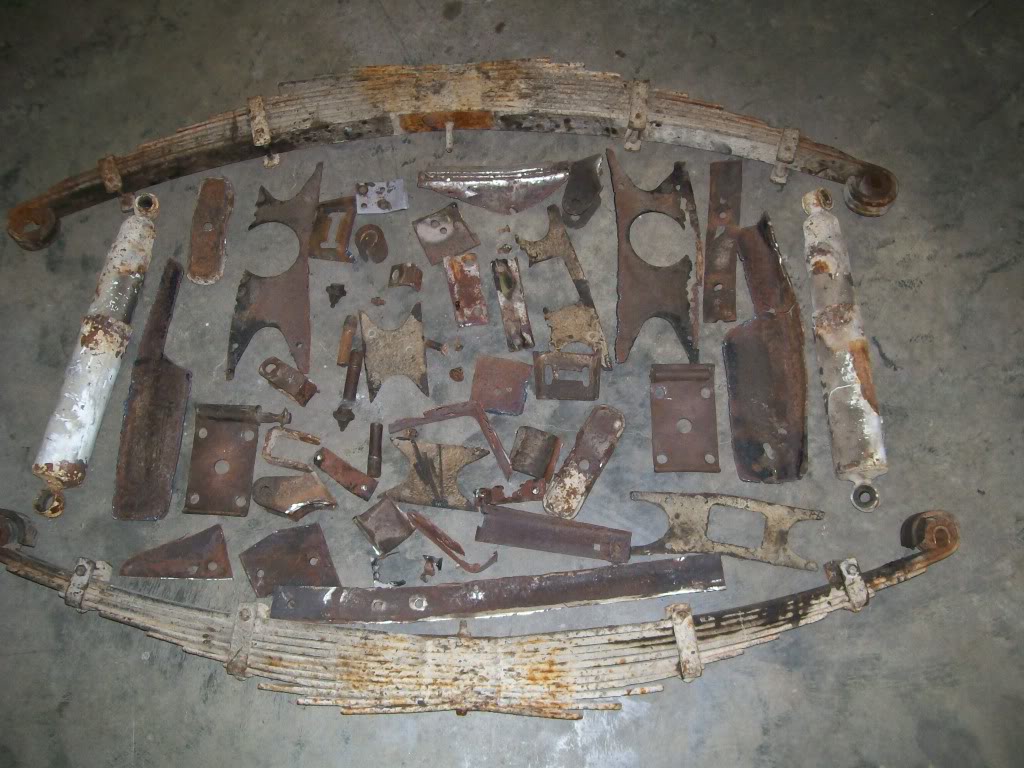
Here's a fun picture. Although I try to keep the shop somewhat clean. As I've cleaned up through out this project. I've kept a few pieces that I have'nt thrown away. So I gathered up the pieces and took a picture. The picture in itself tells a story. For me there's alot of flashbacks over the last couple months.
9-30-2011
UltimatE, I'm glad you're enjoying the work so far. These Mig welders are very universal, I hope you take what you've seen so far and can add your own twists and do even more.
hallsofstone, when you mention the situation of the boxed area holding salt and crud being held and causing a major corrosion problem. This was my concern when the idea of boxing my frame came up. I also will be driving this truck in salt and road sludge. I was afraid it would build up in hidden areas and I'd be back to a rusty frame issue again.
I picked up a piece of diamond plateand cut it to fit. It was a little rusty so I gave it a quick shot with the sandblaster. Fortunatly, when I cut the plate, the low spots/flats of the plate centered to where I could drill the mounting holes evenly. I think it adds nicely to the gas cap cover.
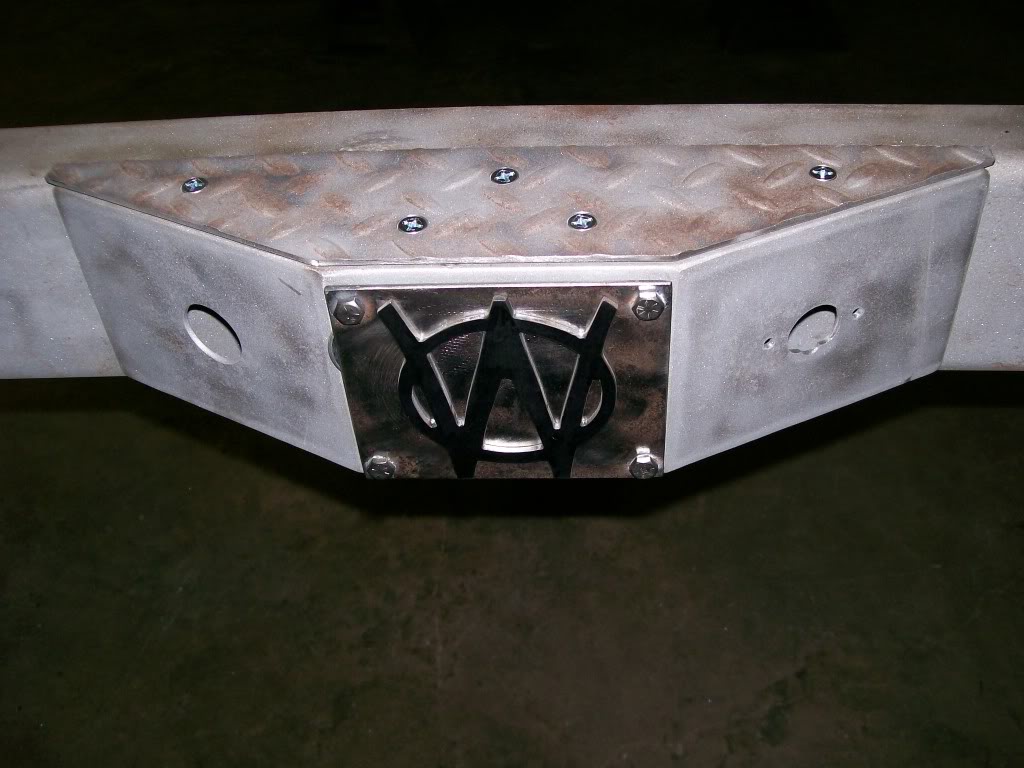
Something I didn't talk about with the making of the cover that the willys emblem mounted on was the effort made to get the emblem mounted without interference when rotating the cover upwards.
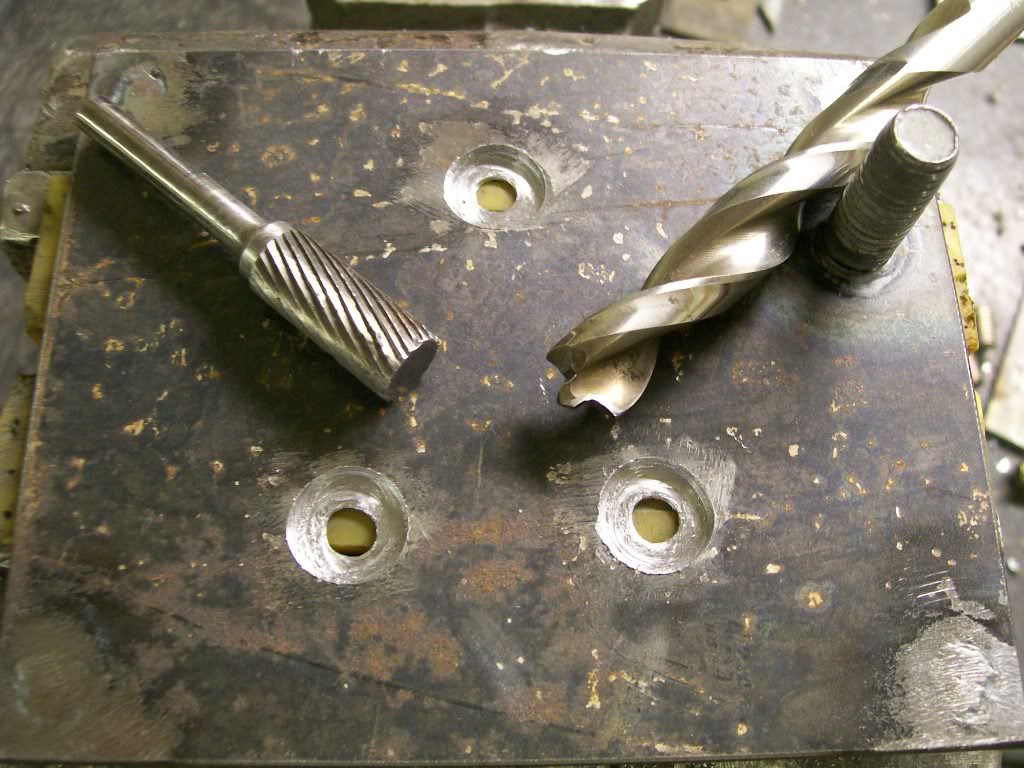
If I did nothing I would have to space the cover about 1/4 inch away so the emblem studs wouldn't scrape the main body of the gas cap cover. I had to counter sink where the nuts holding the emblem on could do their job yet not stick out too far. It's a 1/8 inch plate so I got them counter sunk alittle more than a 1/16 inch. Just enough no keep the nuts from making trouble.
Here is the plate and the simple tools. I drilled the 3/16 inch holes for the studs. Them used a Black and Decker bullet drill bit. It has a nice flat cutting edge for the larger size. Be careful, it wants to drill right through the plate. The diameter is perfect to fit the nut into the countersunk hole, but. There's no room for a socket to tighten the nut. So, by using the rotary brrrrr with the flat bottom I very carfully trimmed the hole larger to allow a socket to fit also.
10-2-2011
I have to do some uploading of pictures, but here is one that is recent.
We've seen this angle before, once totally rusty and crusty, then another with repairs done and doing a mock assembly to check fits.
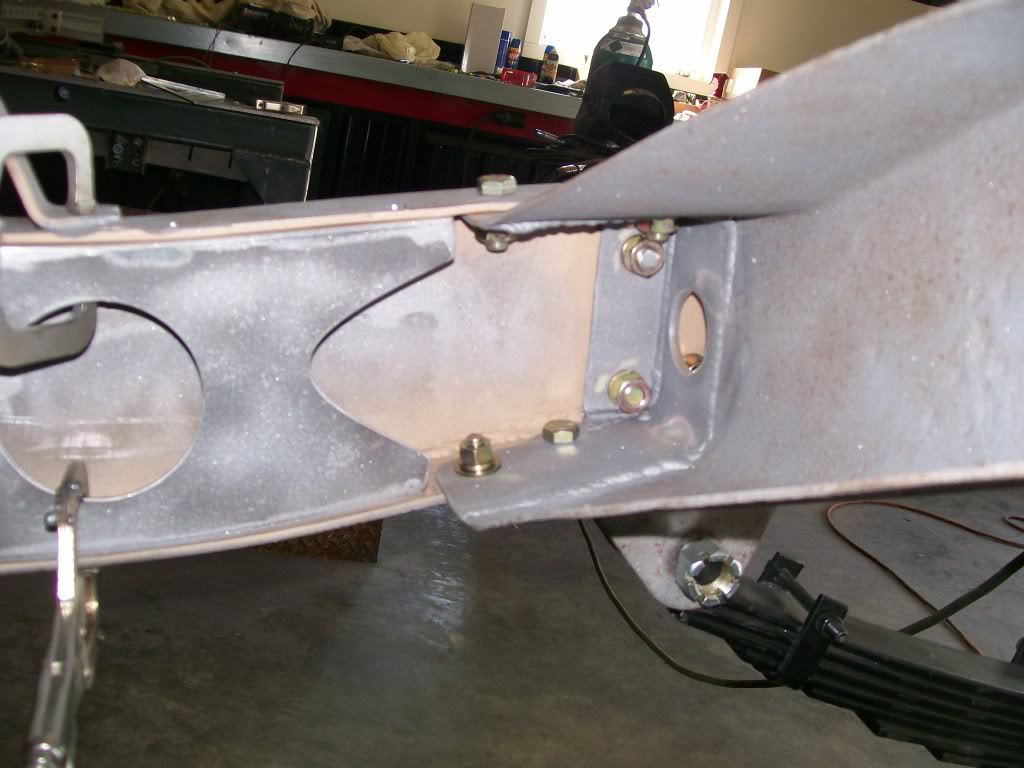
This one shows the bolts on place that will replace the old rivets. The copper spray that will help contol the rust between where metel meets metal, and the inner brace clamped in place to be welded in. This is looking good.
Yeah, I know, it's just a frame. But if there's one thing I've learned over the years. Now I'm not a super fussy person when it comes to keeping my vehicles spotless. For this reason I'll take extra time now trying to prepare for the best finish I can get, this way in my neglect later it'll hold up well and for a long time into the future.
10-3-2011
That's it guys, I want the both of you to write " I will not pick on dial-up anymore" 500 times on paper, and put your papers on my desk tomorrow. Otherwise there'll be no pudding for you!
So far I've used a spray product that is weldable and will help stop corrosion between to layers of metal.
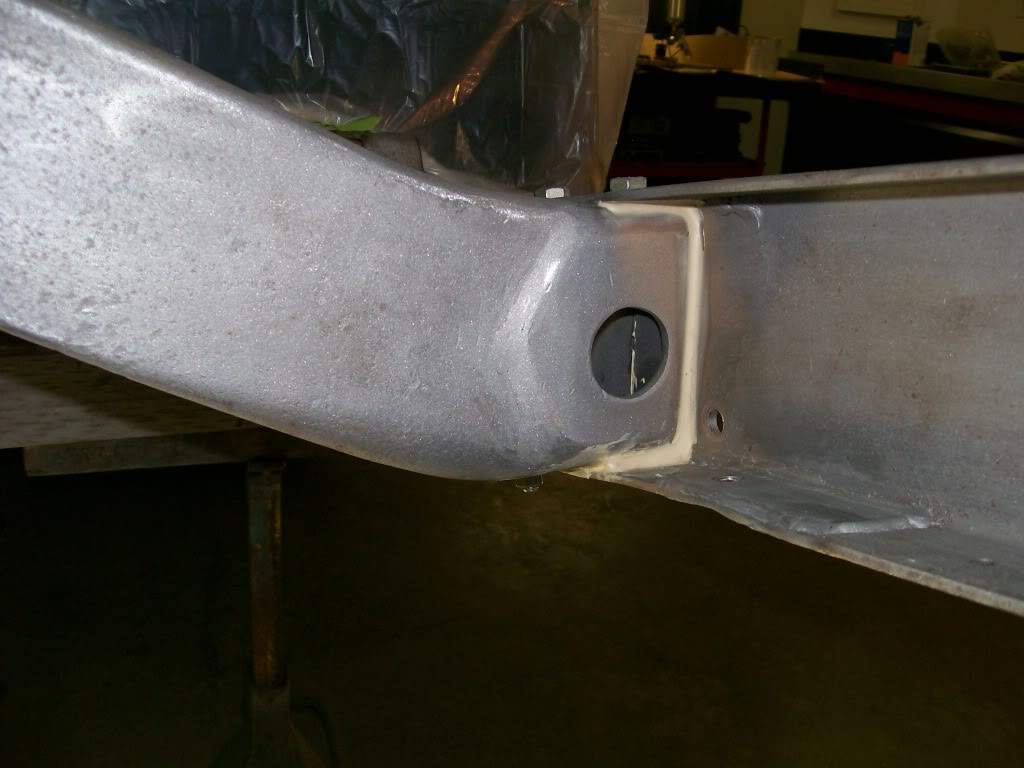
Now for another. This is a very common product that the car manufacures use alot of, it's simply a body sealant. Just open your car or jeep or truckdoors and you'll see it spread up and down the body weld seams. It holds to metal excellent, yet it still has a slight flexability to give with the body if necessary.
So I sealed everywhere I didn't want moisture to get to. Also, when you paint a frame or anything with many angles and hidden areas, this way the hidden areas are already filled so now the paint/primer coverage is easier.
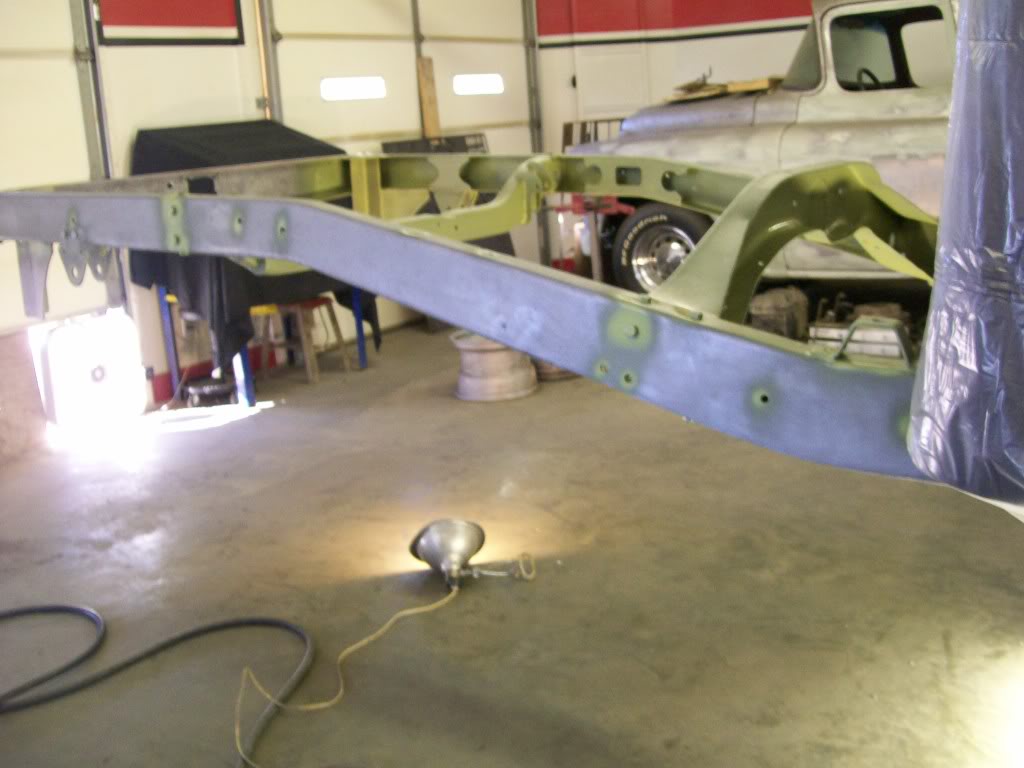
Talk about primer, I've begun the process. This is a metal etching primer. My goal here is to cover every bit of metal. I want a medium to wet coat. I want wetness, I believe the longer it is wet, the longer it can eat deeper into the metal. Of course, wet, but just before it starts to run.

Painting and priming is not all about the glory. What mean is.... the vehicle is sitting there, clean and ready. The gun is full of primer, yahoo, this is gonna be great. STOP!!! The first places to start is all the places that bring no glory.
Start at all the places that are a pain to paint. In this case I started by crawling into the frame right behind the cab and worked the inside frame back to the rear.
Next, while spraying and you see a spot and you think you'll spray it later from a different angle, STOP!! spray it now, or you'll over look it later until all the spraying is done, then it's too late.
 Patience is the key.
Next, the primer application is very direction sensative. Lets take a 3/8 hole, if you spray straight on, none of the inside of the hole will get coverage. Such as when you spray the full length of a frame rail, straight on and no inside hole coverage. Go around as you see in this picture. Spray a full circle to get the inner diameter of the hole, all of them.... boring.
Another plus with this routine. If you wait to spray these small areas just before you do the overall spray down the frame rail, your chance of runs is very high. If you spray the holes well before the overall spray, less chance of runs around these spots, the primer has a chance to set and dry for a couple minutes before the main spraying. At this time of taking care of the small spots, I'm down around 20 pounds of pressure at the gun. This makes it very manageable to spray and not end up with runs.
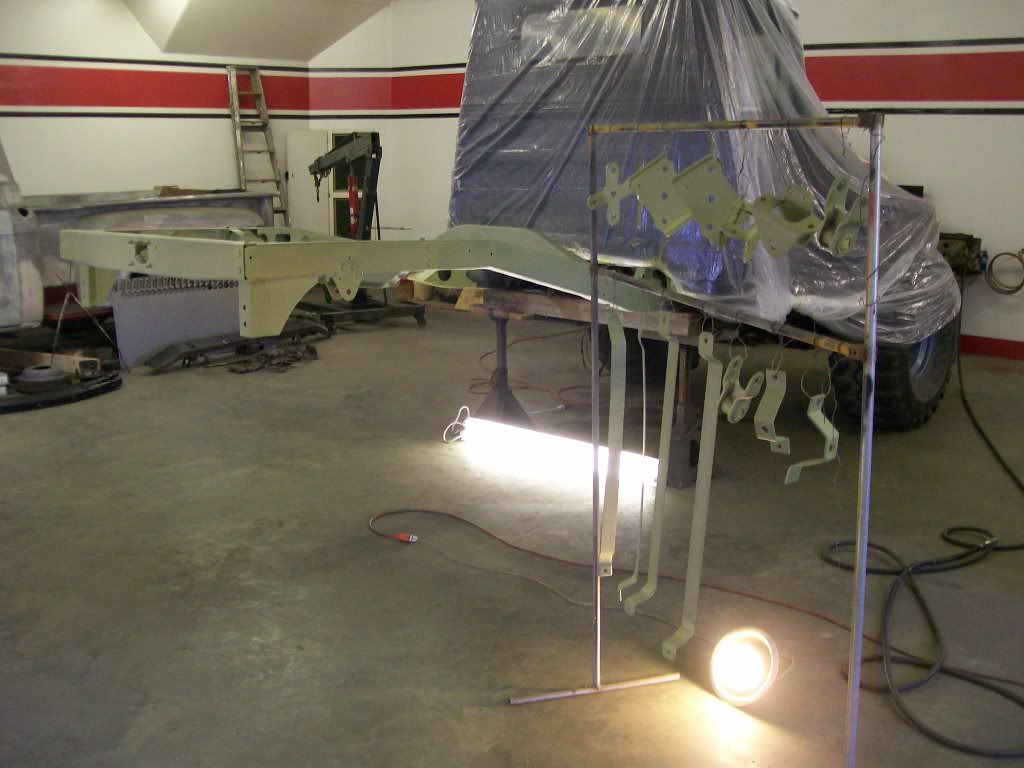
You'll notice the drop light on the floor. During most of my spraying, if I don't have a perfect light to give me a reflective beam so I can see the exact texture of the primer while spraying, I hold the light directly opposed to where I'm spraying, I know exactly what's going on during the application. The bulb is not a regular bulb, I use one of the new halogen flood light bulbs. The beam is spread out, and the bulb never gets too hot.
Hey guys, no harm done. I know it's all in fun.
I'm the first to say it's a pain. But we have to give it credit, without it we wouldn't be teaching and learning. This doesn't mean you're gettin out of your homework.
94yjstocklook brought the idea behind this build to the forefront. I get alot of feedback as you can read on this thread. I've gotten thumbs up messages,(which took me forever to figure out). I've gotten some PM messages. This has also been linked to another site.
In all, the best comments are the ones that people say they've learned from this thread.
If all I wanted was the glory of the craftmanship, I'd just post before and after pics.
It's taken alot of patience to show step by step. But uploading and waiting for dial-up is well worth it as long as there's some learning going on here.
10-4-2011
Now in this picture I've got an excellent base for a primer/filler, could also be called a primer/surfacer.
The label on the metal etching primer reads to wait approx. 30 minutes before applying the next primer. When priming or painting we're gonna be dealing with mainly 3 different concepts of adhesion. 1) a etch/acid grip. the idea that it will eat into the metal and create a microscopic fish hook effect to lock on to the metal. 2) a mechanical grip, the idea that the surface has been sanded or sandblasted to create a rough texture to grab onto. 3) a solvent grip, the idea of when the top coat is sprayed on to a surface and the new/ wet solvents loosen the suface and the solvents basically melt together.
The etching primer has etched it's way into the metal. Now before it dries and gets a hard skin, I'll spray the primer/ filler, the two will now have a solvent adhesion.
Note, the instructions allow this to happen. Not all products work this way. Some are required to dry first before the next application. There is also what is called the "window". This is the case of the etching primer. My window was between 30 minutes to around an hour and 1/2. If I go beyond this window I would have to allow a dry time then scuff the etching primer before spraying on top of it. Know your product, read the label, this stuff aint cheap.....
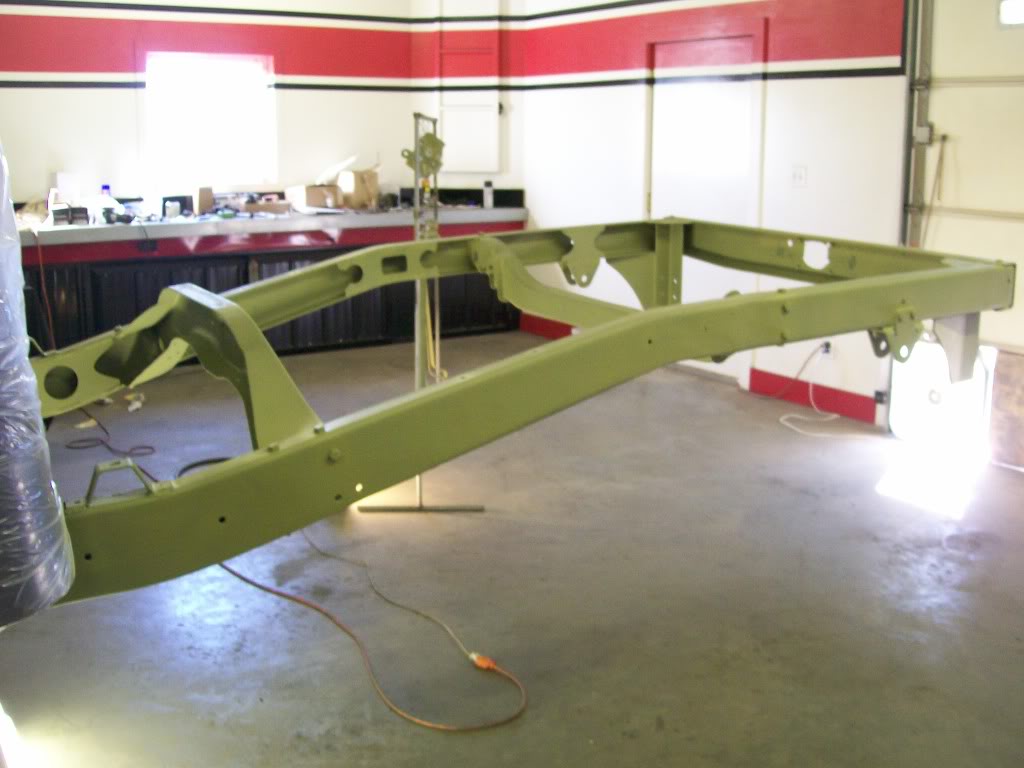
Now I've got the primer/filler applied. This is a good time, I finally feel like I'm getting near completion.
Now I have to decide how fussy I want to get before painting. I've done a ton of welding and fabrication. With no paint, the fabrication looks perfect to the eye. Now with the primer, the fabrication work looks perfect. But if I take a 4" piece of paint stick and wrap it with 100 grit sandpaper and sand across the frame, now the high spots and the low spots stand out.
The highs and the lows will show in the final painting. Not only the highs and the lows but also any pits in the metal will show also. It's decision time.
Here's the good part. With the primer/filler I used I covered the whole frame. Then being aware of the places that may need extra filling I applied an extra layer of primer/filler. Now with the stick wrapped with sandpaper I keep sanding the spots that need attention. By time I remove most of the primer/filler, without sanding into the etcing primer, I've pretty well leveled the surface to where most all the pits and most the low spots are filled.
Before I get much futher in explanation, lets look at the primer/filler application. Notice the rack in this picture. Get as many of the odds and ends ready for primer. Do as much as you can in one session. Everytime you spray you will waste primer material during gun clean up. This stuff is expensive, spray all you can at once.

Ultimate classic truck right there
Posted by CCmyVW on 12/26/20 @ 4:17:42 PM