You must be logged in to rate content!
6 minute(s) of a 91 minute read
9-7-2014
Well I managed to finish the conversion all of today and managed to take off my rear HEAVY AS **** ****tybuilt tire carrier which I will be selling now. Here is a picture dump and for you g-rocc I took some pictures so you can get an idea of what sits where and how we tackled the different areas. First set of pics will be of the overall conversion, then the last set will be of the gas tank relocation.

Today morning we decided to get the axle under the jeep and center everything out.

After the axle was centered, all control arm mounts welded and truss welded, we started with the coilover towers. Everything fit in so snug and didnt come into contact with the body with no body lift.
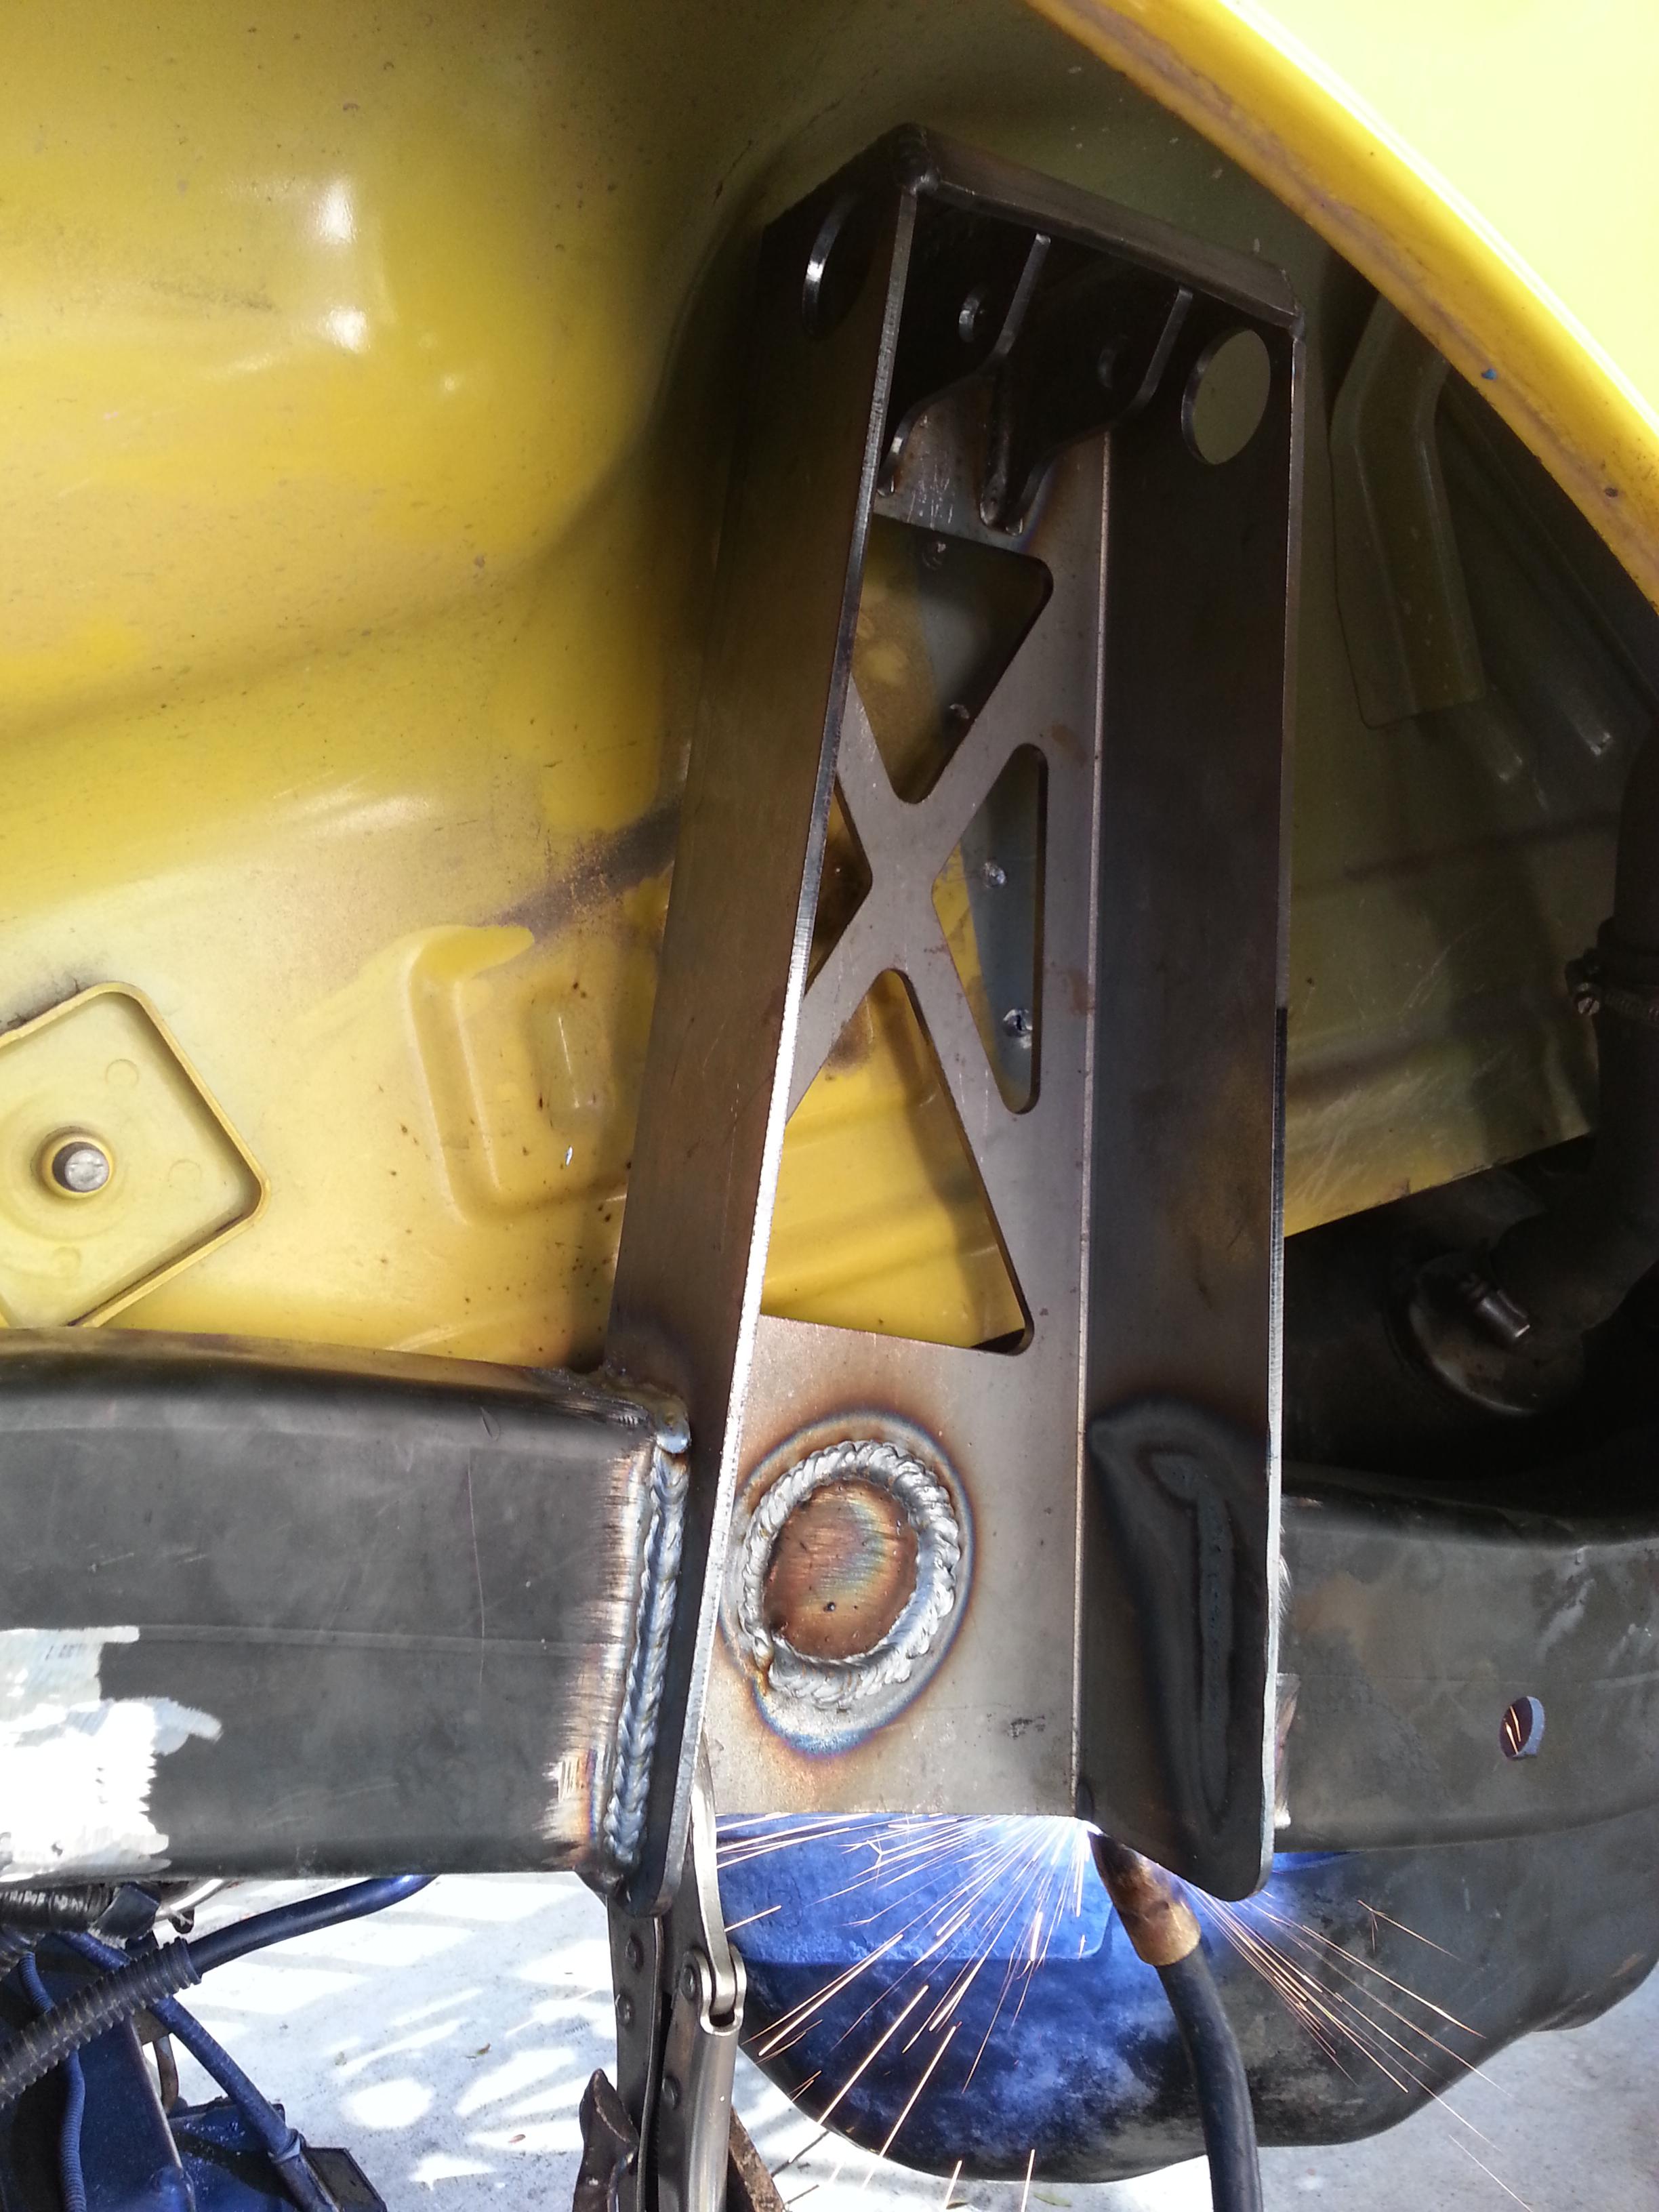
After it was welded I blasted it it some flat black paint.
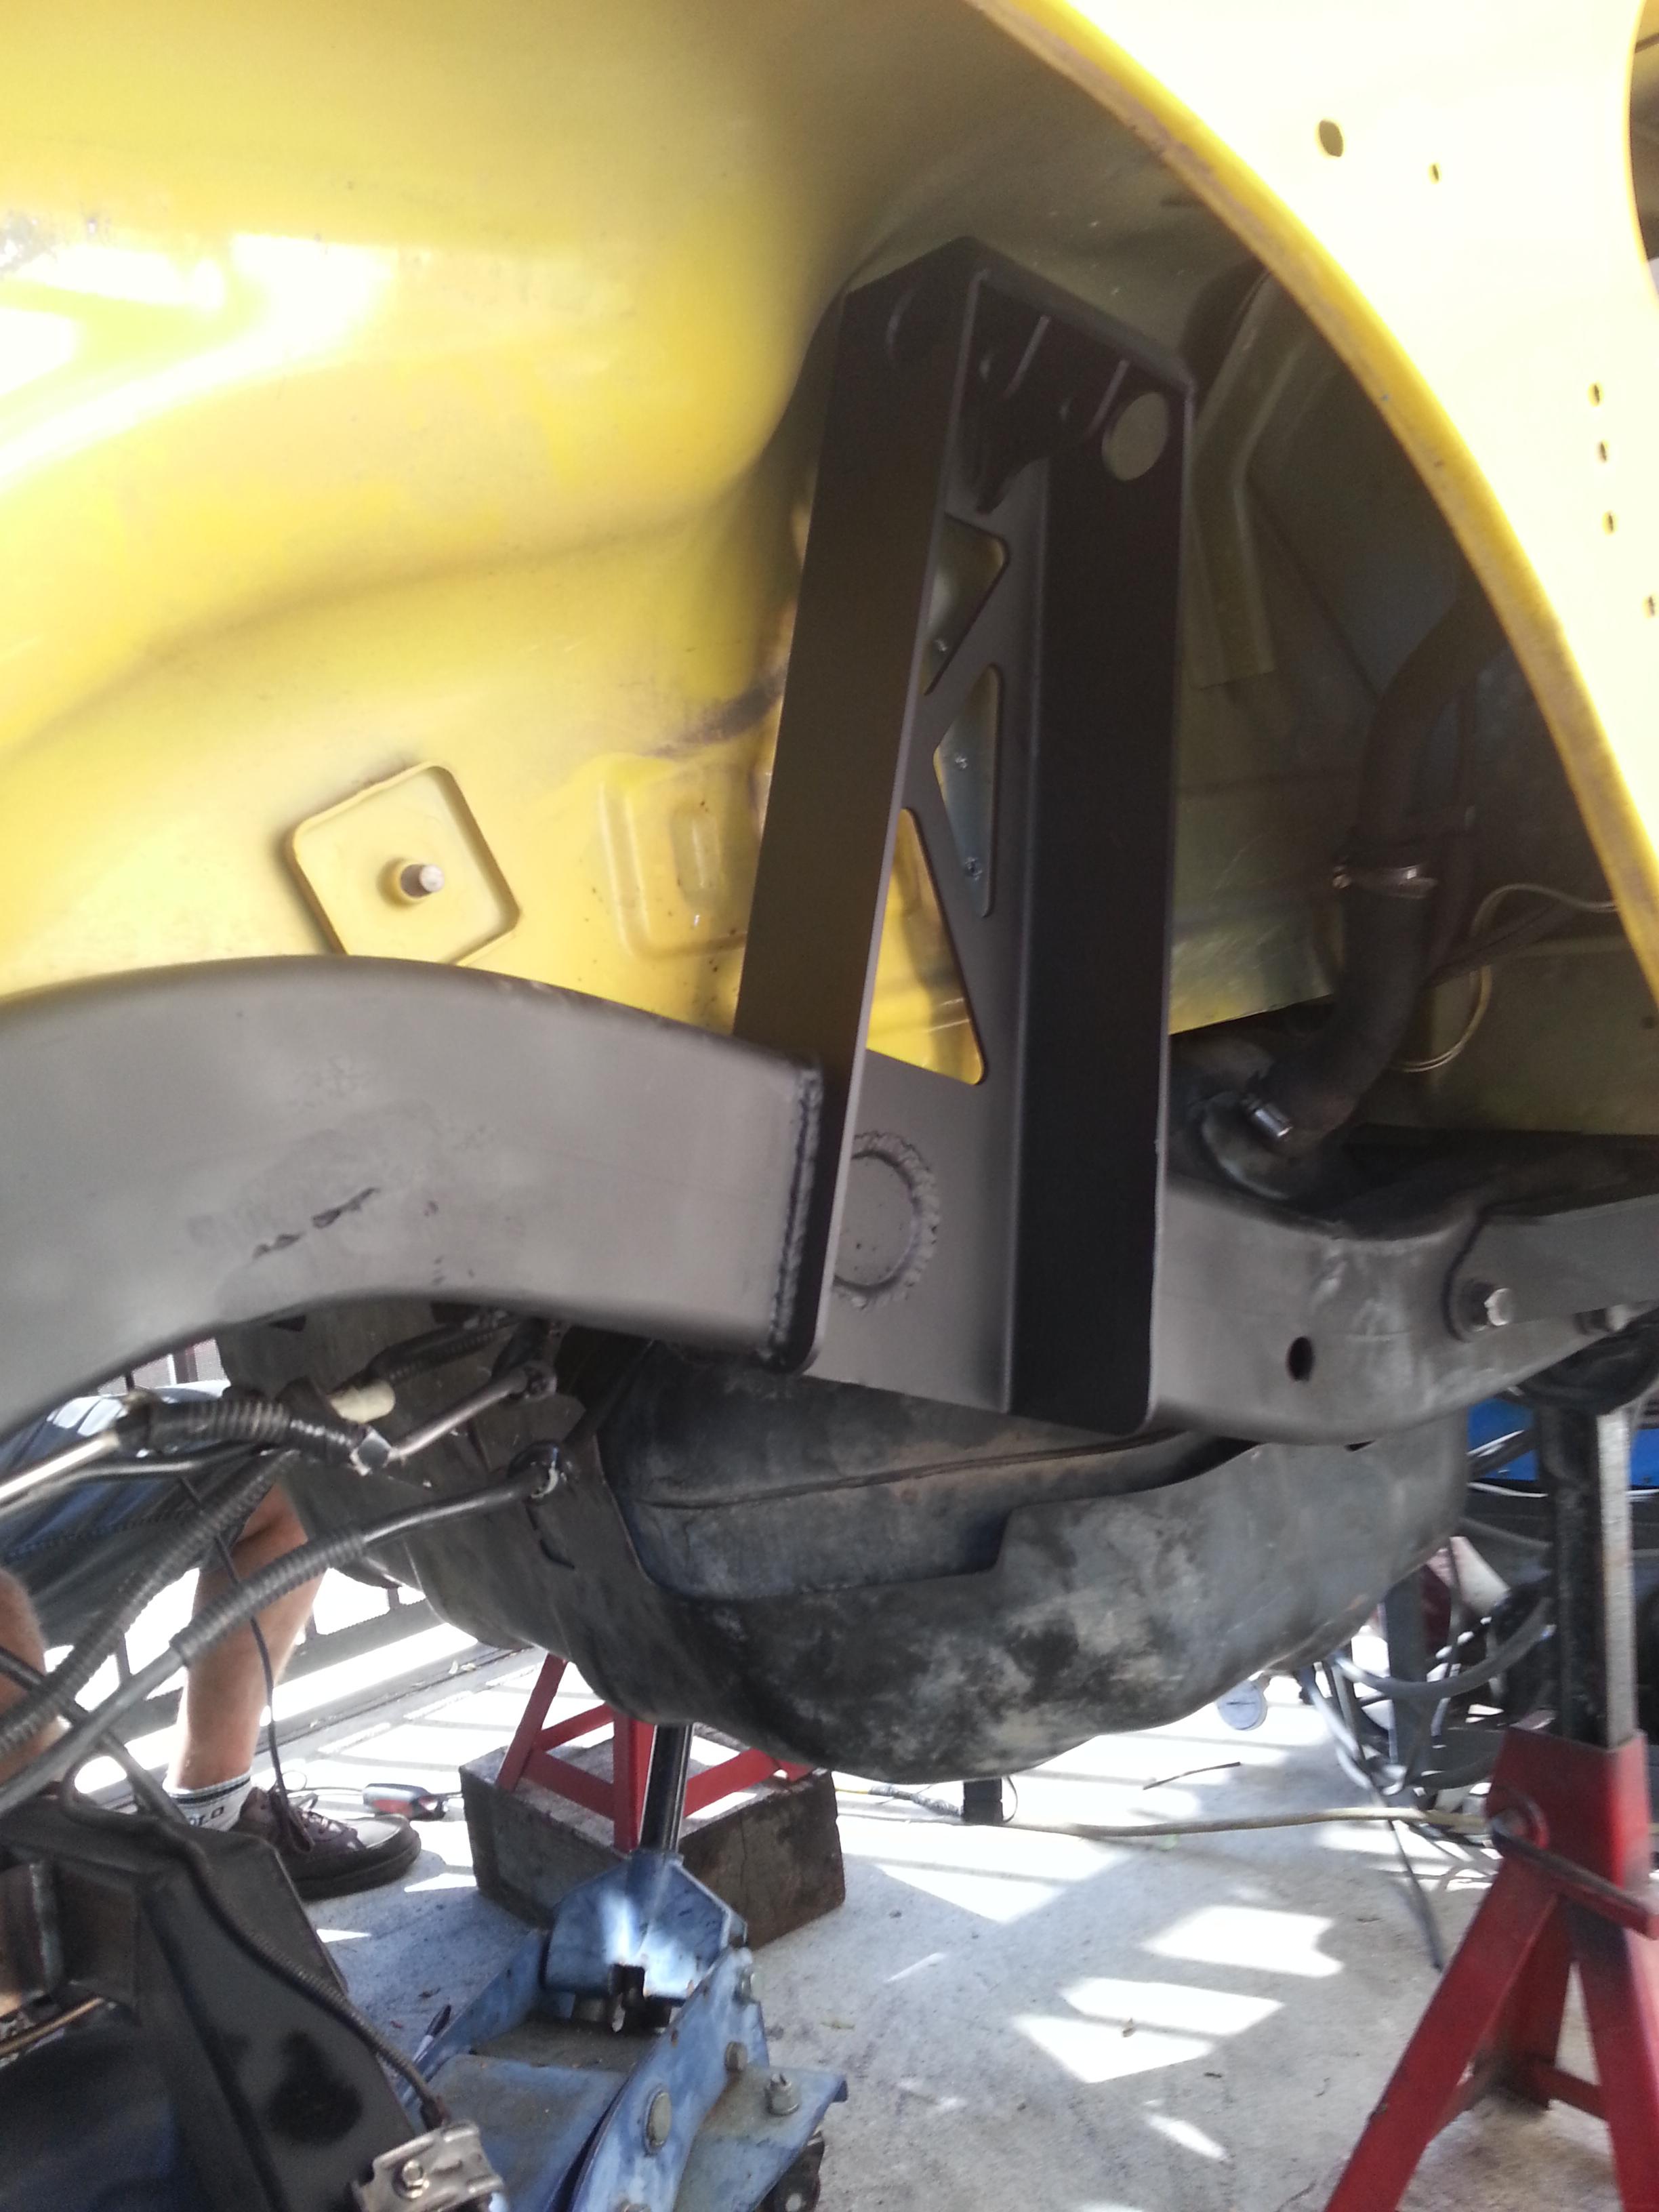
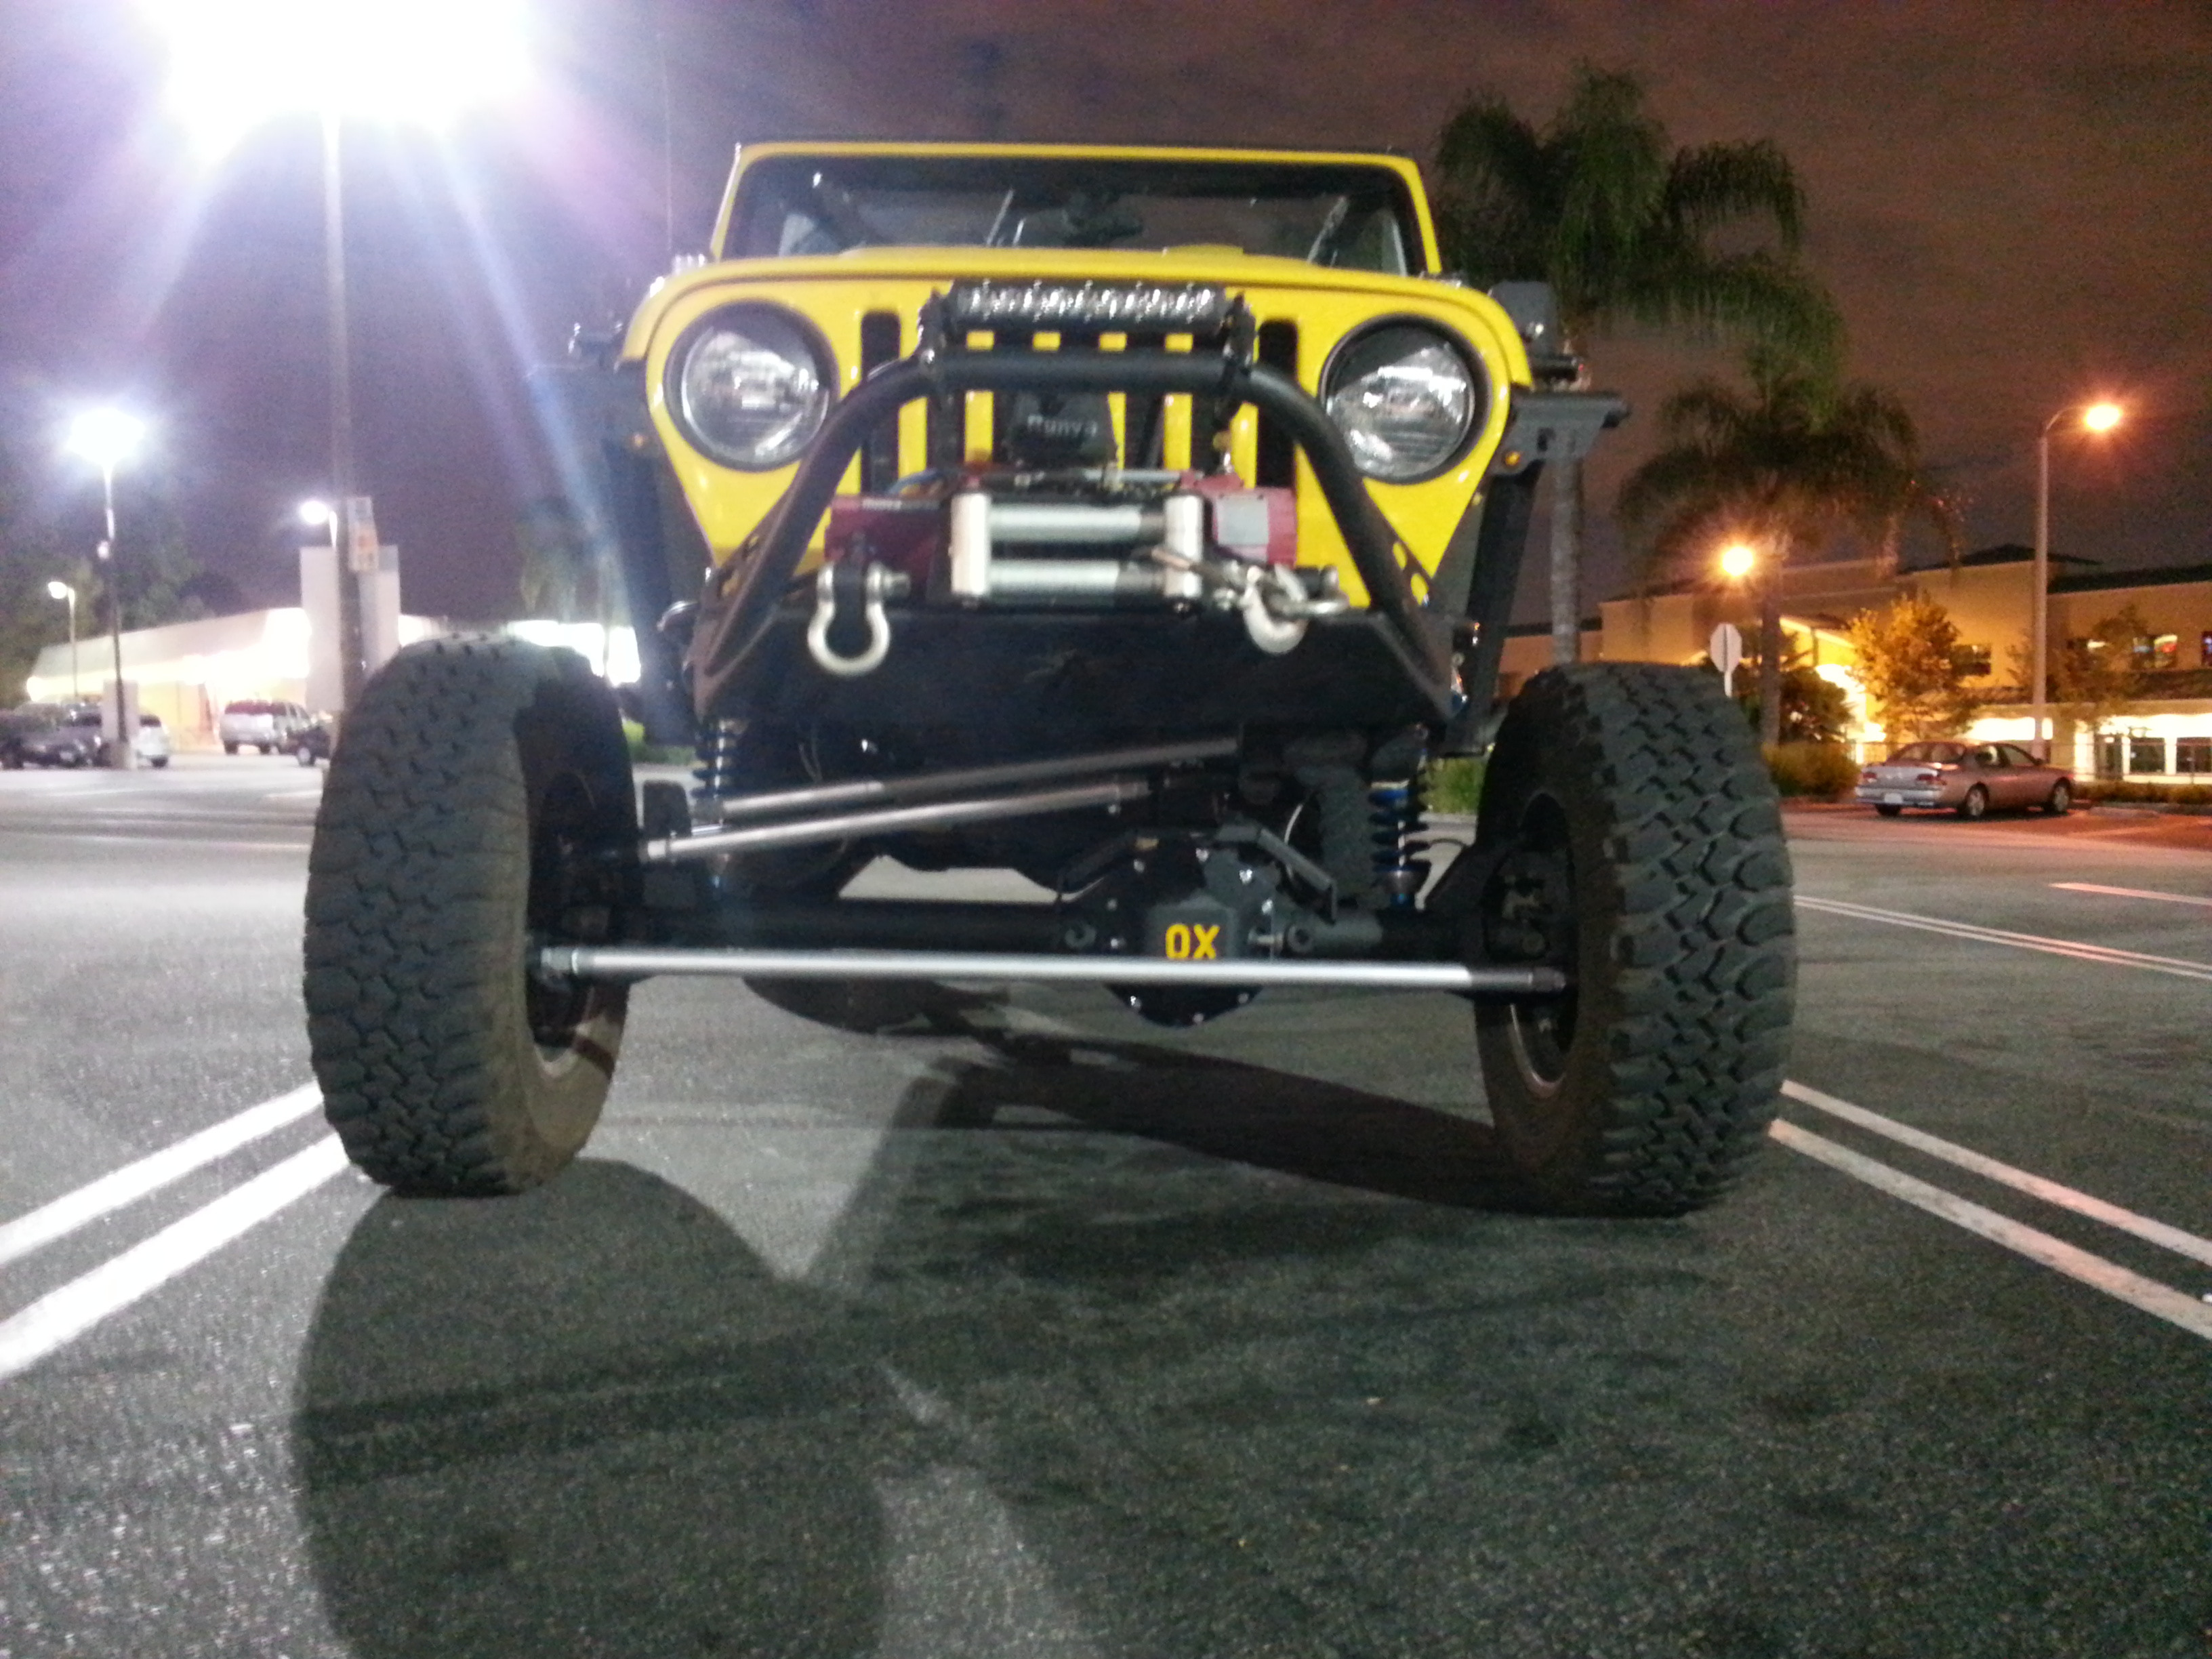
On goes the coilovers to tack in the axle brackets.

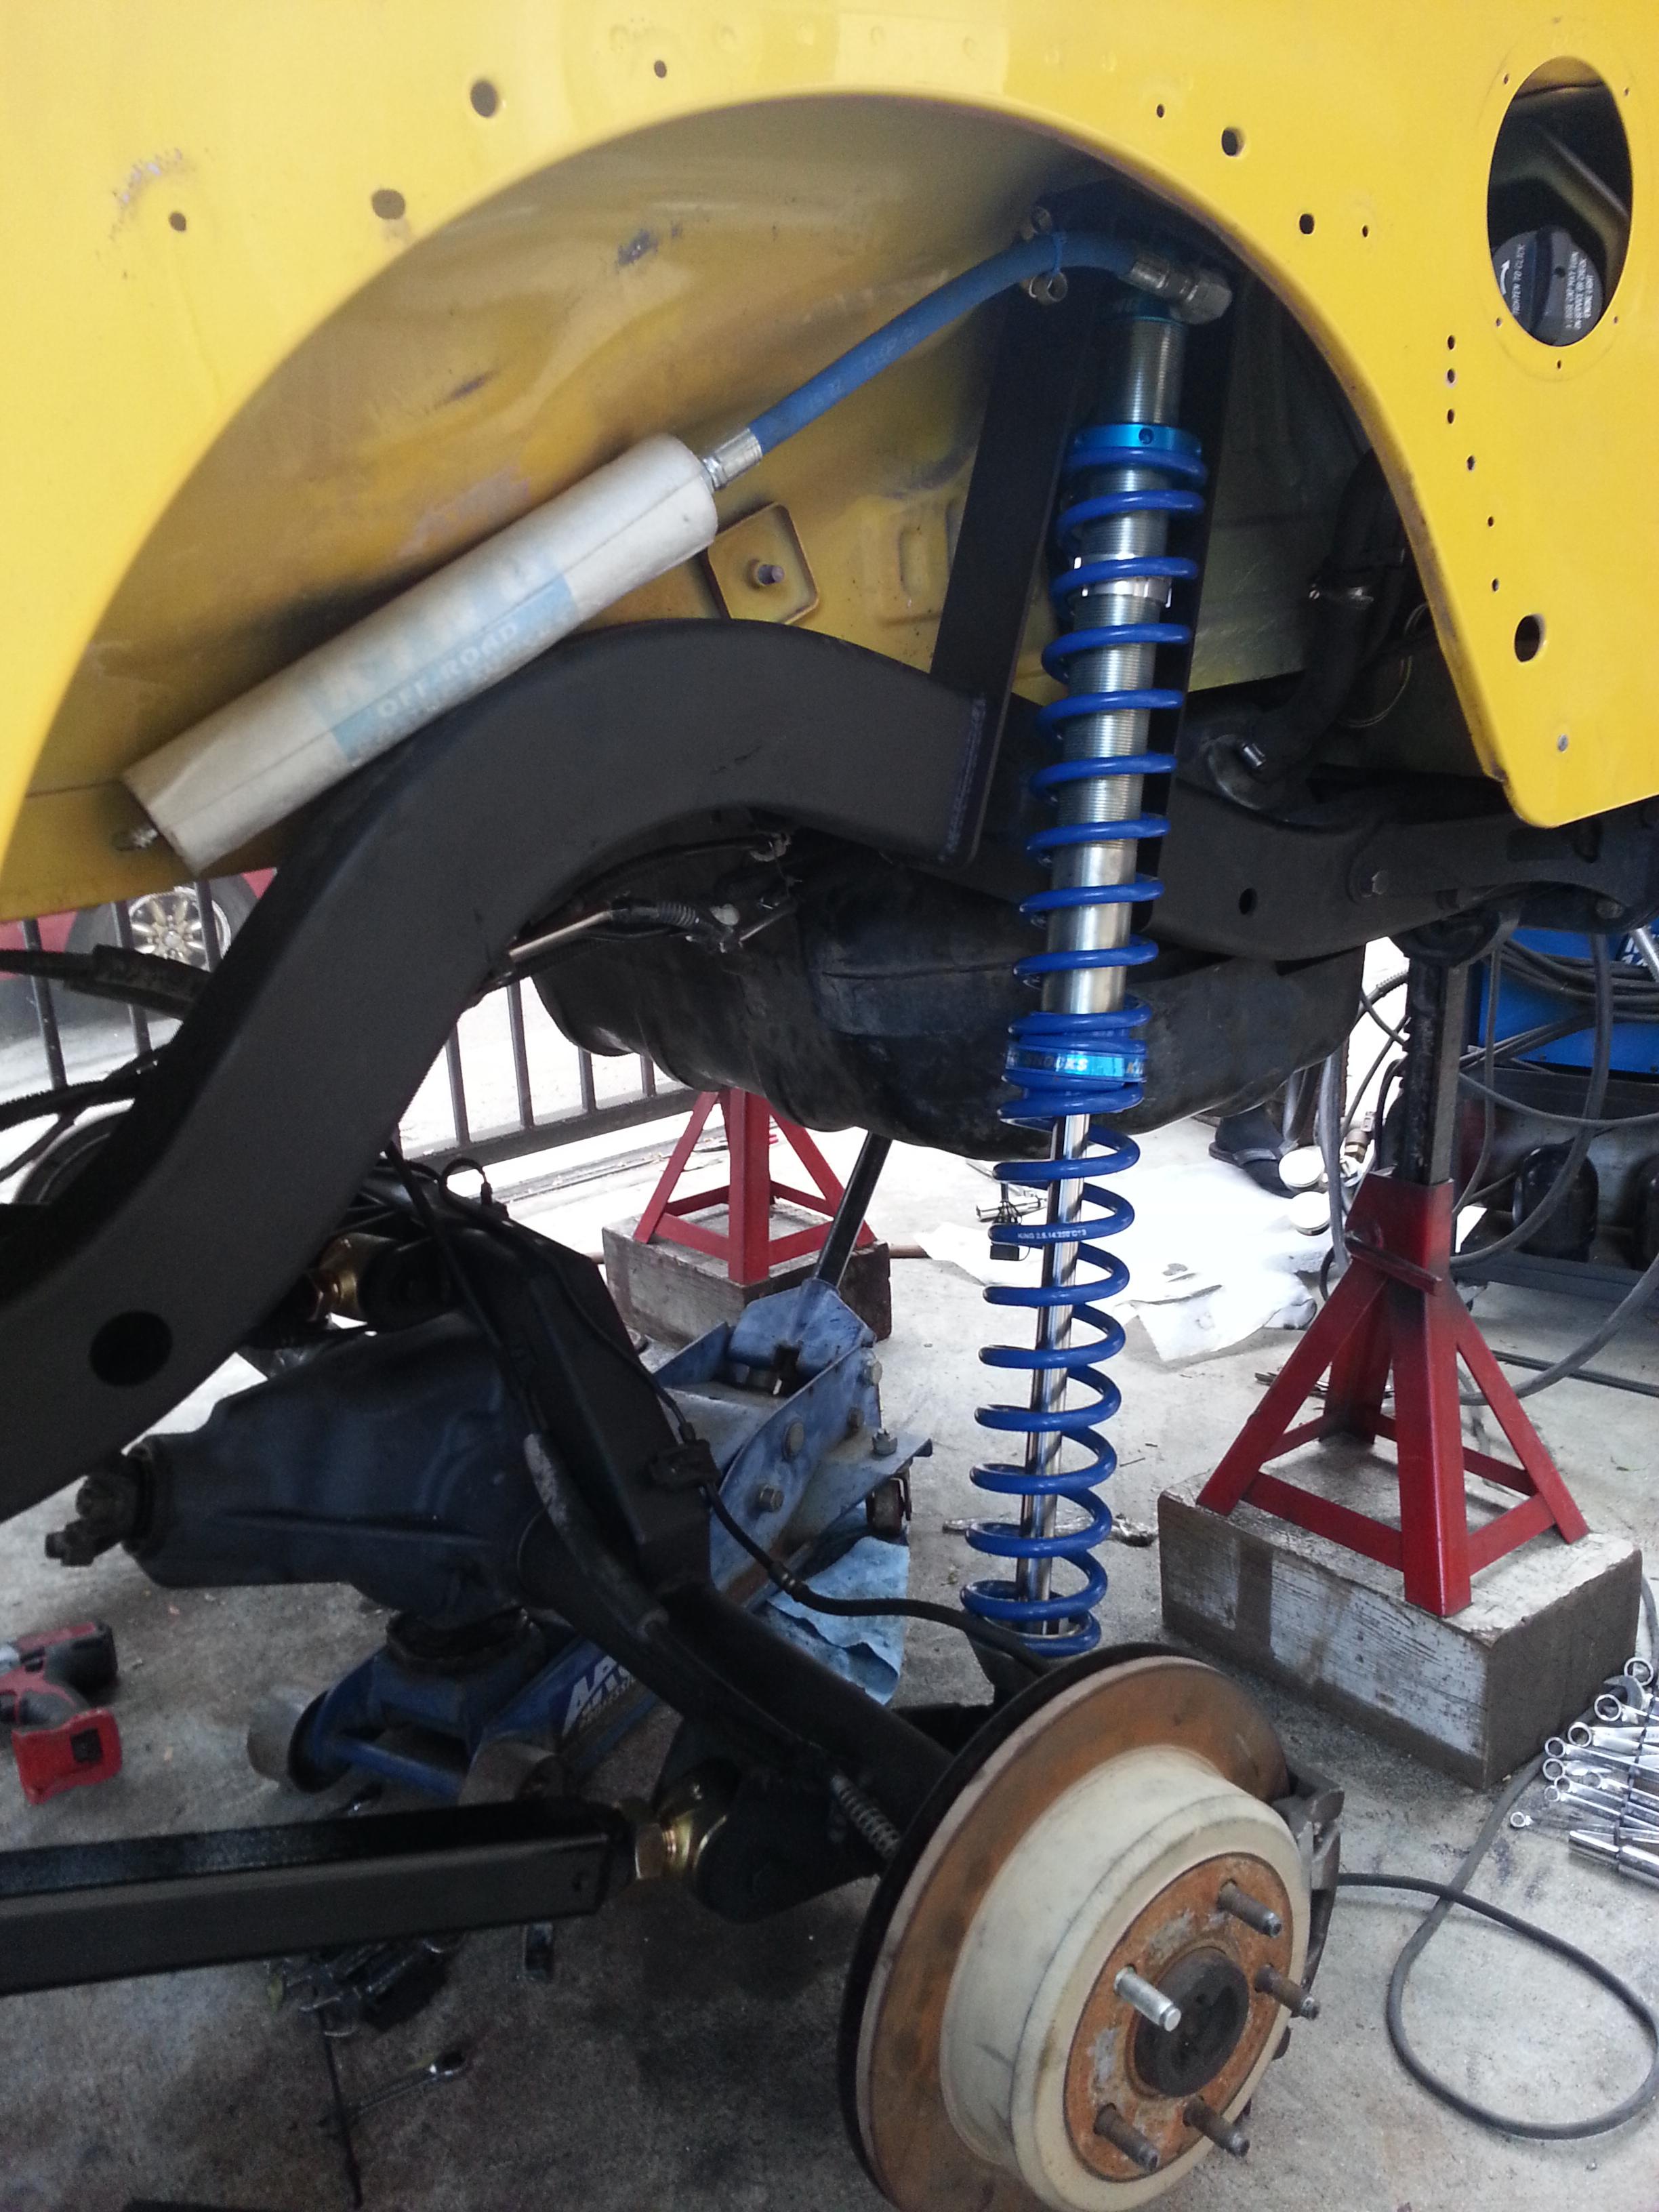
Got both sides in and this is one side at full droop. Pretty close to hitting but it didn't.

Everything was buttoned up and taken for a test drive to find a flat place for pics. Got a little dark so some pics came out blurry, ill take better detailed shots later when I have time.
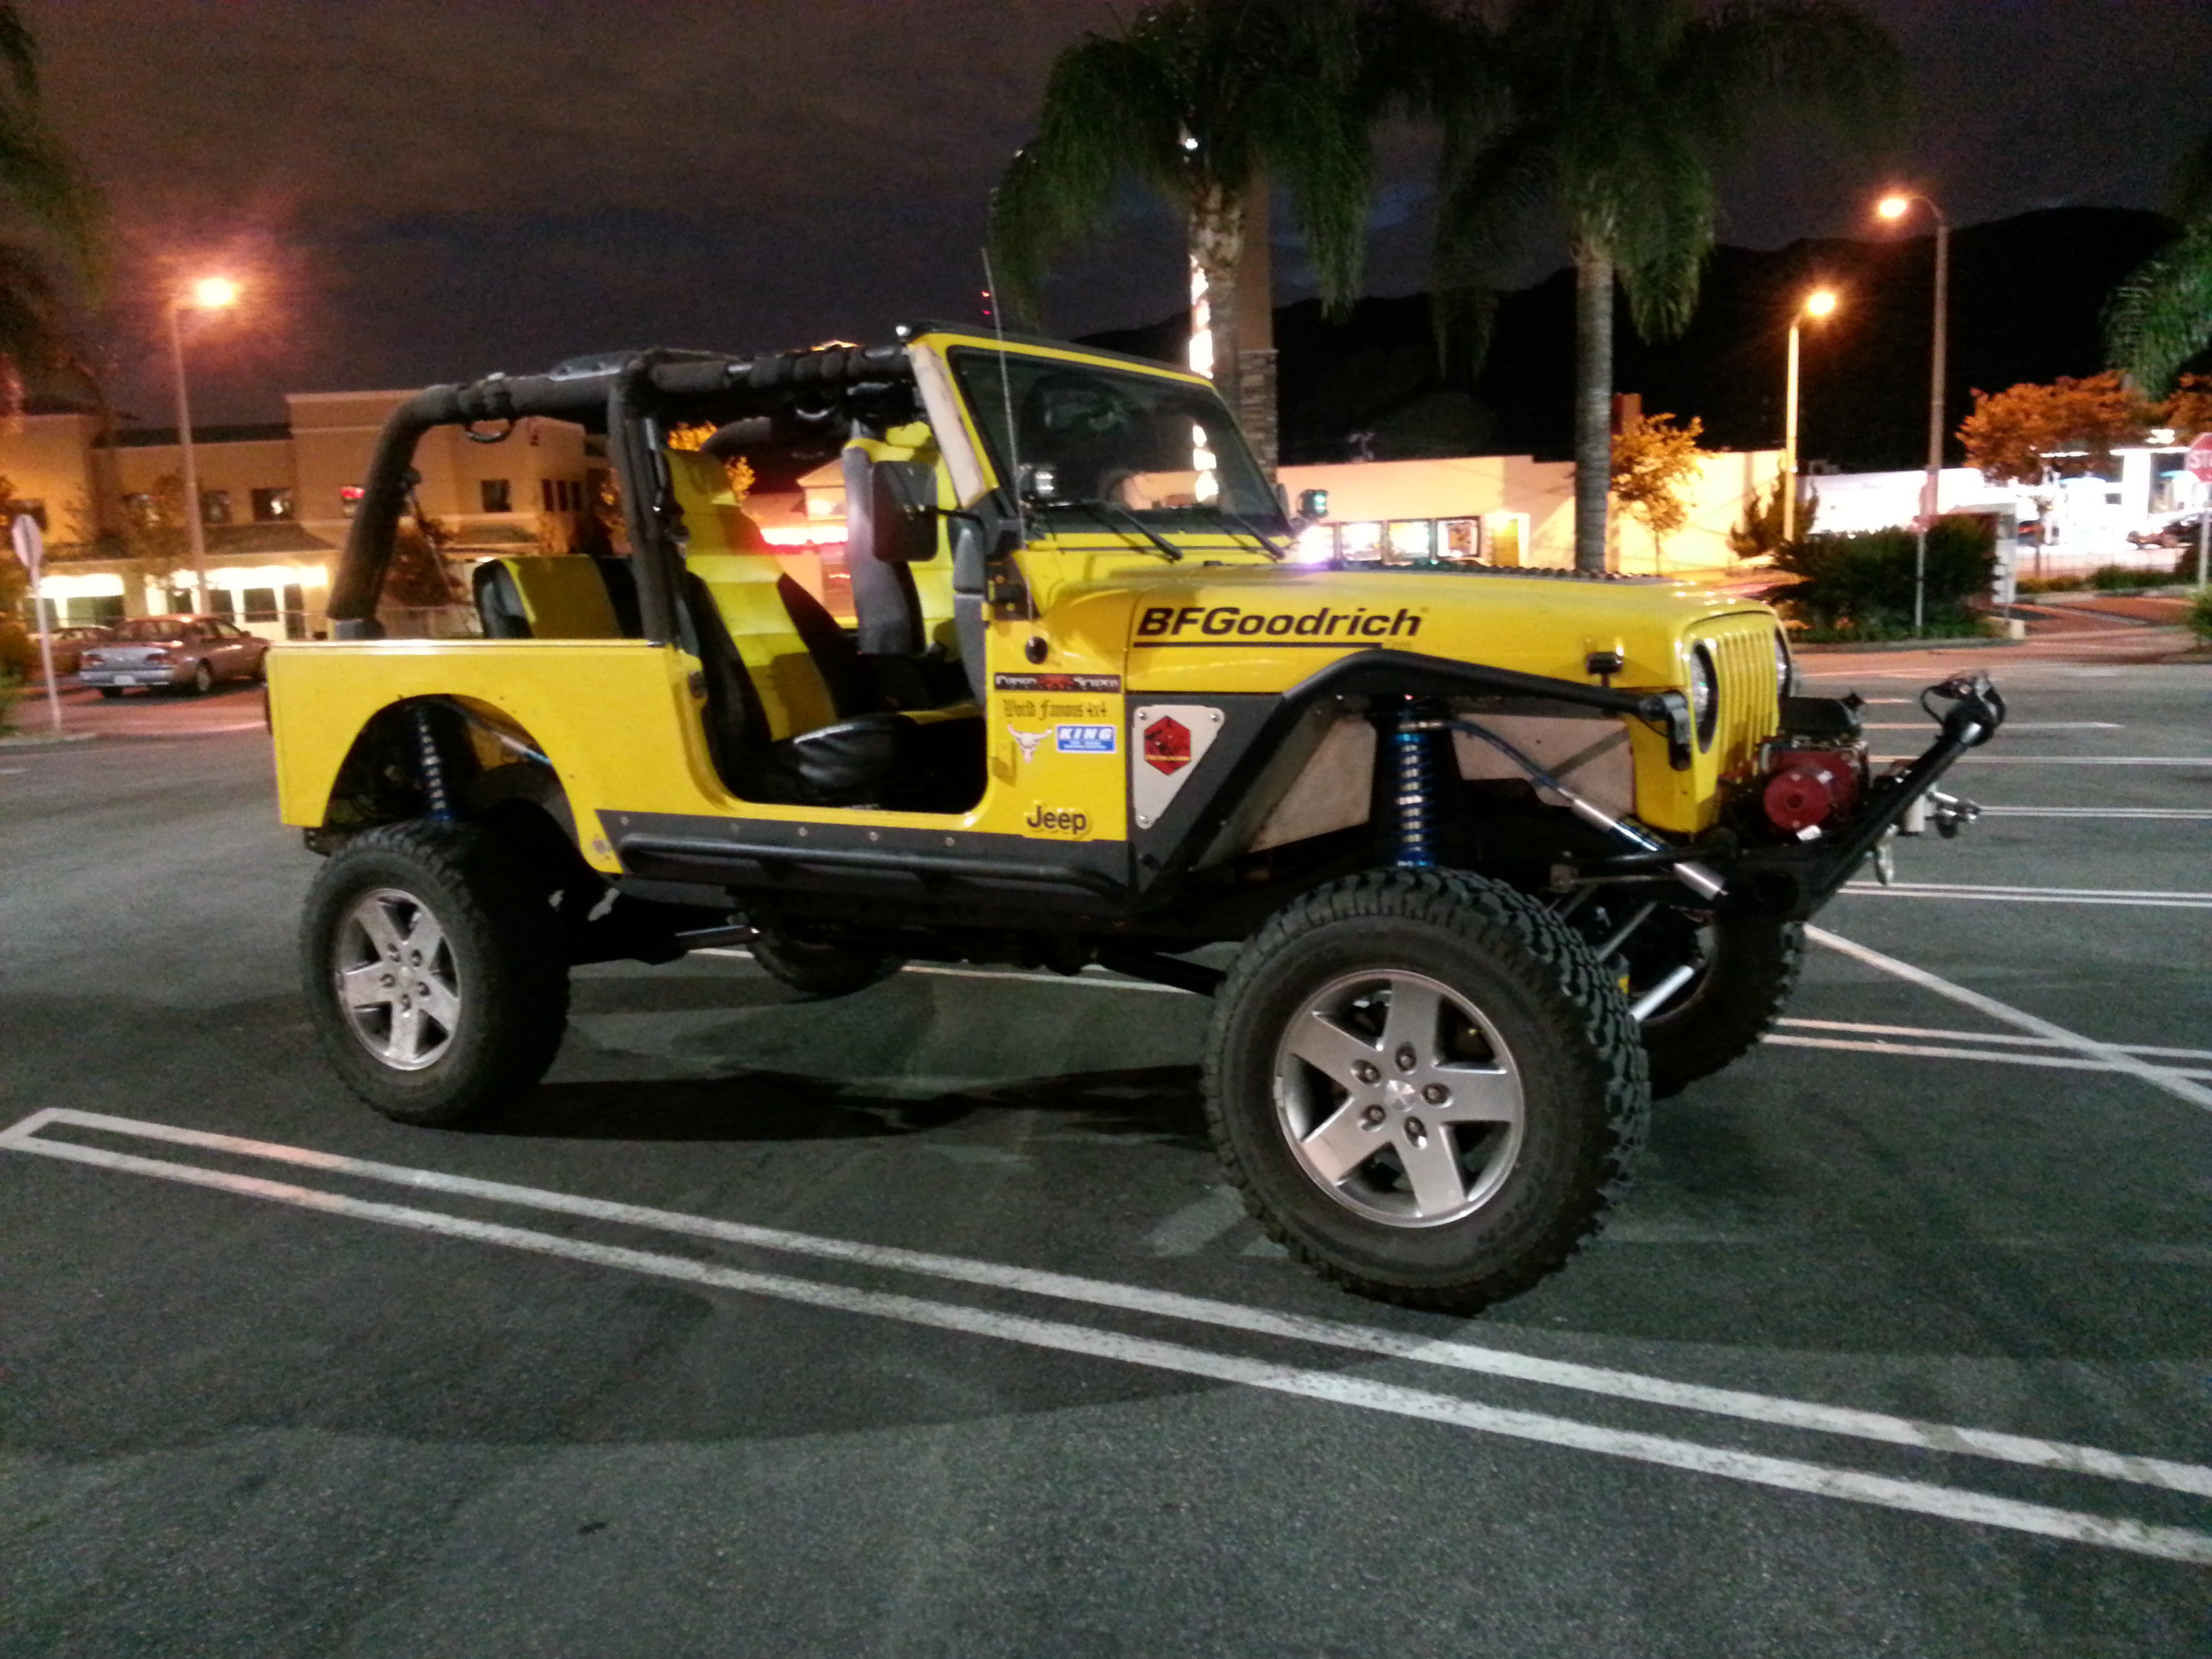
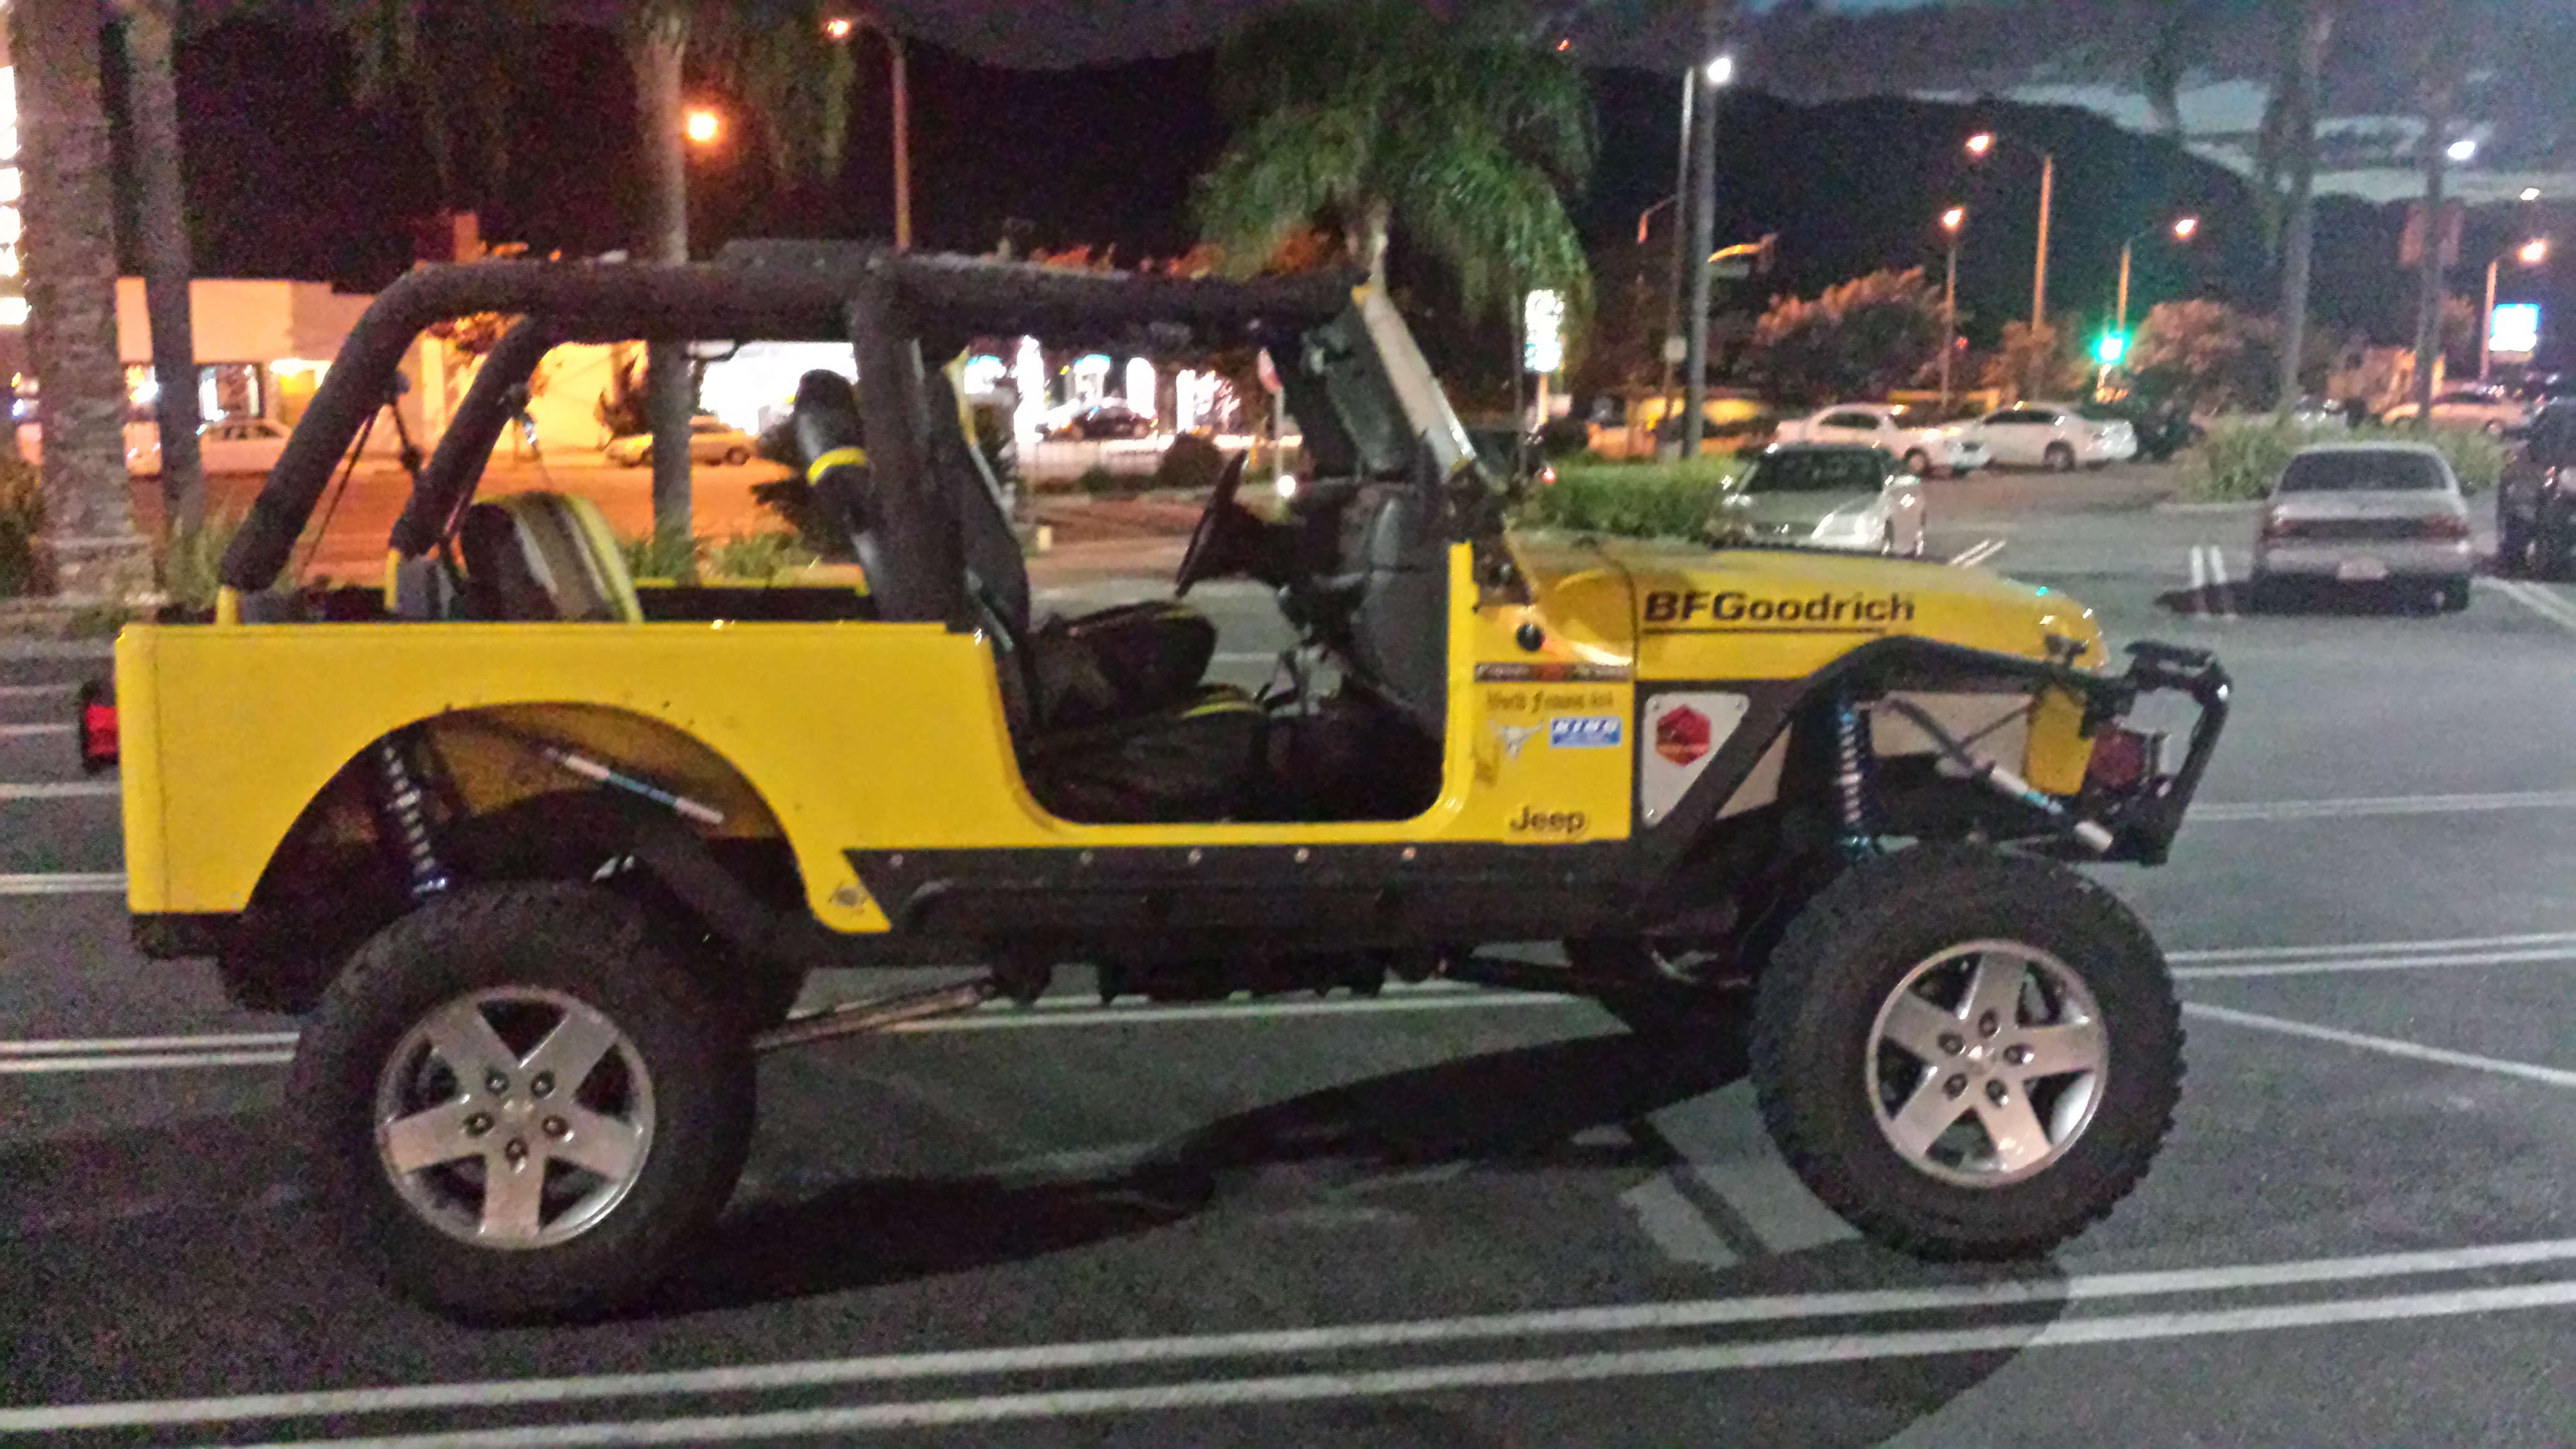
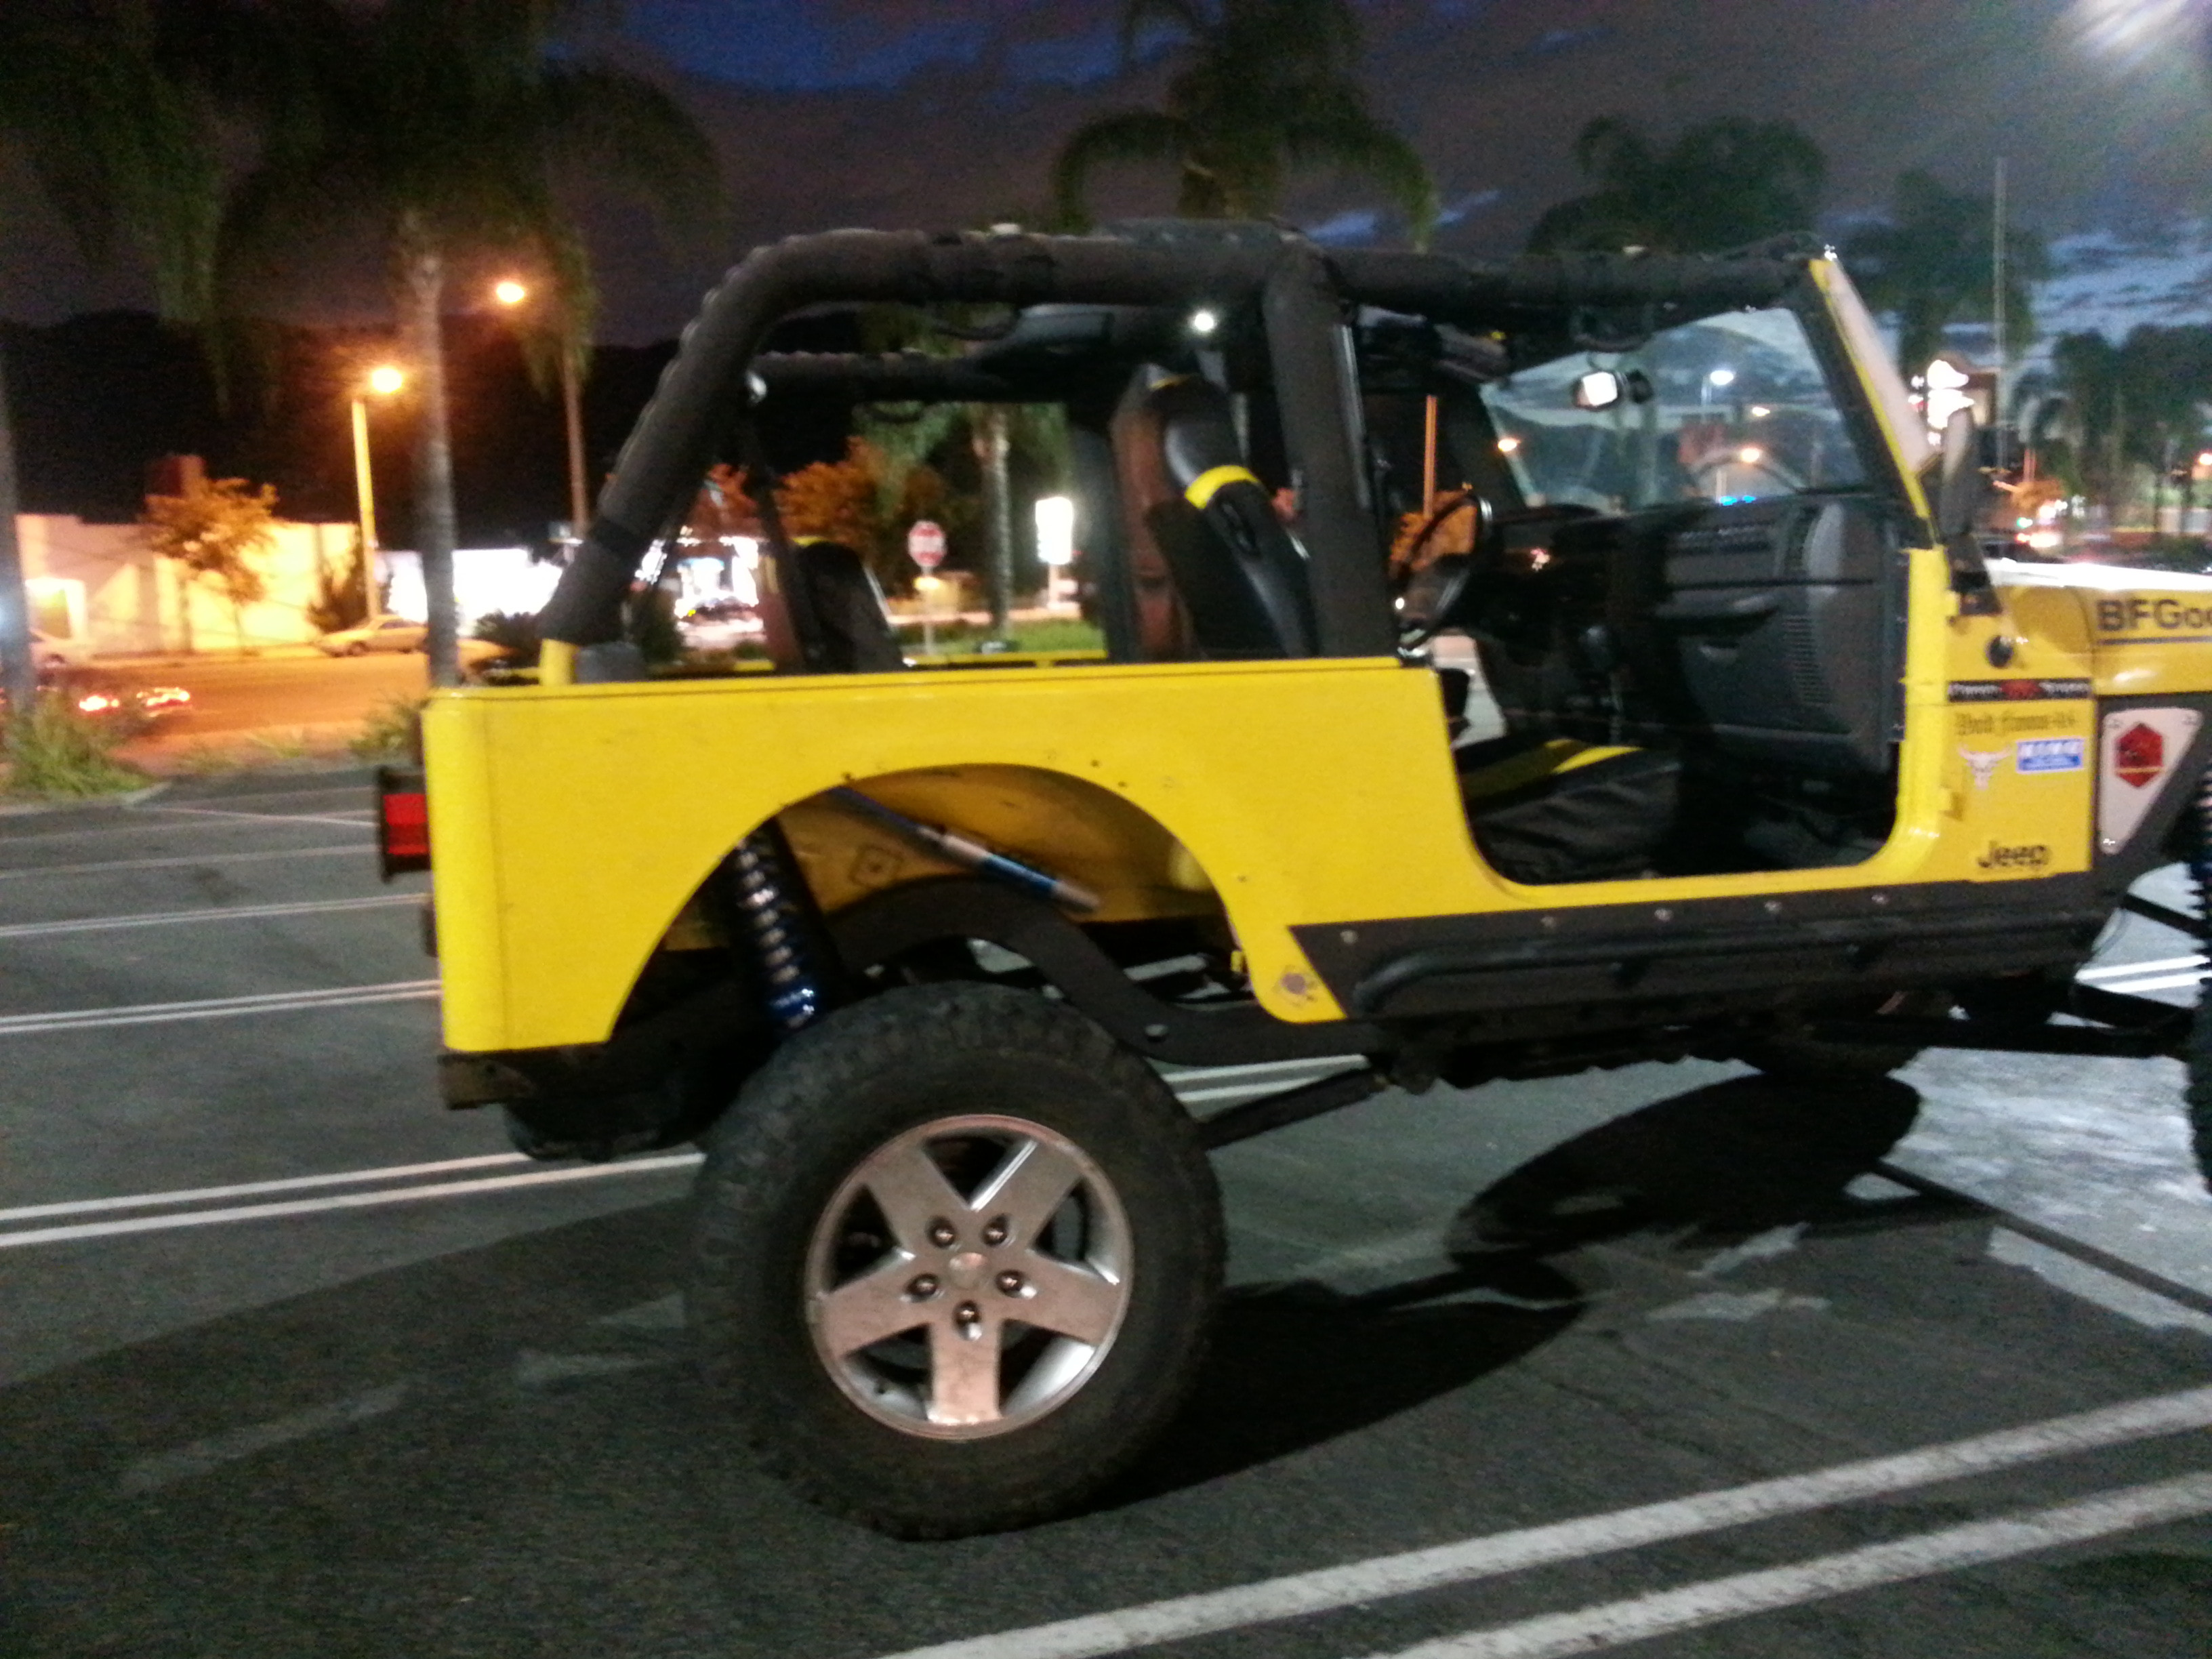
With the rear coilovers on, I have less body roll response when I give it gas and it doesn't pull to any side anymore. Also with the rear coilovers on and no bumper it felt very stiff going down the street. Now im not sure if it was my rear WORN out tires causing the stiffness feel, or if it is the 200/250 spring rates in the rear with no bumper and spare. My bet is on the spring rate so ill probably swap that out at a later time. Also I do not have any swaybars connected, front or rear at the moment. I need to purchase front and rear anti rocks and roll with that.
Now for the pics for the gas tank relocation.
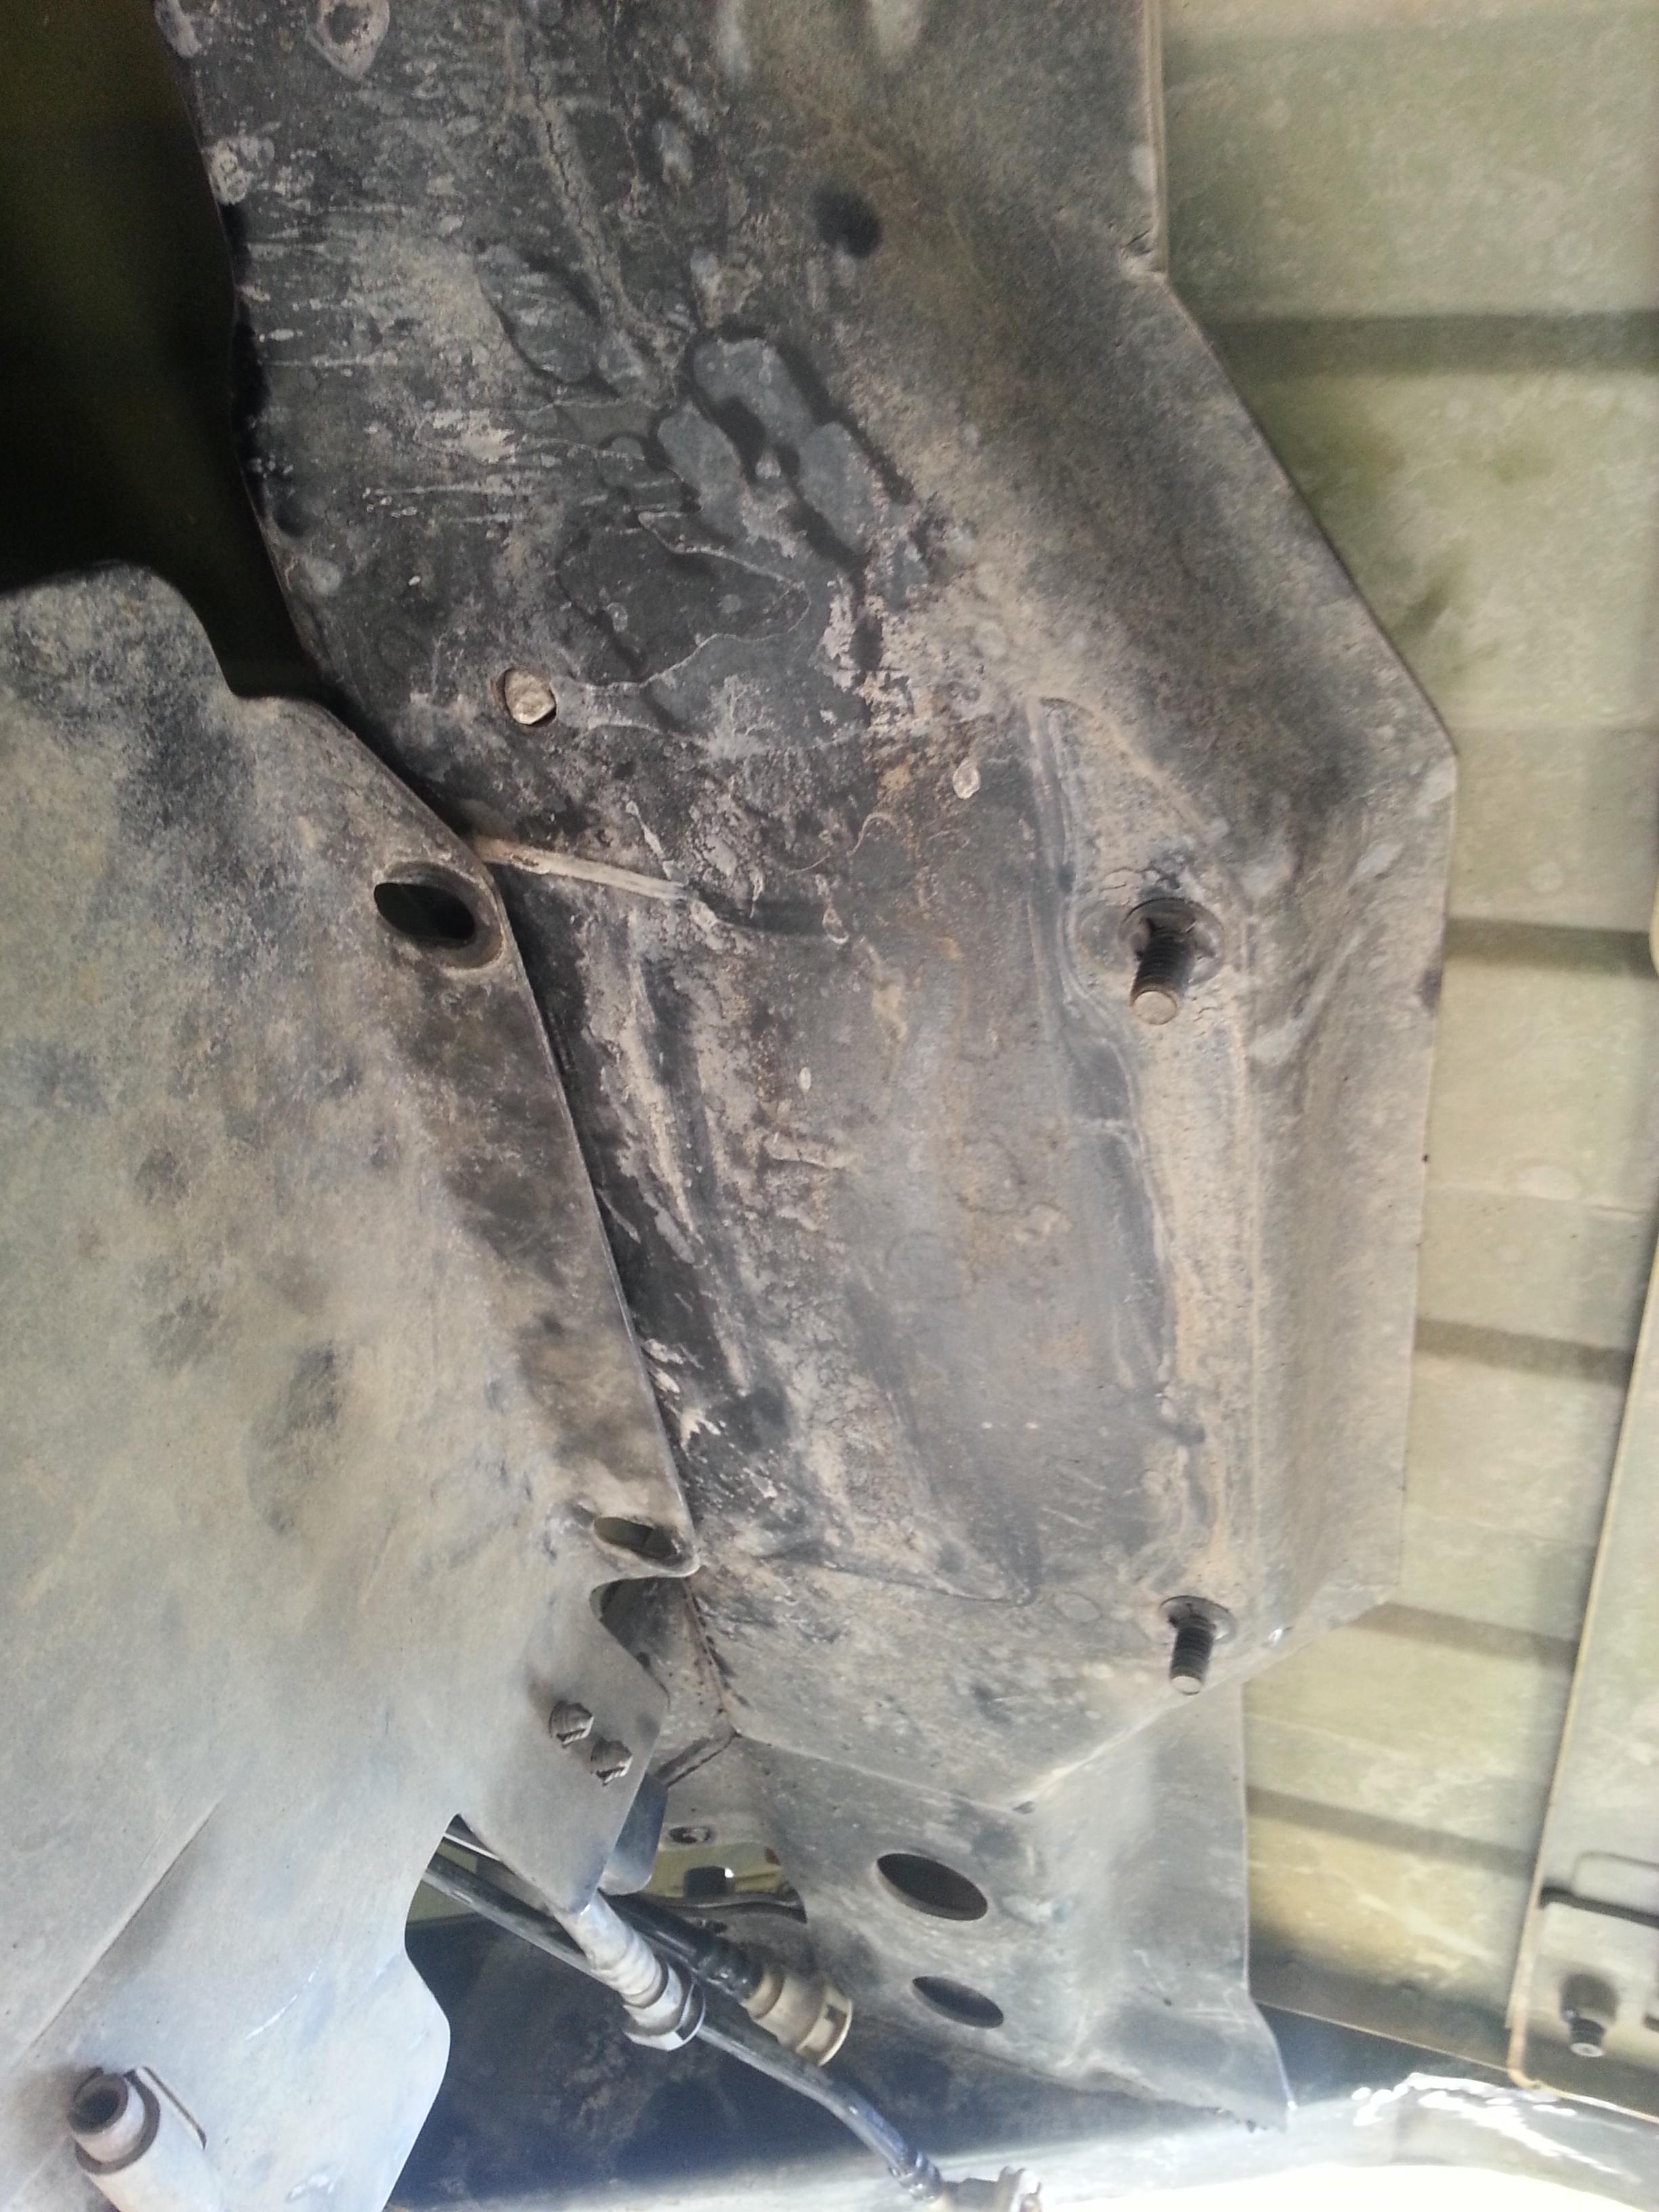
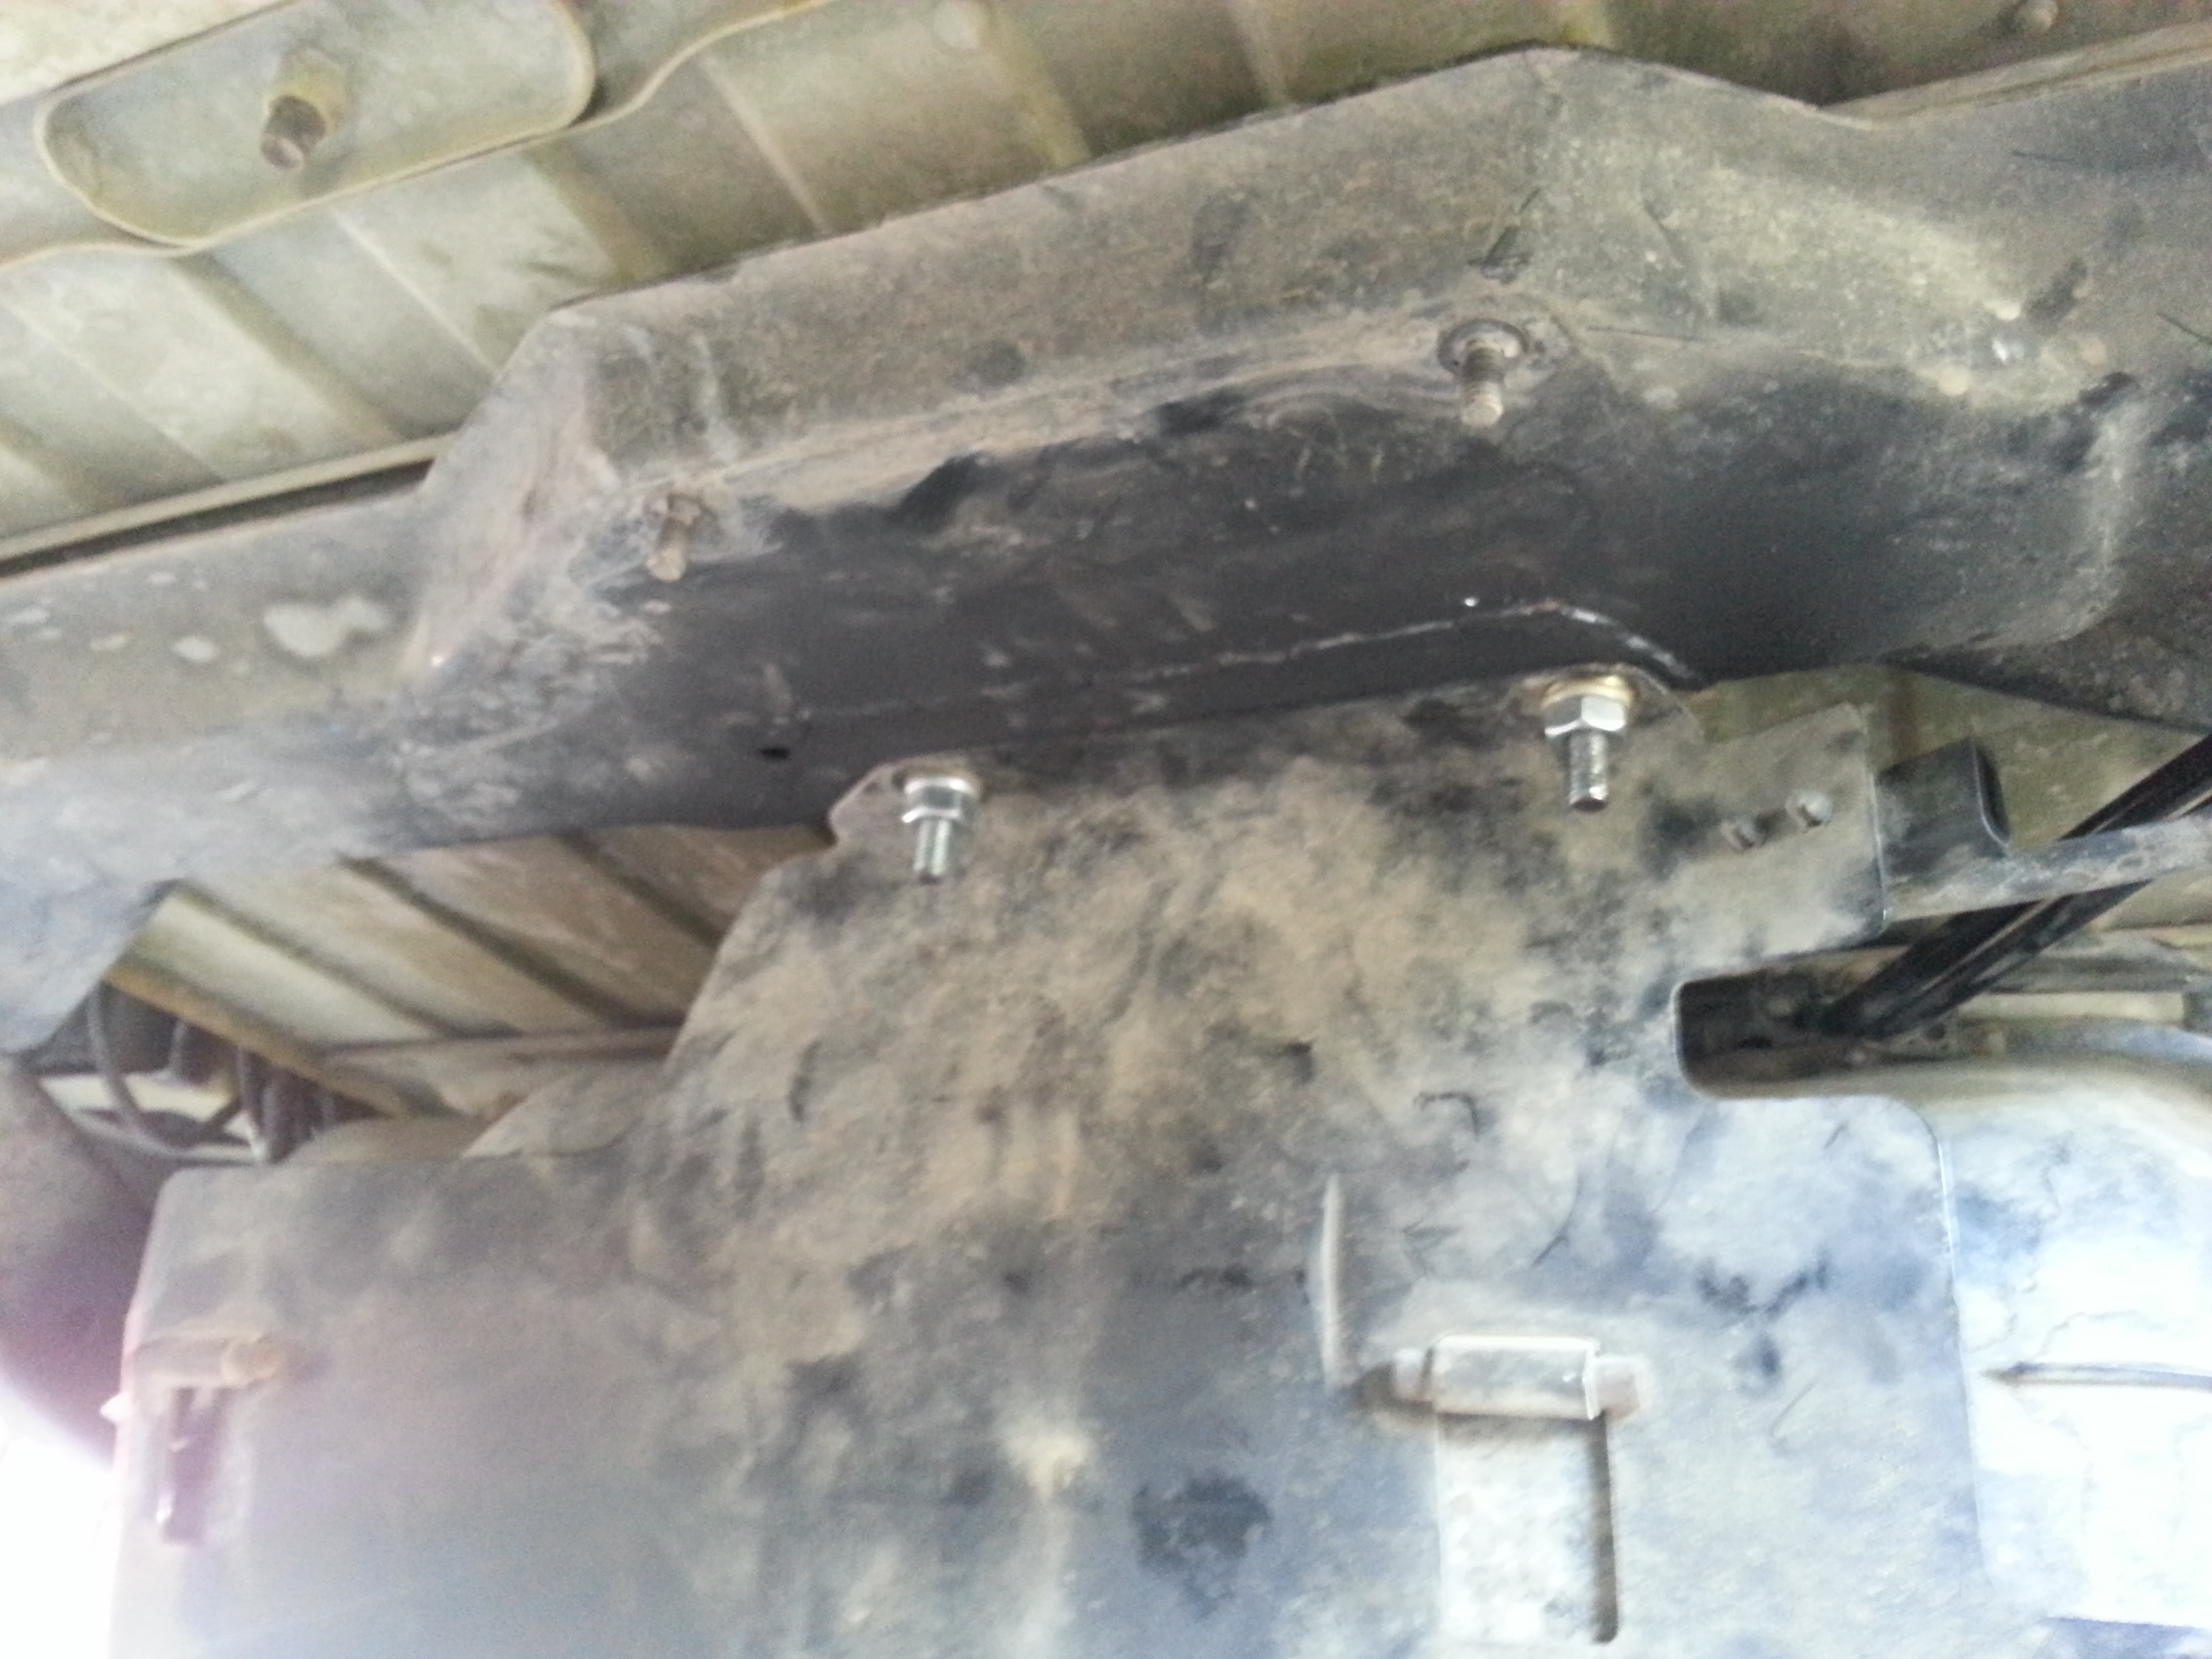
Here is a pic of the most rear crossmember that the gas tank will now be bolting on to. This X-member is the same one as the one I cut off, so all I did was transfer over the bolts from the cut one. The holes are square so the bolts dont need anything to keep them from spinning.
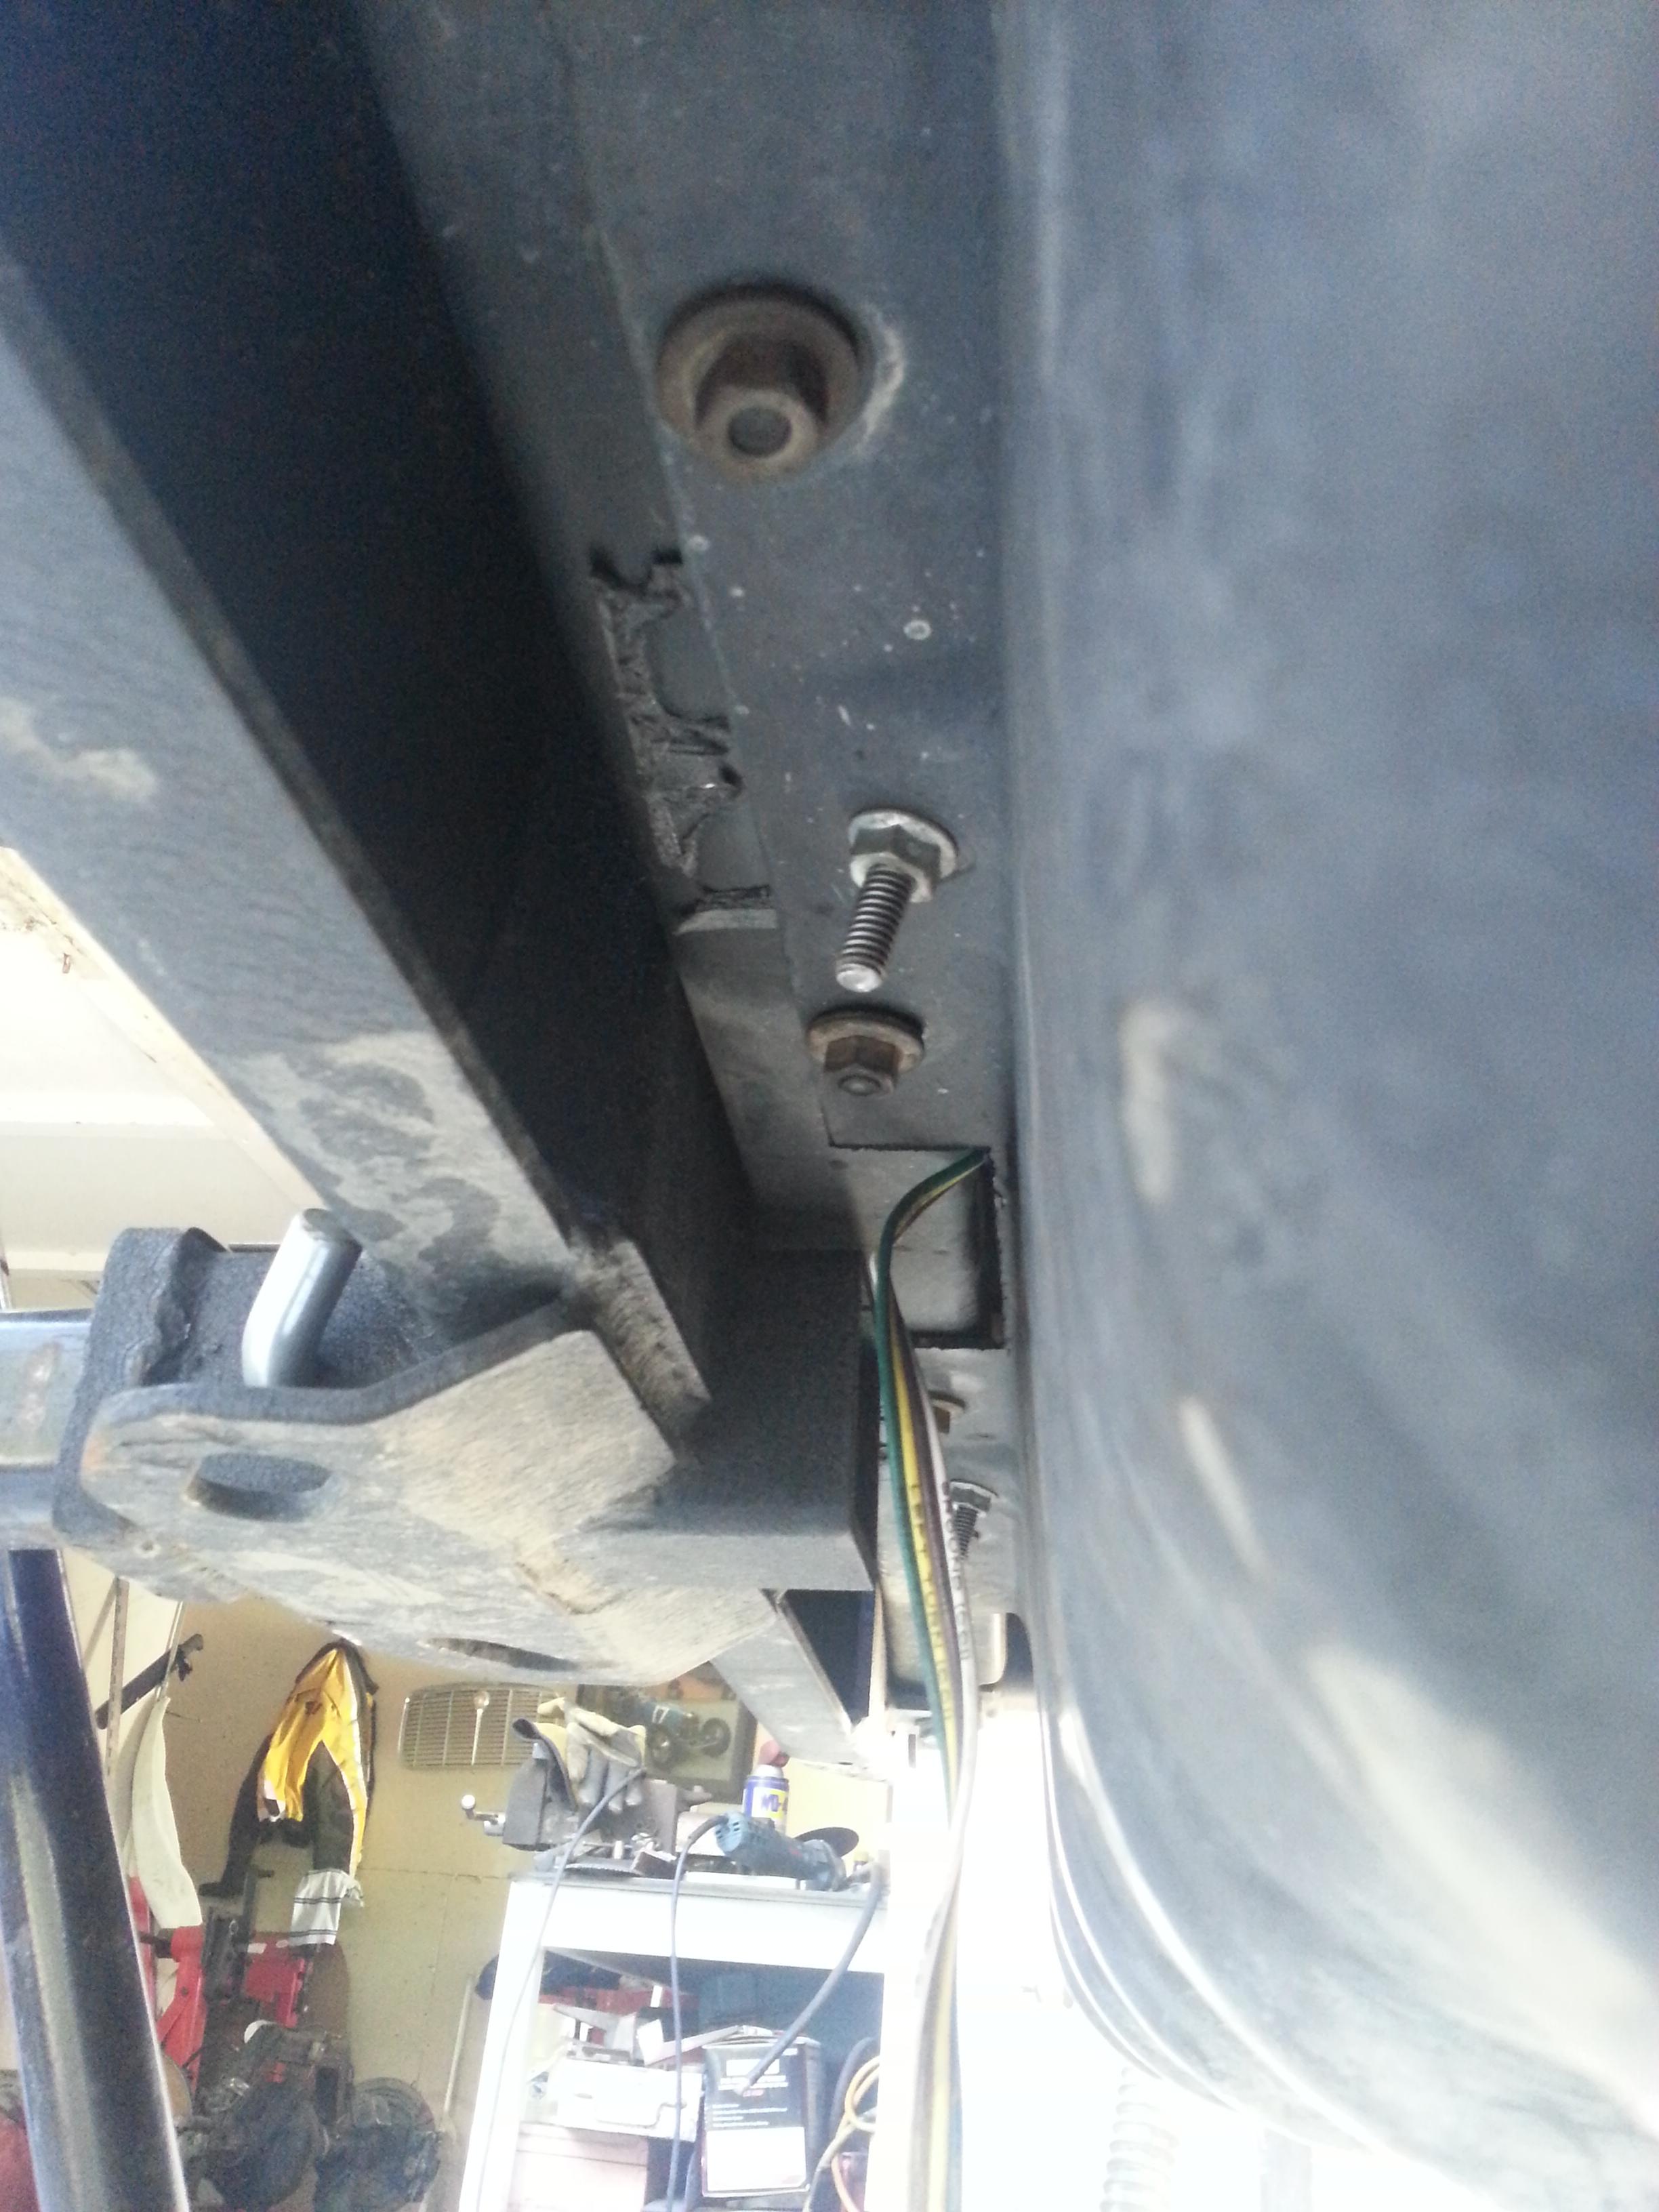
This side is the cross member on the opposite side of the top picture. You can see the old bolts from where it used to be mounted. This side is a little trickier because you need something to hold the bolt on the inside of the X-member.
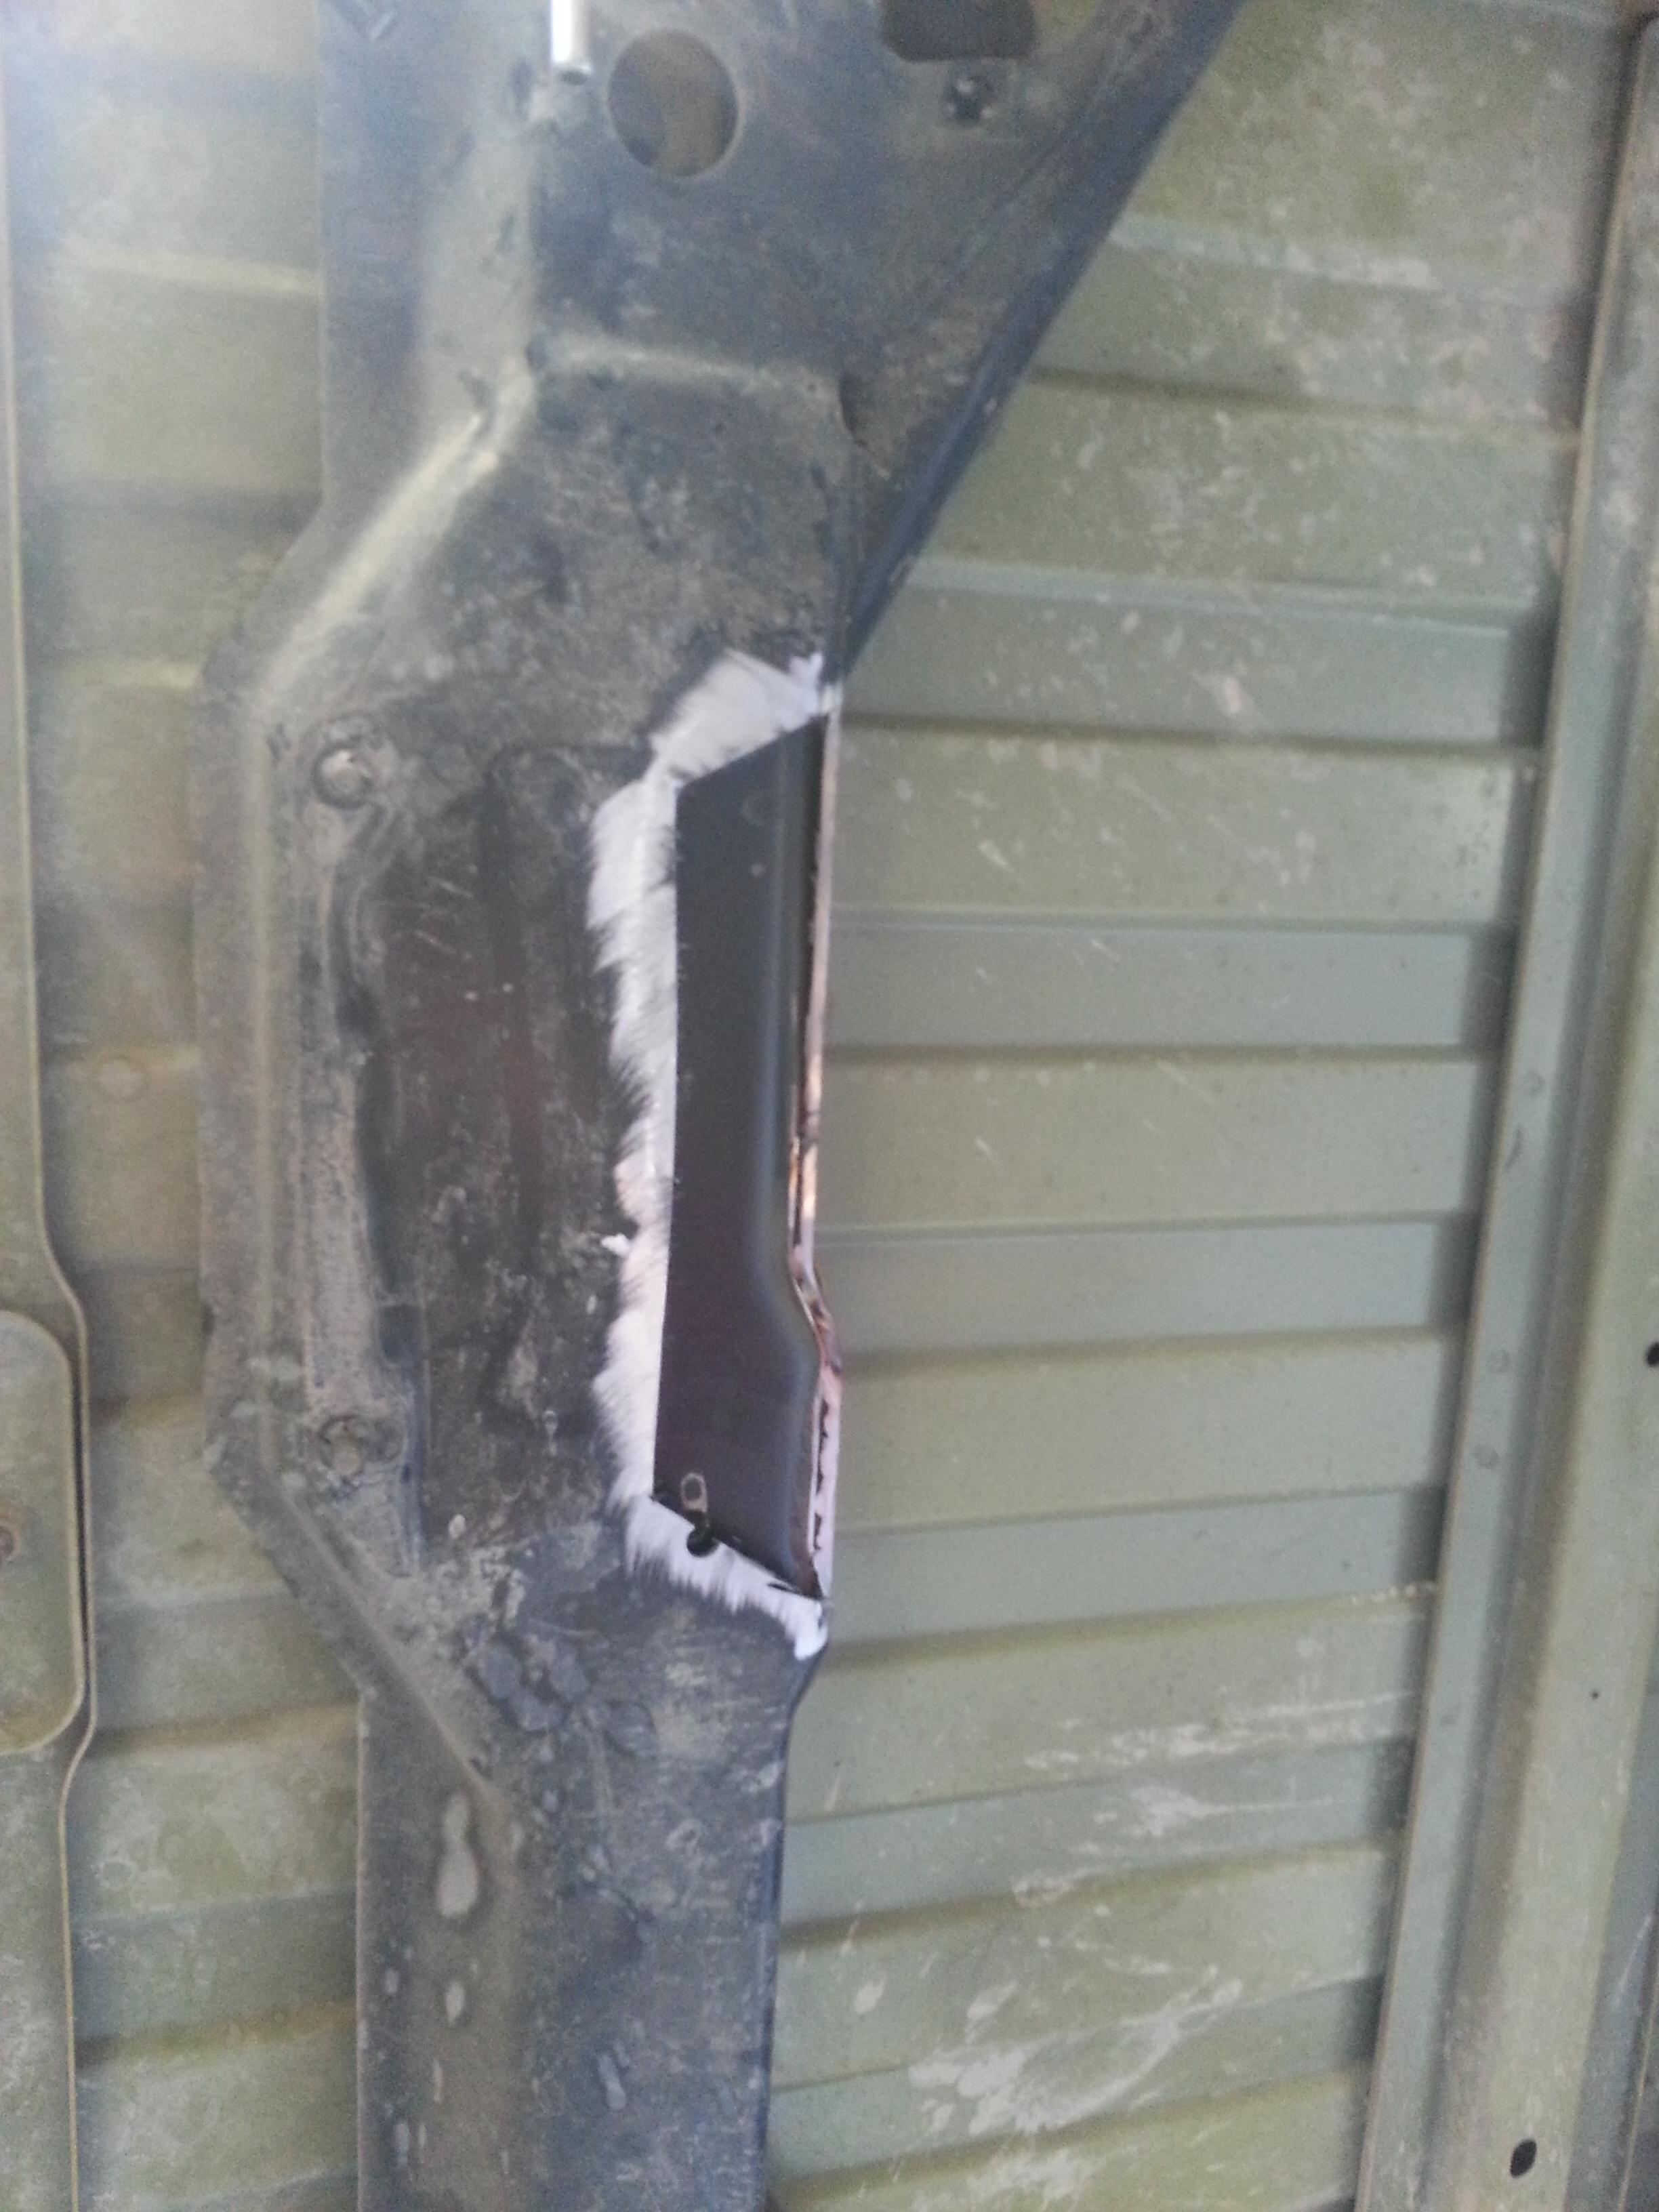
So what we did was cut the section that was suppose to have the new mount holes.
We then welded in bolts so they won't spin.
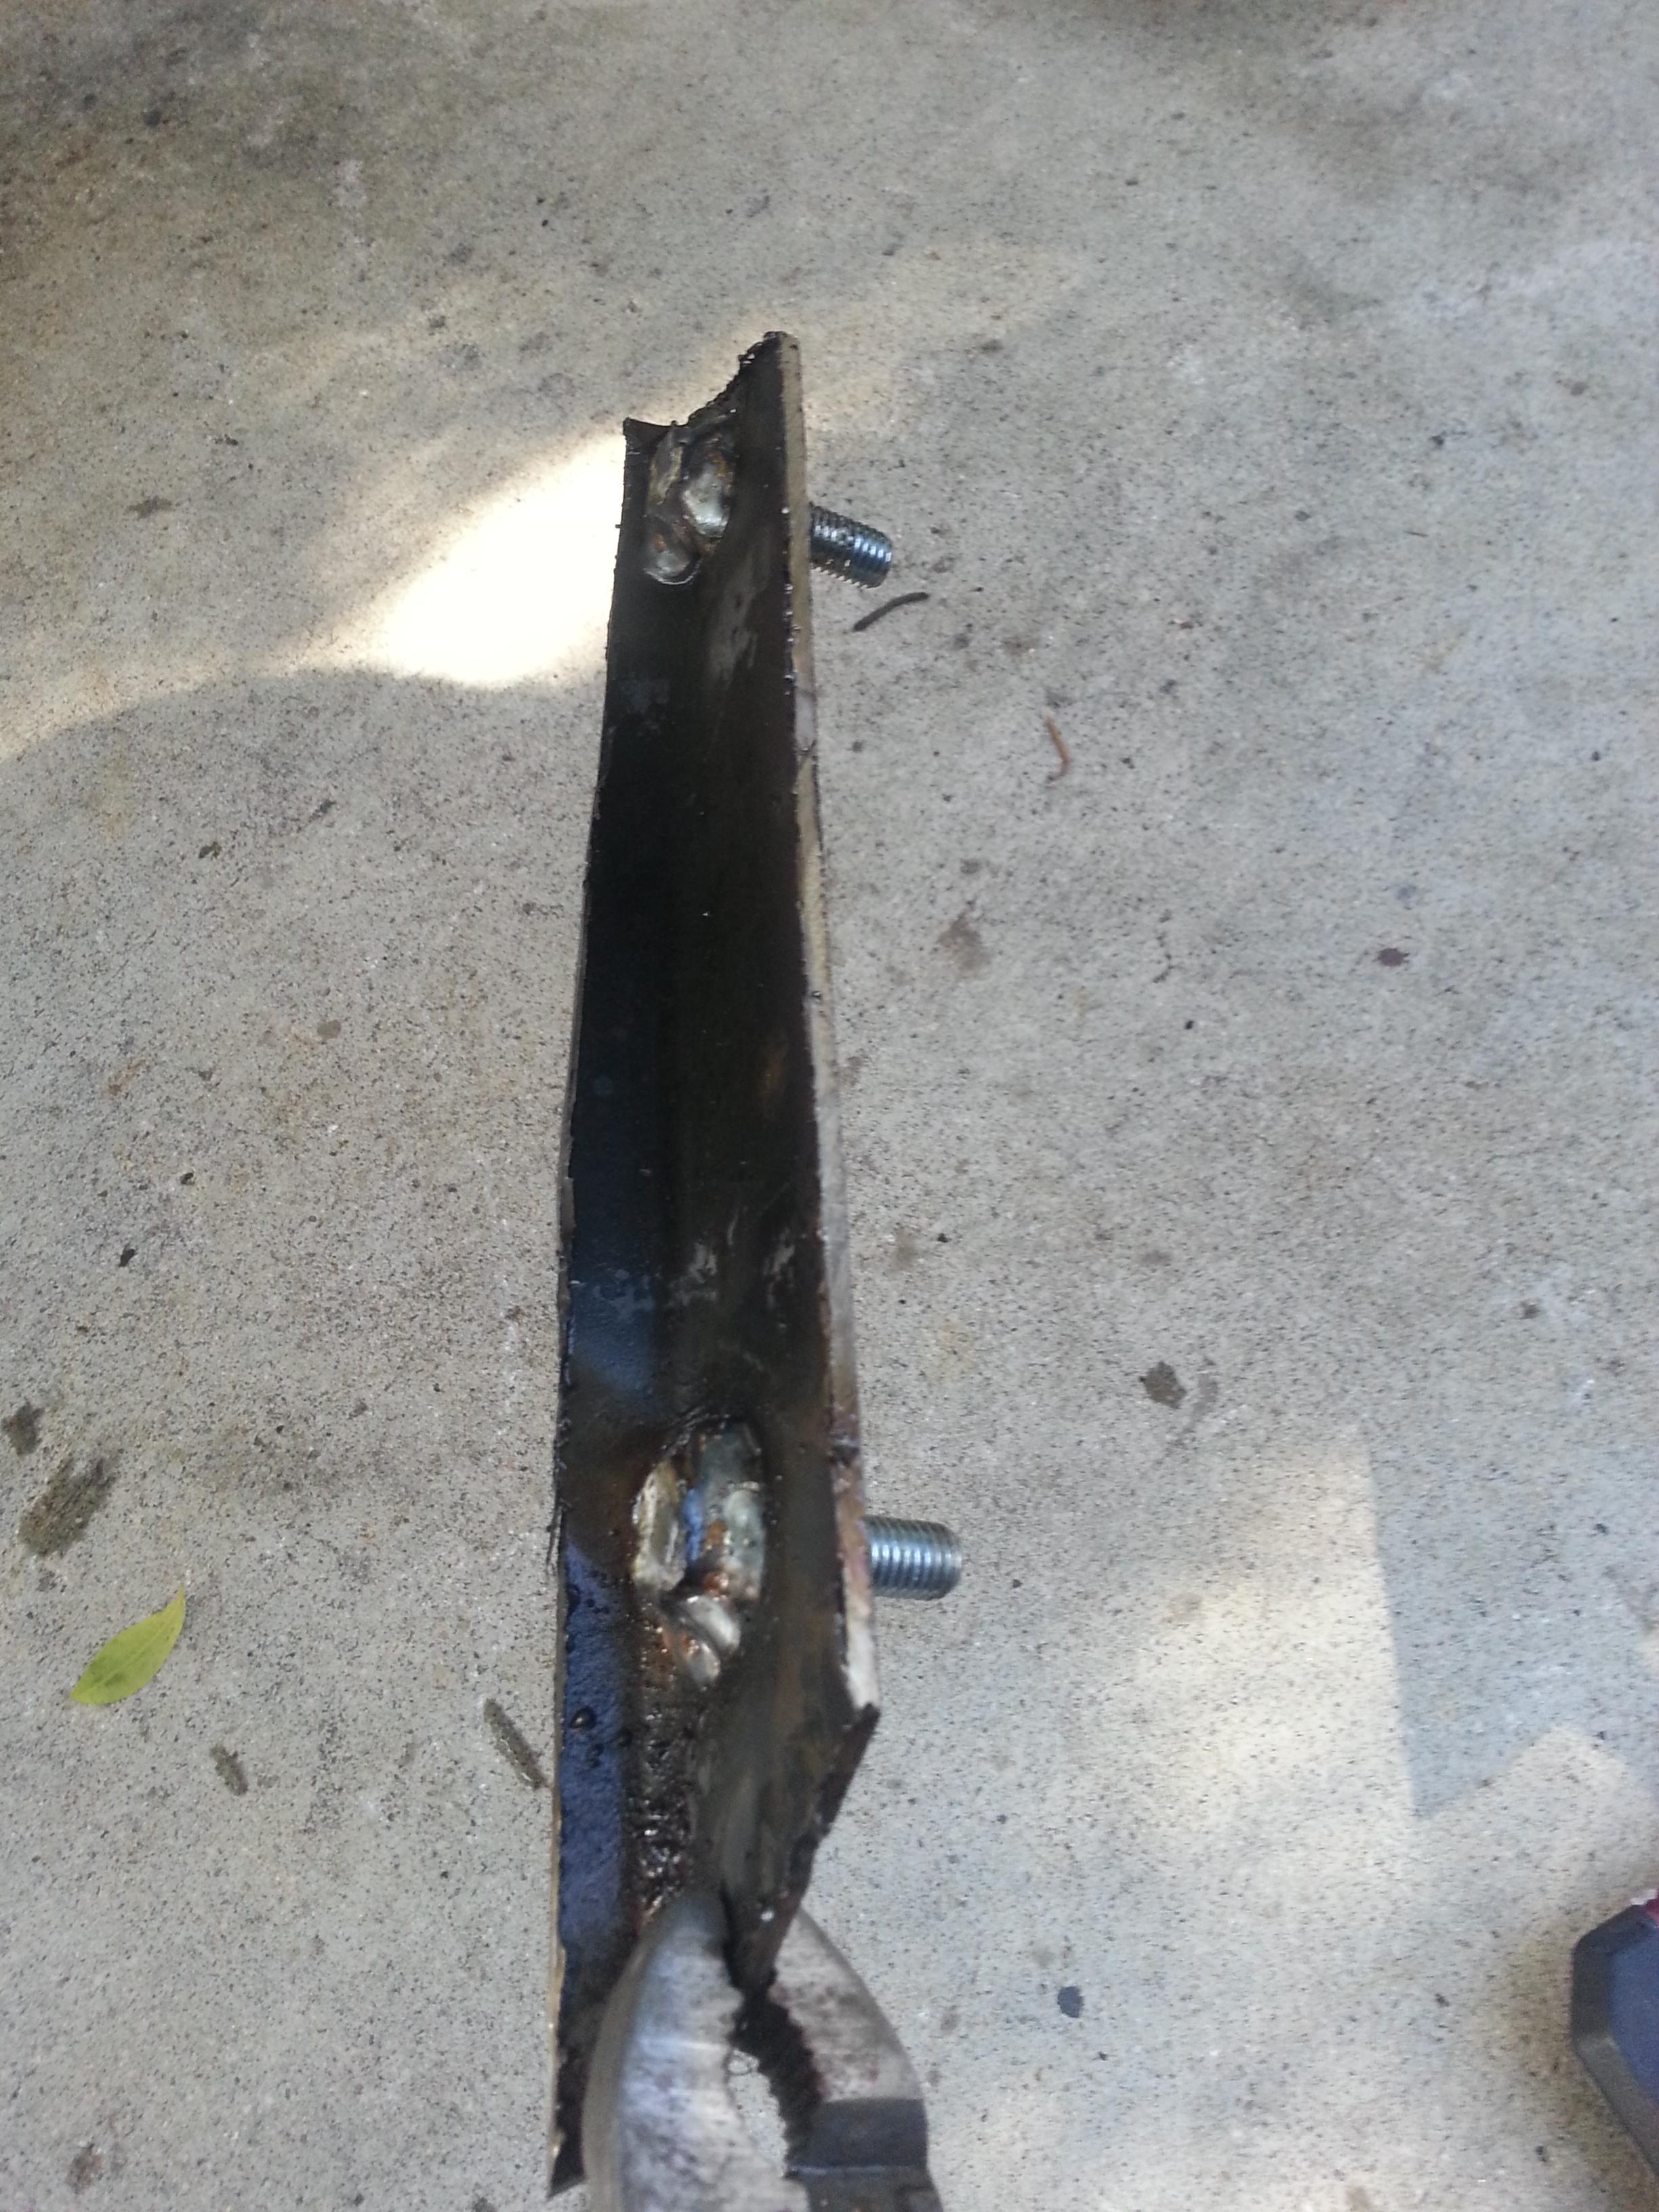
Then welded the plate back to its spot.
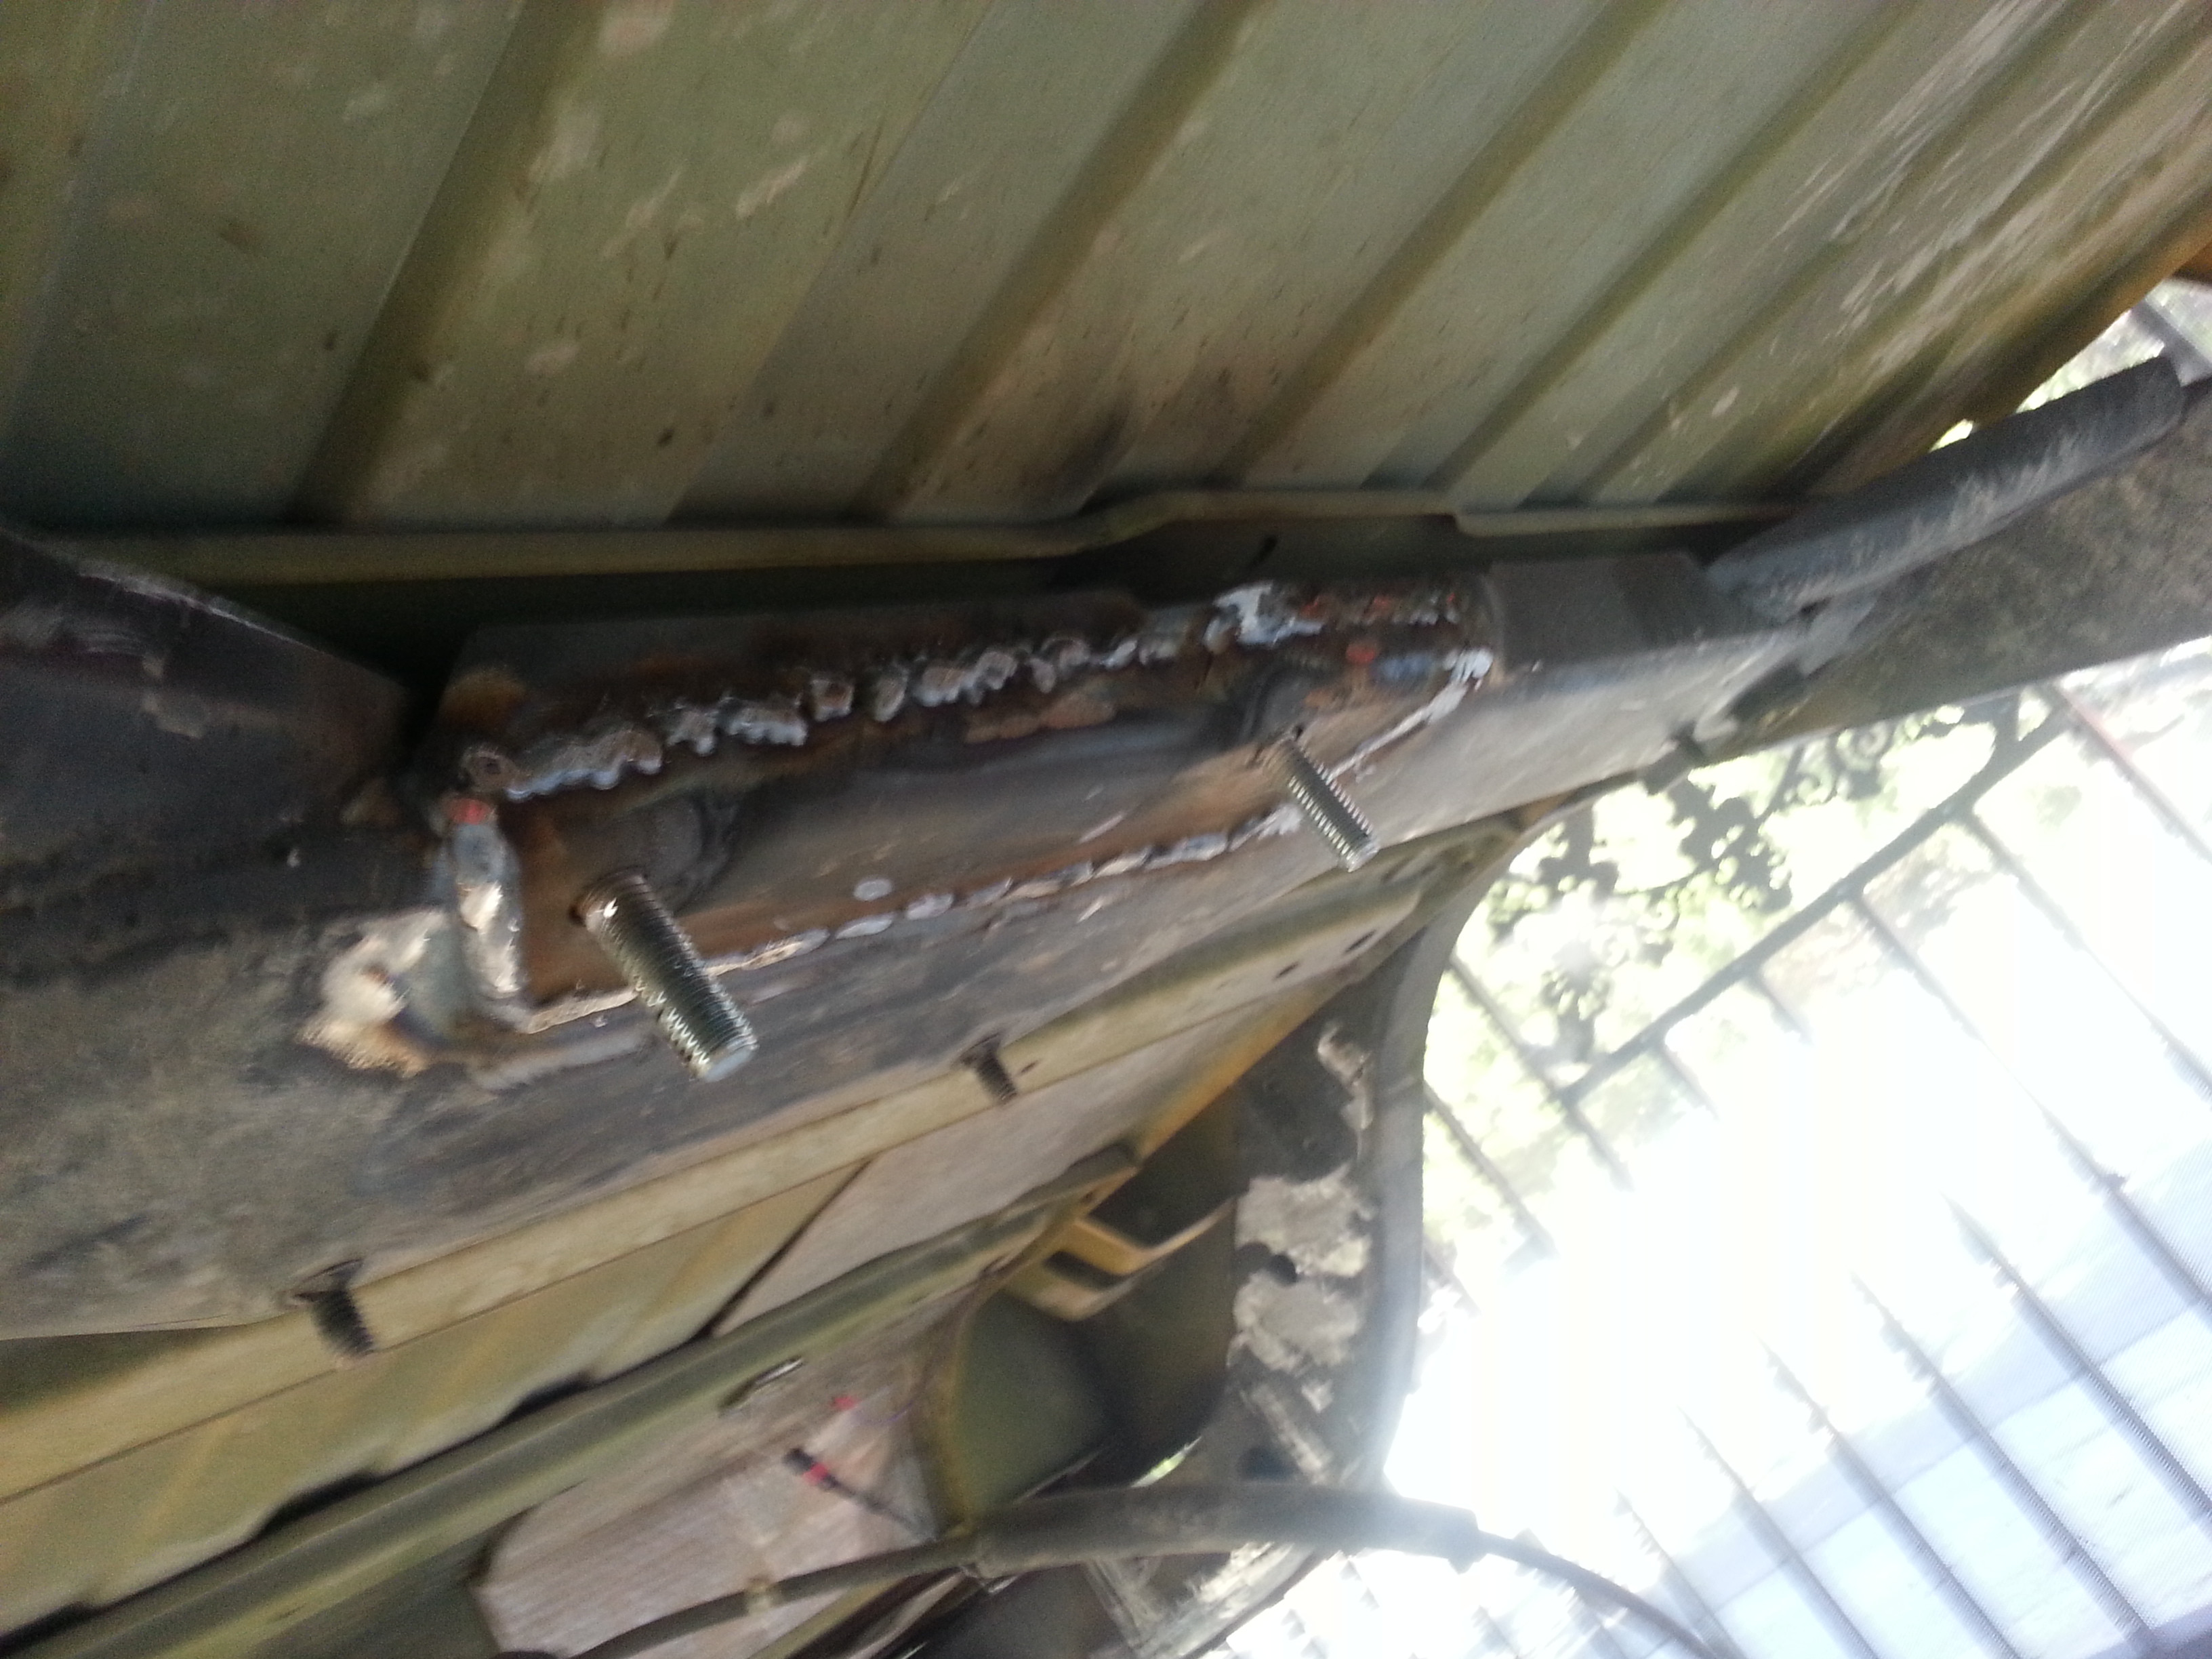
Add a dash of paint and BOOM, you have a mounted gas tank.
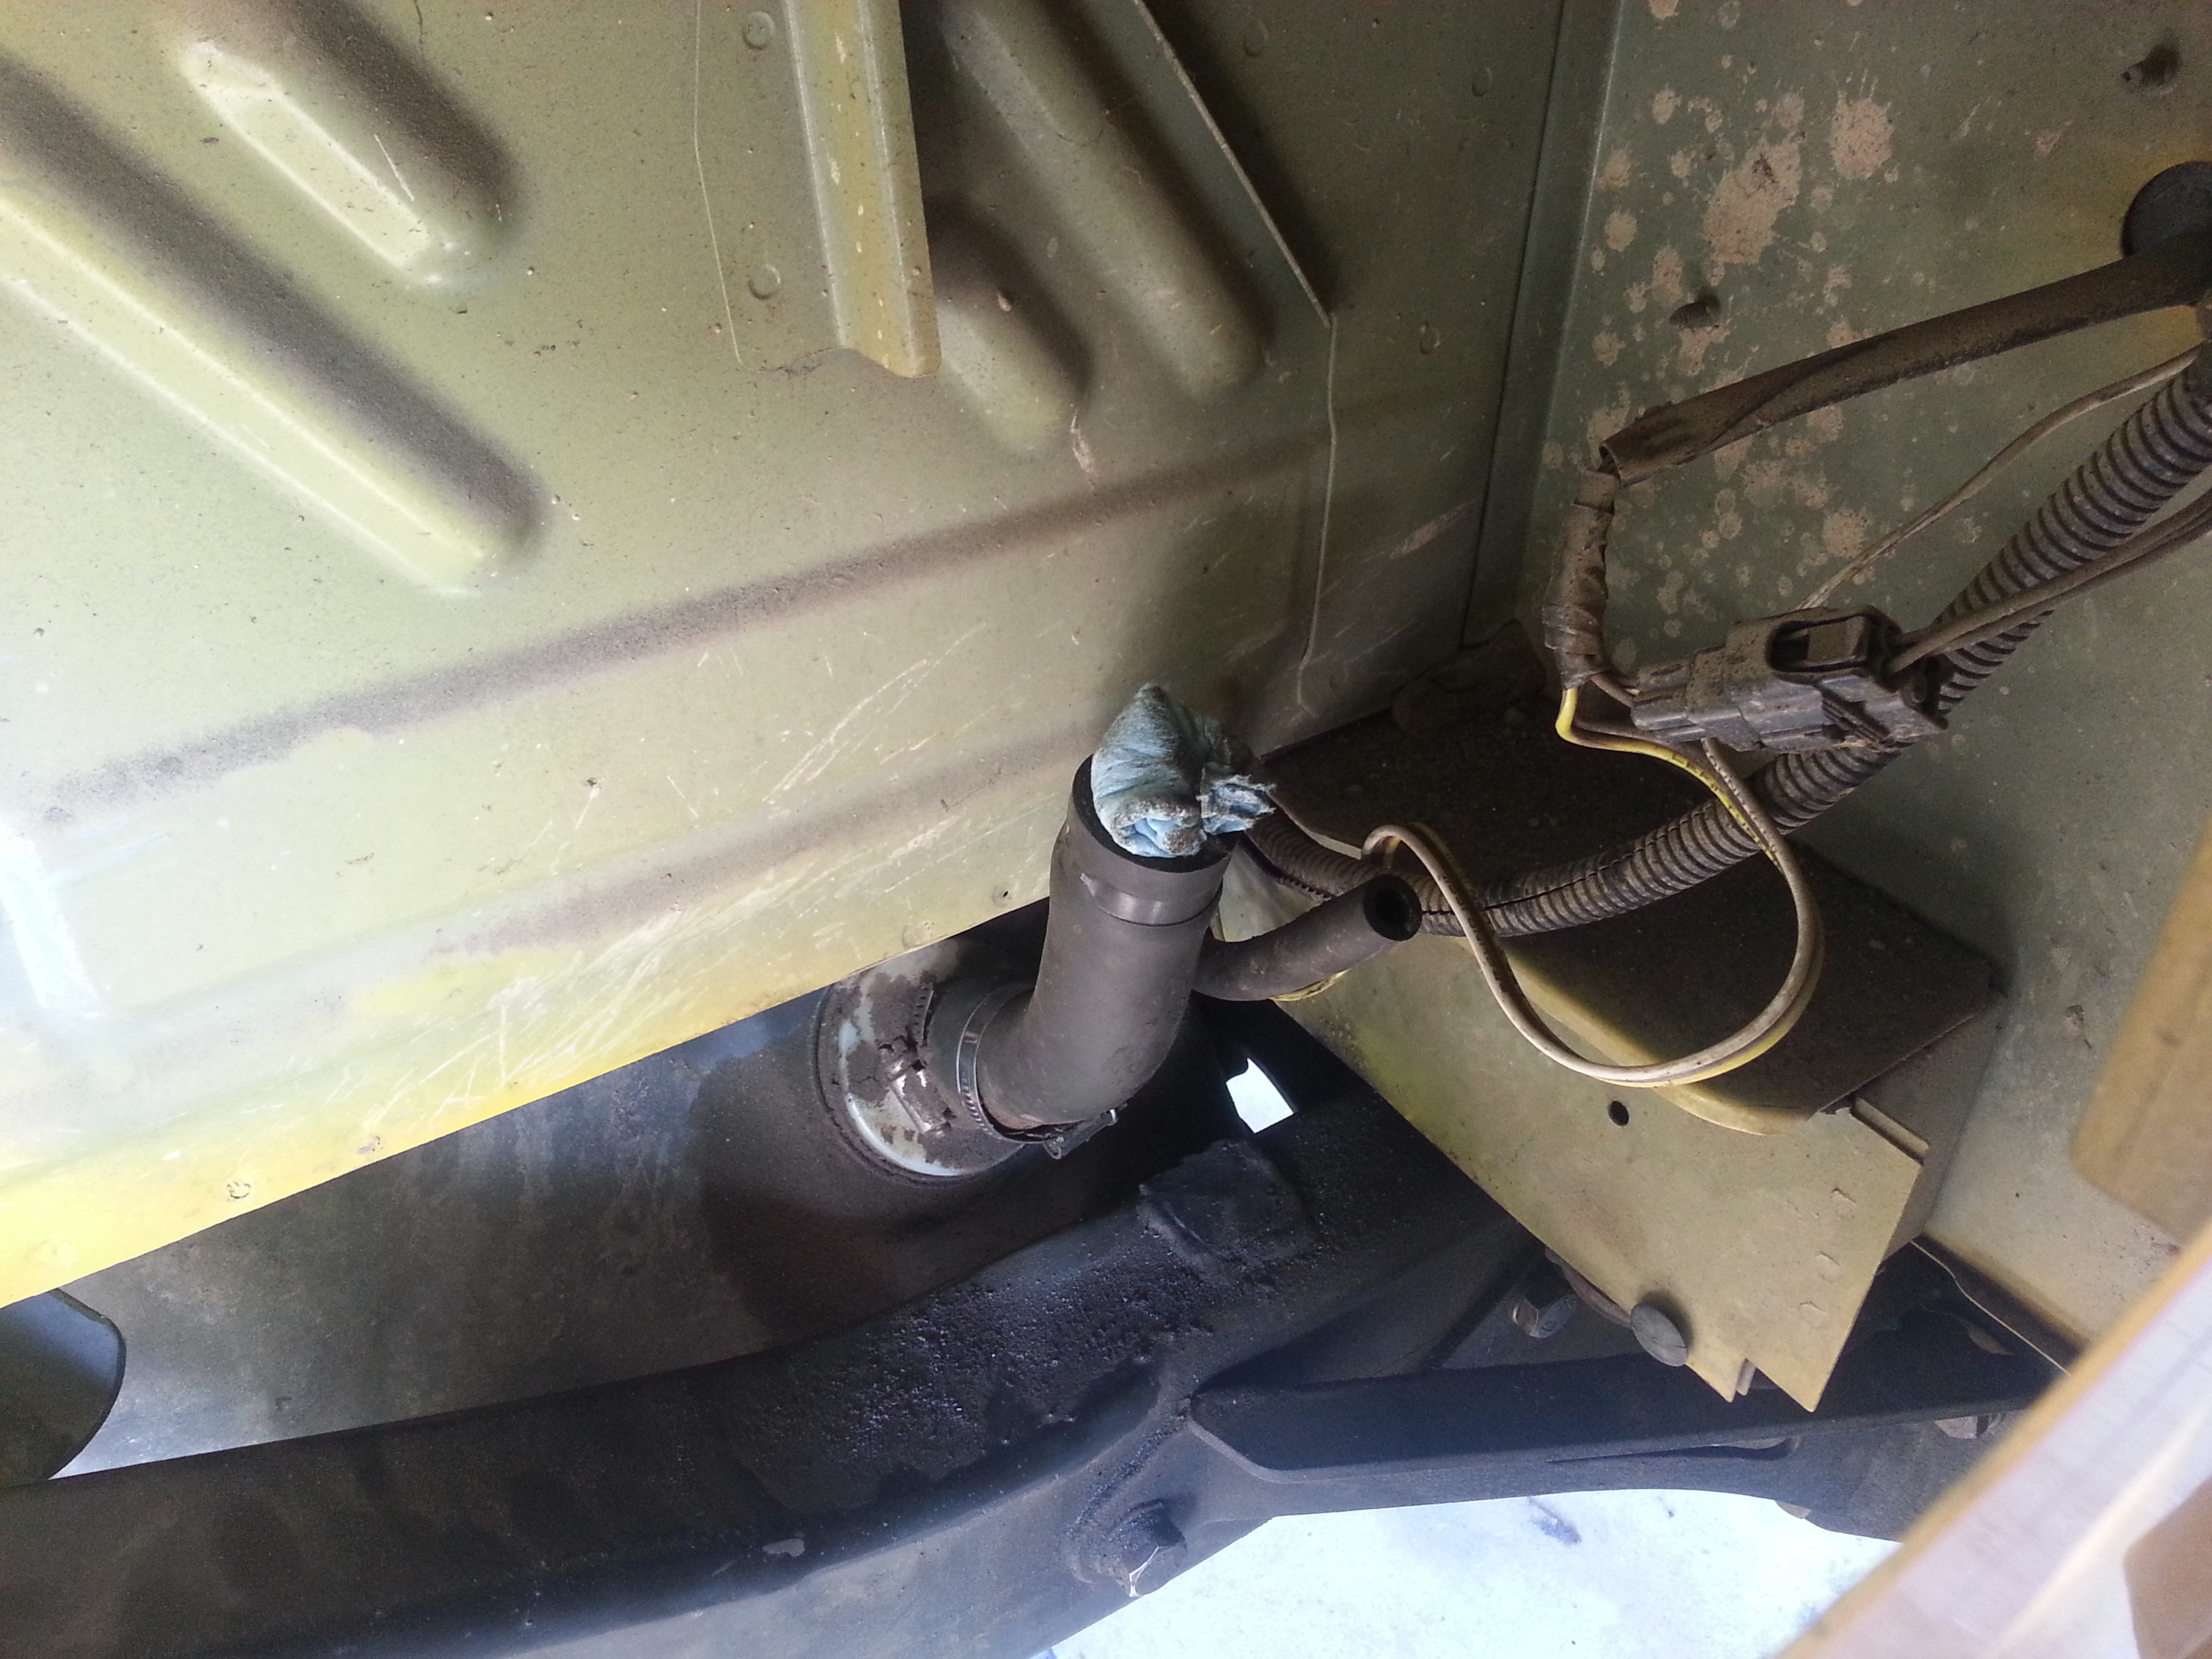
After the install this is where the gas filler neck reached. Youd need to relocate the gas hole to use the stock hardware, or else you need a little longer hose to connect to the gas tank holse and the filler neck.
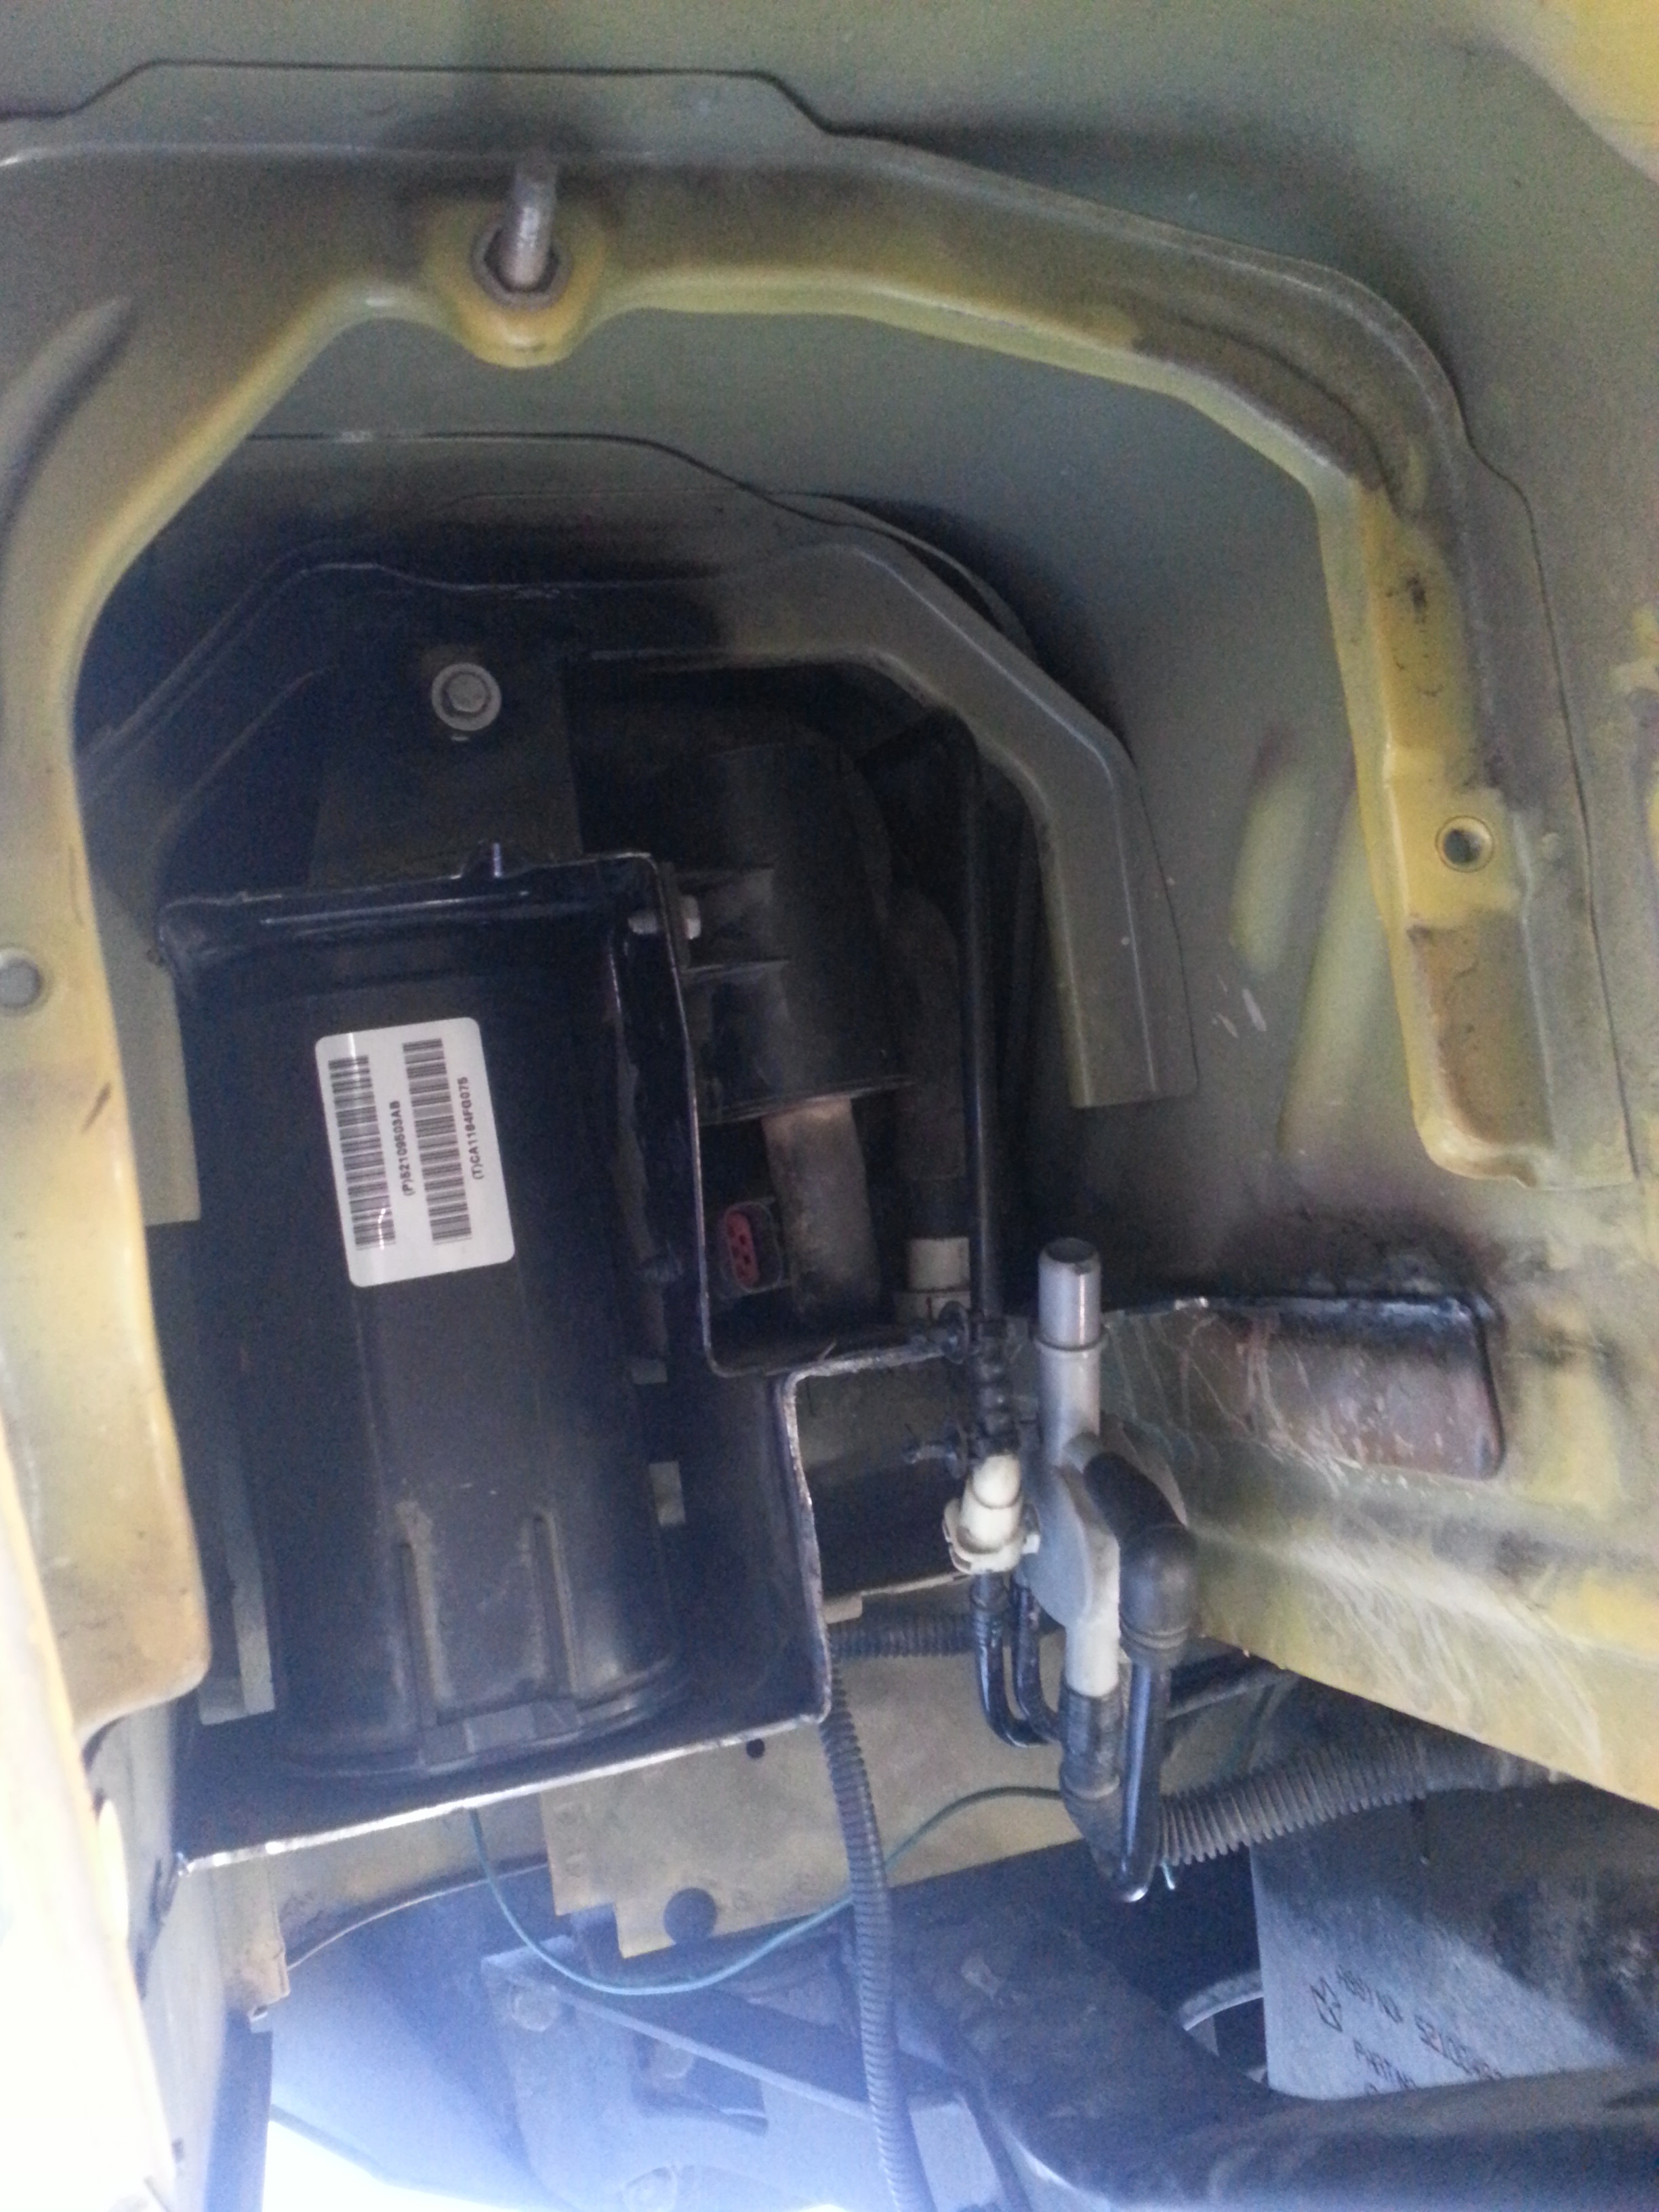
And the hardest part of them all. The god dam evap canister . The jist of this is, you need to cut off the mounting point that is on the lower right facing forward. Then you need to cut the whole bracket that the evap canister sits on in half. You can see in the pic up to where the canister bracket was cut from.
Also at the top you can see a bolt facing forward, that is where it used to be mounted, you need to take a bolt and mount it to the rear most support member to push the canister back. Then again hack away that the bracket that canister sits on so you have maximum clearance.
You can see where the gas hoses come up to, luckly the evap hoses stretch far enough to connect all of them.
One part I did not take a picture of was the 3 hoses that connect to the gas tank via driveside rail. That part was a little tricky because there was barely enough slack on the lines to connect them. We had to bend one of the steel hoses to reach out far enough to connect.
Hope that helps with anyone else that wishes to do the gas tank relocation on the LJ, quite simple using no extra parts.
This is sooooo bad ass!
Posted by bdub on 7/1/16 @ 9:42:01 AM