You must be logged in to rate content!
10 minute(s) of a 391 minute read
8-10-2013
Working hard today.... things are looking pretty good. I wish I did enough of this kind of stuff to be decent at it!
Well I've got the drivers side corner just about buttoned up. And I'm happy to say it looks pretty good. It just feels like my rig again, haha. I'm still on the fence about painting the white portion below the rail. Feels good to have some finishing work getting completed and I'm much relieved that this idea is going to work! I must say, getting all the bolts in, and bottom part painted black like it used to be, along with the plate and rail on.... it's really "masked" the fact that it's stretched. Either that or I'm already accustomed to the look.  Anyways, it's got a very complete feel to it now.


Before...
After....
Pretty interesting.
8-13-2013
Gettin stuff re-connected as much as I can at this point and some final painting. Feeling pretty sanitary. Looking good for link mounting as soon as I get the brackets. 

8-14-2013
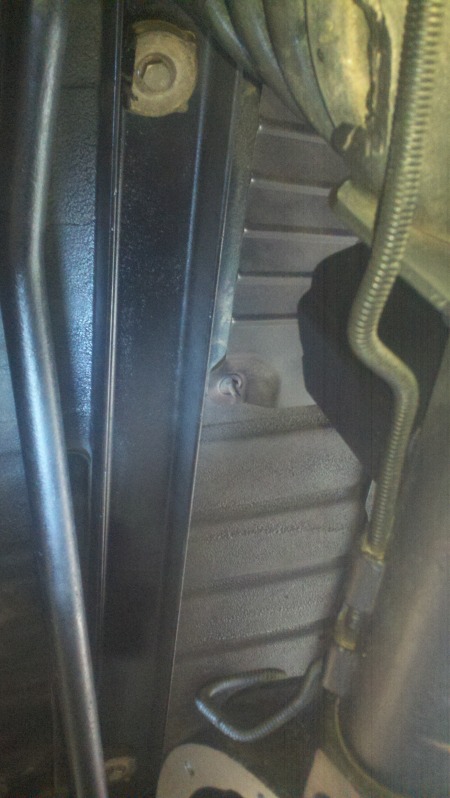
Took a trip to Sears for some more worthy snap ring pliers so I don't have to be that frustrated with them tomorrow and also did a little late night wrenching and pulled the T-case. Came out just fine ....
Probably my favorite mod to date.... this little 231 has some $ in it now.
Tomorrow I can relax and install the SYE, and re-install on Friday. Nice to knock out little projects even on work days. Link brackets still have not arrived.... I'm hoping they come by Friday so we can have a roller this weekend for some driveway shots. This thing needs a serious bath.
8-15-2013
I've beat the crap outta mine Art.... I guess they are just hit and miss. Only thing I hate is shifting it back and worth between hi and low, when the terrain changes or I'm trying to go a little fast.
Well the SYE is installed. Not a very enjoyable thing to do actually. I thought it would be fun. Even with good snap ring pliers they are annoying. Why not use a snap ring with an eyelet??? Oh well, damn thing better not leak.
8-16-2013
Some more pieces of the puzzle being completed, and arriving. T-Case is back in. It's actually kind of nice how easy that sucker goes in. Fluids are in it and I'm calling that SYE business DONE!
Also got my link brackets! Finally. I'm going to pull a late night and see if I can get them in. Roller status tomorrow. I'm excited.

8-17-2013
Roller status.... need tank and driveshaft. Besides a couple very minor odds and ends. What y'all think? 


8-18-2013
Working on the Civic today..... Bad A/C compressor pulley bearing. And you have to buy the entire clutch just to get a new pulley. Bull****! Oh well at least I can do it without unhooking the compressor. Ironically the main tool for the job.... A nice set of snap ring pliers. There goes $150 from the tank fund. FML!
8-19-2013
Which one's Lu? The rear most ones I made a 3/16's plate that's welded to the backside of the rear bumper / crossmember and to the frame. Very simple. The crossmember above the coils buckets is one small detail I'm still working on. There's not enough room to fit the factory rubber bumper thingie, so I think I'm going to try and cut one in half. That's really the only thing I didn't quite measure out properly. I should have recessed that crossmember down another 1/2 inch. Oh well I'll have to work around it now. 
I got it sorted out today, I was able to get half a stock body mount bushing in there, should be fine. I was surprised the holes even actually lined up! Haha.
I also was able to get the muffler hanger tweeked out enough to connect to the exhaust pipe without cutting and rewelding it. Pretty happy about that.
The last small stretch related detail is to get the fuel, vent, and brake line secured to the frame neatly. I think ill have to wait for the tank though since I don't really know how they'll sit when hooked up.
Next real focus is going to be some clean up and painting on the front end and sliders and cage fixing scrapes from Moab and JV. I want to roll out with a clean rig when everything is all said and done!
Couple of photos for reference... The holes for the body mounts weren't centered because the channel keyed into the top of the coil buckets so nicely I didn't want to move it (at the time I wasn't thinking about the rubber bushing needing to fit in the channel) so I also had to cut a bit off the bottom rubber thing. For anyone following in my footsteps figure out another way to measure for this crossmember. I got it close, but I measured with the tub sitting loosely on the frame.... and didn't realize how much space you loose by tightening down the body mounts. That ate up most of the space I allowed for the rubber bushings above the crossmember. I can't think of any problems with this, but would have liked to have been able to use the entire factory body mount bushing just for the sake of build cleanliness.
Here is the exhaust hanging nicely by the factory hanger. It's actually hanging nicer than it was before. This is one area not triangulating the uppers is nice. Plenty of room for the muffler.

8-22-2013
Might as well it appears. A double 231 would be pimpin though. 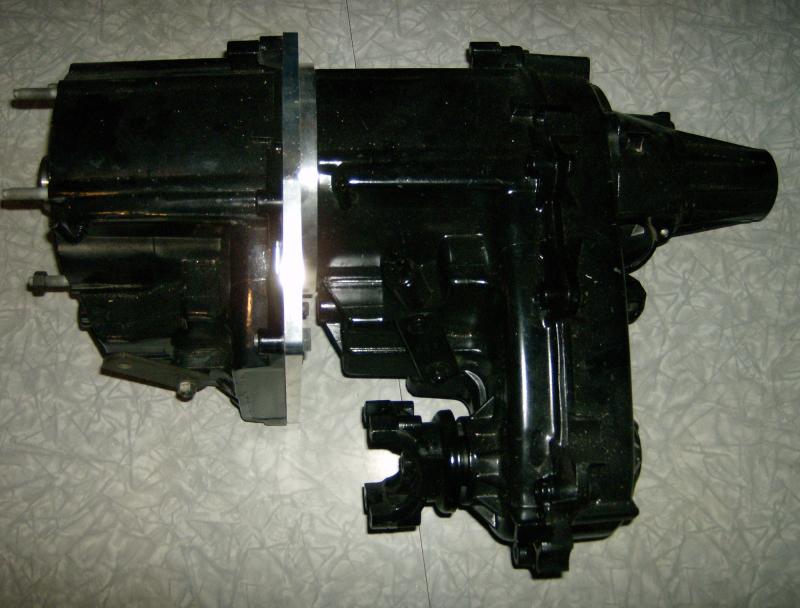
http://www.pirate4x4.com/forum/motor...cks-499-a.html
This one looks the most promising and I "get" how it works now.... but even this guy has gotten flaky over the years. Uhg... this is just something I want to consider before I order a driveline. I know this will make my Driveline very short again..... maybe to short so I'll have to measure before I get my hopes up.
Got the front end up cleaned up again. It's not surgical like when I did the ball joints... but it's pretty clean again! 
Got one rock slider done, took care of some Helldorado and Chocolate Thunder scratches, 


And now I have to focus on the cage.... it took a little beating on Helldorado, I dread painting it because I know it's going to turn into a complete re-paint and not just a touch up. I hate painting tubing! Maybe I'll leave it for a conversation piece. 

Check my awesome flex back in 2007 after installing my disconnects and unhooking my sway bar for the first time. 
Wow this is something!
Posted by Diggymart on 12/1/21 @ 7:43:28 PM