You must be logged in to rate content!
9 minute(s) of a 391 minute read
7-25-2013
Working on my corners. Going as expected.... dirty, loud and hot.  Yes this is a lot of work, but it's pretty rewarding. One thing I'm not happy about is that i'm blowing through $3 diablo cutting wheels faster than I expected... these curvy cuts just eat em up. Oh well, I'll probably have $20 in cutting wheels per side. I think I'm going to focus on these the next few days until they are done while I'm motivated on them. It will really motivate me to see them in stretched form on the jeep. I think I'm just going to go all black with them, I like the white, but you have to clear coat it and that's a pain when doing touch ups. I'm ready for a little bit of a new look anyways.
Keep in mind, this is a ROUGH stage..... just a rough stretch cut and a cardboard extension mock up.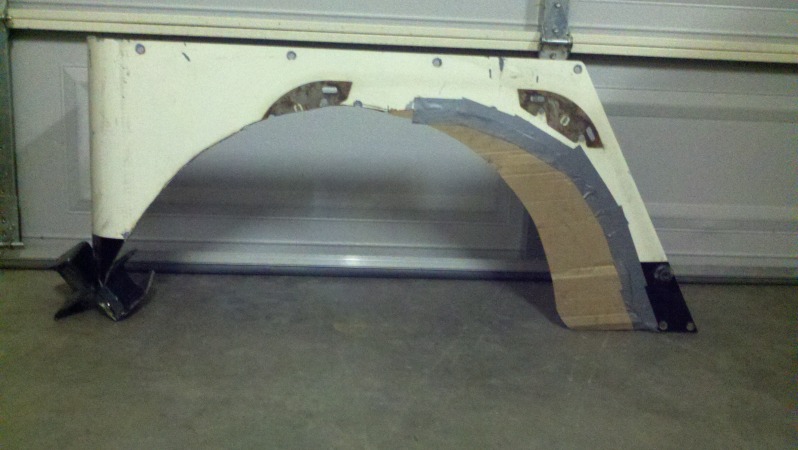
My extension piece almost cut out. The cuts are coming out rather well. I ran out of cutting wheels....
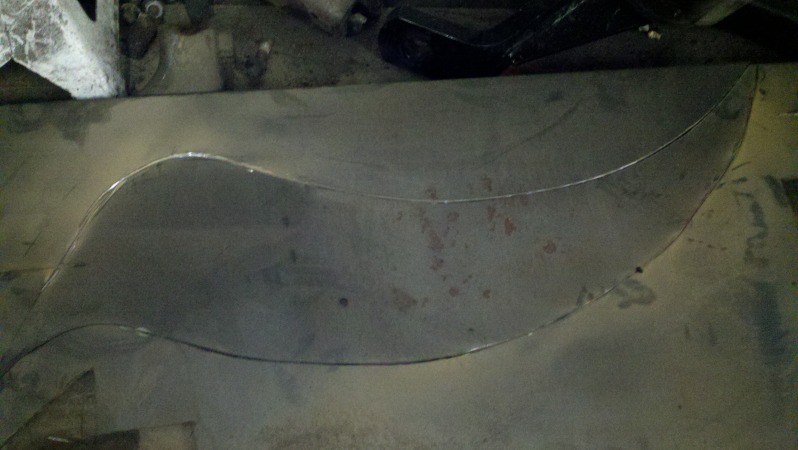
I've got about 2 hours in this one so far. That's not bad. Removing the metalcloak rub rail mounts has taken the longest! And I still have one to get rid of.
7-26-2013
I'm pretty happy with how it's turning out. Still lot's of finish work to do, but the rough work is done. Looks like a stretched corner to me. I went with a little thicker disc and they are lasting much longer. I like the thinner one's better though. 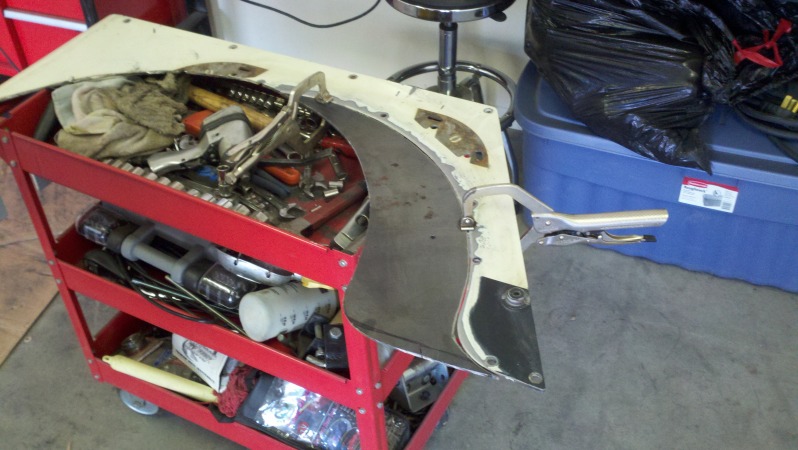
Welded up, I created a valley to weld into so the bead wasn't so high and for better penetration. Worked well as a guide also.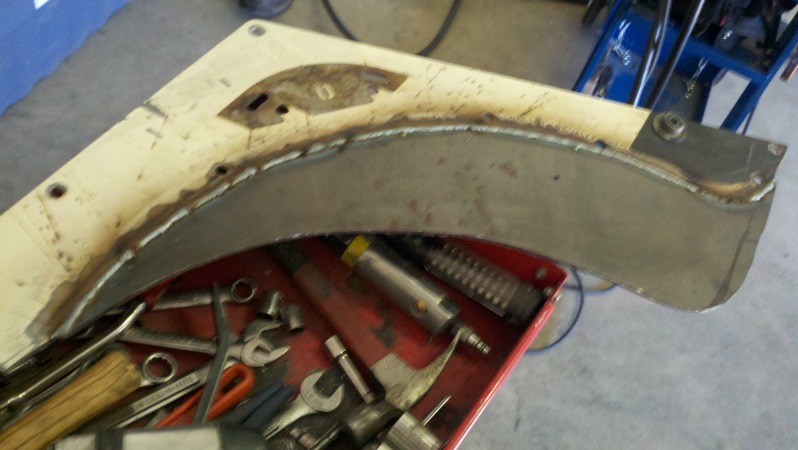
Ground and briefly flapped. Almost ready for body filler.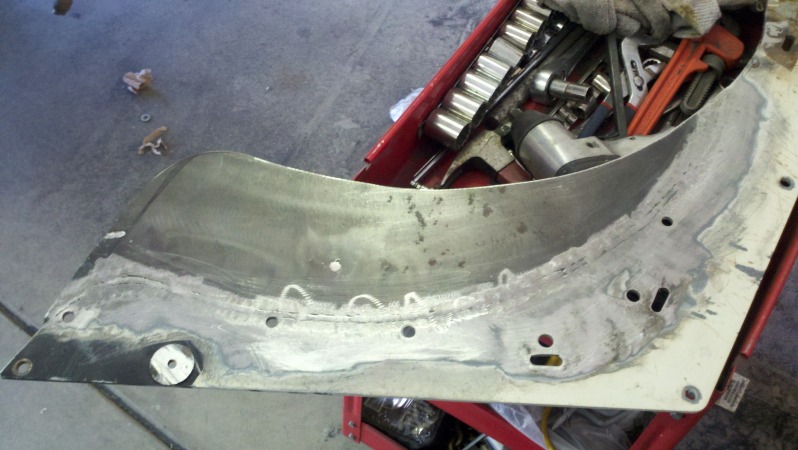
Can't wait to cut the tub tomorrow maybe.....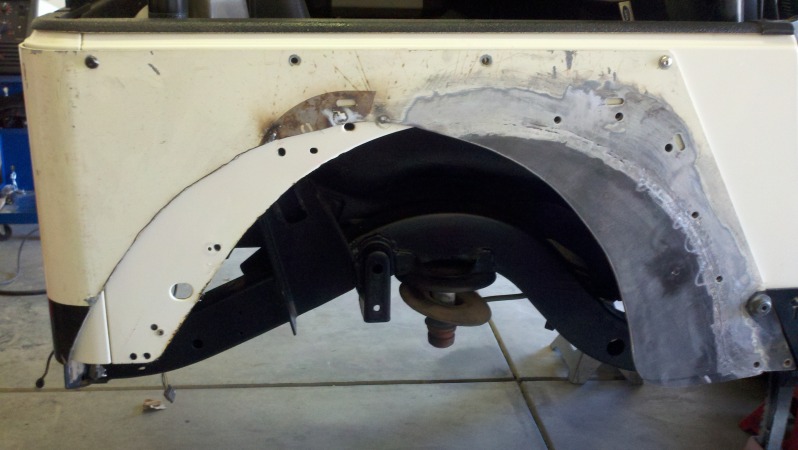
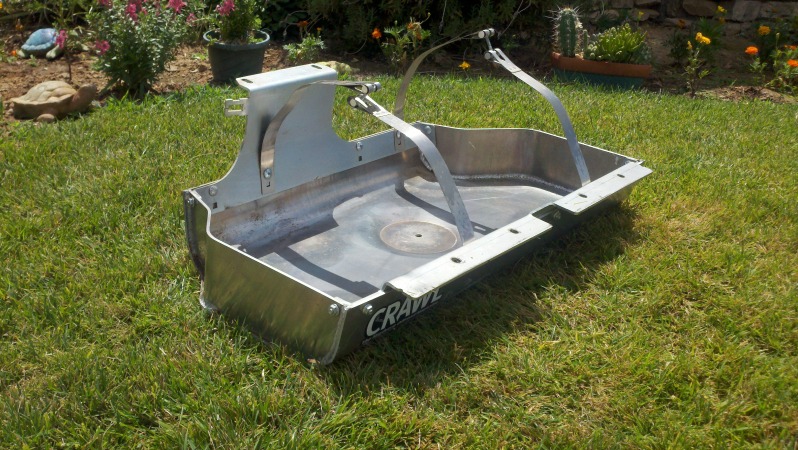
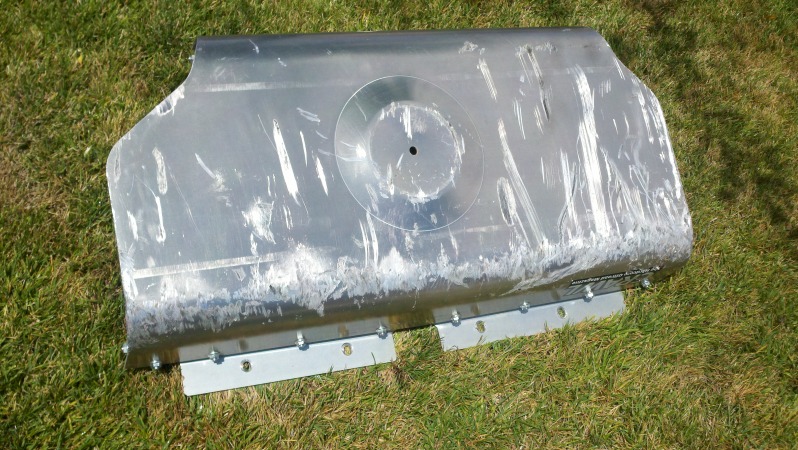
A lot of those scratches happened at some pretty cool places. Should I charge more??? 
 $180 + ship is bottom dollar, and is a good pricebecause I know I would have been all over it when I was shopping for one. Only other thing to mention is that I ground away some material on the very front of the skid to clear my diff. cover. Invisible when mounted, and has no effect on the skid.
7-27-2013
Taking a break..... wheeewwww. Hot today. Well getting down to the details becomes very time consuming. Thank god the VHT wrinkle blackis able to hide so many imperfections.... . Overall happy with it. I think once it's mounted on the jeep I may take the flap wheel to the arch and smooth out a couple high spots, but overall...... for a grinder and a welder, and me not being a body man at all.... looks pretty good I think. I think when I mount the rub rail, it'll really pull it together. I just gotta figure out how I'm going to do that.
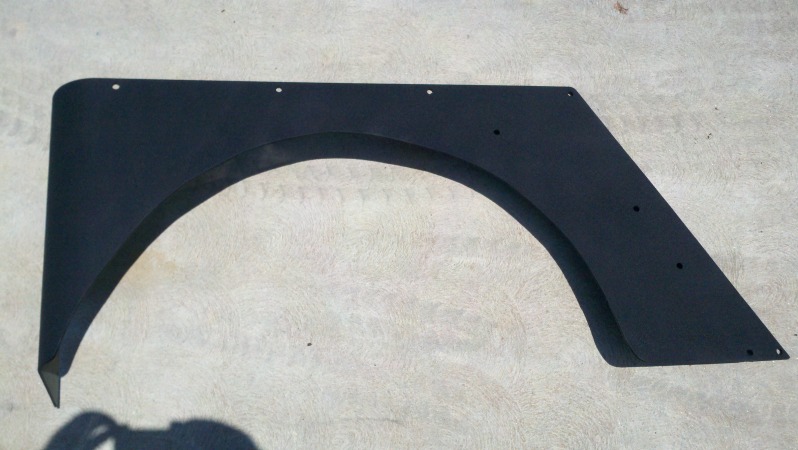
Ok now here's some real motivation for all us stretchers out there.
Loooooong road ahead, but at least I can get a visual now.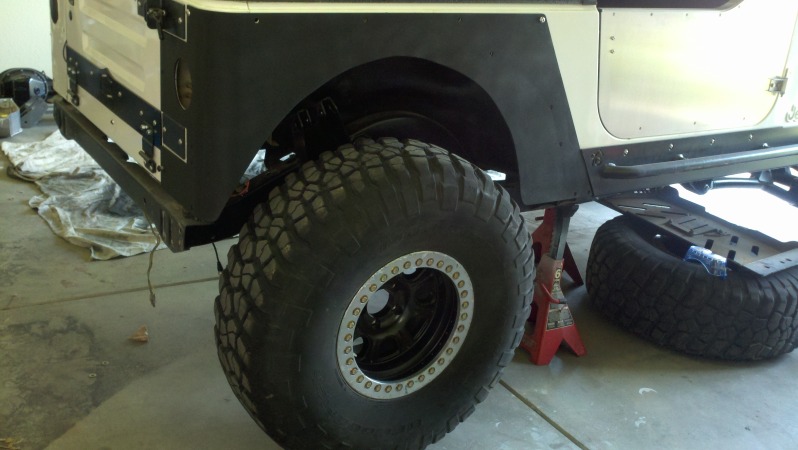
I keeps it 100....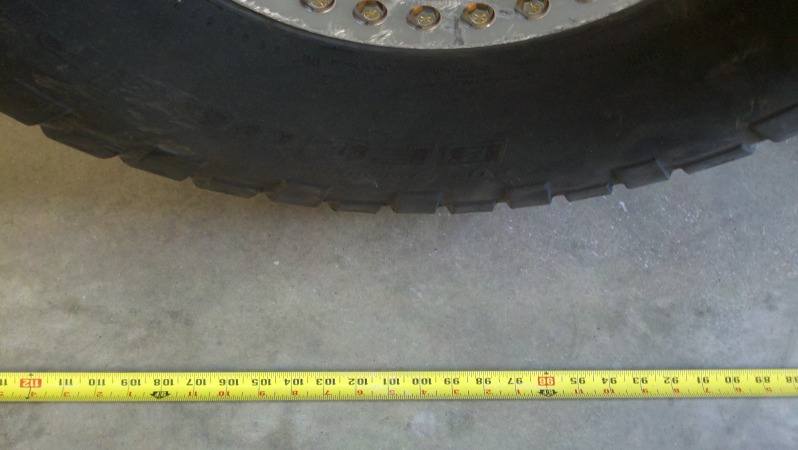
Progress on the driver's side. This one is a little harder with the gas hole. My cut's were quite a bit cleaner on the wheel well so It'll take less fussing to get those smoothed out. Annoying thing is that I recently repainted this one, and the paint isn't nearly as cured as the other side, so it's a chore to sand.... it's pretty gummy. Gonna go get some more aggressive sand paper and have it after I grind the welds. 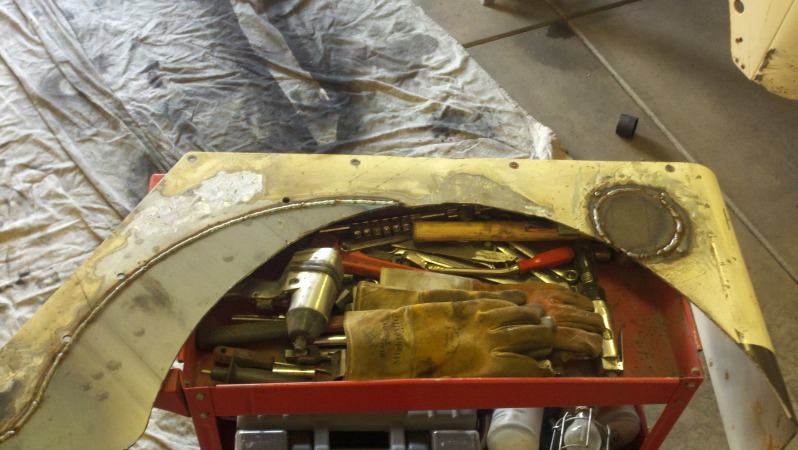
Thanks for the suggestion. I just powered through it with some good 60 grit.
This is my stopping point for the day. I got pretty far! All that's really left on this one is a skim coat of body filler on the weld seams and plugs, some sanding, flap wheel along the arch, probably some more sanding, and then paint. I welded the gas filler panel a little high so that sucks, but I'll see if I can float it out with the body filler. All in all a productive a day. I still have all my fingers. I've got a dust headache though. I'll have a couple hours after work tomorrow to get a little further on this corner, then I have Monday AND Tuesday off to finish the corner, make the frame inserts, cut the frame, modify the center crossmember, weld it up, cut off the back of the frame...... and start making my new rear bumper / crossmember...... wonder how far I'll get??? I think I'm gonna have my friend plasma out my frame insert sleeves with his torch mate to save a little time cutting with the grinder.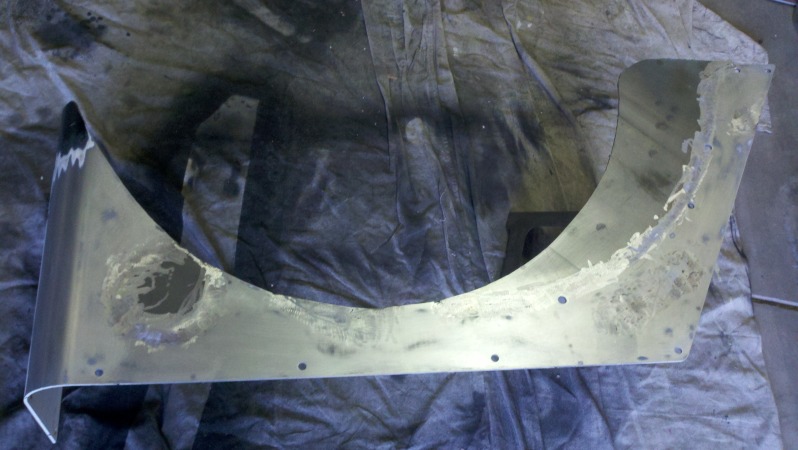
Just ordered my Genright fuel bezel. Kind of looking forward to have the corner situation wrapped up. I know most people do that last....
7-29-2013
Ok well I'm plugging away today. I've got some setbacks with the corner armor. I'm not happy with the black and think that I've got to color match it. Well my body work isn't good enough for a smooth finish, so I'm gonna keep working them until it is. My OCD has kicked in on them..... so right now i'm working the body filler on the driver's side and I'm working on the frame stretch between sanding.
For anyone who still wasn't clear what I was doing....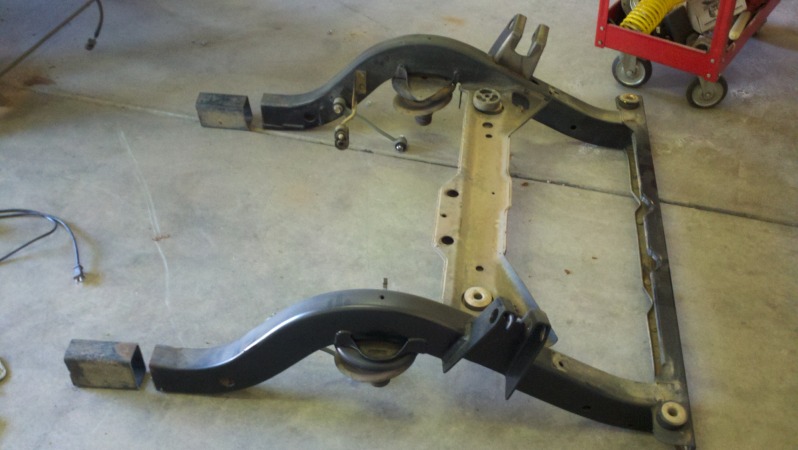
I'm going to start working on the sleeves for 6" inserts right now. I'm looking for ideas on what to do with the center body mounts.... I want to leave the crossmember for structure, and use the body mounts. I'm not opposed to just simply drilling up into the tub and running a bolt down through the mount from under the rear seat, but am open to ideas????
Proud of these so far.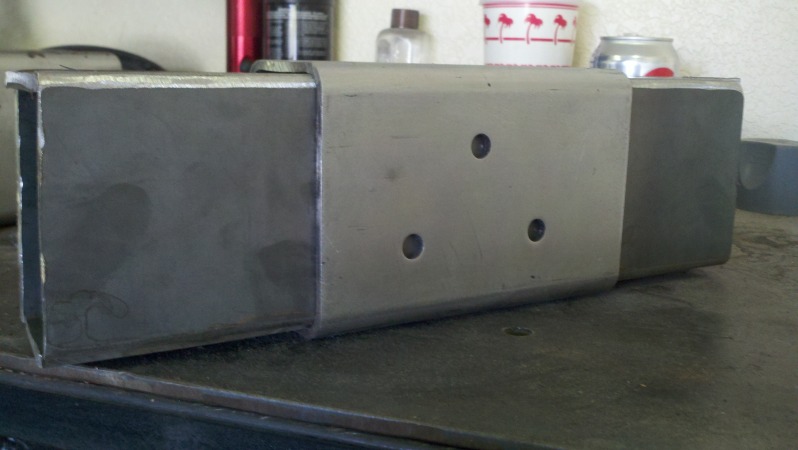
Getting ready to start welding them up. I'm very glad to be working with a piece of actual TJ frame for these inserts. Now making the sleeves is still some considerable work, but it's been pretty easy. My thoughts right now are to weld them into the rear portion of the frame completely then insert the entire assembly, level, fiddle and then weld. I've also got 12 more plug weld holes to drill..... that might be my least favorite thing to do, trying not to kill my bits and drilling slowly.
Another bit of good news is that I actually got the drivers side corner armor looking quite good. I think it'll take a smooth finish and look good. Just had to be a little more patient and willing to work with that body filler. I've decided to focus on the frame, and go back to those when I can clean the garage and be in a good environment for finish work.
Tomorrow morning brings another trip to the metal yard, for a piece of channel to make a crossmember and a piece of square tubing for a rear crossmember / bumper.
Today's stopping point.... one frame insert with sleeve, 99%, the other one is about 90%. This one just needs a little grind here and there to fit snug into my frame and the spot welds ground. I think they are pretty cool! 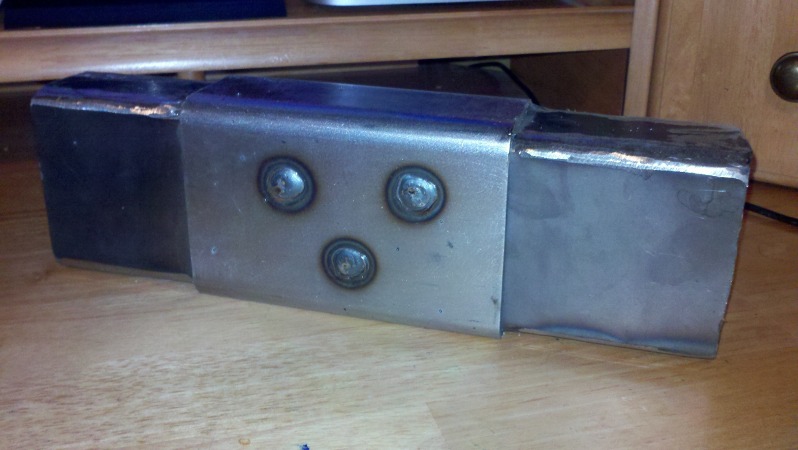

Wow this is something!
Posted by Diggymart on 12/1/21 @ 7:43:28 PM