You must be logged in to rate content!
10 minute(s) of a 391 minute read
3-13-2013
This made me happy today....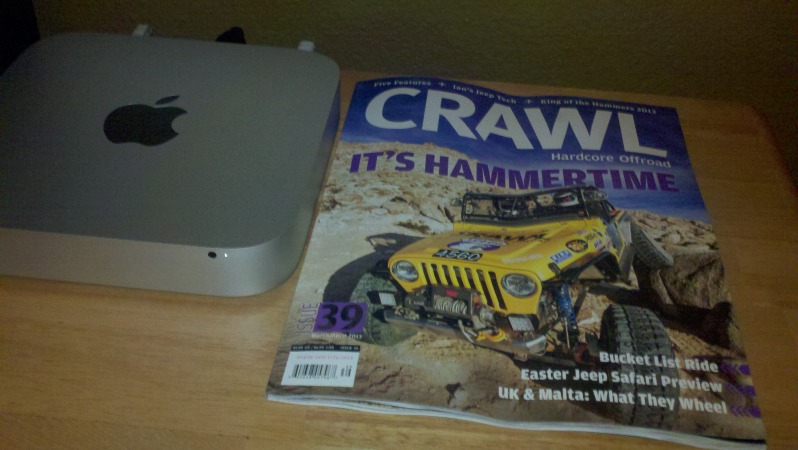
Issue seemed a little light on content, I pretty much read it all in about 30 minutes oh well. I bet some good features will show up next month on the top KOH Finishers. Always cool to get the mag though.
So I've been racking my brain about maintenance to perform before MOAB, I hate to replace stuff that's just fine, but figure it's still a good idea, the Jeeps pushing 100k and a lot of the front end is OEM, actually ALL of it besides the brakes now and the Tie rod, and the gears and the aussie and diff cover, lol. So I think to be cost effective, I AM going to replace all 4 ball joints on Saturday, on the fence on the UNIT bearings, I may buy one to have on hand since they are a relatively quick trail repair if actually needed. I also plan to have a spare tie rod end and drive shaft U joint's on hand, I'm always worried about the driver's side one. Then I plan to focus all additional funding on the front axles, whether it ends up superiors, RCV's or just another set of stocks as back ups, I want to have something.
I laid under the Jeep today and discovered to my absolute horror, that the underside was covered, well not really covered but there was oil on my skid, tranny, rear diff..... annoyed! When I built my oil pan skid plate I did not build my access hole for my drain plug with enough clearance so when I drained the oil during my first oil change since I installed the skid, a lot of oil went into the skid....well ****!! So i drilled a "drain" hole in it and thought, well I'll just have to deal with it dripping for a couple days then it'll be done and that's that..... well I guess a lot more oil got in there than I thought because that **** is everywhere. And my Jeep doesn't leak.... AT ALL. I can't have that. Saturday has now become an official Jeep clean up day, along with ball joint install day. Looking forward to it! 
3-14-2013
Upon a little more research I have concluded that HF no longer sells the cheaper version of this tool and that I'll just rent it. I don't plan on doing ball joints often so, meh, no big deal, they can hold onto to the tool for me. And let's just see if my CA luck holds true and these things come out with just a little fight. I'm curious to hear everyone's battle's since so many are doing them at the same time and you all live in the weather.
3-15-2013
Tracking info now says parts won't be in till Monday, that's a downer, Oh well I'll still tear it down, and it'll just motivate me to do a better job cleaning everything up prior to re-installation.
Hey the back ordered BTF diff cover showed up today.... that's cool! Get to do some welding tomorrow between other activities. All in all, weather will be nice, spending time in garage working on Jeep. Almost on par with a good wheeling day.
Here's the punch list!
Added one more thing... I missed a plug weld opportunity on my front link brackets that I think I'm going to try and take advantage of. It won't be easy now that i've painted the area but I'm gonna try and see if I can get in there after dropping the link down.
I also went to the closest two auto parts stores to rent the ball joint press and neither one had one available so that made my choice pretty easy.... I now own the HF Ball joint press, and you better believe if it's a POS it's going back. The jeep is on jack stands.... let the fun begin! 
This is about as far as i'll get tonight, funny how with the time change how the neighbors are out, I've been spending just as much time chatting as I have working. I down to bare knuckles, And I took care of the Oil pan skid, mistake.
So far so good....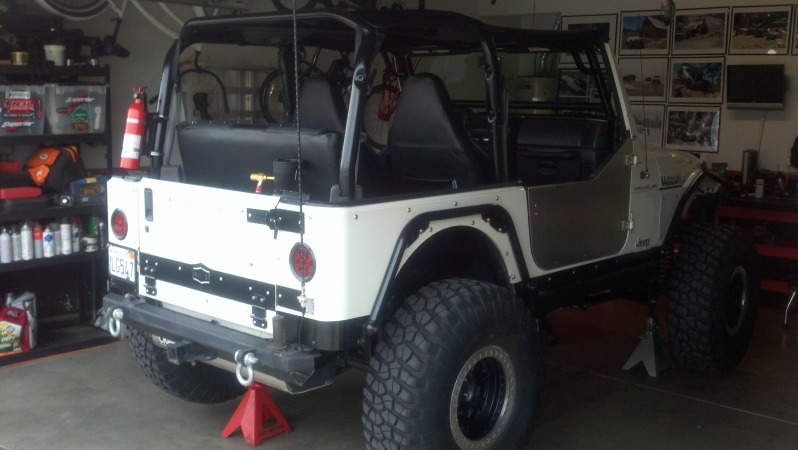
Pile O parts...U joint's and Unit bearings feel good.... ???? OEM 90K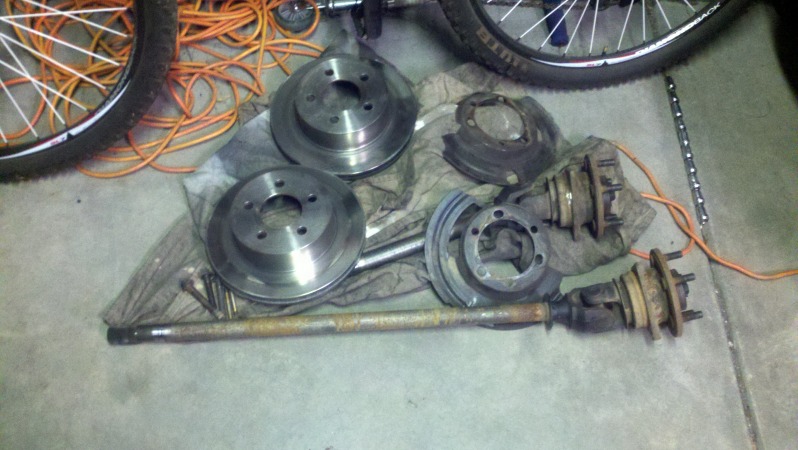
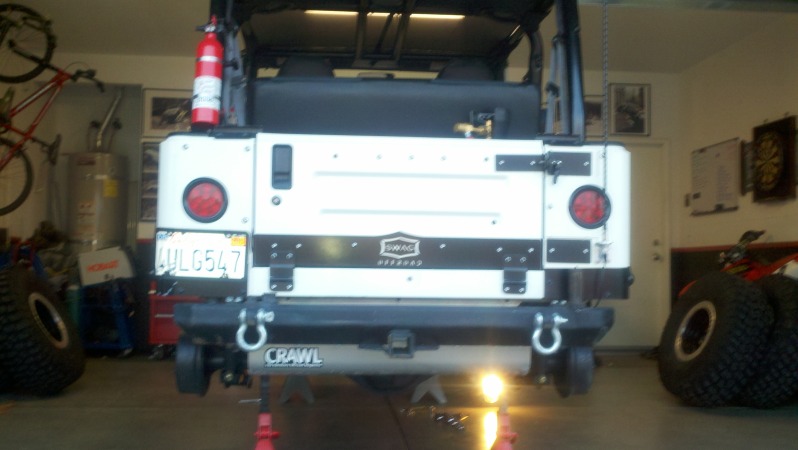
Bare Knuckle ready for action.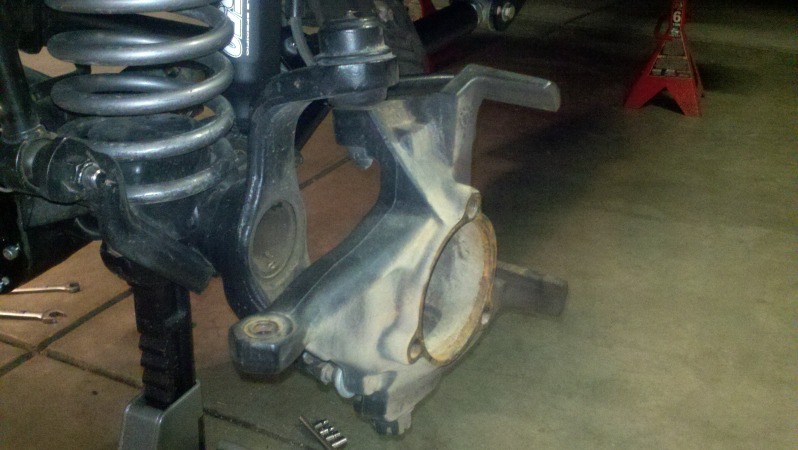
Time saver for you guys... torque specs I've looked up so far.
Brake pins.... 132 in. lbs.
Unit Bearing bolts 75 ft. lbs
Hub Nut 175 ft. lbs (although I ended up not undoing it)
Upper ball joint 75 ft. lbs.
Lower ball joint 80 ft. lbs.
Tie Rod Nut 35 ft. lbs. (thanks Bail Out)
Here's a funny one... I decided to thrash for a minute to try and separate a knuckle from a C... I was pounding on the pickle fork as normal. And it was coming easy peasy. Then this. Haha... not exactly how I wanted it.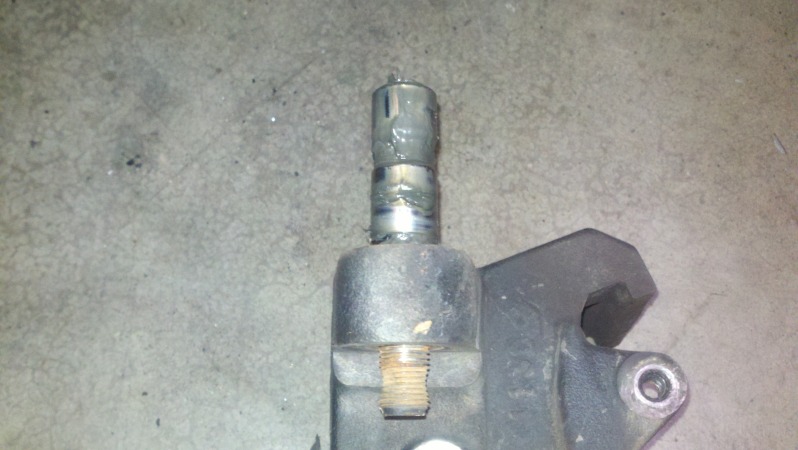
I'll deal with that tomorrow as it's getting a little late for BFH use in the ol neighborhood. I have to say one thing... these Ball joints are DONE! I truly thought I was kind of pre spending my money here and just doing some preventive maintenance but I'm actually doing some overdue maintenance, for that top one to come apart, and the bottom to have a brittle boot and dried up grease and rough crusty motion these things are done. I actually don't know how common it is for one to come apart during a beating.... so I don't know if that's any indicator... it just surprised me.
Thanks Beasley, and everyone else really for all this ball joint talk lately that motivated this.
EDIT: IF this happens, I just put the castle nut on it partially, put it in the vise and one good solid whack with a 5 lb. sledge is all it took to get it out. No harm no foul, The nut threaded right off.
3-16-2013
Ok so all 4 ball joints are out. I have to say I am thoroughly impressed with the HF tool, and it will be a welcome addition to my toolbox. I think it even comes with an additional adapter that the common "rental" tool does not have according to many of the online tutorials I viewed stating that the lower was kind of a pain with the provided spacers because it was not level. Many suggested some sort of spacer. Well the HF kit supplies in addition to the standard hollow spacers ONE additional spacer that fits directly into the C clamp without use of of the stepped washer that just fits over the lower ball joint PERFECTLY flush and flat on the C. It was literally the only piece besides the clamp that was needed to remove the lower ball joint. Anyways.... very very easy.
The uppers were somewhat dramatic though. Both studs popped out, one while taking off the knuckle, and one while pressing out the ball joint, through the top of the joint. This really is NO issue, and may make things easier. I just simply found the correct sized socket for the ball joint barrel, and used that in the ball joint press to press out the barrel itself, worked like a charm. There will be a very distinct sound when you've "popped" the joint, you'll be happy the hear it as you'll be a little concerned with how much pressure you're exerting. It's pretty fun work actually..... TIIINNGGG. haha.
I haven't done a ball joint in years so this is all coming back to me, so far so good. So now that I don't have my new ones, I'm going to cleaneverything up, paint, and fiddle around with some other stuff. I'm glad the tool worked good though. That was my biggest worry.
Hey no ball joints, cool.
Ball joints grave yard,  the uppers... lol.
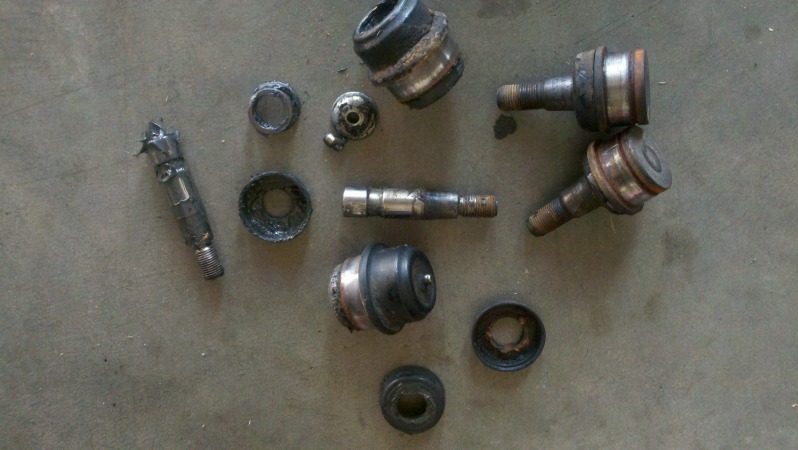
Man I'm getting pretty pumped to get this all back together on Tuesday. This will by far, be the cleanest and best this front end has been yet.
A front upper JJ kit and some axles this year and I'll really be pretty happy with this little D30.
Mostly cleaned up. That black satin works miracles....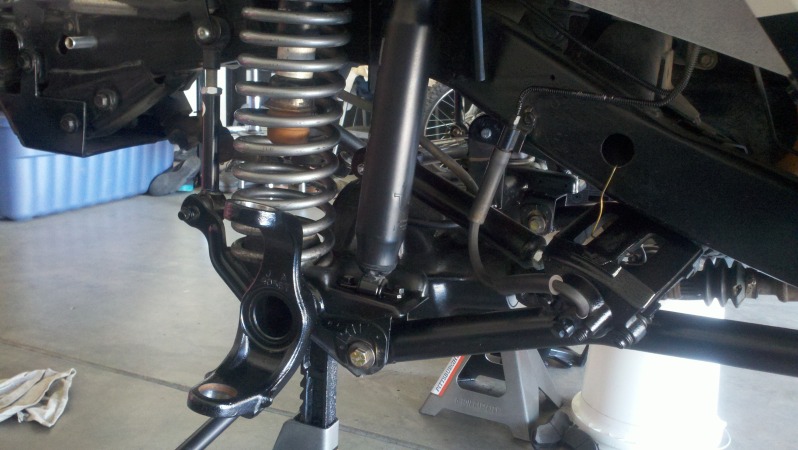
Busting out this D35 cover, this one didn't fit up nearly as nice as the D30 though, Maybe it was my fault but I tacked the drain plug piece perfectly and thats kind of the first piece of the puzzle, not a big deal, just a little gap to fill and by the time this thing is welded inside and out.... it'll be one piece.
I'm really trying to slow down my welding, my beads are looking pretty good, maybe a little muddled, but definitely more "filled" especially during this style of welding when plate is meeting at weird angles.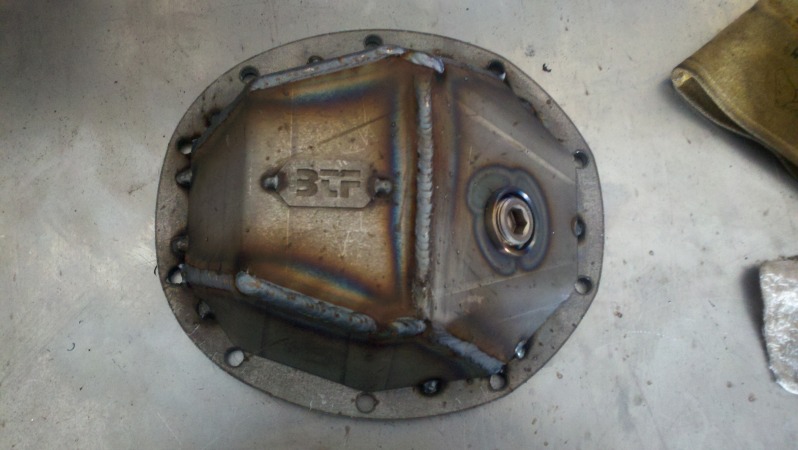
Bead example...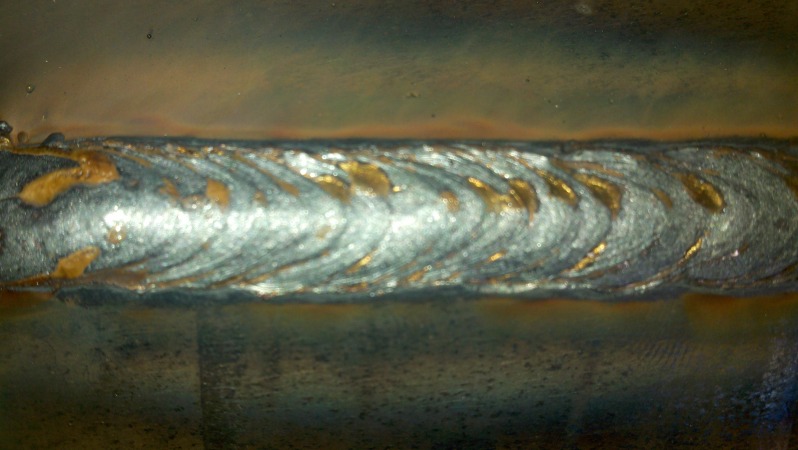
Wow this is something!
Posted by Diggymart on 12/1/21 @ 7:43:28 PM