You must be logged in to rate content!
13 minute(s) of a 391 minute read
12-5-2012
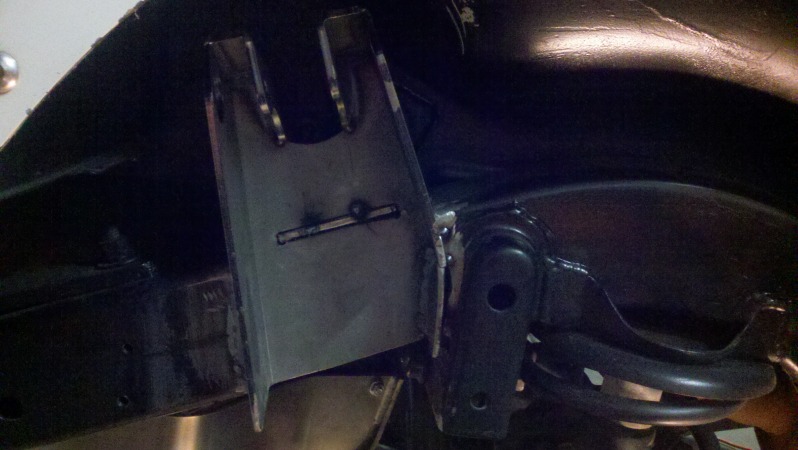
Had just a little time tonight to work. I did some more fitting on the passenger side and have it about as good as it's going to get. Fit up is pretty tight, not nearly as clean as the driver side but still not bad. I will have some "filling" to do with my welds by the track bar mount and unfortunately in my center notch but not much at all considering. I plan to drop the tank to weld the backside lower portion. I just think it will make it a lot easier and dropping the tank is easy enough. Overall I'm feeling pretty good about it. My next chore is to thoroughly clean up the frame around all my weld joints. I could tell just by some little tacking I did that if I don't spend some time cleaning it up better my welding is going to suck. 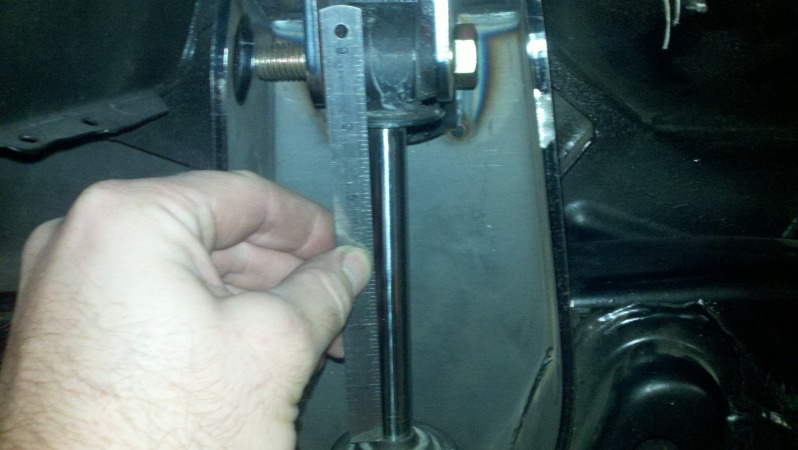
12-6-2012
Well this whole deal is on hold until I either buy or borrow a 220 welder. I know my 110 is at it's very limit at 1/4, IMO... it's not even close. No way I can trust it,
12-8-2012
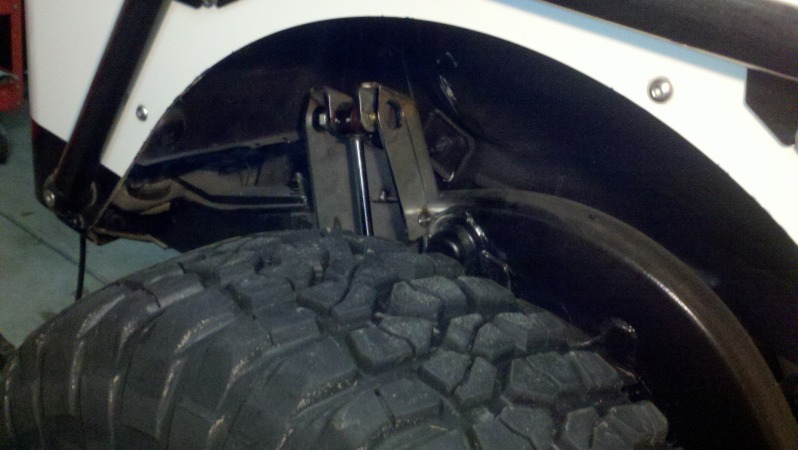
Between Christmas shopping today I managed to get a little done on the Jeep. I finished cleaning up the frame and towers and got some tacks down while I wait for my new welder. I installed the shocks and wheels and dropped her down to finally see how she sits. 1/8 more shaft showing on the passenger side. No big deal. Overall I'm very pleased with the results and can't wait to burn them in completely and paint it up. 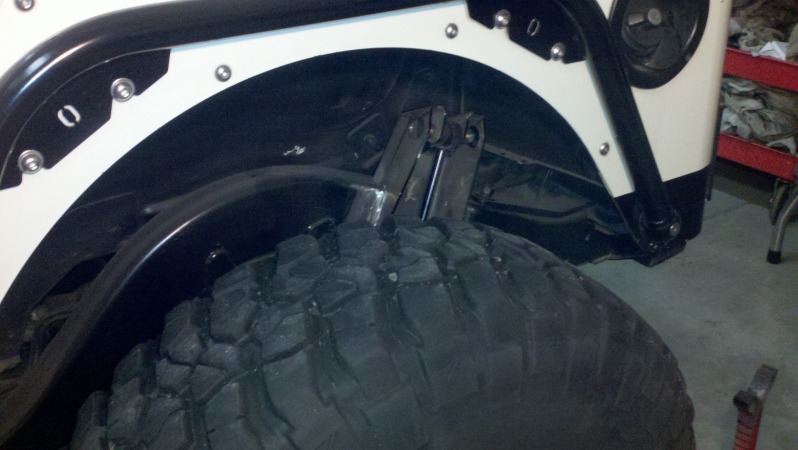
I also spent a frustrating couple hours chasing down the parts to build an extension cord for my new welder to hook up to my dryer outlet. Let me tell you, I now know about 5x as much about electrical plugs than I did yesterday. Sheesh... confusion. After I got the right stuff (from 3 different places) It went together nicely. $100 for a 30' cord! Expensive!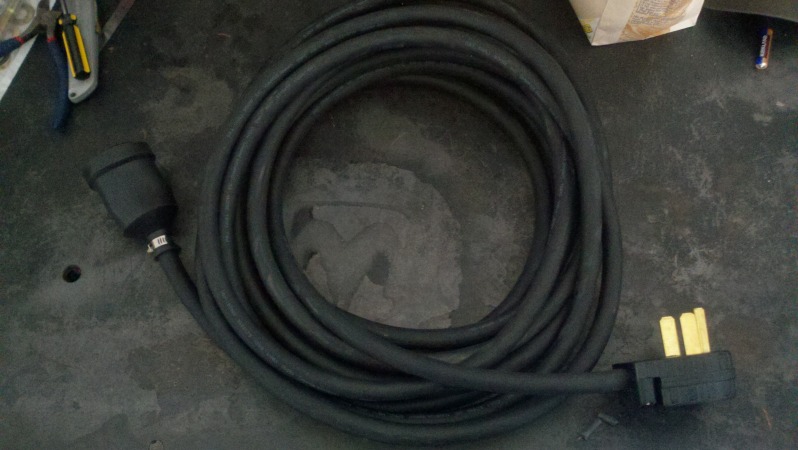
12-14-2012
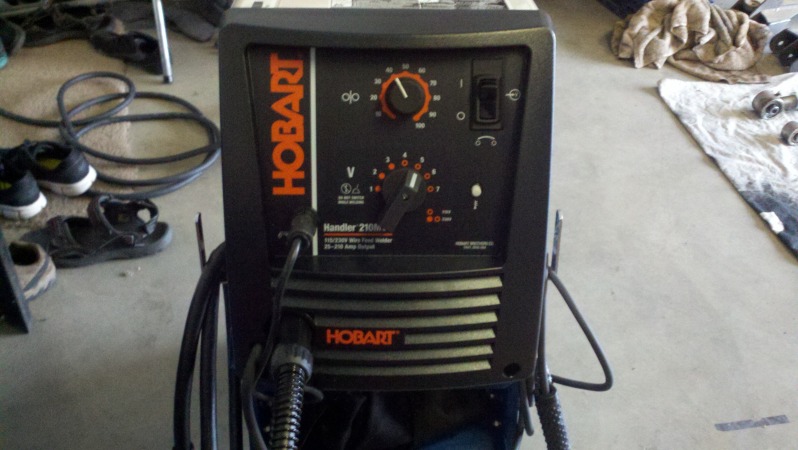
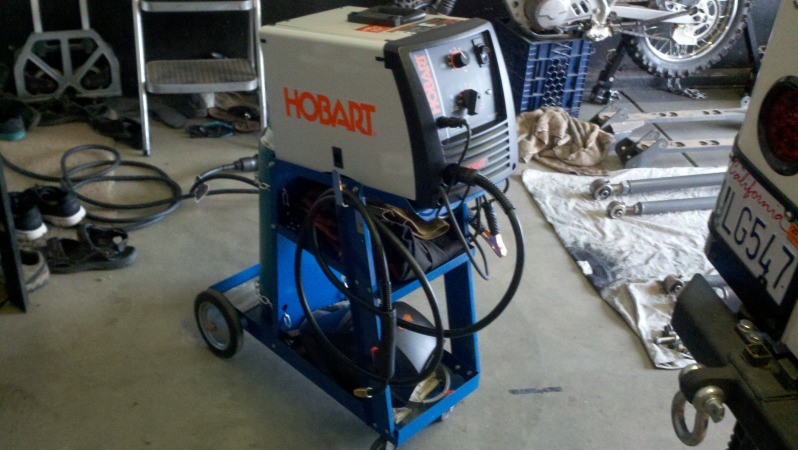
Back in action!!! Ok this little thing is a tank compared to the 140, it's got to be at least 30lbs. heavier. I just did some practicing with it.... and YEAH! it's got a TON more power.... Holy crap. I had to keep that gun moving! 
12-15-2012
Rear shock outboard DONE! A lot more time invested in this mod than I anticipated, but I feel that I took my time and got good results. Not perfection and not as "pretty" as it could be, but still a solid effort. The welding went pretty well this morning. I read a bunch last night and along with the tips from you guys I was able to get it going. My beads are running quite a bit wider than I'd like..... more like a stack of nickels than dimes, haha but I'm still struggling with control during vertical welds when it's not just sitting there in front of me. I think my biggest hurdle with the new machine is realizing that I have to play with the settings A LOT, even when it's the same material, and just a different orientation. On my HH140 it was just.... as hot as possible, and mess around with the wire speed a bit. Some of the welding looked good, some ok, and some just plain ugly but I'm confident it's solid. I was able to get some paint on it, it looks pretty good!
Horizontal
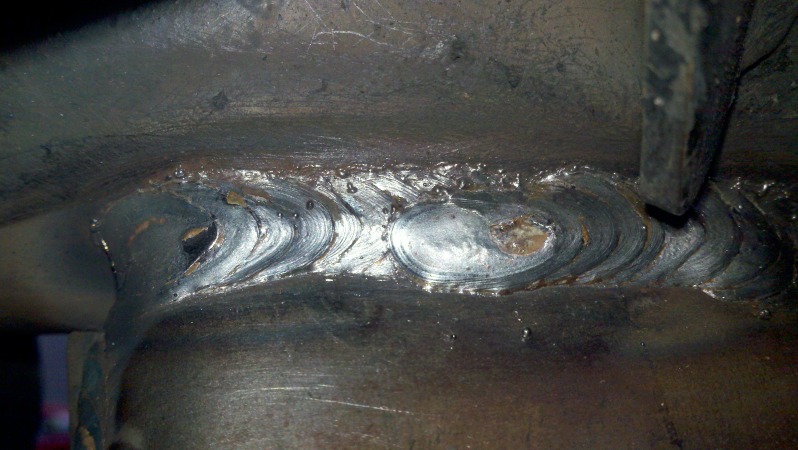
Vertical down
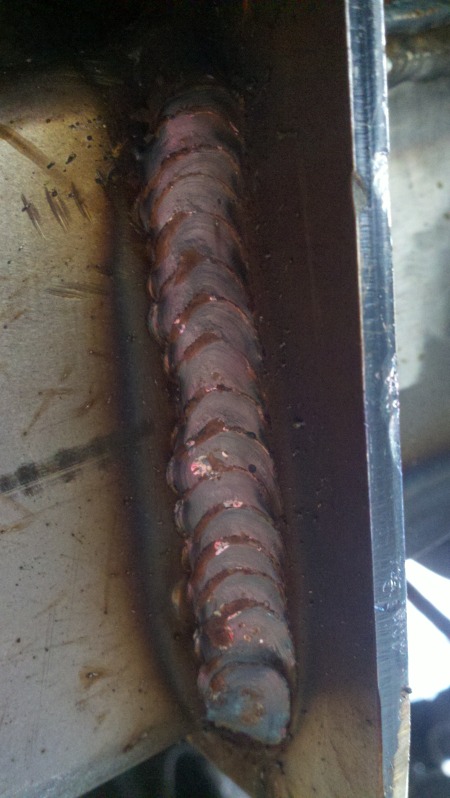
45 degree vertical up
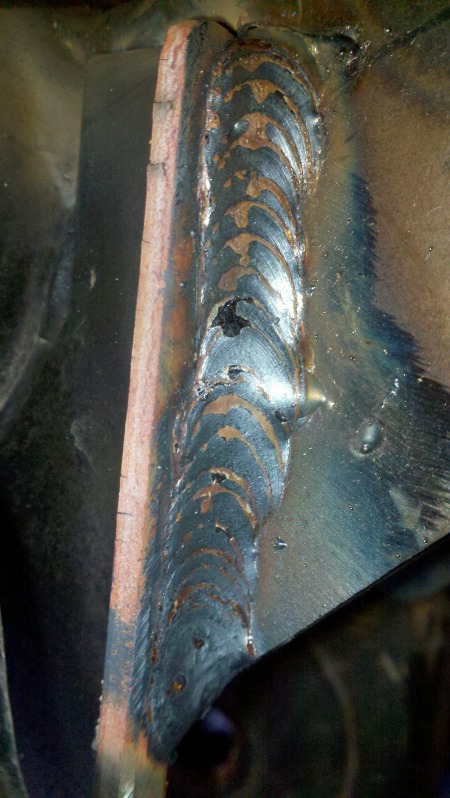
Tada....
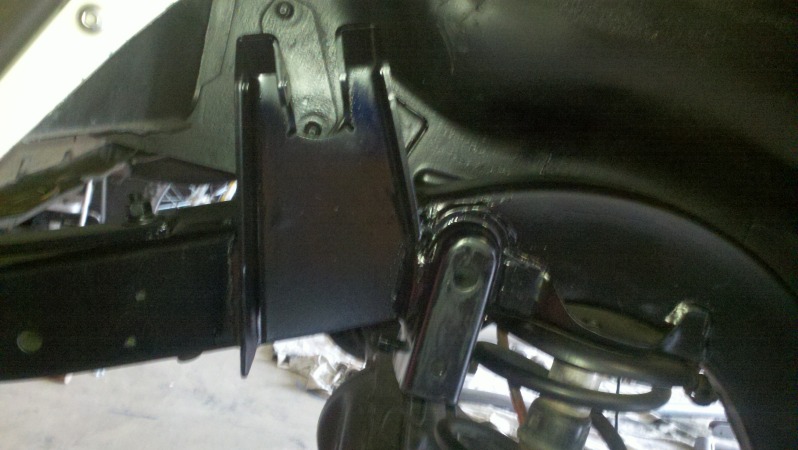
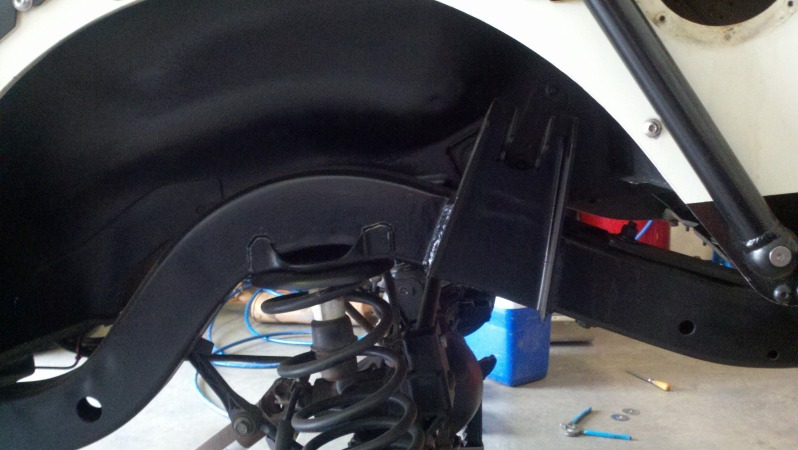
Comments??? 
Wire speed down and same heat.... was quite a bit more poppy??? I think another issue is that I'm not "fine" tuning the wire speed, I'm pretty hasty about going from 50 to 60... maybe there's a sweet spot... 52.5? haha.
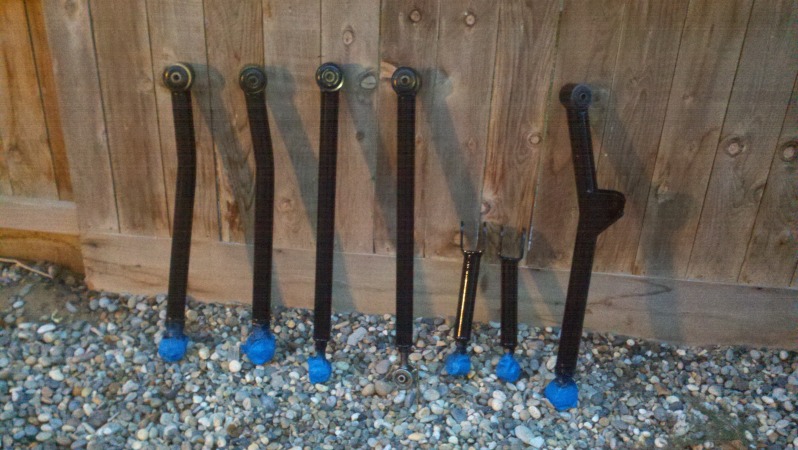
And were on to the next project..... painting my links, and going to start the long, overcomplicated (because I'm doing it) process of determining my new link mount locations. 
Thank you Gspup, I really appreciate any feedback I get on here. I also played with the gas setting, I'm at 25 trigger pulled, I tried less, and more while I was testing and this seemed good.
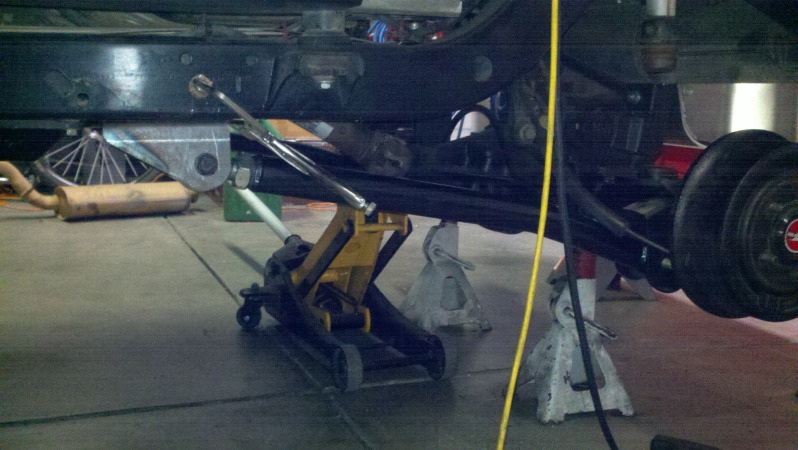
Well I'm DONE for today..... time to relax! I got my tank back in, my links painted, and did a little measuring and mock up. Looks like my rear links will end up being 28". I've got a little conflict with my mounts and my R/C transfer case skid, but nothing a small cut won't fix. I'm looking forward to cleaning up the frame, getting some tacks laid, and NOT ALOT OF GRINDING AND FITTING!!!, haha. Let us hope!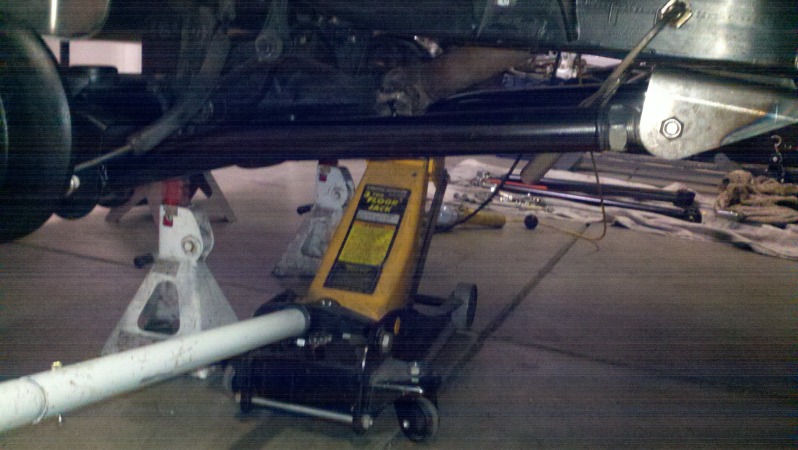
12-16-2012
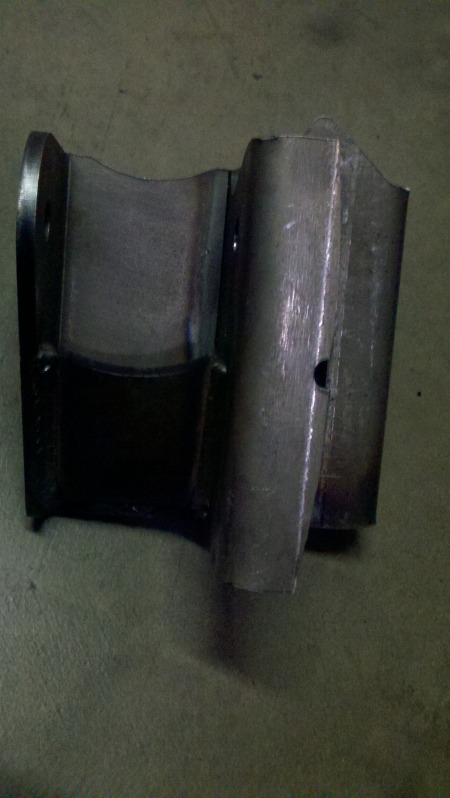
Nothing exciting today.... just had a couple hours to fiddle. I cleaned up the frame where I'm going to be welding the new brackets on. Then I realized much to my disappointment some grinding and fitting was in order for the bracket to sit properly on frame on the inside of the rail. The bracket mounts right where the frame has an angle. Oh well it was easy going with the bracket in the vice. This should have me ready to do some final measuring and get some tacks at the very least on Tuesday, I'm thinking I'll get quite a bit done but you never know how things are going to go. I ate up two hours tonight doing something that I would think would only take 30 minutes! Glad no one is paying me to do this work!!
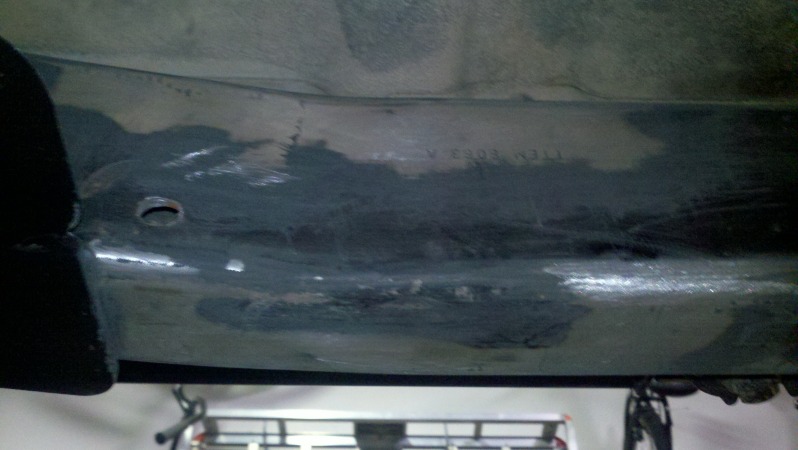
Hard to see what I trimmed.... But I trimmed it and it fits better!
12-17-2012
I was able to sneak in another couple hours of work this morning before actual work. Got some pretty cool photos I thought. I got the rear link mounts tacked in for some suspension cycling and final measuring. Everything is looking good so far! It's nice to see the geometry of everything coming into line a little better. Lower links are 27.5 eye to eye, uppers are 28 (mainly due to the axle being clocked up for pinion angle). No interference with track bar / gas tank. This is all subject to change though.... pretty rough mock up right now. Going to have to finally ditch the stock muffler for sure. Exciting morning though! 
Tacked in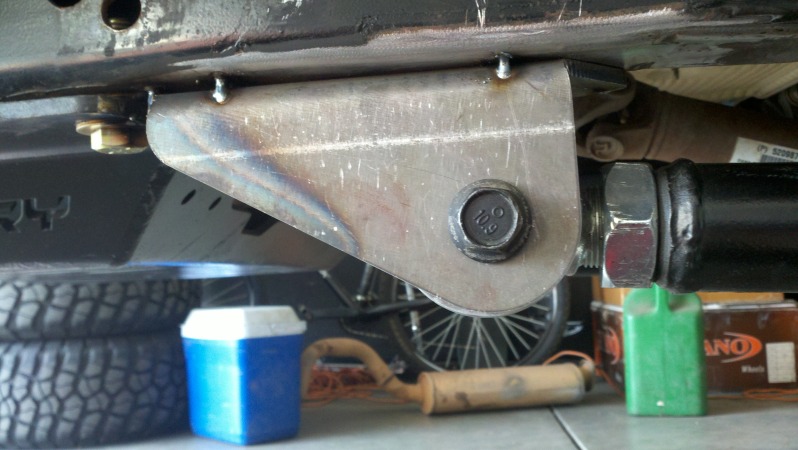
Looking better!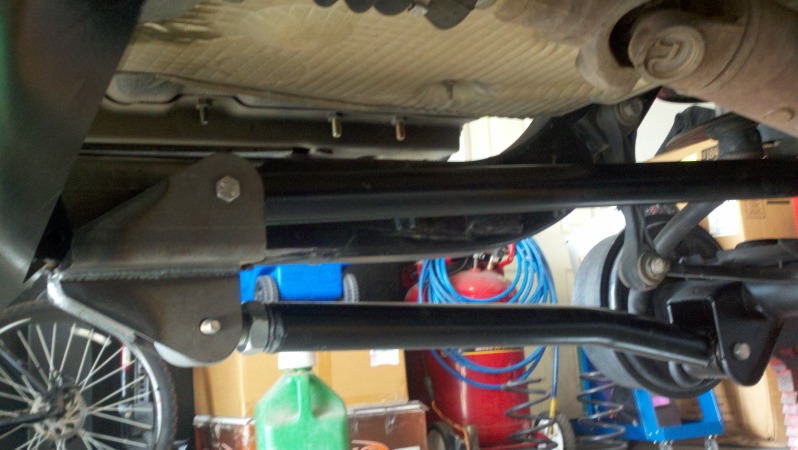
Full droop drivers side... shock angle in relation to links looks good I think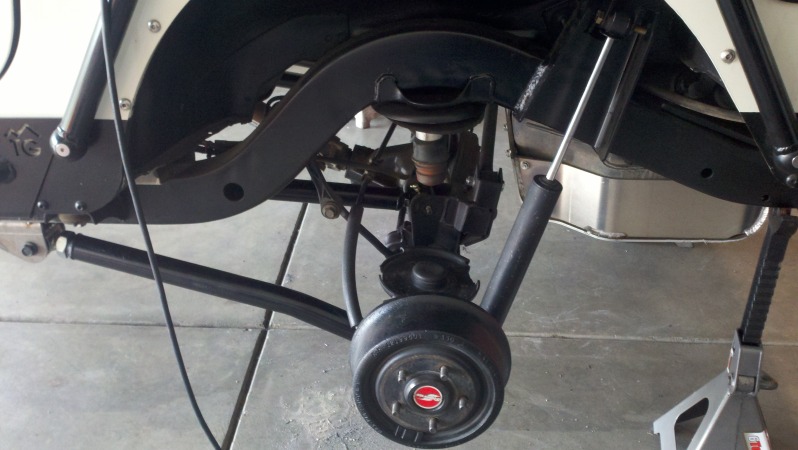
Full Bump,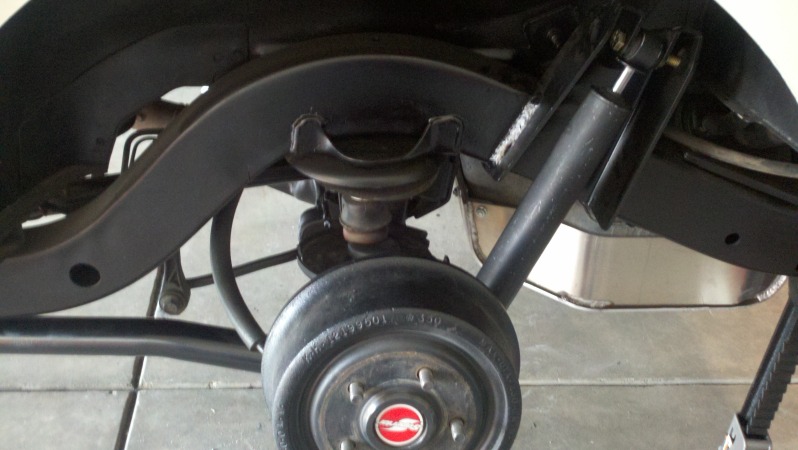
Full droop on passenger side...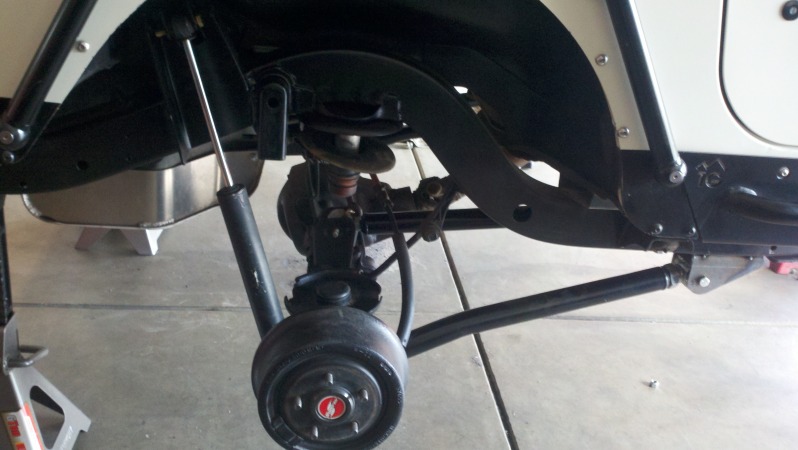
12-18-2012
Finished up the rear today, Burned it the mounts completely, welding went fairly well. The upper weld inside the frame went especially well since I thought it was going to be impossible, I didn't do much documentation today, I had to chase down some 9/16th's bolts and that took FOREVER. Oh well it's sitting on it's rear tires, everything is torqued and painted. I actually thought I might get to the front today.... silly me! Well I was able to get it on jack stands close to ride height and took out the springs and organized everything.
Also took some much needed time to clean up the garage, I re-organized and put all my tools away for a fresh start tomorrow, it's amazing how many tools you get out and use, and just the random crap that accumulates on the floor and work bench. haha. Snapped just a few pics, 
As she sits tonight...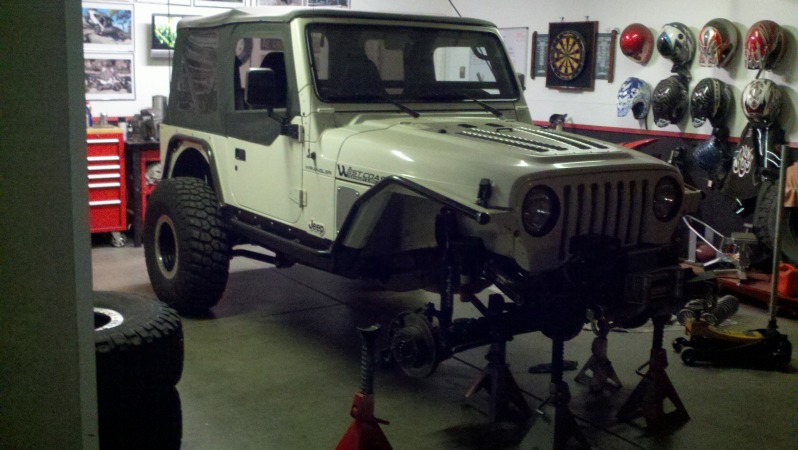
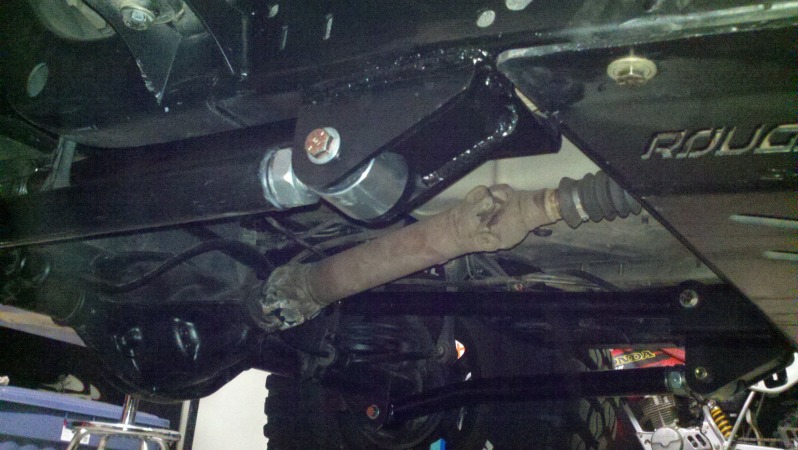
3/4" gain in skid clearance (I'll take it) and a 1/2" on the Bracket, along with a much better "ramp" to the bracket itself. The R/C one was super steep and did not slide well when it hit.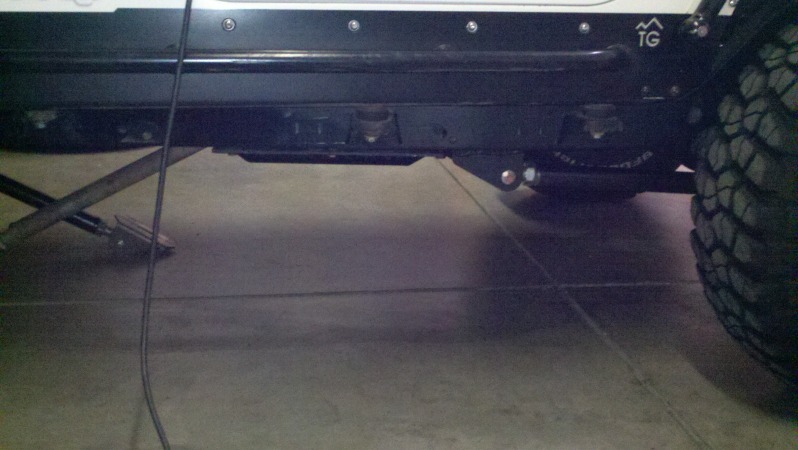
Man I still am in love with these wheels! Also I find it interesting after doing some searching on link set ups in regards to link length, long arm, short arm, mid arm....... The R/C "long" arms very short for having that designation. Lower's eye to eye 27 3/8".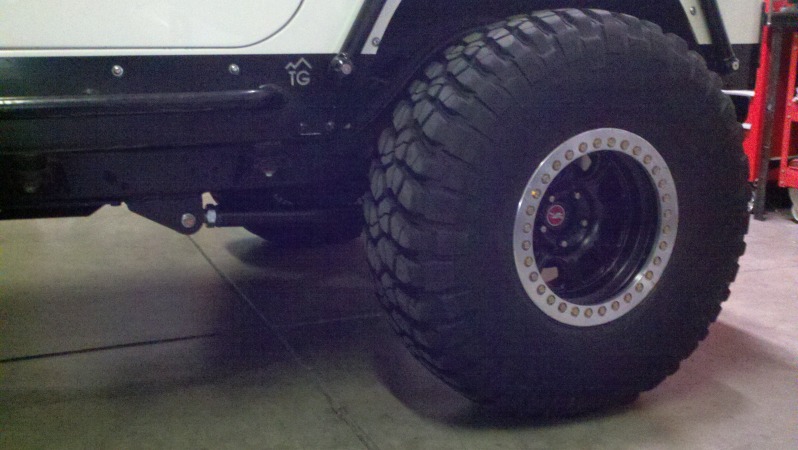
12-21-2012
Been sick , Made some good progress today though..... Should be able to wrap up tomorrow, aside from FINAL measuring and link adjustment.
I'm going to take a bunch of crap off tonight, front DS, downpipe.... skid... in order to make the welding on the inside of the bracket as good as possible. No FUN!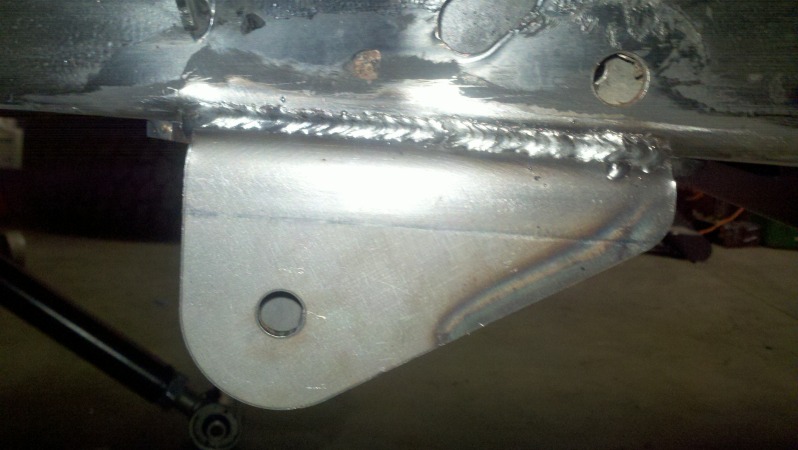
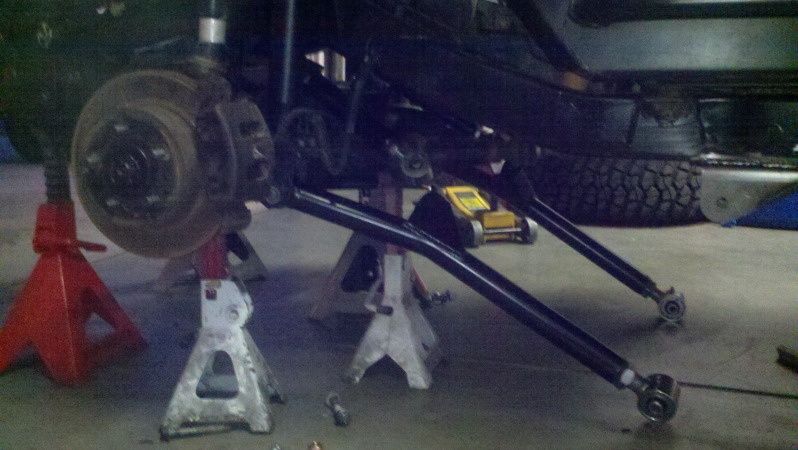
12-22-2012
So what happens when you were up all the previous night sick and slept all day?? You get tweeker status and work on your jeep all night.....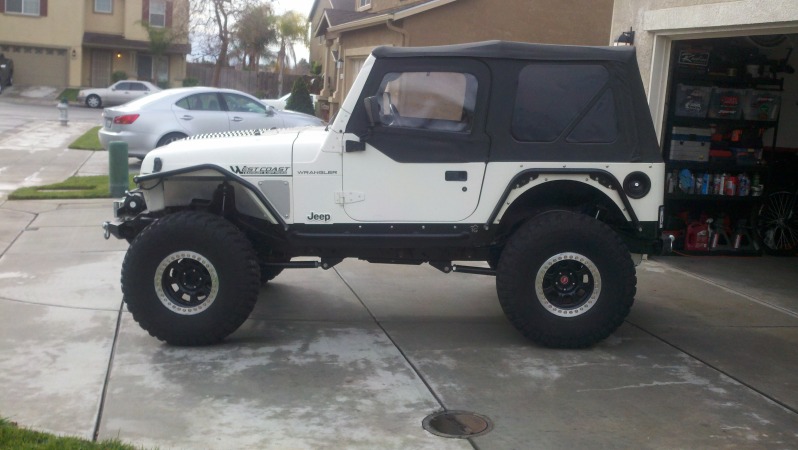
Test drive went well. (nothing fell off at least) haha. I ran over to my buddies exhaust shop so we could figure out the muffler situation but he was just about to close early for the day. Oh well. Really the only thing pending is a triple check on all my nuts and bolts, and a double check on my axle "squareness" which I'm sure will need some slight adjustment..... I just don't feel like doing it today! 
So here's a list of pro's to all the work I just did vs. what I had before.
Rear shock axle mounts relocated UP behind control arm mounts
Rear shock axle mounts relocated OUT away from coil buckets (they hit before)
New shock towers allowing for 50% up travel (up from 30% before)
Eliminated weak bar pin
Better handling characteristics by out boarding shocks
Looks COOL!
Raised T-case skid by approx. 3/4" by eliminating the R/C link mount
Gained 1/2" clearance using UCF link mounts along with better slide angle
Gained separation at the frame for the rear links providing better geometry
Cut the size of the lear link bracket exposed to rocks by 50% by having upper link bracket up on frame.
Was able to shorten rear links by 2", front by 1"
Not to bad for about $500 invested and a lot of learning, metal fab practice, welding practice and just good wrenching time. I did buy the new welder..... but hey it will probably be the last one I buy and should last many years.
Wow this is something!
Posted by Diggymart on 12/1/21 @ 7:43:28 PM