You must be logged in to rate content!
6 minute(s) of a 391 minute read
8-13-2012
Looking through an old Photobucket album I saw this oldie.... Having the time of my life on "fins and things" in Moab 2008. 31's and a BB. 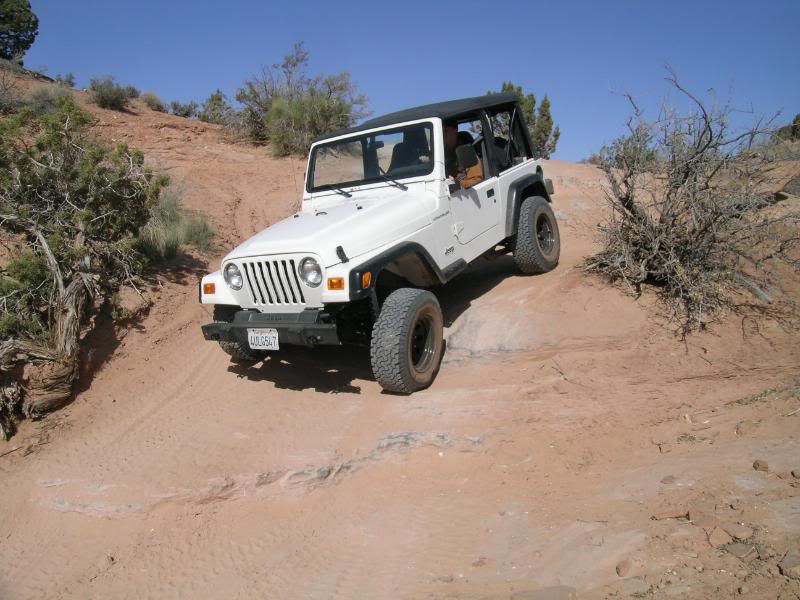
8-25-2012
4cyl. Oil Pan Skidplate
Yesterday I decided to take on fabricating my own Oil Pan Skidplate. As most 4cyl. owners know there aren't many aftermarket options out there for us. And if you take out complete under armor there are basically none. I've wanted to make one for a while, and now that I have my welder it seemed like a good project. My inspiration for my design was the AEV unit sold for the 6cyl. only. So armed with my Hobart 140, suicide wheel, vise and a drill I went at it.
I used 3/16 plate. This was my first time buying plate from an actual metal supplier. That place was AWESOME! And really close to home. I ended up buying a remnant piece @ .75 lb. My piece weighed 39 lbs. and was roughly $28. I used maybe a 5th of it.  Oh well plenty for the next project.
Here's how it all started after taking some measurements under the Jeep. Cardboard mock up...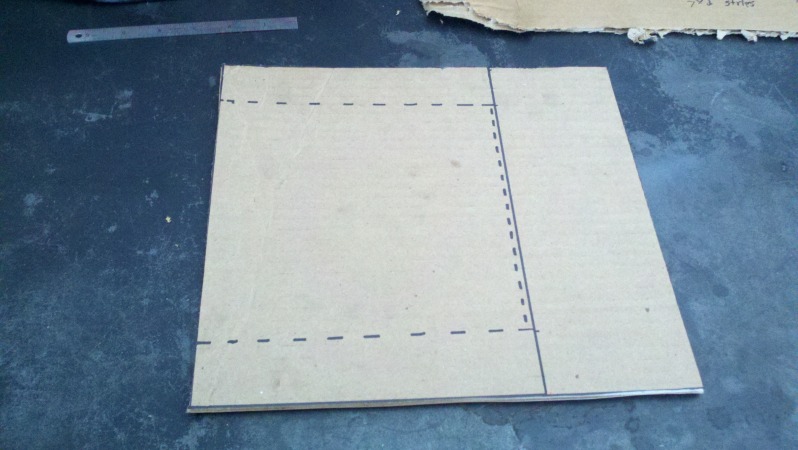
I was pretty happy with this basic design so I transferred it onto my plate. It was nice to only need to make 2 long cuts with my suicide wheel. I can't wait to have a better method to cut metal. I found some new cutting wheels at Depot though that are suuuper thin, and they worked really well.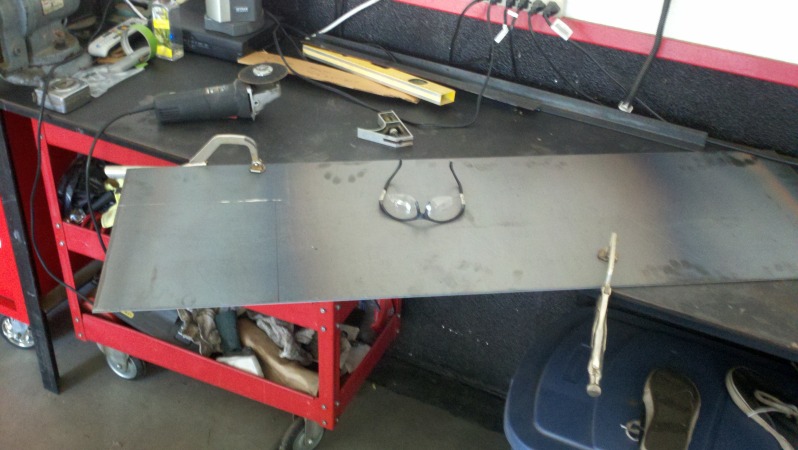
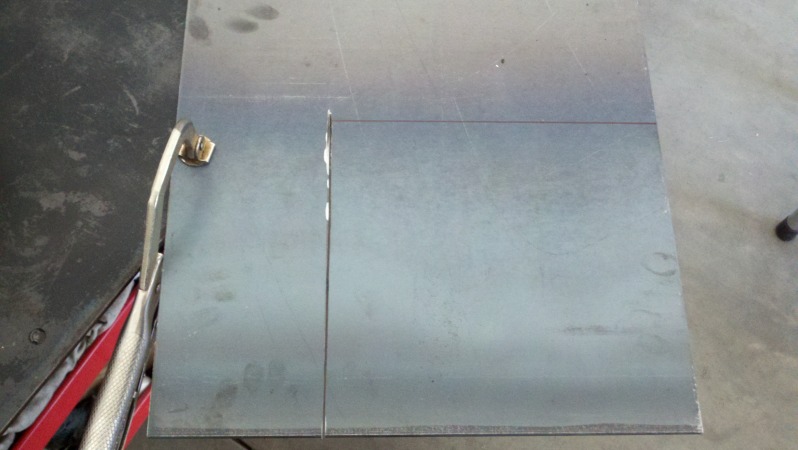
I had to laugh at myself for buying so much metal, In reality I only needed a 12" by 12" piece. So maybe $5 worth of metal. 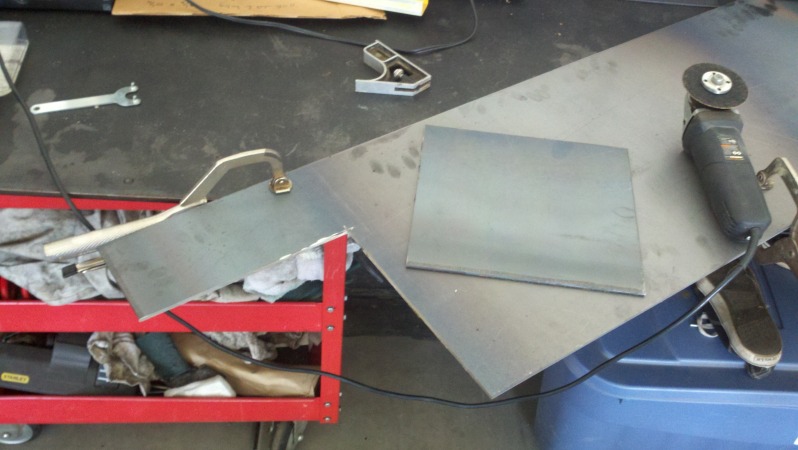
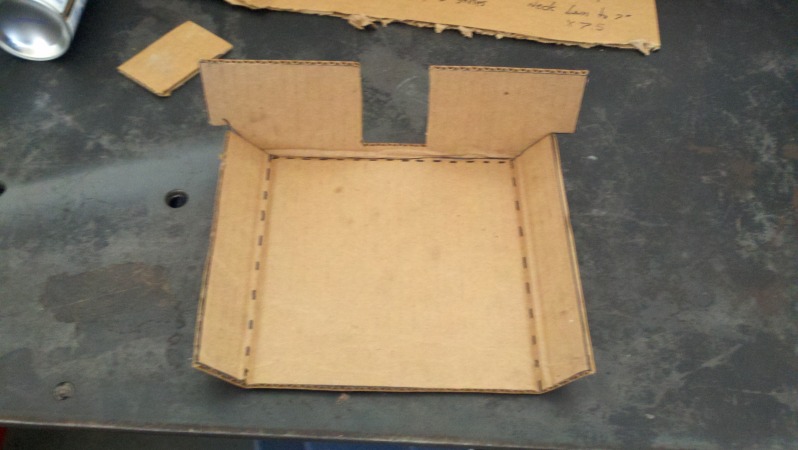
So now it was time to transfer my measurements onto the plate and then make my bends. Now I don't have any "real" bending tools besides a vise and hammer so my plan was to "score" the joints on the inside until I could bend them to my liking and then just weld them back solid. It worked better than I thought it would and gave me a nice clean professional look. I was really pleased with these results. 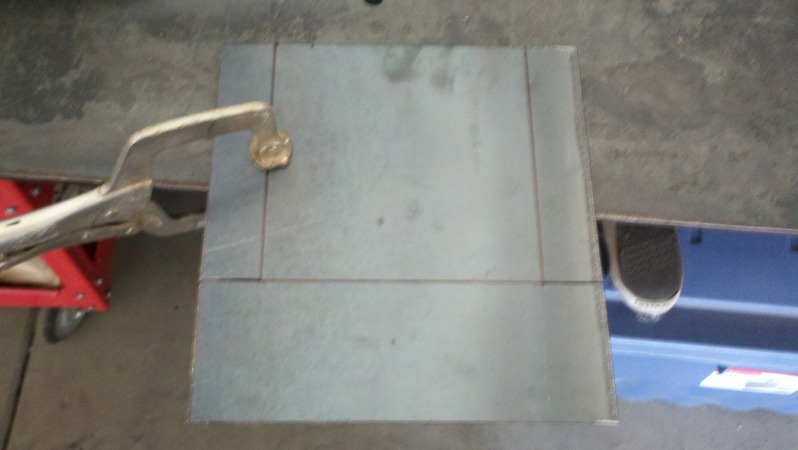
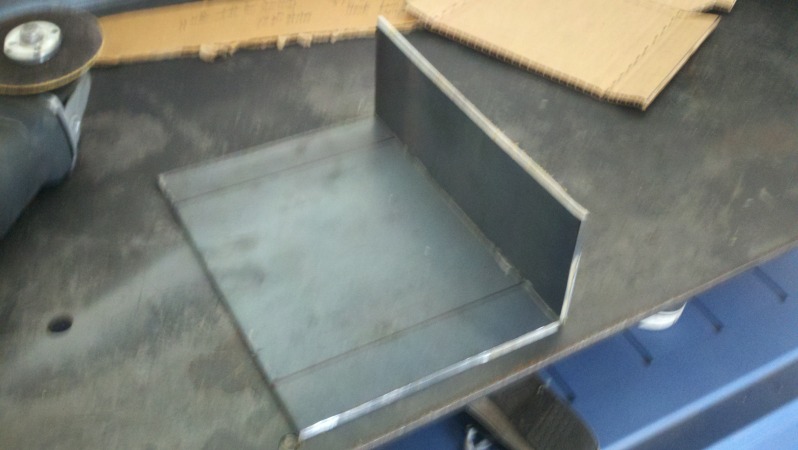
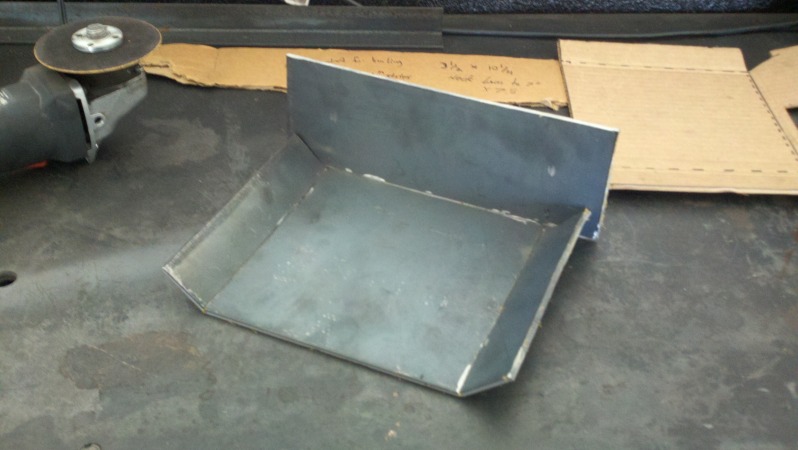

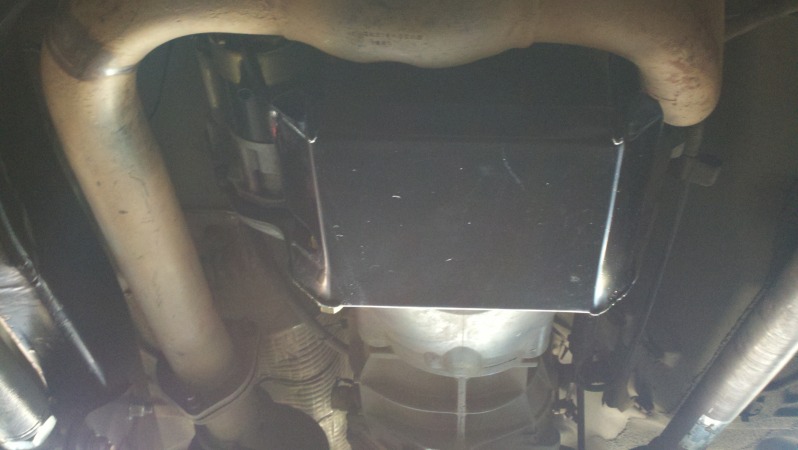
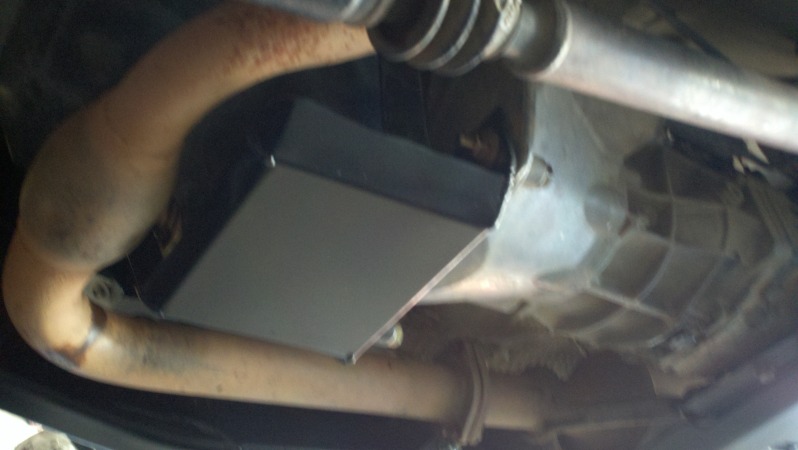
This was the point I could do my first test fit. It was at this time I decided to add the bend to the front.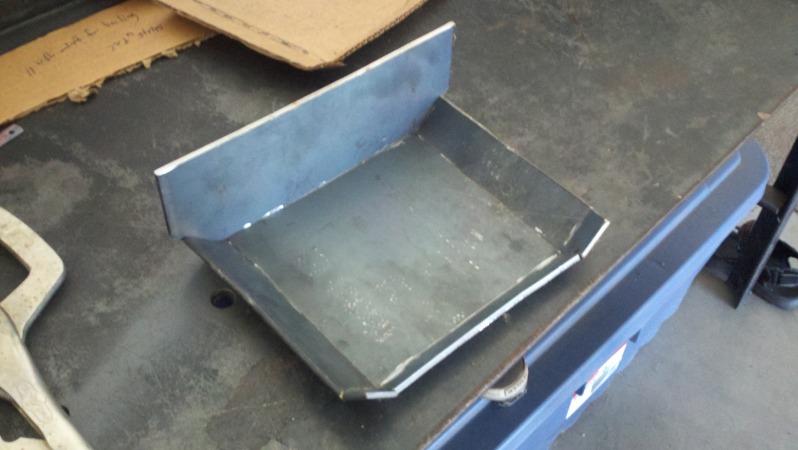
Now it was time to weld my seams up. I used this as an opportunity to practice some different welding techniques. I knew this would all be hidden so appearance was not important to me on my welds. I was just messing around with speed, angle and motions. 
Another test fit, before adding the struts and oil drain cutout.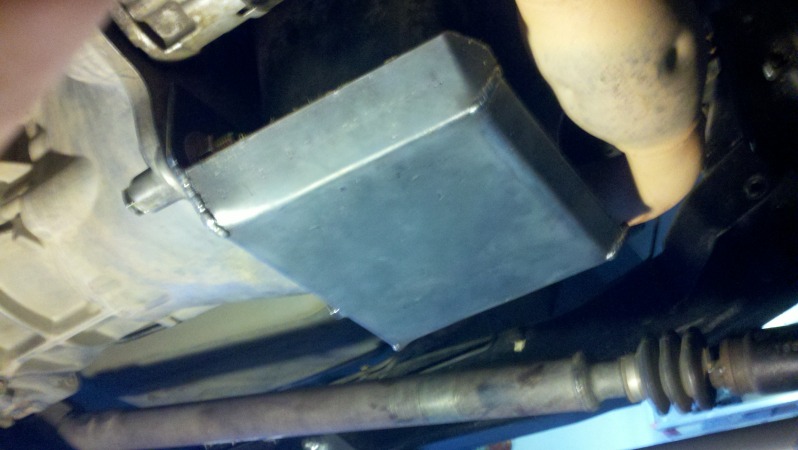
Used a 1in. hole saw and made a drain cut out. I still think when I change my oil it's gonna make a huge mess in the pan. I may drill and drain hole in it. 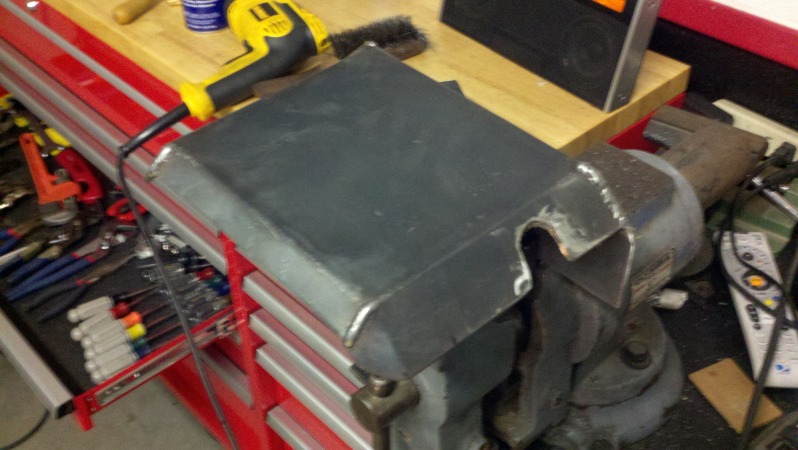
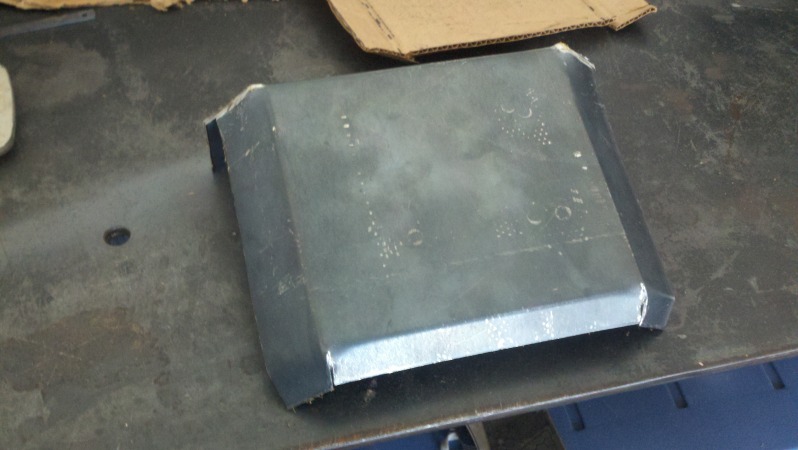
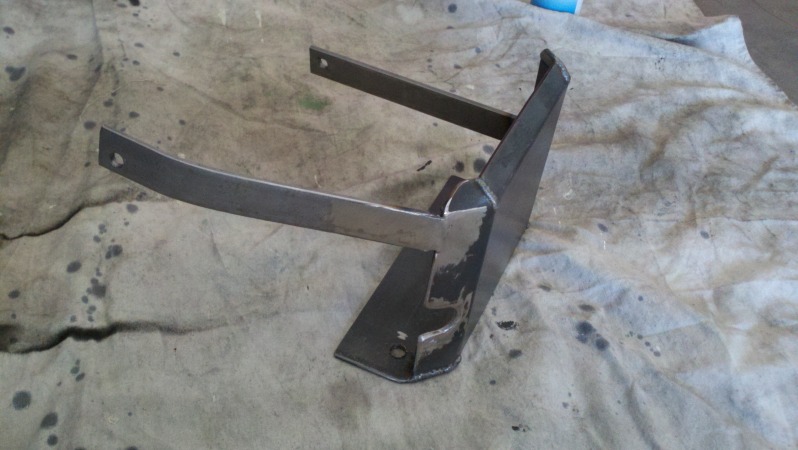
There are two unused bolt holes in the block that you can attach support struts to. The driver side one is easy, straight shot up but the passenger side needs a bend and it's tight behind the starter. This took some careful measuring and cutting to get right without slotting the bolt holes in the struts. After a couple tries I got it. It was a good feeling getting all the bolts started and everything lined up.
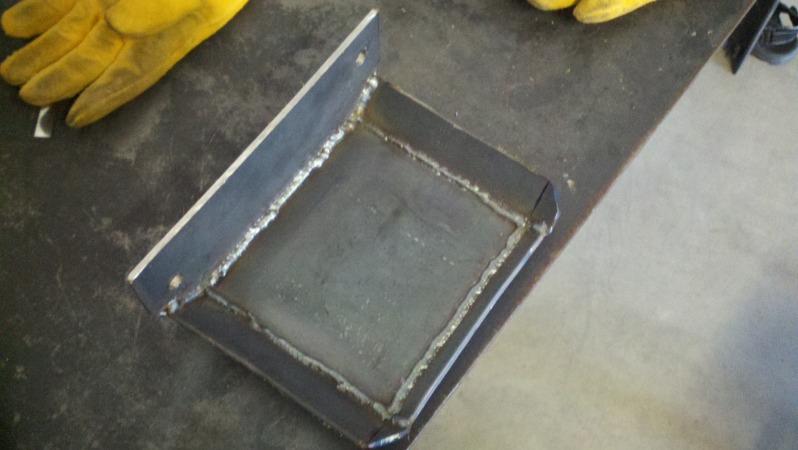
Struts tacked....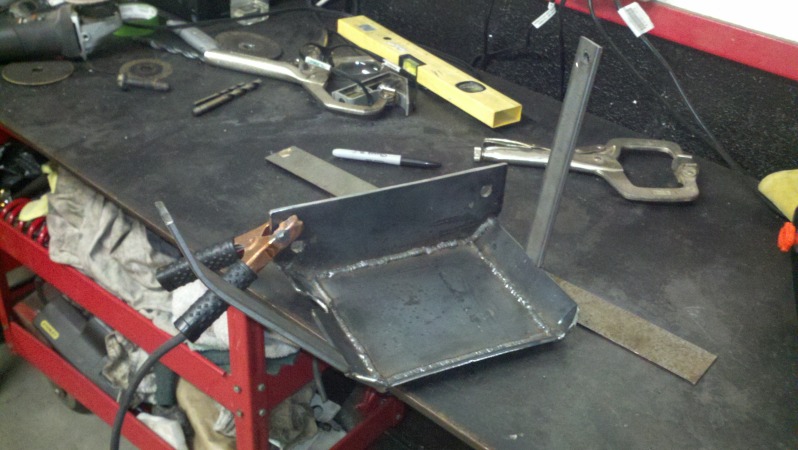
Well here it is after a final test fit, and finish welding on the struts. Ready for paint!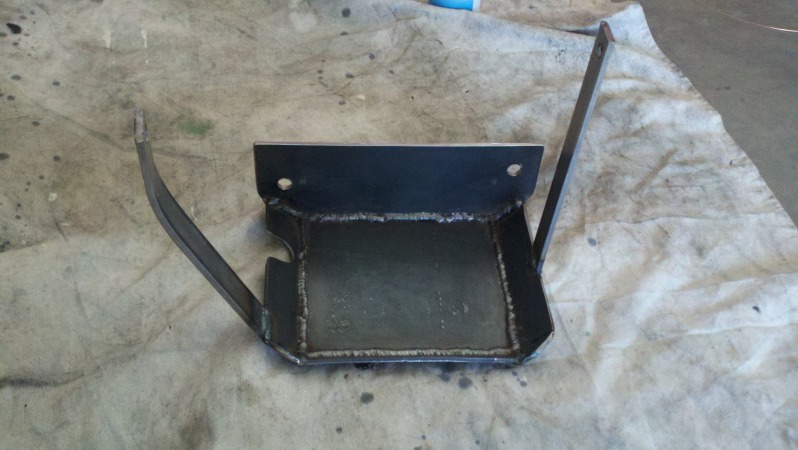
And there it is.....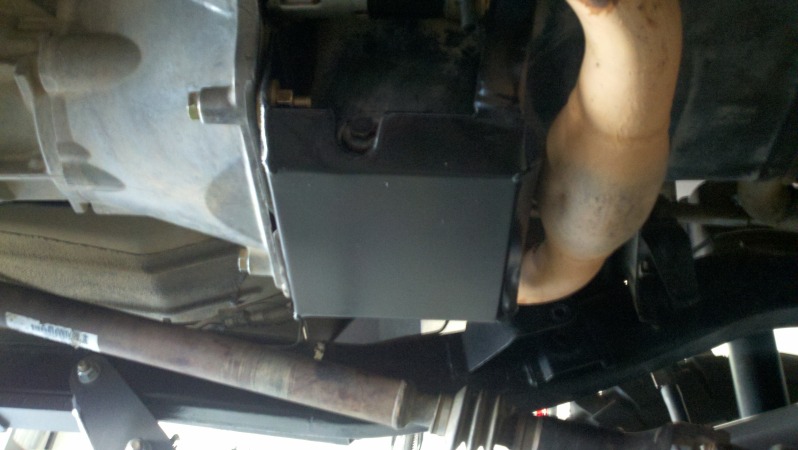
REALLY pleased with it! Luck was on my side during this project as everything went very smoothly and the end result is something I can be proud of. I also solved a VERY big potential issue for very little money, Maybe $25 of actual material cost, and a day's worth of entertainment in the garage is hard to put a price on! 
Wow this is something!
Posted by Diggymart on 12/1/21 @ 7:43:28 PM