You must be logged in to rate content!
4 minute(s) of a 391 minute read
8-2-2012
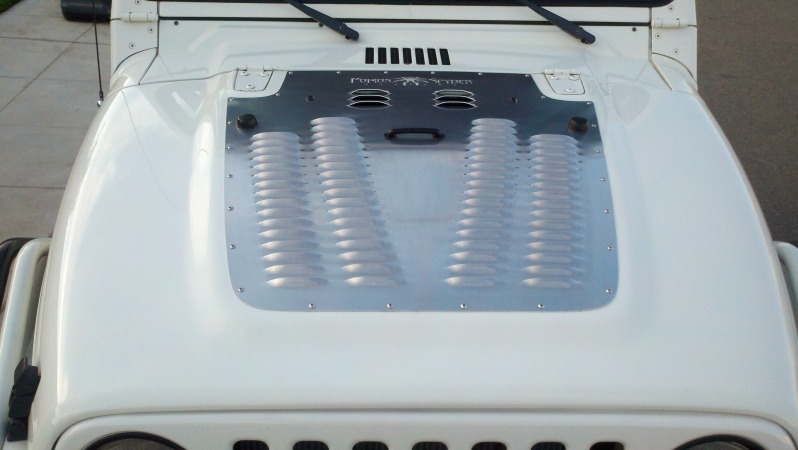
Poison Spyder Hood Louver
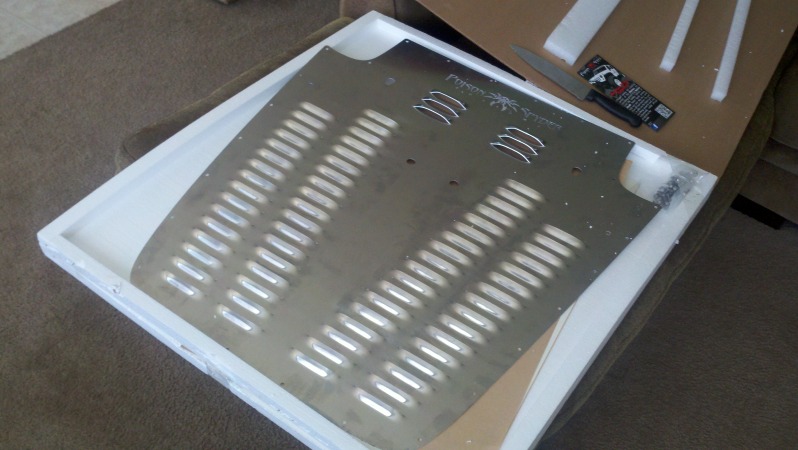
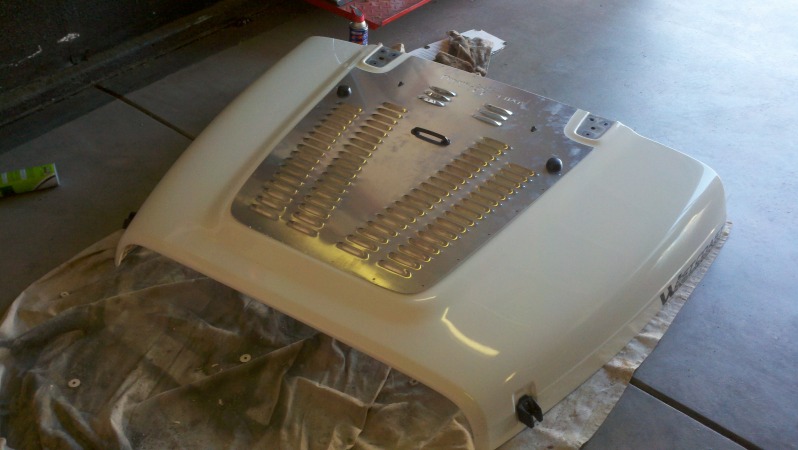
My PSC hood louver came in today . The install is pretty straight forward. Just typical sheet metal cutting, drilling and de-burring. I would recommend using a little jig saw with a metal blade instead of a 4 inch grinder like I did. It cut like butter but lacked really good control. I also went out and bought a fresh hole saw. The template is pretty fool proof, I would say that you DON'T need to put much effort into sticking it on there and pressing it down.... just make sure it's aligned and lightly rub it down. I put a little to much gusto in this and it was terrible to remove, tearing and leaving residue.
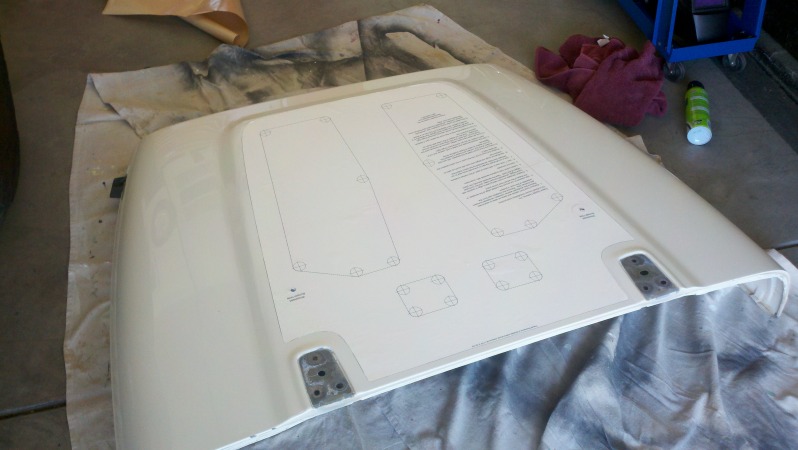
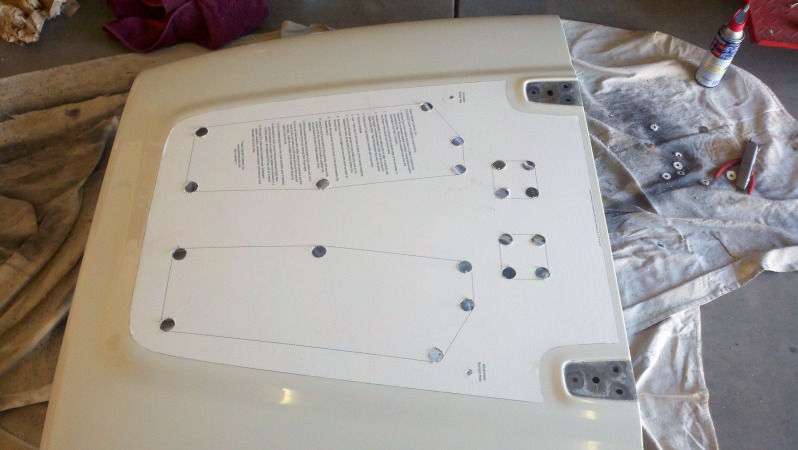
After you make your cuts I spent a little time deburring then instead of spraying the exposed edge I sprayed some color matched white paint onto a foam brush and just dabbed the edge so as to avoid having to mask for overspray and making a bigger mess. This worked fine for me. You may want to spend more time on this step. Overall cutting the holes isn't a huge deal. The more anal you are, the more time you'll spend on it making it perfect. It all gets covered by the louver anyways and you can't see in there unless you're really trying. My level of detail was medium for this.
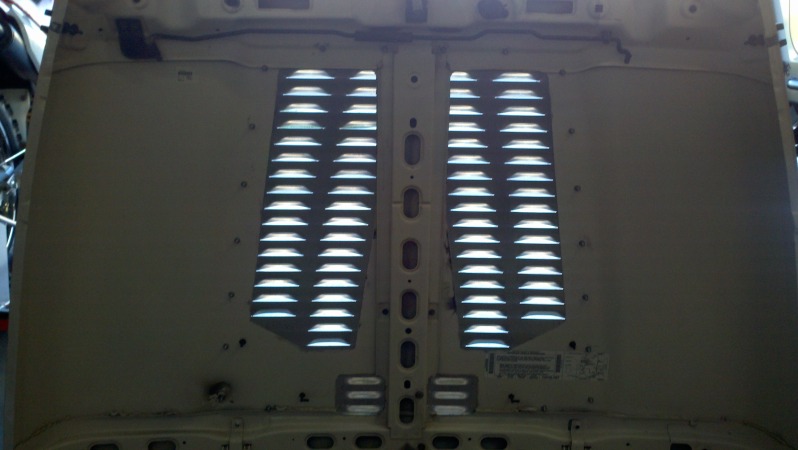
Once all that's done you clean up the hood and lay out the louver. The nice thing is that the windshield bumper things will pretty much align the louver. I pulled those through and it was pretty much perfectly aligned for drilling. I drilled each corner out and put in a bolt. Then drilled all the the rest of the holes. Nothing hard about this step. One good tip is use Anti-seize on the little bolts. If you tighten them to fast they will seize up on you. The second one I did, did this and I had to cut it off (there were extras luckily). I used anti-seize on the rest and was able to tighten them down as fast as I wanted with no issues. After the holes were drilled I removed the back two bolts and starting tightening from the front center out to edge and up each side towards the back. This allowed the louver flatten out nicely as you tightened.
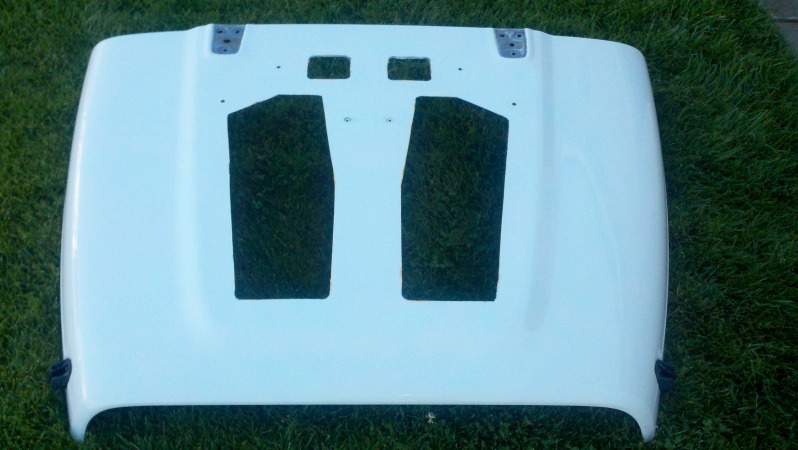
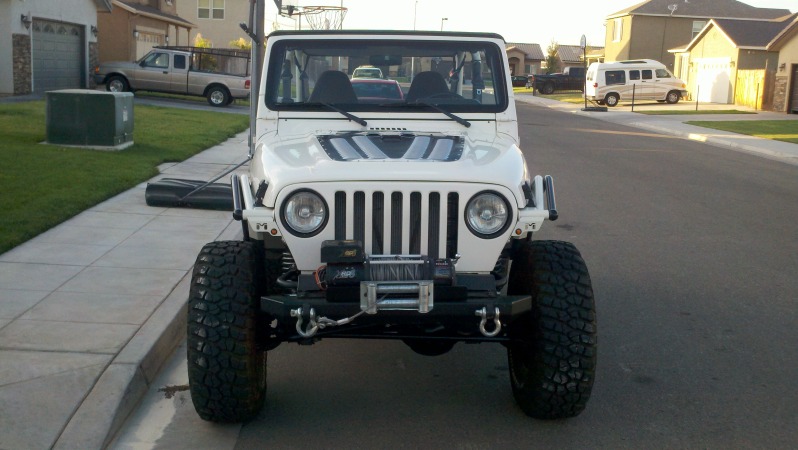
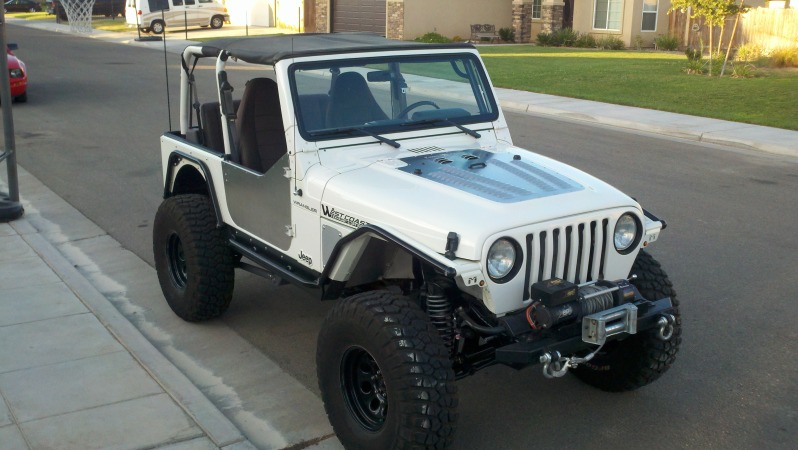
After that it's just a matter of bolting the hood back up and cleaning it. And it's a pain in the but to clean! Especially if you leave it raw. haha.
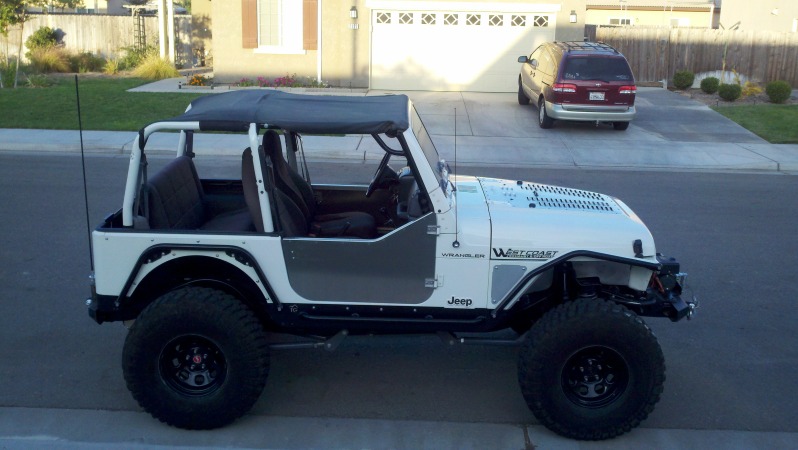
Here's a few photos of the process. Overall I think it looks cool, is priced right, high quality and functional in regards to venting the hood. 
Wow this is something!
Posted by Diggymart on 12/1/21 @ 7:43:28 PM